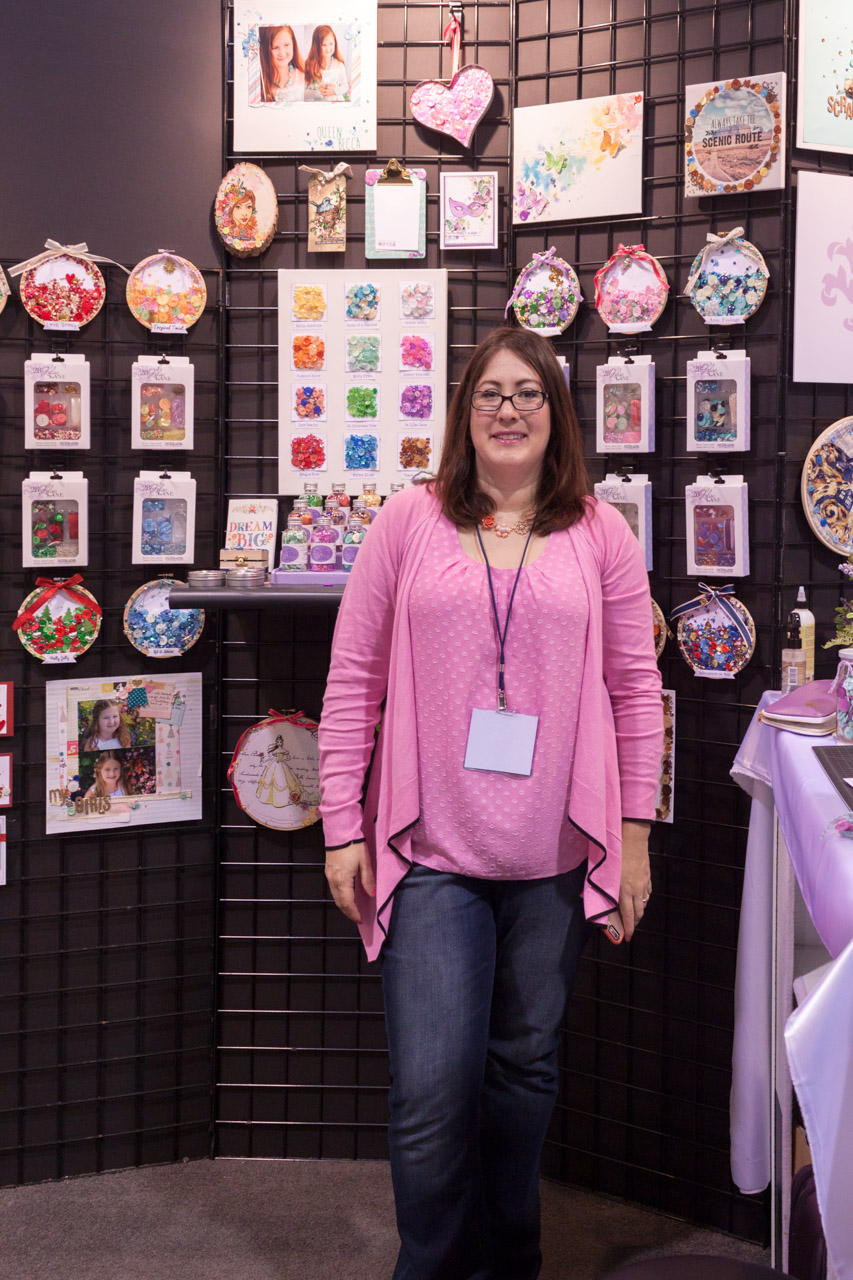
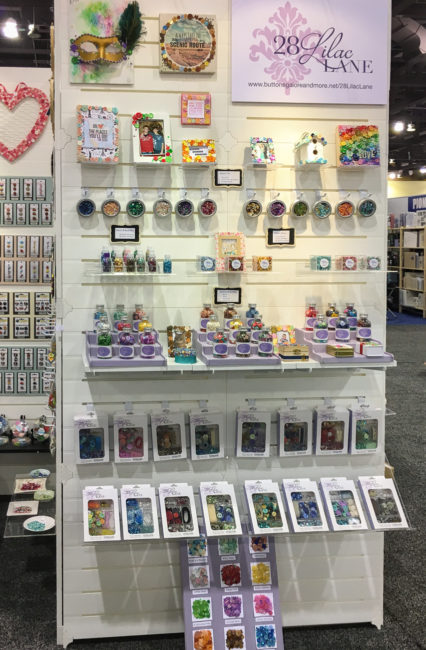
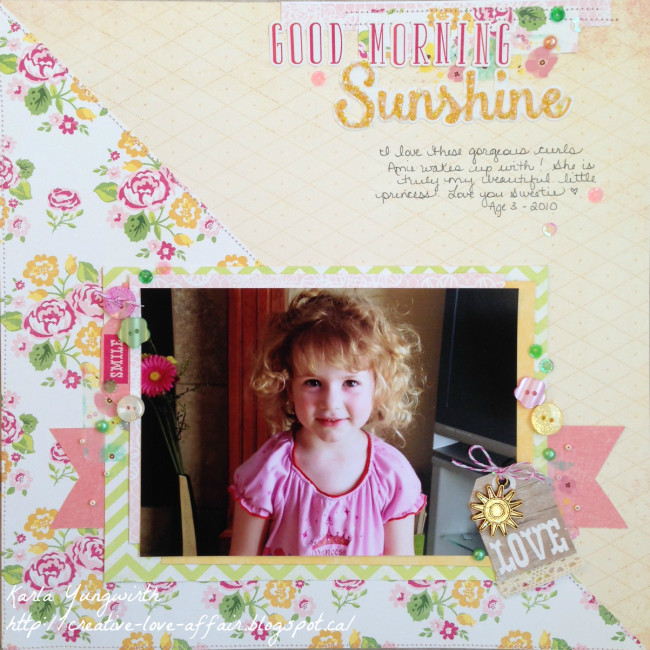
It’s the moment we’ve all been waiting for – the CHA Sneak Peek with the full reveal of the new Buttons Galore line by signature designer May Flaum called 28 Lilac Lane that we’ll be showing in Anaheim at the CHA Mega Show 2016. We’re so excited to share this with all of you!

There’s actually three parts to the 28 Lilac Lane collection being shown at the CHA Mega Show 2016!
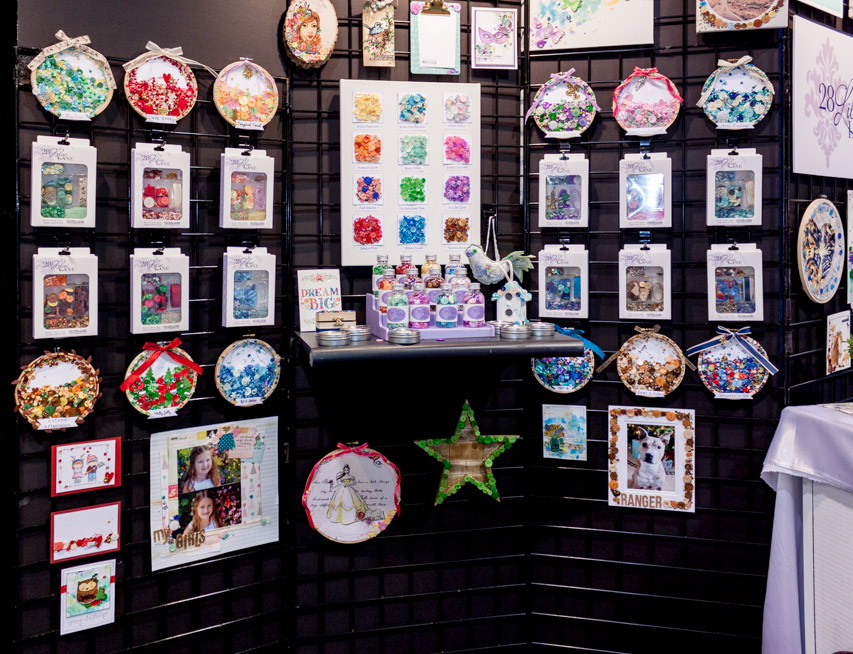
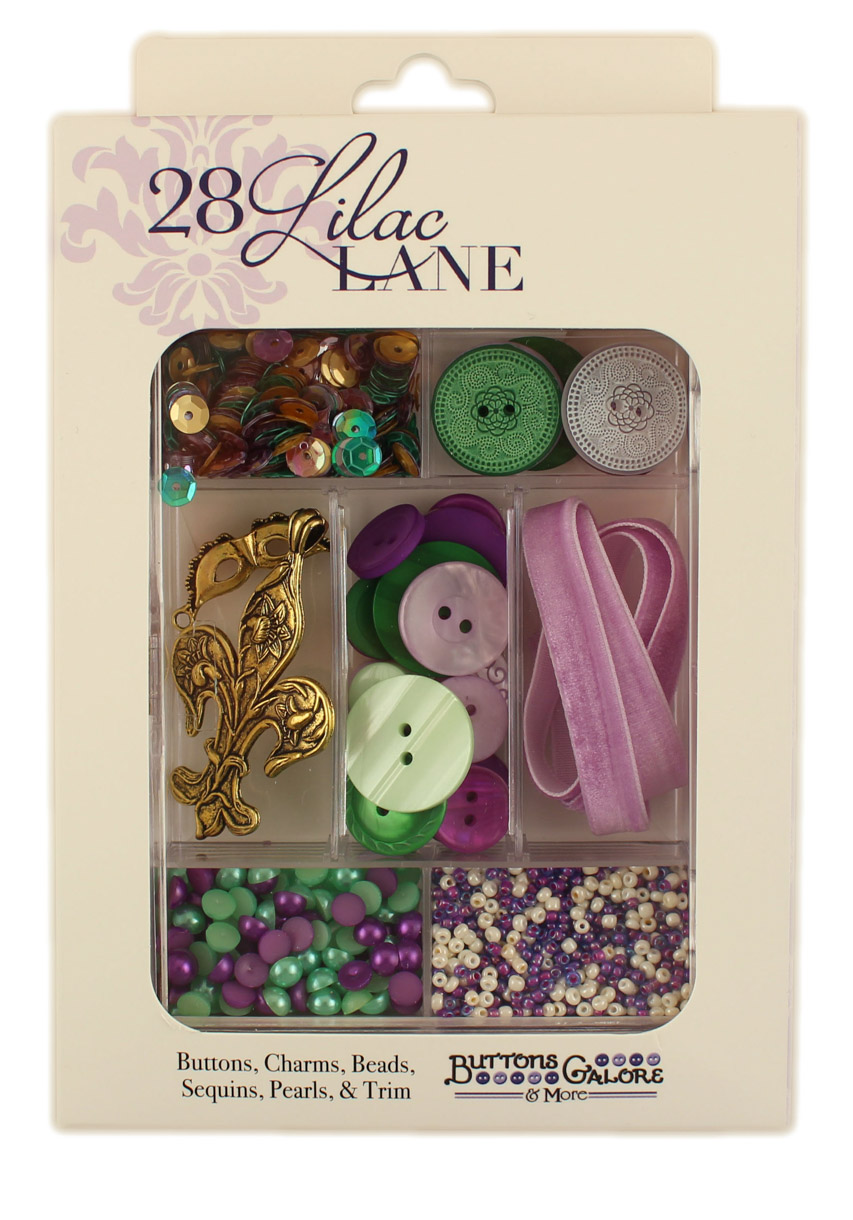
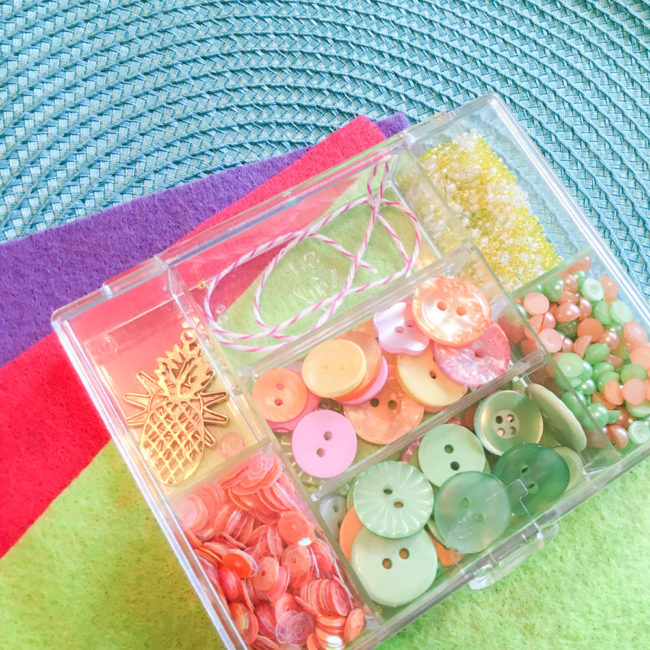
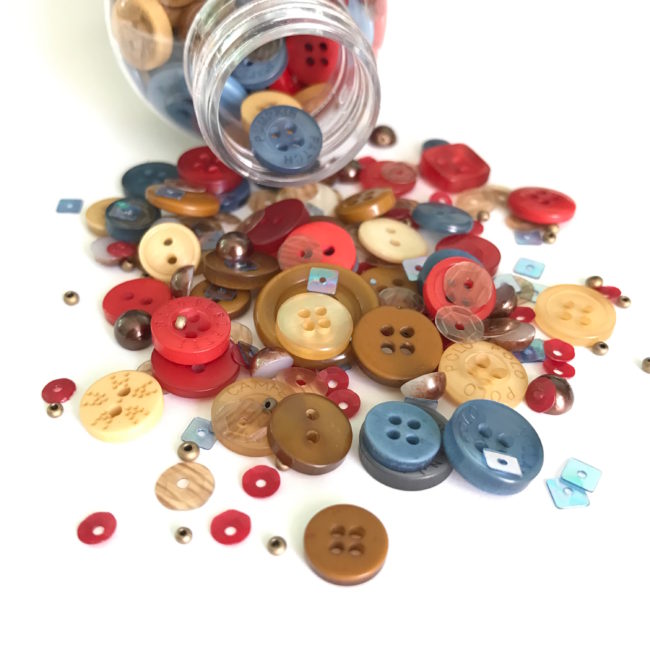
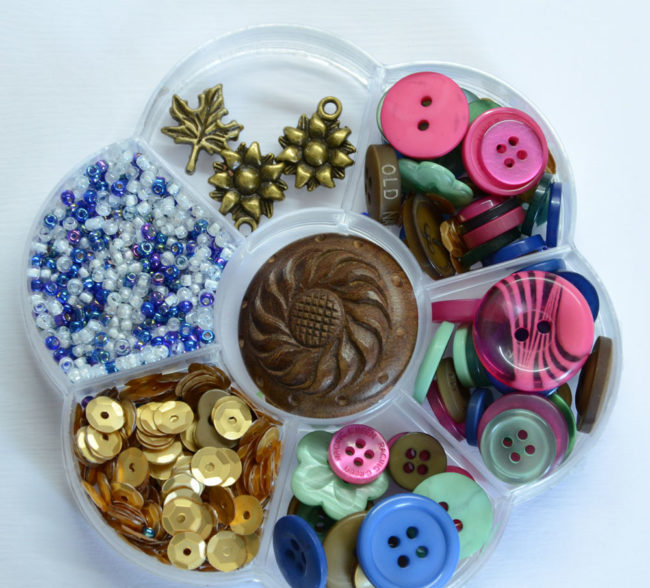
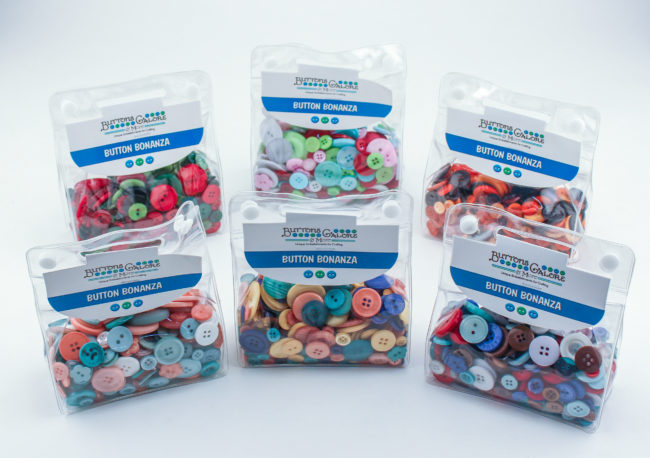
Let’s start with the biggest element…embellishment kits! Each item in these themed kits has been painstakingly hand selected by May to be perfect for creating beautiful designs for paper crafters, mixed media, collage, fabric crafts, and a wide variety of creative projects.

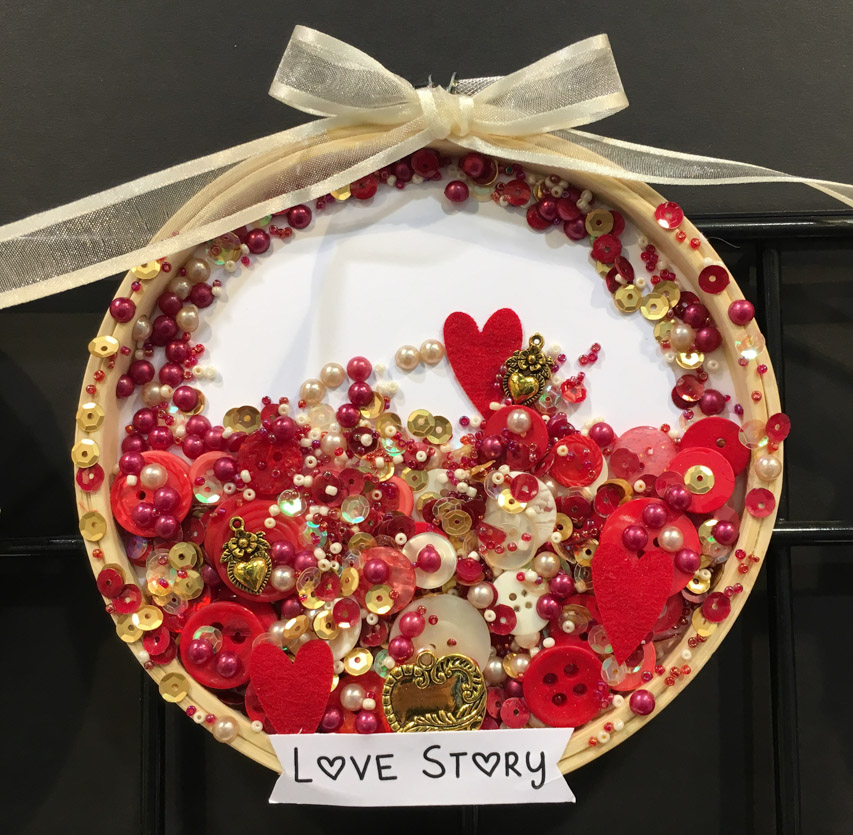
The kit pictured above is called “French Quarter”. The initial release of 28 Lilac Lane embellishment kits will include twelve themes:
- Adventure At Sea
- Attic Findings
- Autumn Afternoon
- French Quarter
- Hello, Cupcake
- Holly Jolly
- Let it Snow
- Love Story
- New Leaf
- Party On
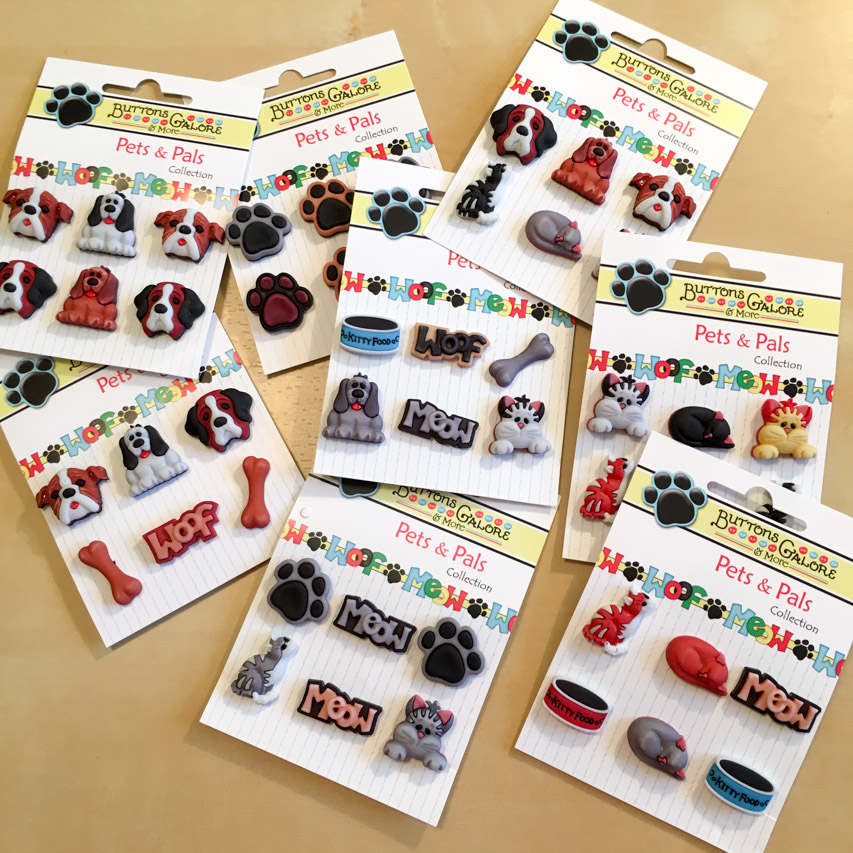
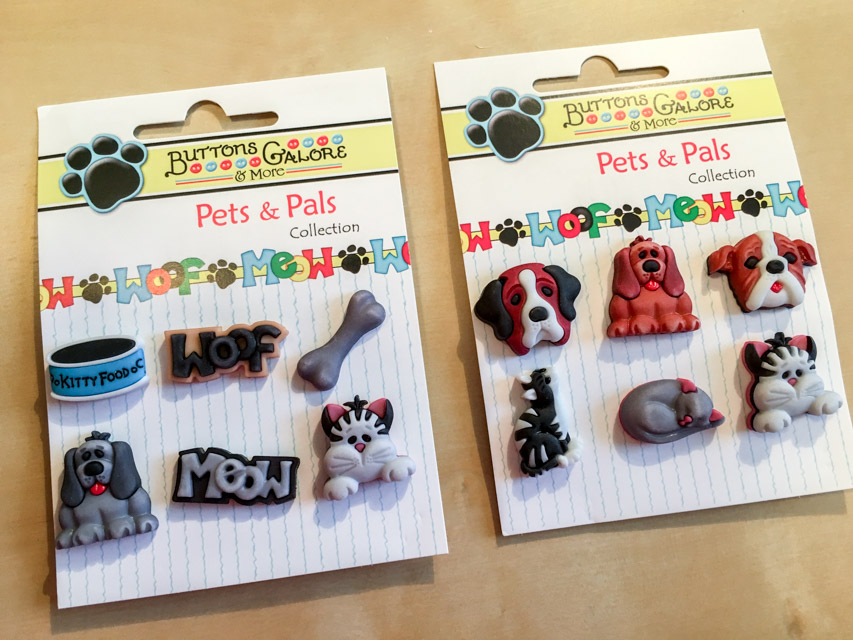
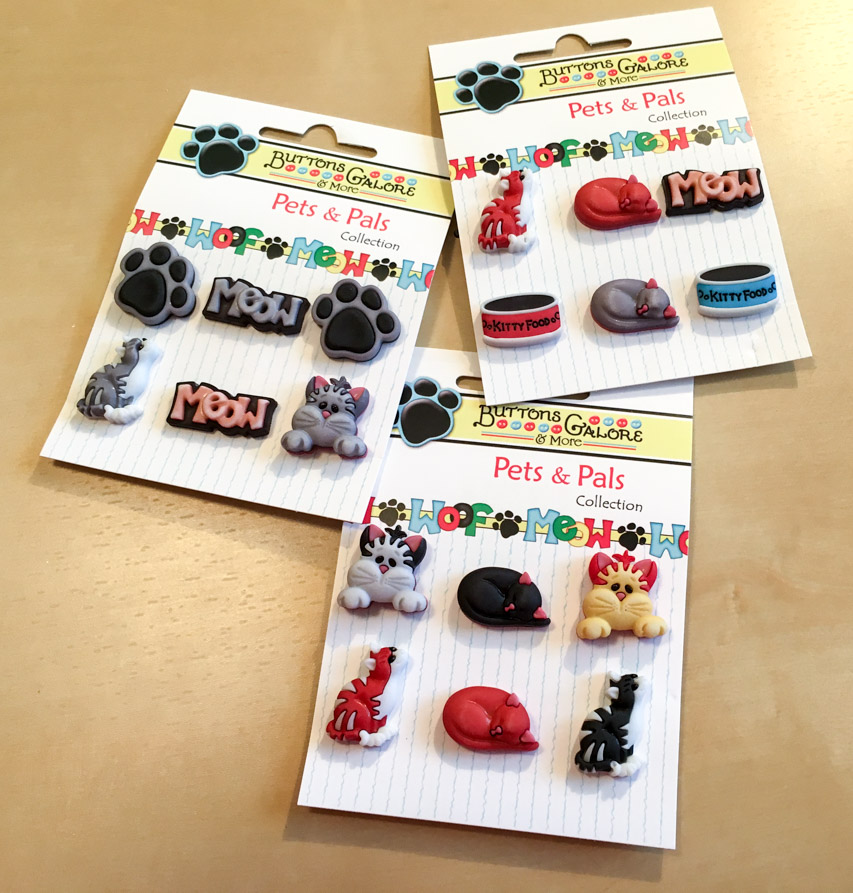
- Paws & Pets
- Tropical Twist
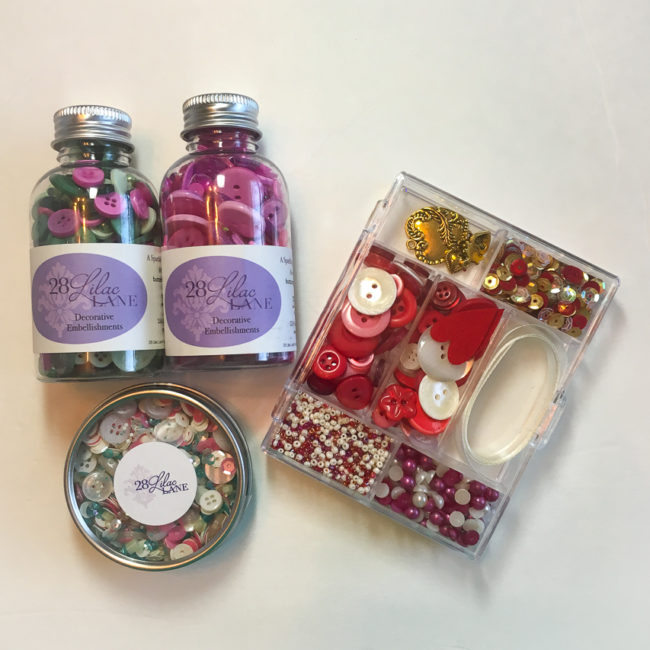
The kits include buttons, shimmering pearl accents, seed beads, trim, sequins, and charms. Some kits also include felt shapes and/or novelty buttons. The embellishment kits will have an MSRP of $8.99.
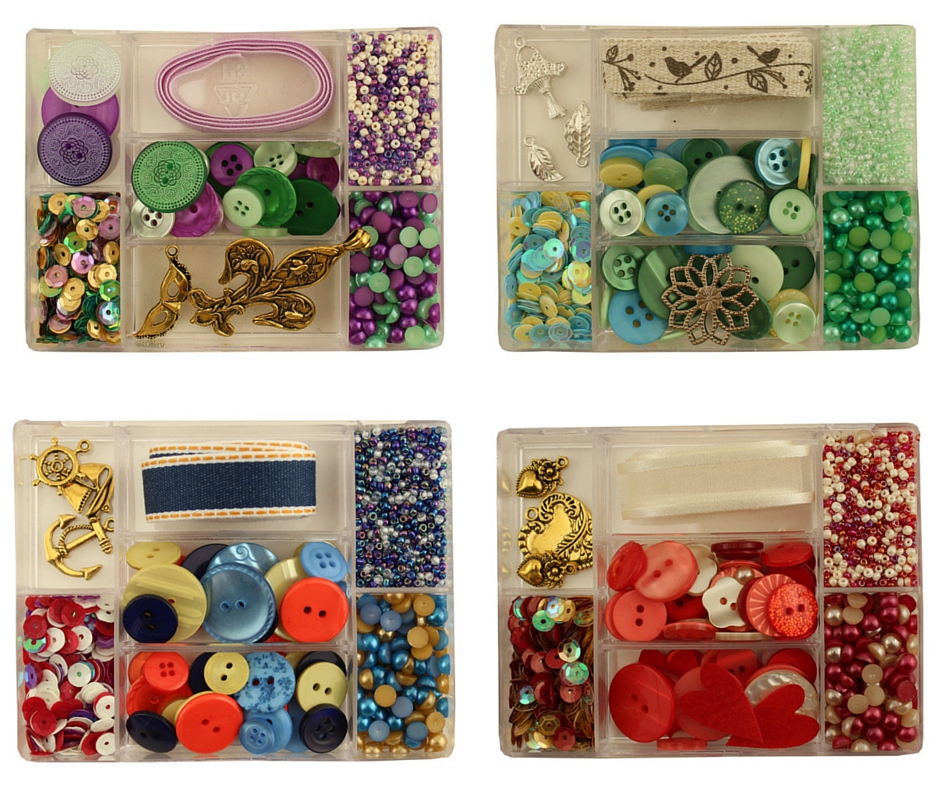
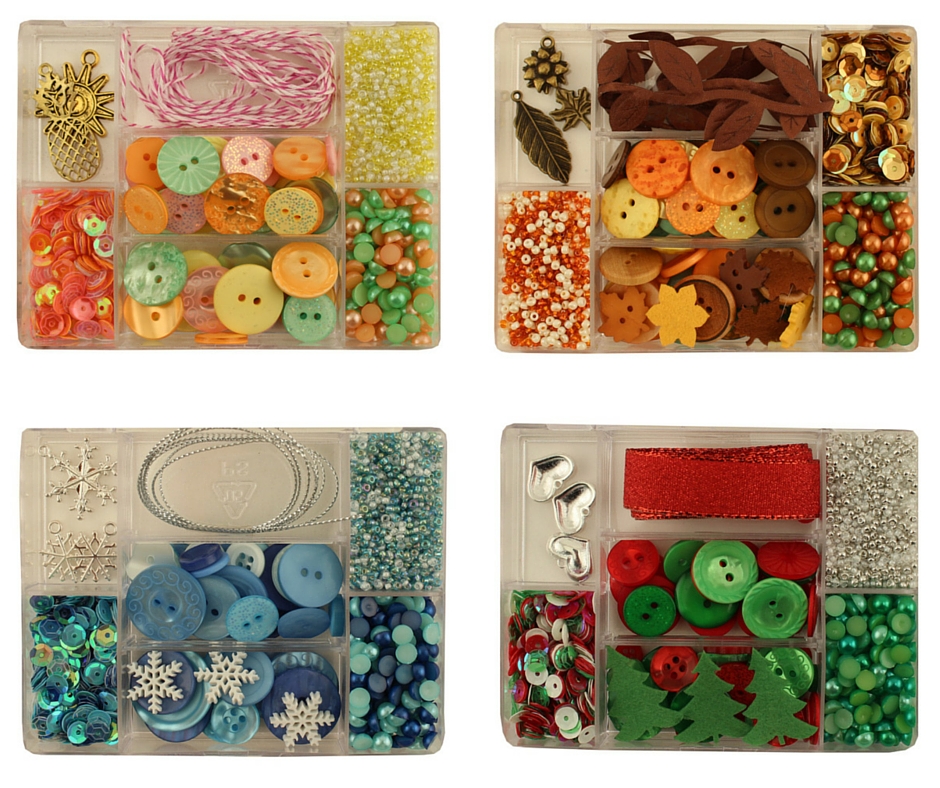
Below (clockwise from top left): French Quarter, New Leaf, Love Story, Adventure At Sea

Below (clockwise from top left): Hello Cupcake, Party On, Paws & Pets, Attic Findings.
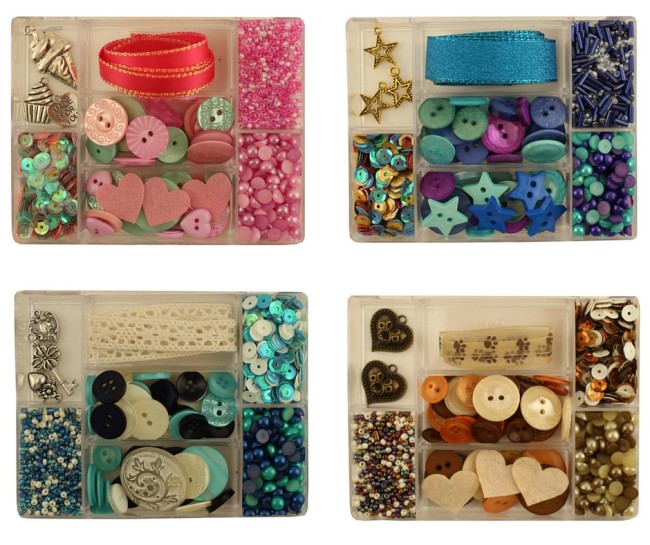
Below (clockwise from top left): Tropical Twist, Autumn Afternoon, Holly Jolly, Let It Snow.

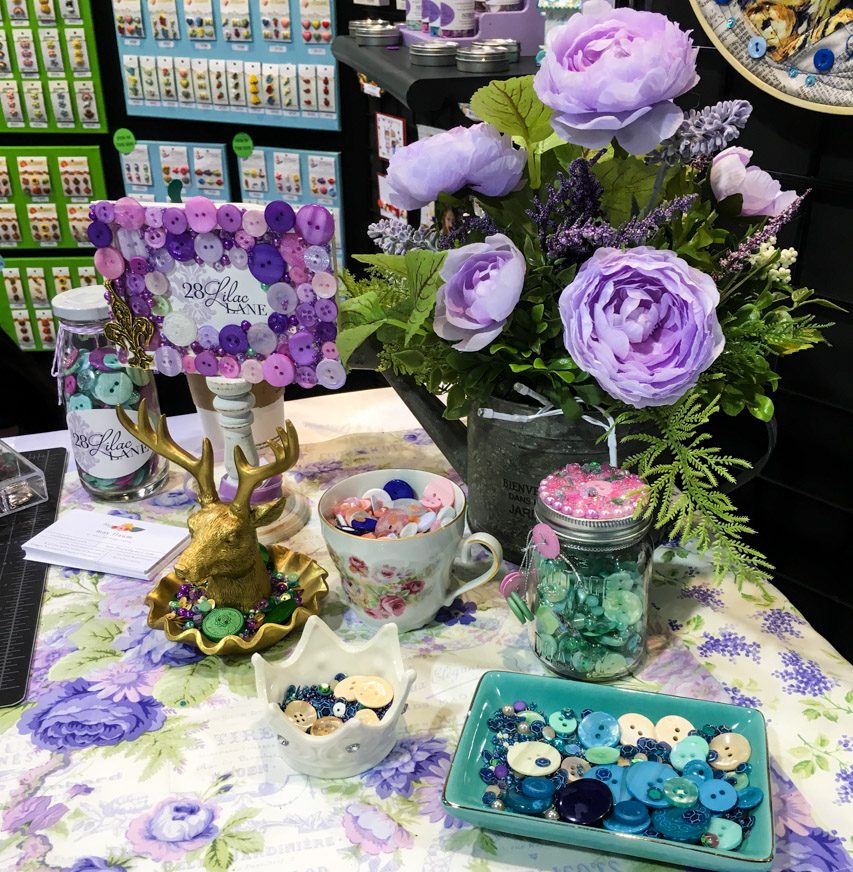
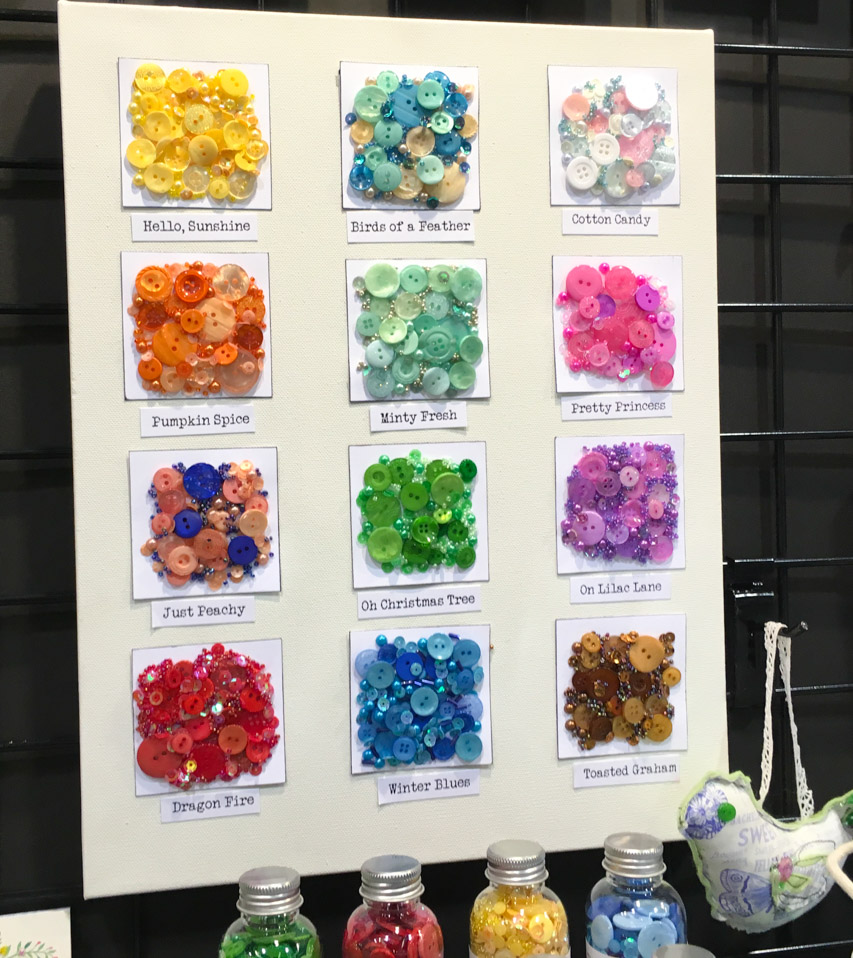
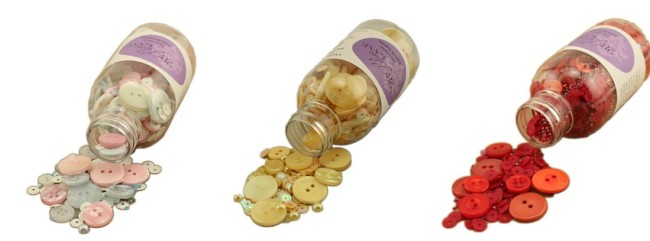
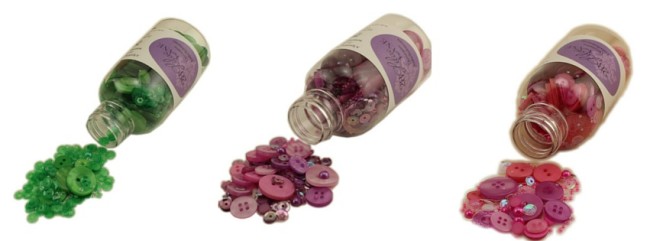
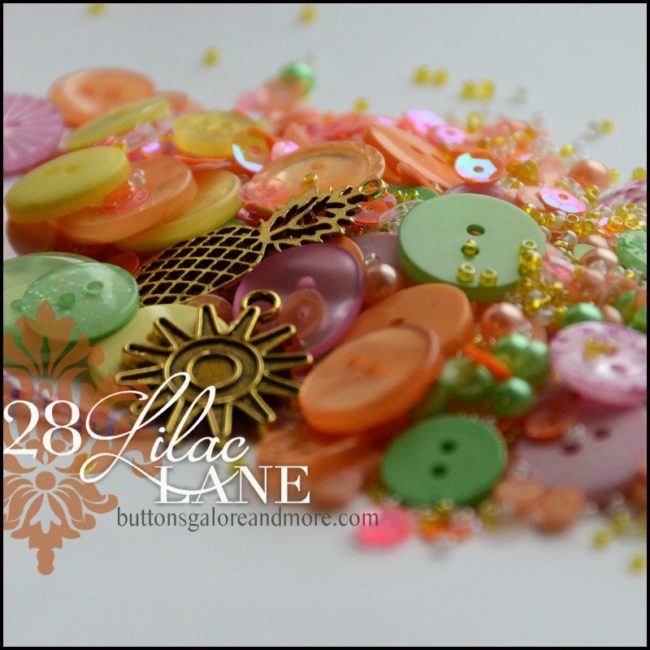
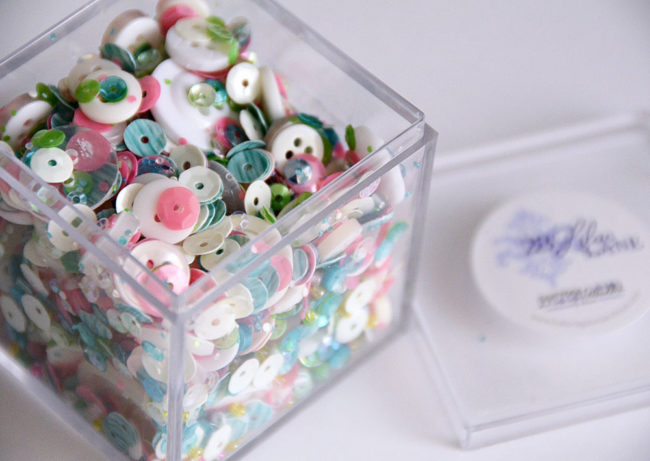
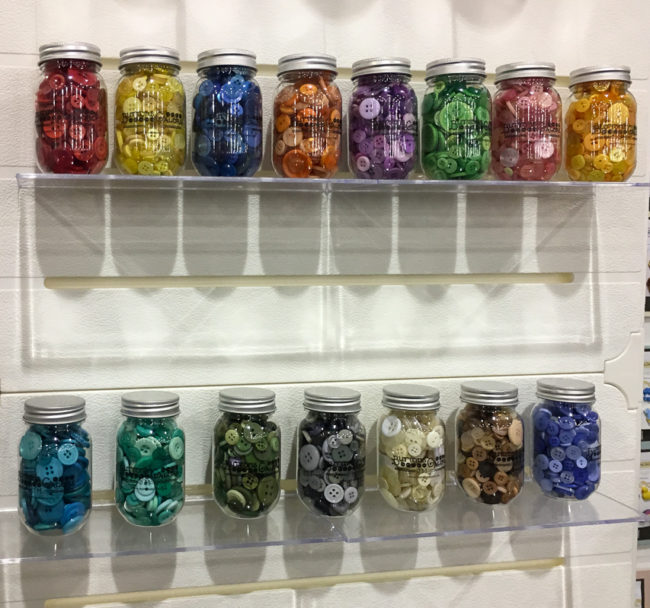
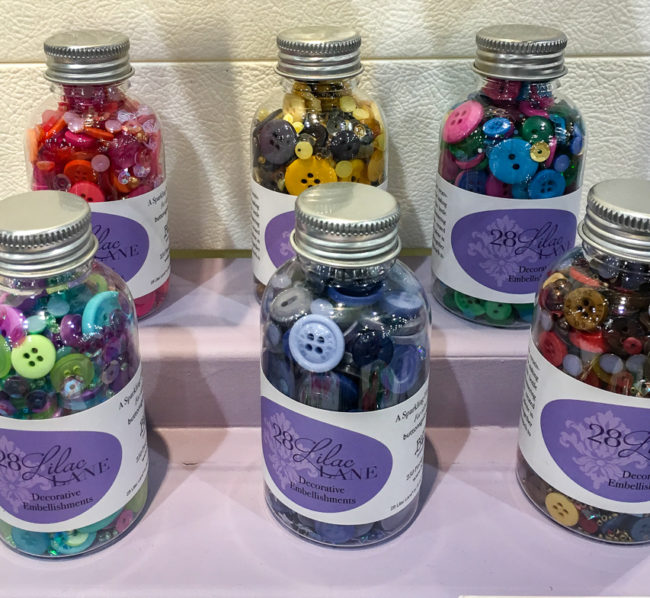
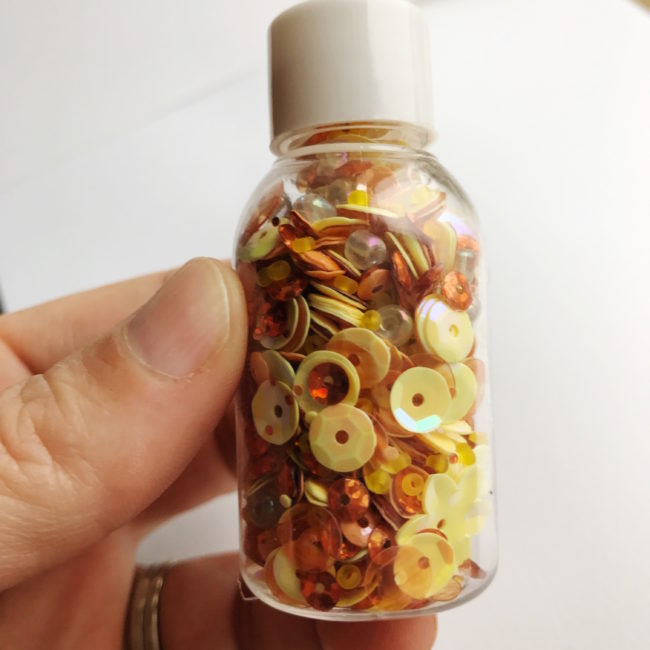
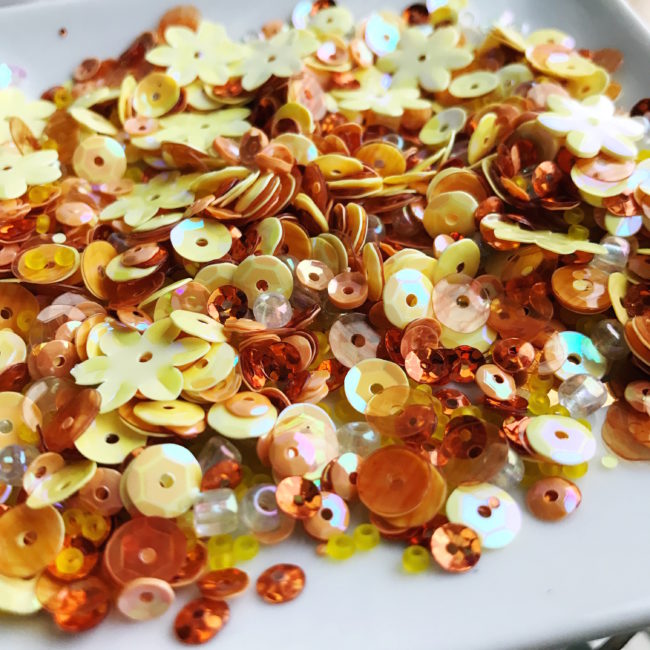
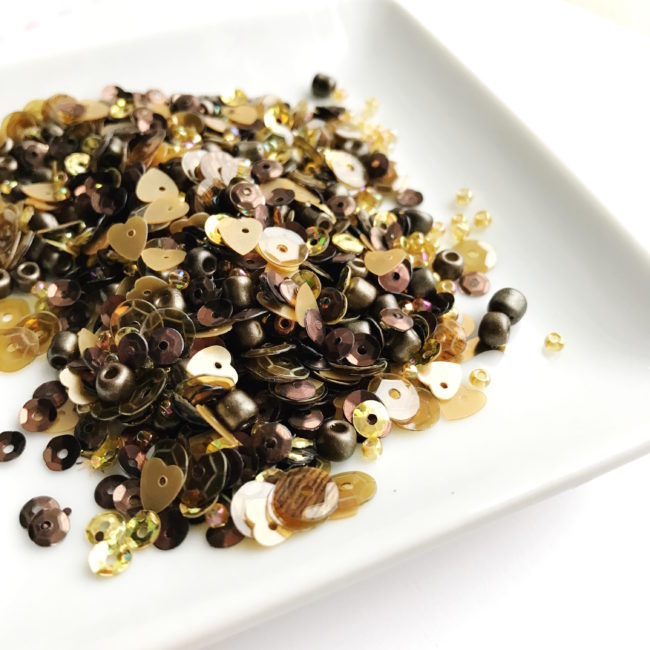
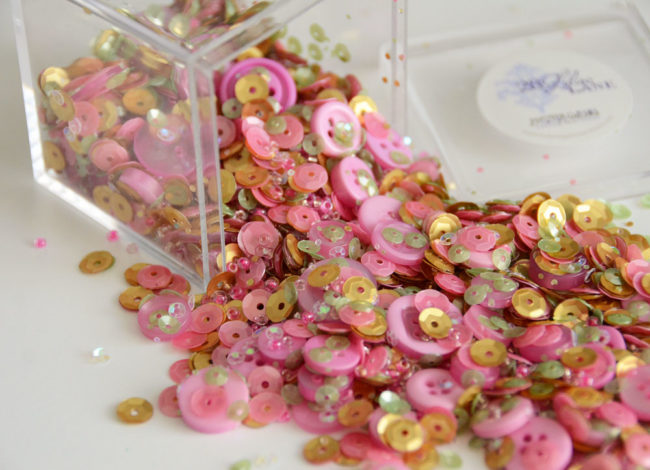
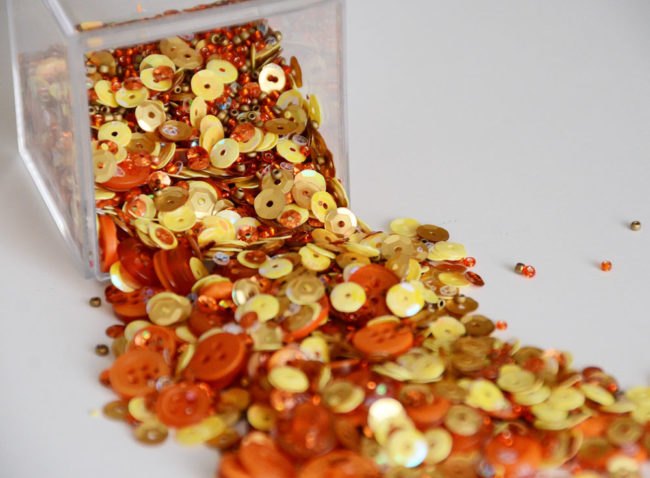
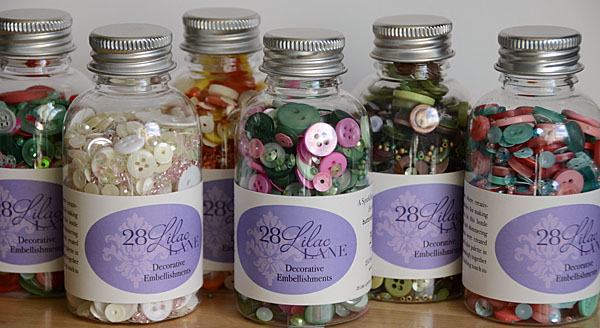
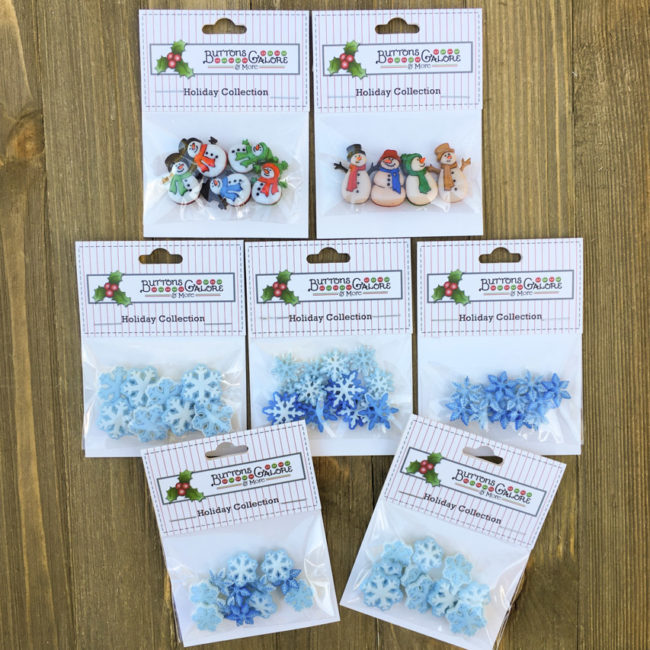
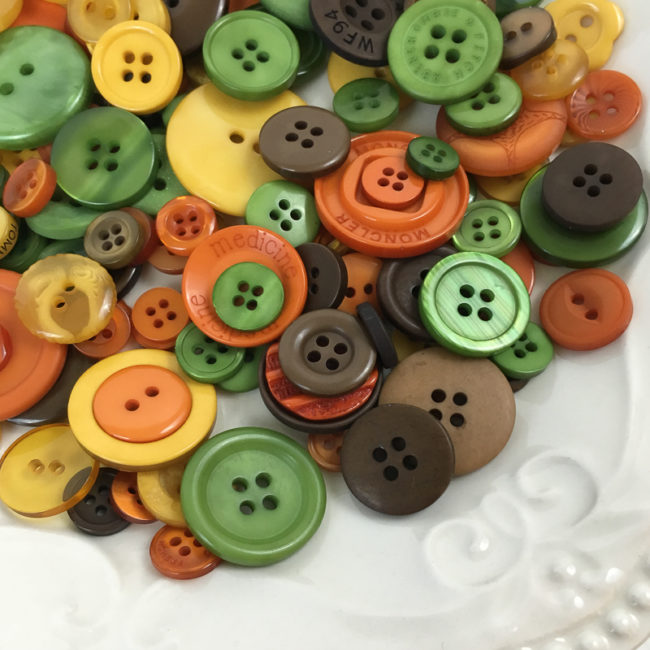
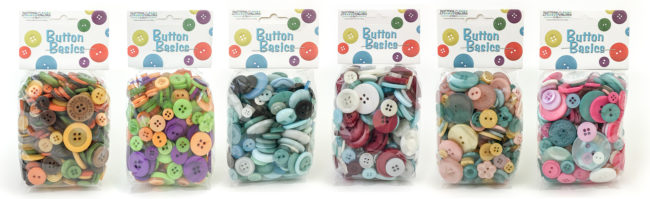
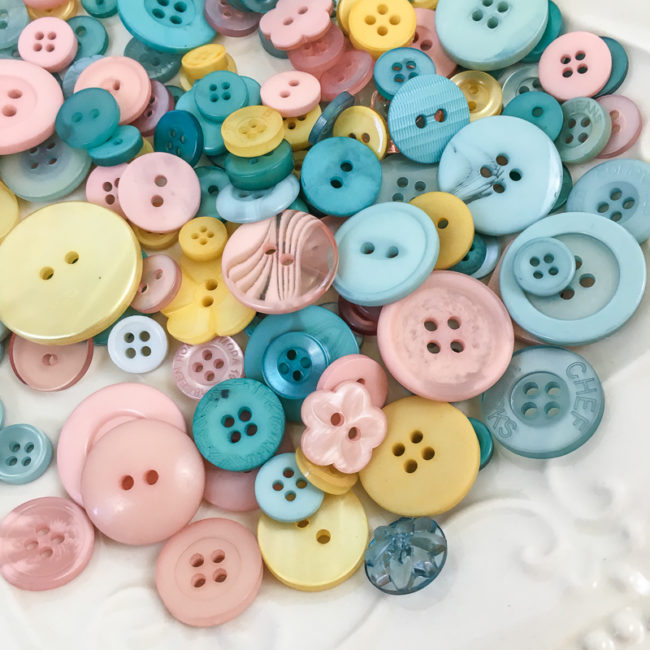
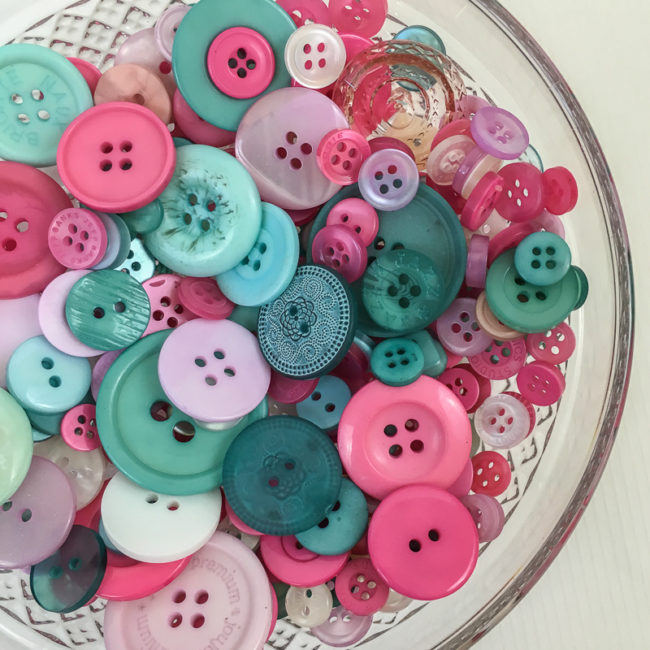
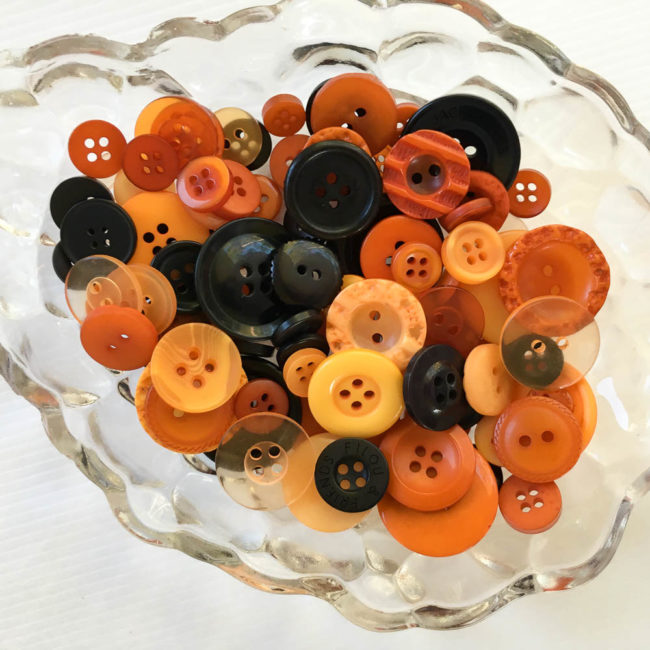
We couldn’t stop with all of that fabulousness though! You can never have too many basics like buttons, pearls, beads and sequins – versatile and useful embellishments for crafters of all kinds. So, May created a collection of additional decorative embellishment jars in color mixes especially designed to coordinate with and extend the embellishment kits!
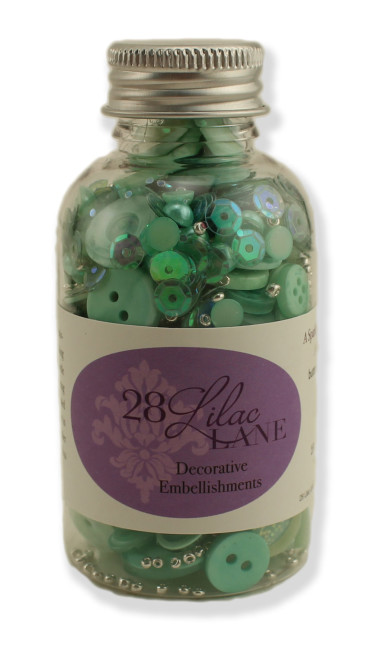
These jars include 3 oz of buttons, 50 Pearl Accents, 10 grams of seed beads, and 10 grams of sequins, and have an MSRP of only $4.99.
The decorative embellishment jars come in twelve color themes:
- Birds of a Feather
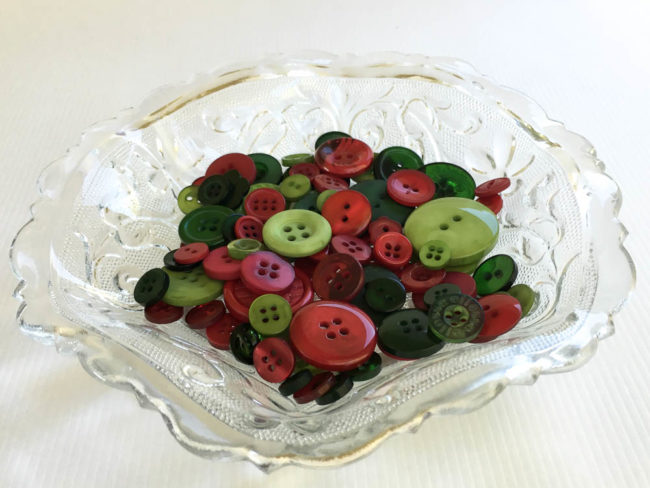
- Cotton Candy
- Dragon Fire
- Hello, Sunshine
- Just Peachy
- Minty Fresh
- Oh Christmas Tree
- On Lilac Lane
- Pretty Princess
- Pumpkin Spice
- Toasted Graham
- Winter Blues
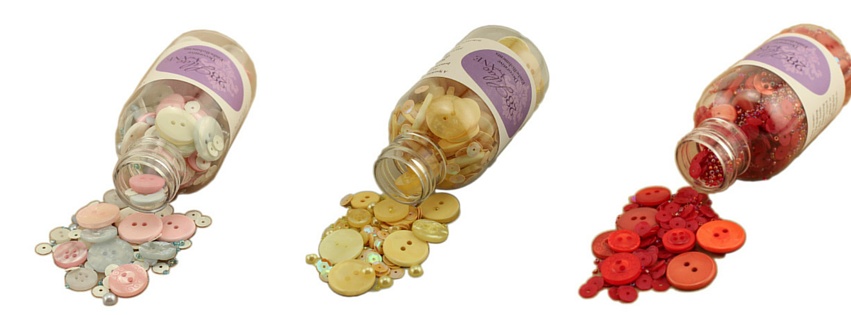
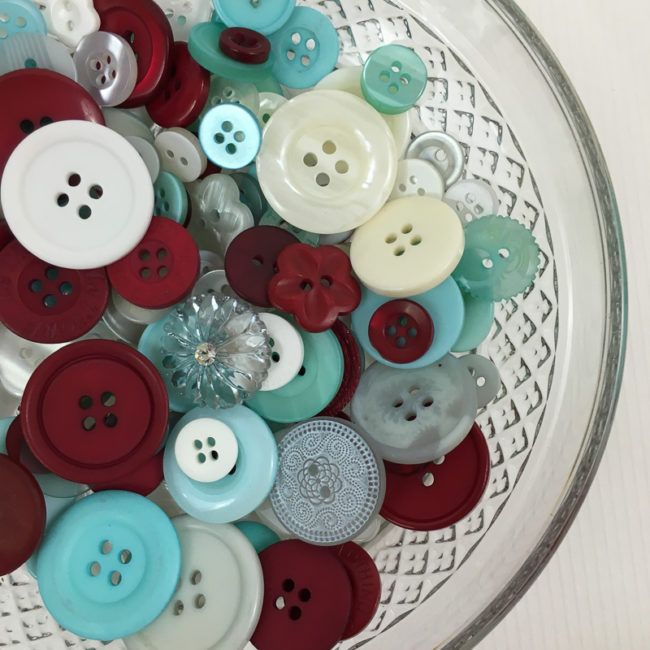
Below (left to right): Cotton Candy, Hello Sunshine, Dragon Fire
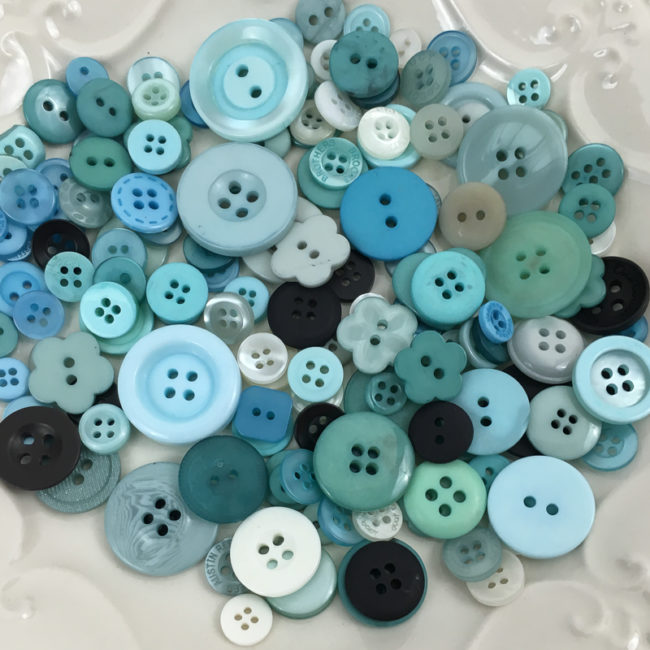
Below (left to right): Pumpkin Spice, Toasted Graham, Winter Blues

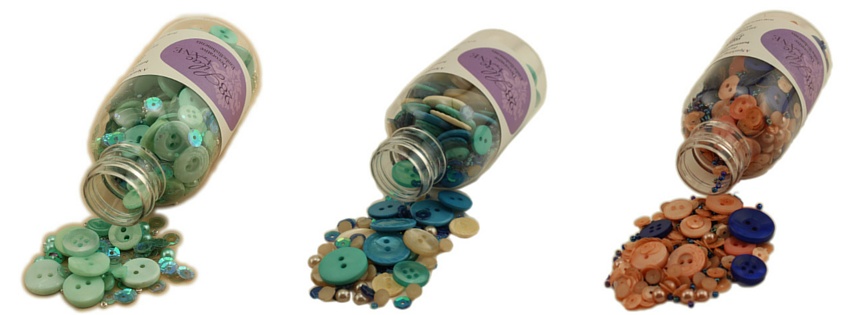
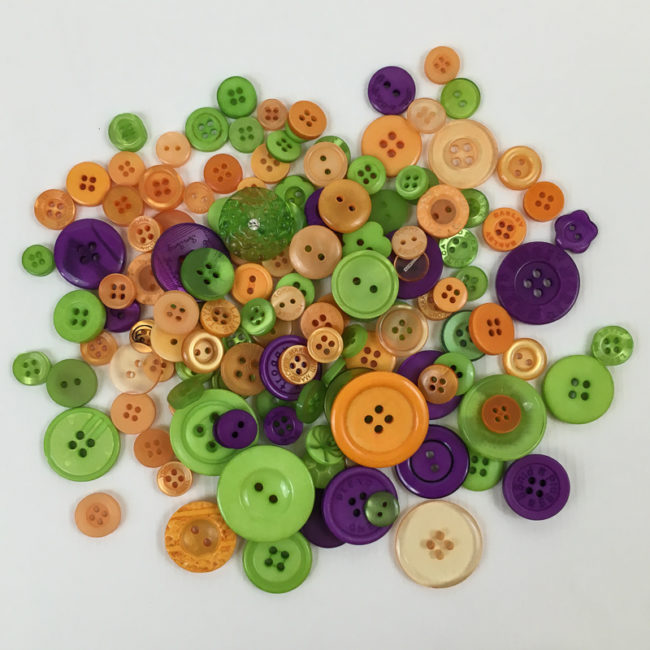
Below (left to right): Minty Fresh, Birds of a Feather, Just Peachy

Below (left to right): Oh Christmas Tree, On Lilac Lane, Pretty Princess
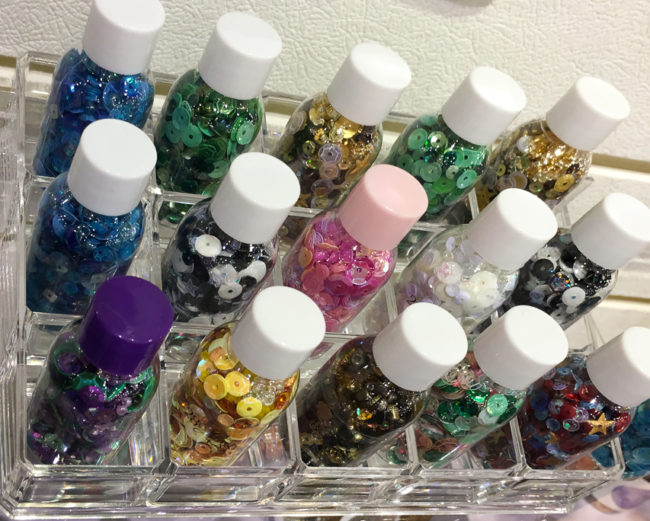
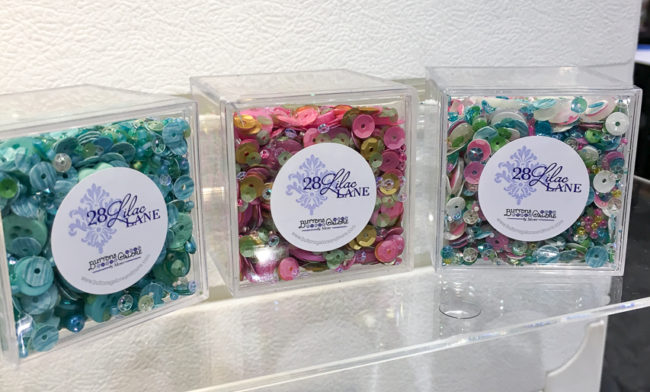
Now that is a lot of embellishment goodness to play with. But before we go…there’s one more thing. How about some sequin tins?
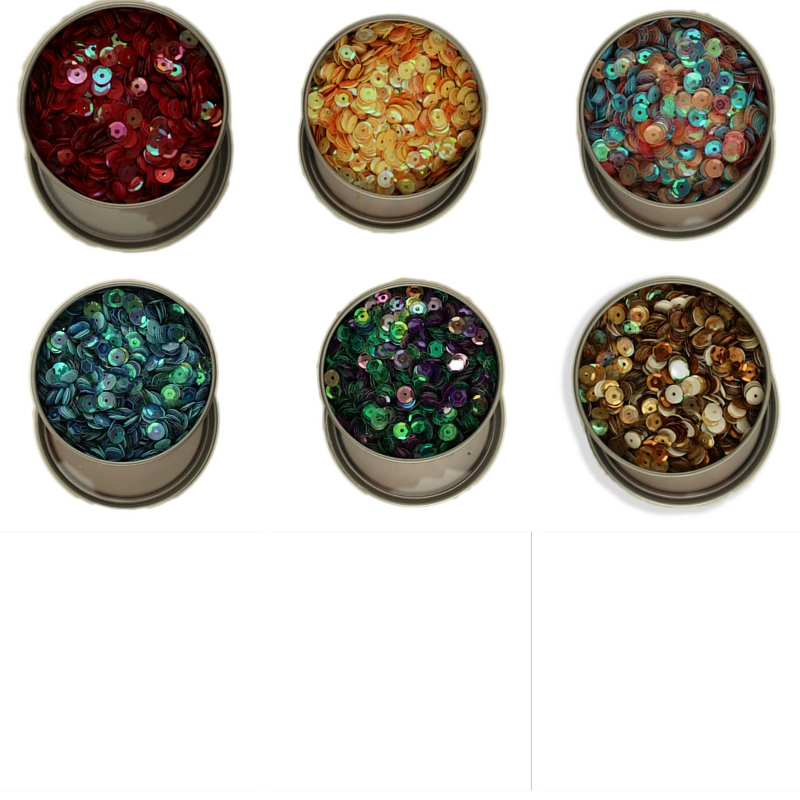
The final piece of the 28 Lilac Lane collection for the CHA Mega Show is a group of tins containing sequin mixes for those projects that need an extra bit of sparkle! These color mixes coordinate with the jars and kits above, so you can mix and match to create the perfect look for any project.
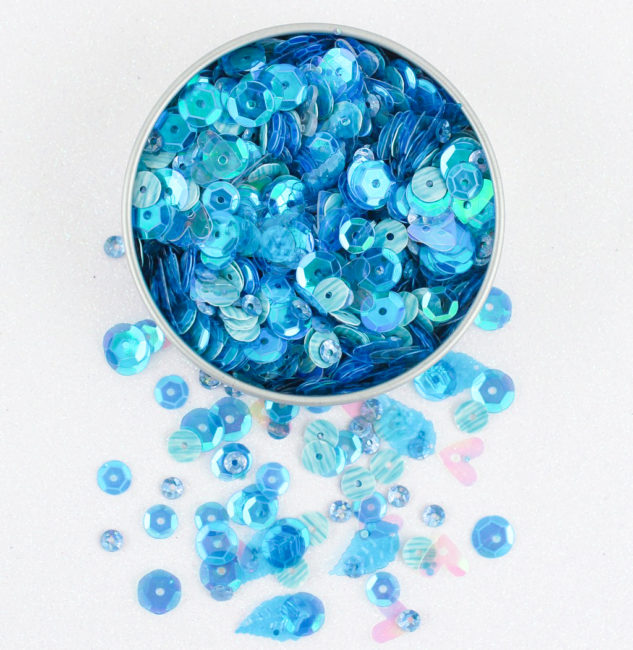
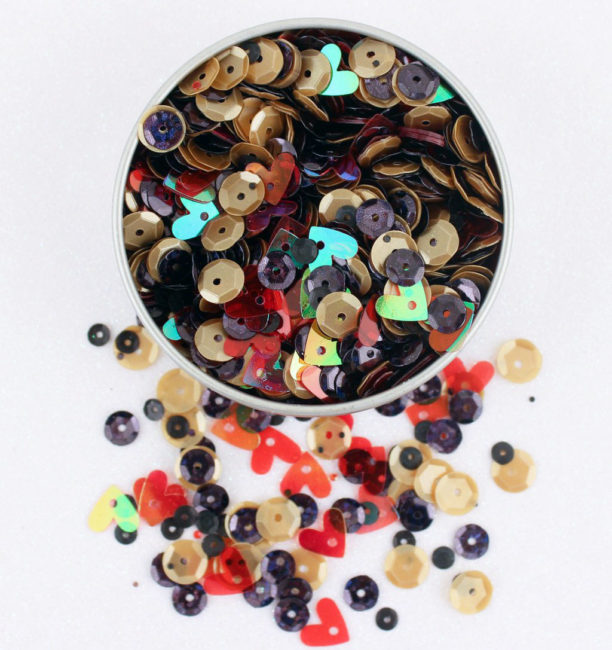
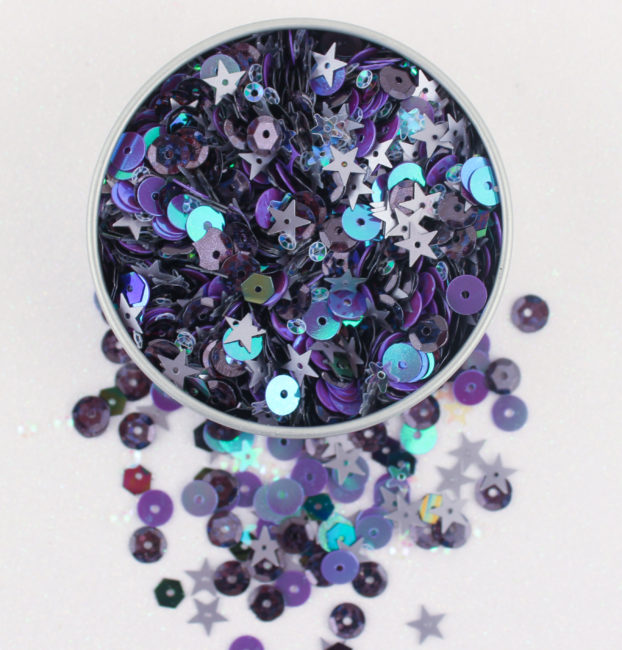
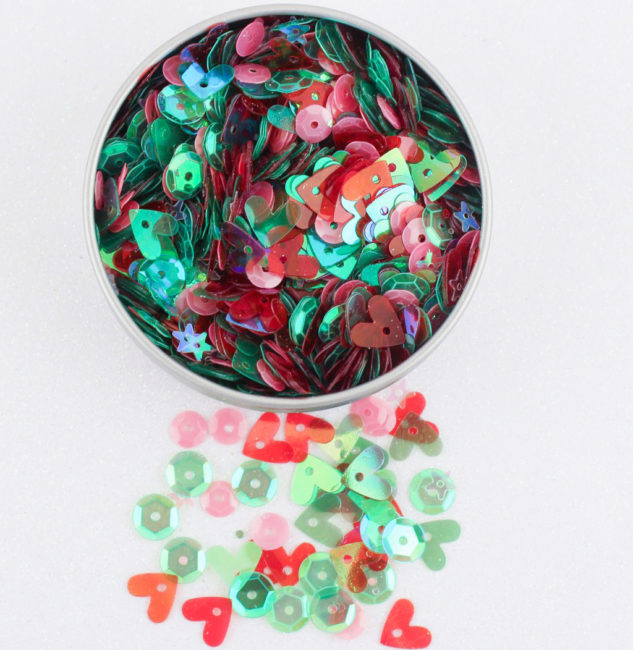
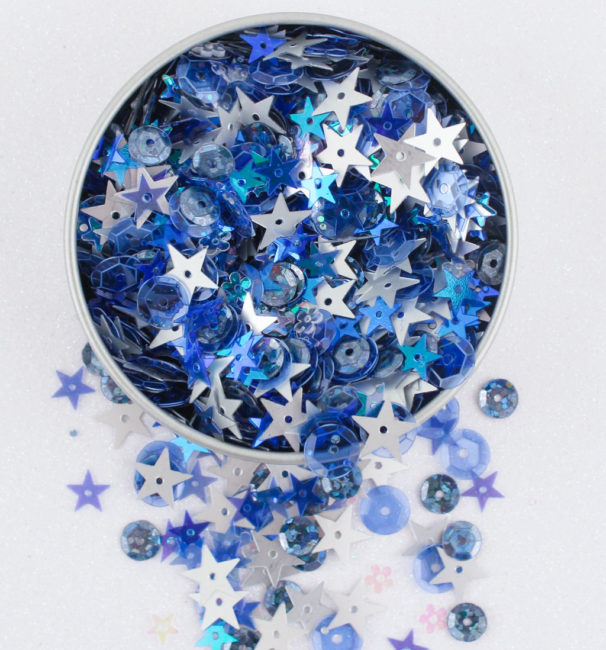
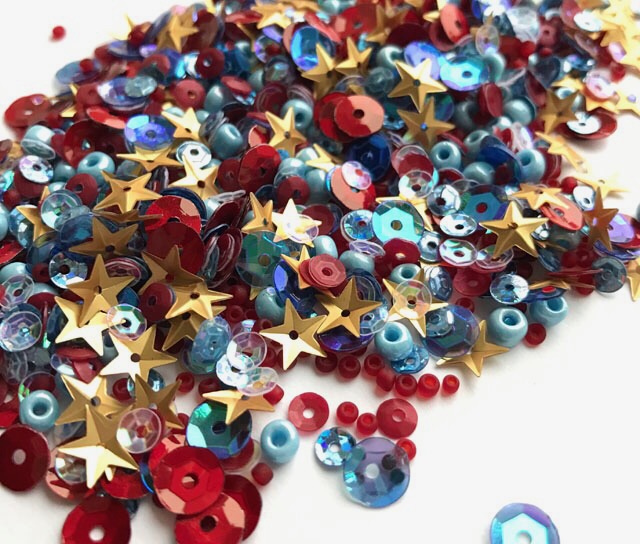
Below (clockwise from top left): Reds, Yellow, Pastels, Neutrals, Bold & Bright, Blues
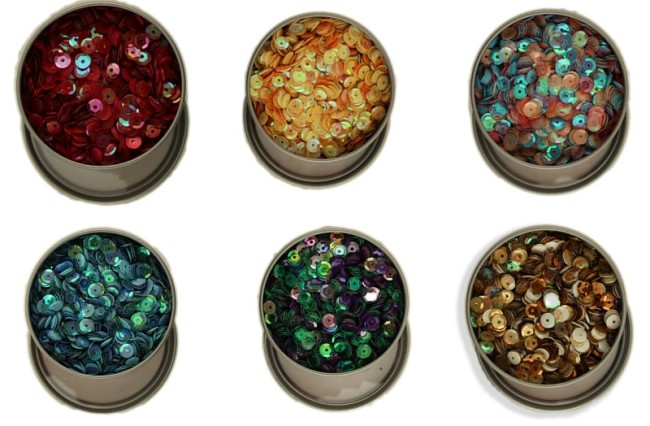
The tins contain 40 grams of sequins, and will MSRP for $2.99.
All of these fantastic 28 Lilac Lane items will ship to stores from Buttons Galore in February 2016!
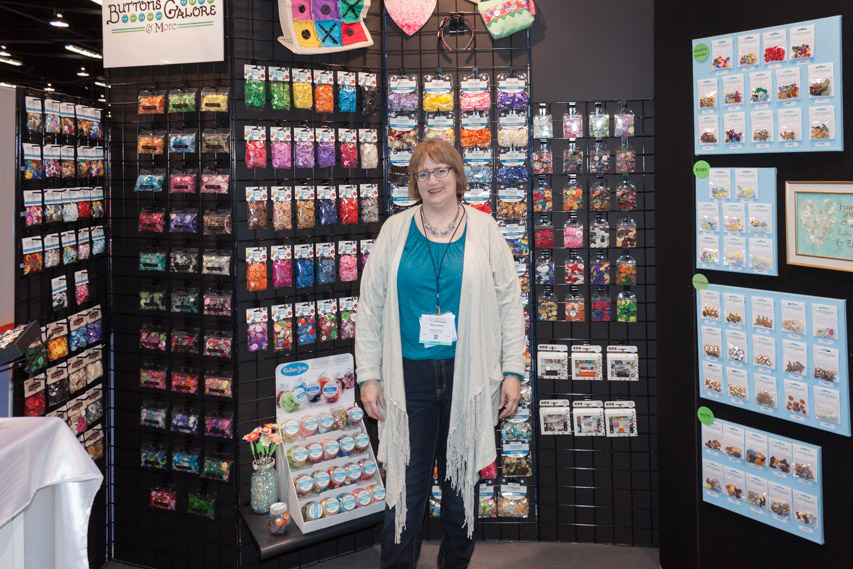
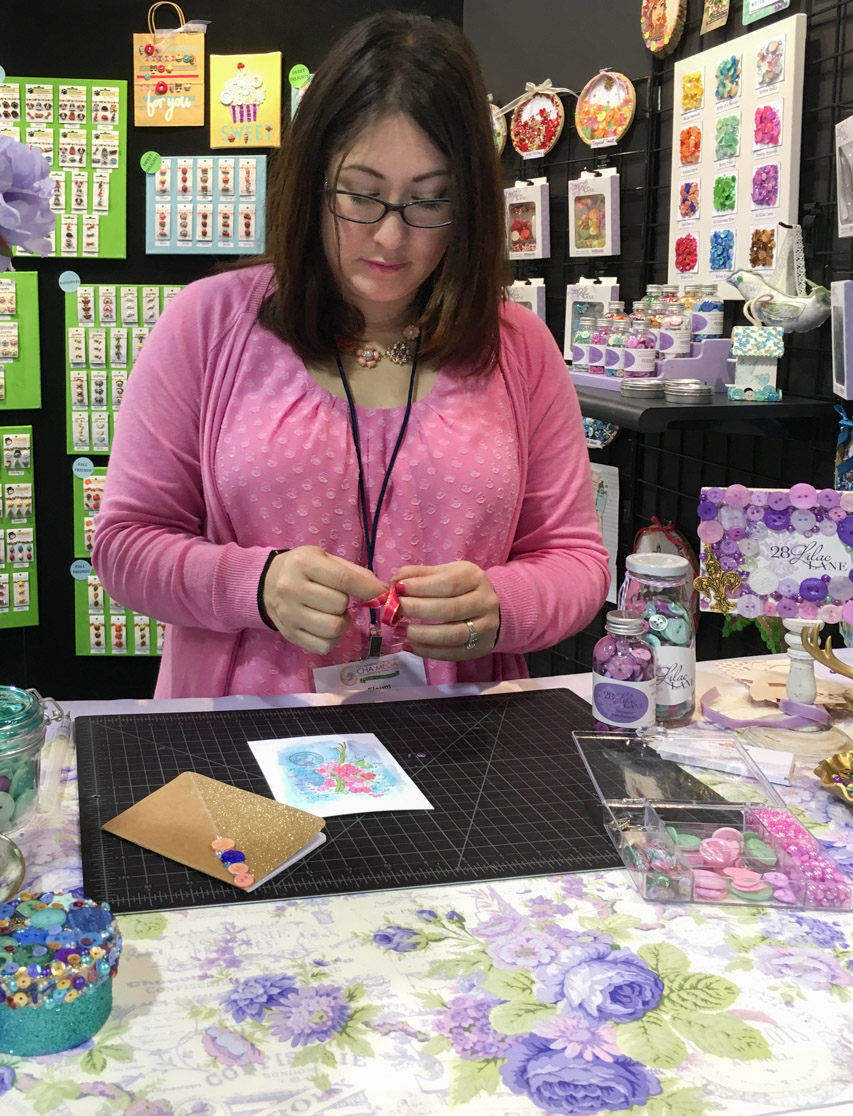
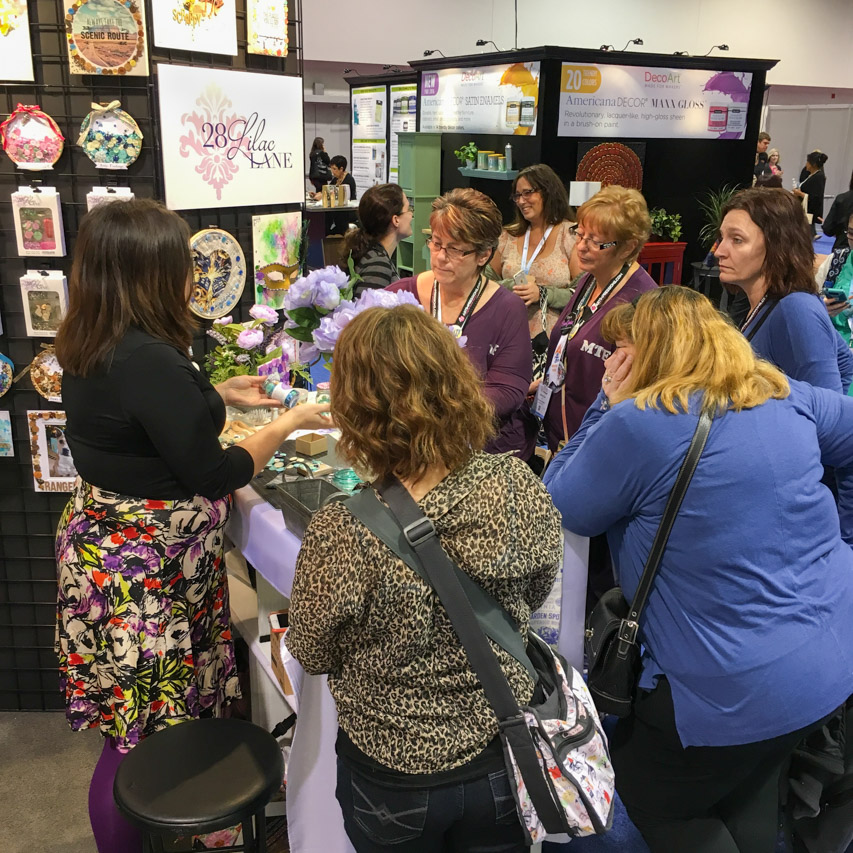
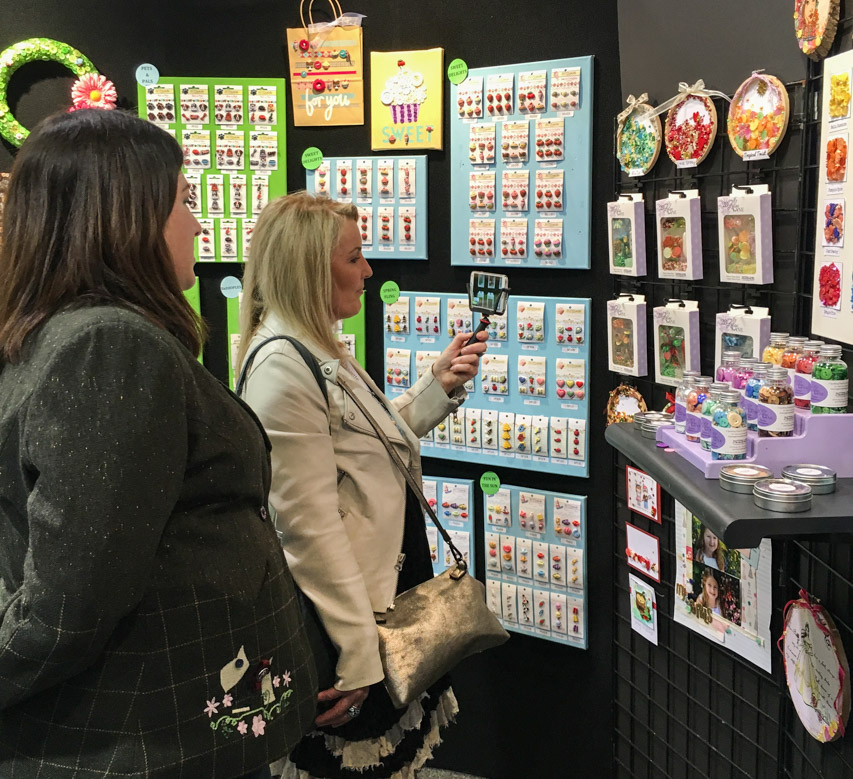
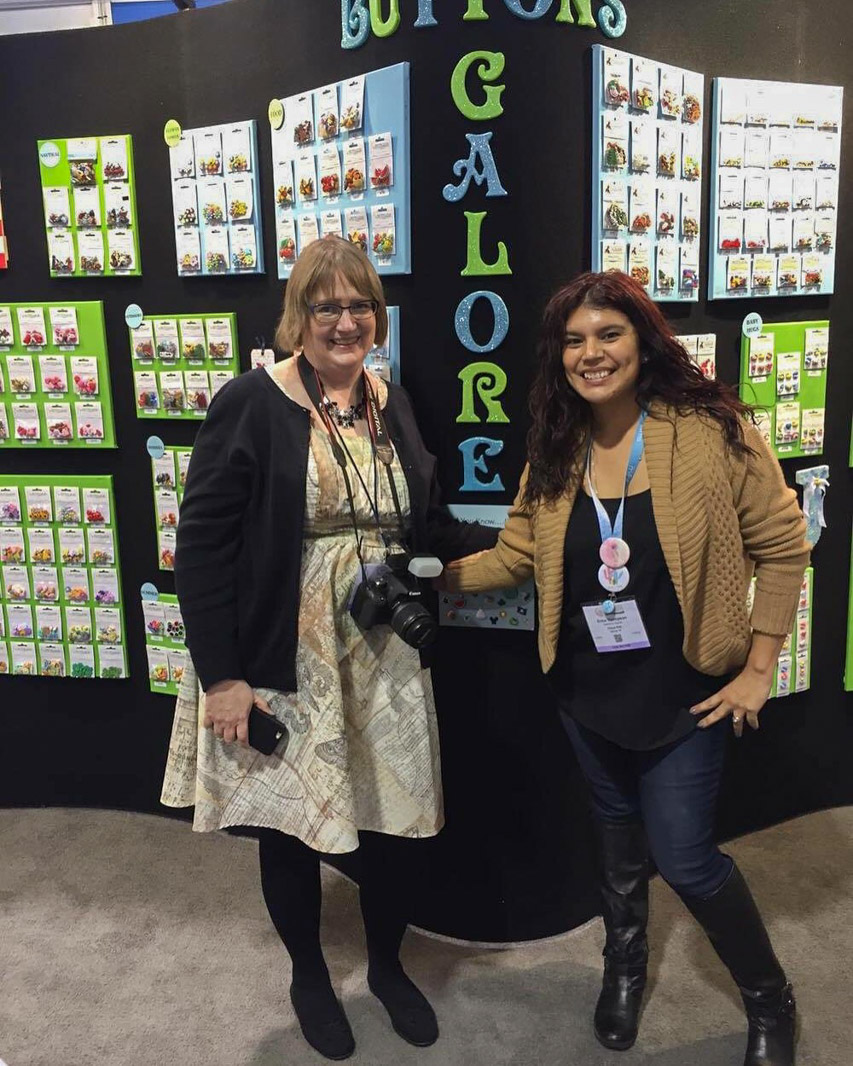
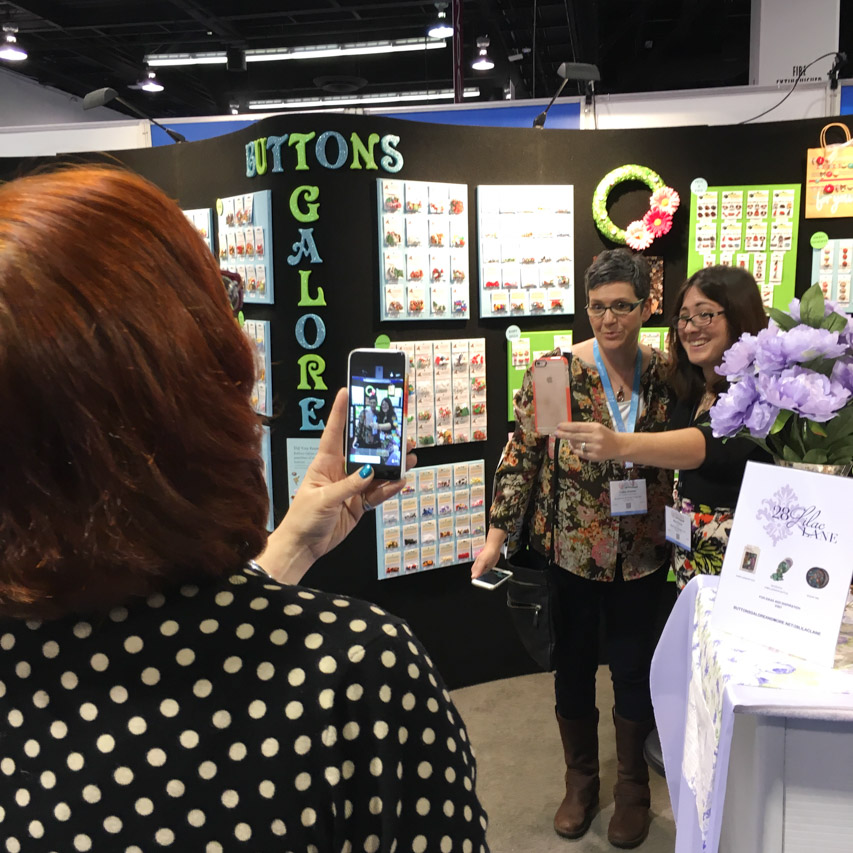
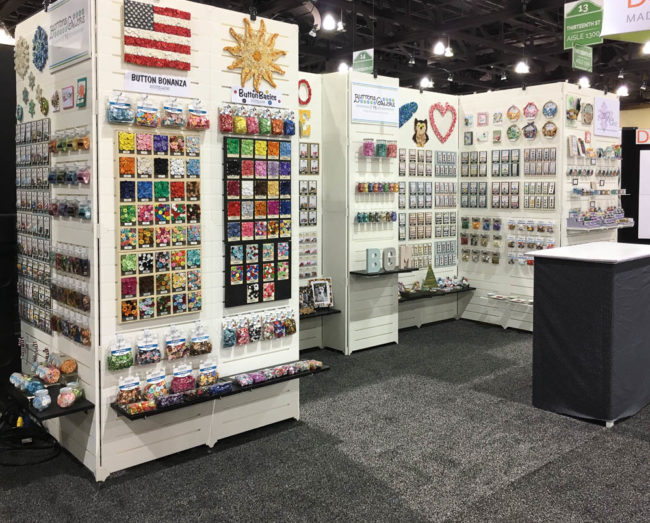
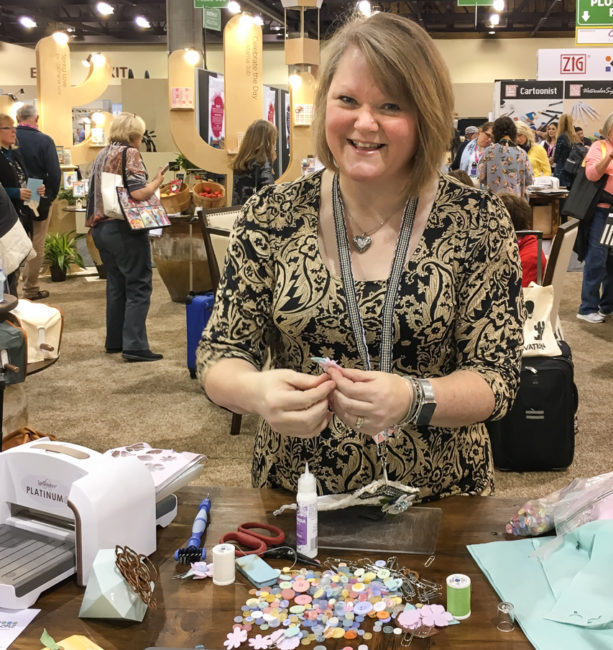
Stop by our booth (#1809) at the CHA Mega Show 2016 to see the products anytime during show hours. May Flaum will be doing demos with the 28 Lilac Lane products on Sat/Sun/Mon from 10-11:30am and 4-5pm.
A few lucky attendees of May’s demos are going to take home a CHA exclusive 28 Lilac Lane button mix…don’t miss your chance to be front and center for her demos in booth #1809!
Also, be sure to follow us on Instagram and Facebook to get live updates from the show, including booth project photos and a peek at May’s demos!


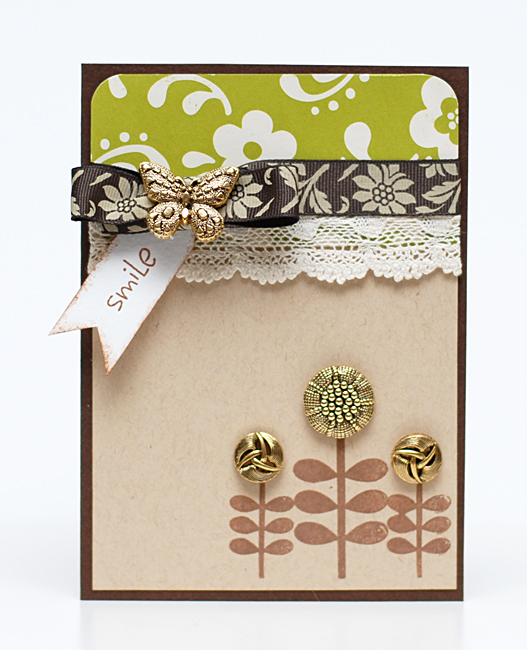
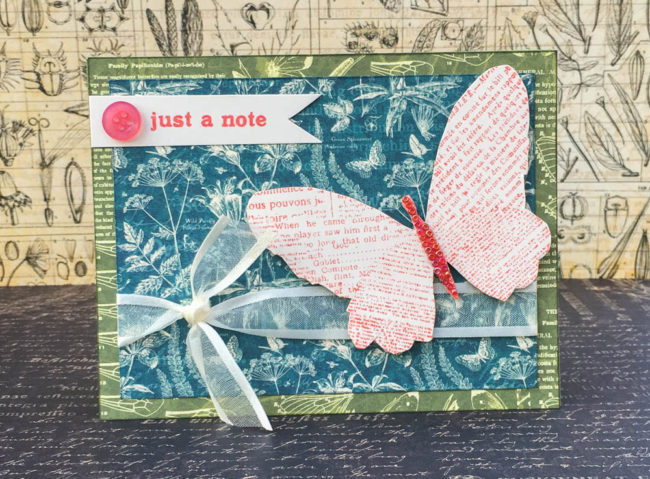
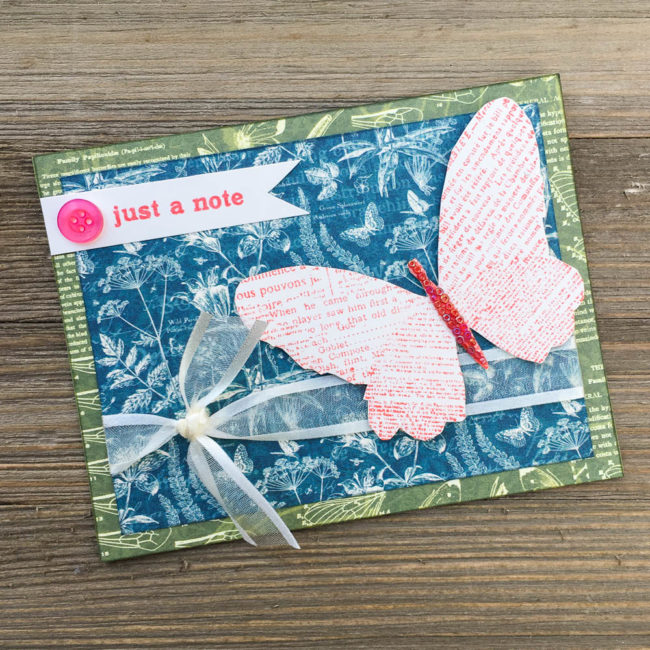
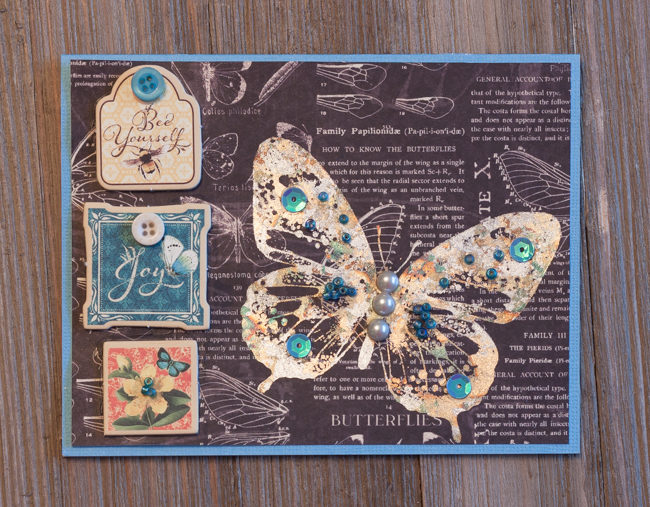
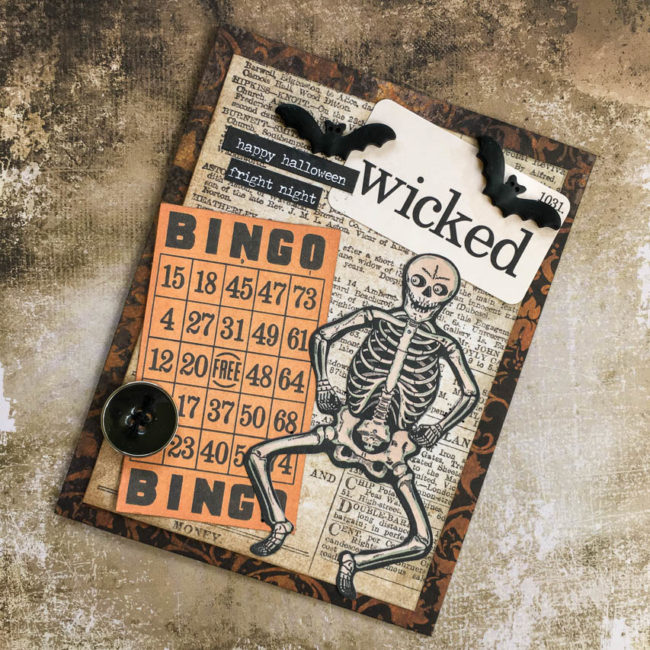
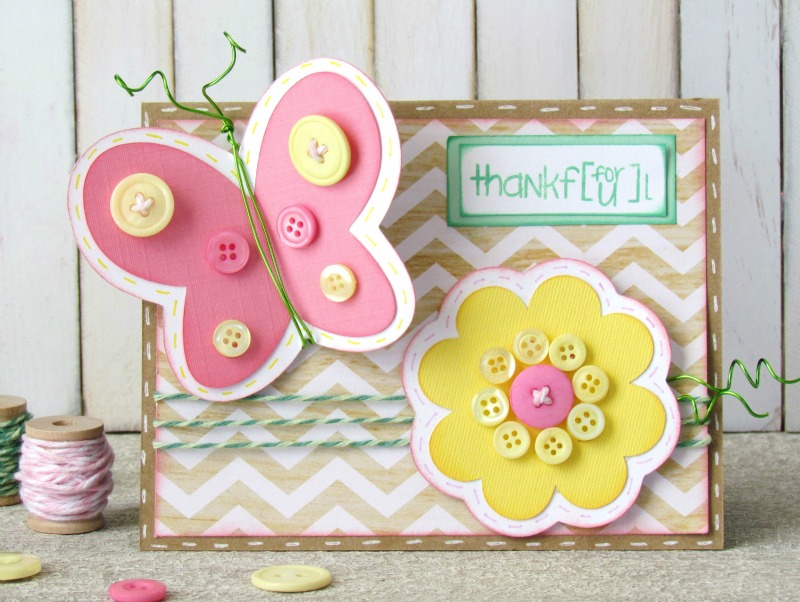
 To start making this butterfly card, cut a piece of green patterned paper to 4.25″ by 5.5″, ink the edges, and adhere it to the card base.
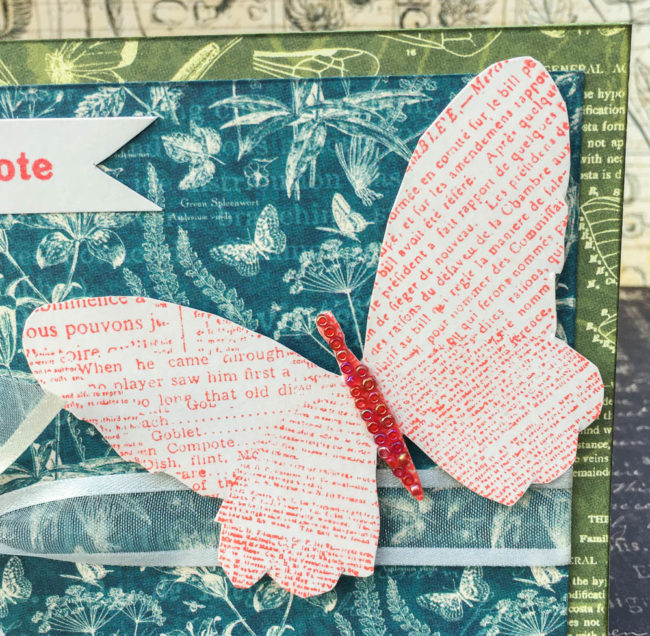


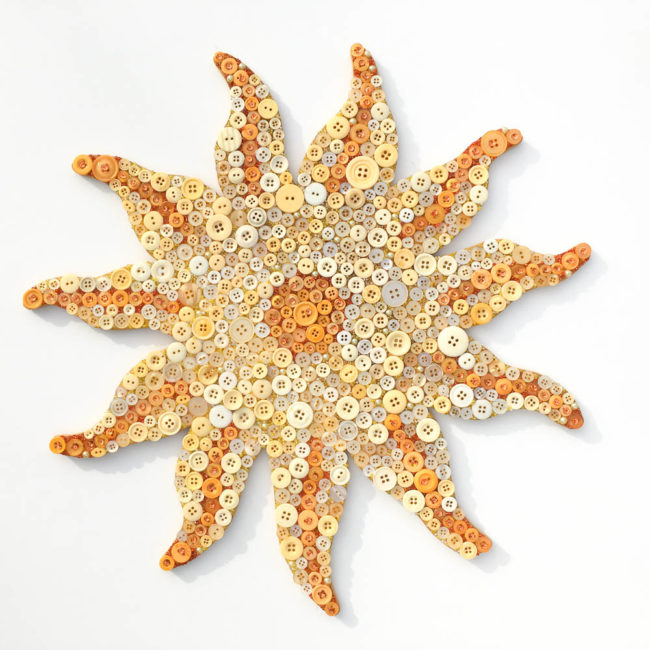
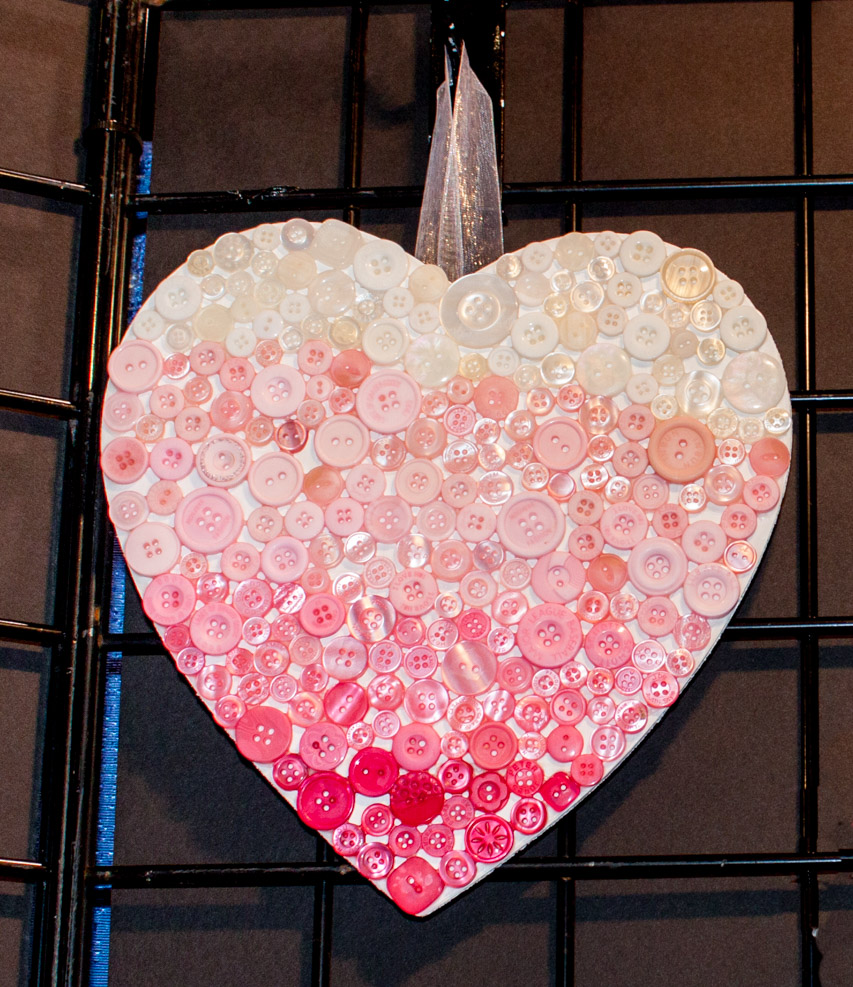
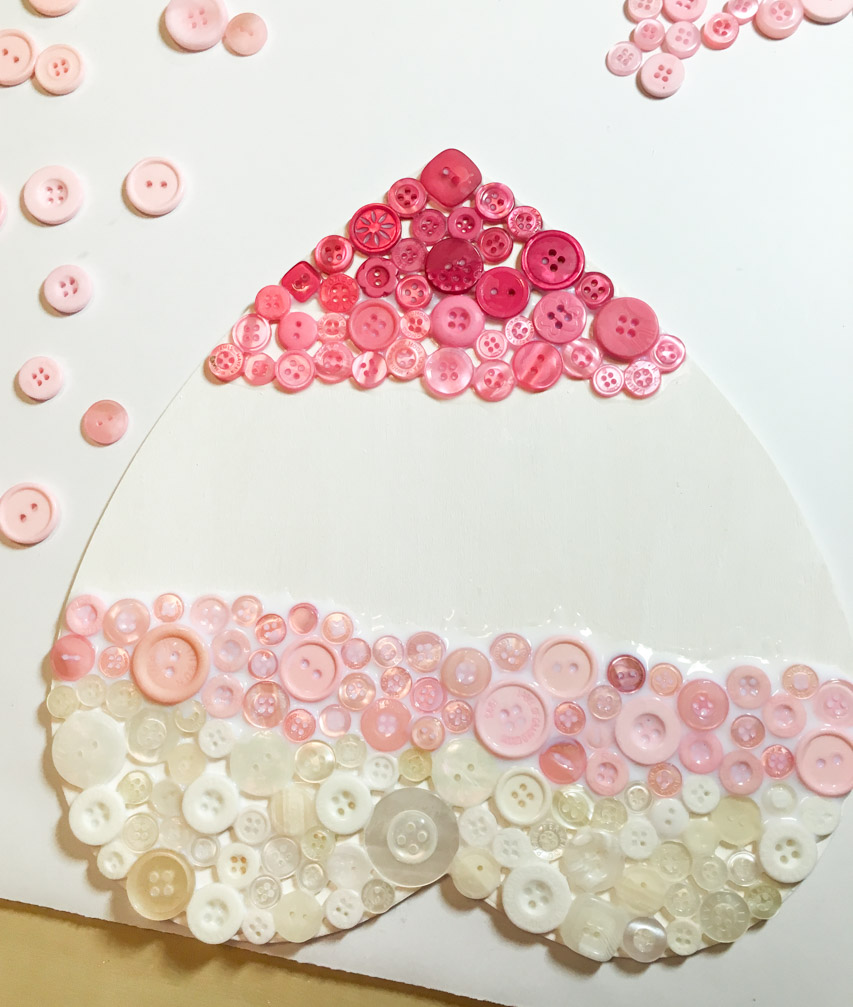
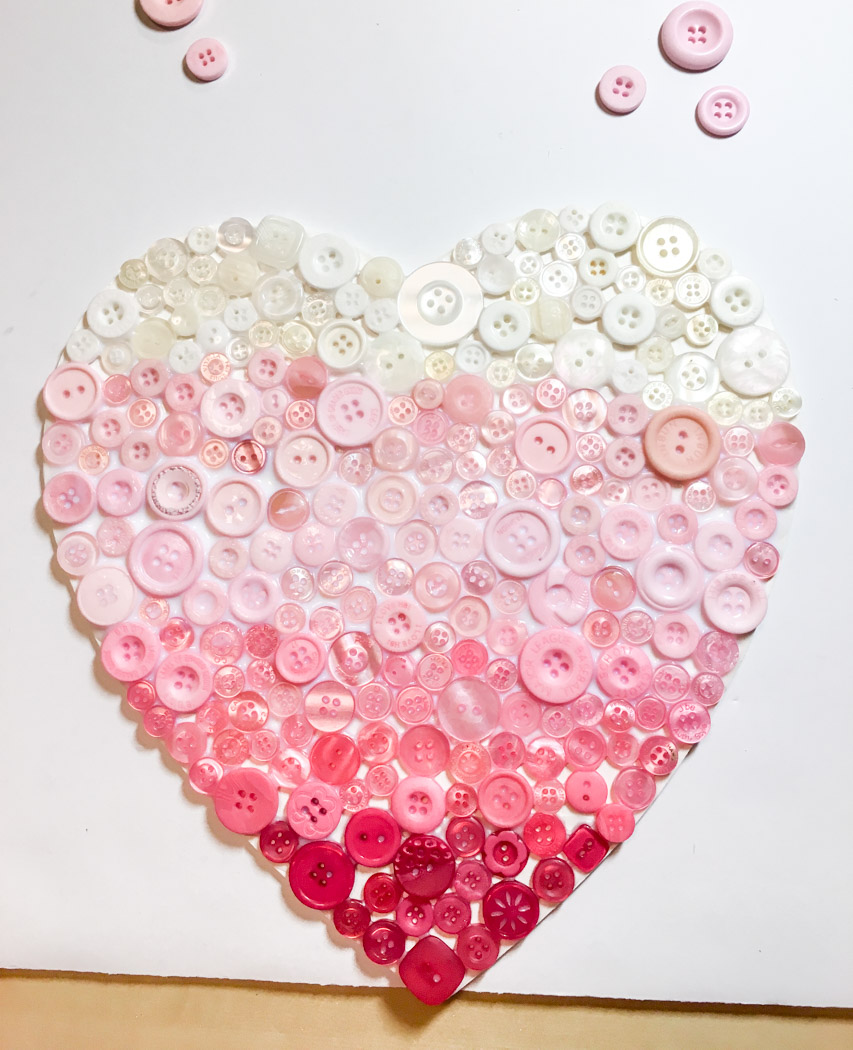
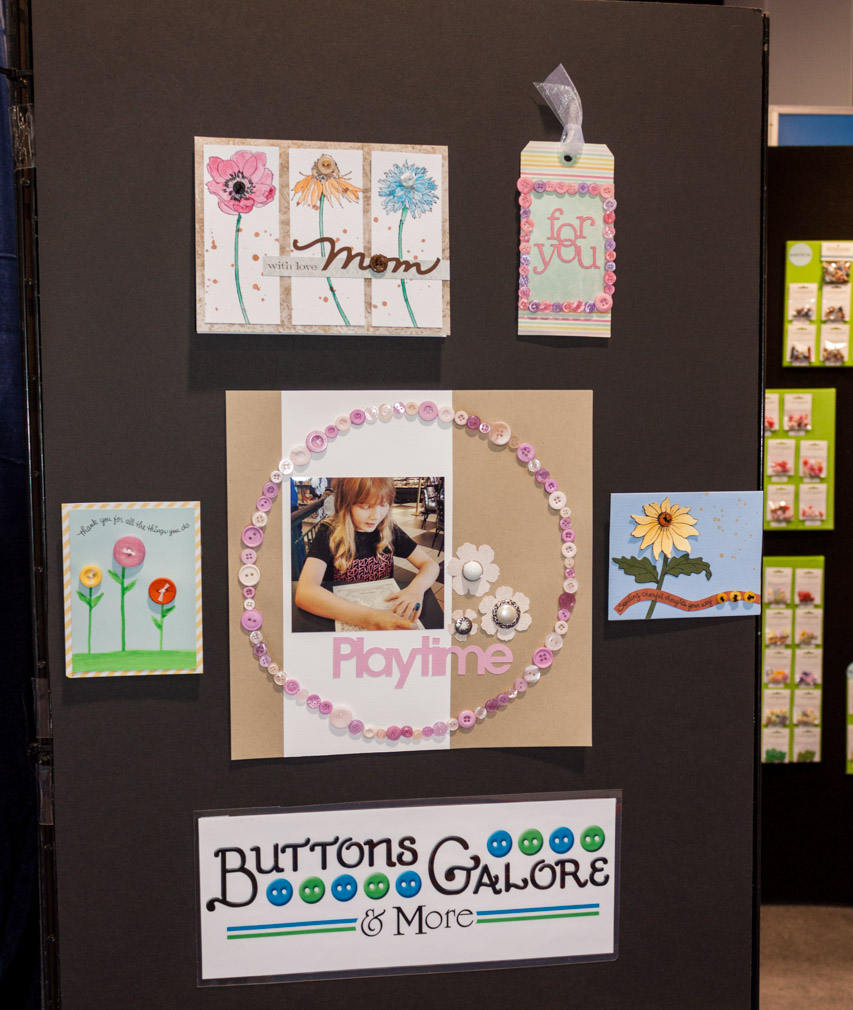
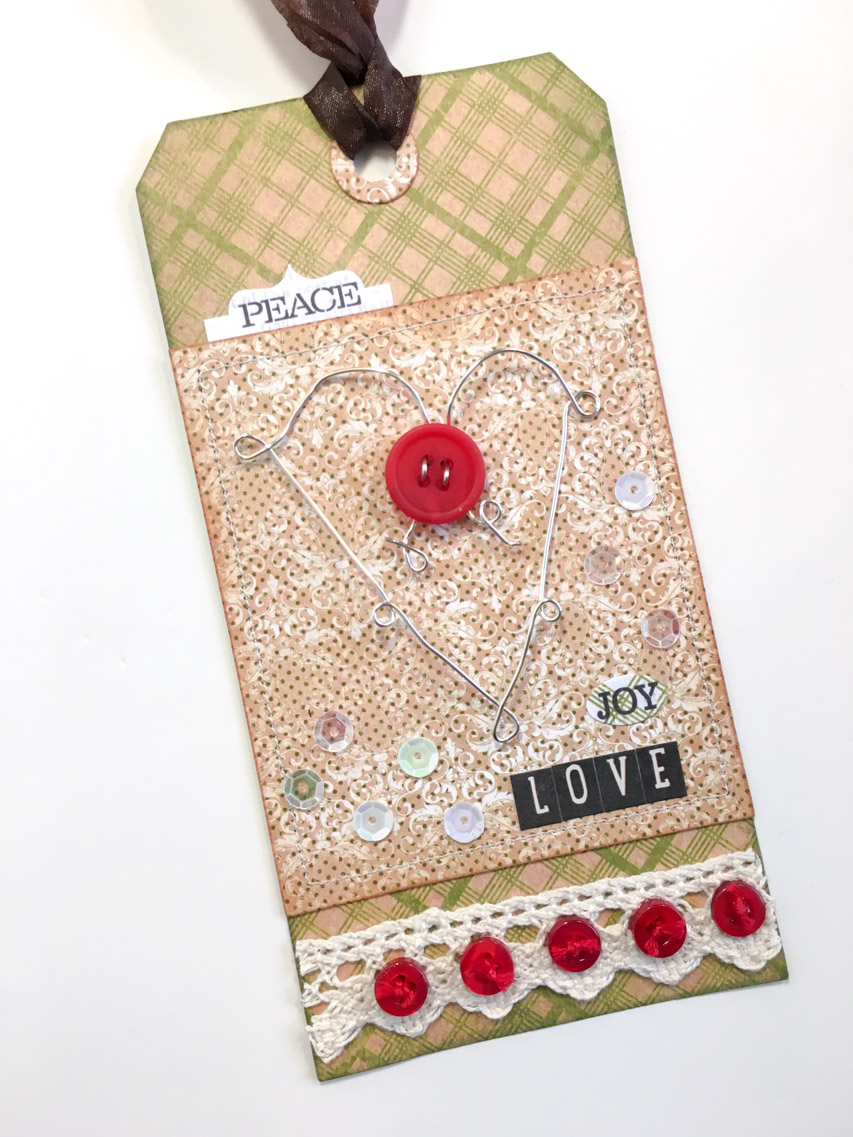
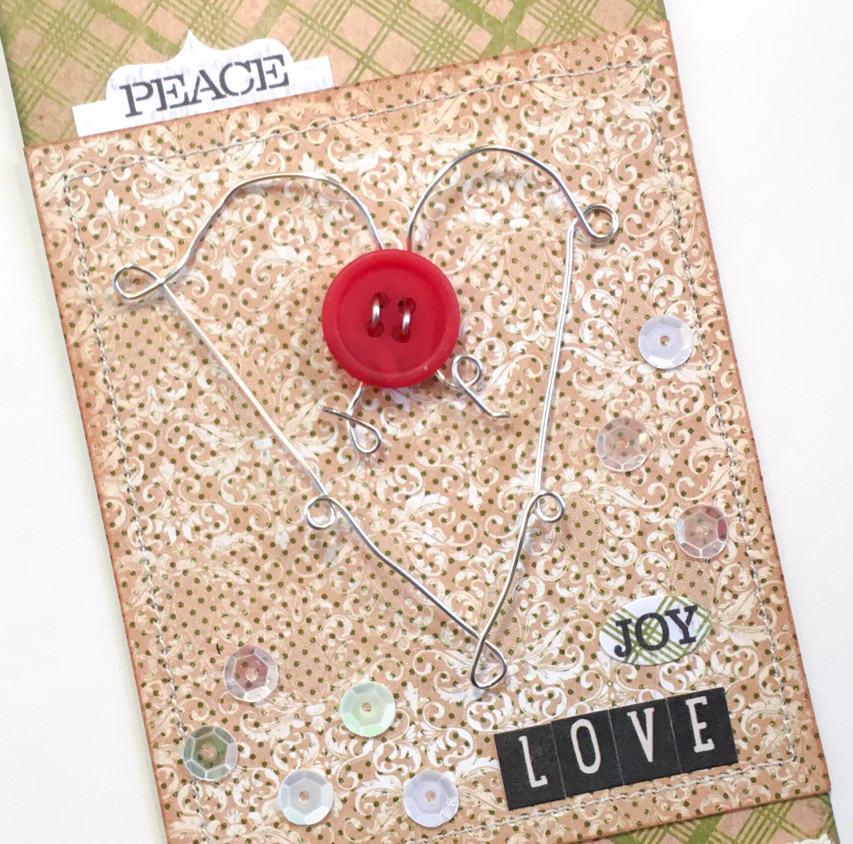
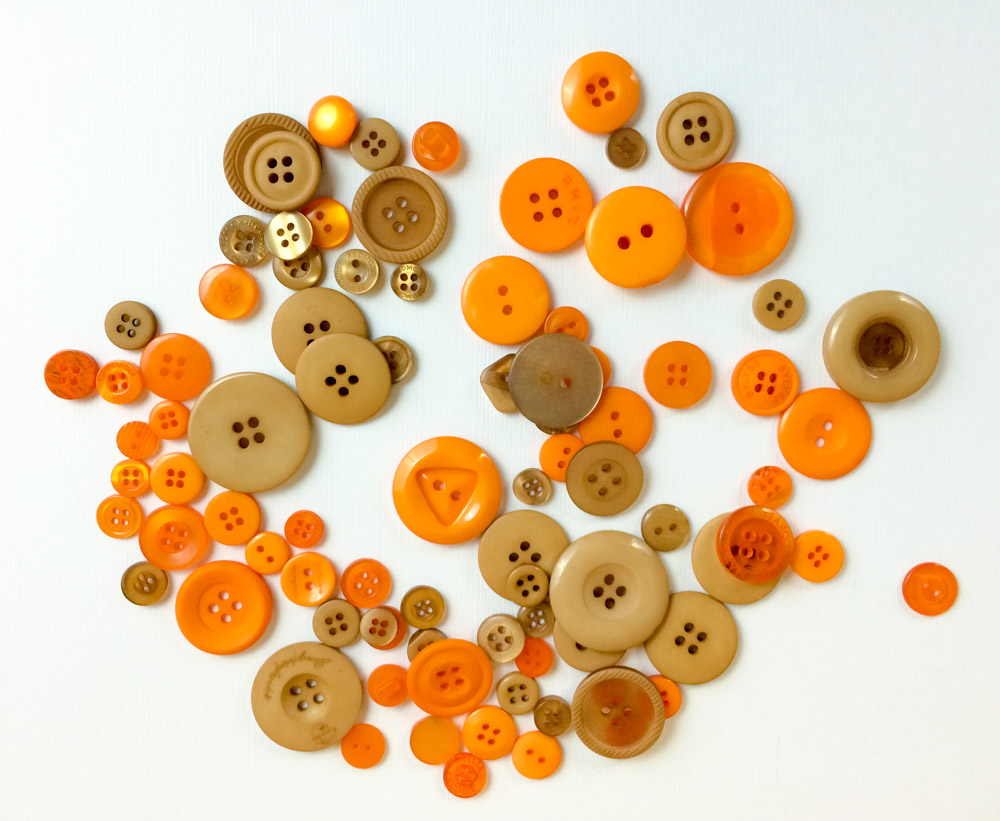
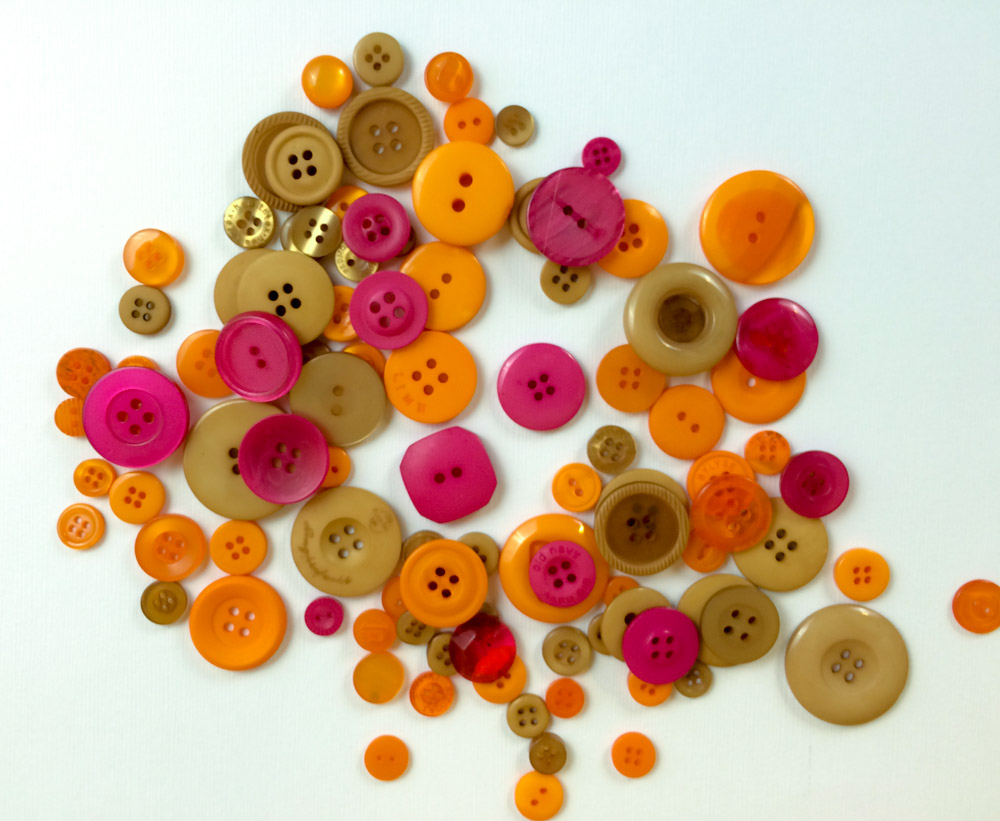
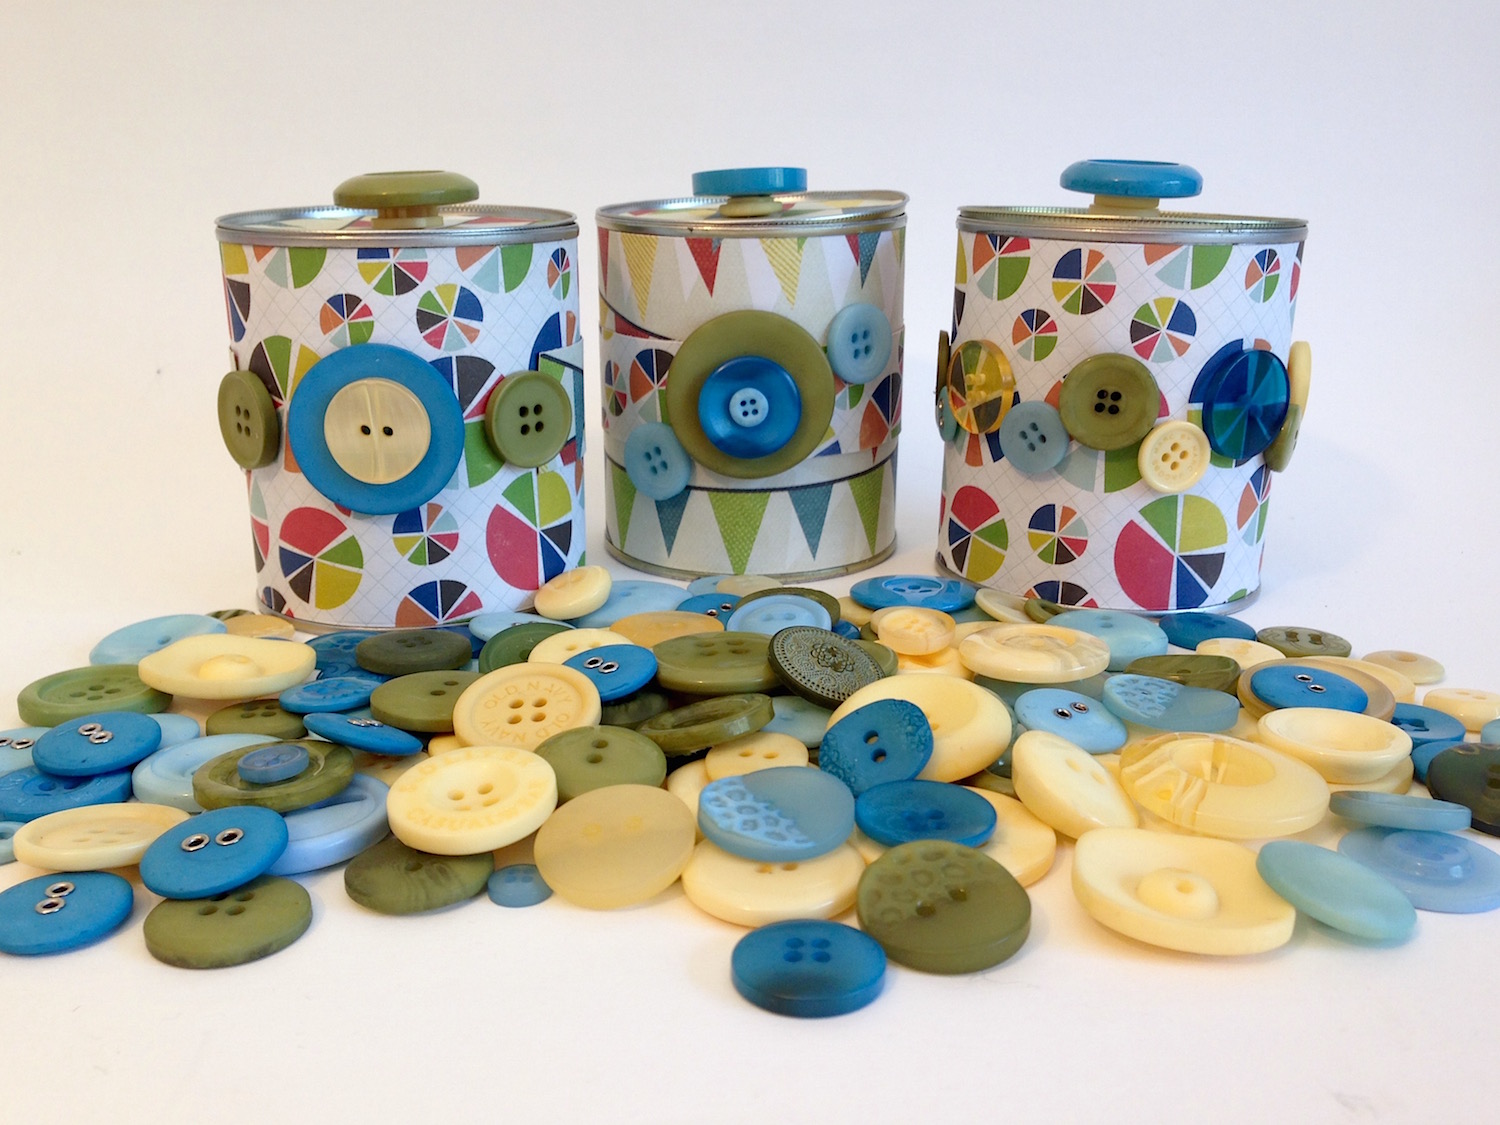
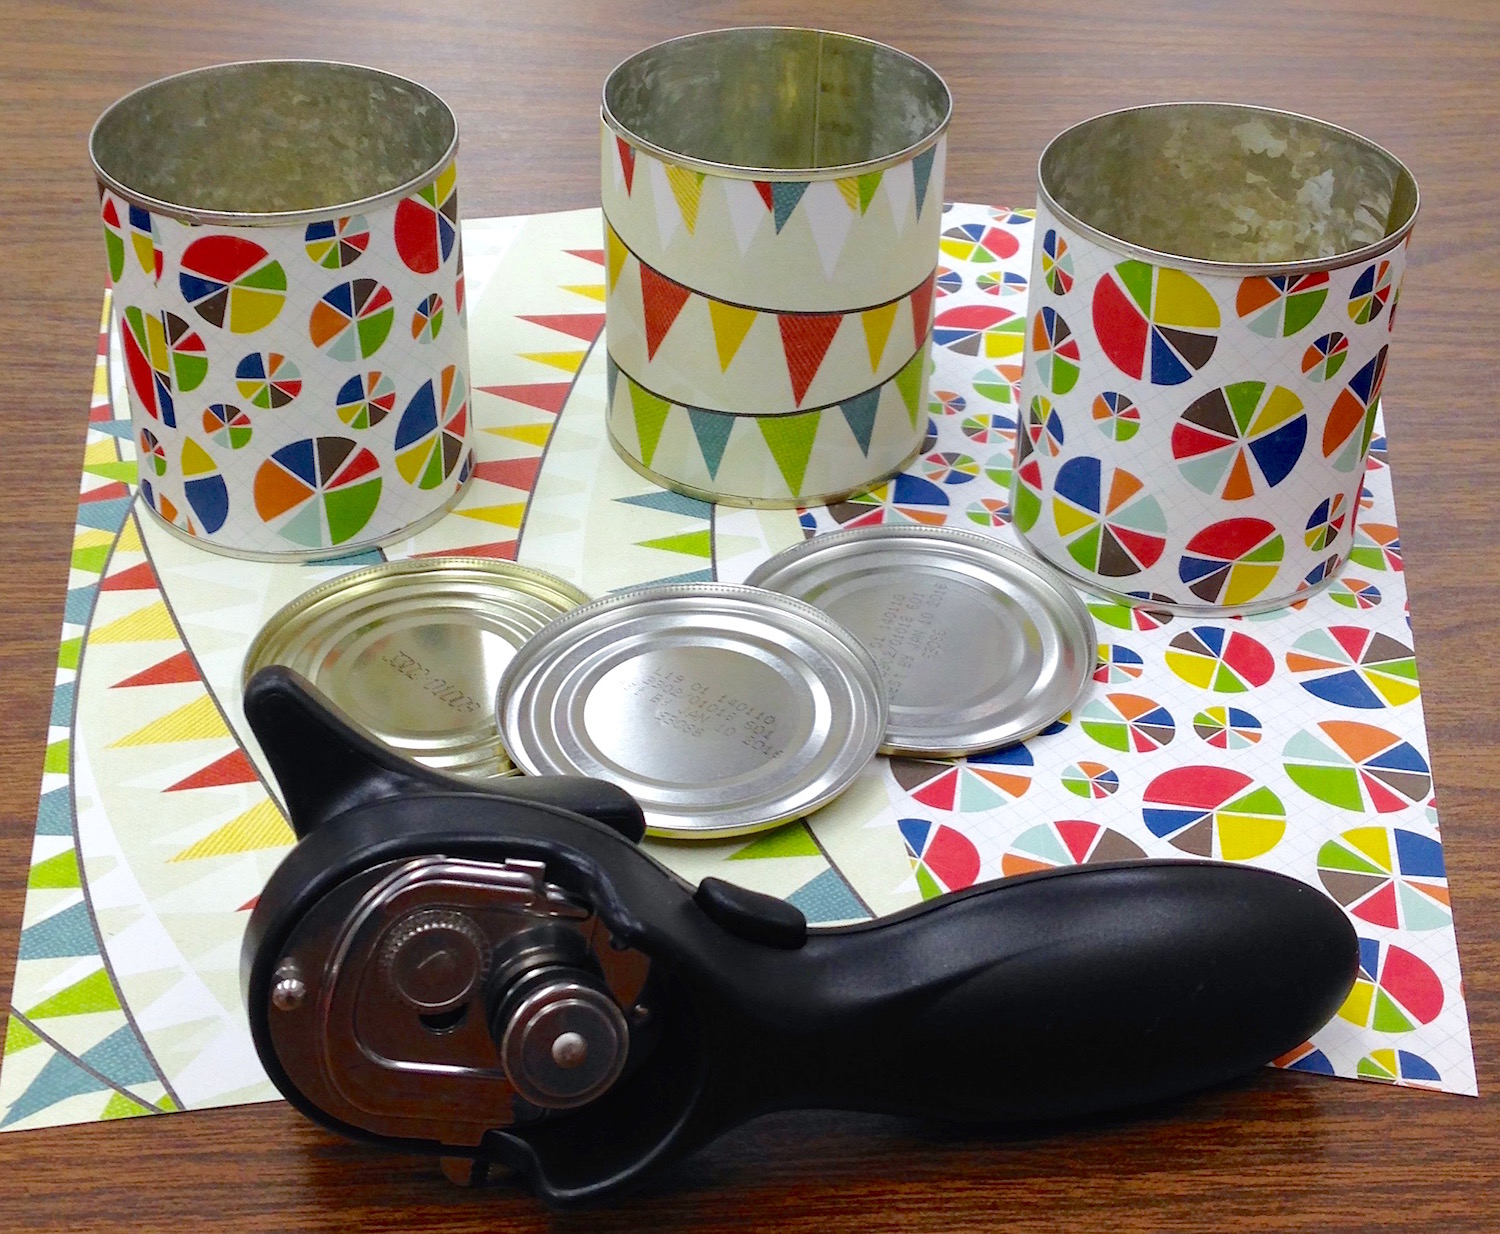
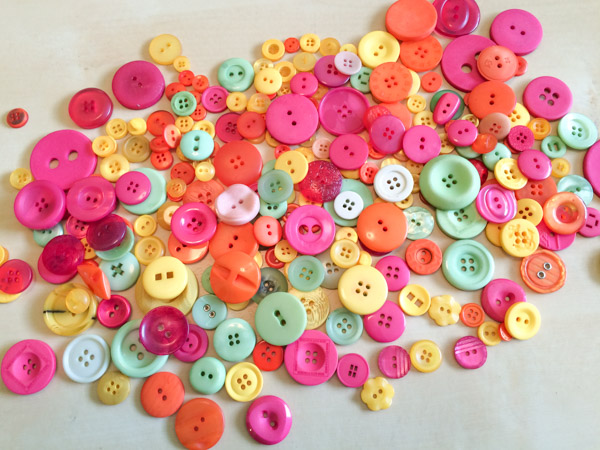
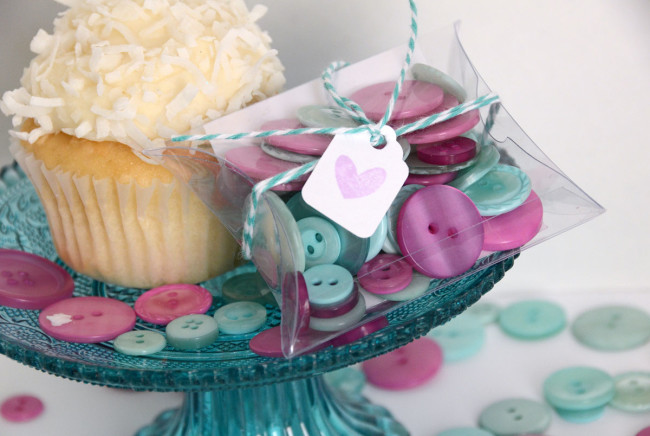
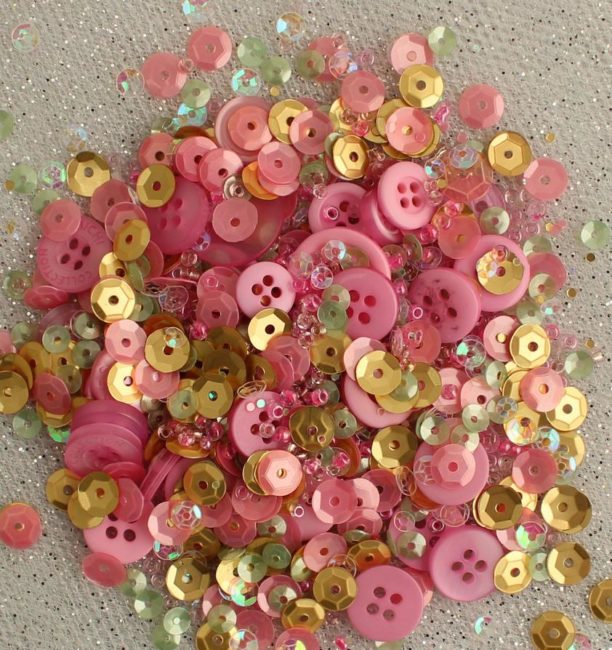
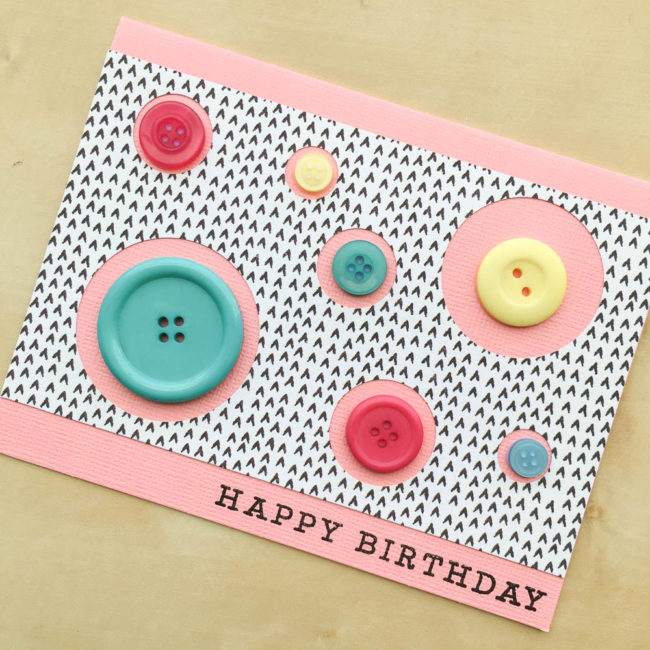
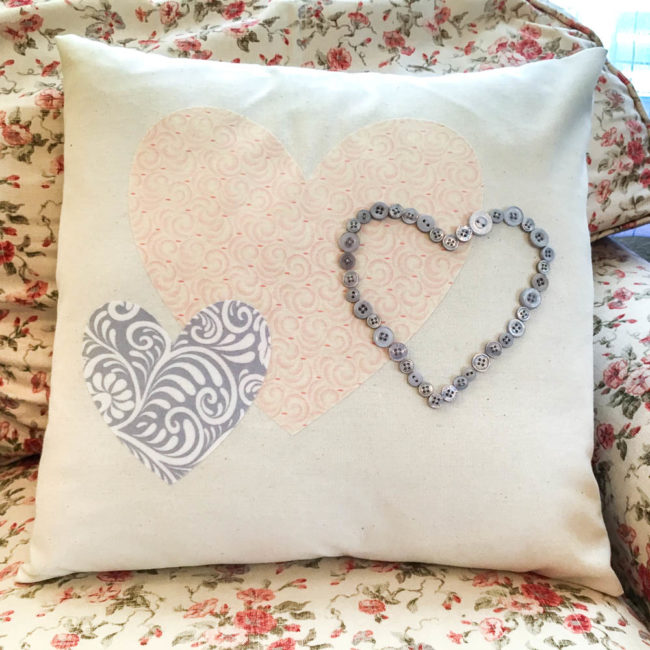
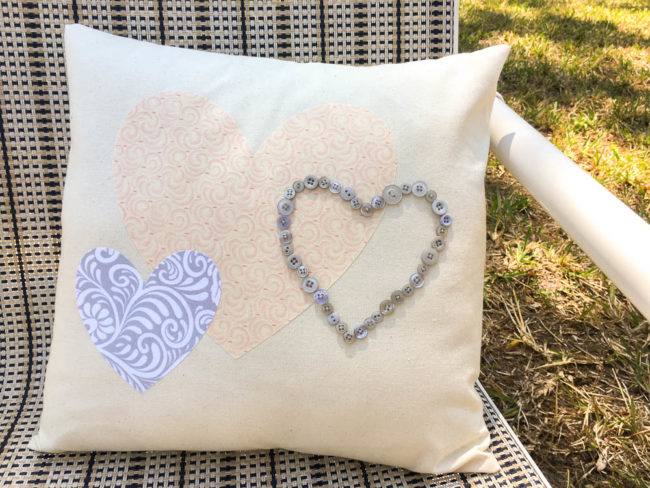
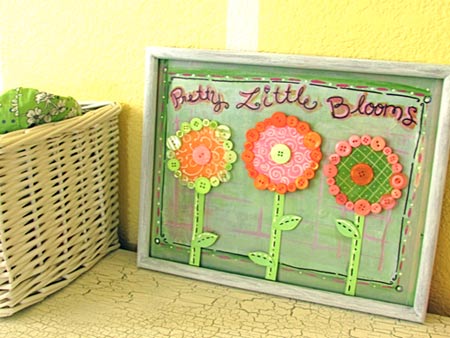
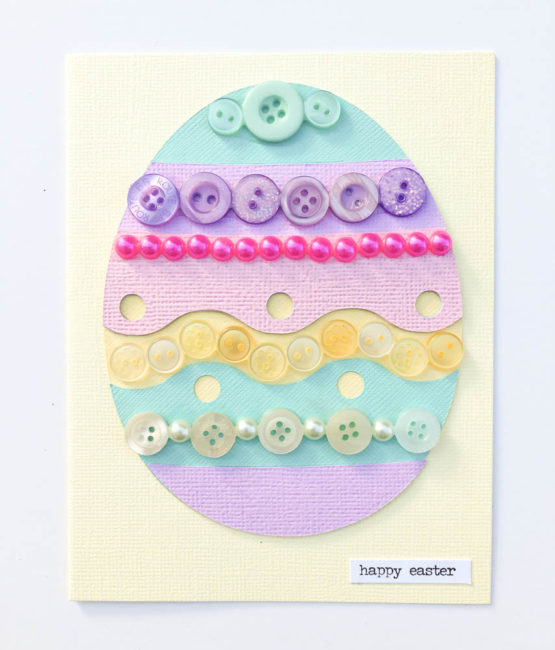
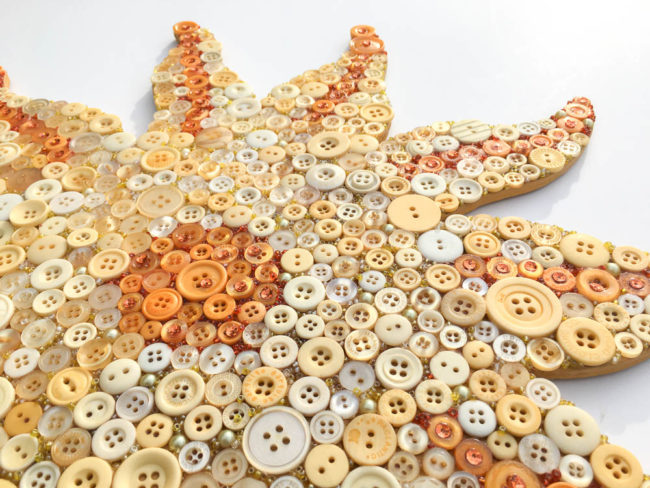
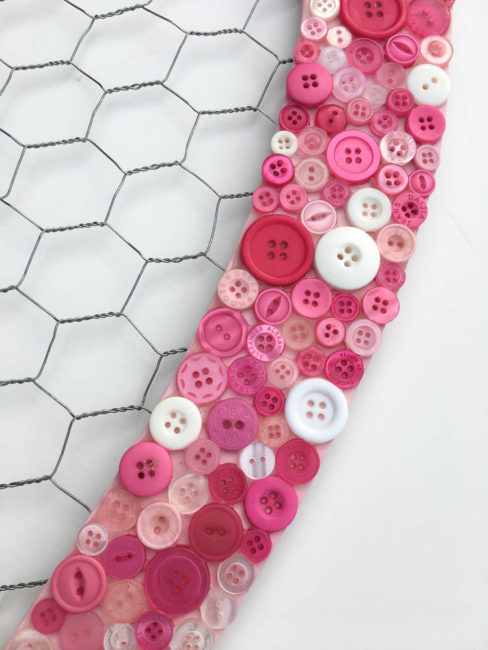
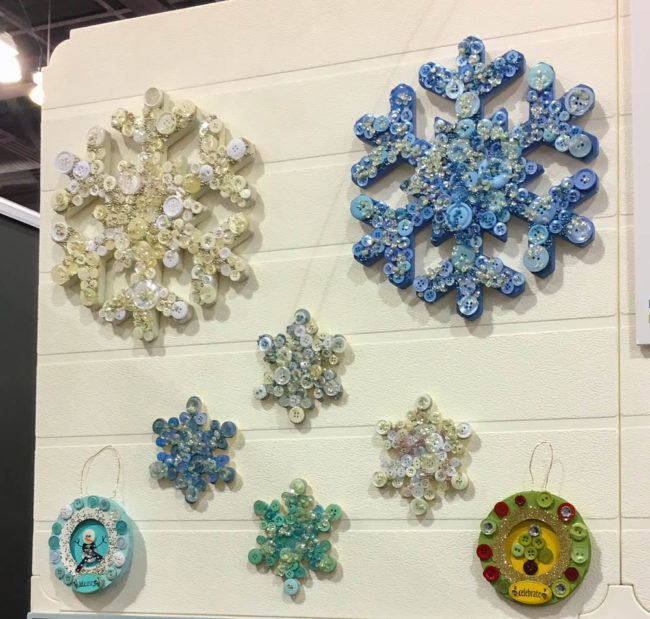
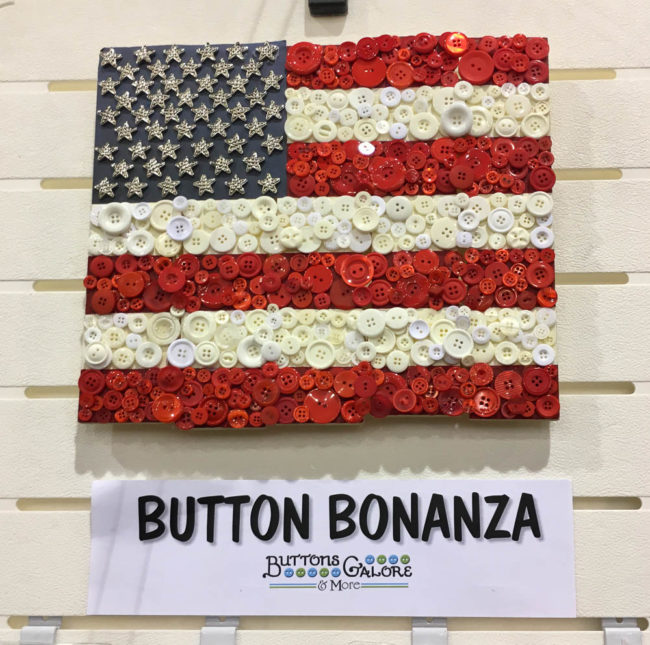
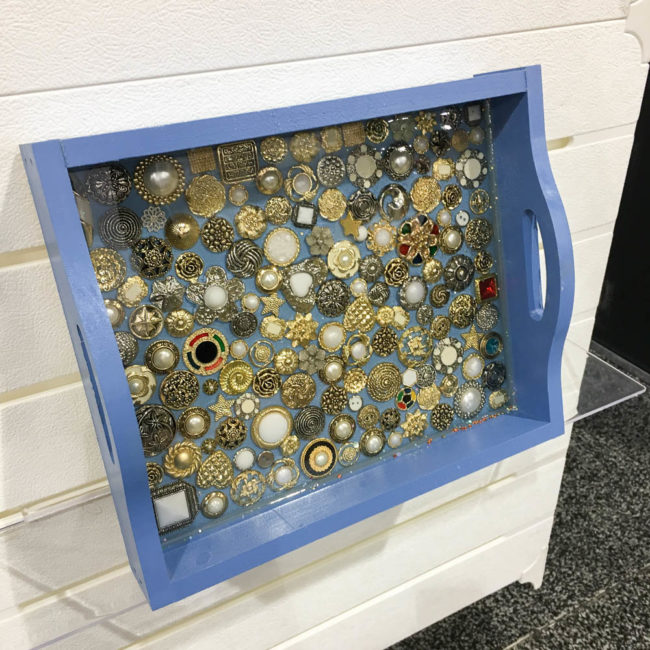
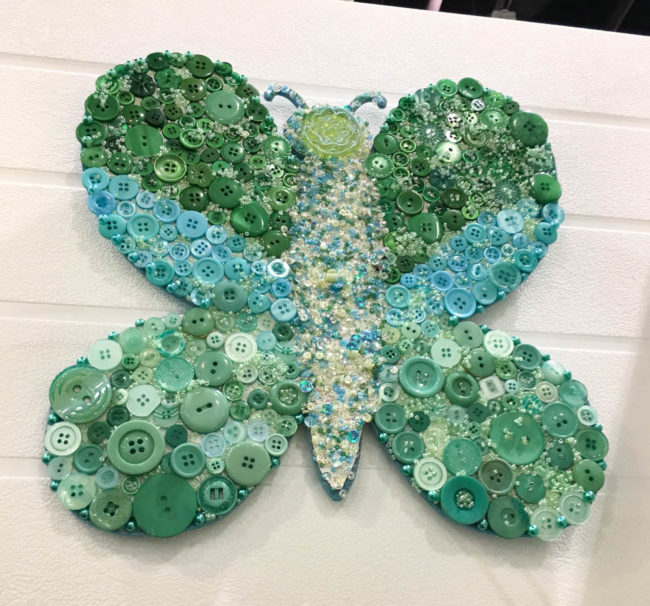
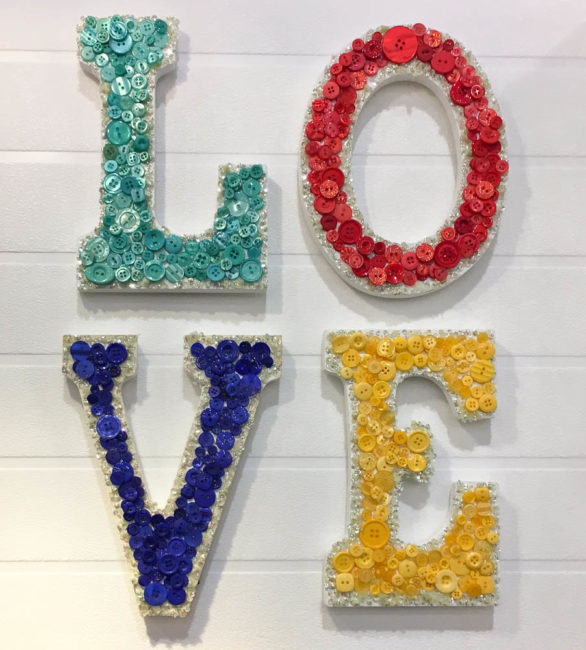
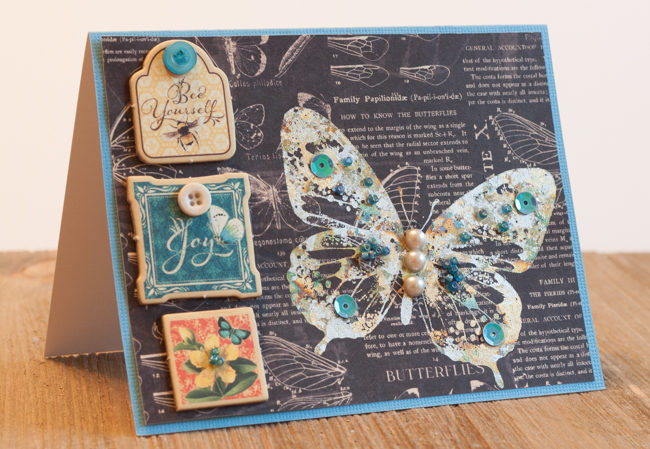
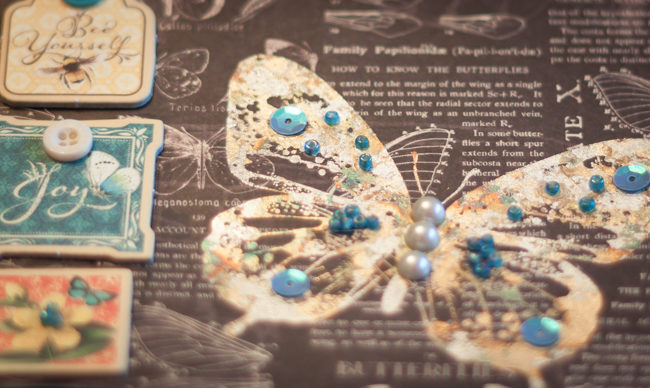
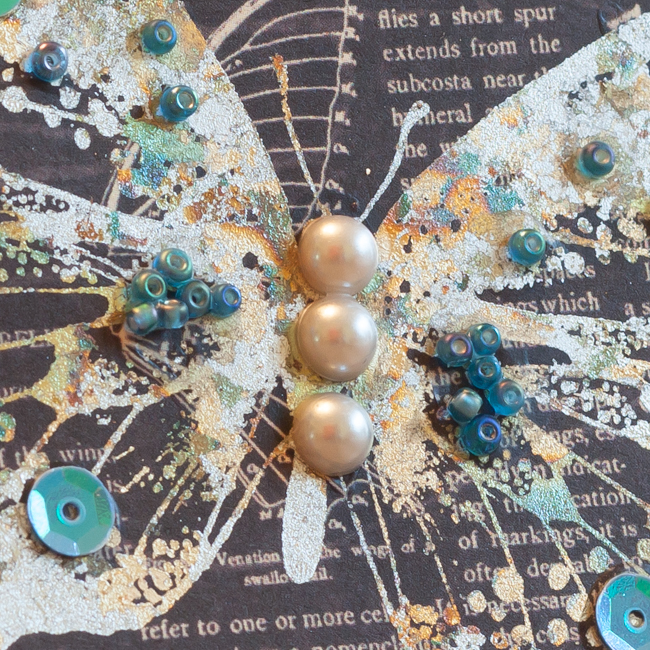
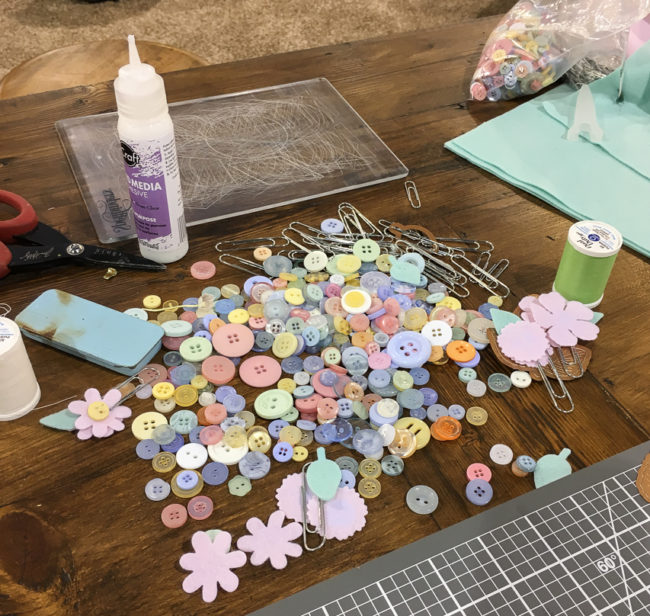
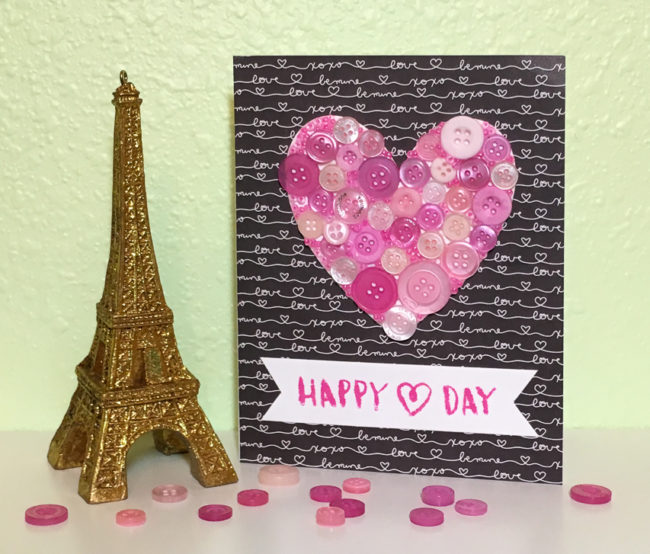
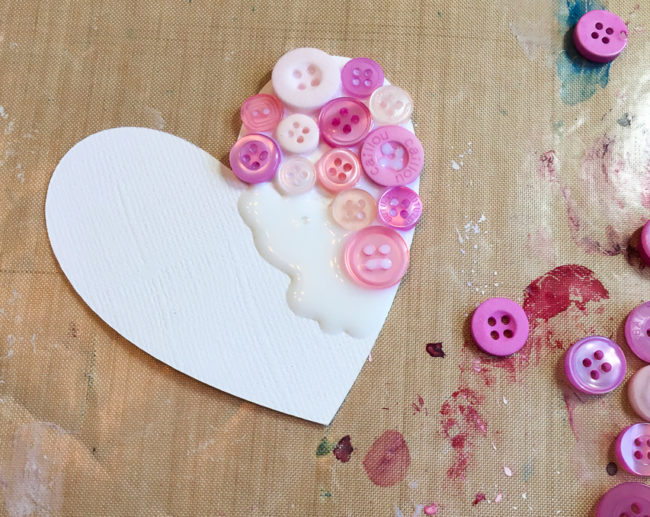
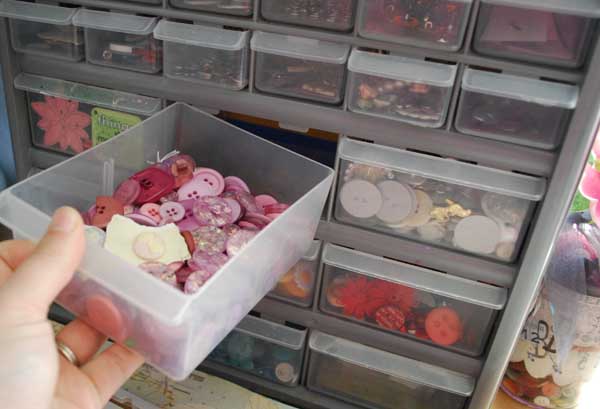
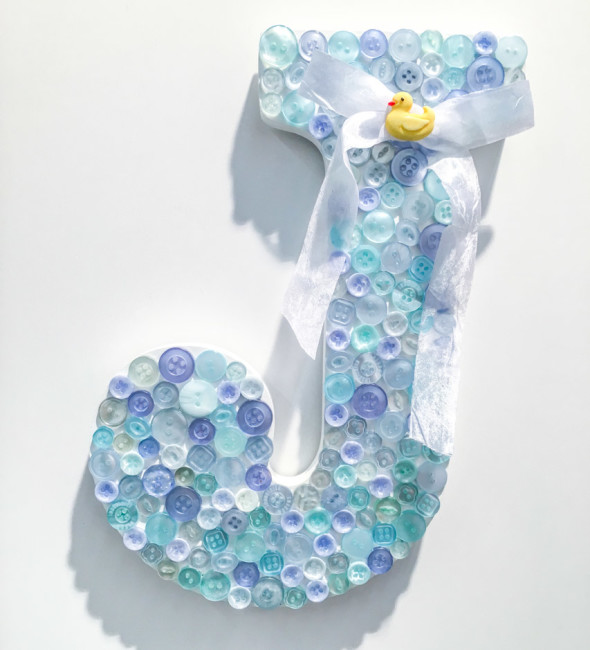
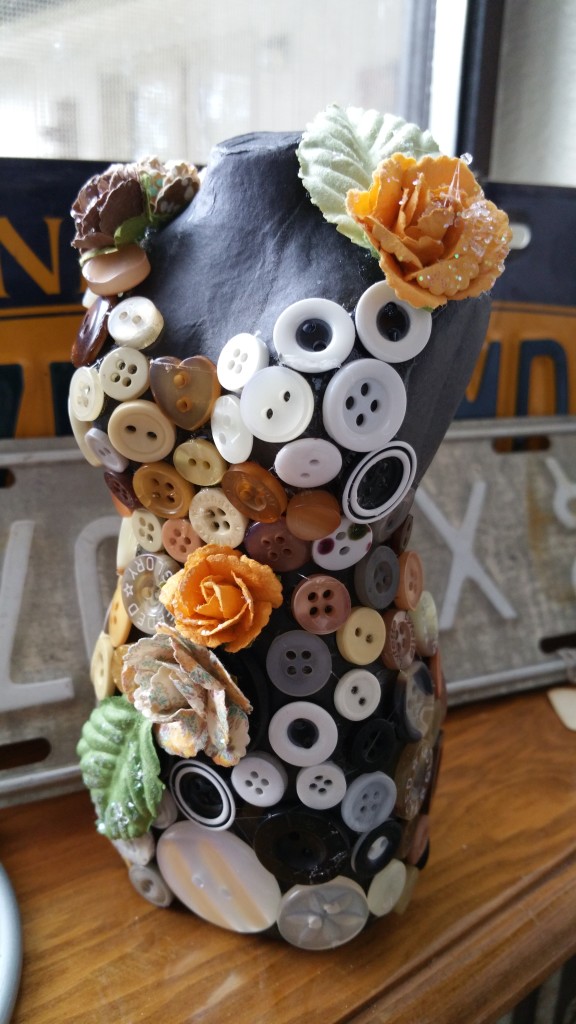
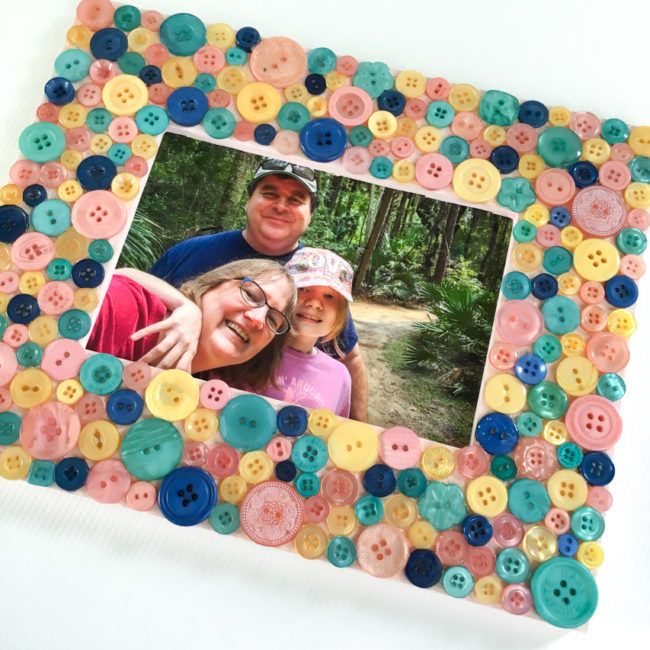
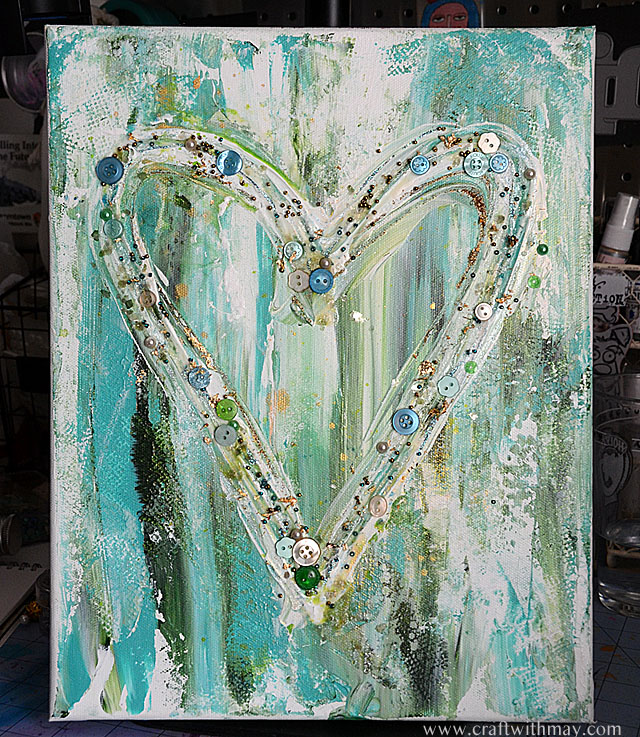
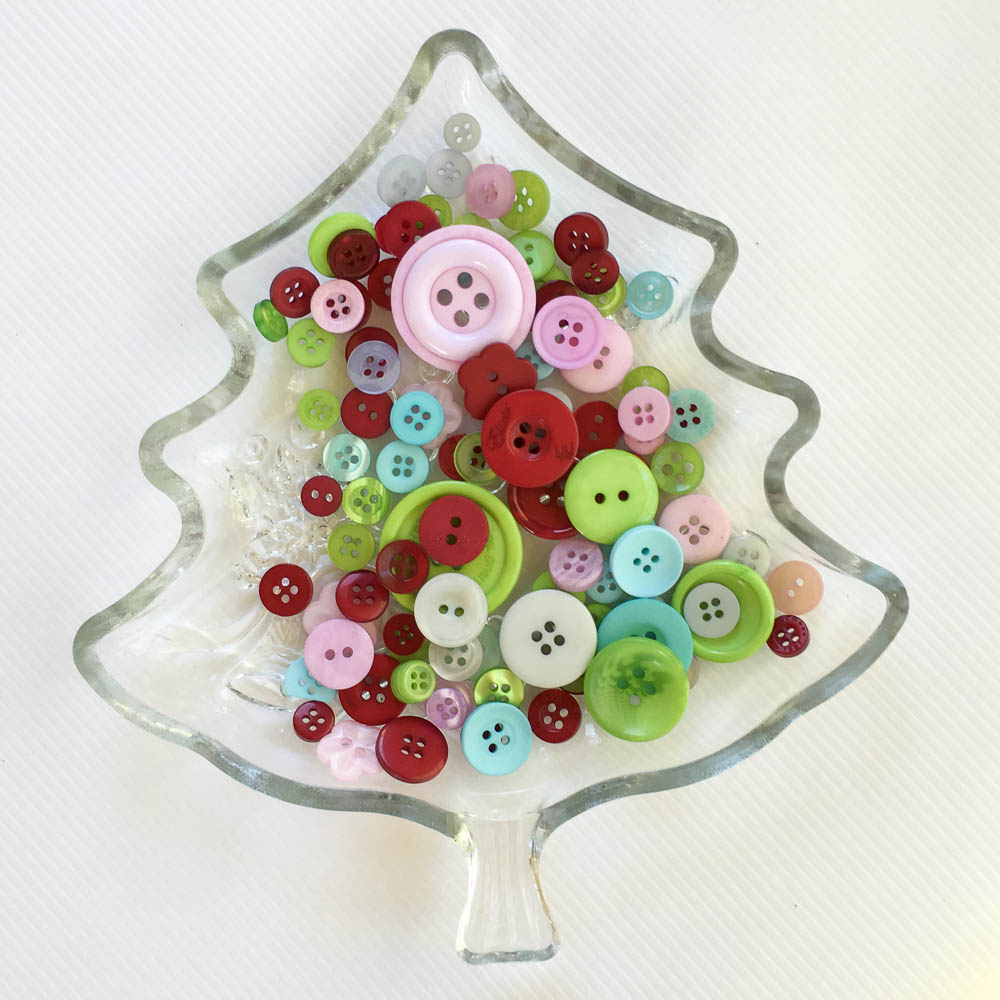
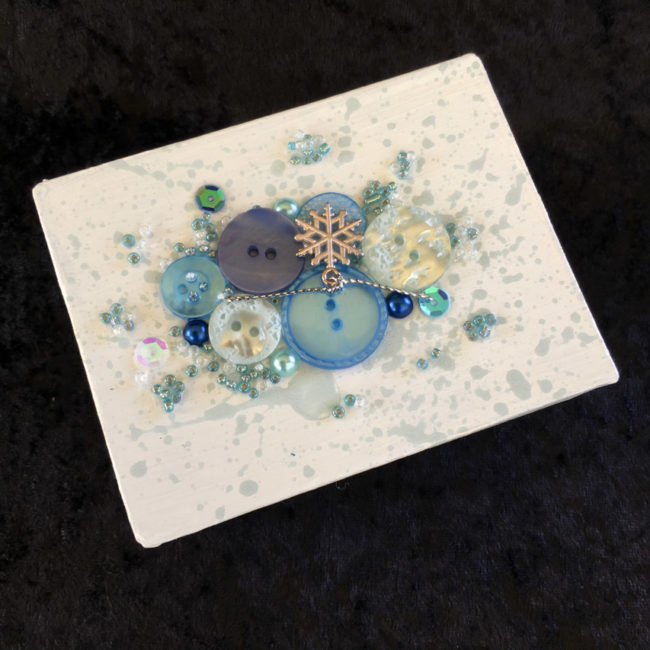
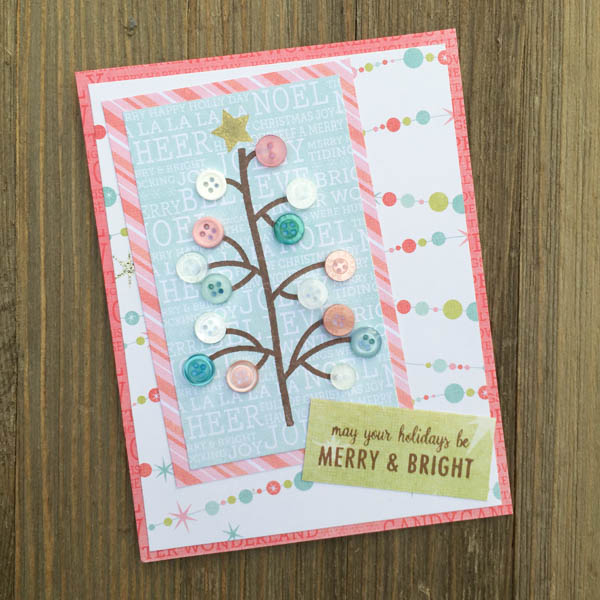
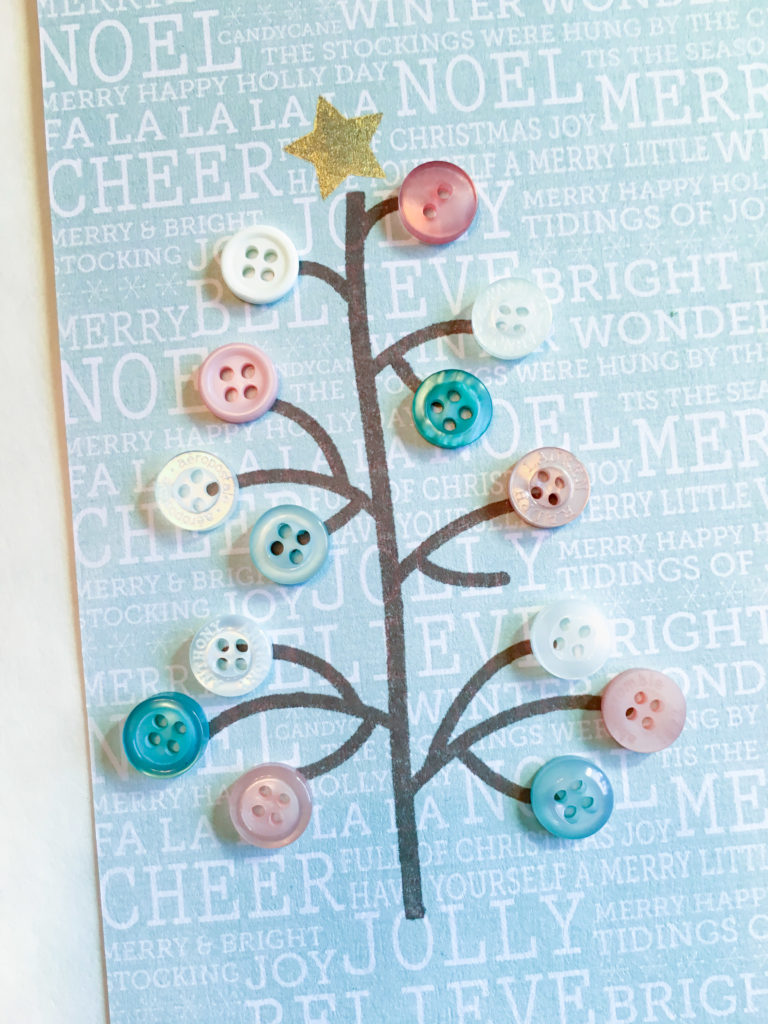
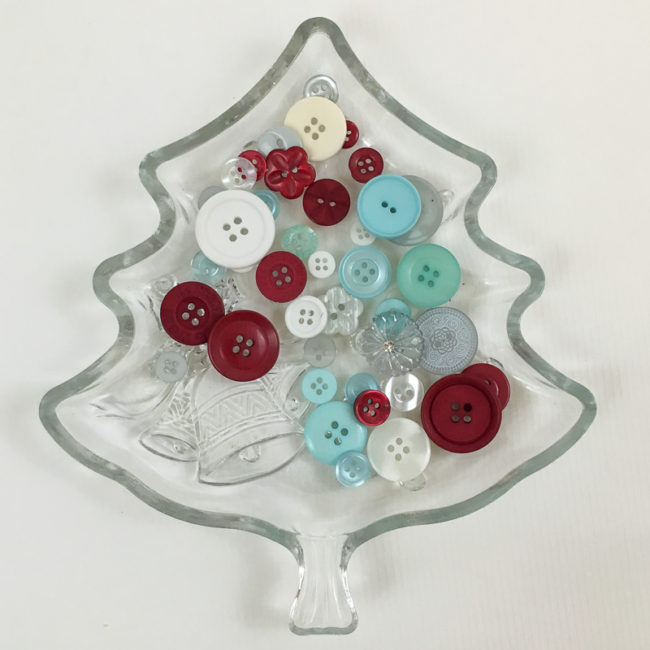
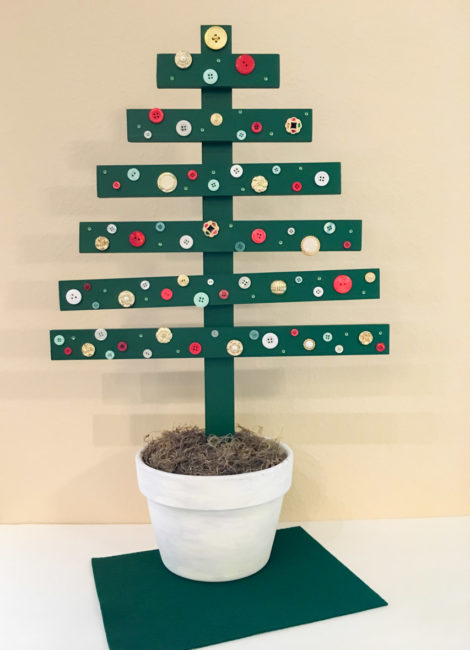
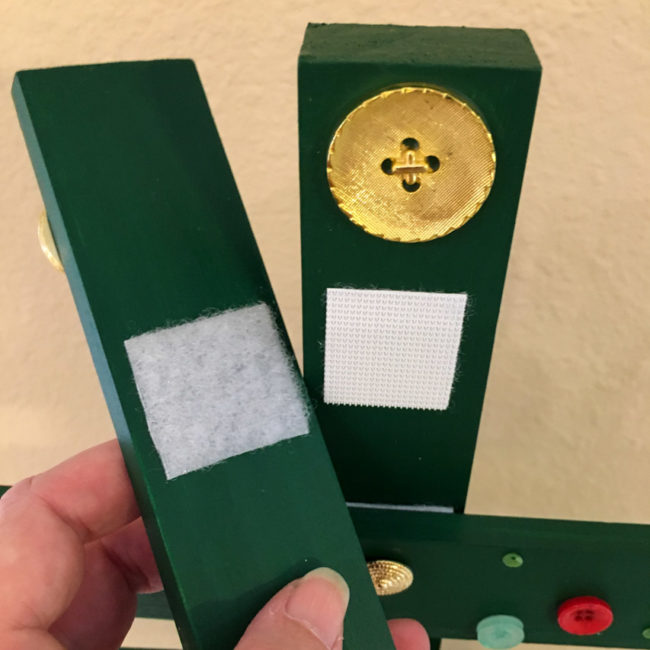
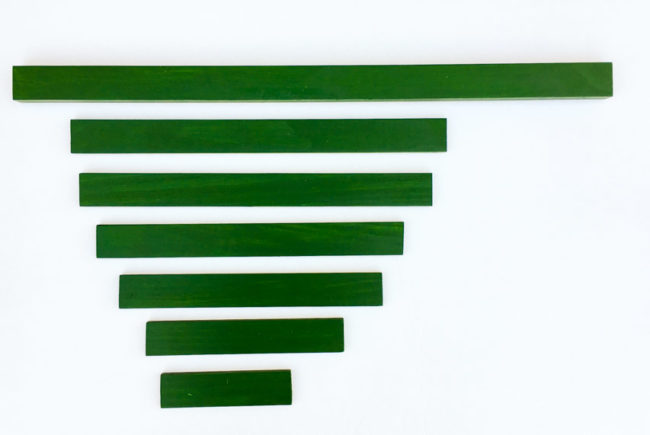
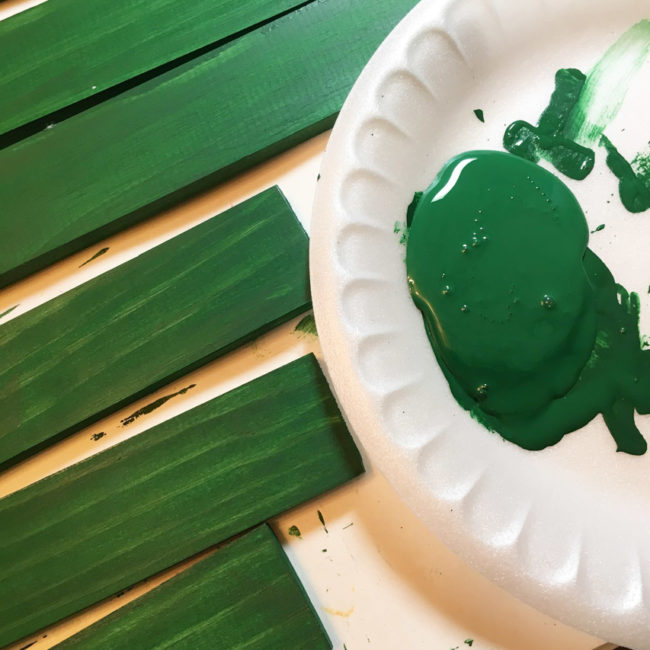
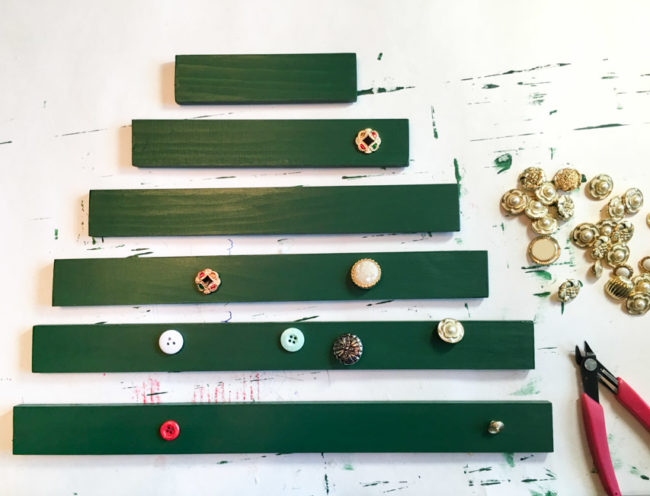
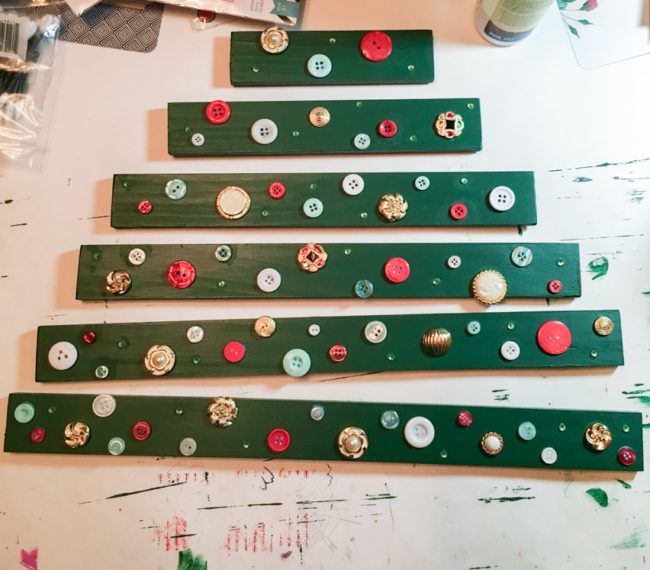
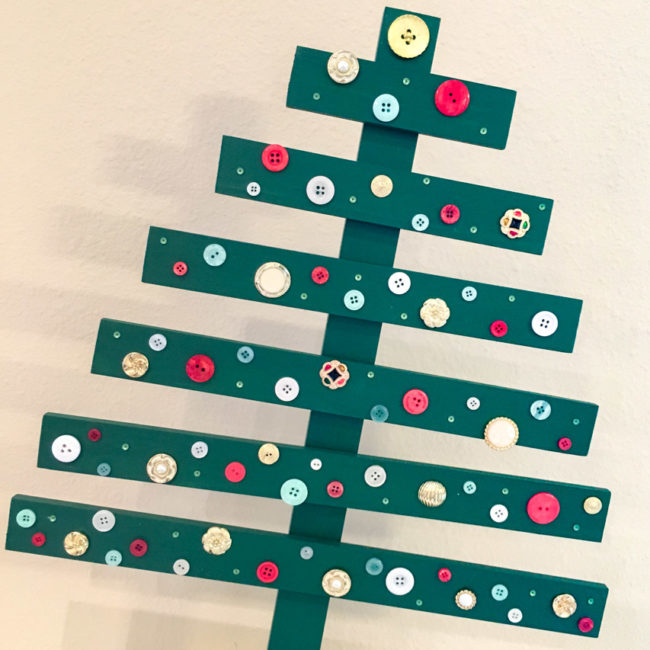
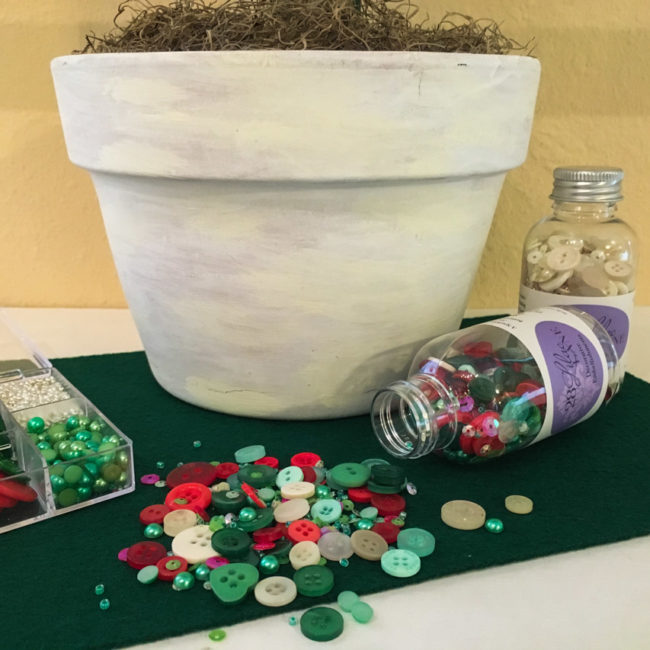
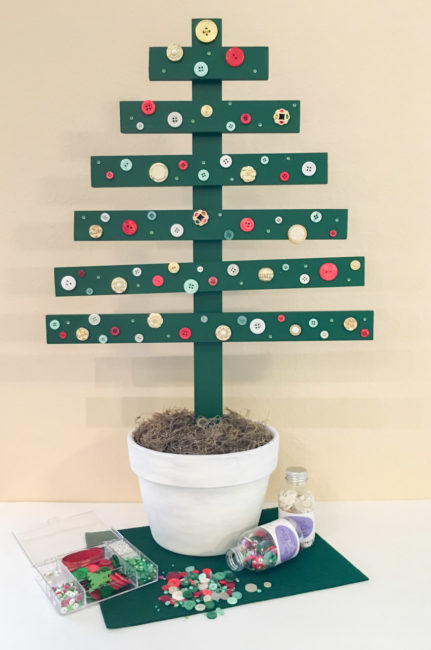
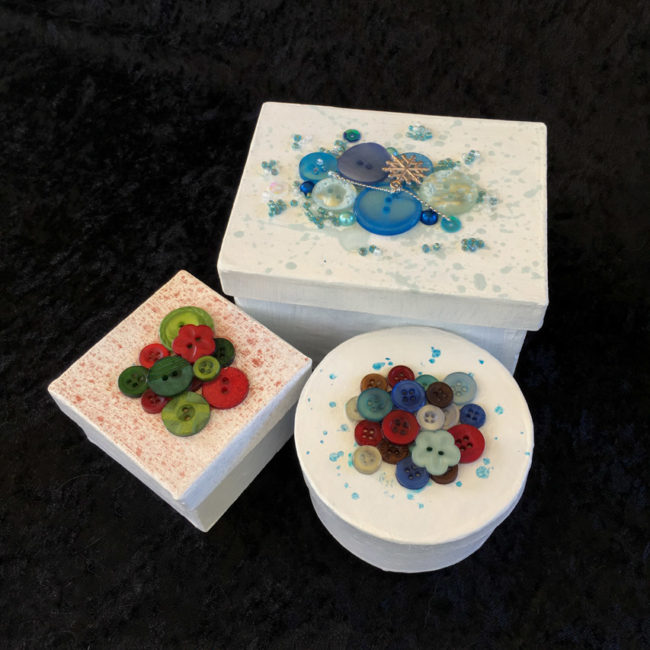
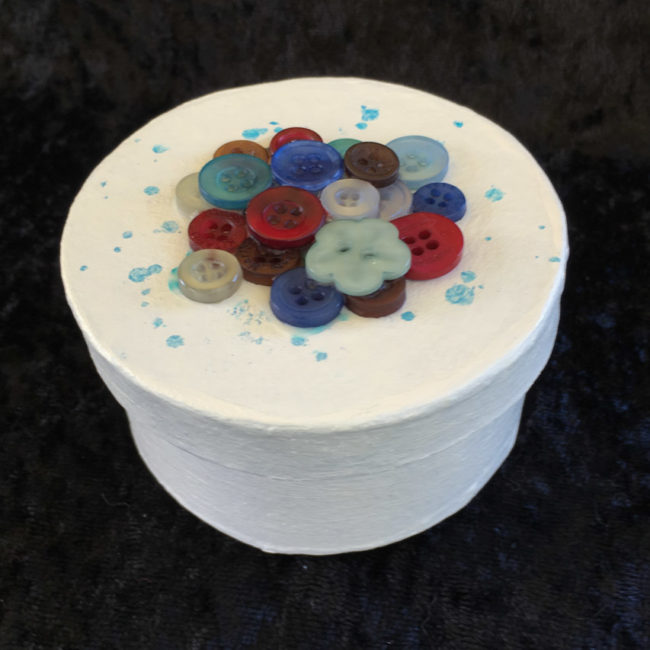
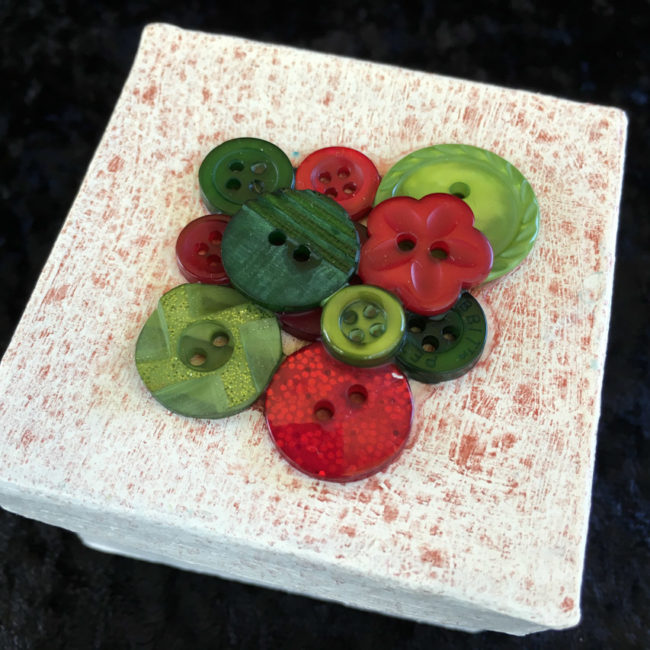
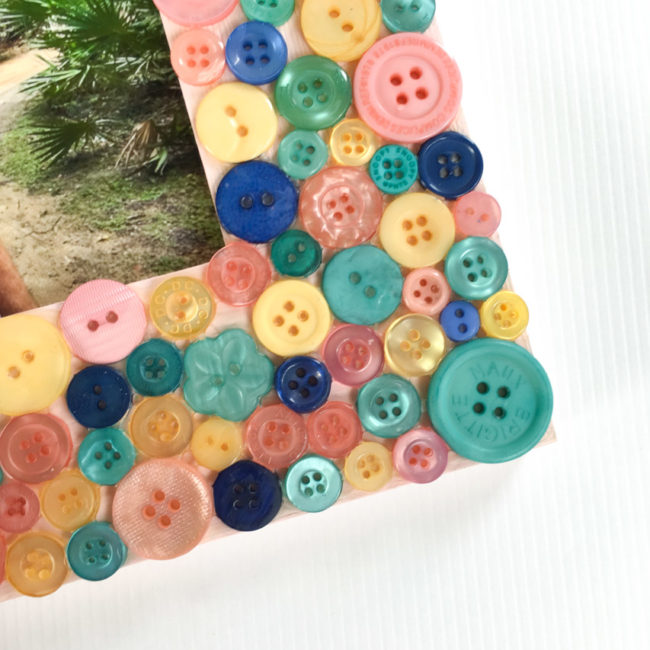
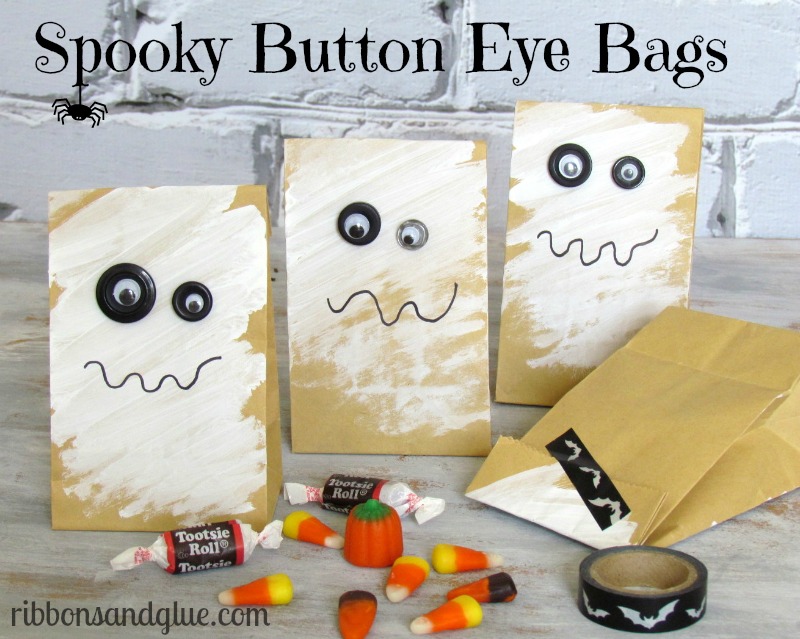
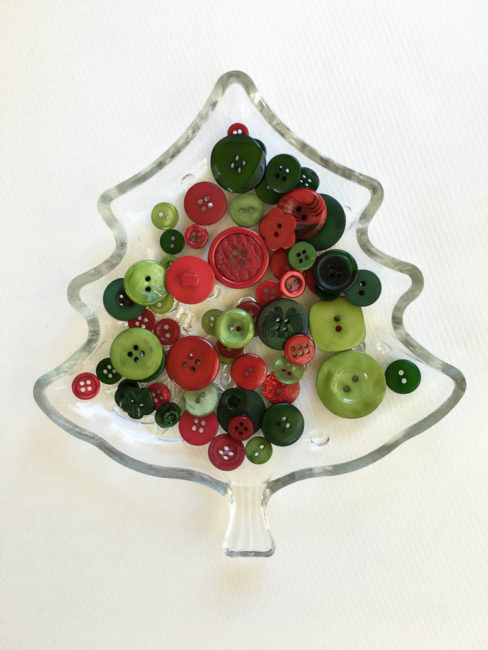
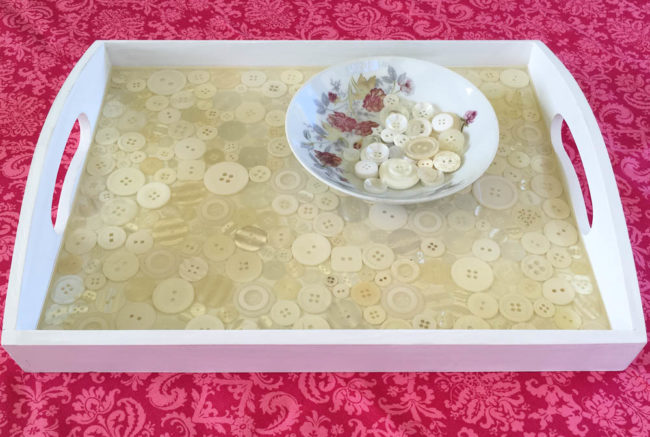
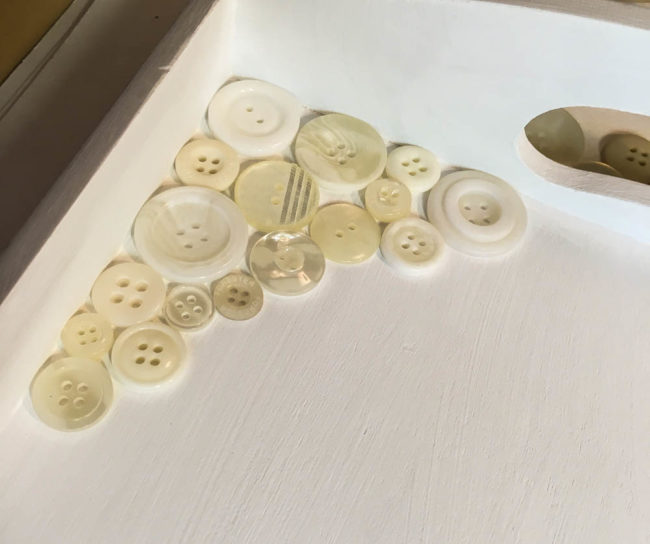
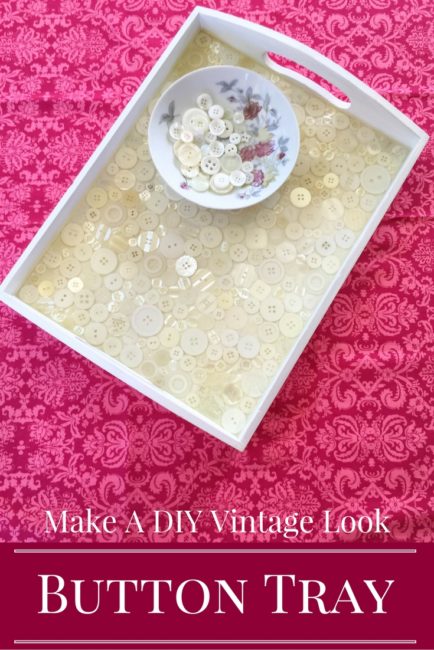
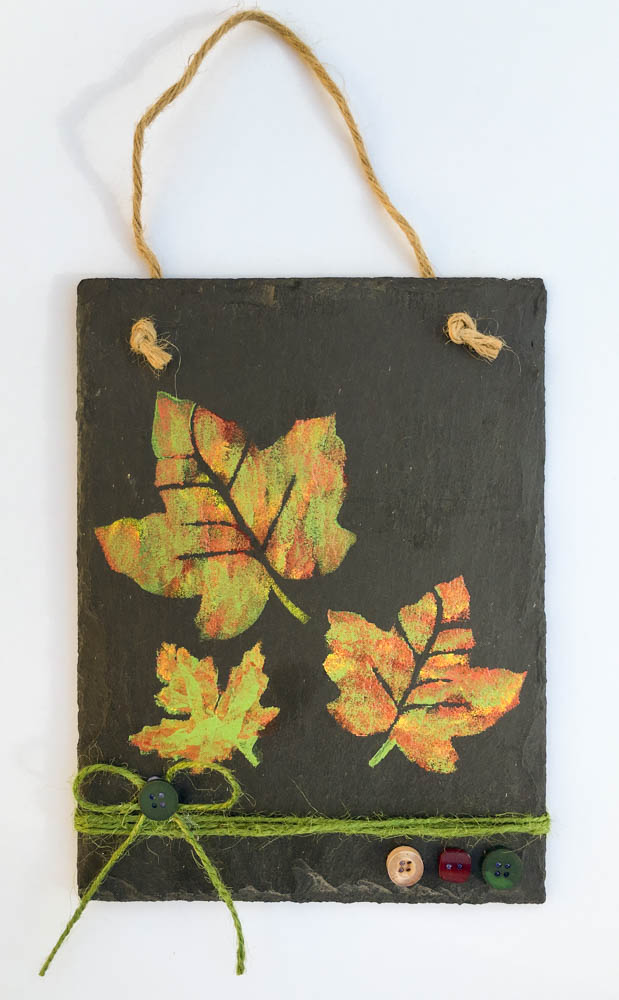
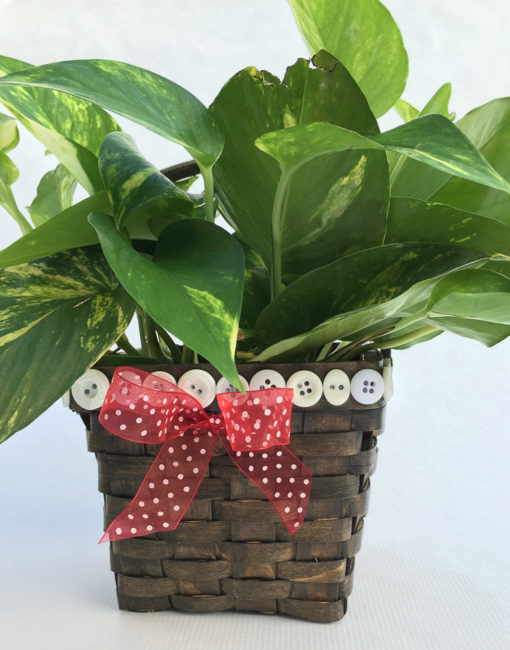
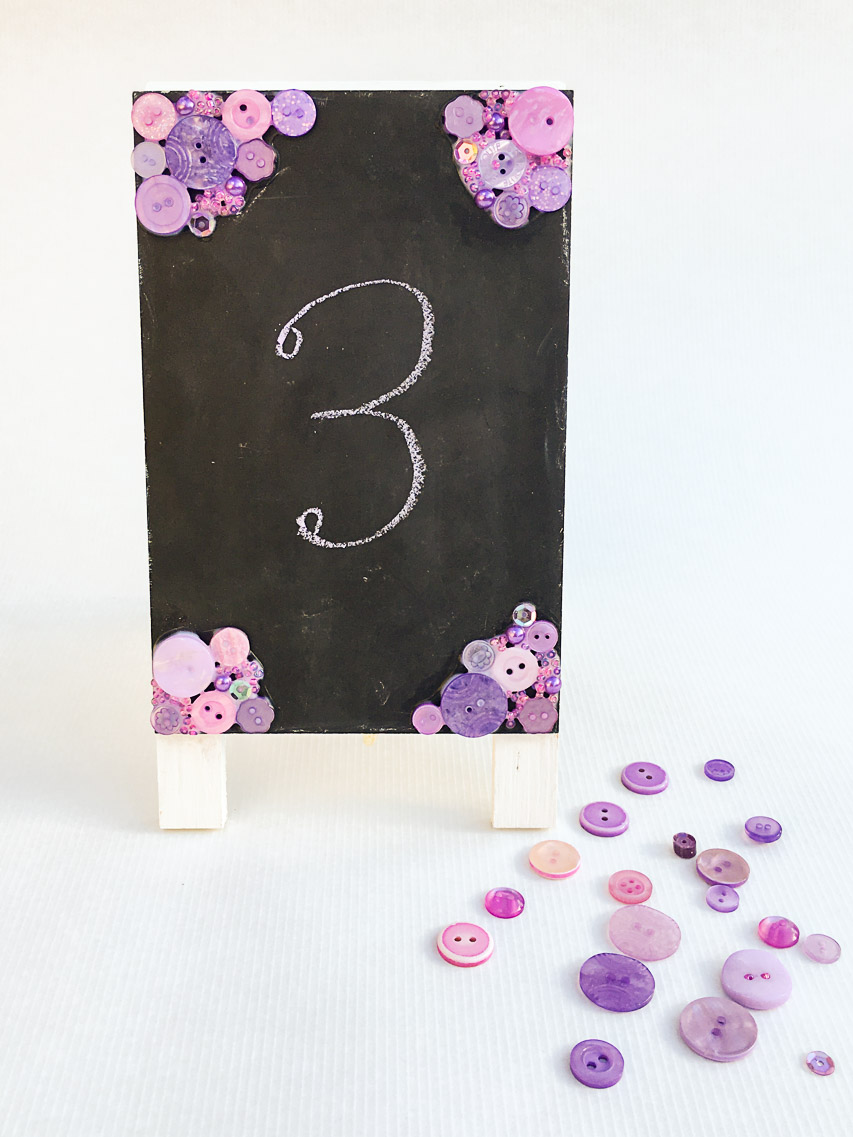
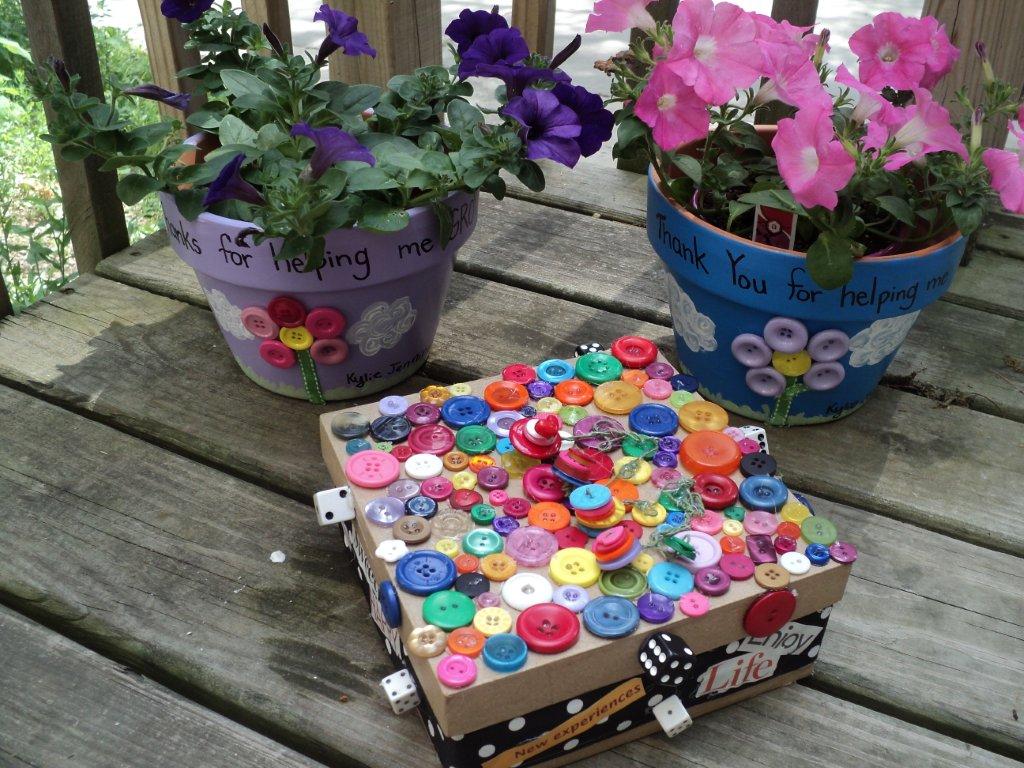
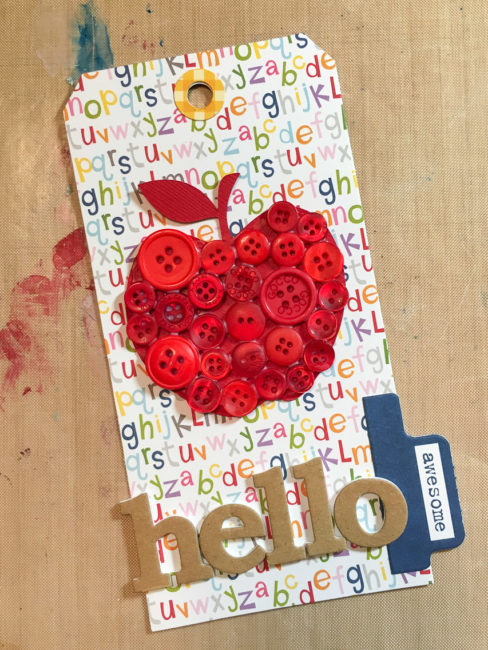
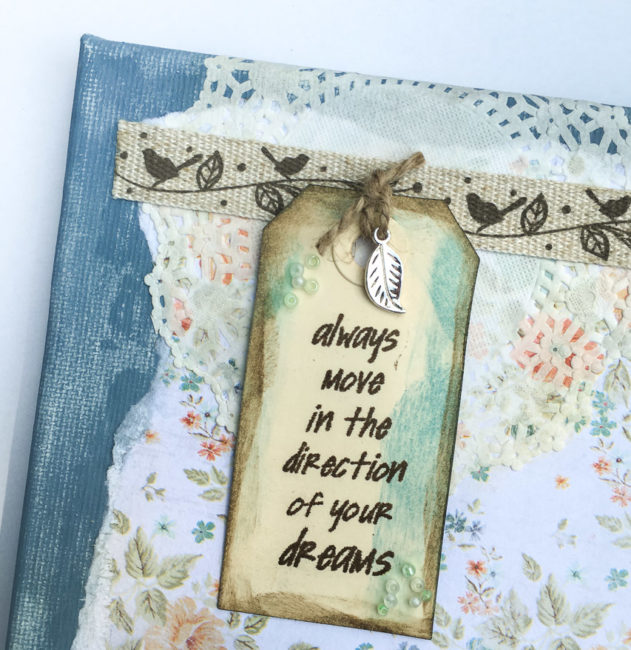
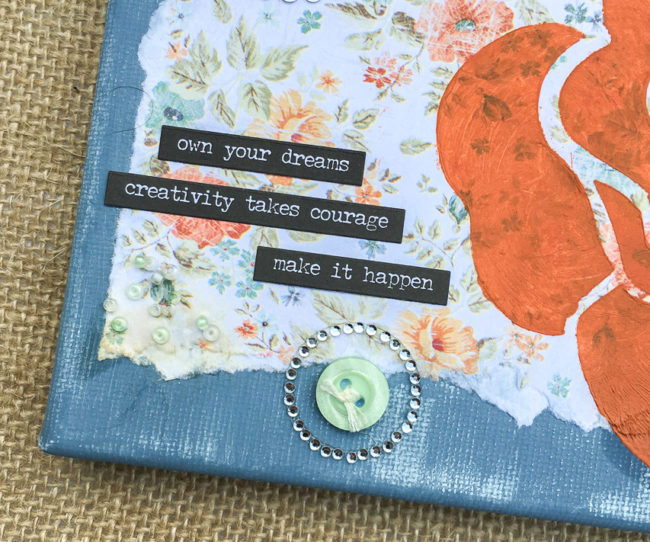
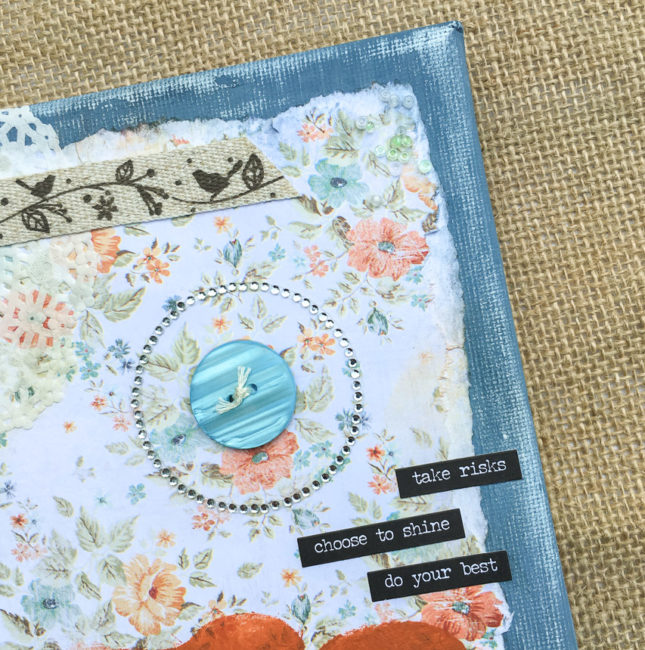
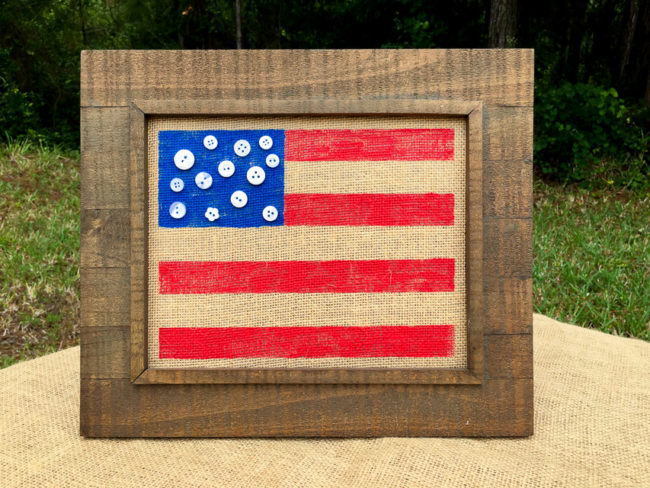
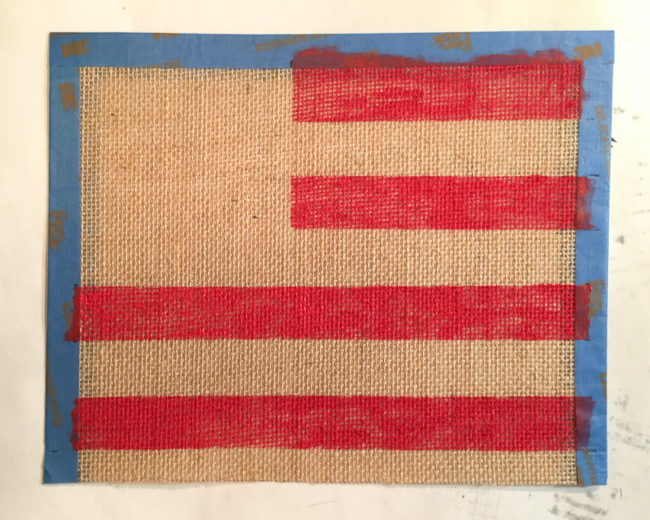
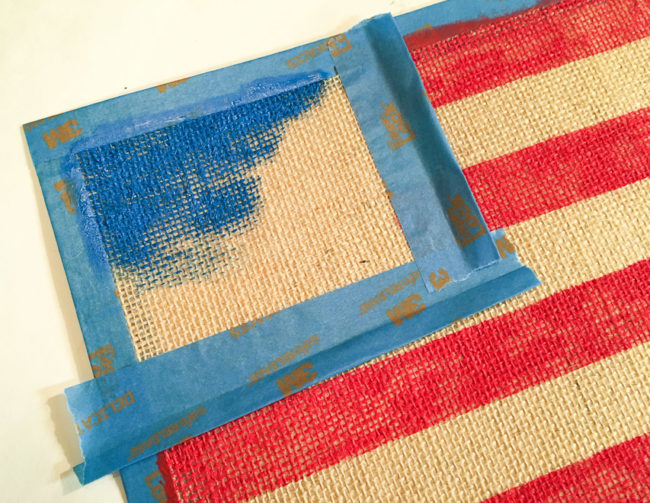
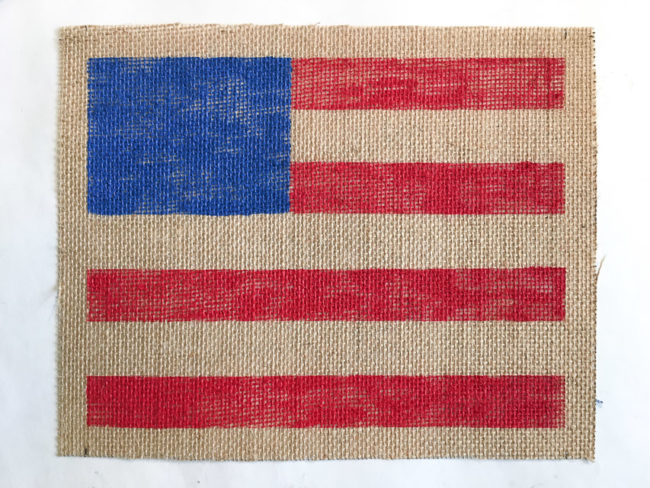
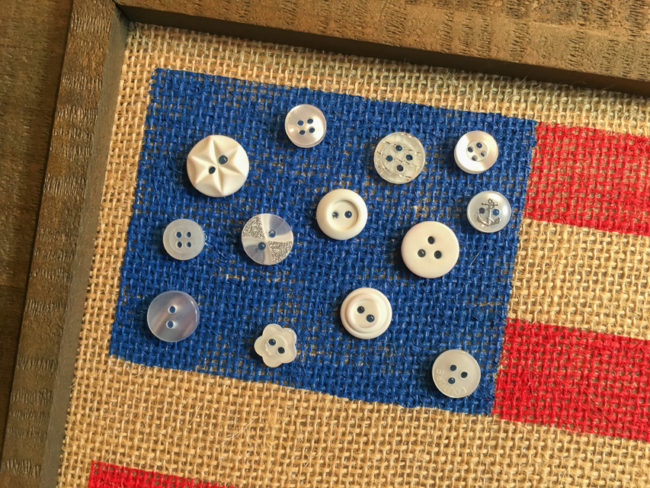
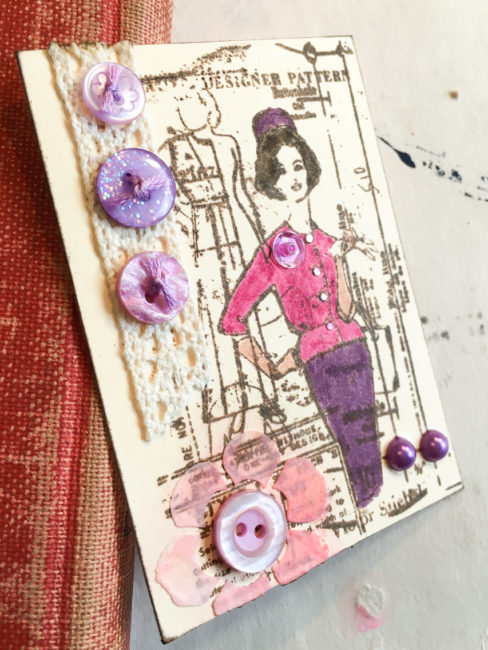
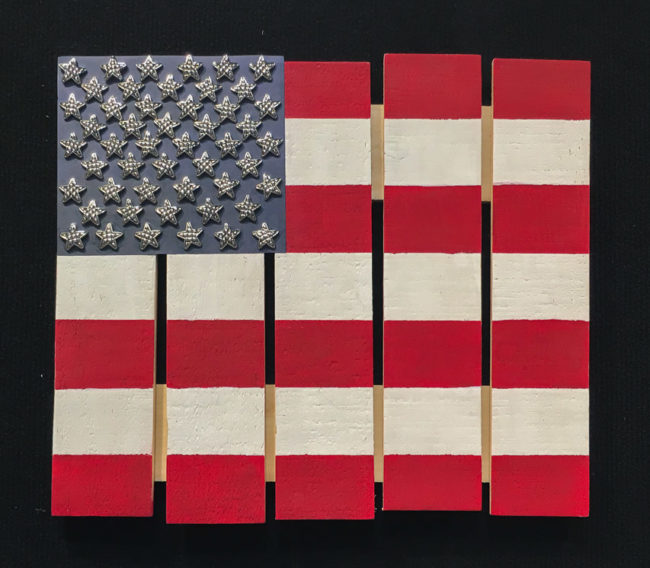
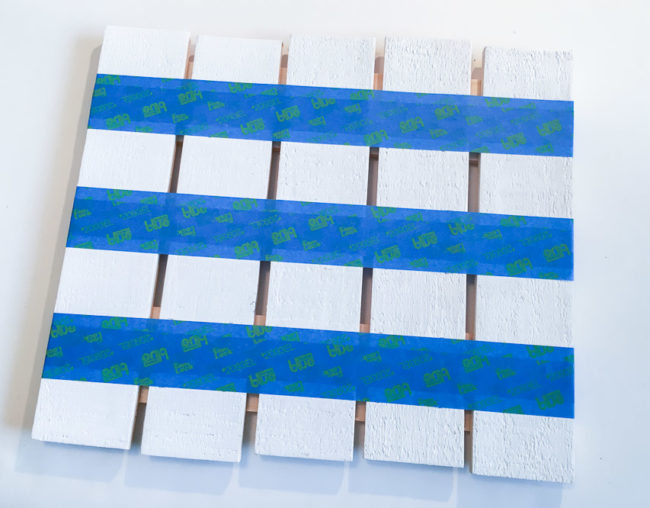
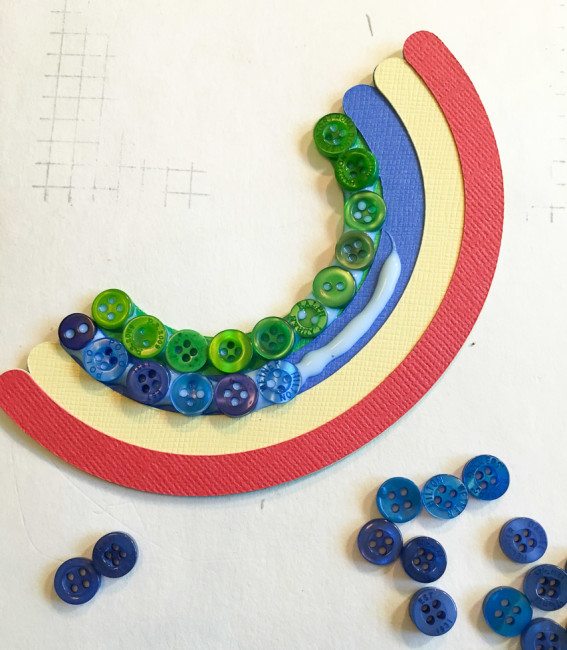
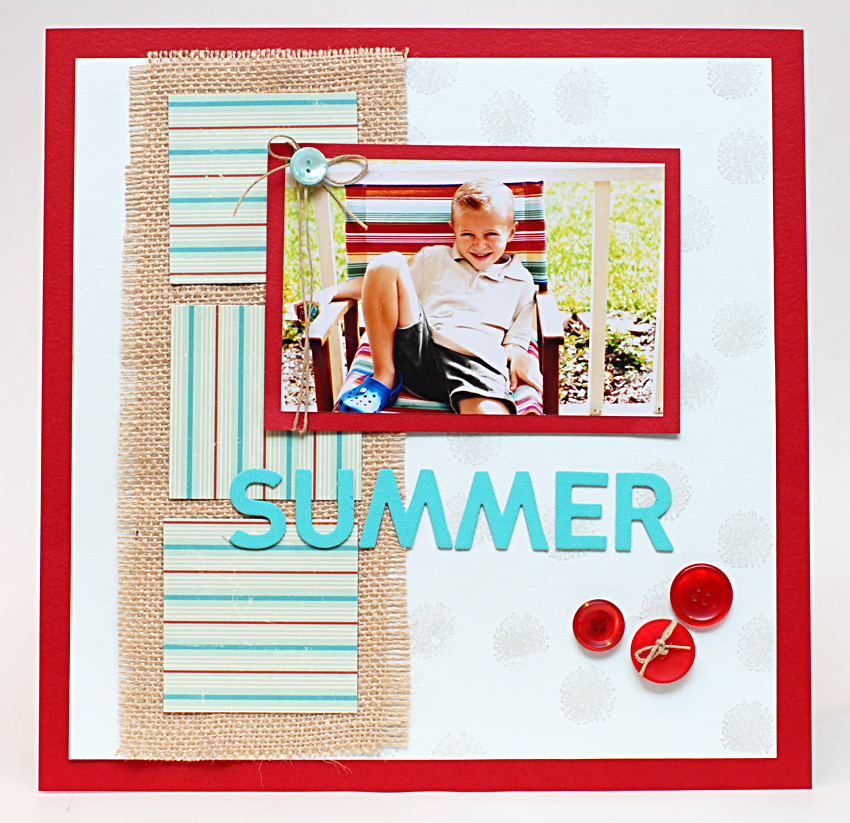
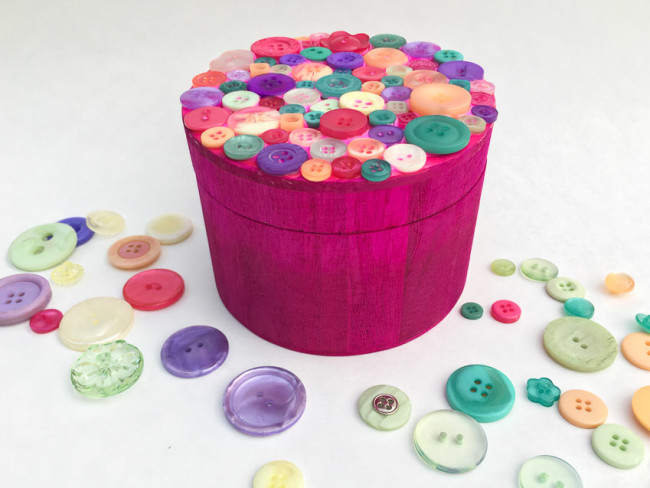
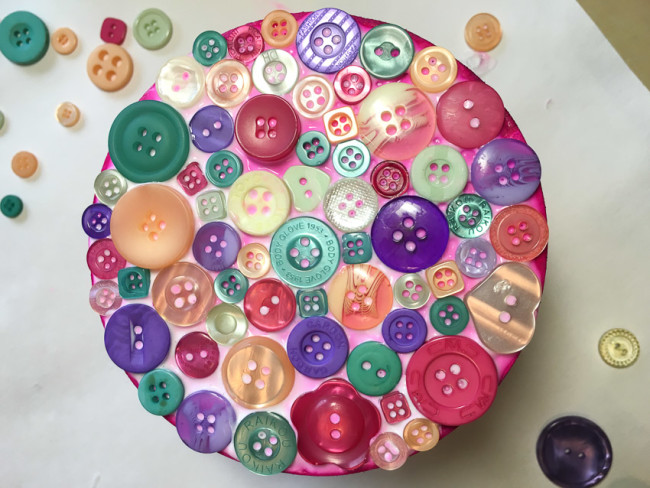
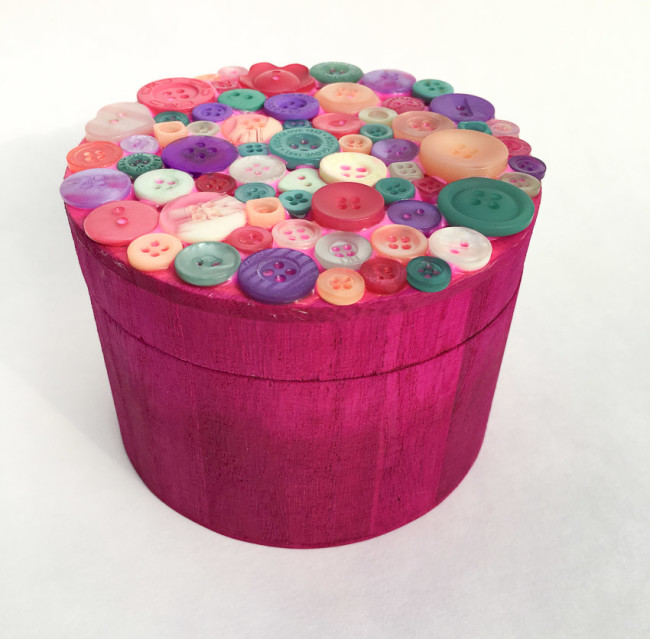
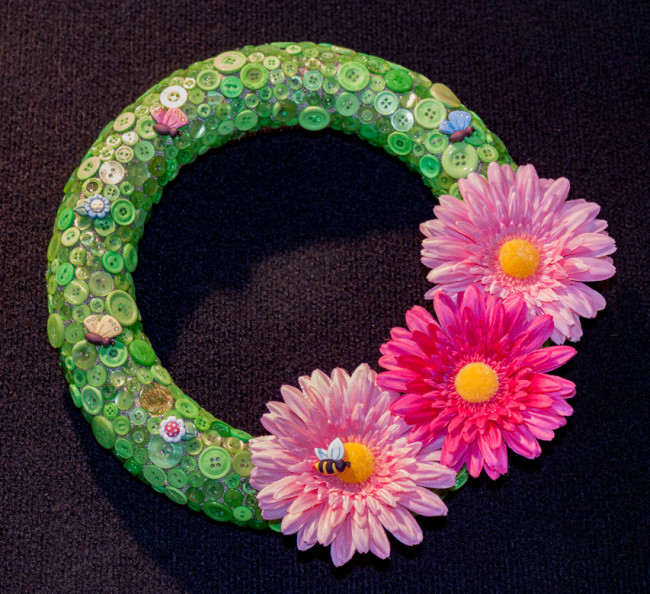
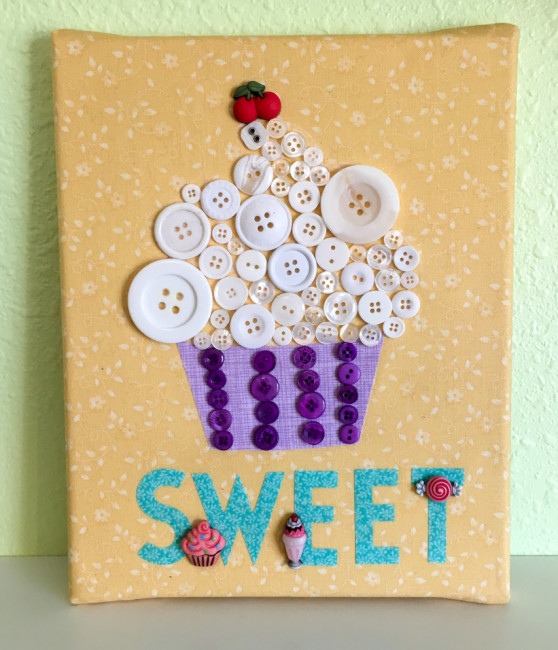
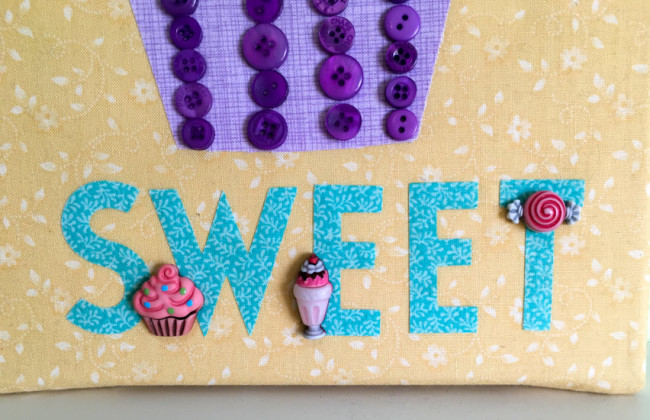
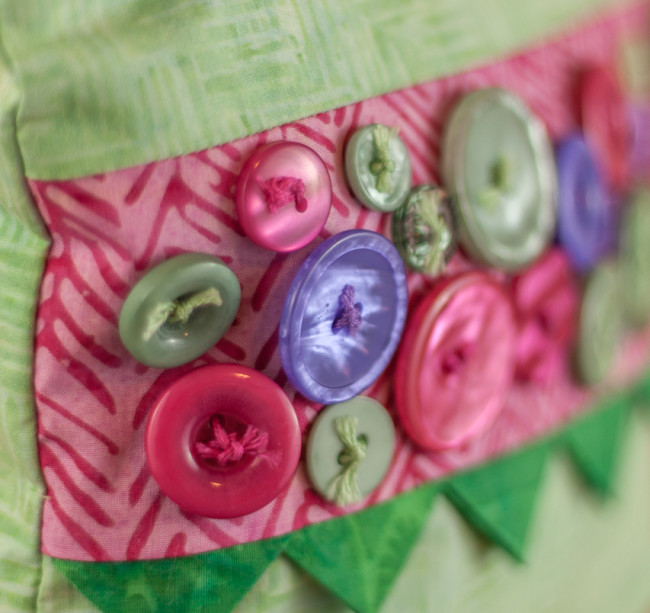
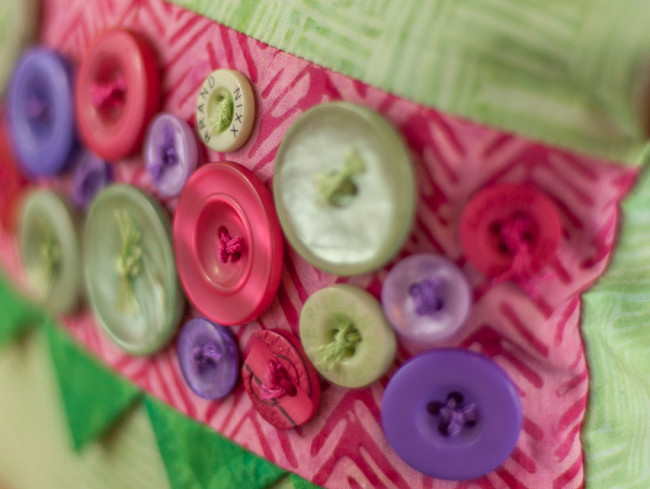
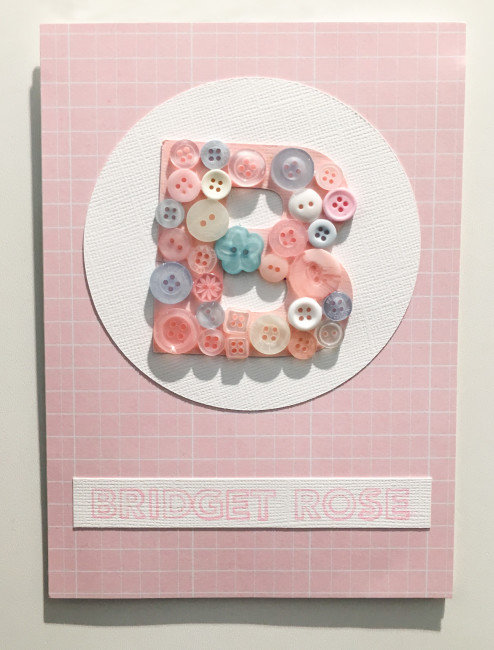
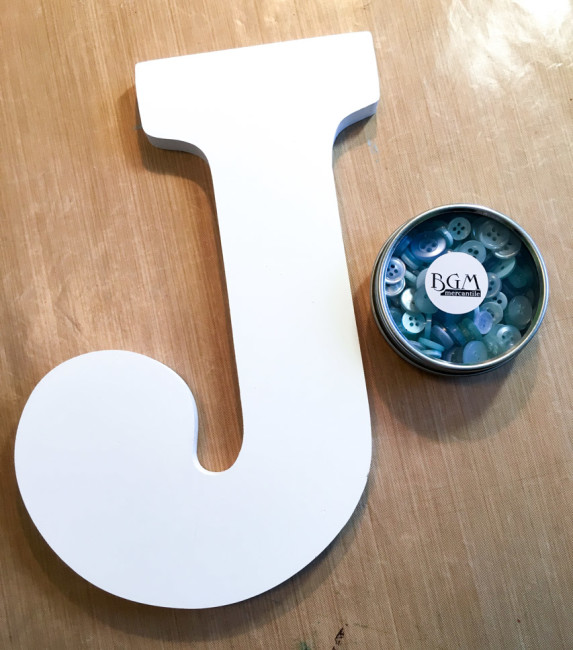
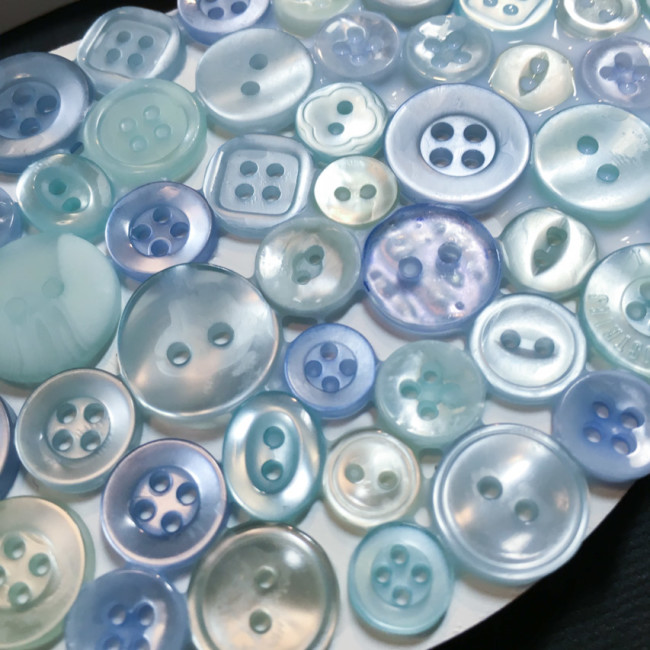
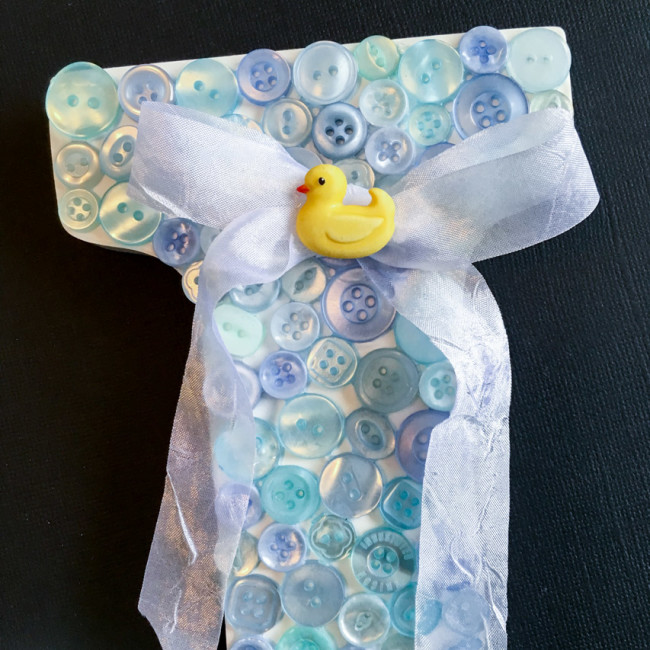
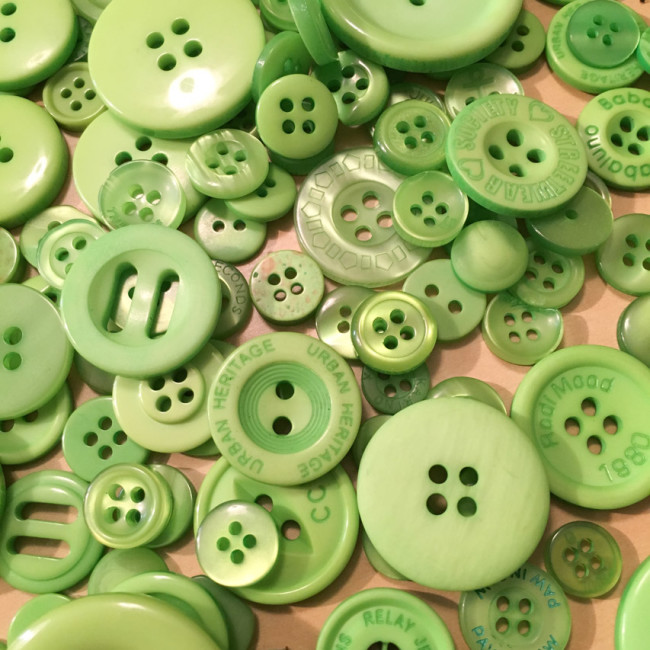
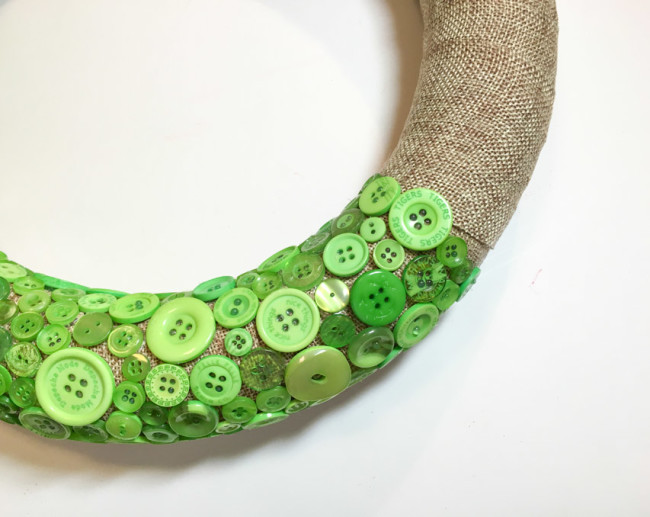
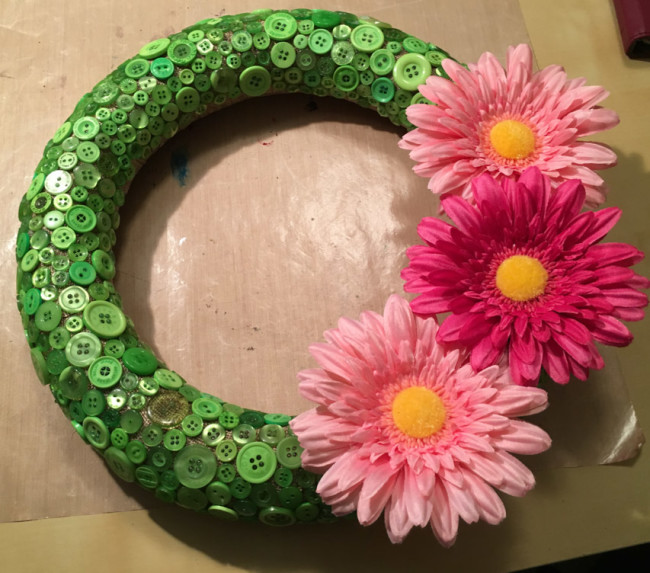
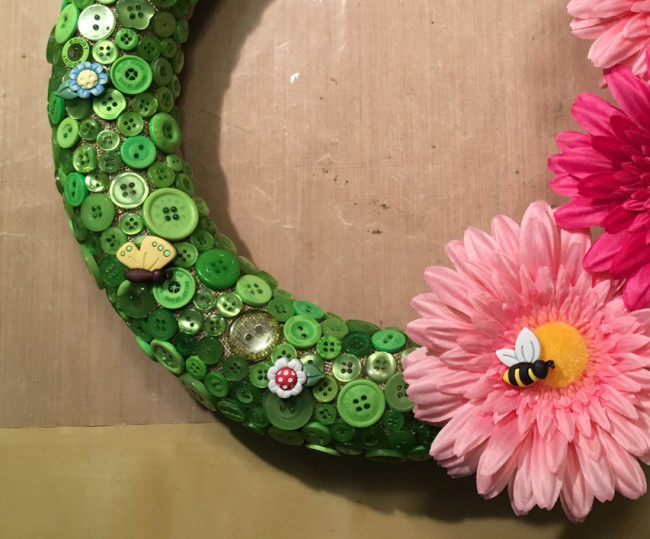
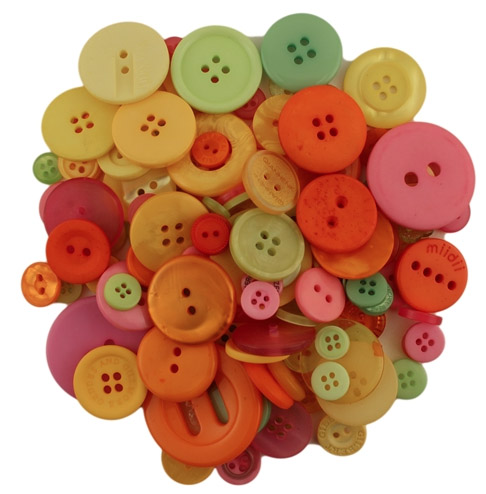
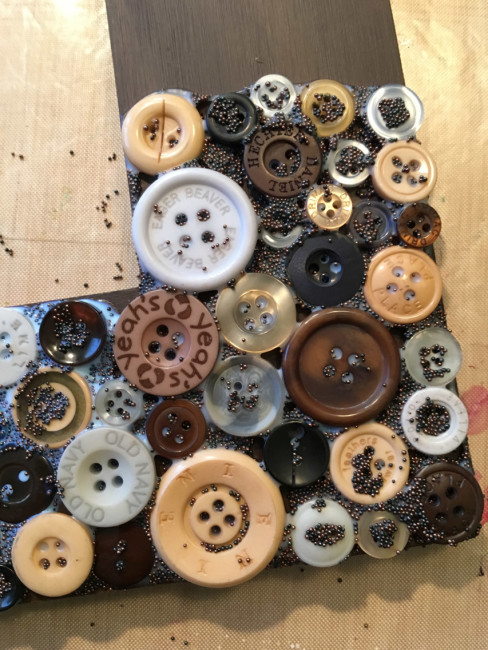
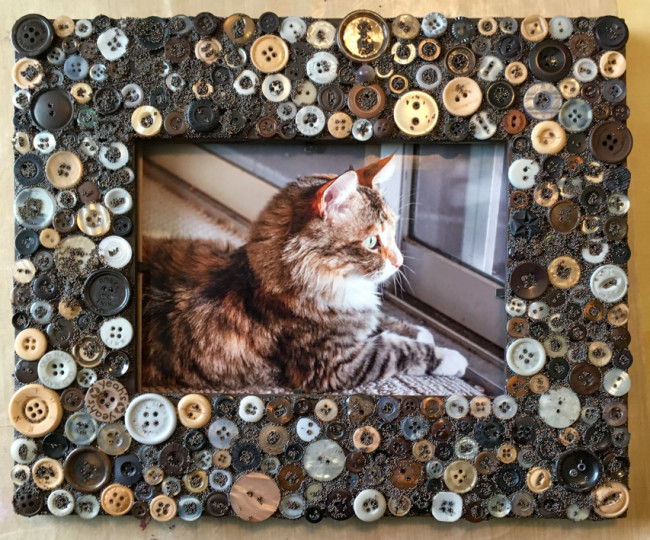
 Button mosaics (or collages) are such a fun way to use buttons, and this one creates a beautiful piece of wall art home decor when you are done!
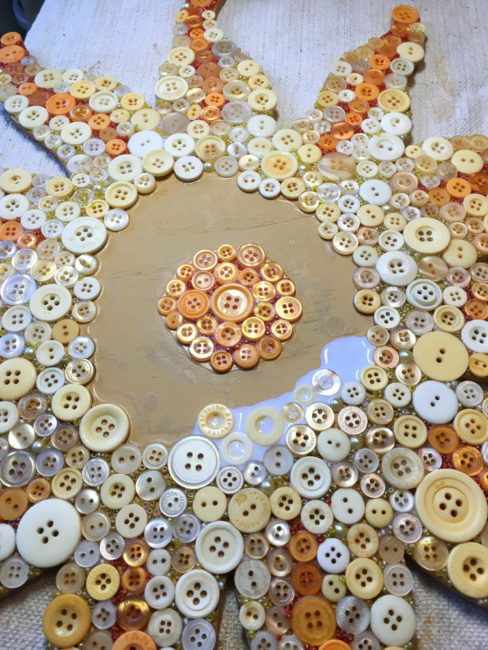


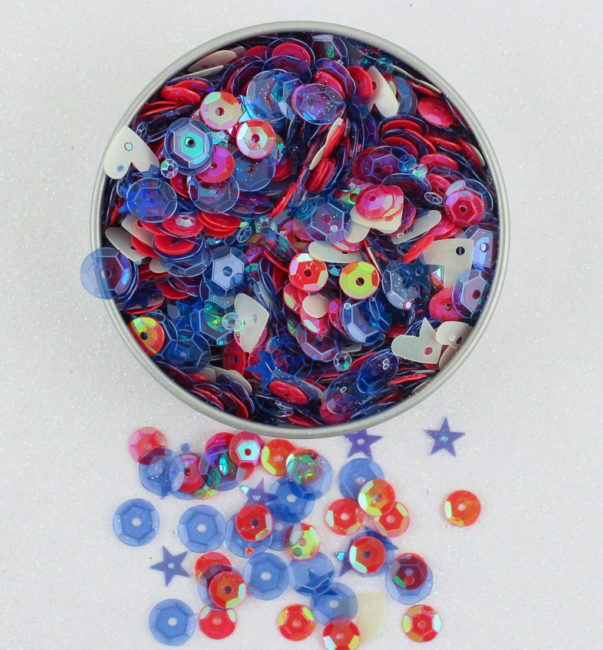
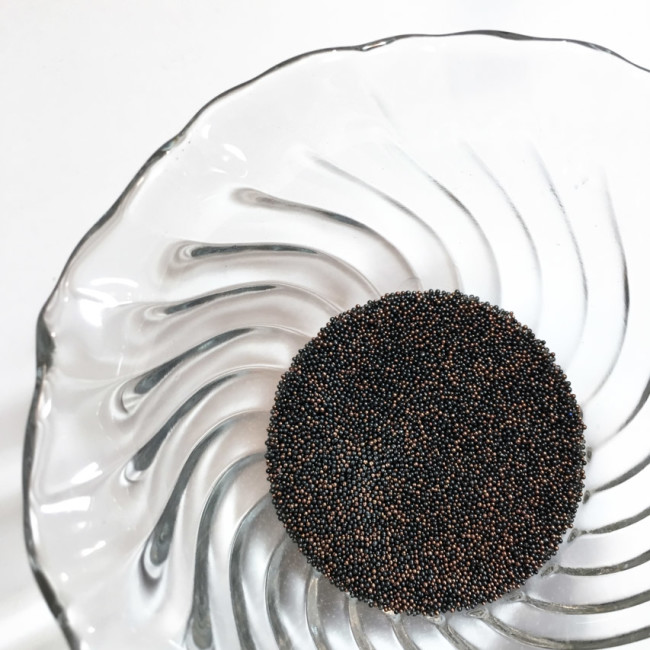
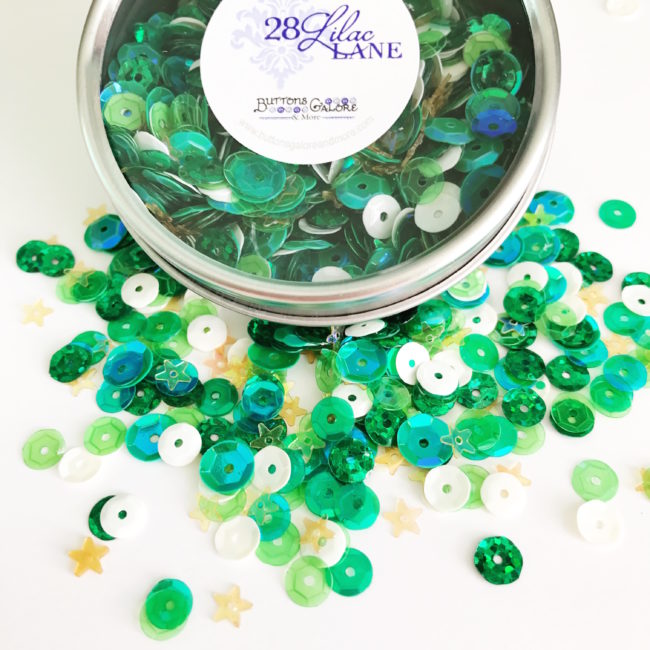 Are you ready for the wearing o’ the greenery? Lady Luck is! This new 28 Lilac Lane sequin tin blends shades of green sequins with white sequins, along with fun golden stars!


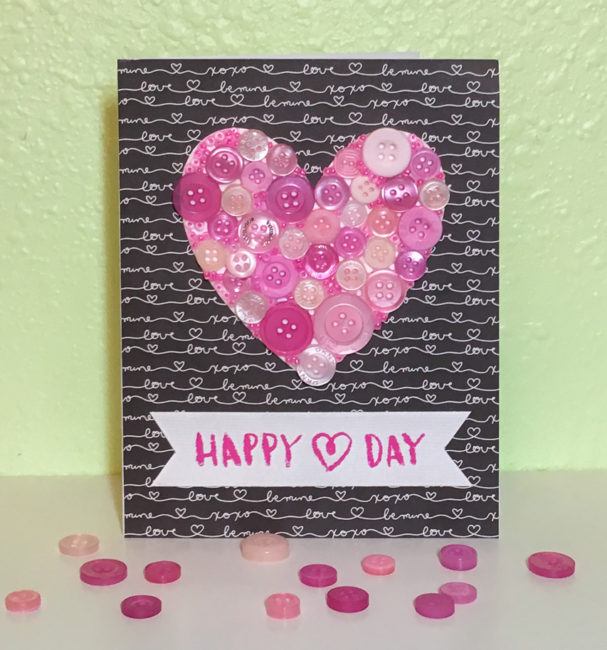


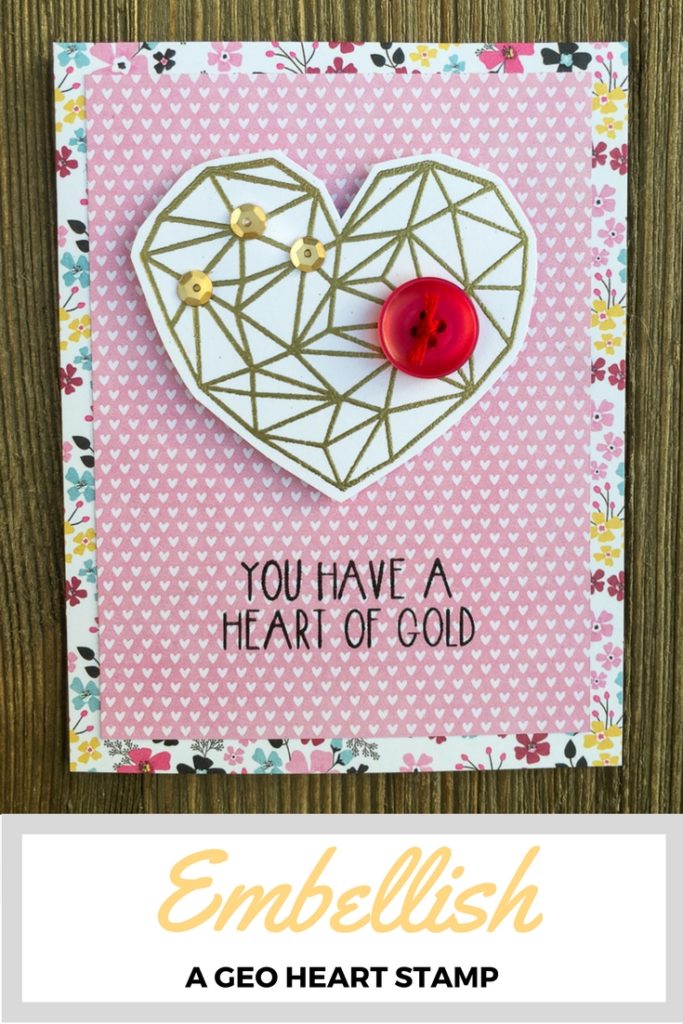

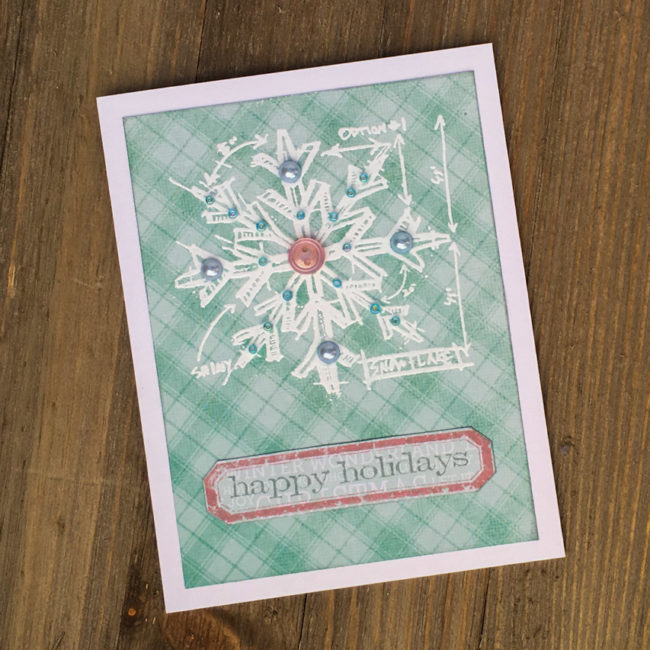
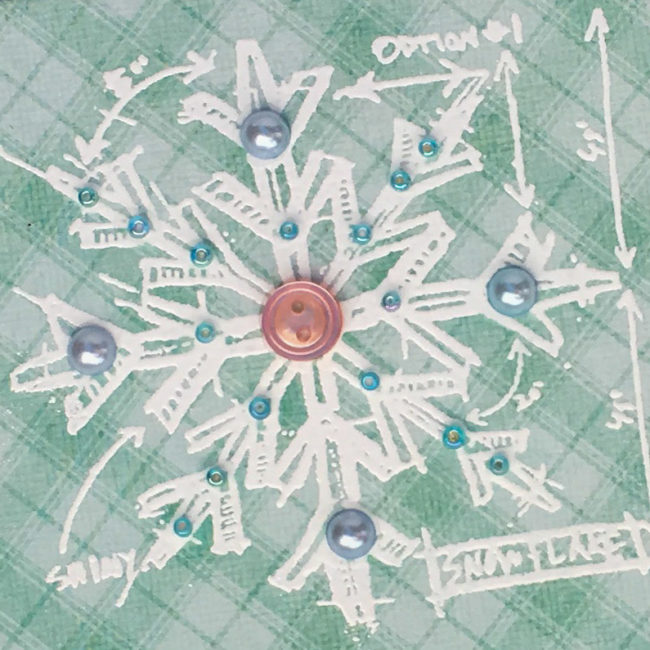
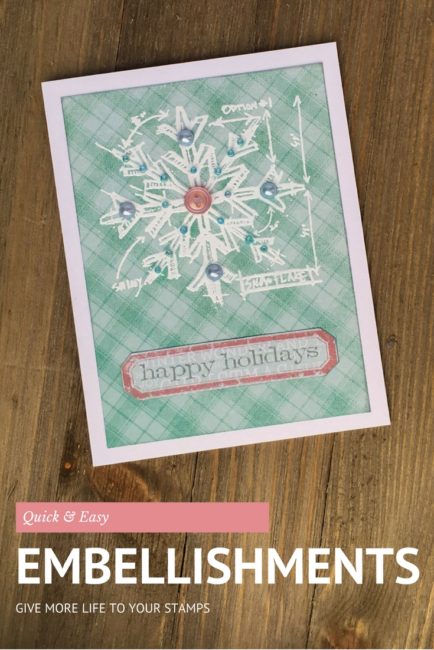
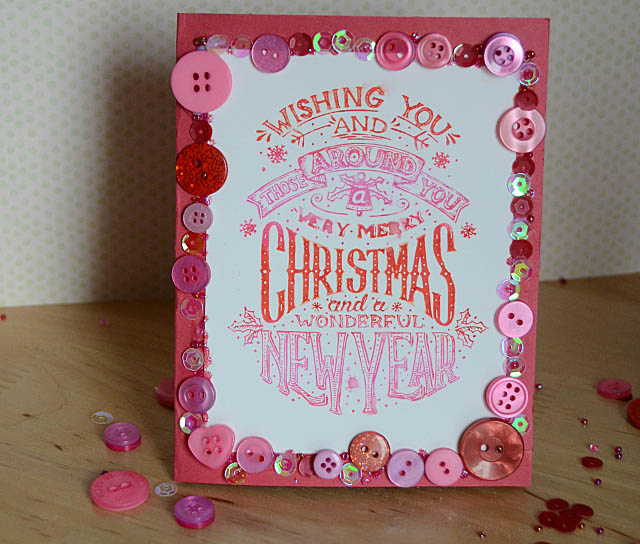
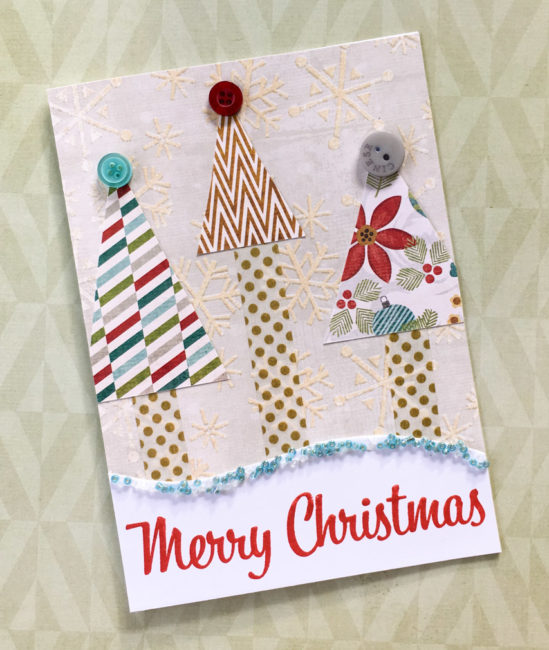
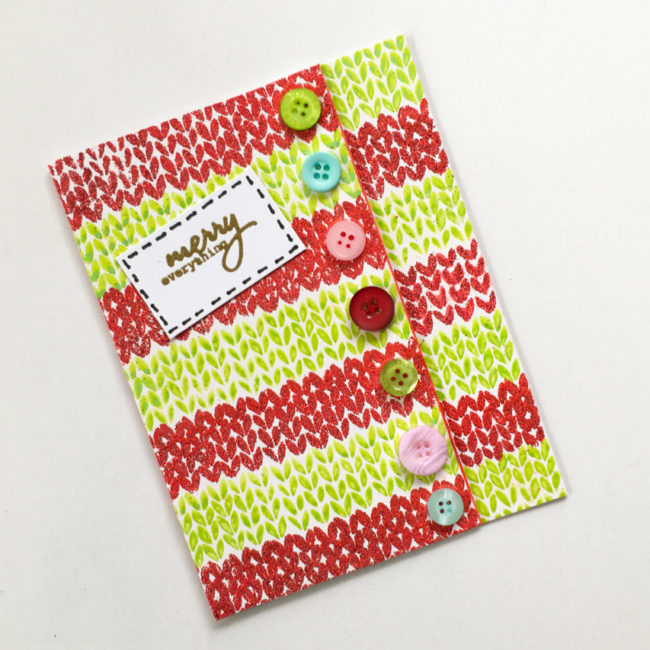
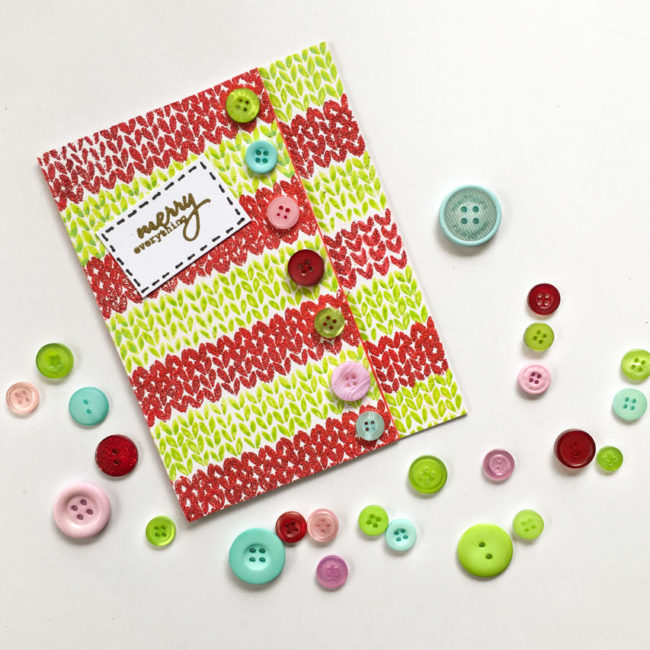
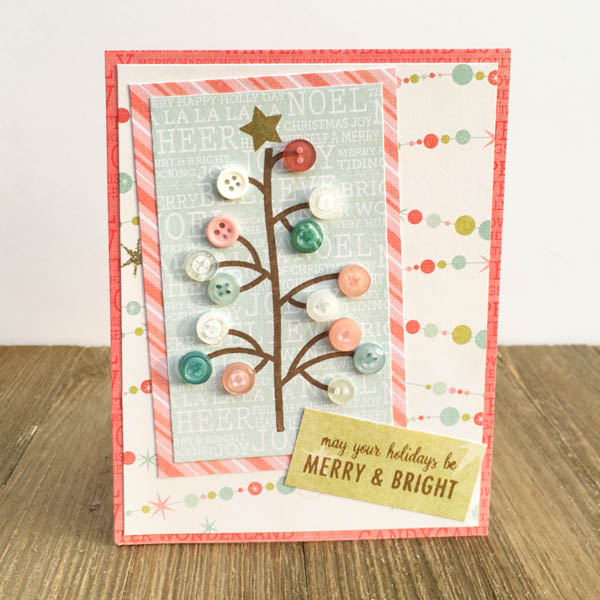
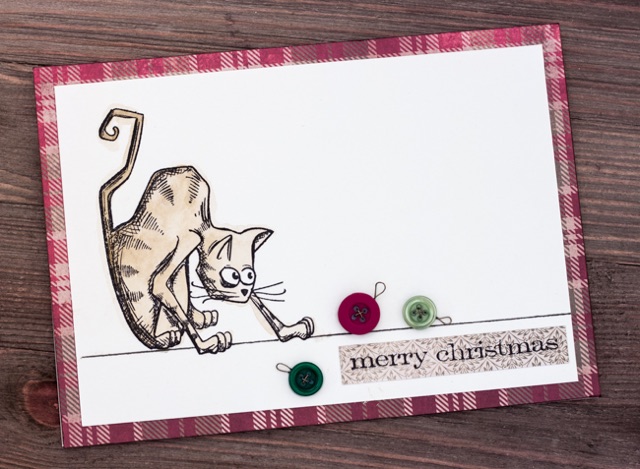


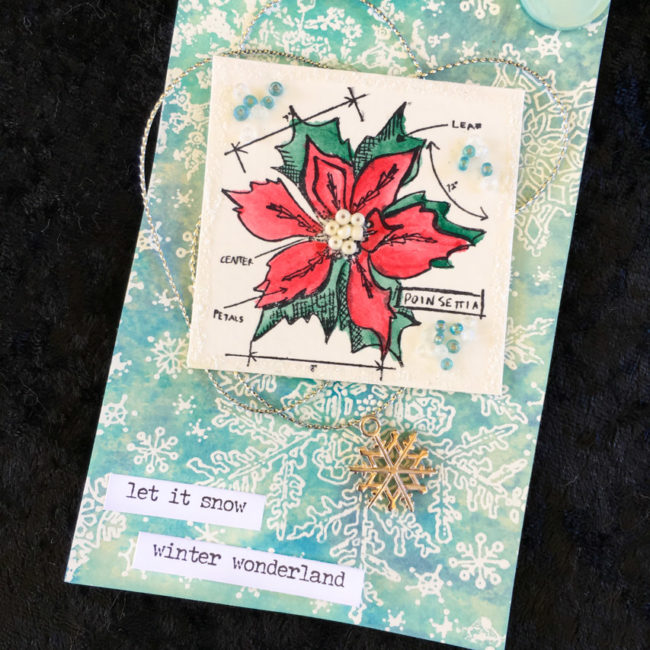


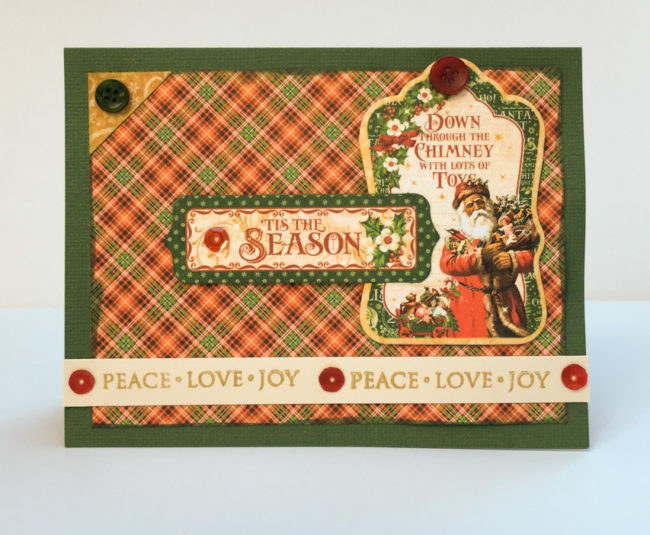
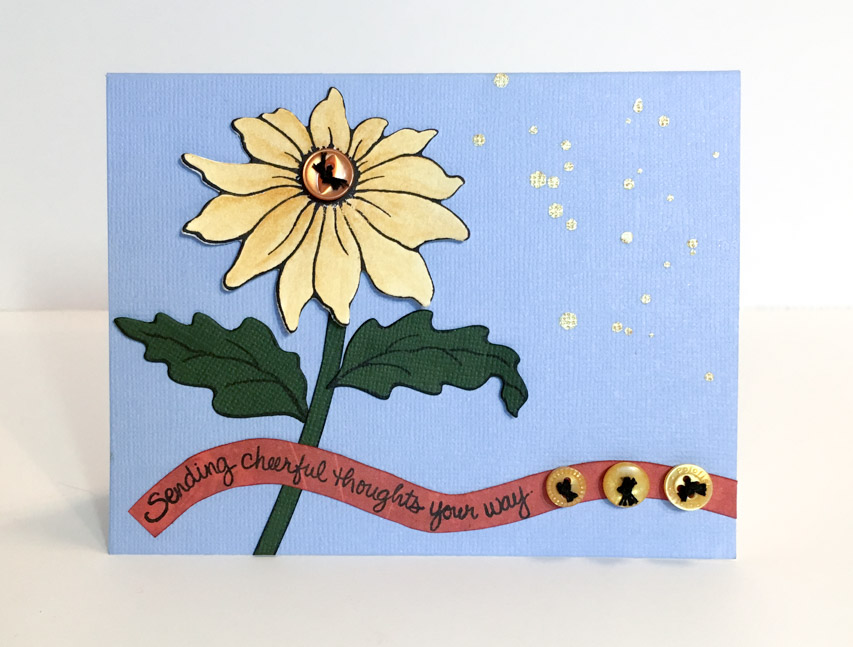
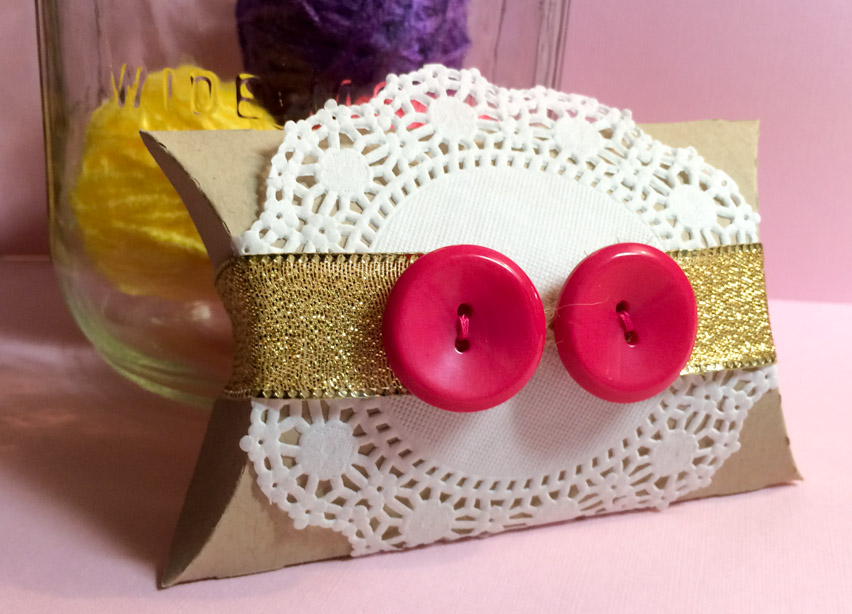
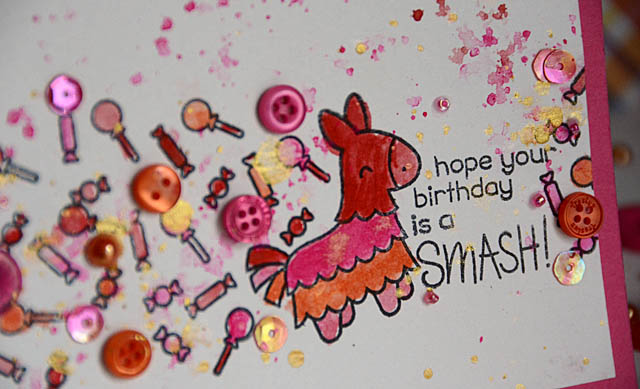
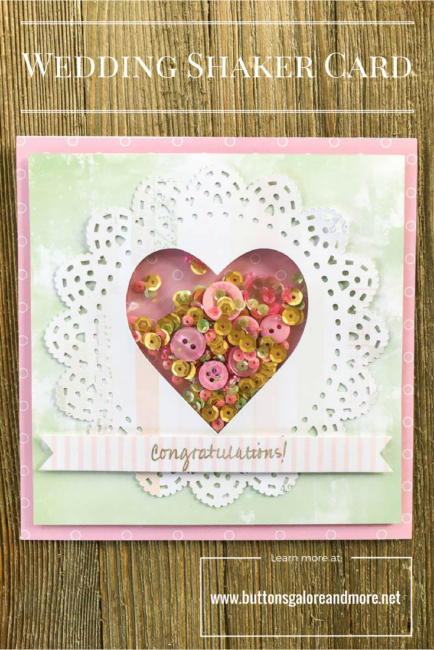
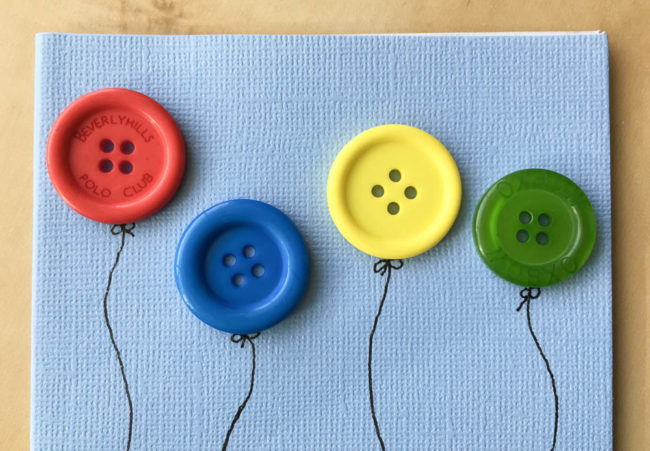
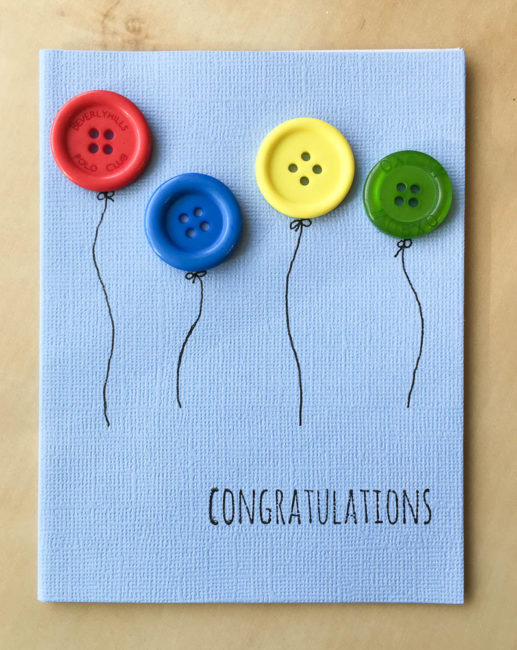
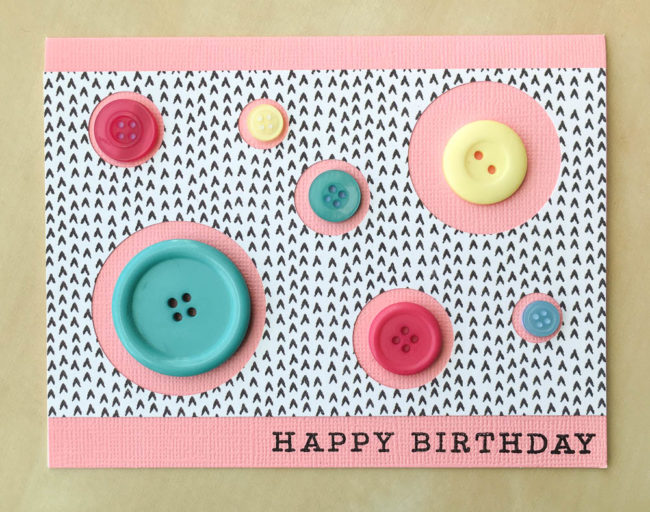
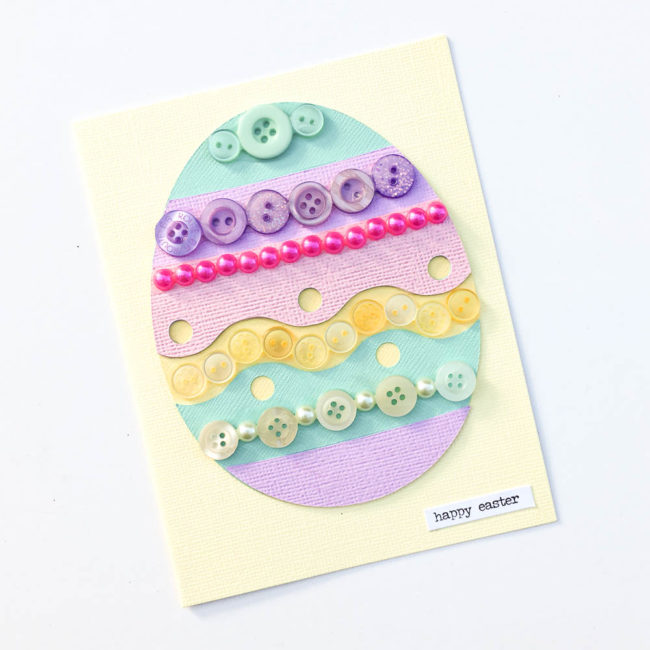
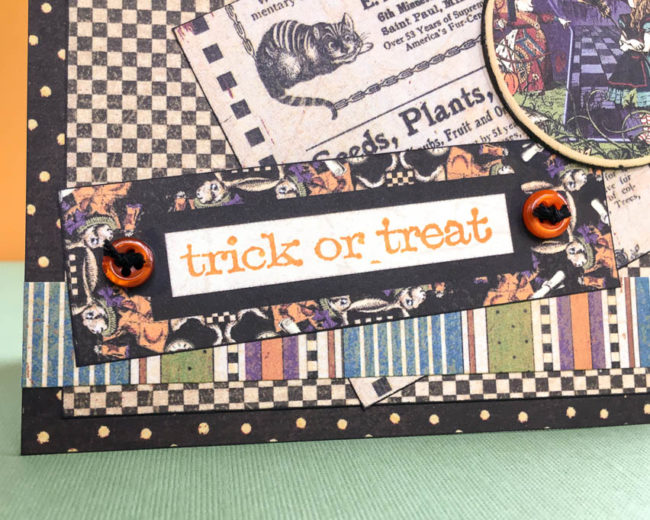
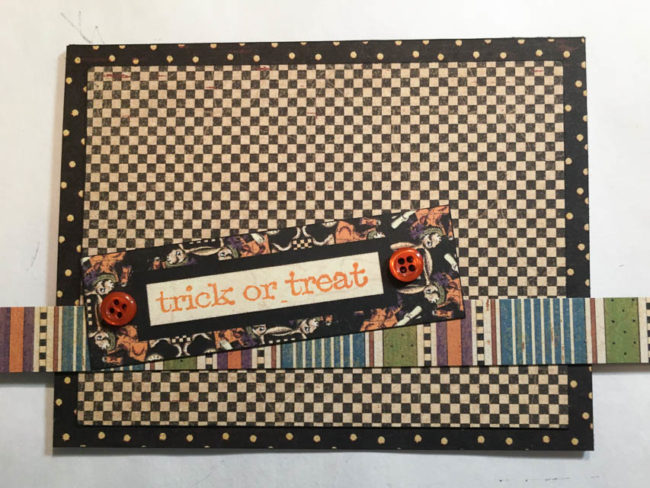
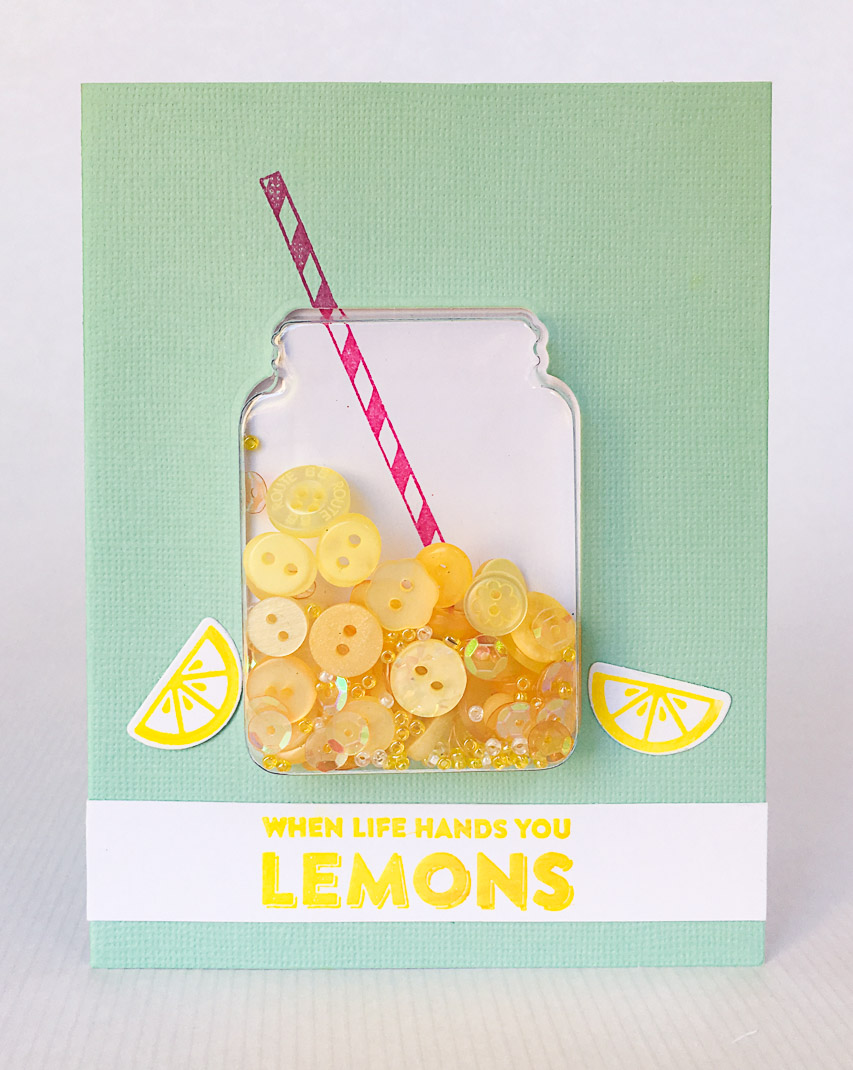
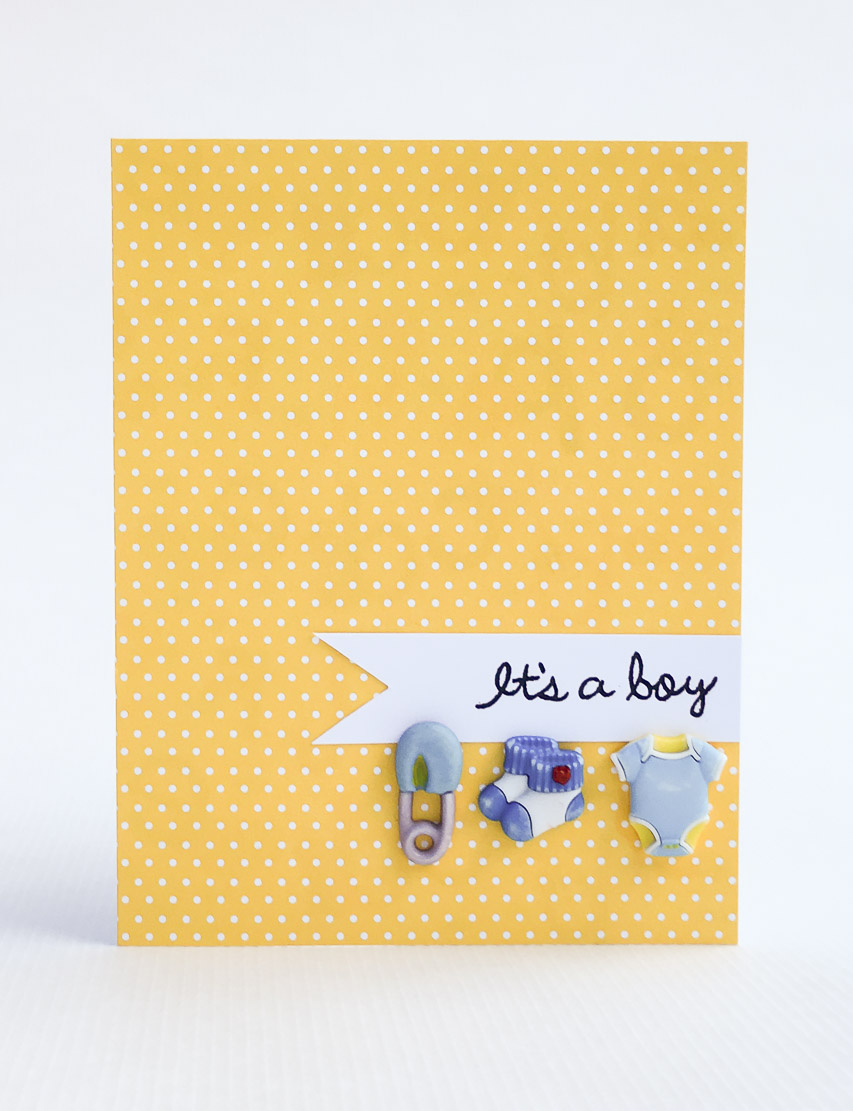
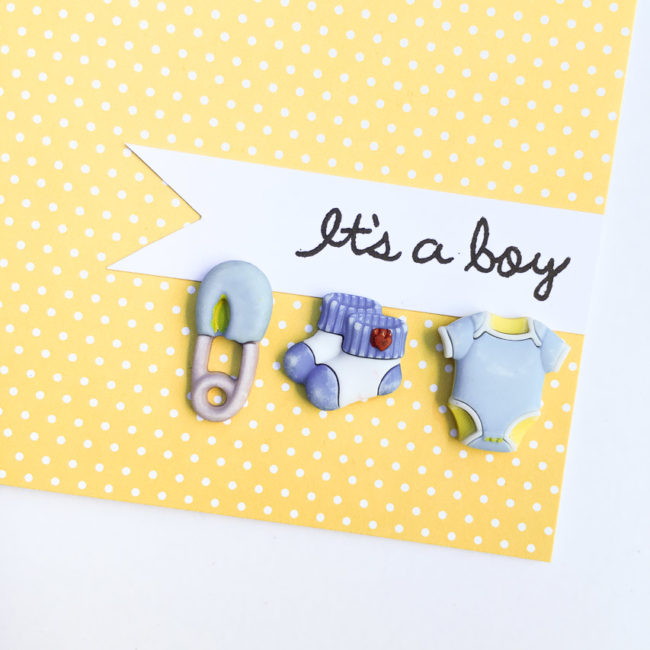
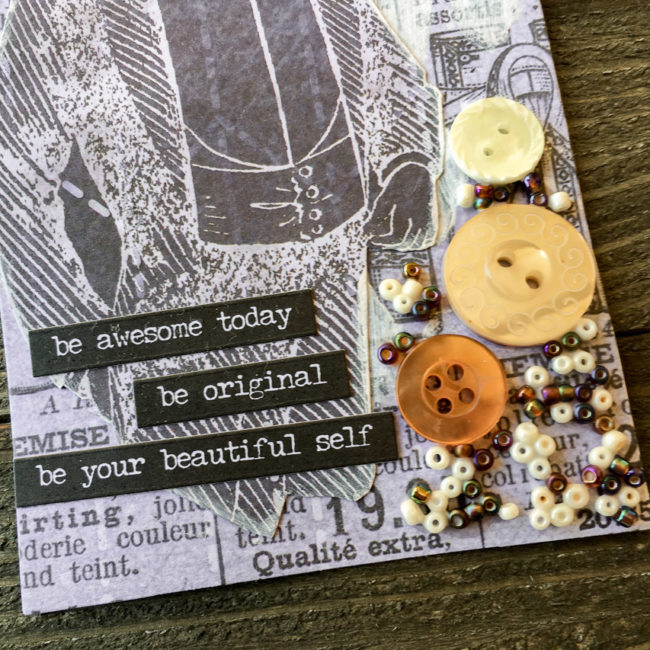
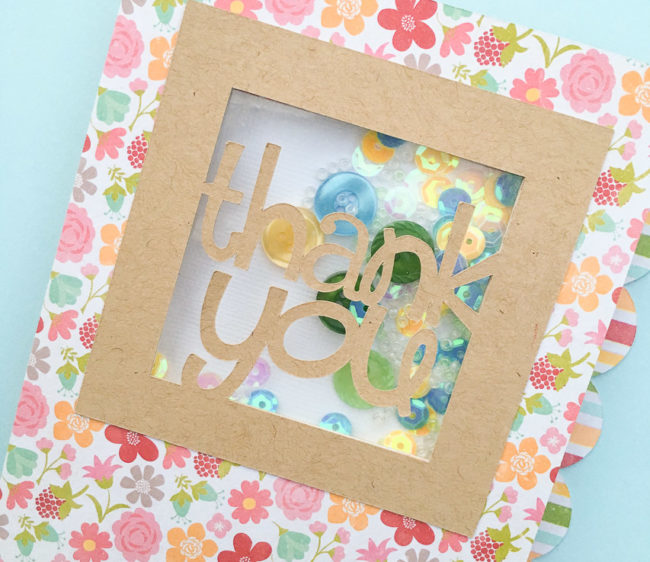
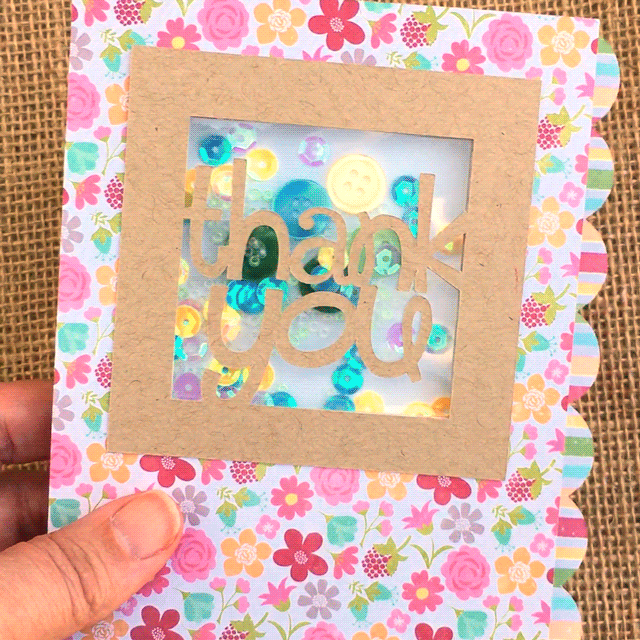
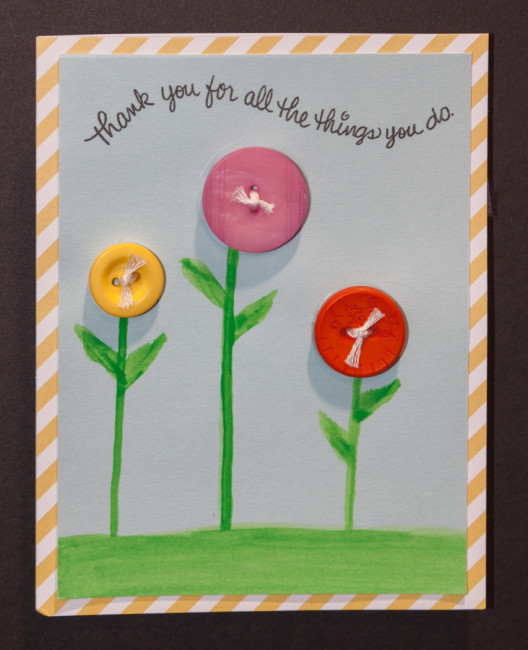
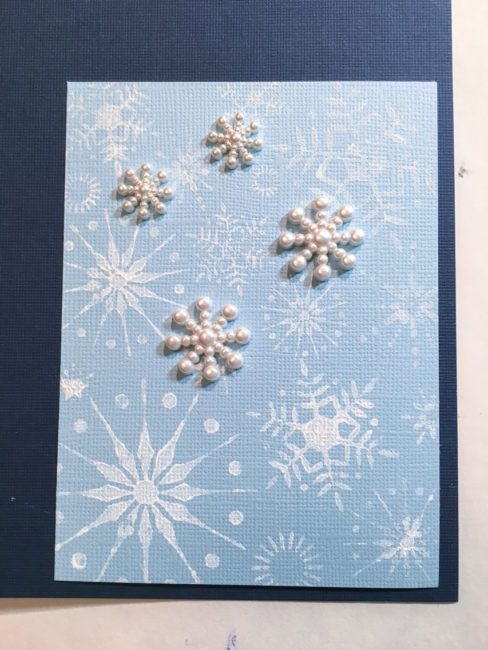 For the sentiment strip, cut a 3/4″ strip of white paper. If you stamp in the middle of that strip and then adhere it before snipping off the ends, it is easy to get your sentiment perfectly centered on the card front. Then you can arrange the red accent buttons around the edges of the sentiment strip and they will also be perfectly spaced!
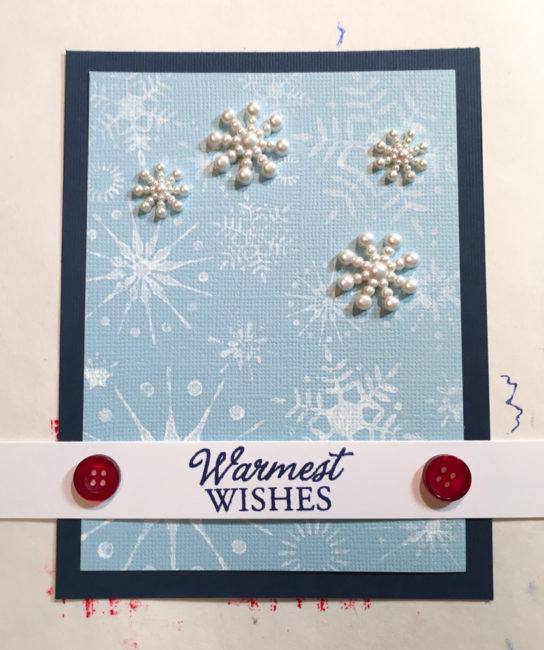
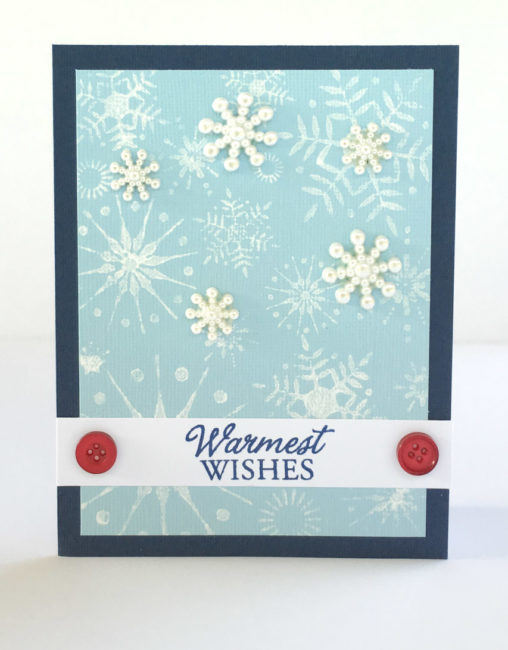

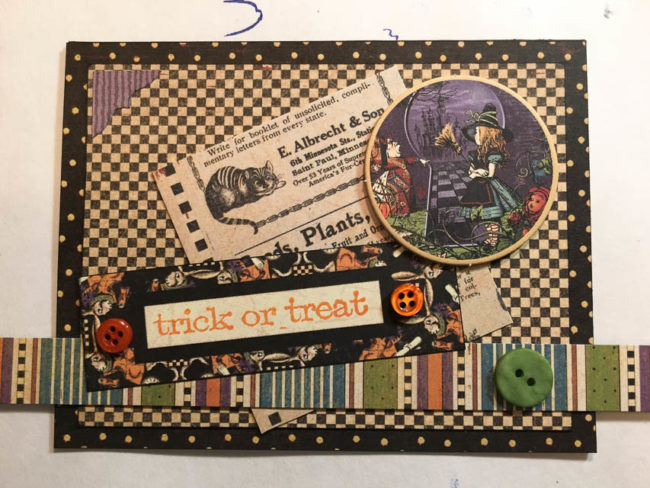
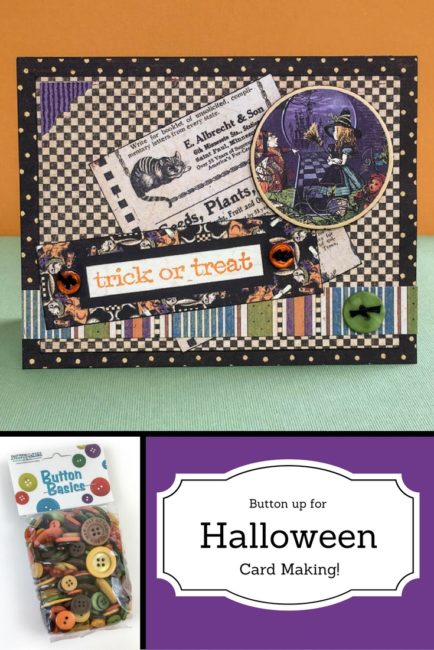
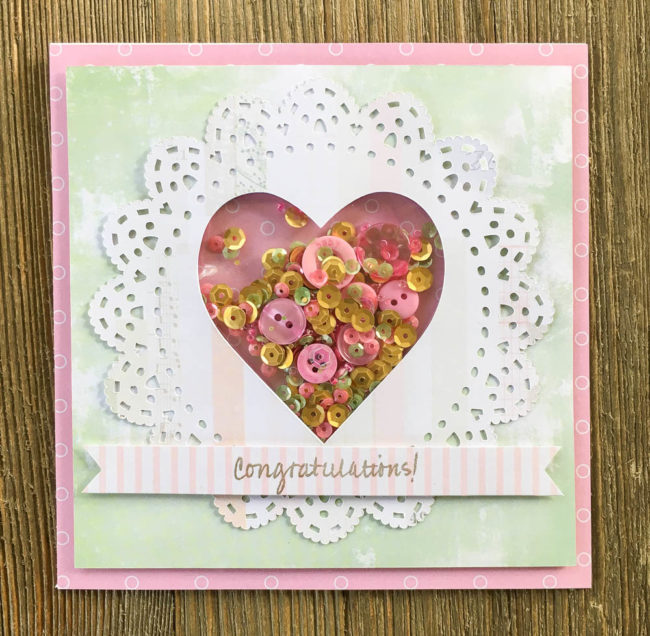
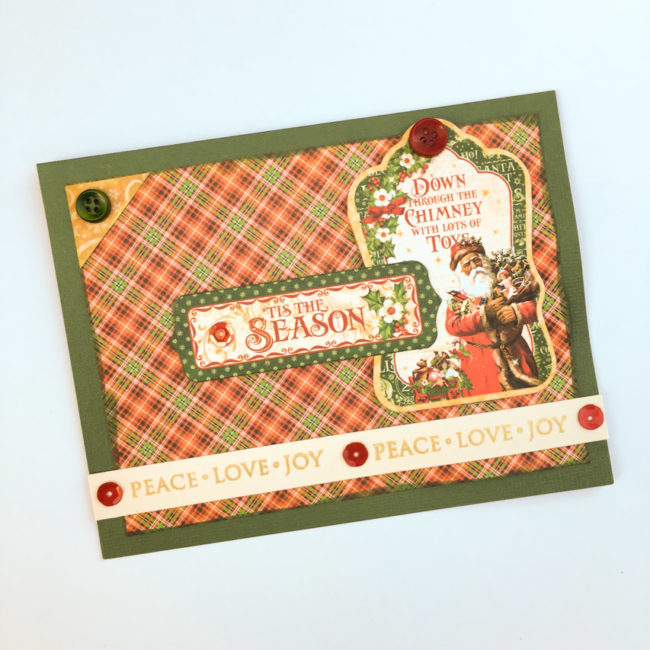
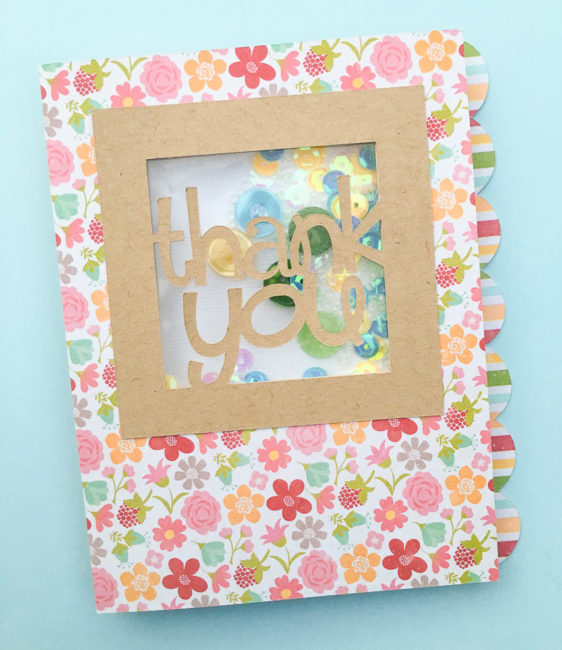
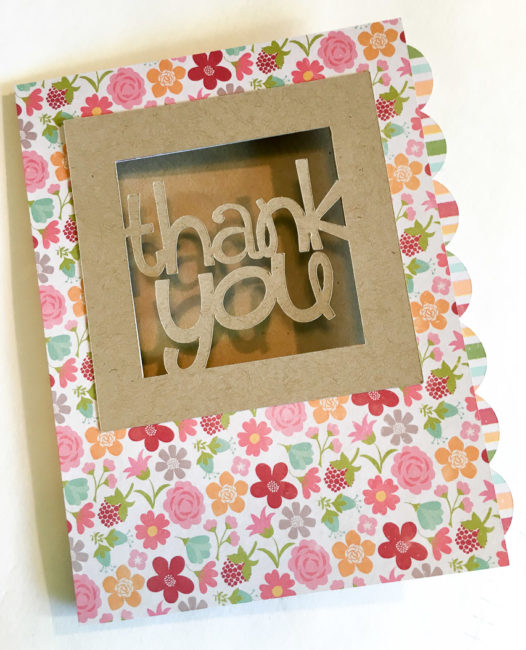
 For the full how to tutorial about the card, check out the video below!
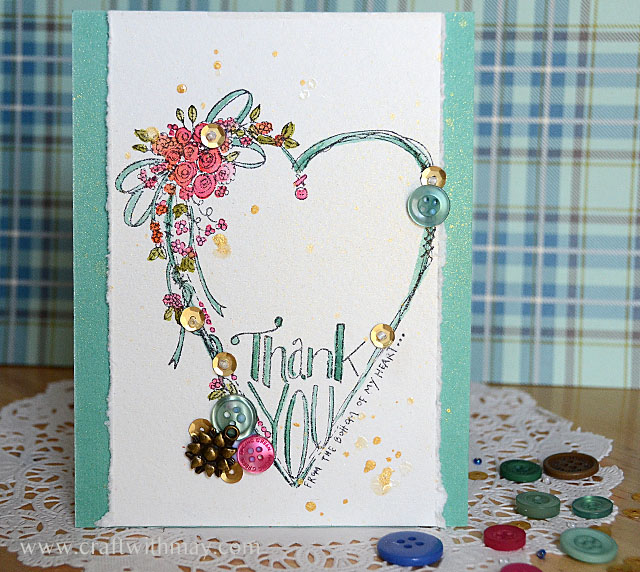


 Supplies:
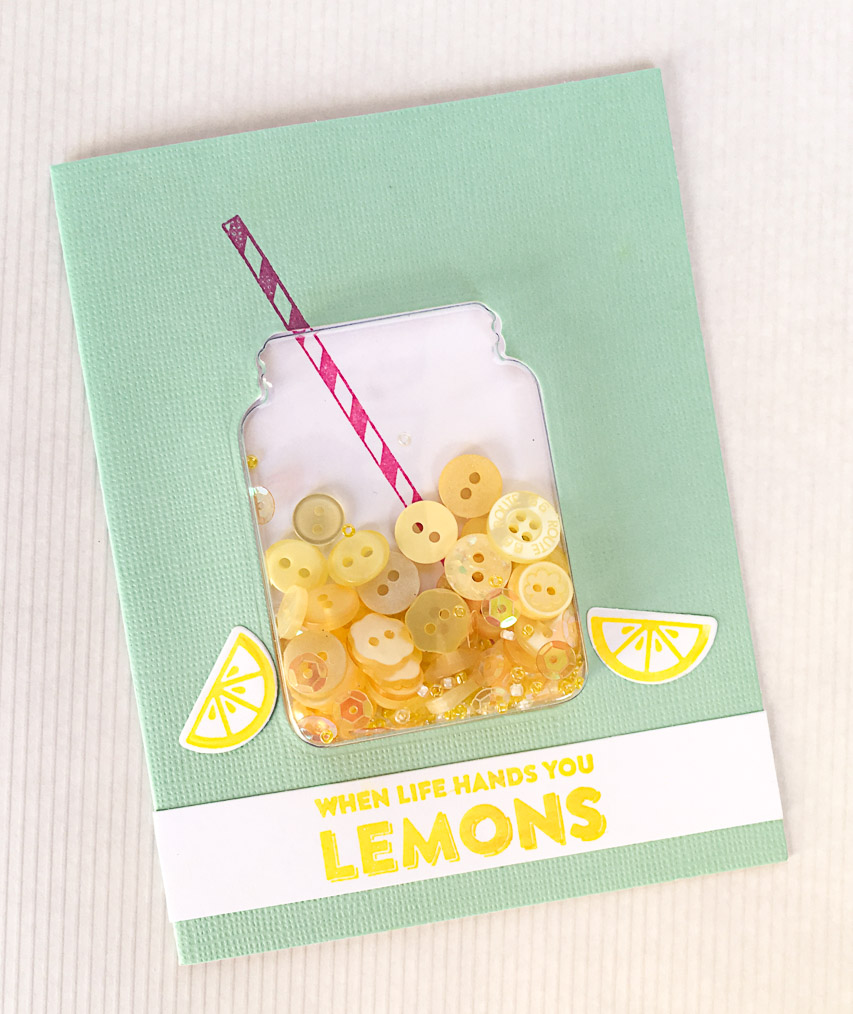


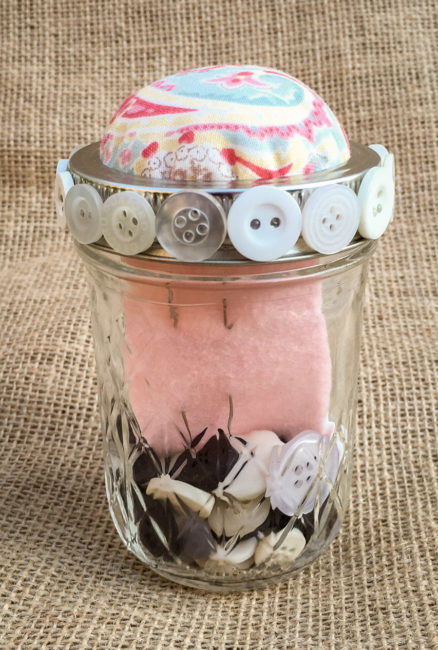
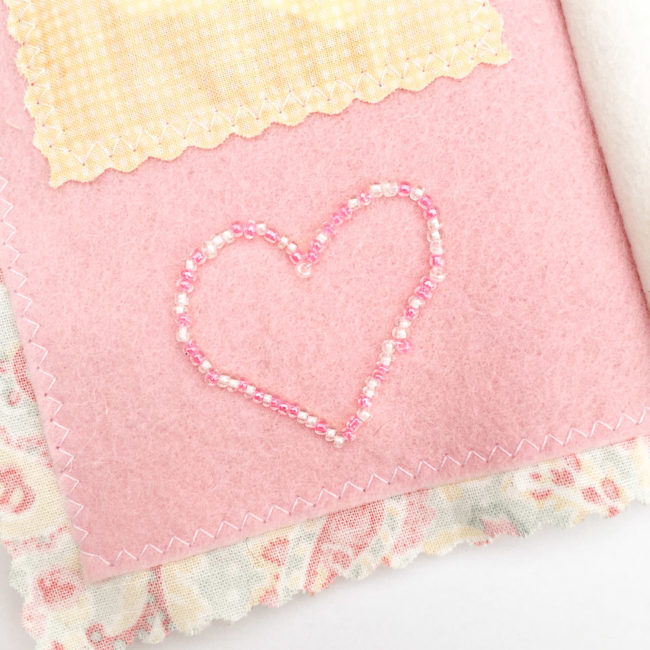
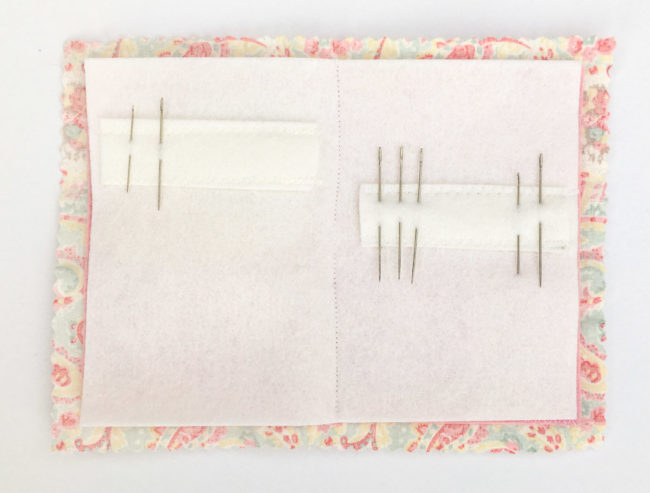
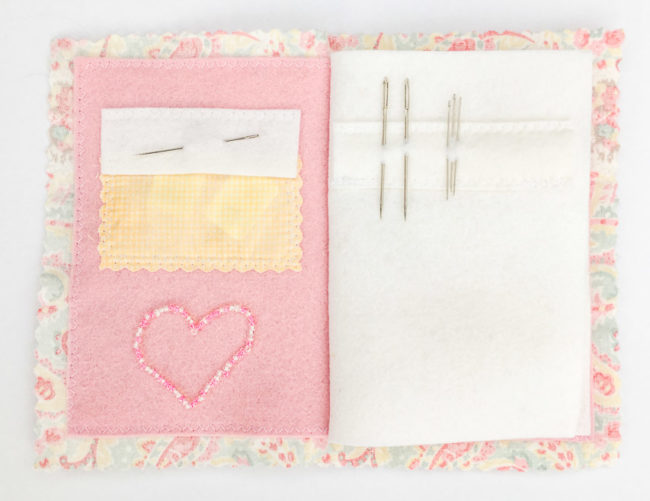 Start construction by working on the piece of felt that will make the inside of the cover (mine is pink).
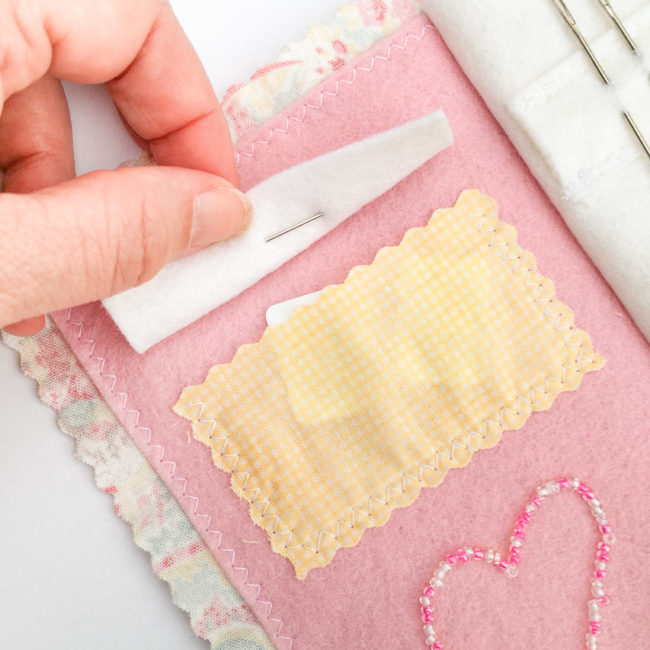


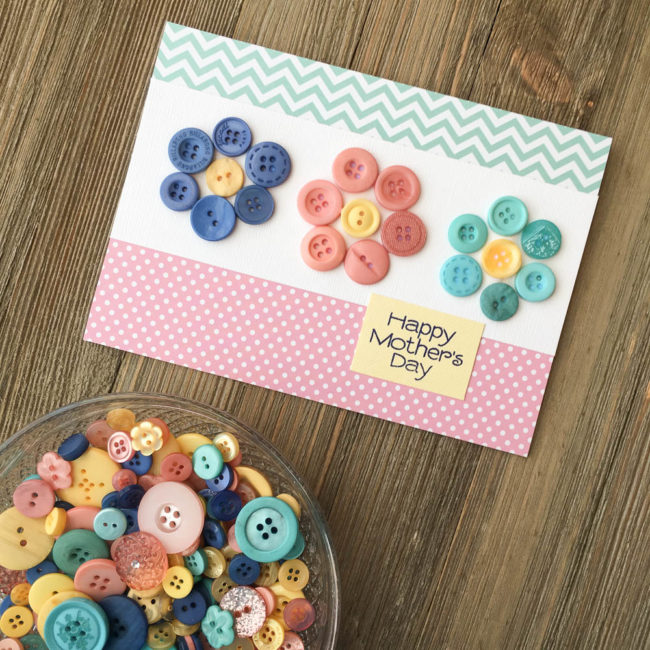
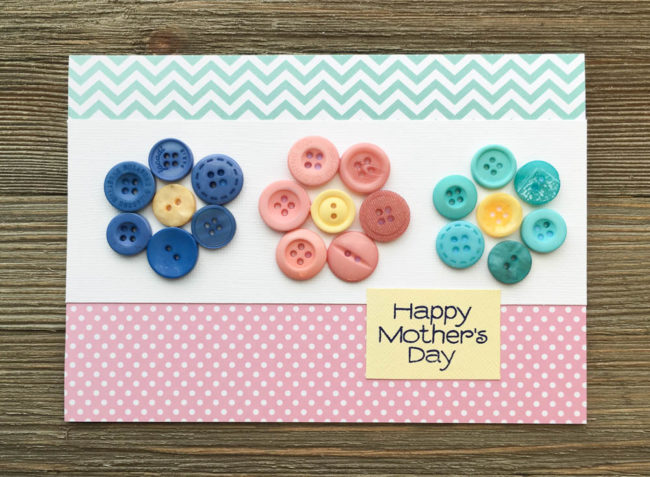
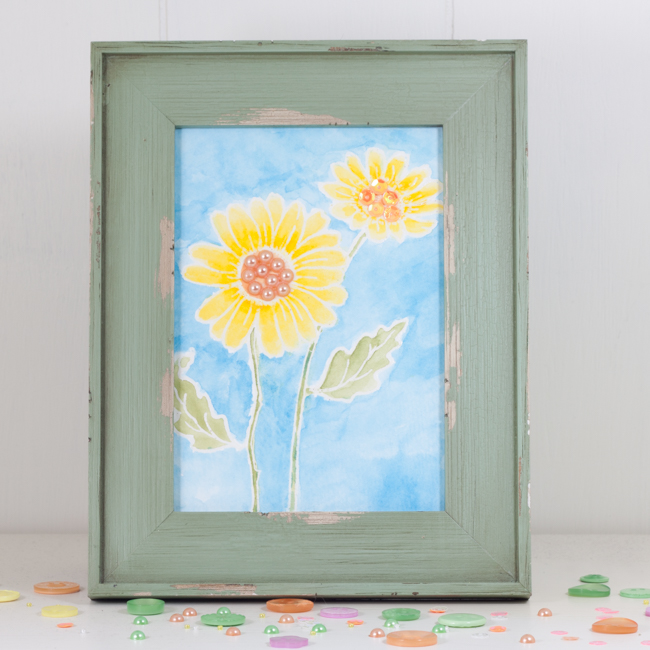
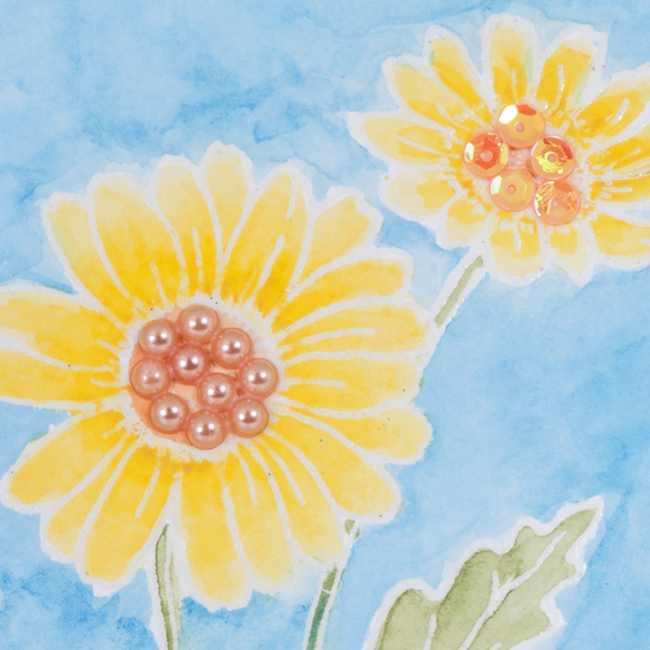
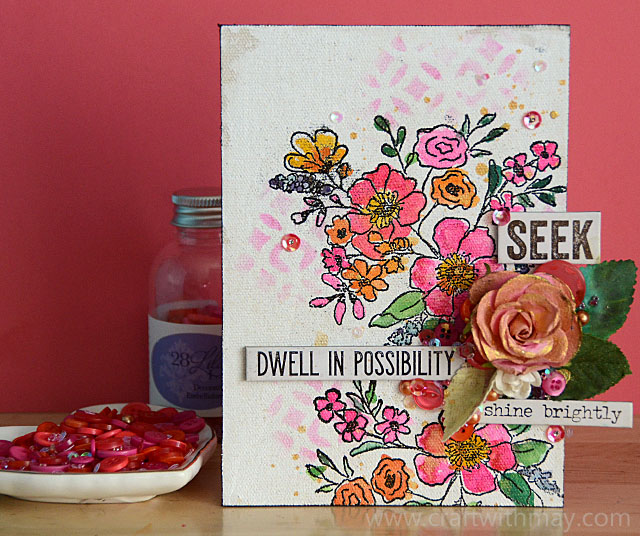
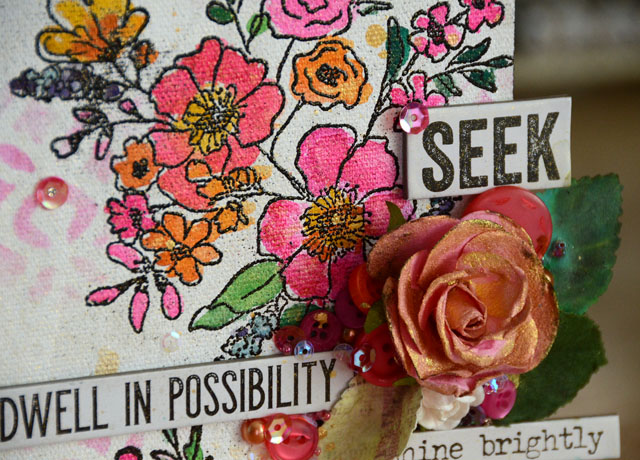
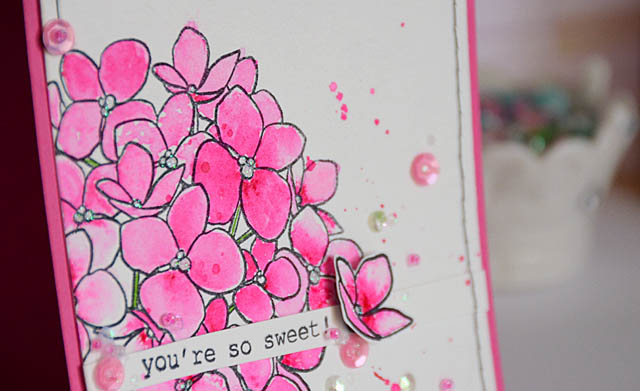
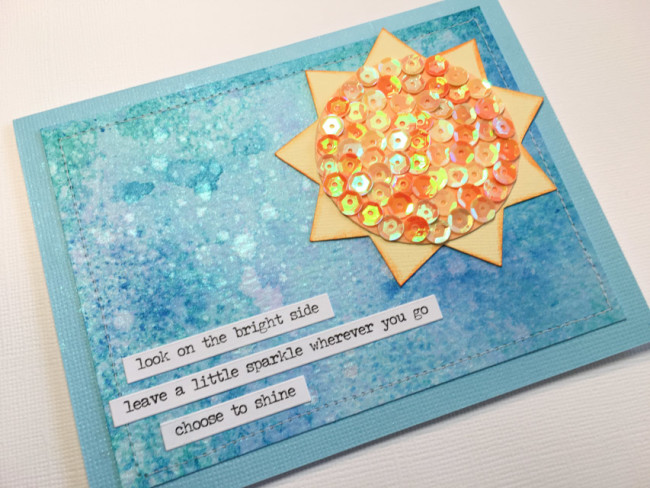
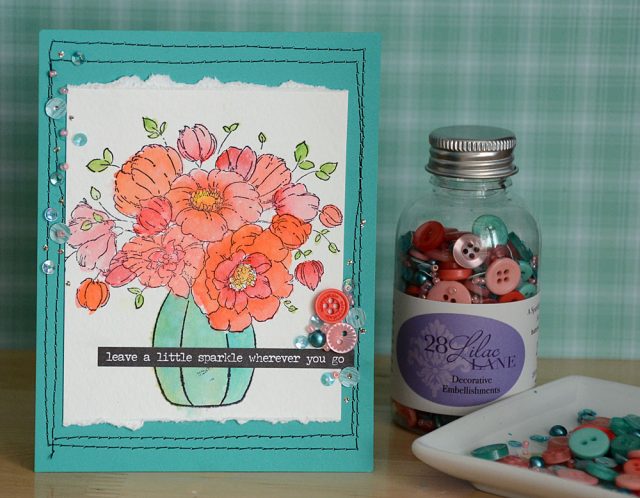
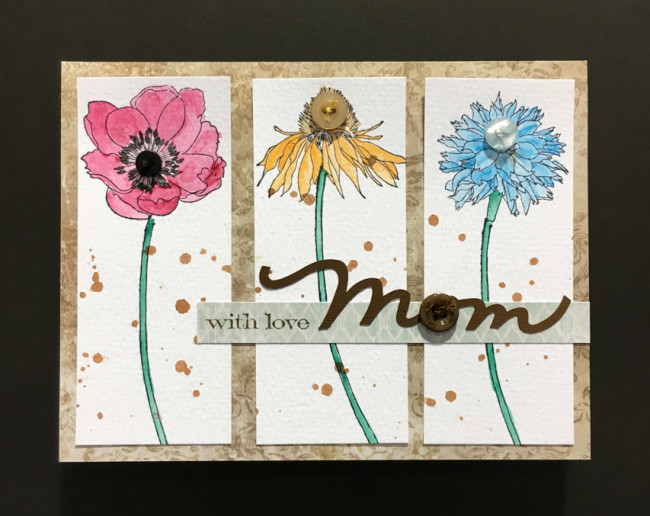 This fun and easy watercolor floral Mother’s Day card will show mom just how much you care!
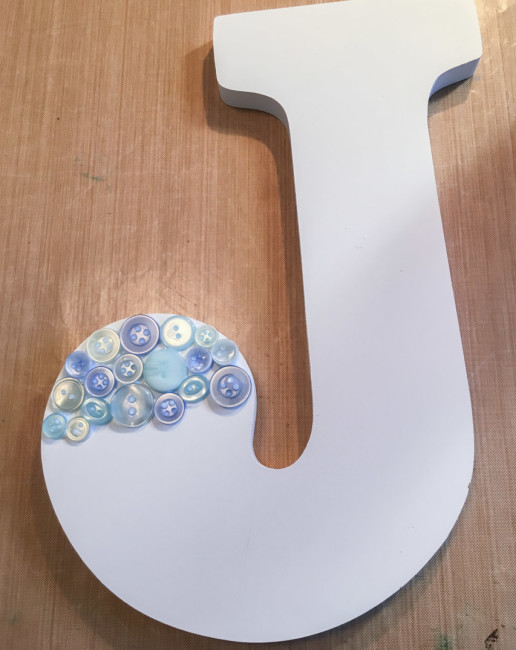
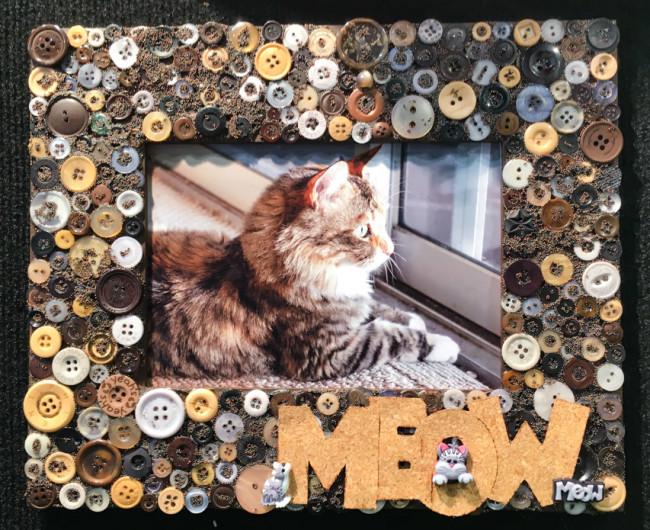
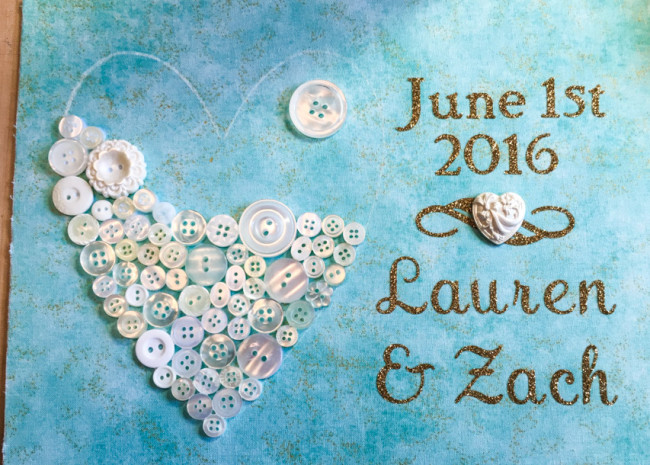
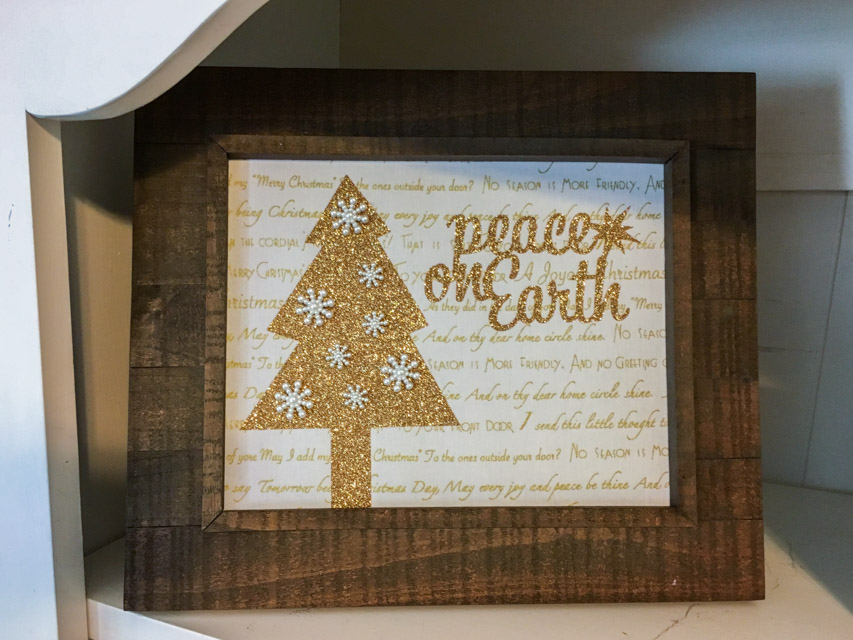
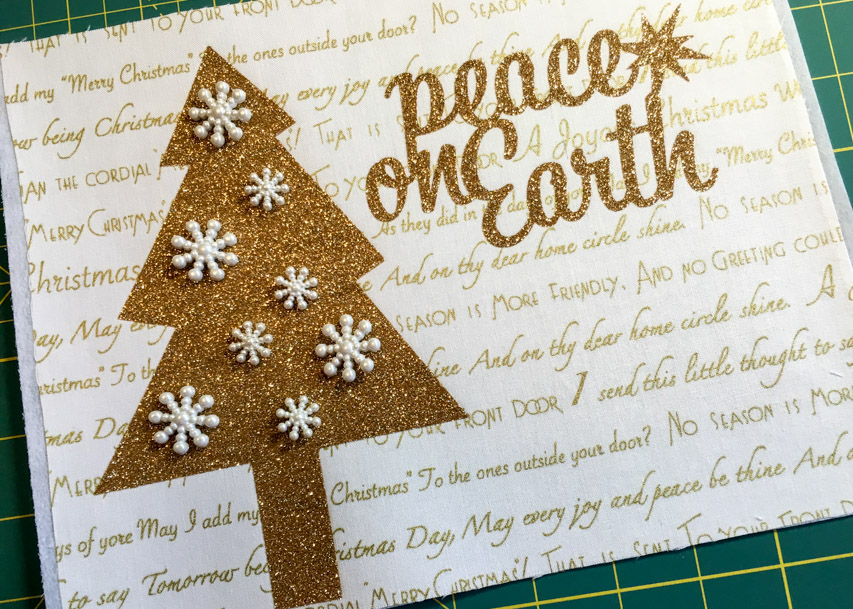
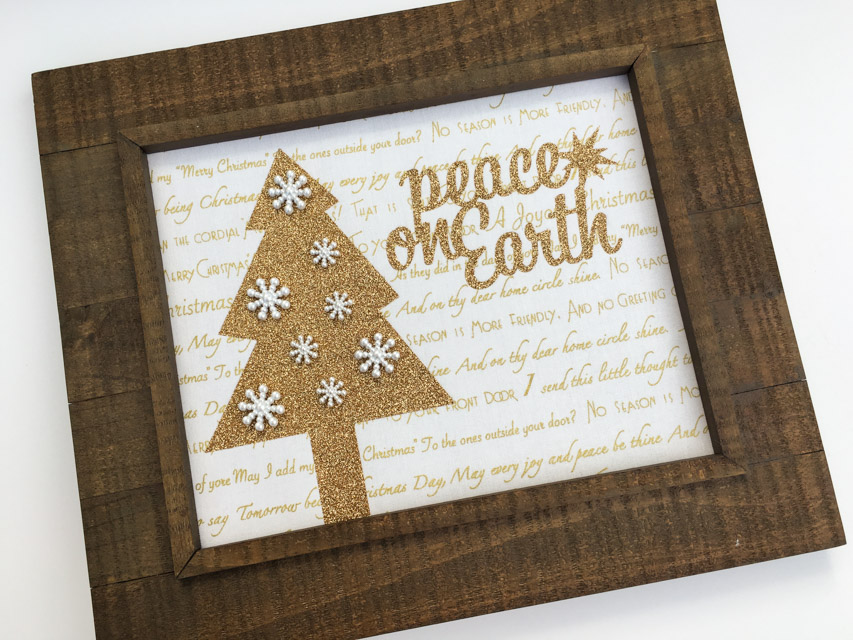
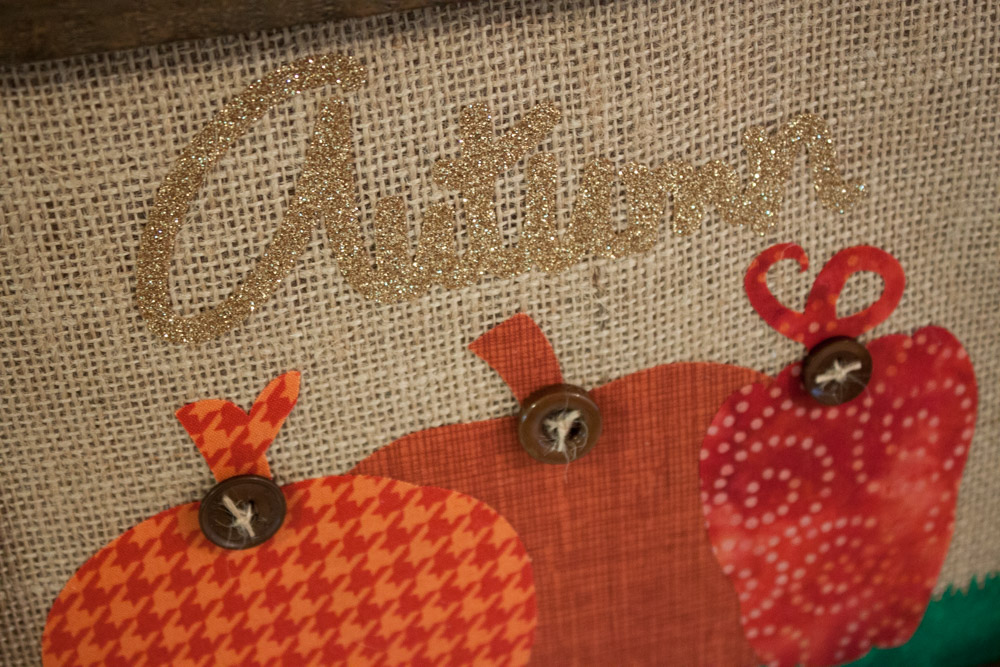
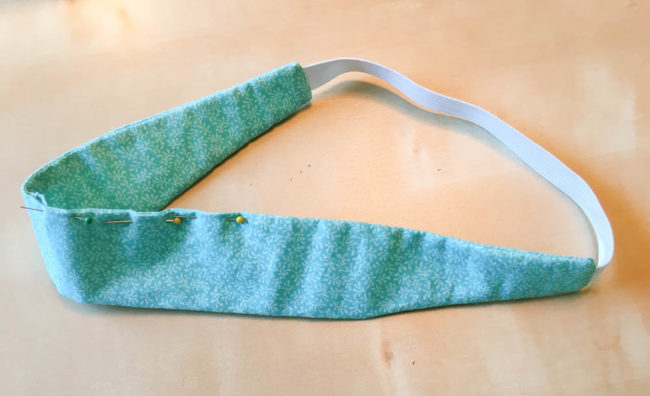
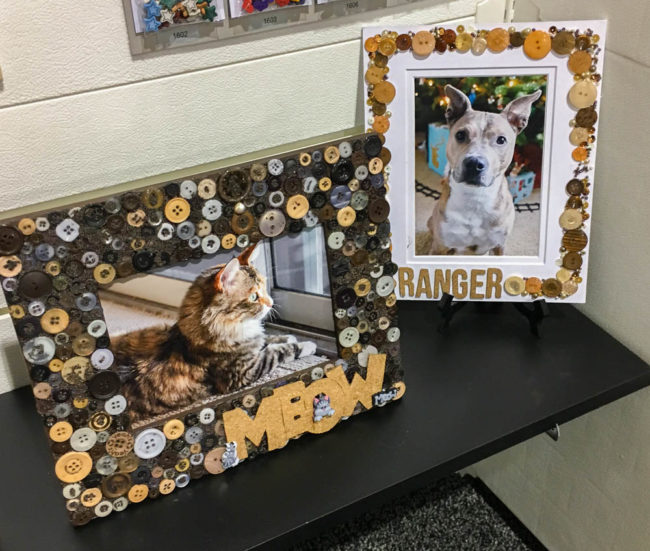
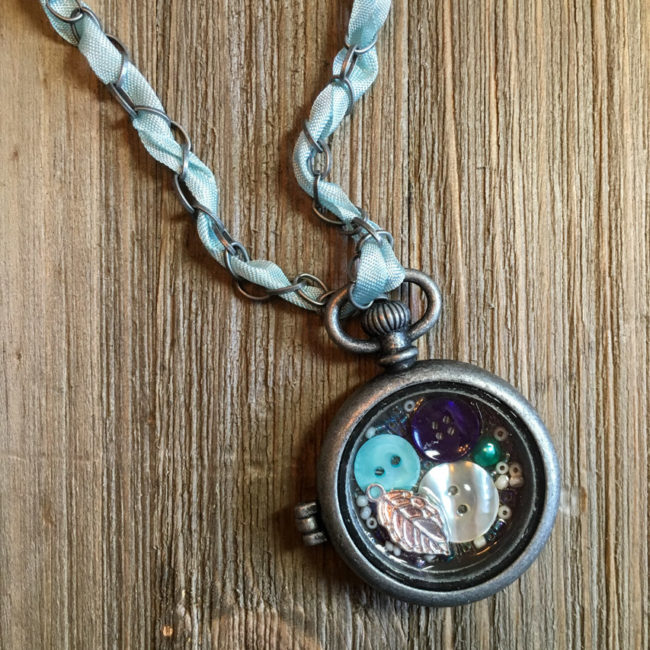
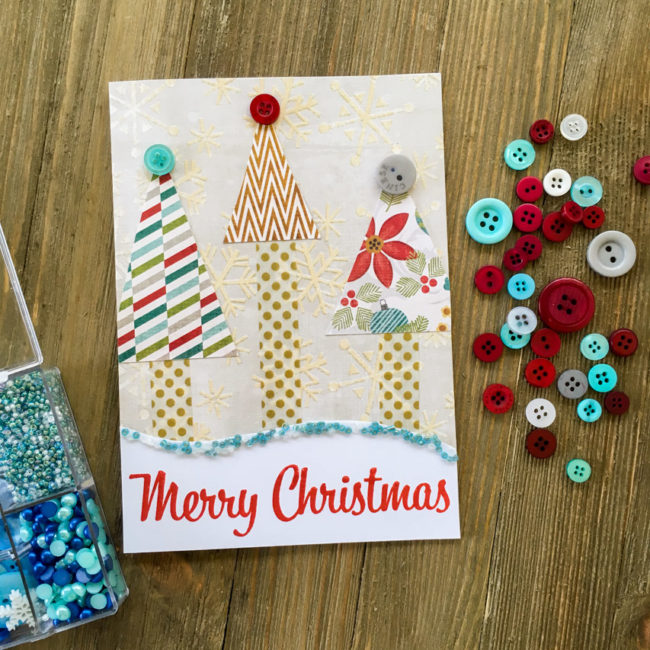
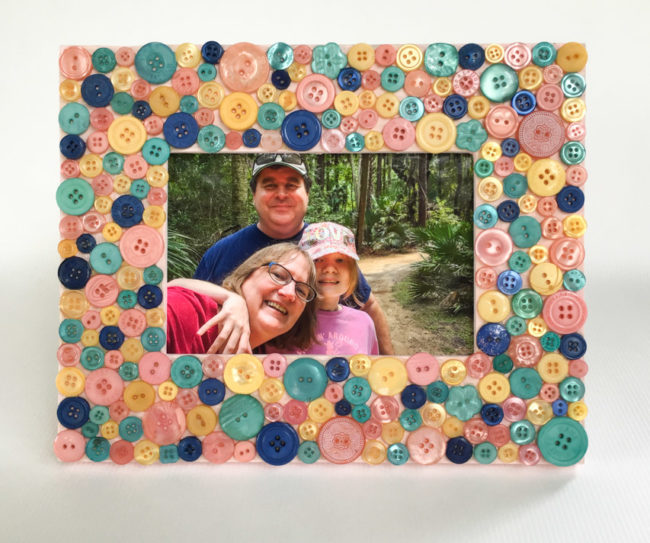
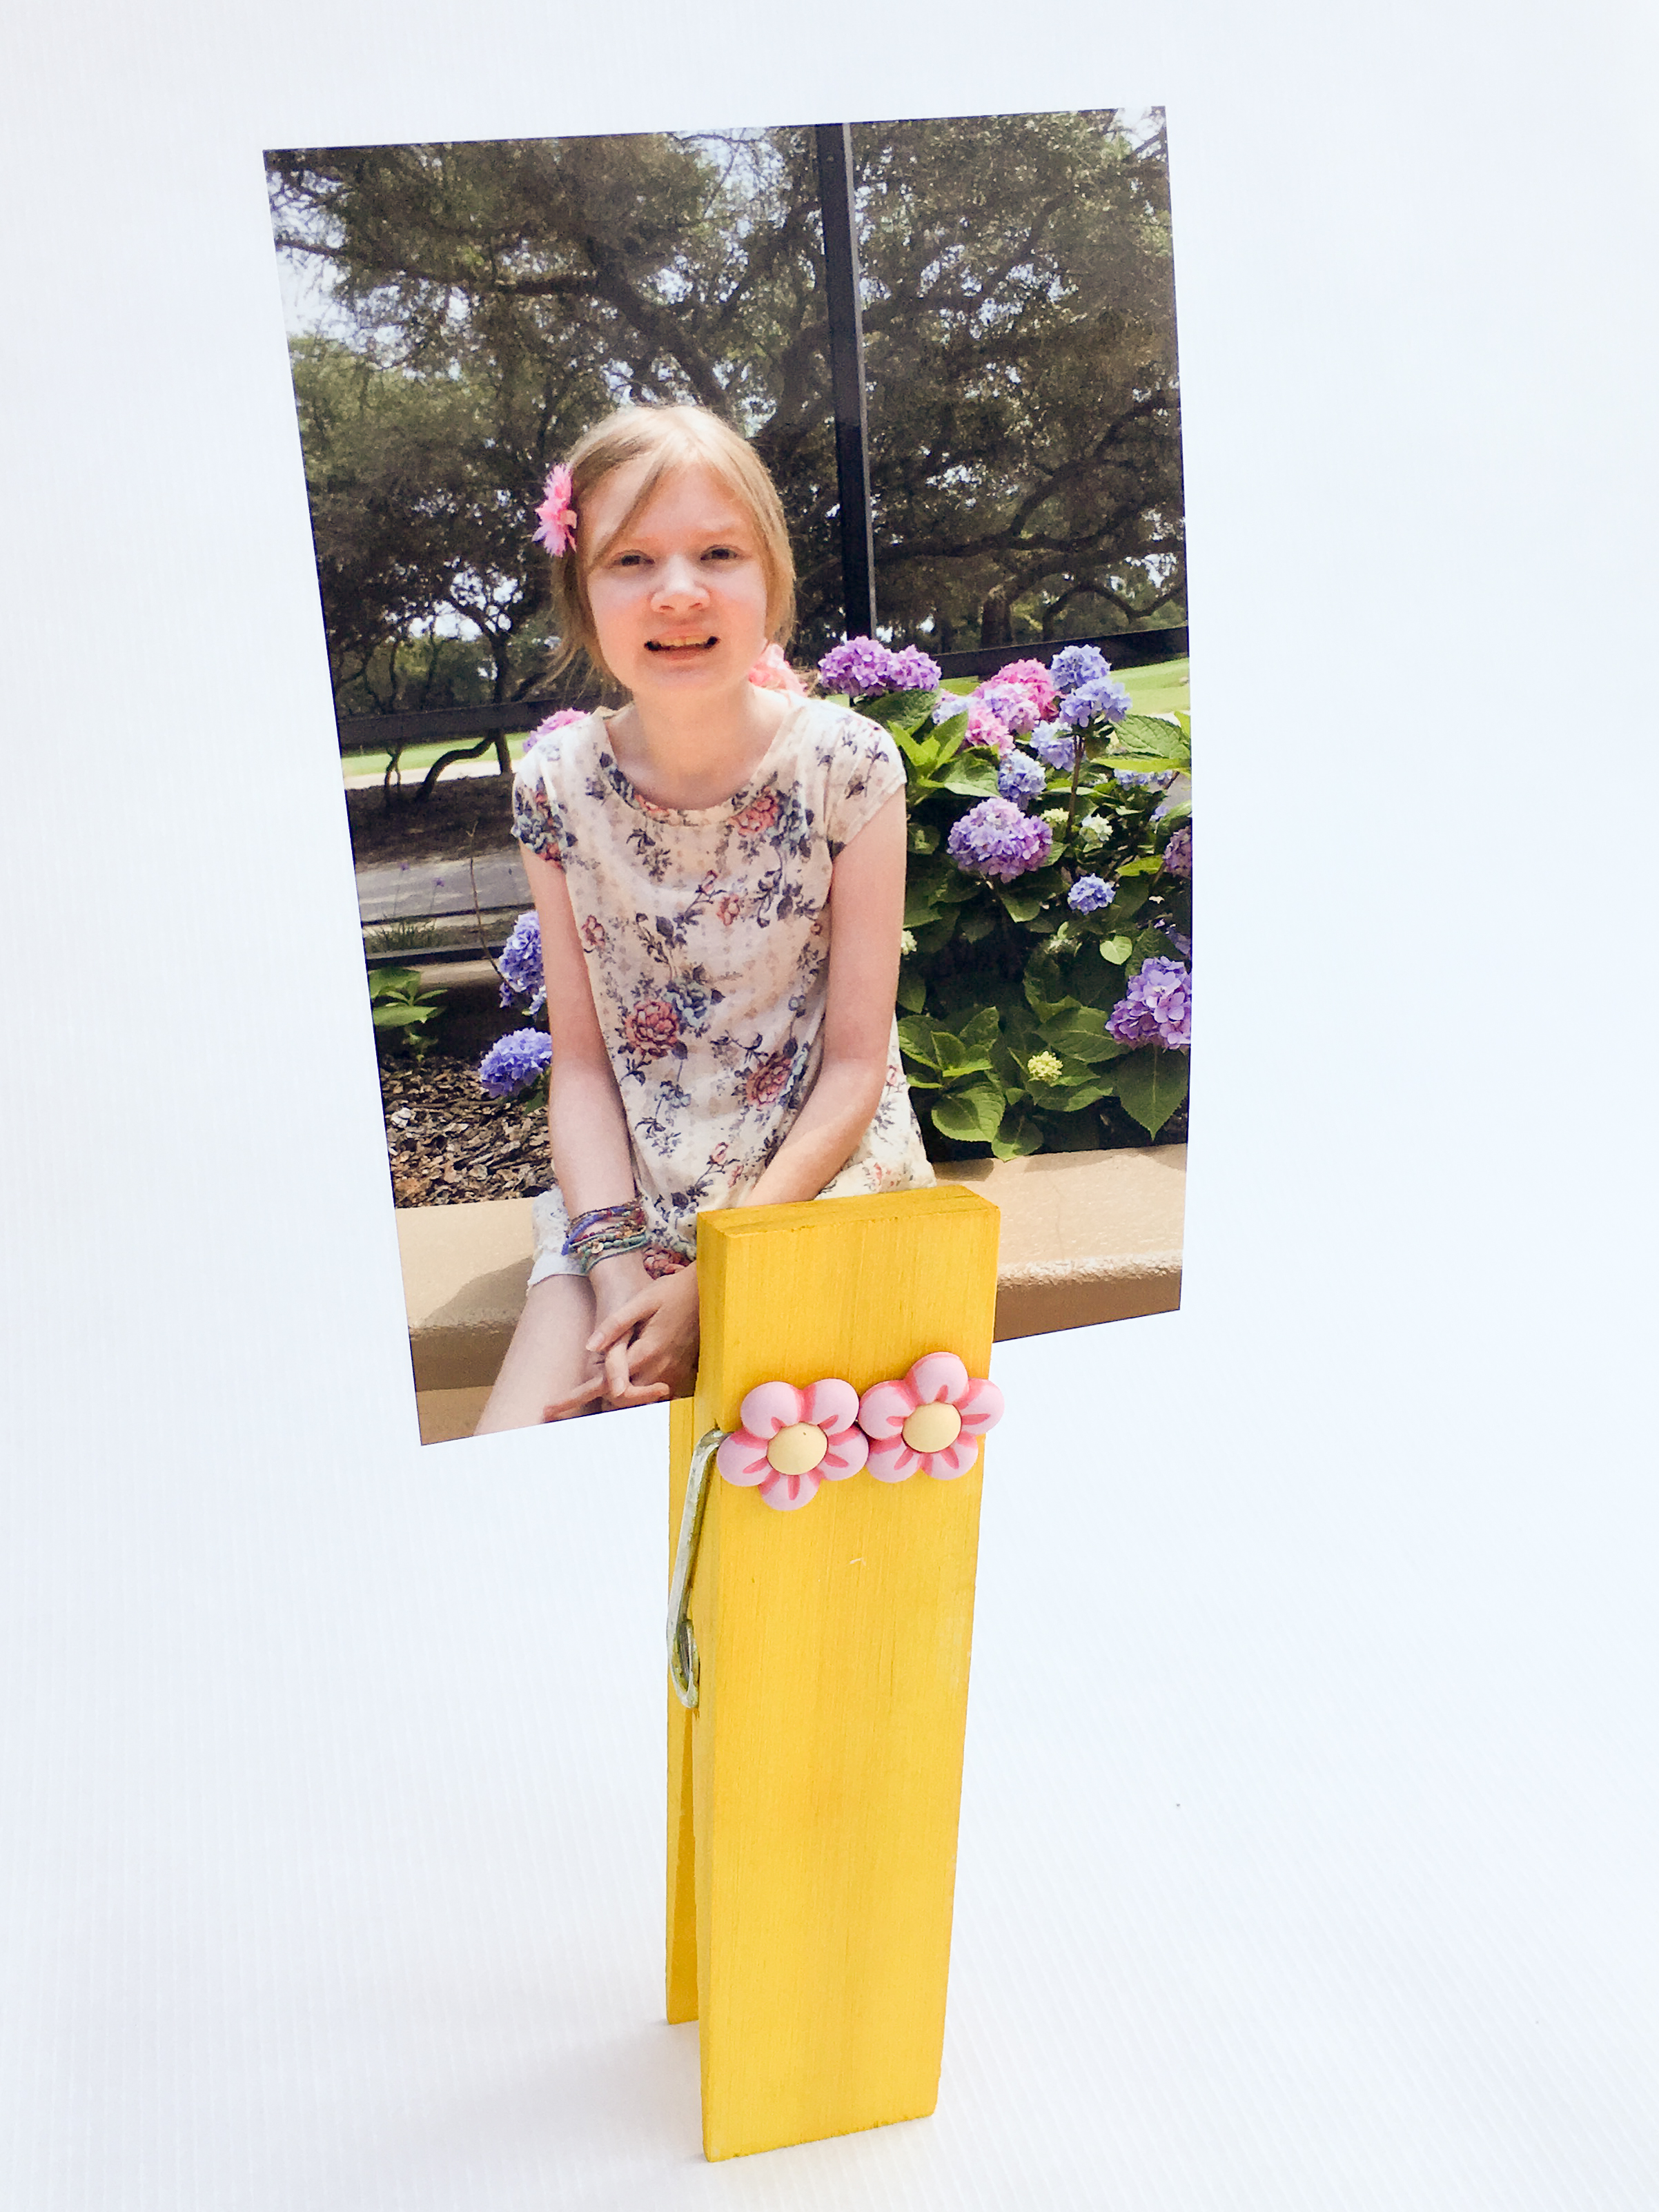
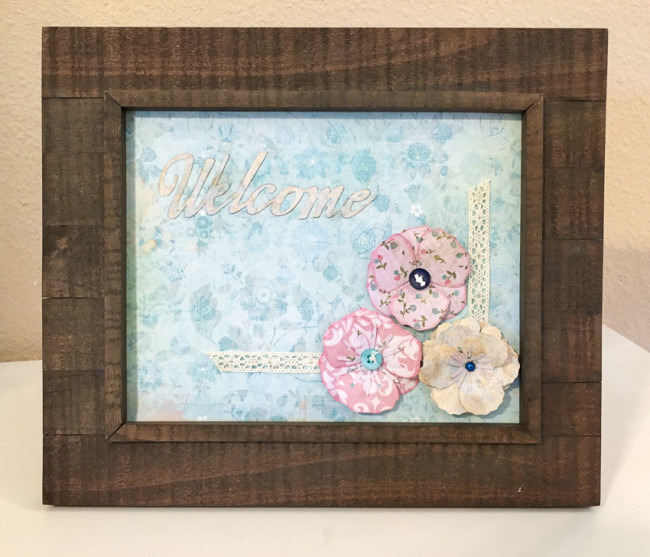
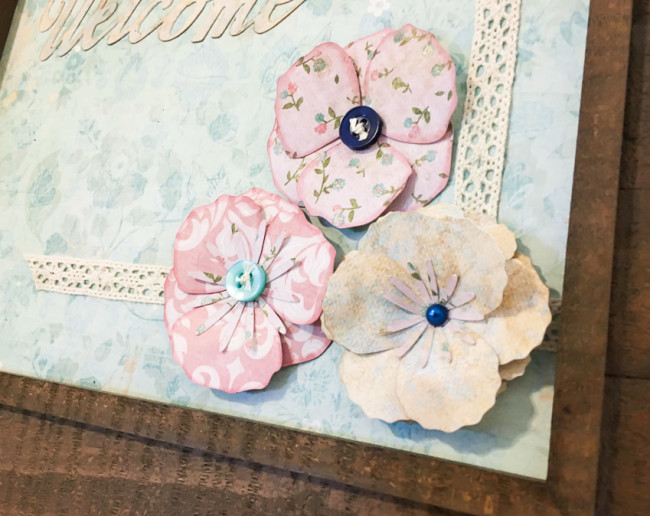
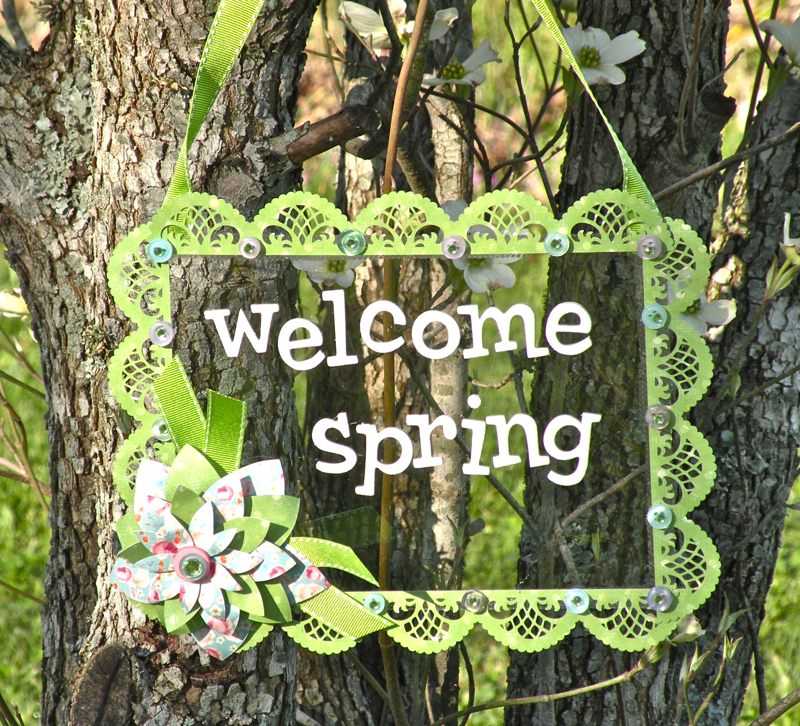
 The title is a simple addition to the frame – it’s the materials that make it look fancy!
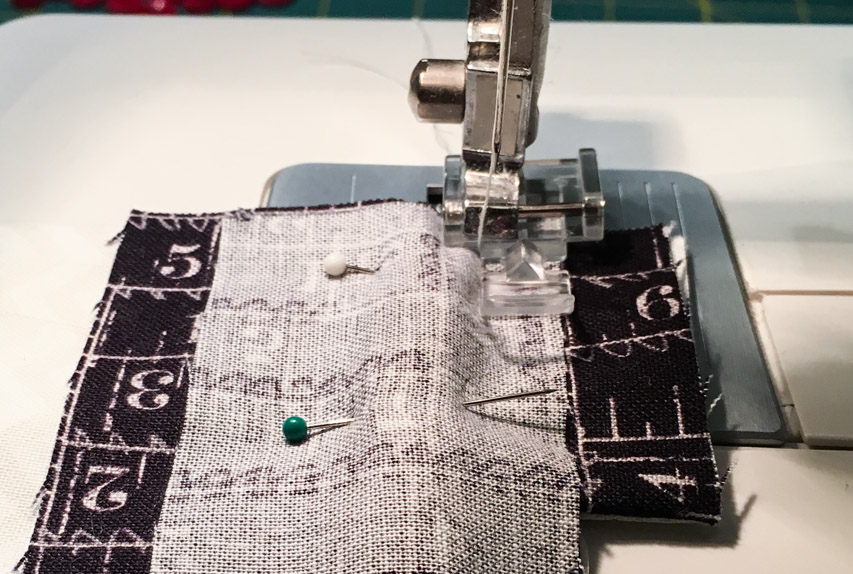
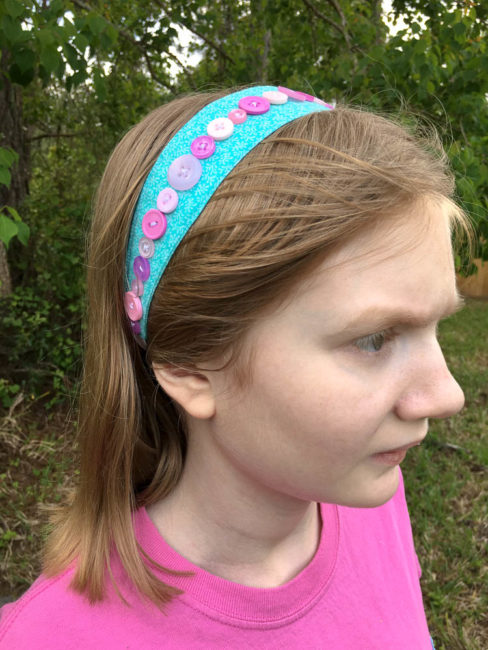
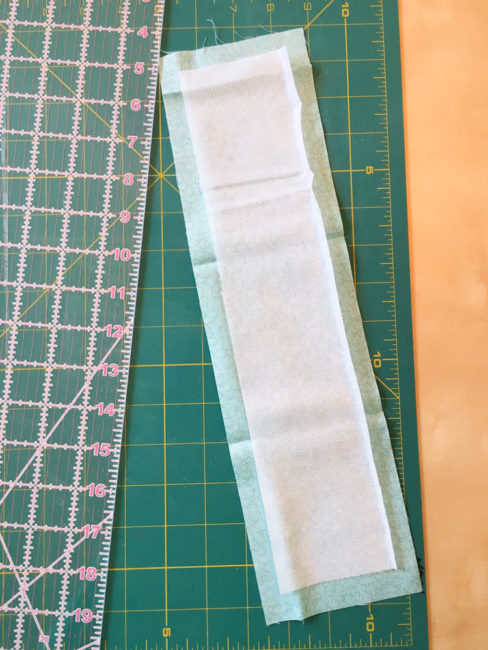
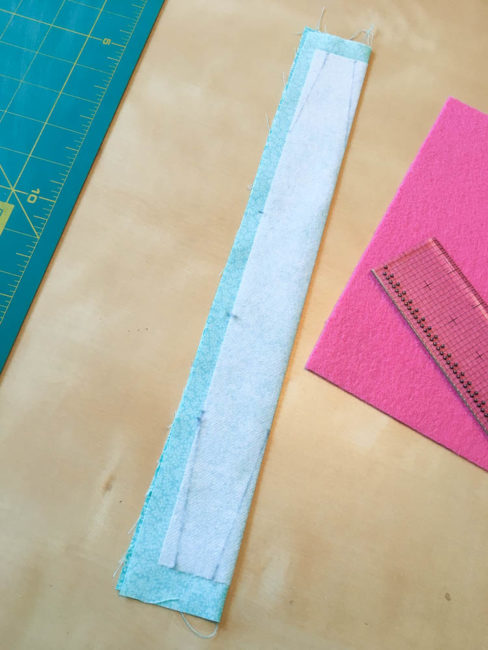
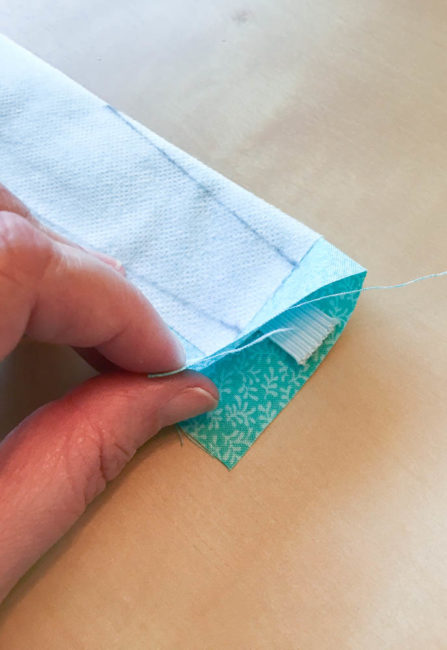
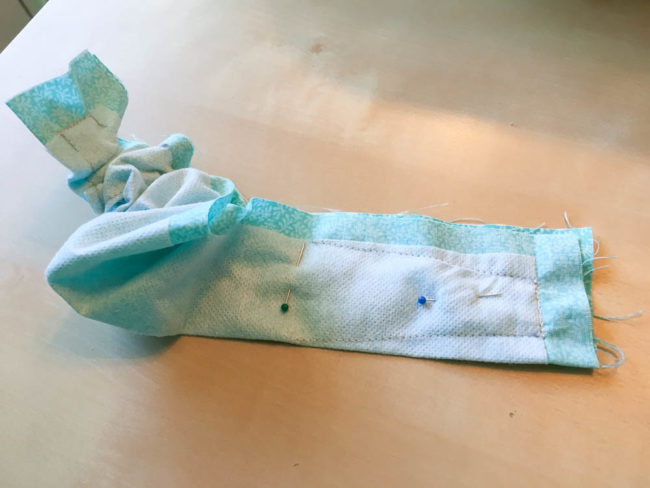
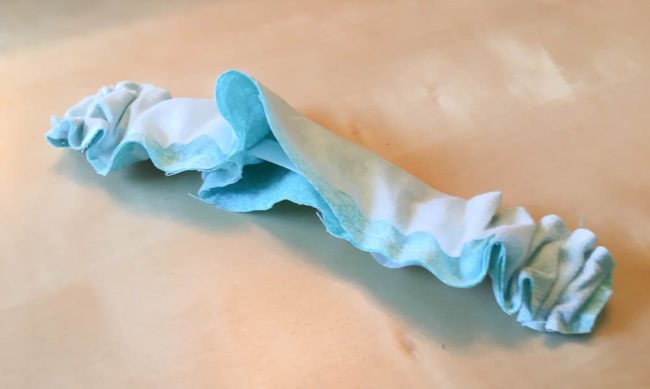
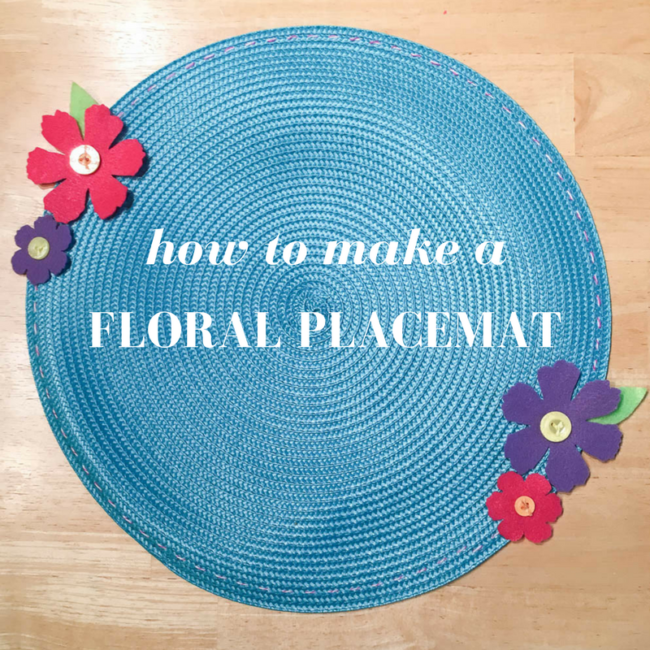
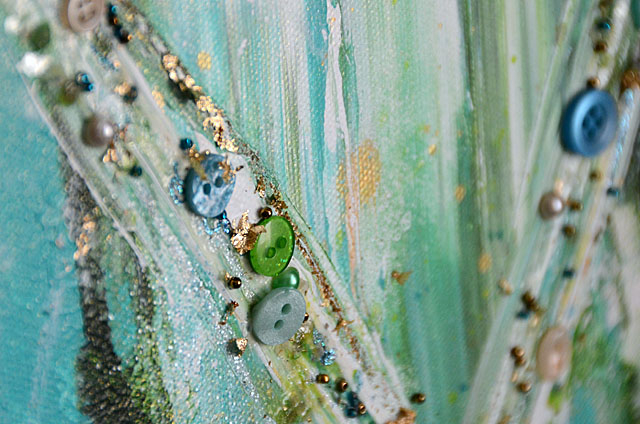
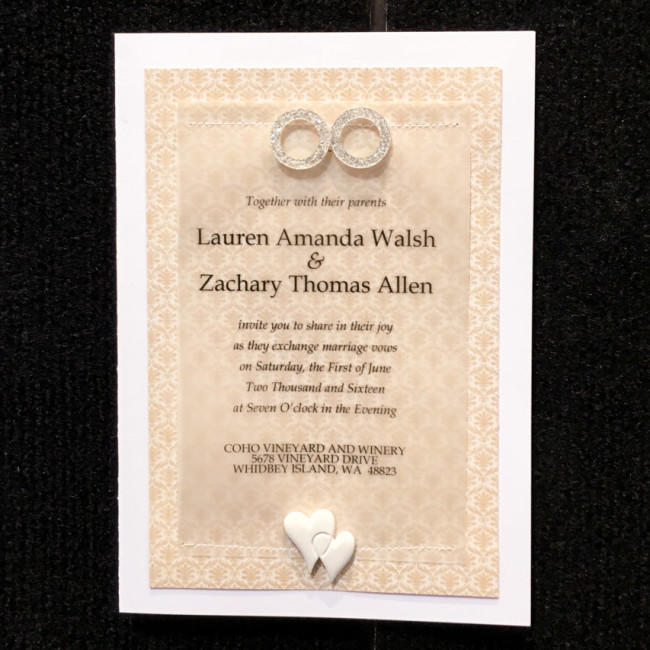
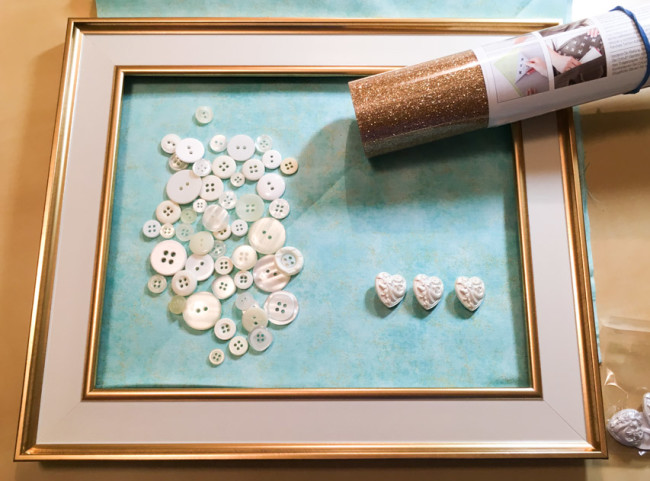 The first step in this project is to select a color scheme. This project is built around a fabric background, which can really be any color. I’ve chosen a beautiful aqua, but the wedding’s theme color or a color from the bride’s home decor might both be excellent choices.