Header

Archive | Graduation

A Crazy Bird Told Me…It’s Graduation Time!

Graduation season is here! Just because the big day is a formal affair, that doesn’t mean that the cards can’t have some fun. Our 3D buttons dress up this bird so he’s ready for the walk across the stage!

Crazy Bird Graduation Card

Supplies Needed:

This card uses our 3D buttons as accessories for some crazy stamped characters! This character gets a whole new dimension – literally – with a fun button graduation hat and his own button diploma.

To make this card, select a card base in one of the graduate’s school colors. (You’ll want to choose the darker of the two school colors for the card base.)

Cut a 3.75″ by 5″ piece of watercolor cardstock and adhere it centered on the cardfront. Use watercolors in the lighter of the two school colors to paint a block along the bottom of the paper. Stamp the sentiments at the top and bottom in waterproof ink, and then stamp the bird in the middle.

Crazy Bird Grad Card close-up

Use the watercolors to paint in the bird. (I used the yellow school color for the bird’s wings to hold the diploma.) Then cut the shanks off of the graduation hat and diploma buttons, and adhere them to your bird.

This bird will put a smile on the face of your special grad while bringing your good wishes to them! Happy Graduation, Class of 2017!

Easy Graduation Card using 3D buttons from www.buttonsgaloreandmore.com

0

Say Congratulations with a Button Balloon Card!

This time of year means graduations, and all sorts of other occasions for which congratulations are in order. Running out of time to make cards for all of them? Just dive into your Button Bonanza bags and dig out some of the largest buttons to make balloons!

Congratulations Button Balloon Card

Supplies:

I used the “primary” Button Bonanza bag for this but the beauty of a simple design like this is that you could use any color scheme that works for your occasion. For a graduation or sports-related occasion, use school colors! Recent graduate got a new job? Make your balloons the recipient’s favorite colors or their new employer’s corporate colors. With our huge palette of Button Bonanza colors, the options are endless!

Button Balloon Card

To make this card, select the buttons that you want to use and arrange them to make a row of “balloons”. Before you glue them down, nudge them up just slightly to get a pen in to draw your “string” lines and bows. Then use clear drying adhesive like PPA Matte Adhesive to glue the buttons down so that it looks like the strings are tied to their bottoms.

For the final step, get out a handwritten sentiment stamp (or a pen if you are braver than I am) and use black ink to stamp the sentiment in the lower right corner of the card front.

Button Balloon Card

Send some button balloons to someone special!

0

Graduation Card

Here’s a simple Graduation Card inspired by Dr. Seuss.

graduation card

Congratulations!
Today is your day,
You’re off to Great Places!
You’re off and away!


I hope this simple card inspires you!

I cut my letters on the Silhouette. The font is called Apple Gothic, and came with my Mac. The size is 72 point.

I used Glue Dots to adhere these adorable Buttons.

Supplies used to make Graduation Card:

1

Quick and Simple Money Holder Envelope

Money Holder Envelopes can only mean one thing … It’s Graduation time again and maybe you want to show those special Grads some love.   Cash love that is!

Here’s how to make a quick and simple money holder envelope that can be stuffed full of congrats cash and gift cards for that starving ex-student.

Money Holder Envelope for Buttons Galore and More

Money Holder for the Graduate


IMG_4607

Supplies Needed to Make a Money Holder:


IMG_4610

8 x 7 inch piece of cardstock scored at 2″ and 6″

congrats4

1. Trim out sentiment and adhere. 2. Peel off backing and sprinkle glitter 3. Remove excess glitter. 4. Done!

 Use Clearsnap Design Adhesives

To quickly add a Congratulations sentiment on to the money holder,  I used these convenient  Design Adhesives from Clear Snap.  Really neat product and sooo easy to use!

IMG_4669

You could use any choice of adhesive to make your money holder but I choose to stitch mine together using a sewing machine, added a clear Velcro coin to keep the envelope closed (don’t wanna lose any of that congrats cash now) and added a ribbon bow and  Haberdashery button for some sophistication.

I love how the black and white stitching contrast together,  adds a ‘lil sophistication on the envelope.  Now that they’re a graduate,  they should be a little more sophisticated, right?

newsignature

Like Me on Facebook!

1

Graduation Gift Card Holder

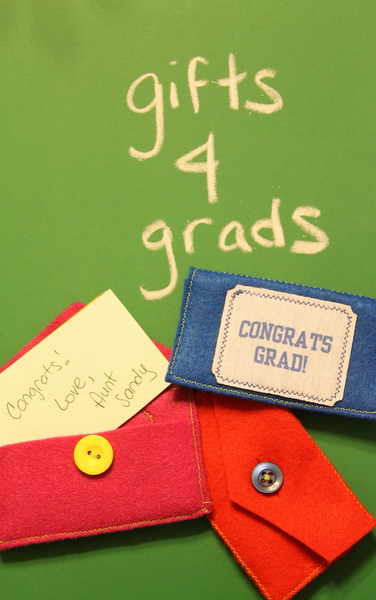
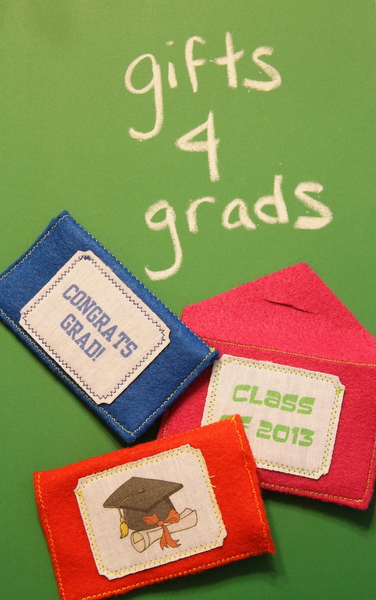
Make this graduation gift card holder for the graduate in your life.  The perfect thing to make a gift card a little more special.  Plus these can be customized to the graduate easily.  Show the graduate how much you care by adding these handmade gift card holders to their gift.

Graduate Gift Card Holder


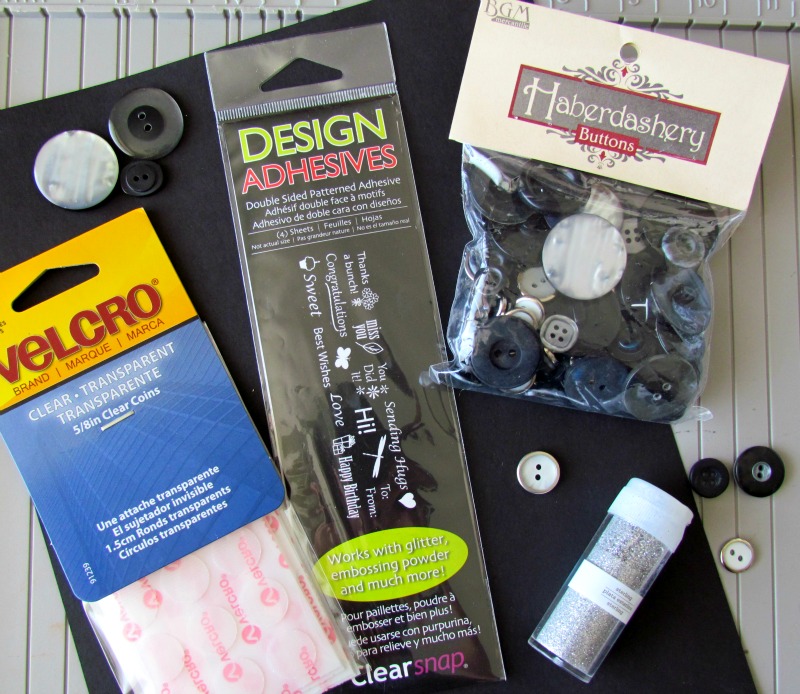
Graduation Gift Card Holder Supplies Needed:

  • white cotton material
  • spray adhesive
  • white card stock (8 1/2 by 11)
  • printer
  • phoomph or other fabric stiffener
  • sewing machine with colored thread
  • felt
  • die cutter and cutting die (or scissors)
  • assorted buttons

Graduation Gift Card Holder Instructions:

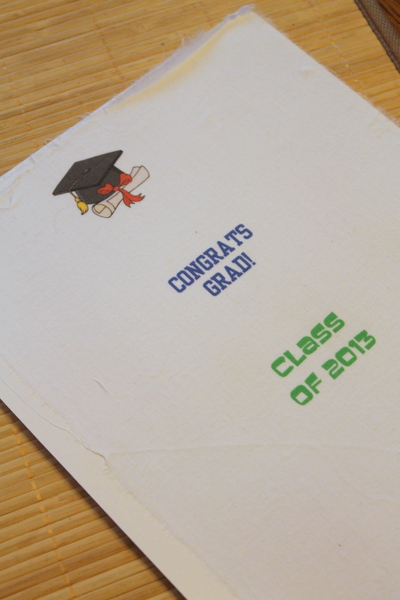
1)  Cut a piece of white cotton material to the size of your card stock.  Adhere the fabric to the card stock using spray adhesive.  Pick graduation themed images on your computer and put them onto one page in a word processing program or equivalent.  Run the card stock through your printer printing the images onto the fabric.  Allow to dry before touching.  You can set the images with some aerosol hairspray for extra insurance if desired.

Graduate Gift Card Holder


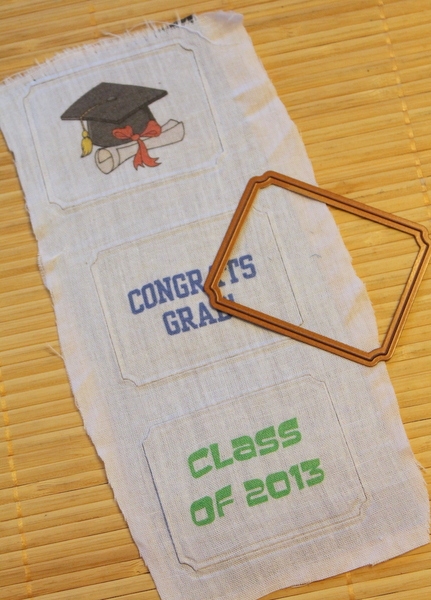
2)  Next you need to stiffen the fabric.  I used a self adhesive product called phoomph but any type of interfacing that you would like to use would work.  The phoomph helps keep the fabric from fraying when cut which will be important because I am not sewing the edges.  I cut my fabric down then adhered to one side of my phoomph.  I then ran the fabric through my die cutter with a die to get rectangular shape.  You can use scissors and a straight edge to get the same results.

Graduate Gift Card Holder

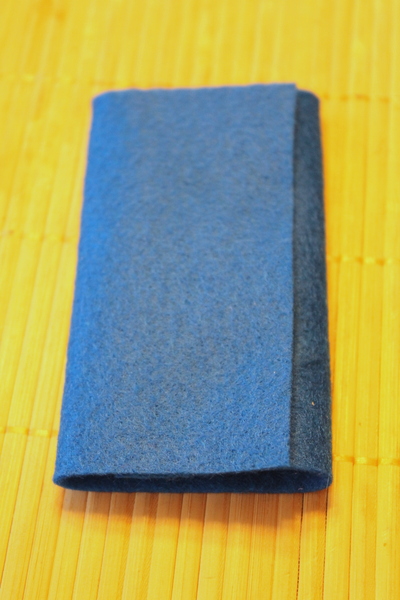
3)  Now cut a piece of felt to 4 inches by 6 inches.  Fold your felt around the gift card as shown below.  Wrap loosely so you will have adequate room.

Graduate Gift Card Holder


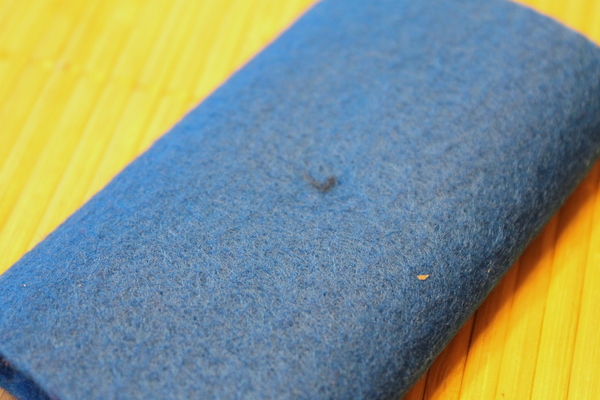
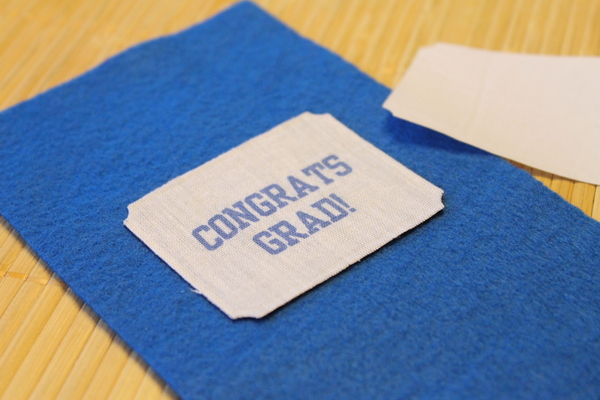
4)  Turn over and find the center of the front.  Mark for reference.

Graduate Gift Card Holder

5)  Add your saying to the approximate center.  The shorter end should be up as this will be the flap you fold over on the back.

Graduate Gift Card Holder

6)  Use a zig zag stitch to go all around your rectangle.  Now fold into position again around a gift card.  Pin around the edges that you are going to sew.  Also put a few pins to mark the top of your graduation gift card holder.  We will be sewing across this top as well.

Graduate Gift Card Holder

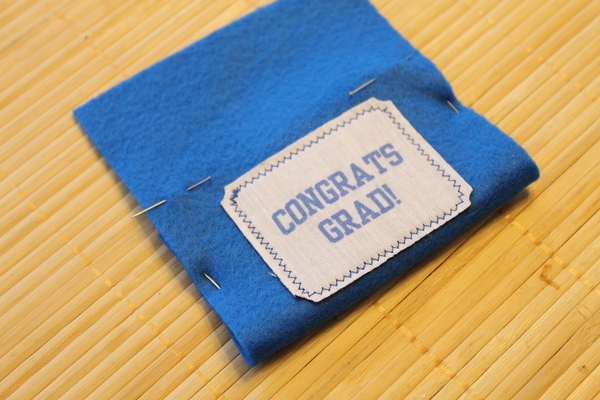
7)  Sew all the way around again with a zig zag stitch.  Sew with your flap open.

Graduate Gift Card Holder

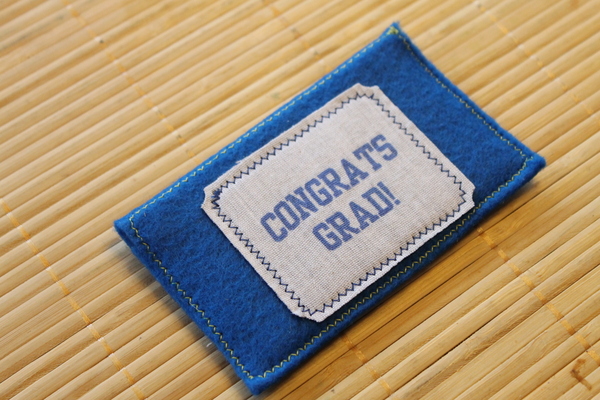
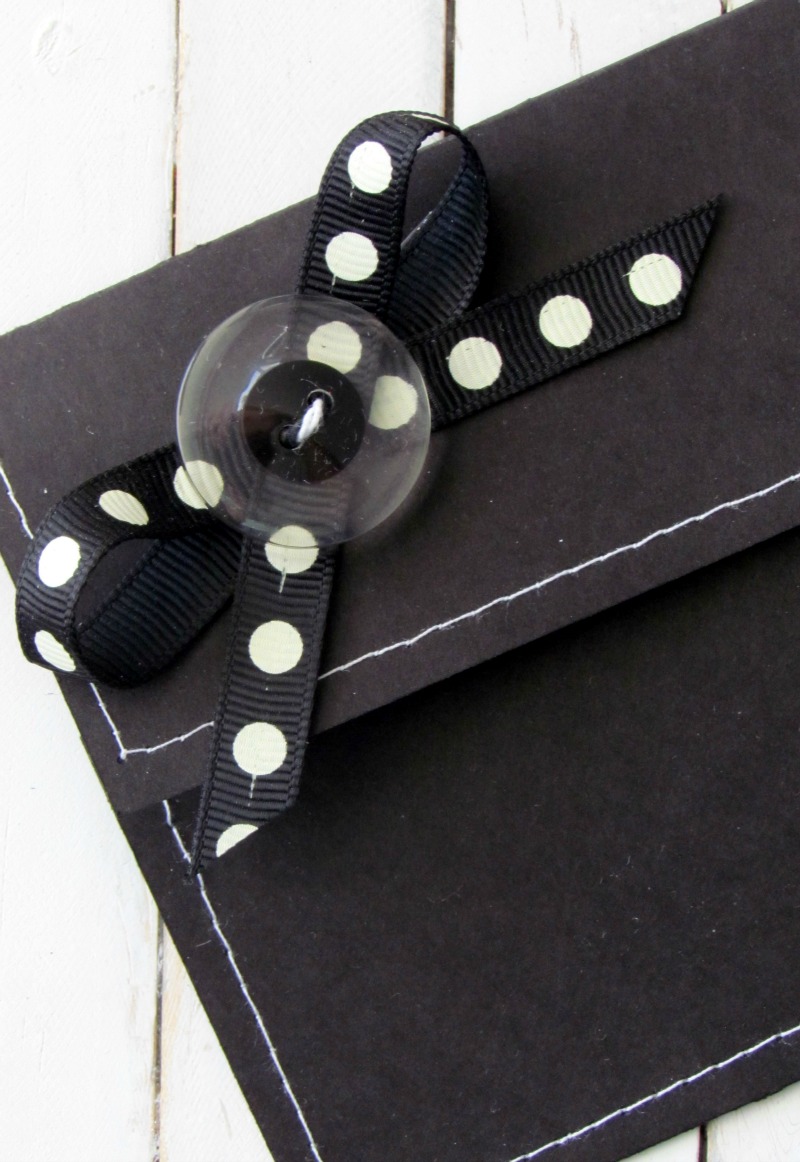
8)  Cut the back flap into a triangle shape.  Sew on a button to the back and cut a button hole from the felt.  Add your gift card and a note of congratulations.  I put a few glue dots on my note and adhered them to the gift card.  Button your gift card holder closed and give this graduation gift to a special someone.

Graduate Gift Card Holder

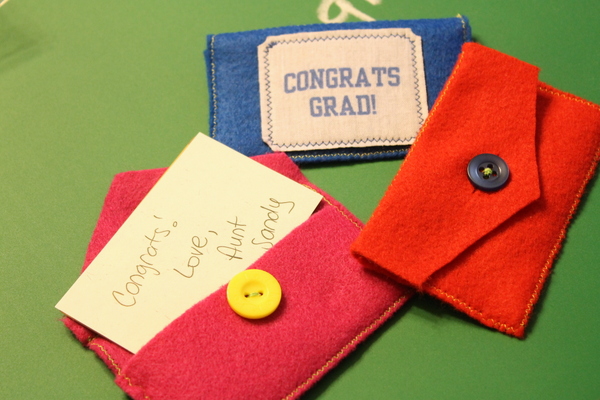
You graduate will love this small personalized gesture.  Add this graduation gift card holder to your to do list today.

Graduate Gift Card Holder

3

Powered by WordPress. Designed by WooThemes