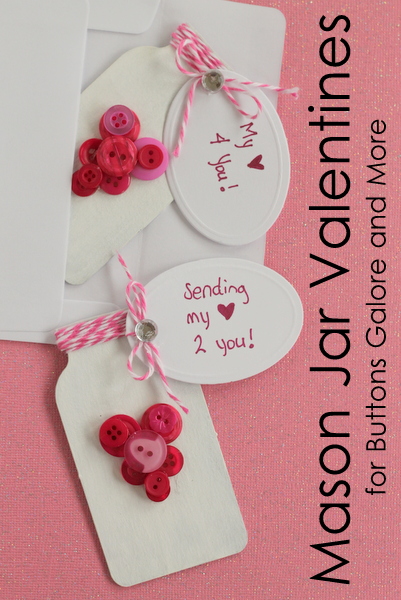
Give the gift of handmade Valentines this year with these super simple mason jar Valentines. The perfect way to bottle up your heart and give it to someone you love. Grab a few supplies and your buttons from Buttons Galore and More to get started.
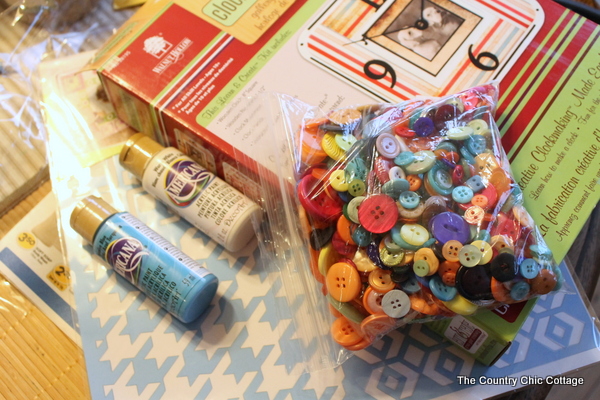
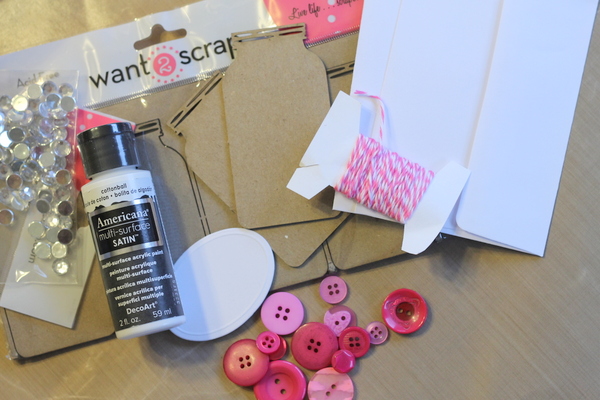
Mason Jar Valentines Supplies:
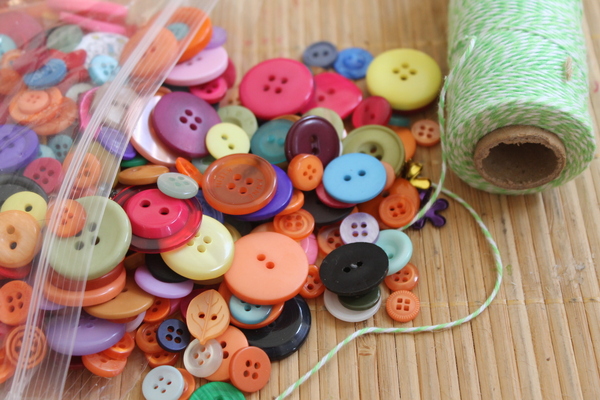
- Red or pink mixed pack of buttons
- Mason jar chipboard embellishments
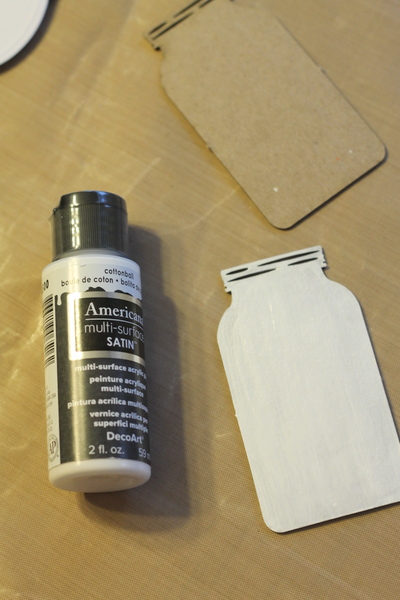
- Americana multi-surface paint in cottonball
- Rhinestones
- White tags
- Baker’s twine
- Pink sharpie
- Hot glue
- Envelope (if desired)
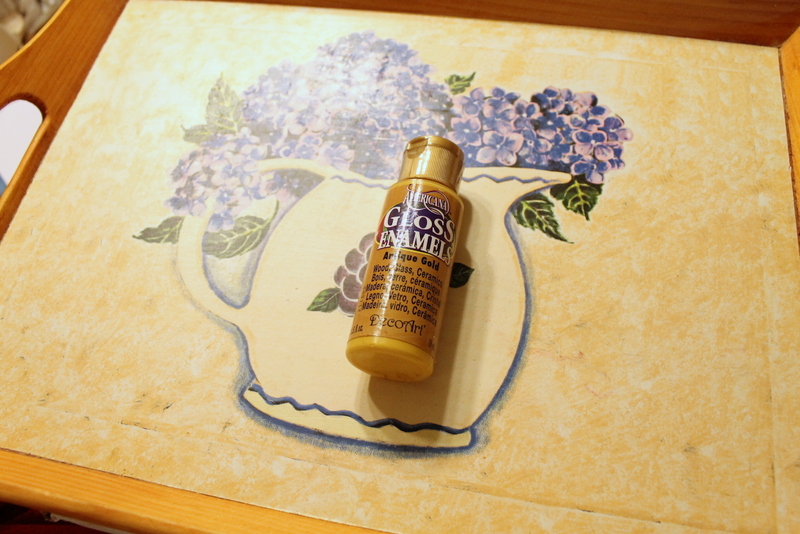
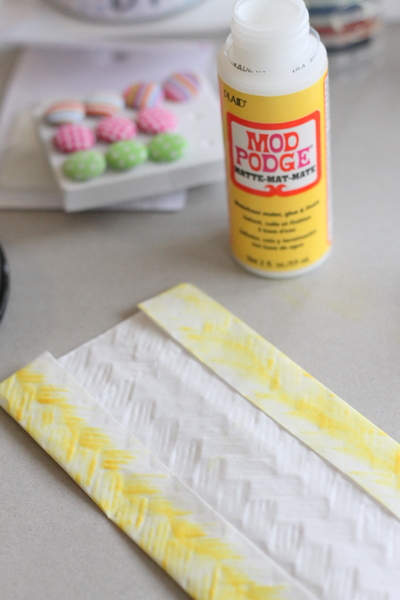
Paint both sides of the mason jar chipboard embellishment with the white paint. It will take 2 – 3 light coats of paint to completely cover the embellishment.
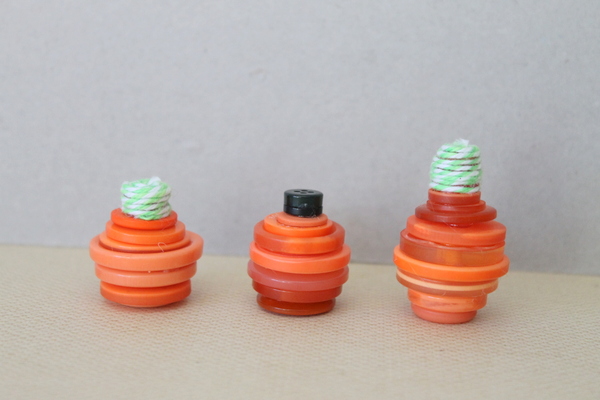
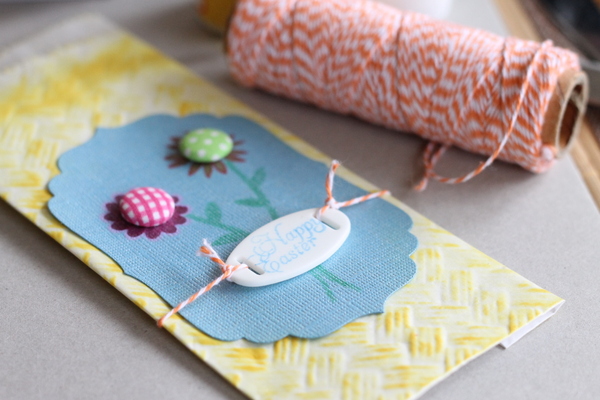
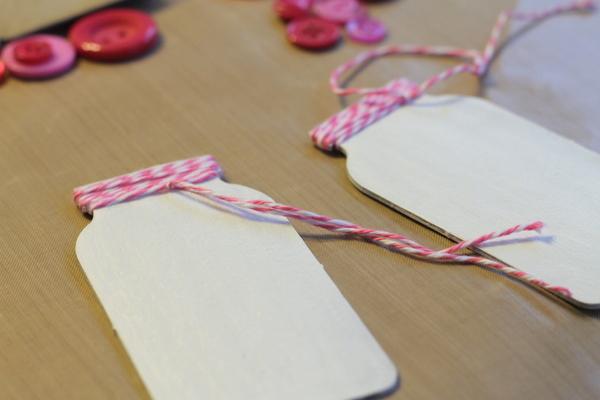
Allow your mason jar to dry completely. Then wrap the top with baker’s twine. Tie and leave your ends loose as shown below for now.
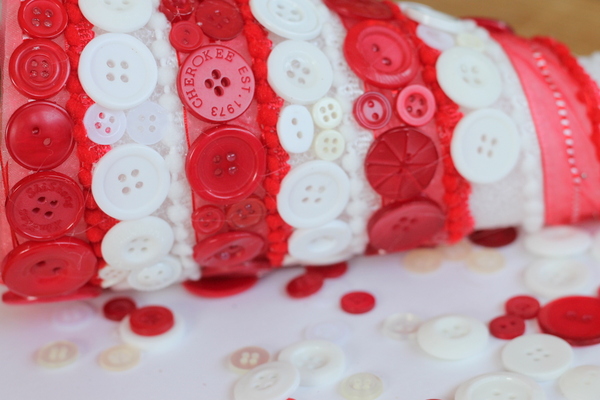
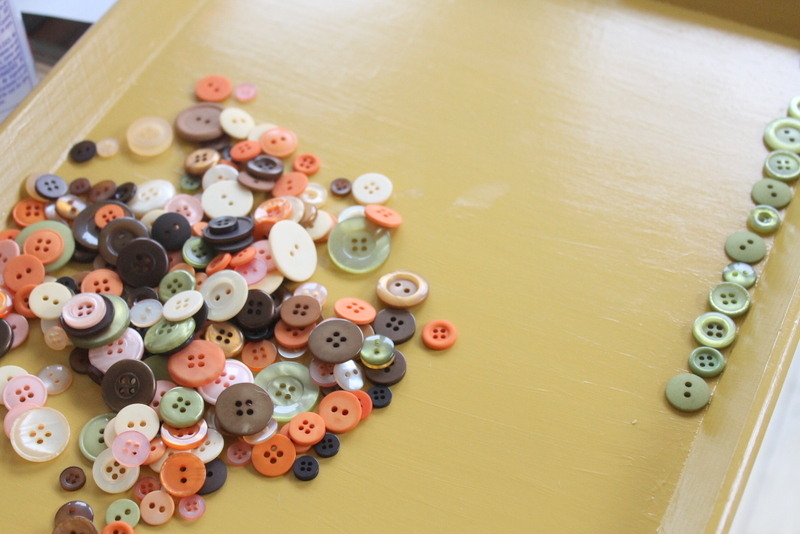
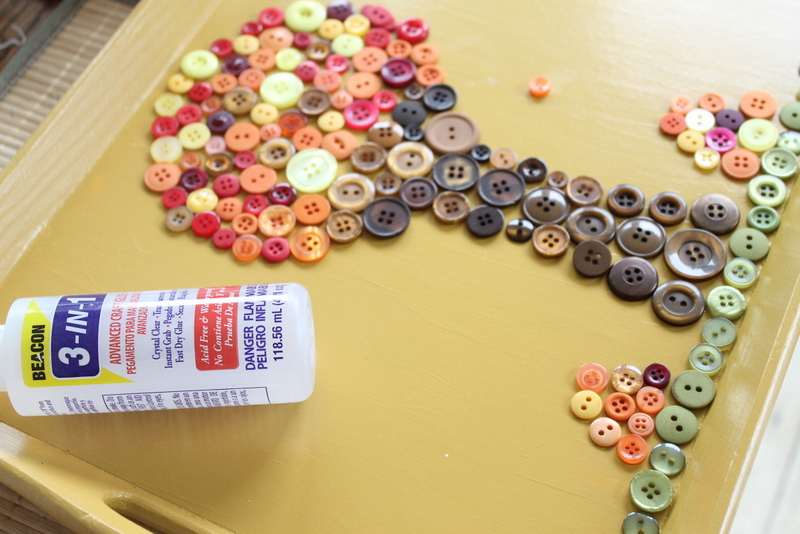
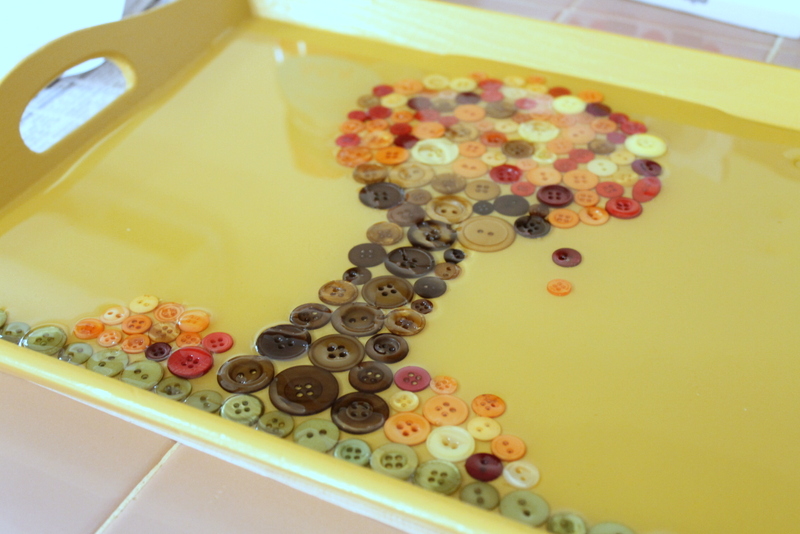
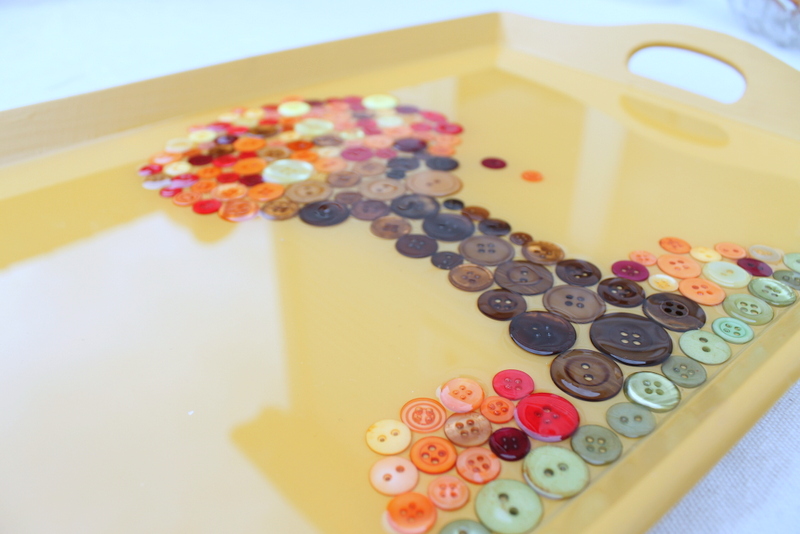
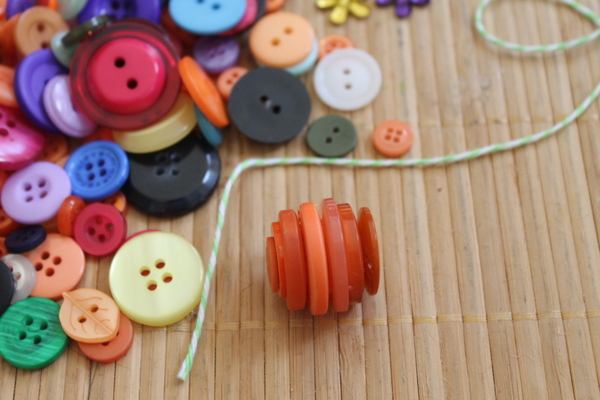
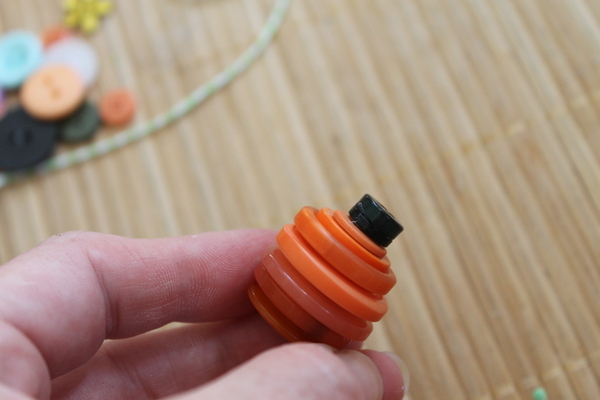
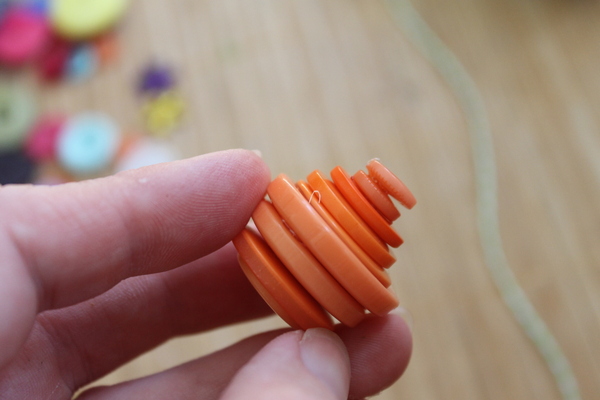
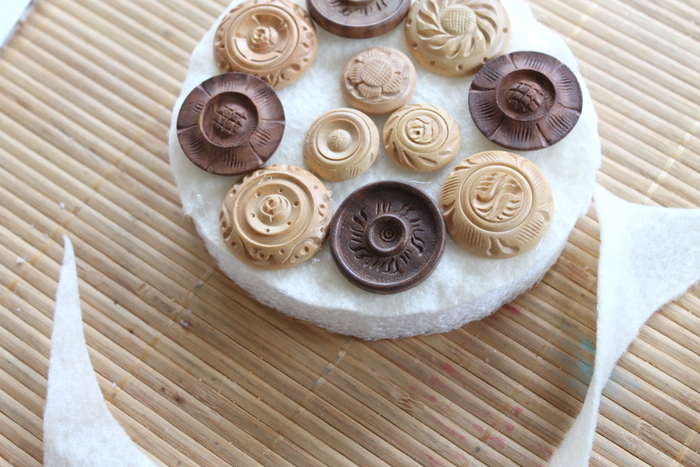
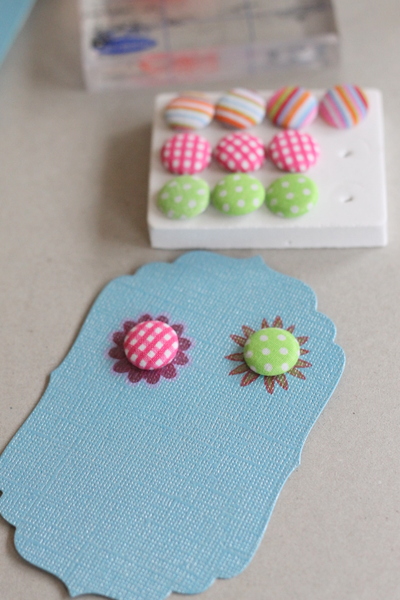
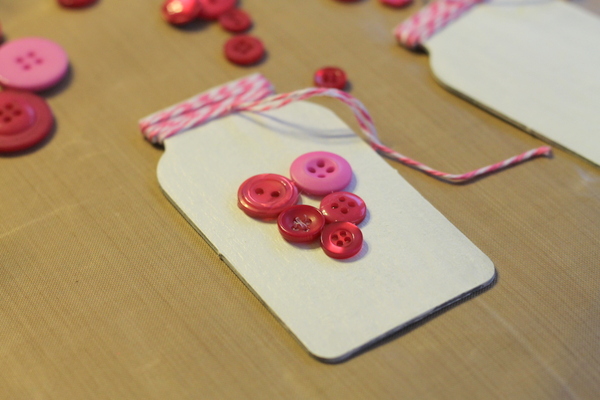
Play with your buttons until you get a heart like shape. Hot glue the first layer of buttons to your mason jar.
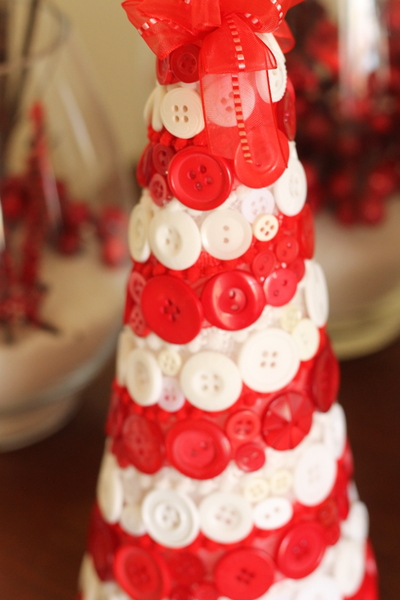
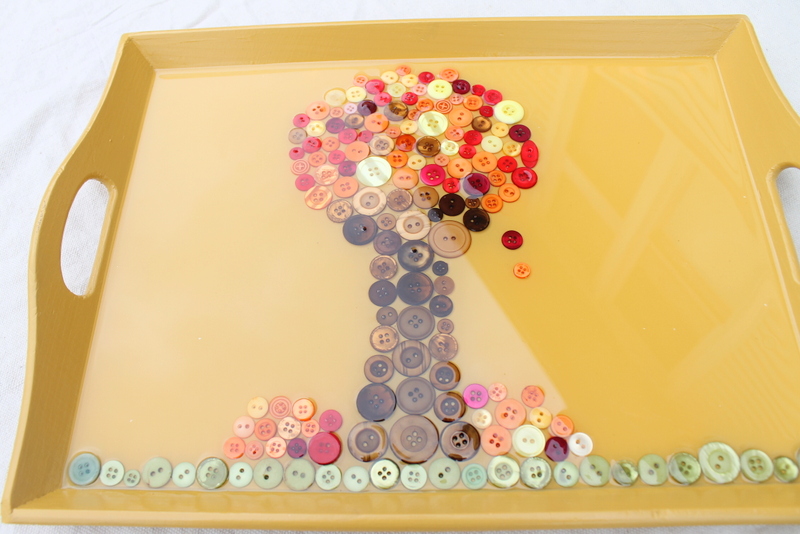
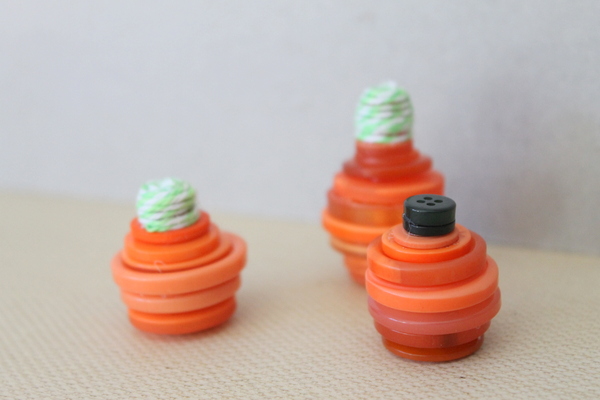
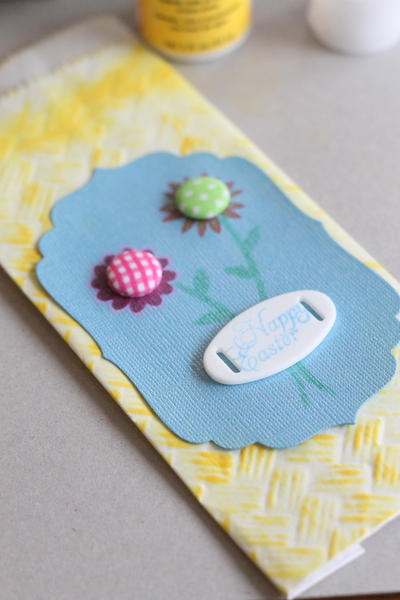
Add a second layer of buttons with hot glue. Write a sentiment on your tag and punch a hole. Tie your tag to the mason jar. Tie the baker’s twine in a bow and trim any excess. Apply a rhinestone to the center of the bow again using hot glue.
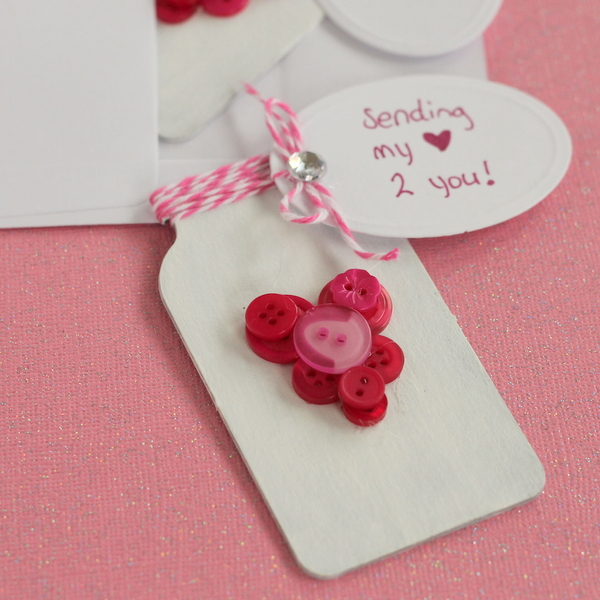
Slip your mason jar Valentines inside an envelope for delivery to that special someone. Who will you give your heart to this Valentine’s Day?