
Nothing beats a cute holiday project that everyone can make together. With Independence day fast approaching, here is a simple project the whole family can enjoy.

Nothing beats a cute holiday project that everyone can make together. With Independence day fast approaching, here is a simple project the whole family can enjoy.
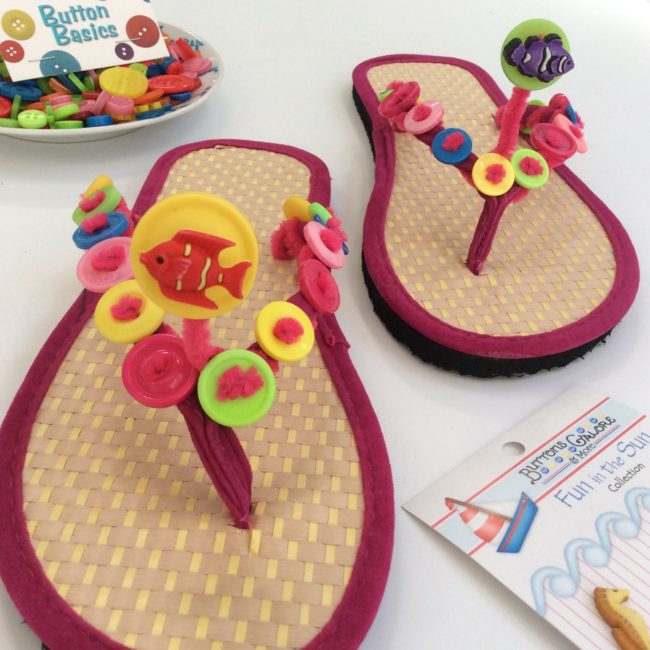
Every summer I like to get a fresh new pair of flip-flops…or two, and decorate them to give them a personal touch. What better way to adorn than with buttons!

This project combines two of my favorite things: coloring and sequins! Using a pre-printed canvas, markers, and new sequins from 28 Lilac Lane, I made a fun project that is an easy way to decorate an ocean-themed room. This project is so easy that even the kids can do it!
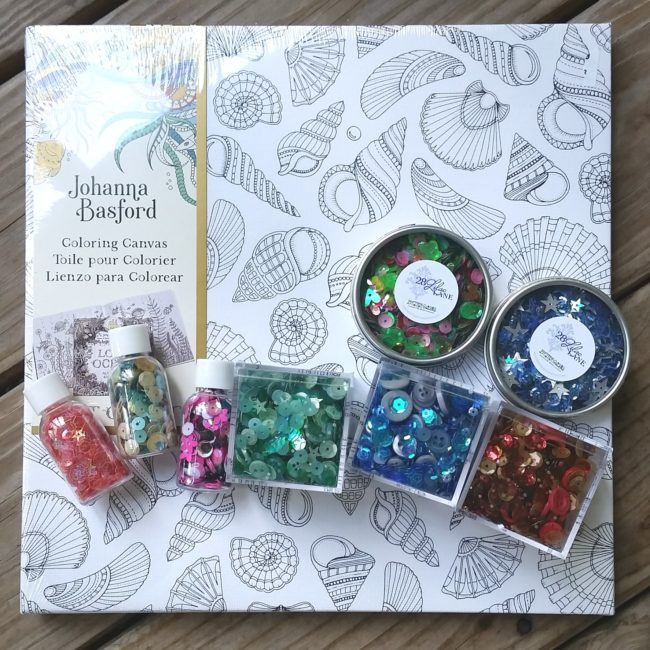
To make this project, you will need:
How to:
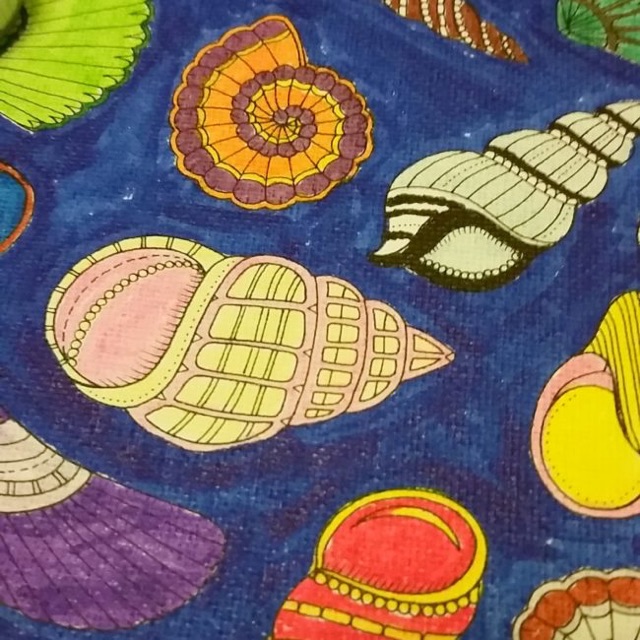
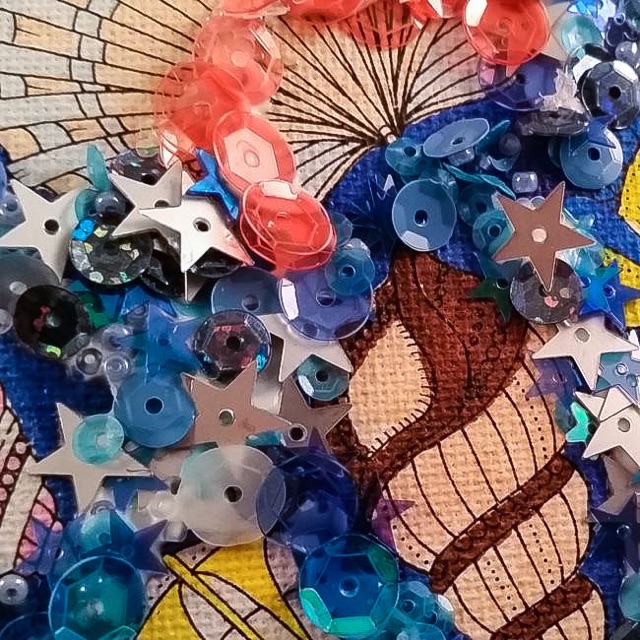
This canvas was so fun to make. I absolutely love to color so I really enjoyed getting out of coloring books and onto a canvas, and the addition of a little sequin bling just makes it even better!
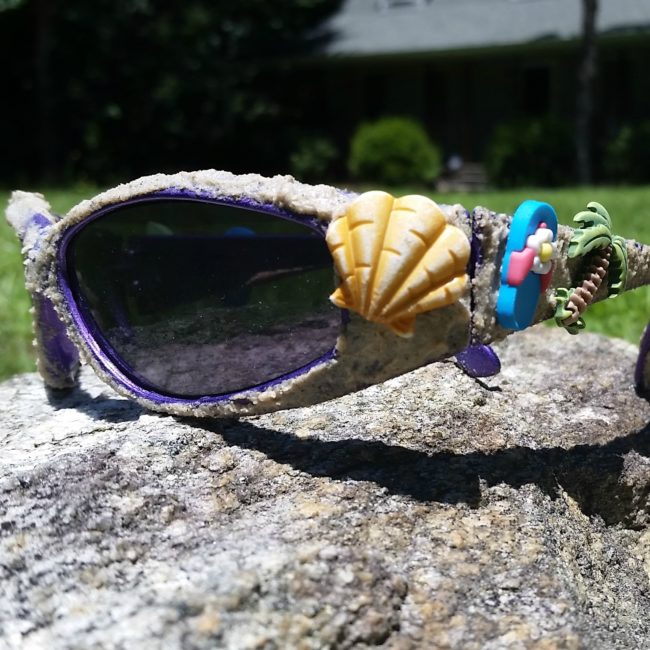
Hi! It’s Lorrie here, visiting the Buttons Galore blog today! Buttons are a fun and easy way to embellish your summer fashion, but have you thought of adding them to your accessories? Who cares if you can’t make it to the beach this summer? Bring the beach to you every single day with these super cute crafty sunglasses (that look and feel like they are covered in sand) featuring summer-themed buttons from Buttons Galore!
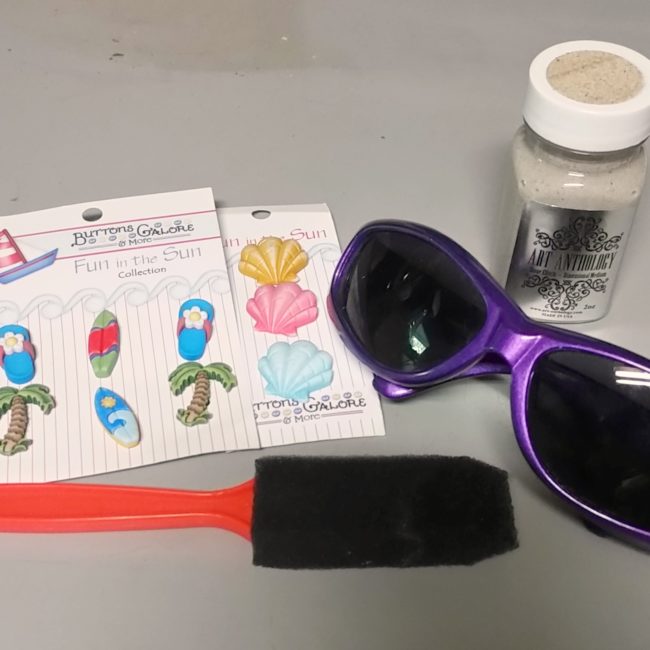
Materials Needed:
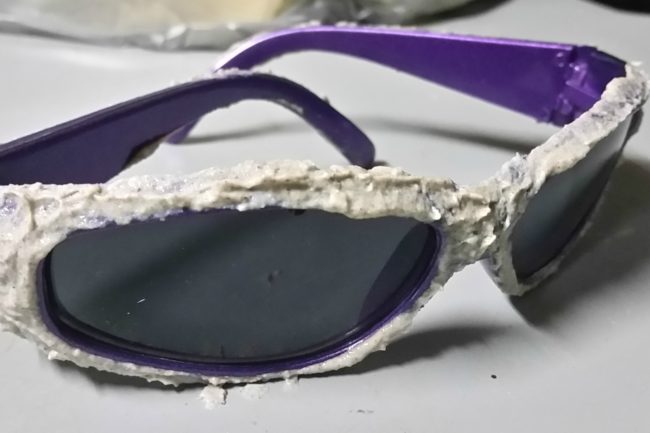
How to:
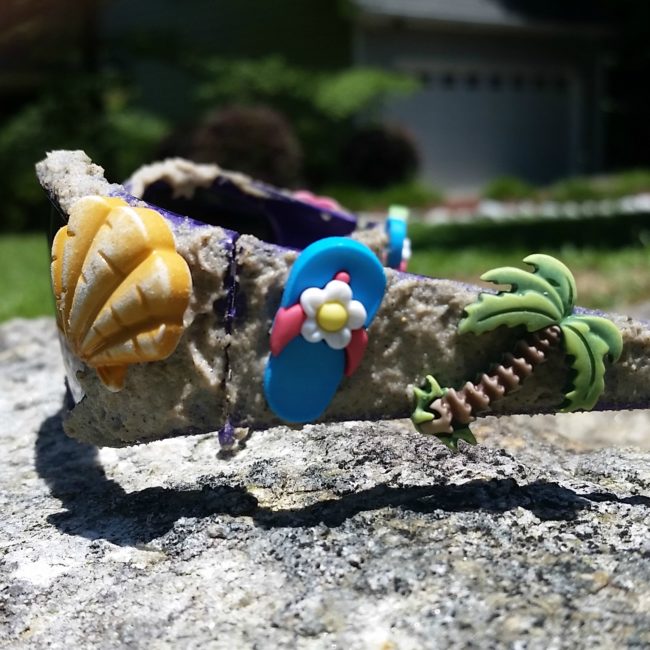
Now you are ready to hit the beach with your summer fun crafty sunglasses – whether the “beach” is your local pool or an expanse of tropical sand!
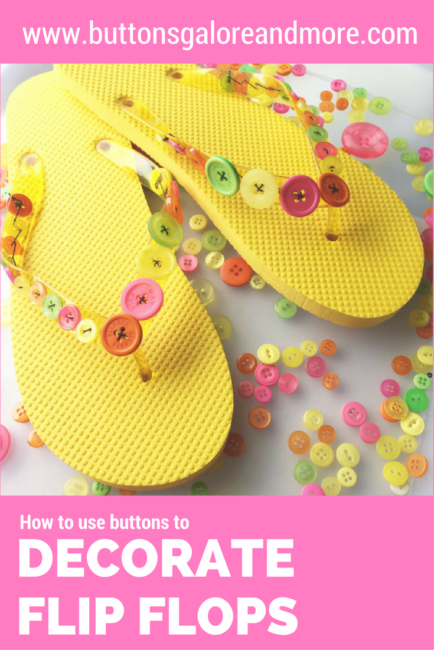
Summer is almost officially here! I’ve got a super easy project to decorate flip flops with buttons to keep you looking fashionable on the hot days ahead.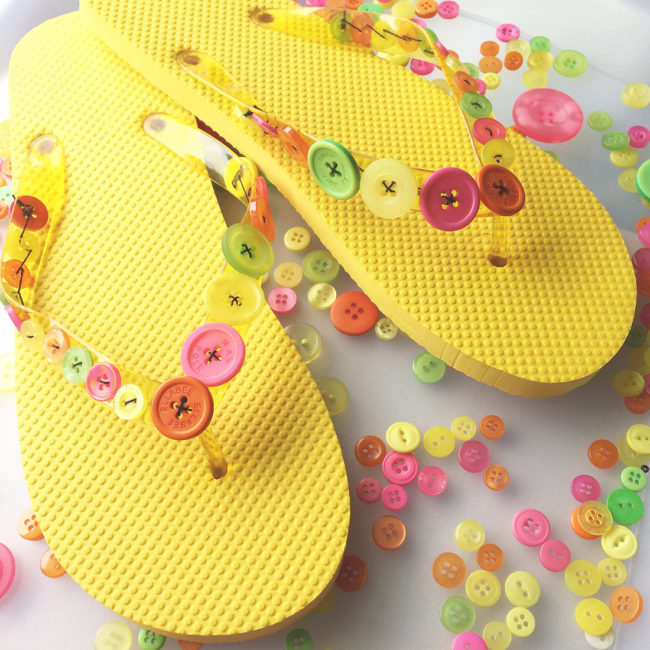
Supplies Needed:
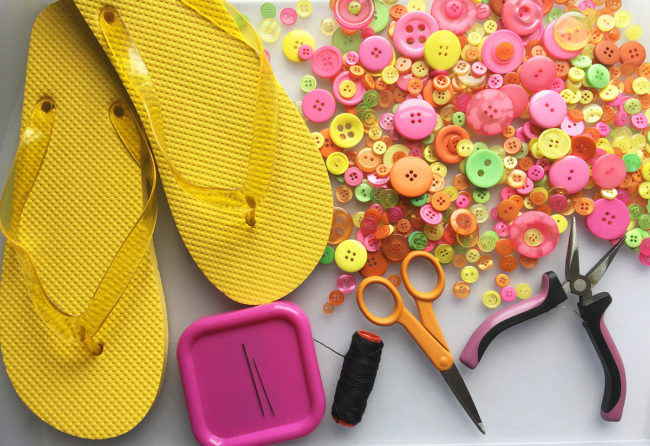
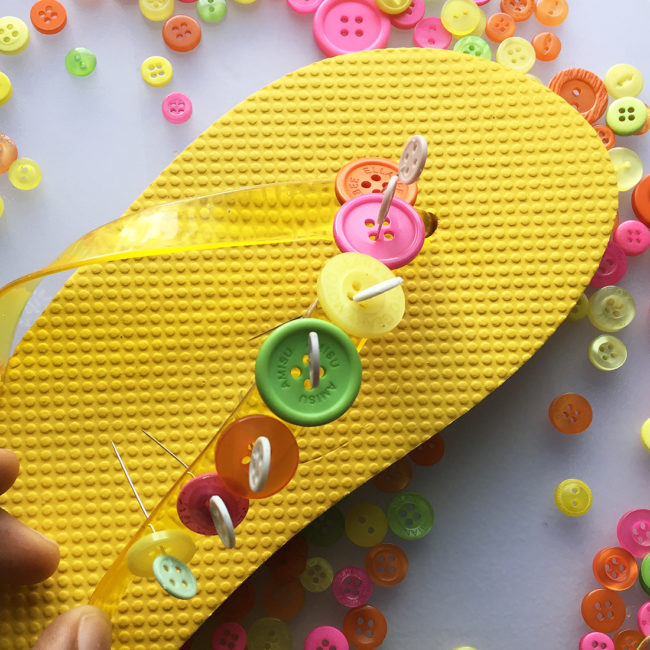
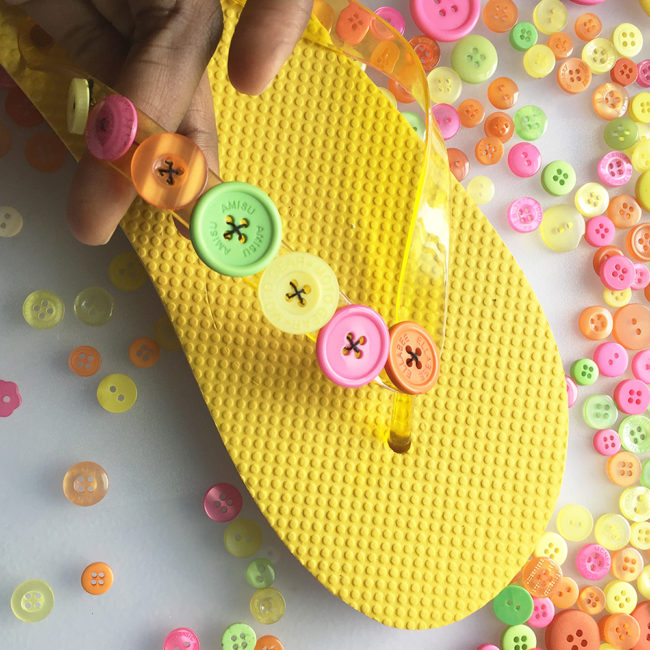
It’s surprisingly easy to decorate flip flops with buttons! Before you get started, make sure you have a thick strong thread. To begin, select buttons from the pack you want to use and line them up on the flip flop strap using pins. This step is optional, but it will provide you with a preview of way the shoe will look and give you the opportunity to work out the placement of the buttons prior to sewing them into place.
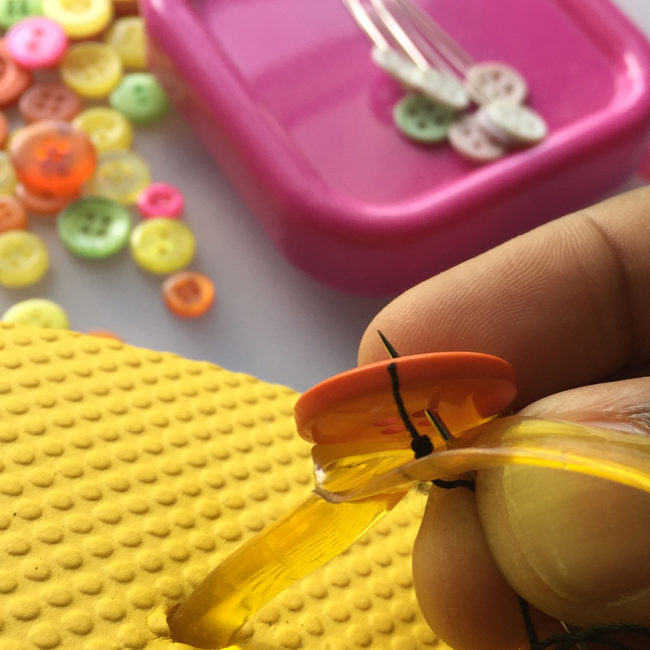
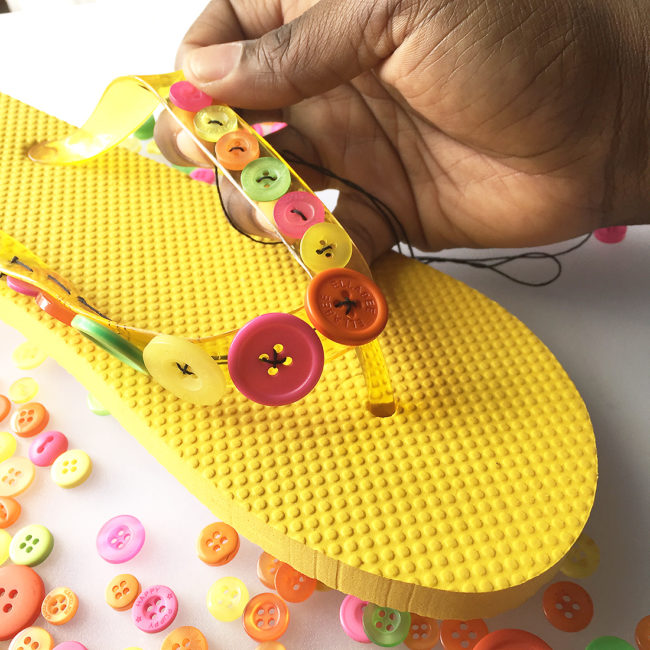
Thread the needle and start attaching the buttons starting at the center of the strap. The first stitch goes into the strap from the top. If you are using a very thick thread or clear plastic thread this will ensure the knot is not rubbing against your foot. After all, you want your shoes to be comfortable!
Be sure to tie all of your knots tightly. Don’t worry about the knot showing, as it will be hidden once you start adding your buttons. Depending on the thickness of your flip flops’ strap and the bulkiness of the thread, you may find it easier to push and pull the needle using pliers. I didn’t have any issues doing it by hand, but I would suggest you have a pair handy just in case you run into any issues.
Continue adding buttons until you get to within an inch or two of the end of the strap. After you have secured the last button, push the thread through so you can again tie the knot on the top of the strap.
Beginning at the center again, add the next set of buttons to the other half of the strap.
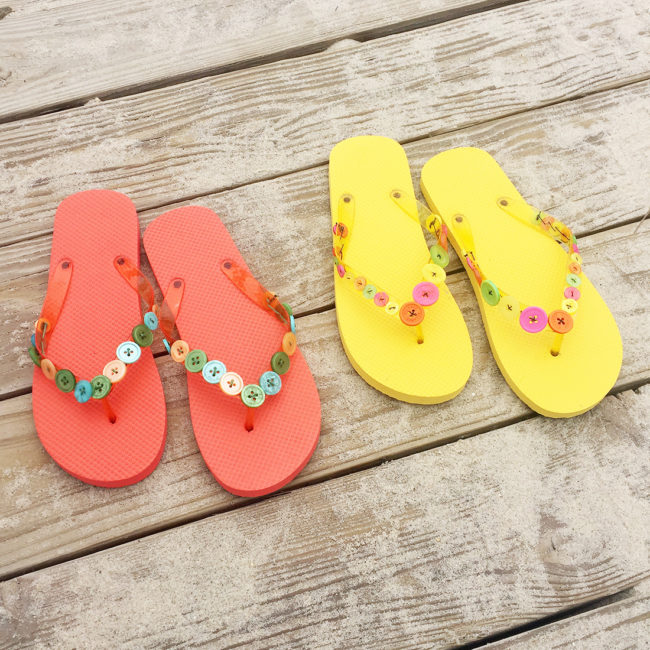
Now you just repeat the process for the other shoe and your flip flops are ready to wear! This time of year it’s easy to find inexpensive flip flops just about everywhere in every color you could need. It’s such an easy affordable project to decorate flip flops with buttons and you can make several a pairs in festive colors to coordinate with every outfit for your summer events. I had so much fun with this project I’ve already got two pairs ready for a stroll on the boardwalk!
Don’t waste any time…the beach is waiting! Grab a Button Bonanza bag and a pair of flip flops to start creating your summer wardrobe today!
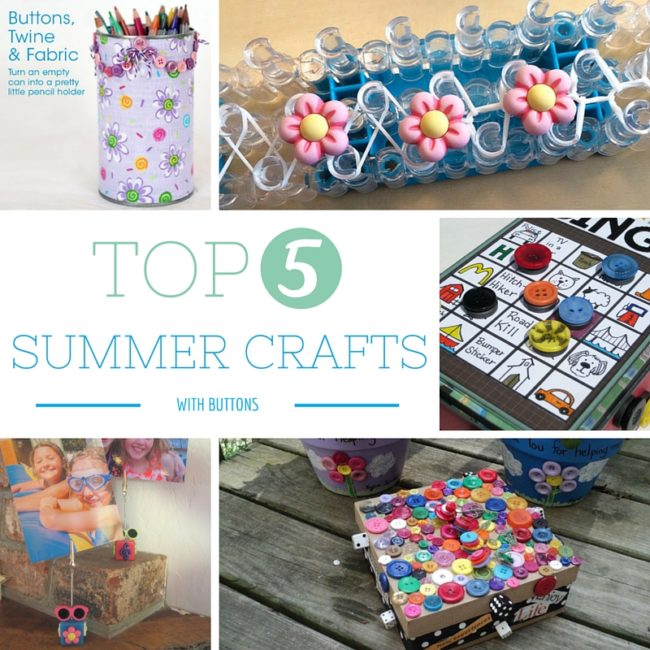
July means hitting the beach, blooming gardens – and stir crazy kids bored with all their summer vacation free time! Here’s our top five ideas for kids crafts projects to turn bored kids into busy kids!
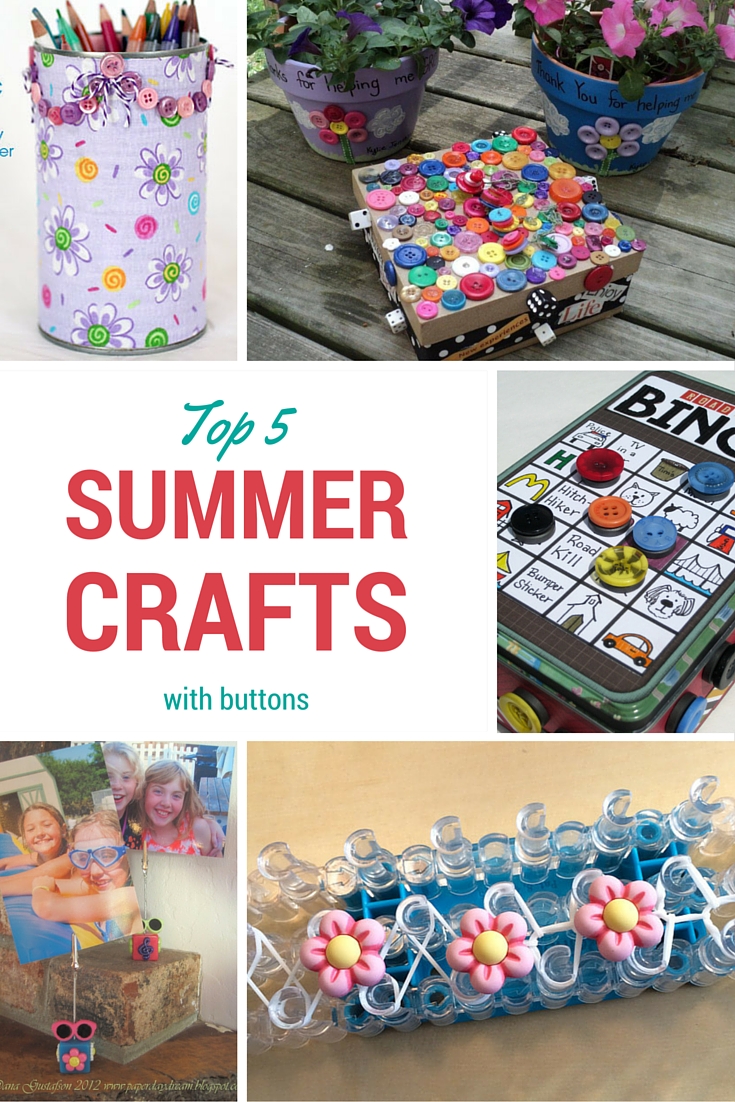
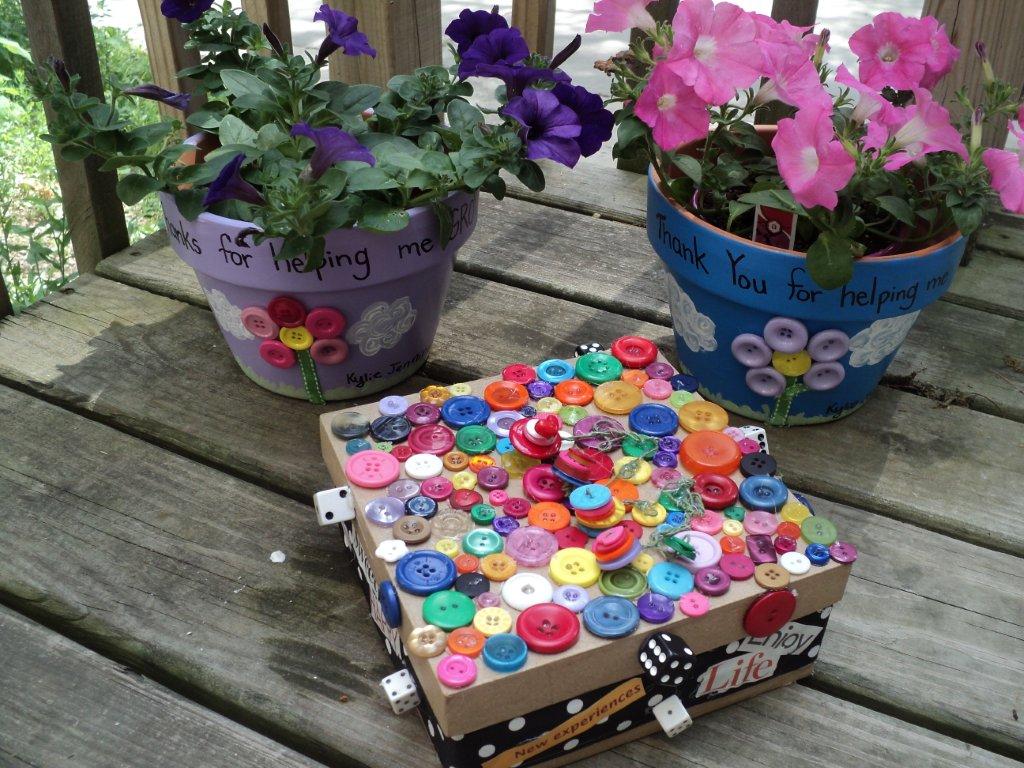
This project is great for even the youngest of kids! This button covered treasure box is an easy to make project using blank paper board boxes available in local craft stores. For the young ones, simple shapes like rectangles and square boxes are available. Older kids may want to try their hand at more challenging shapes like stars, or circles. To keep the kids busy for longer, let them add a coat of acrylic paint as a base before adding on their buttons.
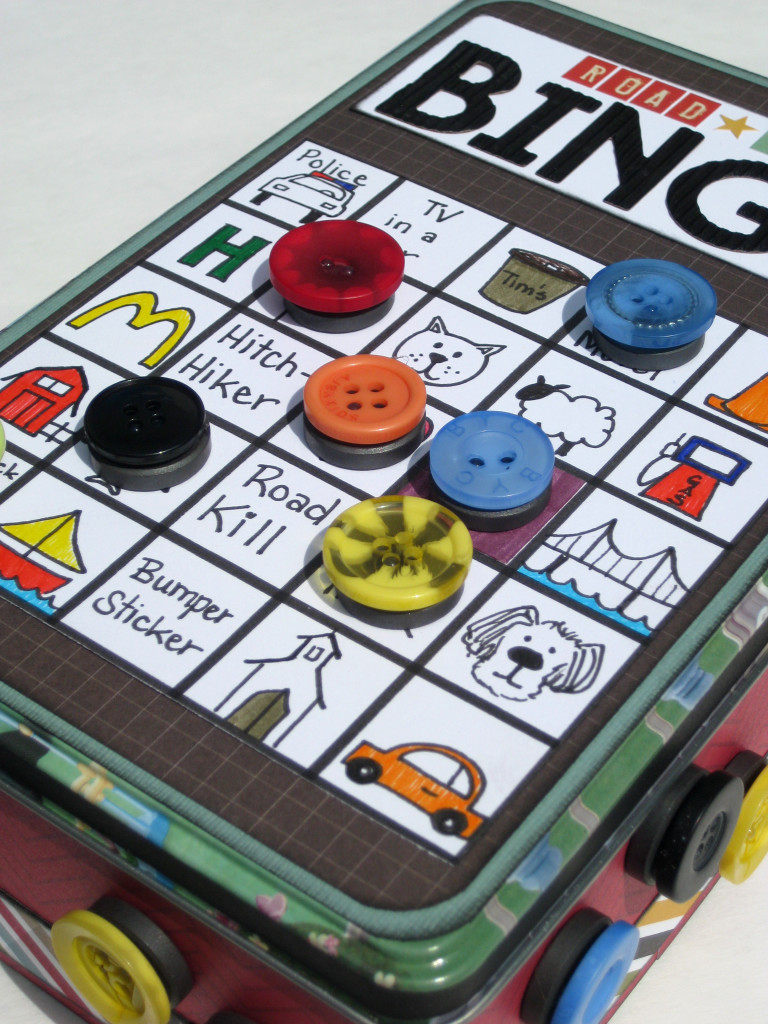
If you are worried about hearing hours of “are we there yet?” from the back seat, Road Trip Bingo may be the answer for you! Let the kids make their tin themselves before the trip, or surprise them in the car. To keep the kids from fighting over whose markers are whose, use a different color for each set (or use 3D buttons to create fun themed sets). Don’t forget to pack a stash of a few extra markers in case of lost ones!
This project will remind the kids to make the most of the last of their summer vacation by having them get ready for back to school! An upcycled can turned into a pencil holder makes a useful decoration for a homework desk, or a fun kid-made teacher gift. If you don’t have any fabric scraps, use contact paper or gift wrap for this easy project.

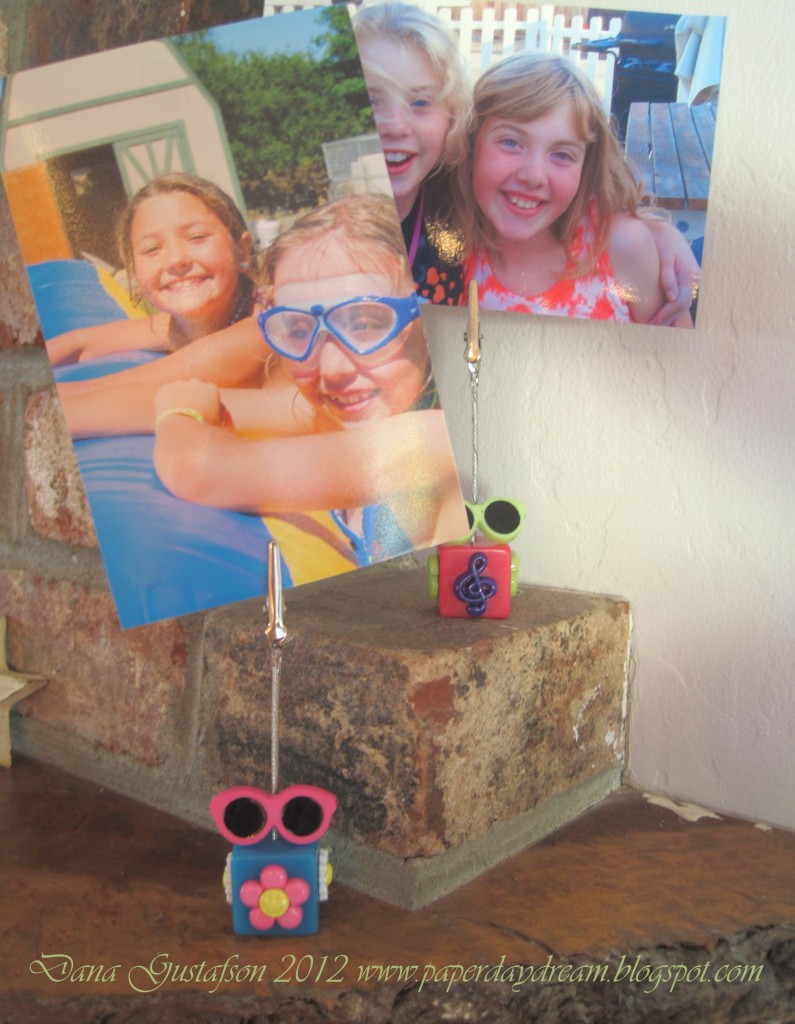
Dollar stores are a great place to find an endless supply of simple items just waiting to be made beautiful. These basic photo clips, paired with a package of 3D buttons, can be easily turned into a fun themed display for favorite photos from any occasion with our wide range of shank buttons.
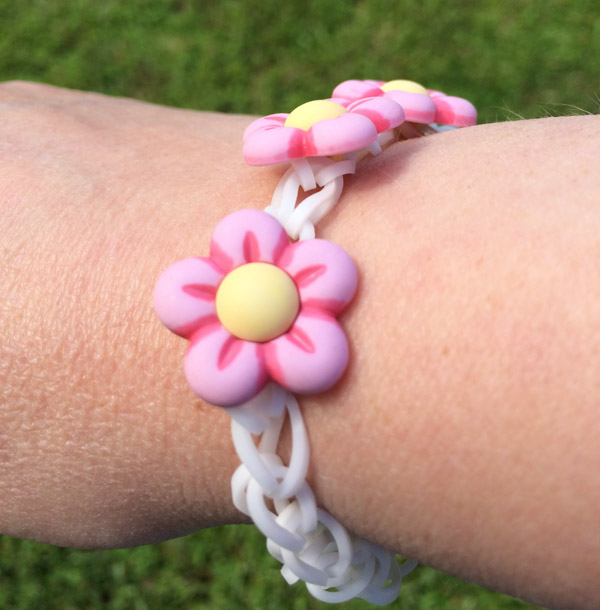
Thanks to the rubber band bracelet craze, many kids have a rubber band loom stashed that they’ve gotten bored with. Bring new life to that old crafty friend of theirs by showing them how to use 3D shank buttons to make charm bracelets! Use themed buttons to make bracelets for special occasions, or use basics like flowers for every day wear! (This project also makes a fun take home activity for a girls birthday party or sleepover!)
These are just a few of our favorite kid crafts for summer! For even more, ideas of great projects to keep kids busy (and learning) with crafts, visit the Kids Crafts section of the blog.
Want to make a summertime picture frame for your home? Here’s a simple frame embellished with a handmade Sunflower, garden sign and a Haberdashery Carved Wood button.
You could choose any flower to embellish your frame but a Summertime Sunflower really does make a beautiful impact.

I always enjoy seeing the Sunflower fields as we drive across country during our vacation. They really are a beautiful sight. One day, I’ll convince my hubs to actually stop along the interstate to take a photo in the field. He just can’t appreciate a purty photo op. Men.

A Haberdashery Wood Button makes the Perfect Sunflower Center
I used my Silhouette and a Lori Whitlock cut file to cut out the 3D Sunflower then inked the edges of the leaves and flower with Colorbox ink and added a unique Haberdashery carved wood button to the center. It really is the perfect center for a Sunflower!
I’m totally in love with all the Haberdashery Wood Buttons you can find in The Button Shop too. They’re all so unique in design.

On the other side of the frame, I hand cut out a garden sign and grass, stamped a sentiment and hot glued the grassy sign onto a dowel. A perfect Summertime frame to display Summer memories in.

Like Me on Facebook!
Summer, when you hear that word what images does it conjure up in your mind? For me I think of the heat, the BRIGHT colors and RELAXING! I love Summer. I know a ton of people who just hate the heat, but being a gal who’s always got cold fingers and toes, I love that during the summer month’s my body feels WARM all over, all day long! Bright colors, well I love those too! Wearing them, creating with them, you name it, I love it! And relaxing…well let’s just say there’s a well loved, well worn hammock in my backyard that my kids and I all enjoy piling into and having a good snuggle time in. I can relax with the best of them, and in STYLE to boot! LOL
For my project today you can see each of these elements we are talking about have been captured perfectly! From the bright sunshine, the bright colors of the porch chair and the slouchy posture of my sweet Elliott, this scrapbook layout just screams SUMMER. Pairing up bright buttons & bright papers with a nice wide swath of burlap helps to give this layout rest amongst the busyness. Now, while I was creating I got to the point where everything was on the layout EXCEPT the title. And I was STUCK…I mean the page was cute, but needed something…but what….that was when I emailed a photo of the layout and then called our DT Lead Niki Meiners and said “What’s wrong with this page..I am stuck” As if on cue she replied “Oh just add a title to the page – SUMMER” “Where??? Where would I even put a title??” I replied. “Ummm right there under the photo overlapping the patterned paper, burlap and above the cluster of red big buttons…” And you know, she hit the nail on the head!!! It was JUST what this layout needed. Talk about a friend being a help just when you need it!!! So now you tell me…who do you call if you get stuck or just can’t seem to “make it all workout” in your creative process??

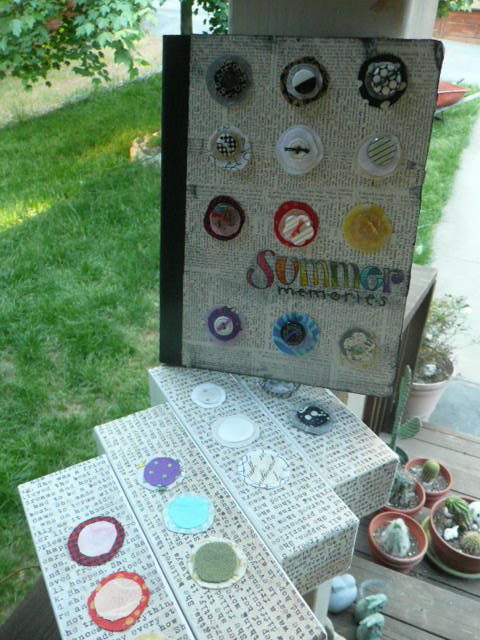
journal and pencil boxes
A few months back, I made some boxes to hold my colored pencils. I loved the design so much that when I was doing my summer journal, I chose to make a matching journal to coordinate with my boxes. Cute, huh!