Here is an idea to keep Mom’s craft supplies organized. It’s both thoughtful and practical.

Here is an idea to keep Mom’s craft supplies organized. It’s both thoughtful and practical.
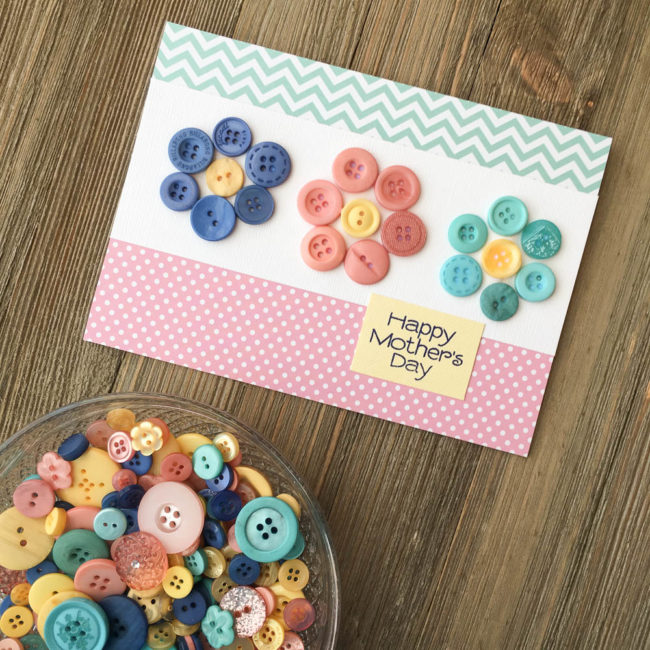
The spring flowers are in bloom, and Mother’s Day will be here before you know it! So why not combine the two to make a pretty button flower card for mom for Mother’s Day?
Supplies Needed:
This 5″ by 7″ button flower card is super simple to make but so cute! And it’s so easy to make that it would make a great kids’ project for the holiday.
To start this card project, cut a 10″ by 7″ piece of white cardstock and fold in half along the 10″ edge to create your card base.
Cut a 2.5″ by 7″ piece of cardstock from the scraps of the white sheet. Select buttons from the Glam Girl Button Bonanza to make your button flowers with. Then, using the PPA Matte Adhesive, adhere the buttons in place using dots of glue. Set the flower strip aside to dry.
While the glue dries, cut a 1.5″ by 7″ strip of paper for the top of the card, and a 2″ by 7″ strip of paper for the bottom. Adhere them in place along the top and bottom of the card front.
Stamp “Happy Mother’s Day” on a yellow cardstock scrap in dark blue ink. Trim the cardstock to slightly larger in size than the sentiment.
After the glue on the flowers is dry, adhere the flower strip in place across the card front. Glue the sentiment block down on the right side of the card front, over the seam between the flower strip and the bottom patterned paper.
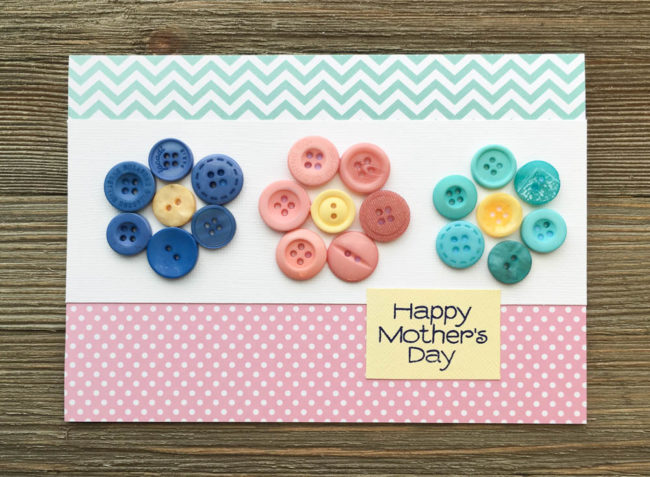
This card design is so versatile! Just by changing the sentiment, the design could also be used for a thank you card, or for a birthday, or for a variety of other occasions. It’s a classic that you can use over and over! To create a smaller card, just use smaller sizes of buttons. With theGlam Girl Button Bonanza bag, you can make this beautiful button flower card over and over!
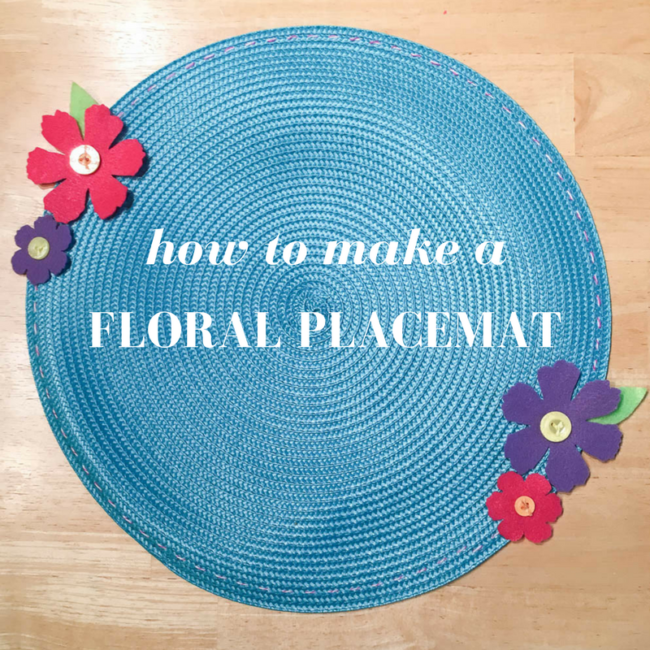
Spring means lots of special occasions! This flower placemat design is great for Easter, Mother’s Day, or for making a birthday girl feel extra special – and it’s super quick and easy to make!
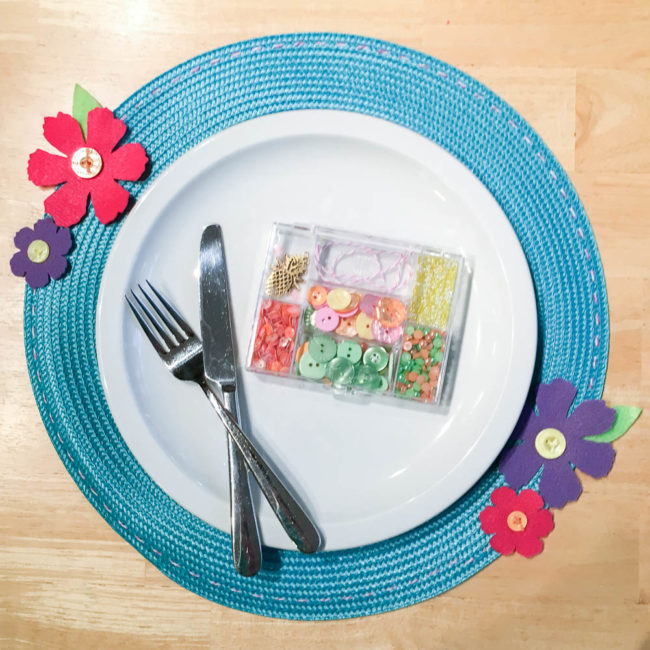
This flower placemat uses supplies from the popular 28 Lilac Lane “Tropical Twist” kit. You can tell that it’s definitely one of my favorites since many of the supplies are used from it! Although the name of this kit, and its themed charms, are definitely summer themed, this project is a great reminder to look at your kits not just as themes but as color palettes as well.
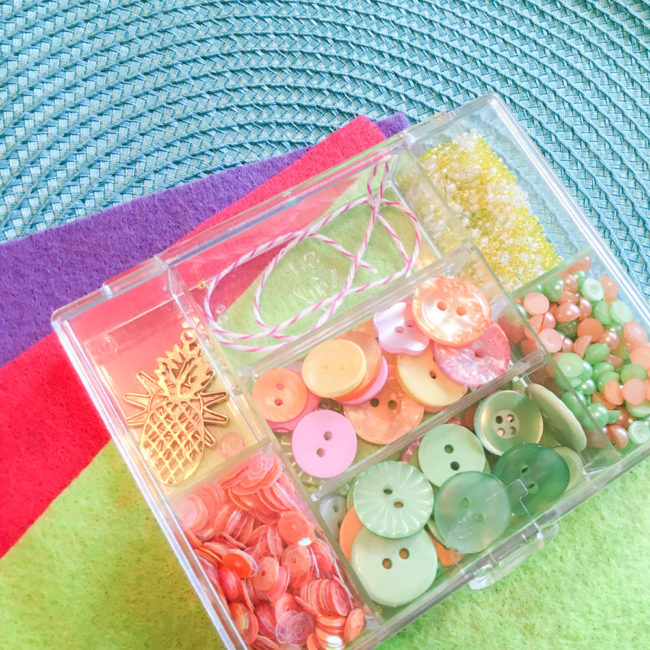
Supplies Needed:
To start making this flower placemat, get out a large needle. Thread it with the baker’s twine from the Tropical Twist kit, and stitch around the outside edge of the placemat. (I recommend doing this is several short lengths to avoid abusing your twine and for efficiency.) To make more than one placemat, use embroidery floss for this step as the kit only contains enough twine for one.
Next, use a flower die to cut flowers out of felt (or hand cut your own). Use scissors to hand cut the leaves.
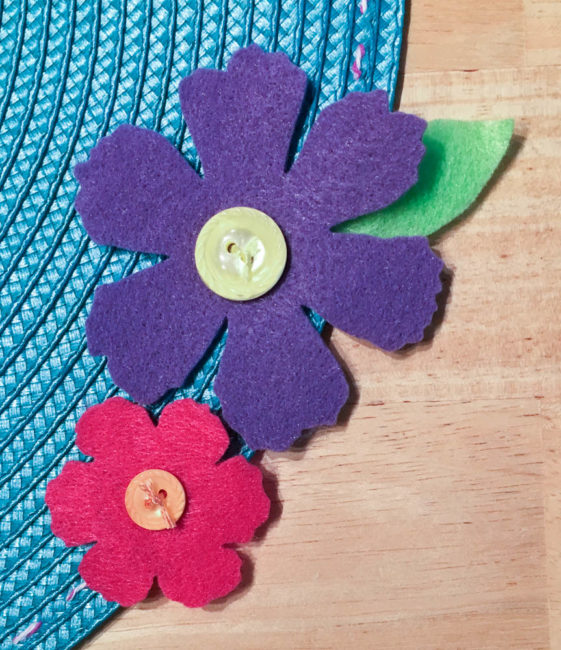
Position your flowers, and select buttons from the Tropical Twist kit to create their centers. Stitch through both the buttons and the flowers with a needle and embroidery floss to attach the flowers to the placemat. Use a needle and thread that matches the felt to stitch the leaves in place under the edges of the flowers as well.

Whether the occasion is Easter, Mother’s Day, or something else…this flower placemat will definitely brighten your spring table!
Mother’s Day is just around the corner, and what better way to tell Mom how much you appreciate her all year through than with a handmade card?
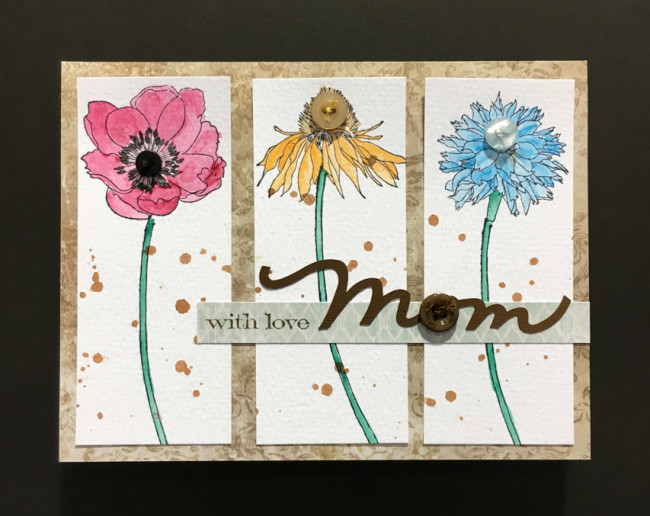 This fun and easy watercolor floral Mother’s Day card will show mom just how much you care!
Start by stamping the flowers on watercolor paper with permanent ink. Paint with watercolors. Remove the lid from the ink spray and use it to drop ink splatters onto the watercolor paper. Finish the flowers by adding button centers to them.
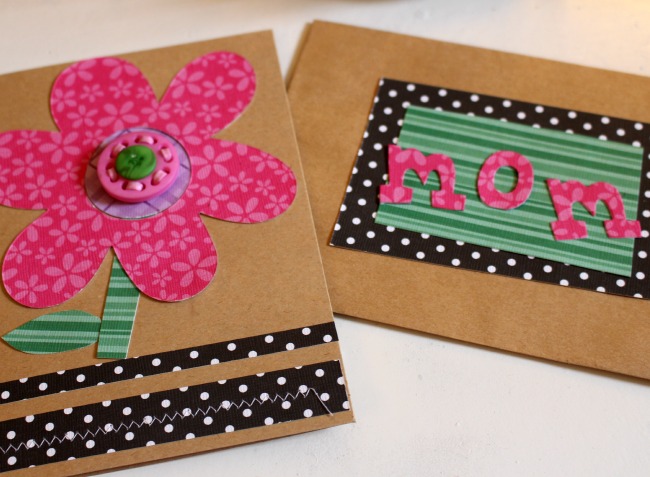
Cut and fold the cardstock to make a card base. Cut a piece of patterned paper to cover the front. Attach the flower elements on it.
Cut a patterned paper strip. Stamp “with mom” at one end of it, and adhere it across the card front. Use the die cutting machine to cut out the word “mom”, and attach it over the strip. Finish it with a button covering the “o”.
Supplies:
This adorable card was made by Laura Neiman from Housewife Hellraiser using simple and fun paper crafting techniques. It is the perfect card that can be made quickly which makes this a great project for Fifteen MINUTE Friday!
She used papers and a card/envelope combination from Darice and buttons from the Laura Kelly BRIGHTS collection along with adhesives from iLovetoCreate.
You can find out the details on her blog HERE.

There are so many great ways to create handmade cards with buttons. Browse the blog and you will be totally inspired!
Cheers,
Laura
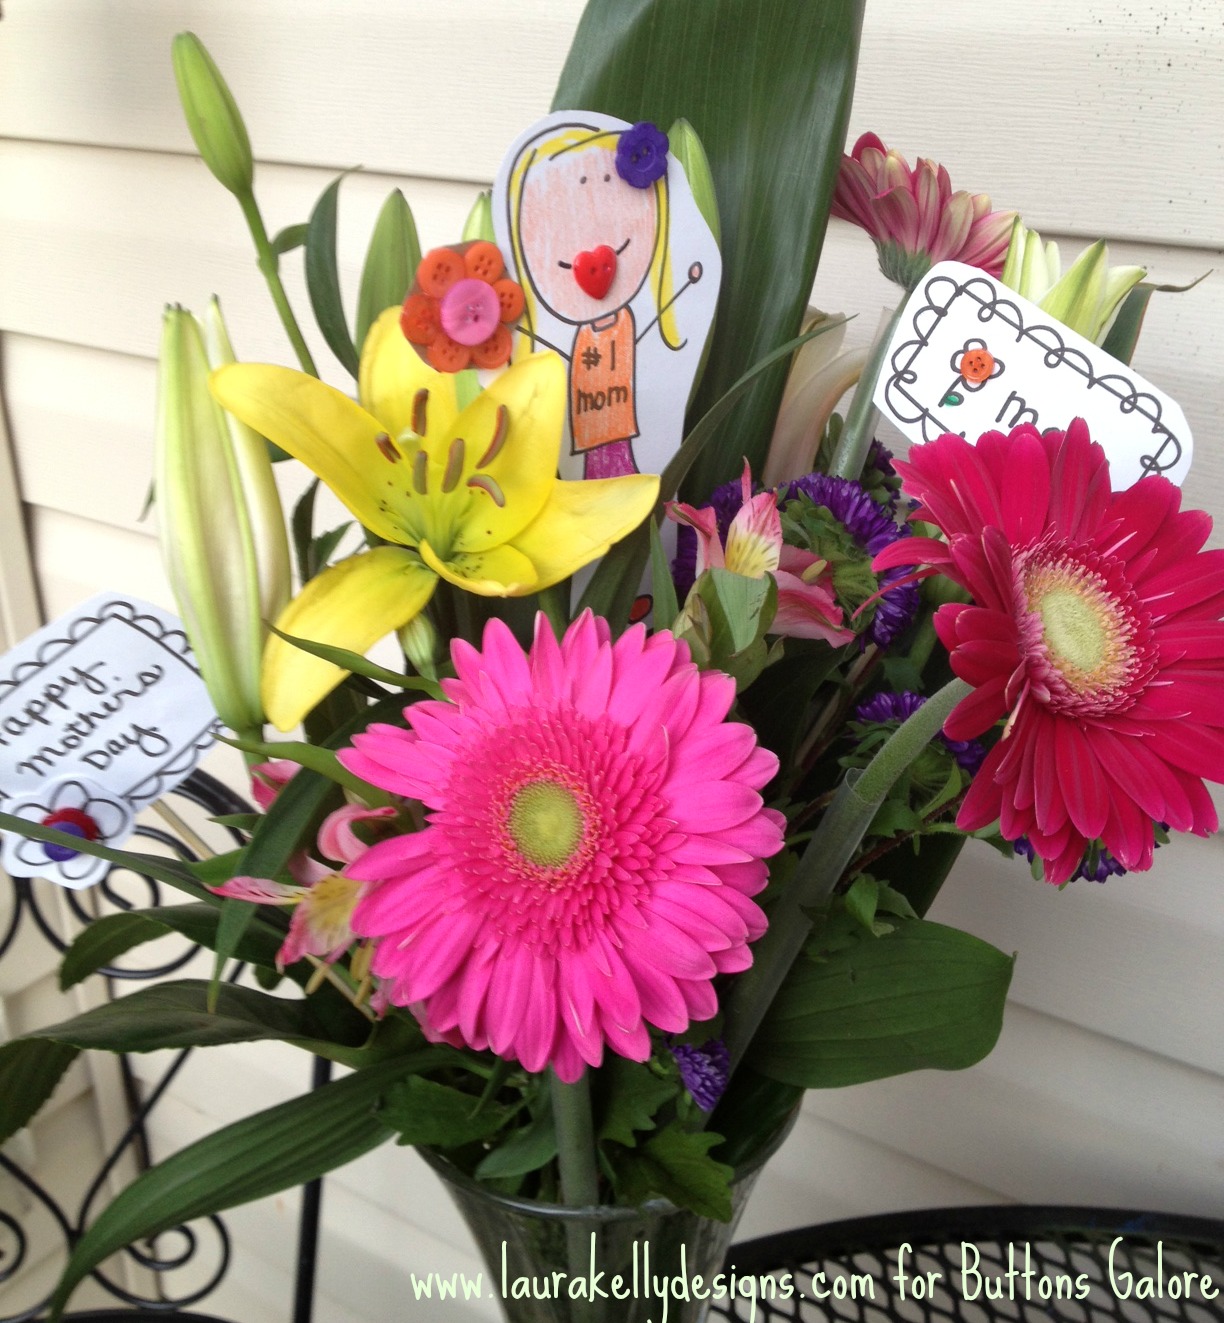
Here is a quick and fun way to embellish a bouquet of flowers for Mother’s Day with DIY picks. You can download the free printable of the ‘Me and My Peeps’ mom and color her to look like a mom that you love then embellish her to create this fun arrangement.
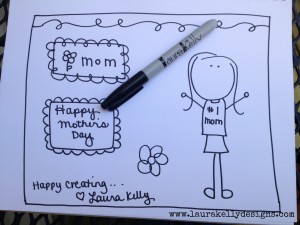
If you want to download the doodles, click here or on the photo below.
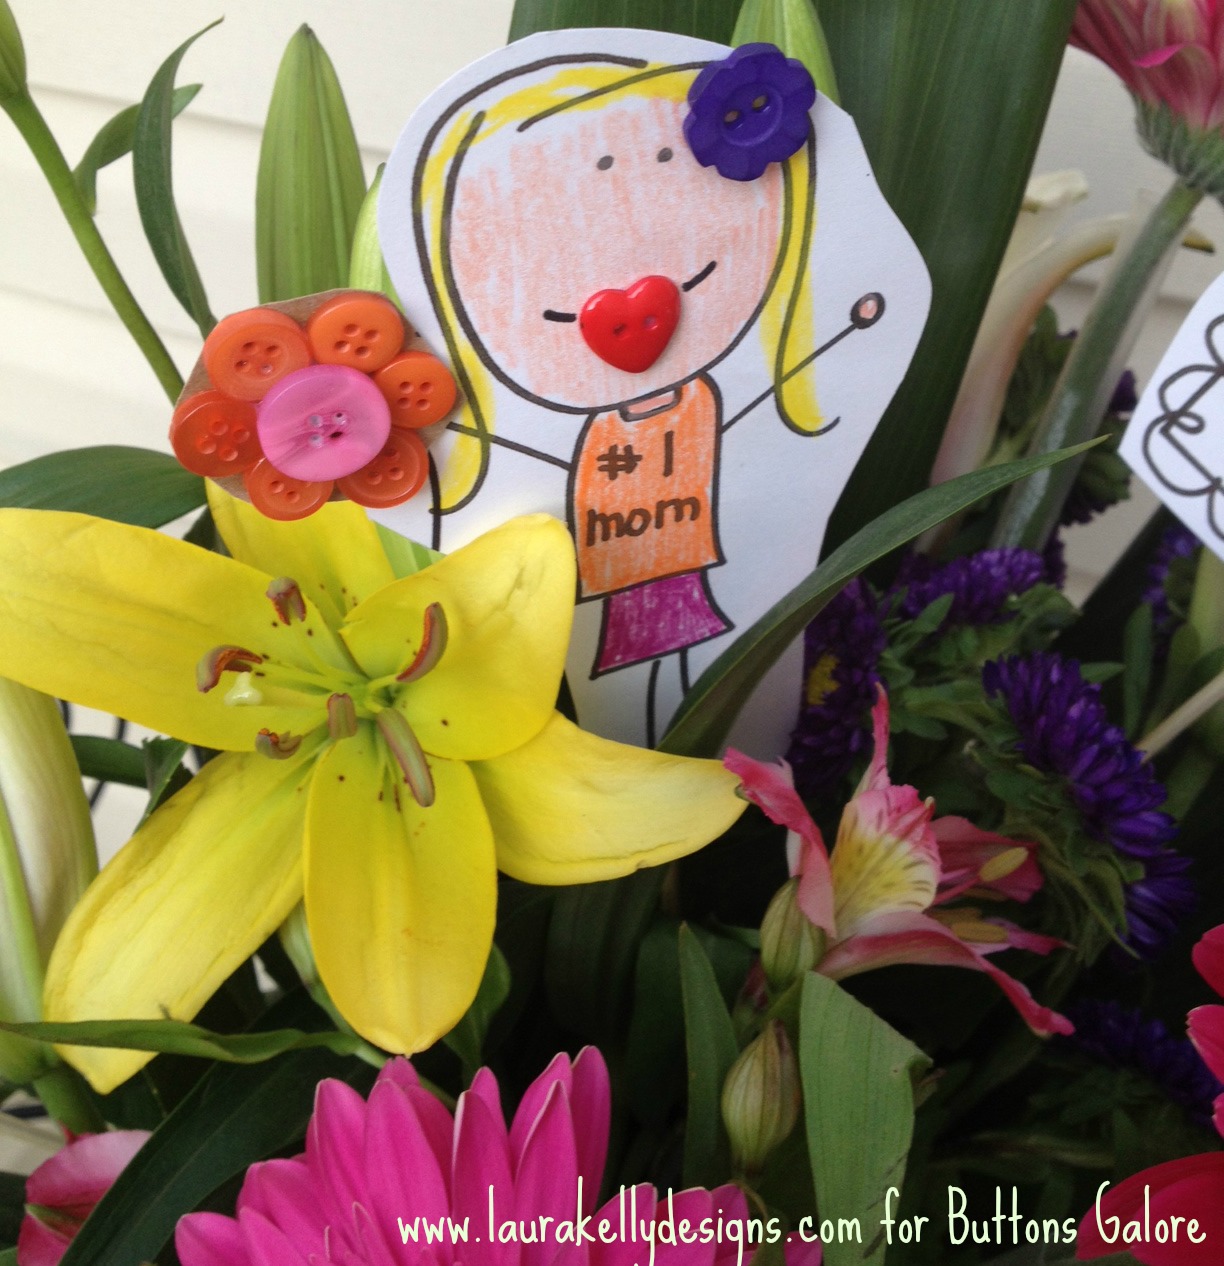
Have fun embellishing with lots of buttons. I used the ones from my BRIGHT collection. Isn’t she cute hiding in the flowers?
For more fun ways to use the printable, hop over and visit my blog here.
Have a great weekend,
Laura
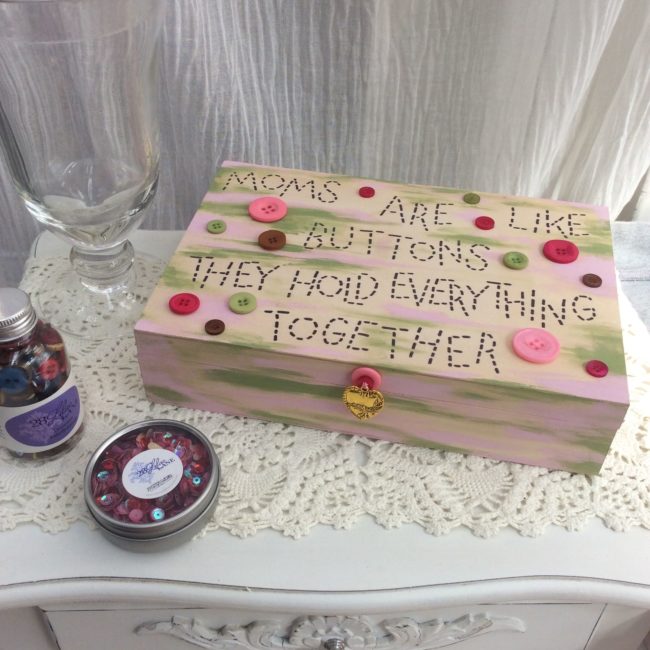
Can you believe Mother’s Day is quickly approaching? It is right around the corner and I love to make a handmade gift.
I want to share this artistic canvas made just for “Mom” using vintage doilies from around the house.
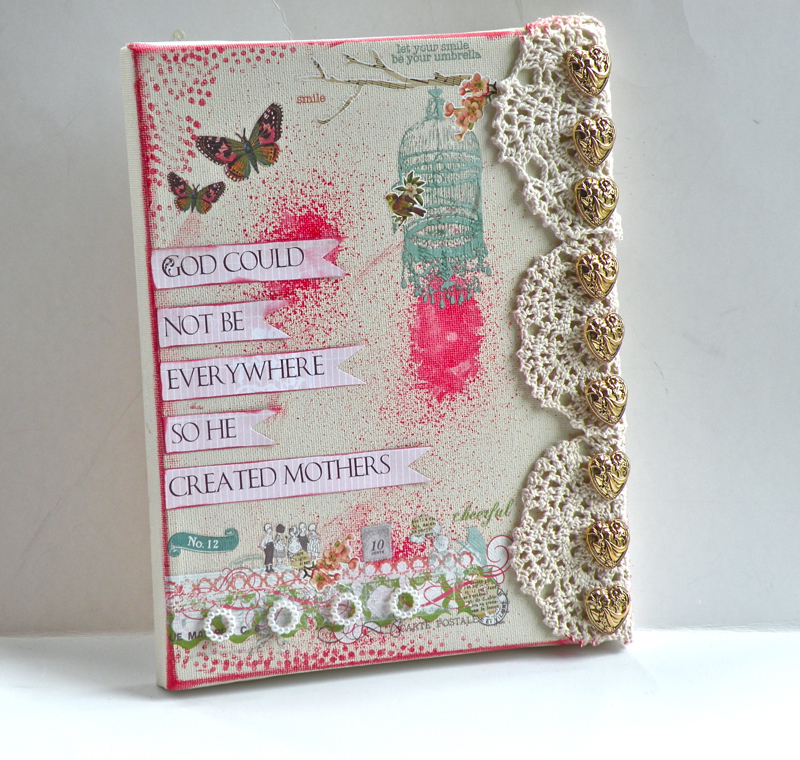
For this Canvas use an 8×10 canvas, and paint it with a sand colored acrylic paint.
After allowing the canvas to dry, take a craft spritz and carefully spritz canvas in random places. Set aside to dry for 10 minutes.
Using coordinating ink color, ink edges or canvas.
Take a pencil with eraser and dab into coordinating paint or ink, ink or paint onto canvas as shown in photos.
Adhere vintage doilies.
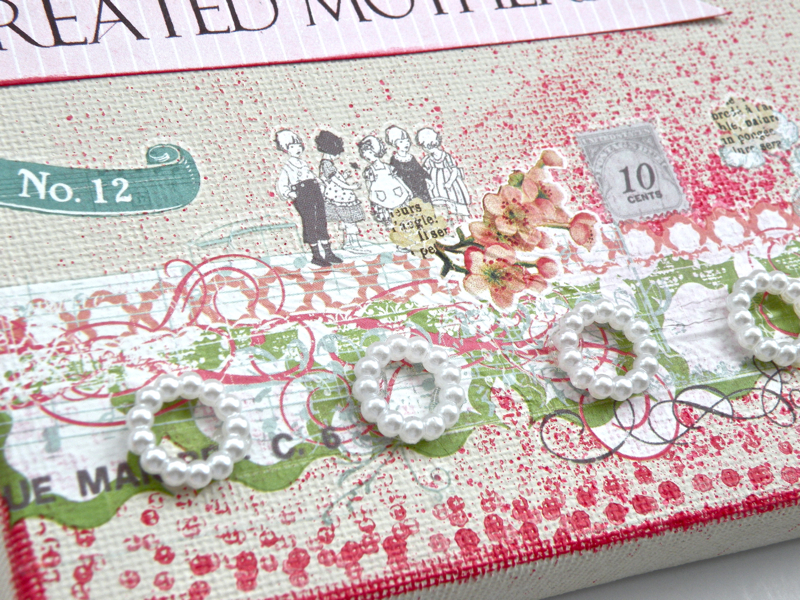
Grab some packages of beautiful Buttons’ Galore & More Vintage Gold buttons and apply buttons between doily stitches using hot glue.
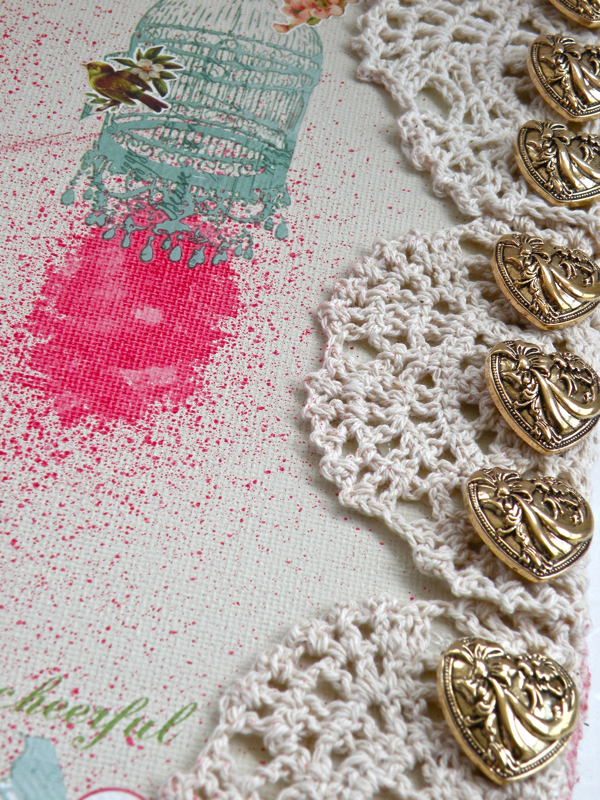
Using rub-ons, carefully apply rub-ons in desired locations.

Using shank & pearl keepsake buttons, adhere over rub-on using hot glue gun.
Set canvas aside.
Choose a lightly colored patterned paper, using home printer, print quote onto page.
Trim out words and hand cut pennant edging.
Ink edges.
Adhere quote to canvas.
Wrap it up and give with love.
I hope you enjoyed the post today- Pinky: Buttons Galore & More Design Team