We are celebrating spring and what better way to do it than with Pinterest. The site makes our hearts swoon— we use it as a creative kick-start, to figure out what’s for dinner, and to get inspired by gorgeous color combinations for our own projects.
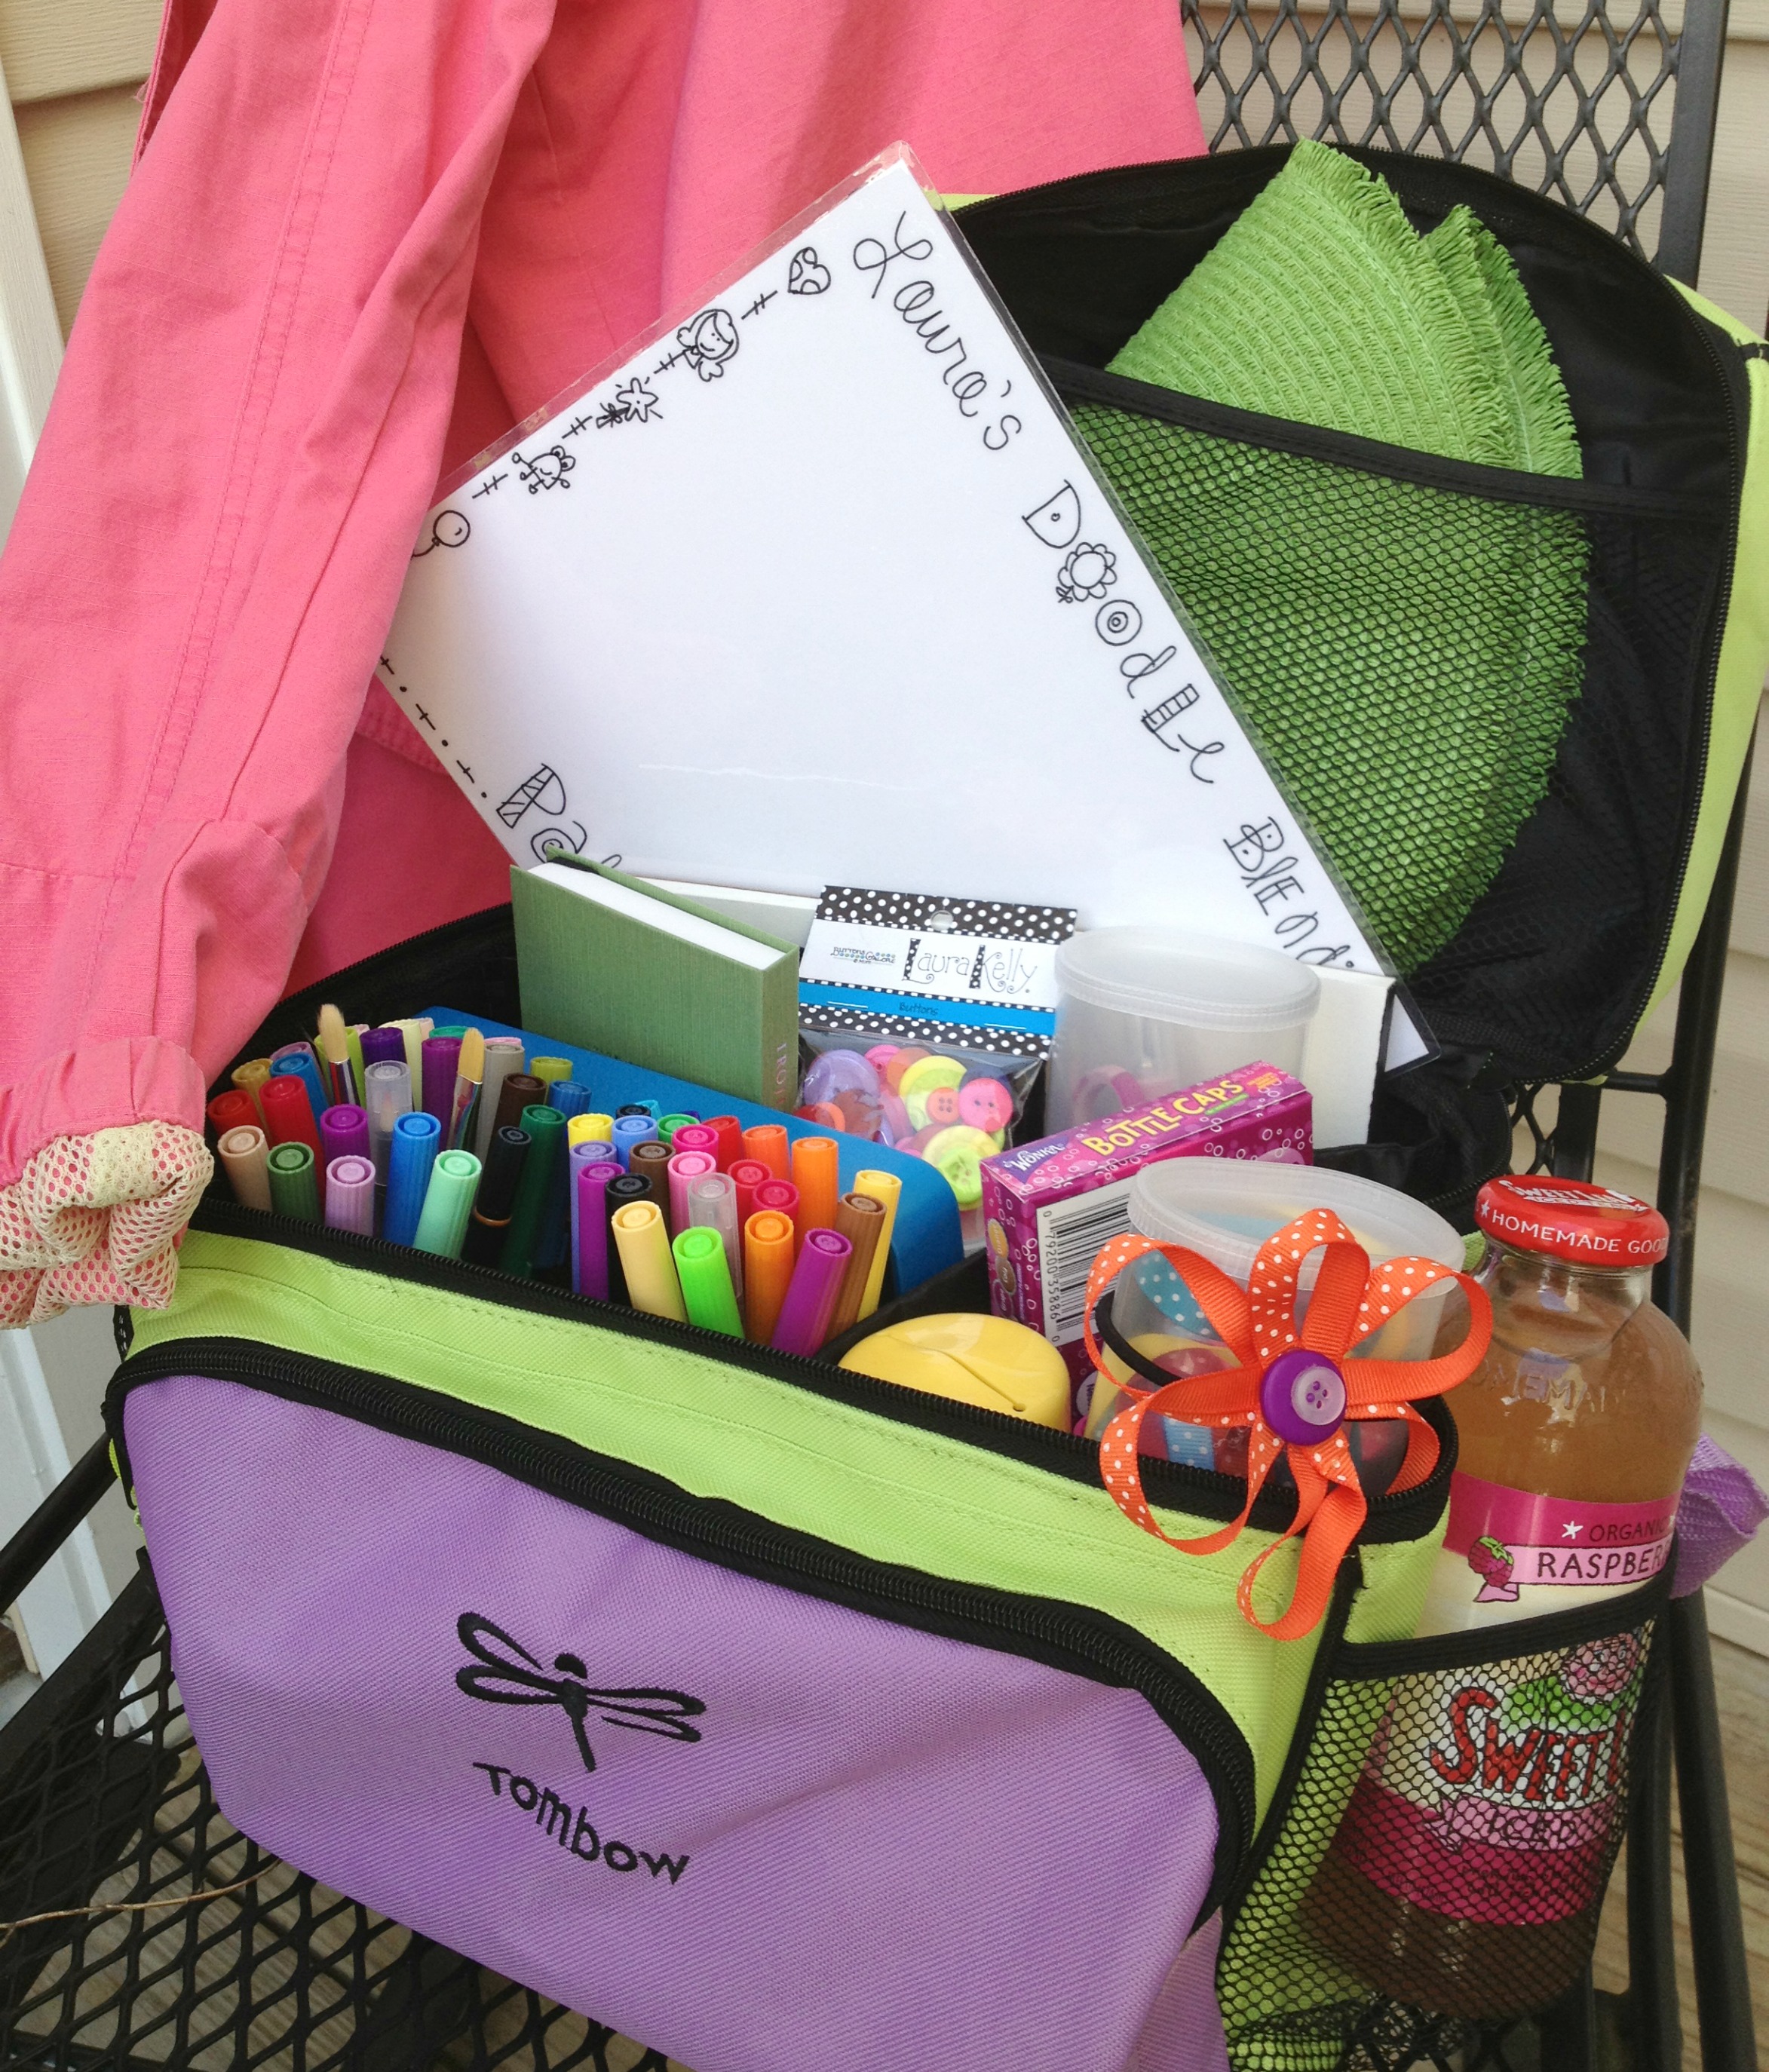
Now we’d like to turn the spotlight on YOU & your creativity. Show us your BUTTON-inspired pinboards!! At the end of the contest we will send the Pinterest user with our favorite pin collection a tote bag filled with fabulous & inspiring crafting supplies. If you are the creator of our very favorite button project, you will receive an invitation to be a guest designer for a mutually agreed upon month at Buttons Galore & More and receive $25 worth of products of your own choosing from the Buttons Galore & More site. In addition, your creation will be featured on our website and in our newsletter — reaching thousands of crafters around the world who will turn your idea for a fabulous project into reality.
WHAT YOU NEED TO DO
Be sure you follow Buttons Galore and More on Pinterest. Create a new Pinterest board entitledButtons Galore Pin It To Win It Party.
Fill that board with at least 4 pins (feel free to add more!).
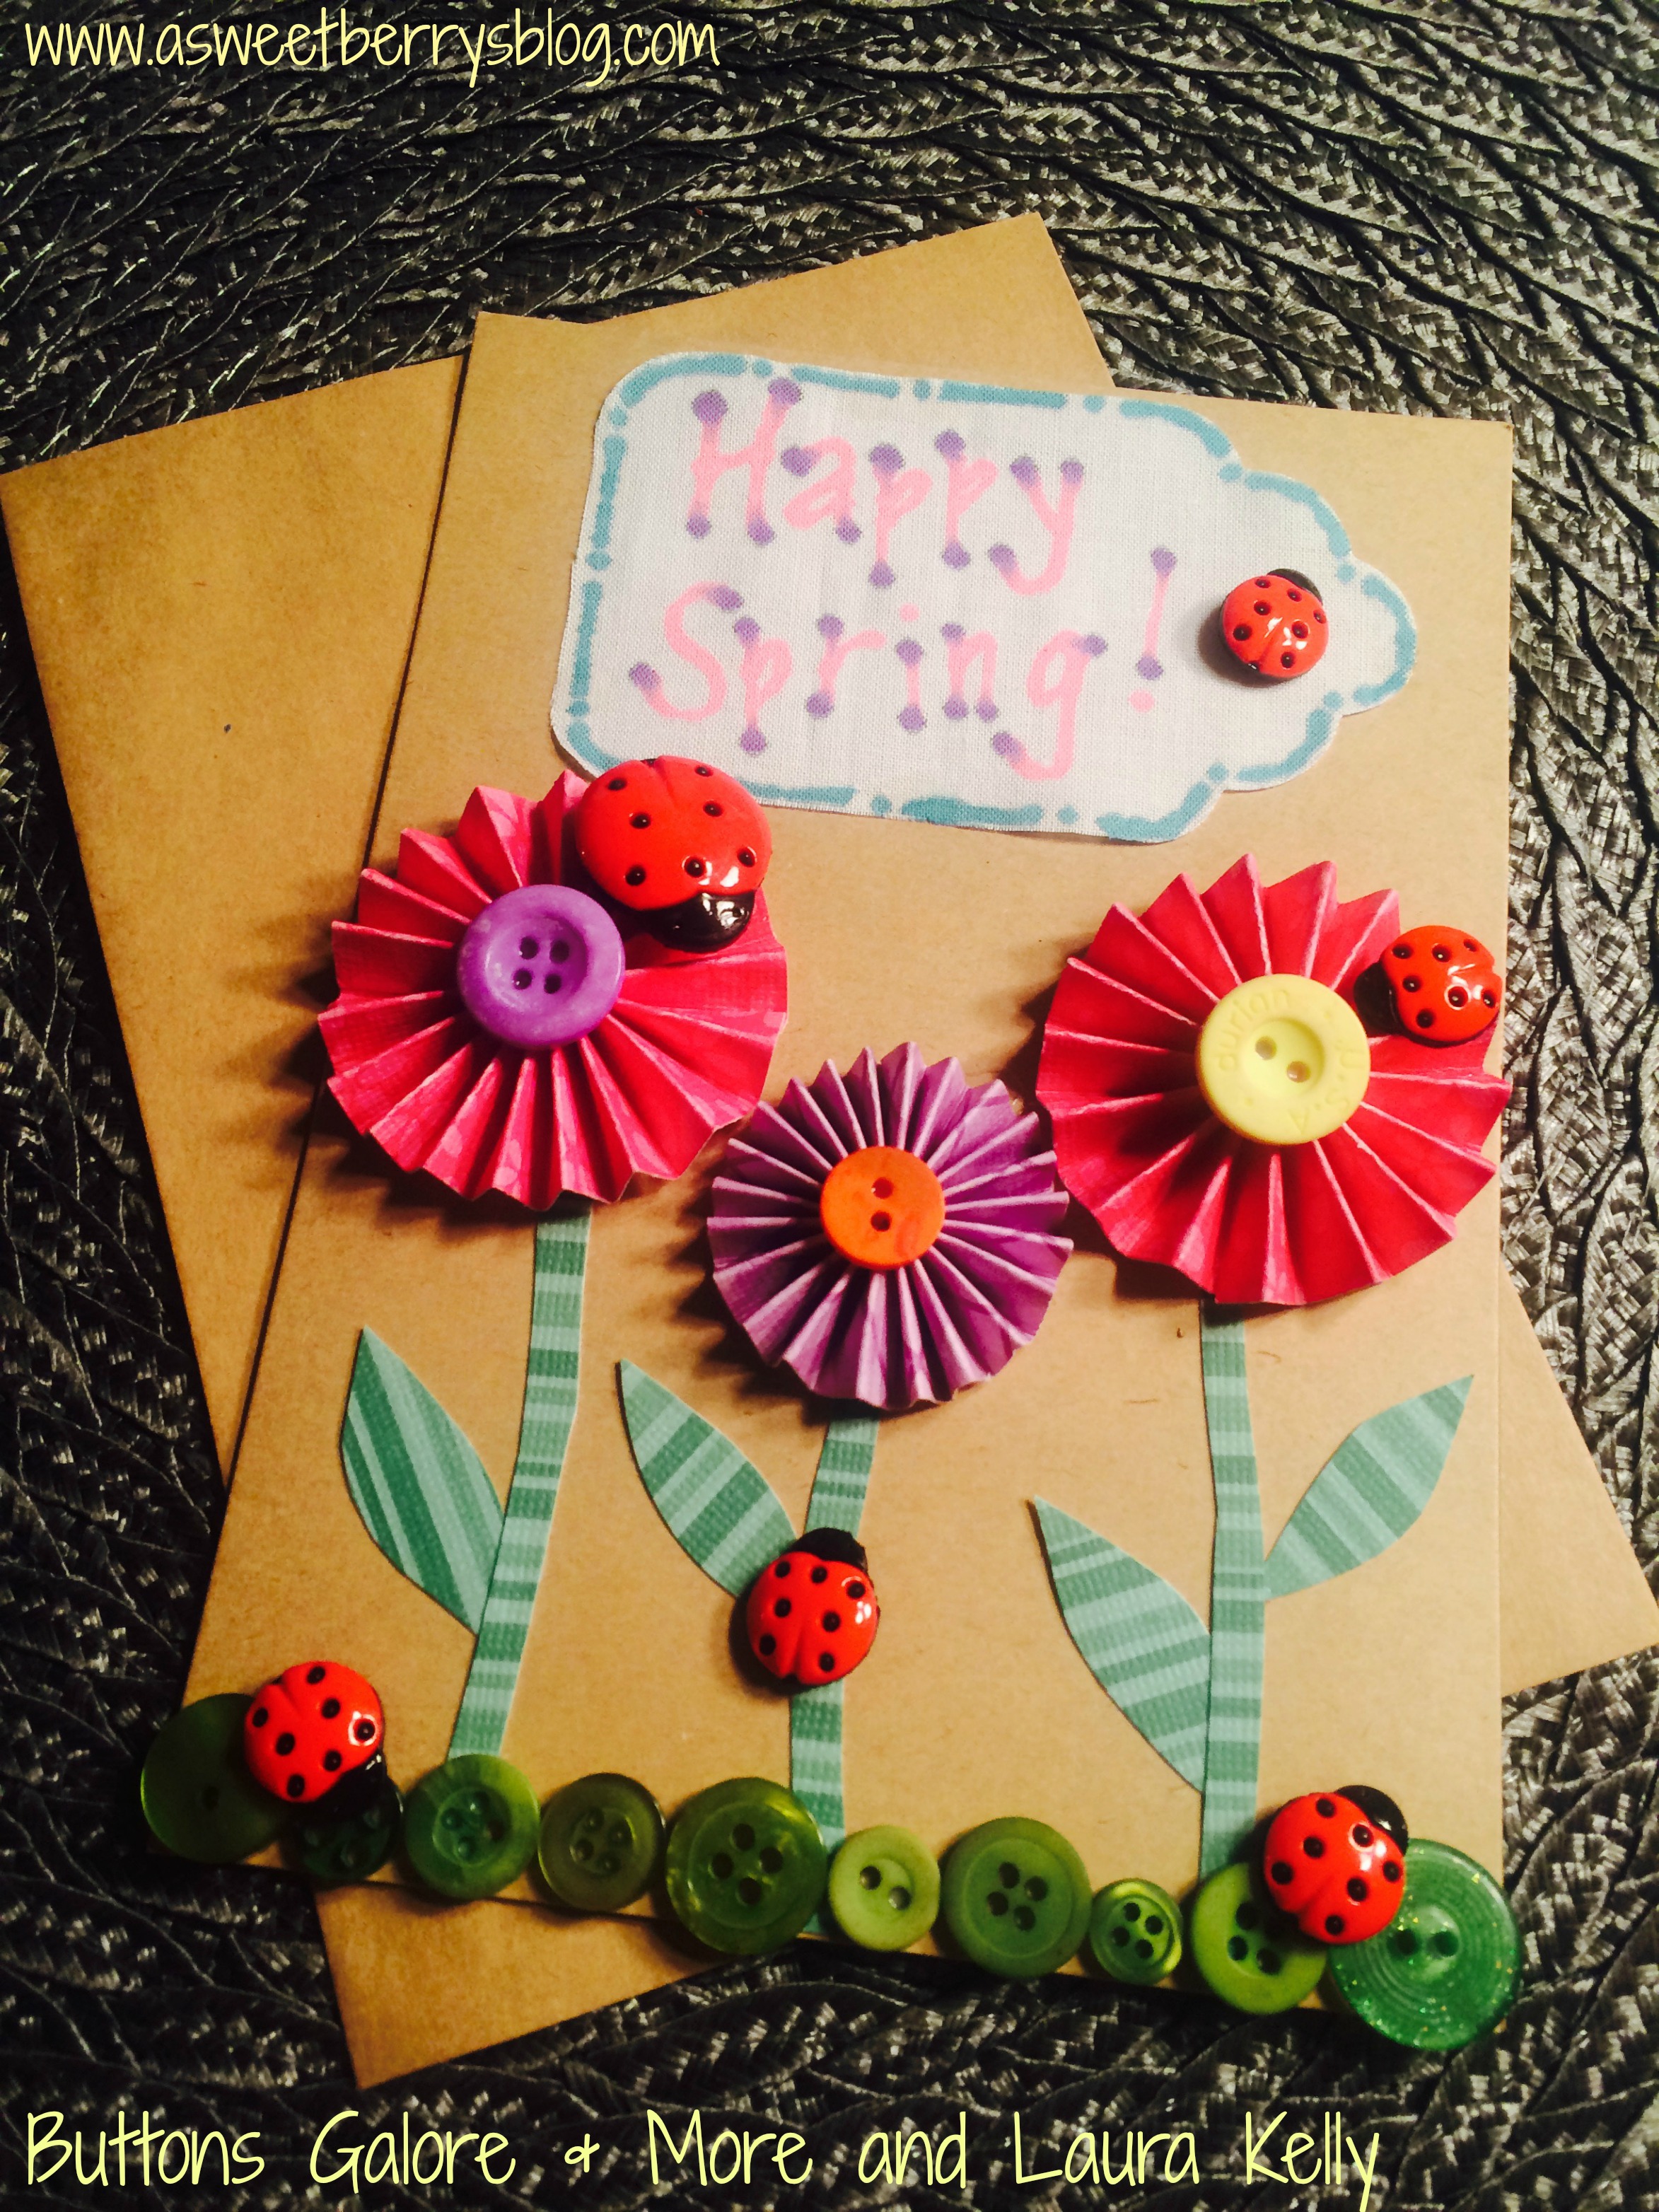
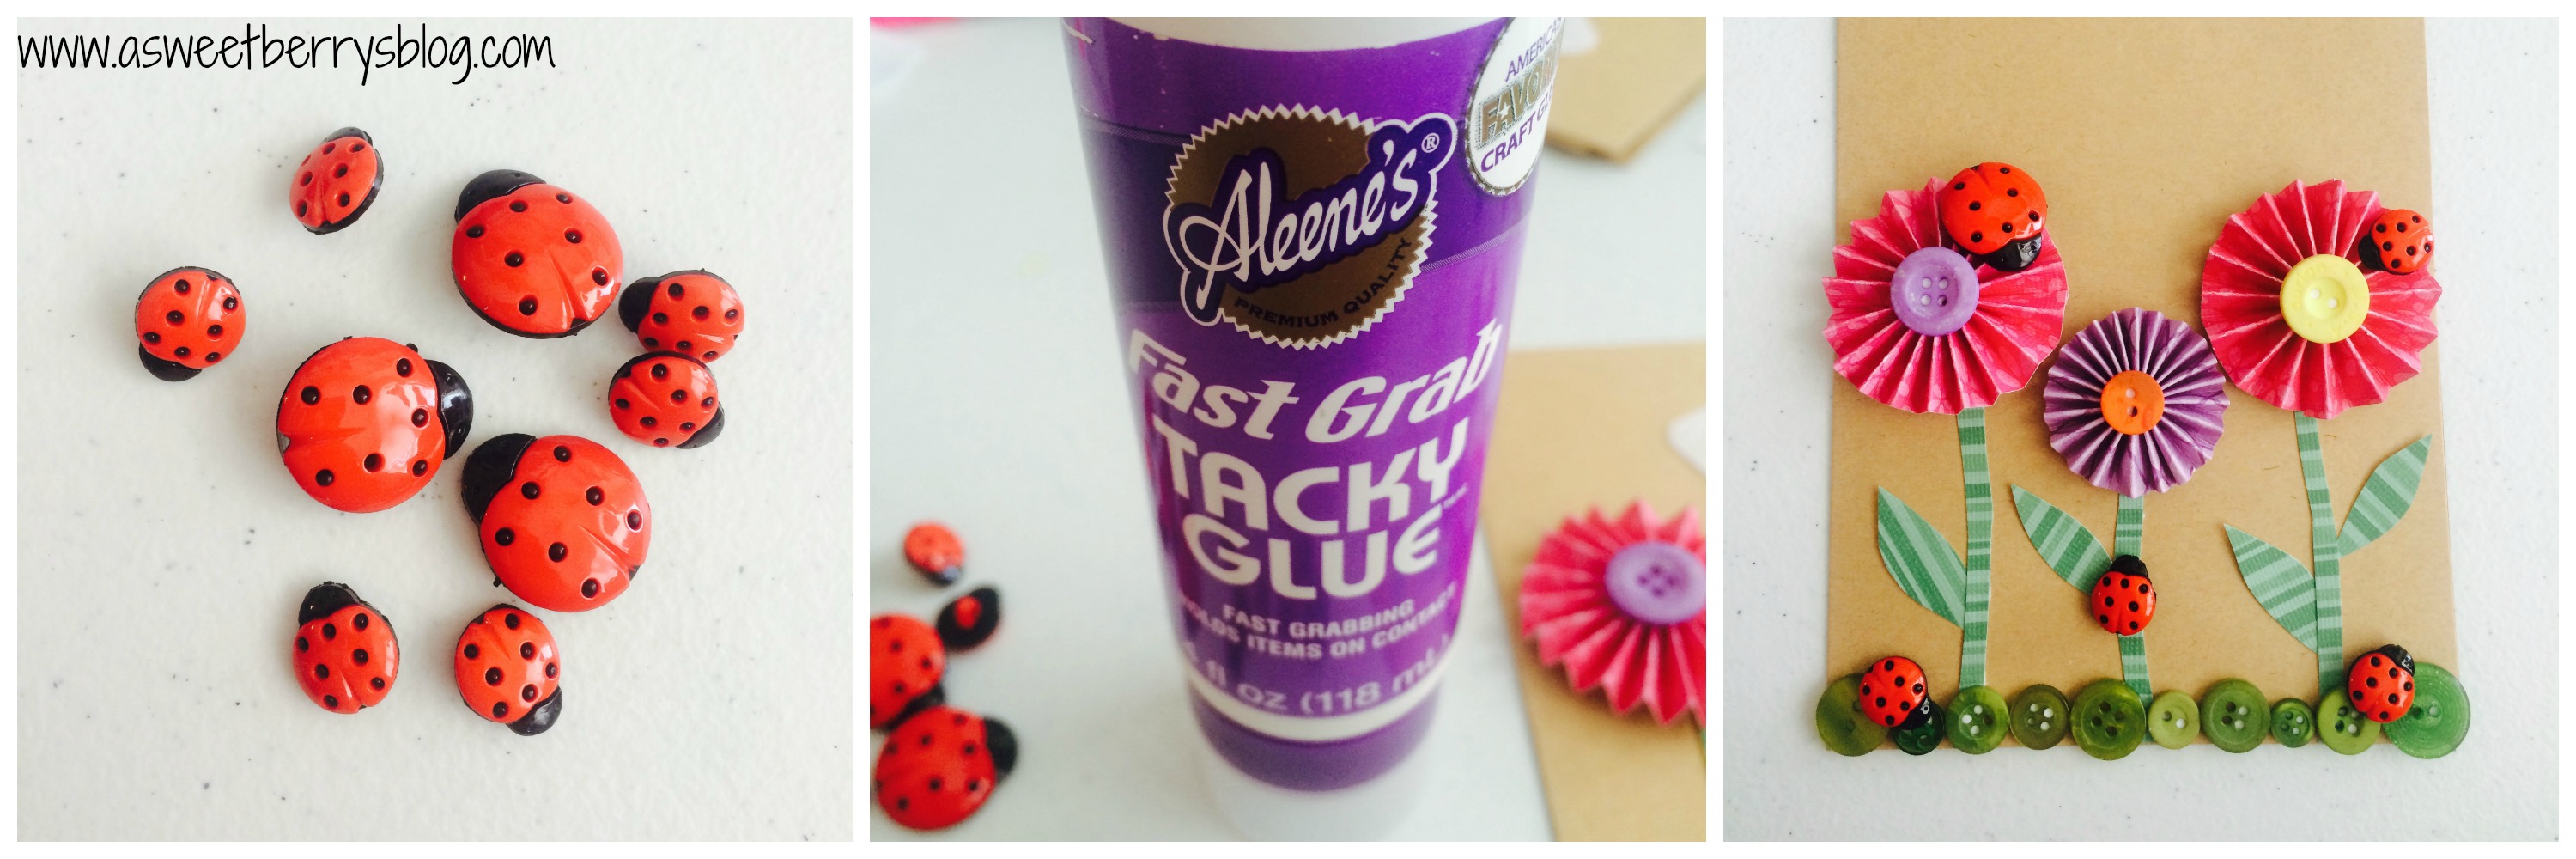
-2 of the pins must be of your favorite projects from the Buttons Galore blog
-2 pins must be of your own creations featuring buttons of any kind.
All the pins (even those not from ButtonsGaloreandMore.com) must have a caption explaining the pin’s relation to the party.Is it your favorite color mix? An awesome project? A card created by you? Your favorite scrapbook page? Tabletop decor?
All the pins (even those not from ButtonsGaloreandMore.com) must be hashtagged with both #buttons and #pinitparty.
Once your party pinboard is complete, enter the contest by posting a link to the pinboard in the comments section of April 2nds post Titled Pin it to win it starts TODAY.
This contest launches on April 2, 2012, and will run through 5 p.m. April 27, 2012. The Pinboards will be judged on originality, creativity, adherence to the contest rules, and a general sense of style, appreciation for all things interesting, authentic, and fun.
Note: You must be a member of Pinterest.com to enter, and you must be following ButtonsGalore. If you do not have a Pinterest account, you can sign up for one here or request an invitation in the comments section.
The Buttons Galore Party Pinboard Contest (the “Contest”) is sponsored by Buttons Galore and More (“Sponsor”).
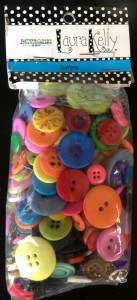
ONE (1) GRAND PRIZE: A gift bag filled with craft supplies approx. retail value $75.
ONE (1) FIRST-PLACE PRIZE: approx. retail value $25
All federal, state and local laws and regulations apply; void where prohibited. PRIZES MAY BE SUBJECT TO TAX; ALL APPLICABLE TAXES ARE THE RESPONSIBILITY OF THE WINNER.
ELIGIBILITY: The Contest is open only to individuals, eighteen (18) years or older at time of entry, who are legal residents of the United States and Canada, excluding the Province of Quebec. Employees and Creative Team Members of Buttons Galore and More, their immediate families (defined as parents, children, siblings, spouse and grandparents), and those domiciled with any of the foregoing are not eligible.
ENTRY: All entrants must submit a Pinterest board entitled Buttons Galore Pin It Party, containing at least 4 pins, 2 of the pins must be of your favorite projects from the Buttons Galore blog and 2 pins must be of your creations featuring buttons of any kind.
Submissions to the Contest must be received by April 27 2012 at 5:00 p.m. Eastern Time (“ET”) in order to be eligible; entries received after that date will be deemed ineligible to win. Sponsor is not responsible for lost, late, inaccurate, incomplete, damaged, illegible, or misdirected entries.
Each entry must be submitted on an individual basis (i.e., no team, joint, or corporate entries) the entries created by the contestan must be the original creation of the submitting participant.
Entries may not contain profanity, nudity, pornographic images, violent images, anti-competition messages, illegal material, or material that violates the rights of third parties. Entries may not include confidential information, trade secrets, trademarks or copyrighted material belonging to any person or entity other than the entrant absent a suitable license or permission agreement, proof of which is required. Entries containing any forbidden matter or material otherwise deemed by Sponsor to be inappropriate will be disqualified. Online entries will be deemed submitted by the authorized account holder of the email address submitted at time of entry. One entry per person; multiple entries will be disqualified.
JUDGING: The Creative Team members and editors will select the winning entry based equally upon the criteria of originality, creativity, adherence to the contest rules, and a general sense of style appreciation for all things interesting, authentic, and fun.
By entering, you agree to be bound by these Official Rules, and that the decisions of the judges are final and binding in all respects. Judging will be completed by April 30, 2012, and potential winners will be notified by Pinterest comment on or before May 1, 2012. Sponsor reserves the right not to select any winning submissions based upon the quantity or content of submissions.
If required winner announcement is not in contact with Buttons Galore within seven (7) business days of notification, or if notification is returned as undeliverable, any prize will be forfeited and an alternate winner will be selected.
PRIZE AWARDS: Prizes will be awarded within sixty (60) days after winner verification. No prize substitution or transfer is permitted, except that Sponsor reserves the right to substitute a prize of equal or greater value for any reason. Sponsor is required by law to report prize values to taxing authorities; all taxes and any other incidental expenses on prizes are the sole responsibility of each winner.
GENERAL RULES & LIMITATIONS: By entering, you represent that: (i) your entry is your own original work; and (ii) you own or have the rights to convey any and all right and title in any material submitted as part of your entry into the Contest. By entering, you grant to Sponsor a non-exclusive, worldwide, royalty-free license to edit, publish, promote, republish at any time in the future and otherwise use your submission, along with your name and likeness, in any and all media for any purpose, without further permission, notice or compensation (except where prohibited by law). By participating in the Contest, you agree to release Sponsor and its parent companies, affiliates, subsidiaries, employees, directors, officers, and agents from any and all liability, claims or actions of any kind whatsoever for injuries, damages or losses to persons and property which may be sustained in connection with the receipt, ownership, possession, use, or misuse of any prize. Sponsor is not responsible for technical, hardware or software failures, or other errors or problems which may occur in connection with the Contest, whether computer, network, technical, mechanical, typographical, printing, human or otherwise, including, without limitation, errors or problems which may occur in connection with the administration of the Contest, the processing or judging of entries, the announcement of the prizes, in any Contest-related materials, or that may limit prize fulfillment or a participant’s ability to enter the Contest. Sponsor reserves the right to amend these official rules and to disqualify permanently from the Contest any person it believes has intentionally violated these official rules.
************ the winners are Teresa Godines and Alicia Hatch****************


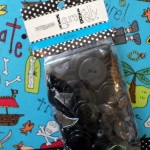
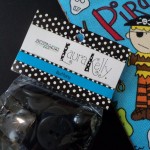
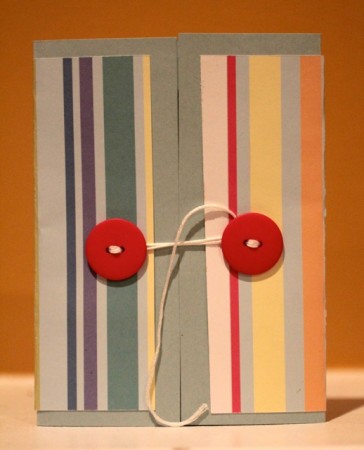
 To get your button go


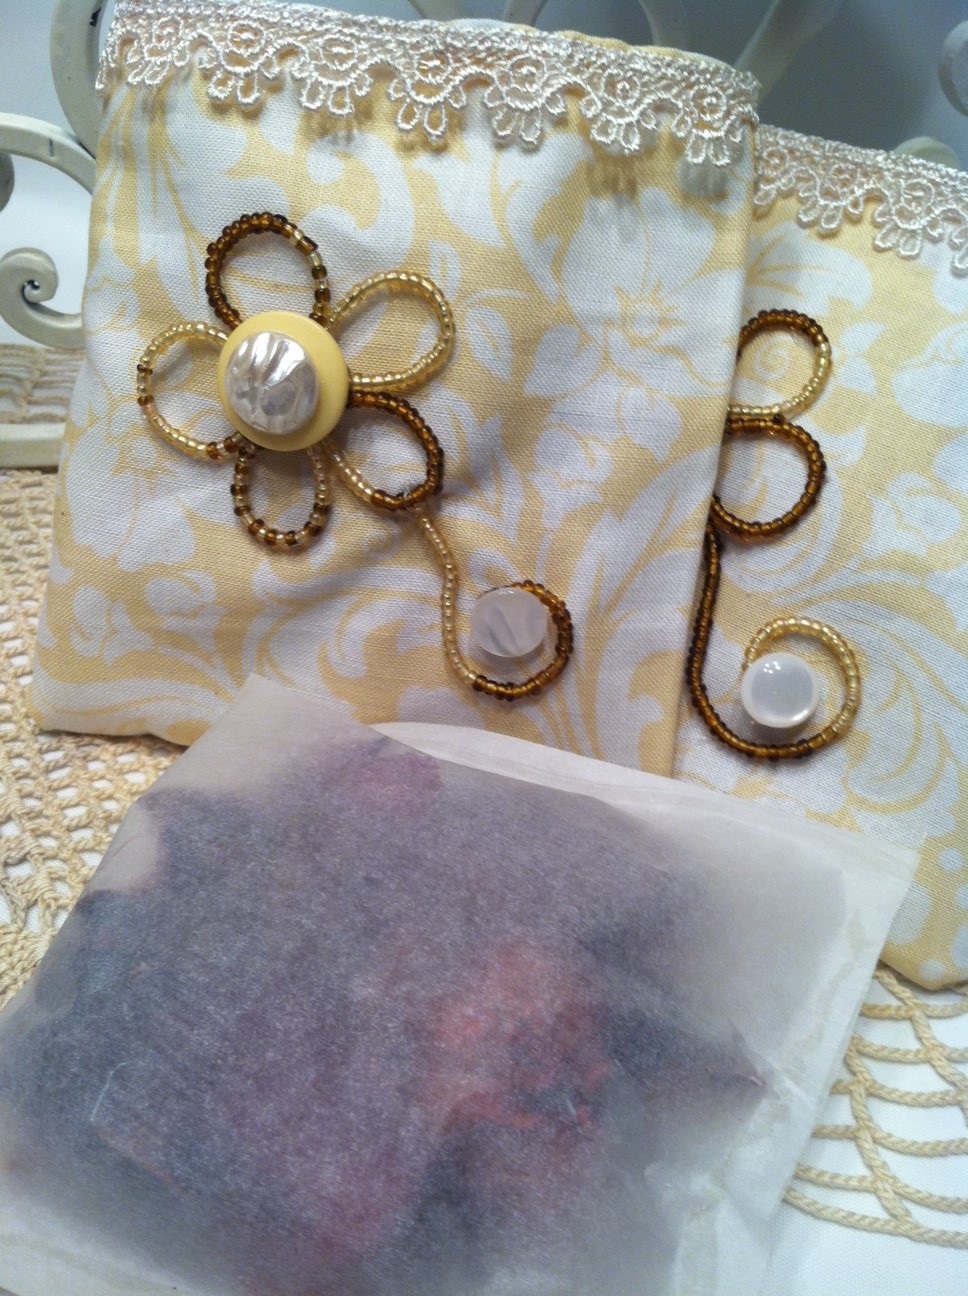
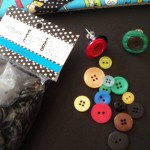
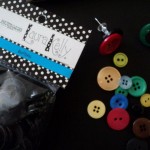
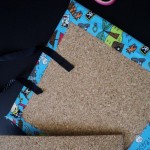
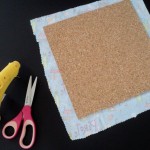
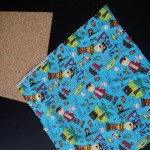
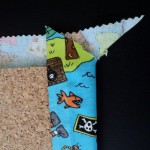
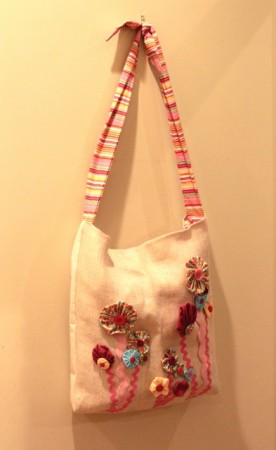
 Zippered bag measurements 10×10 bag


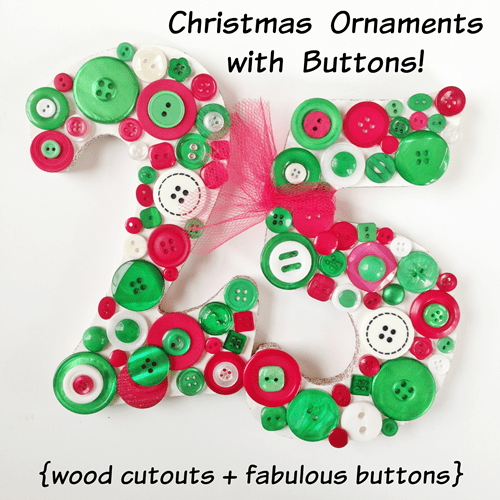
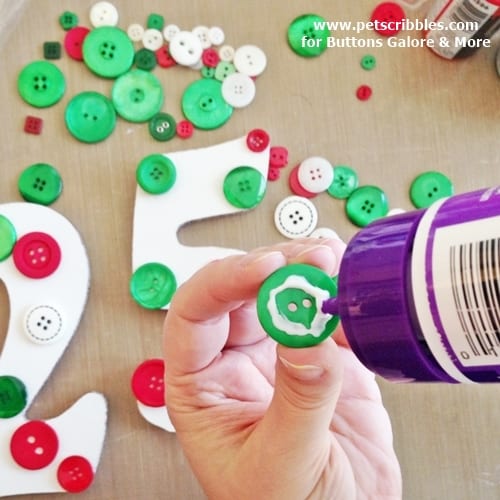
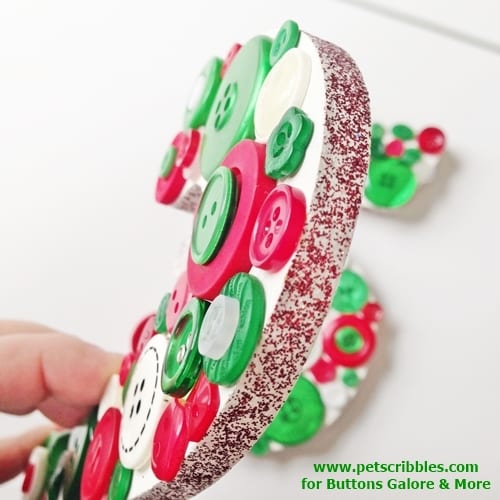
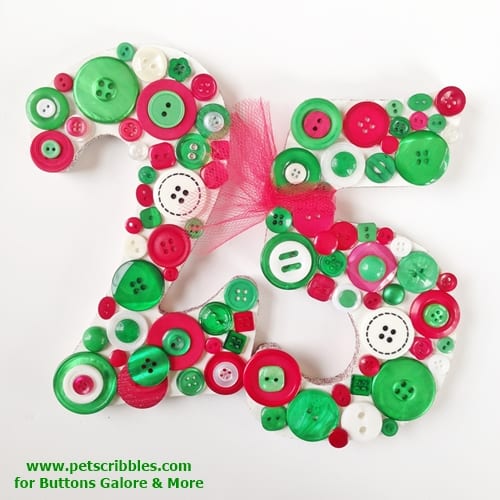
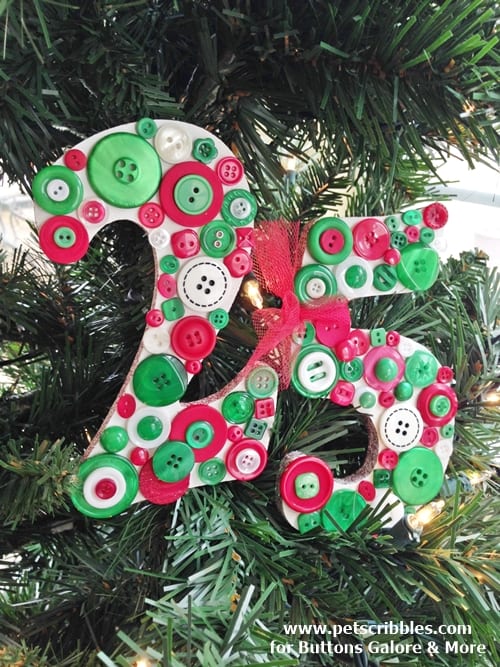
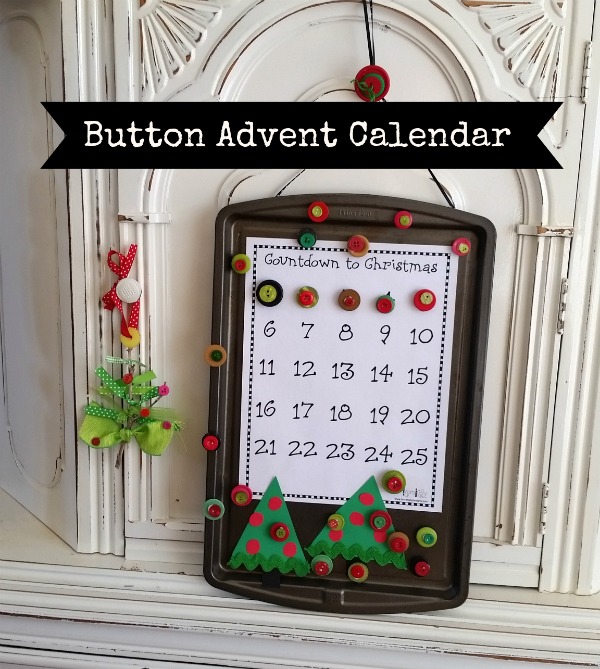
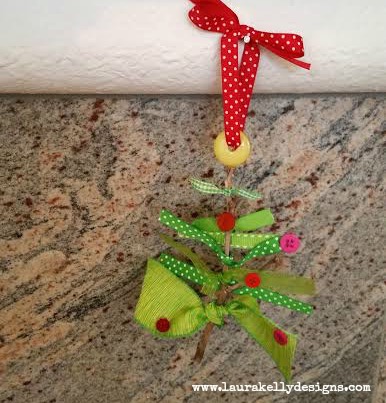
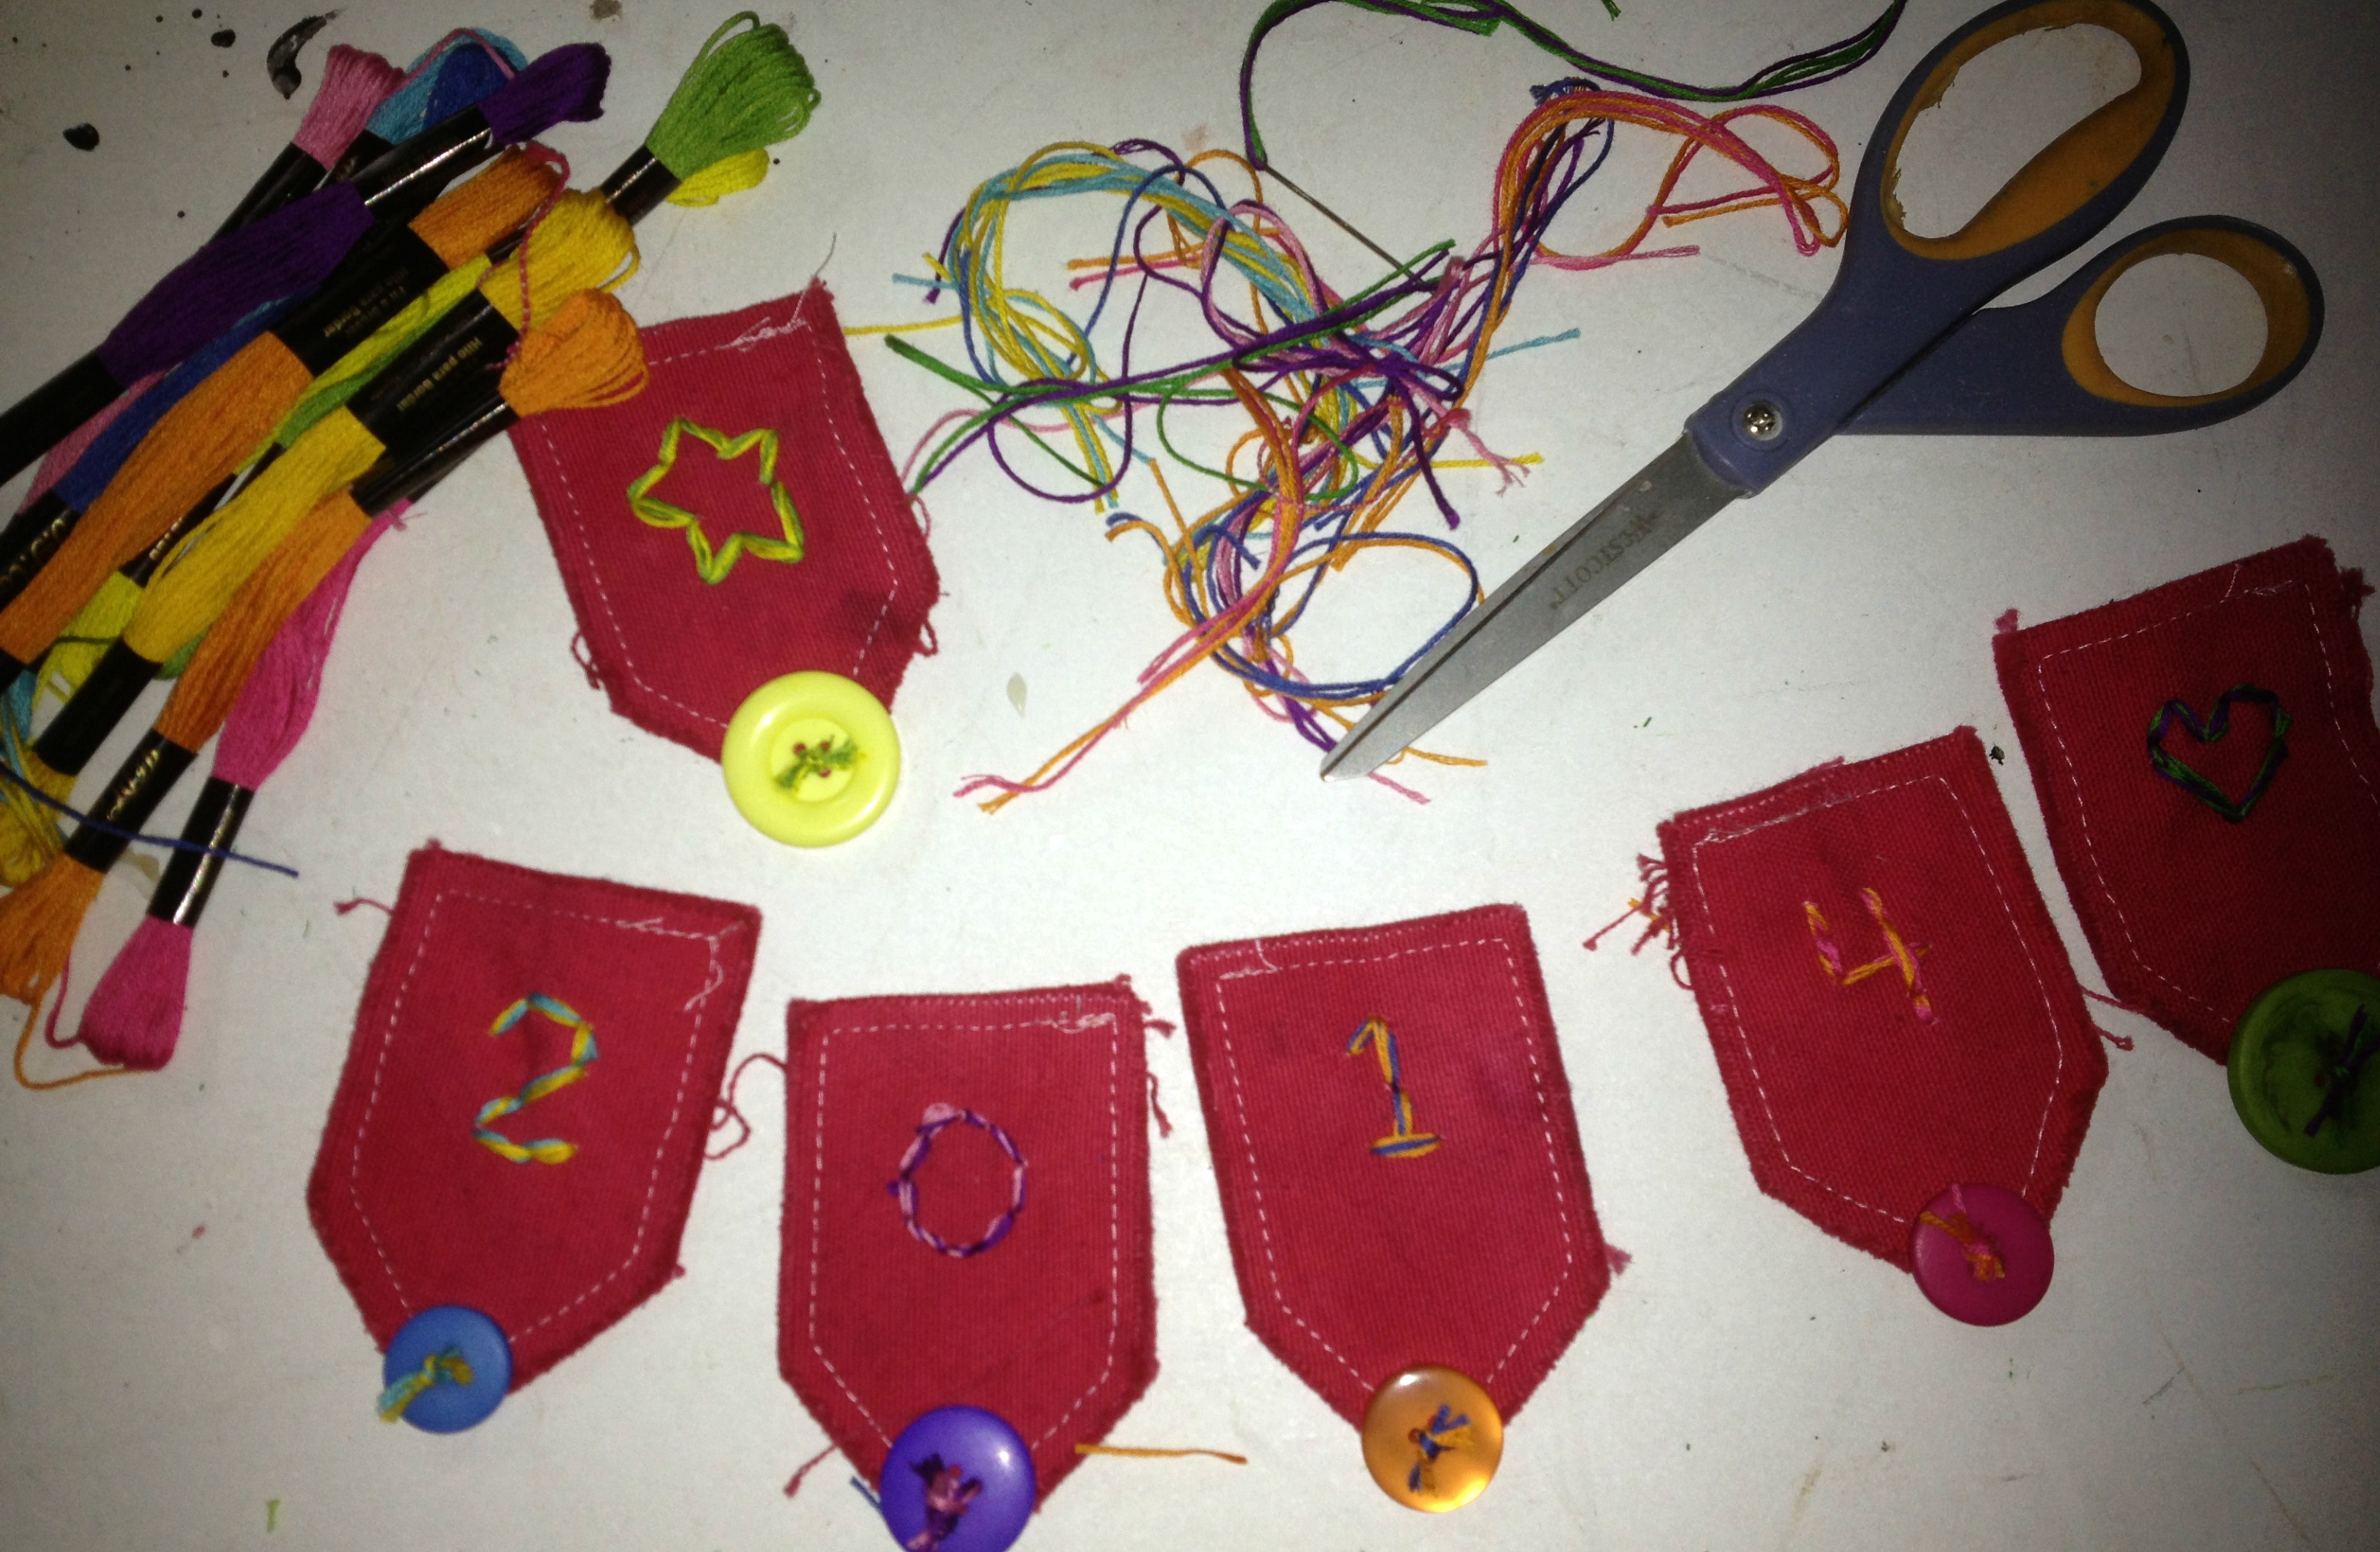
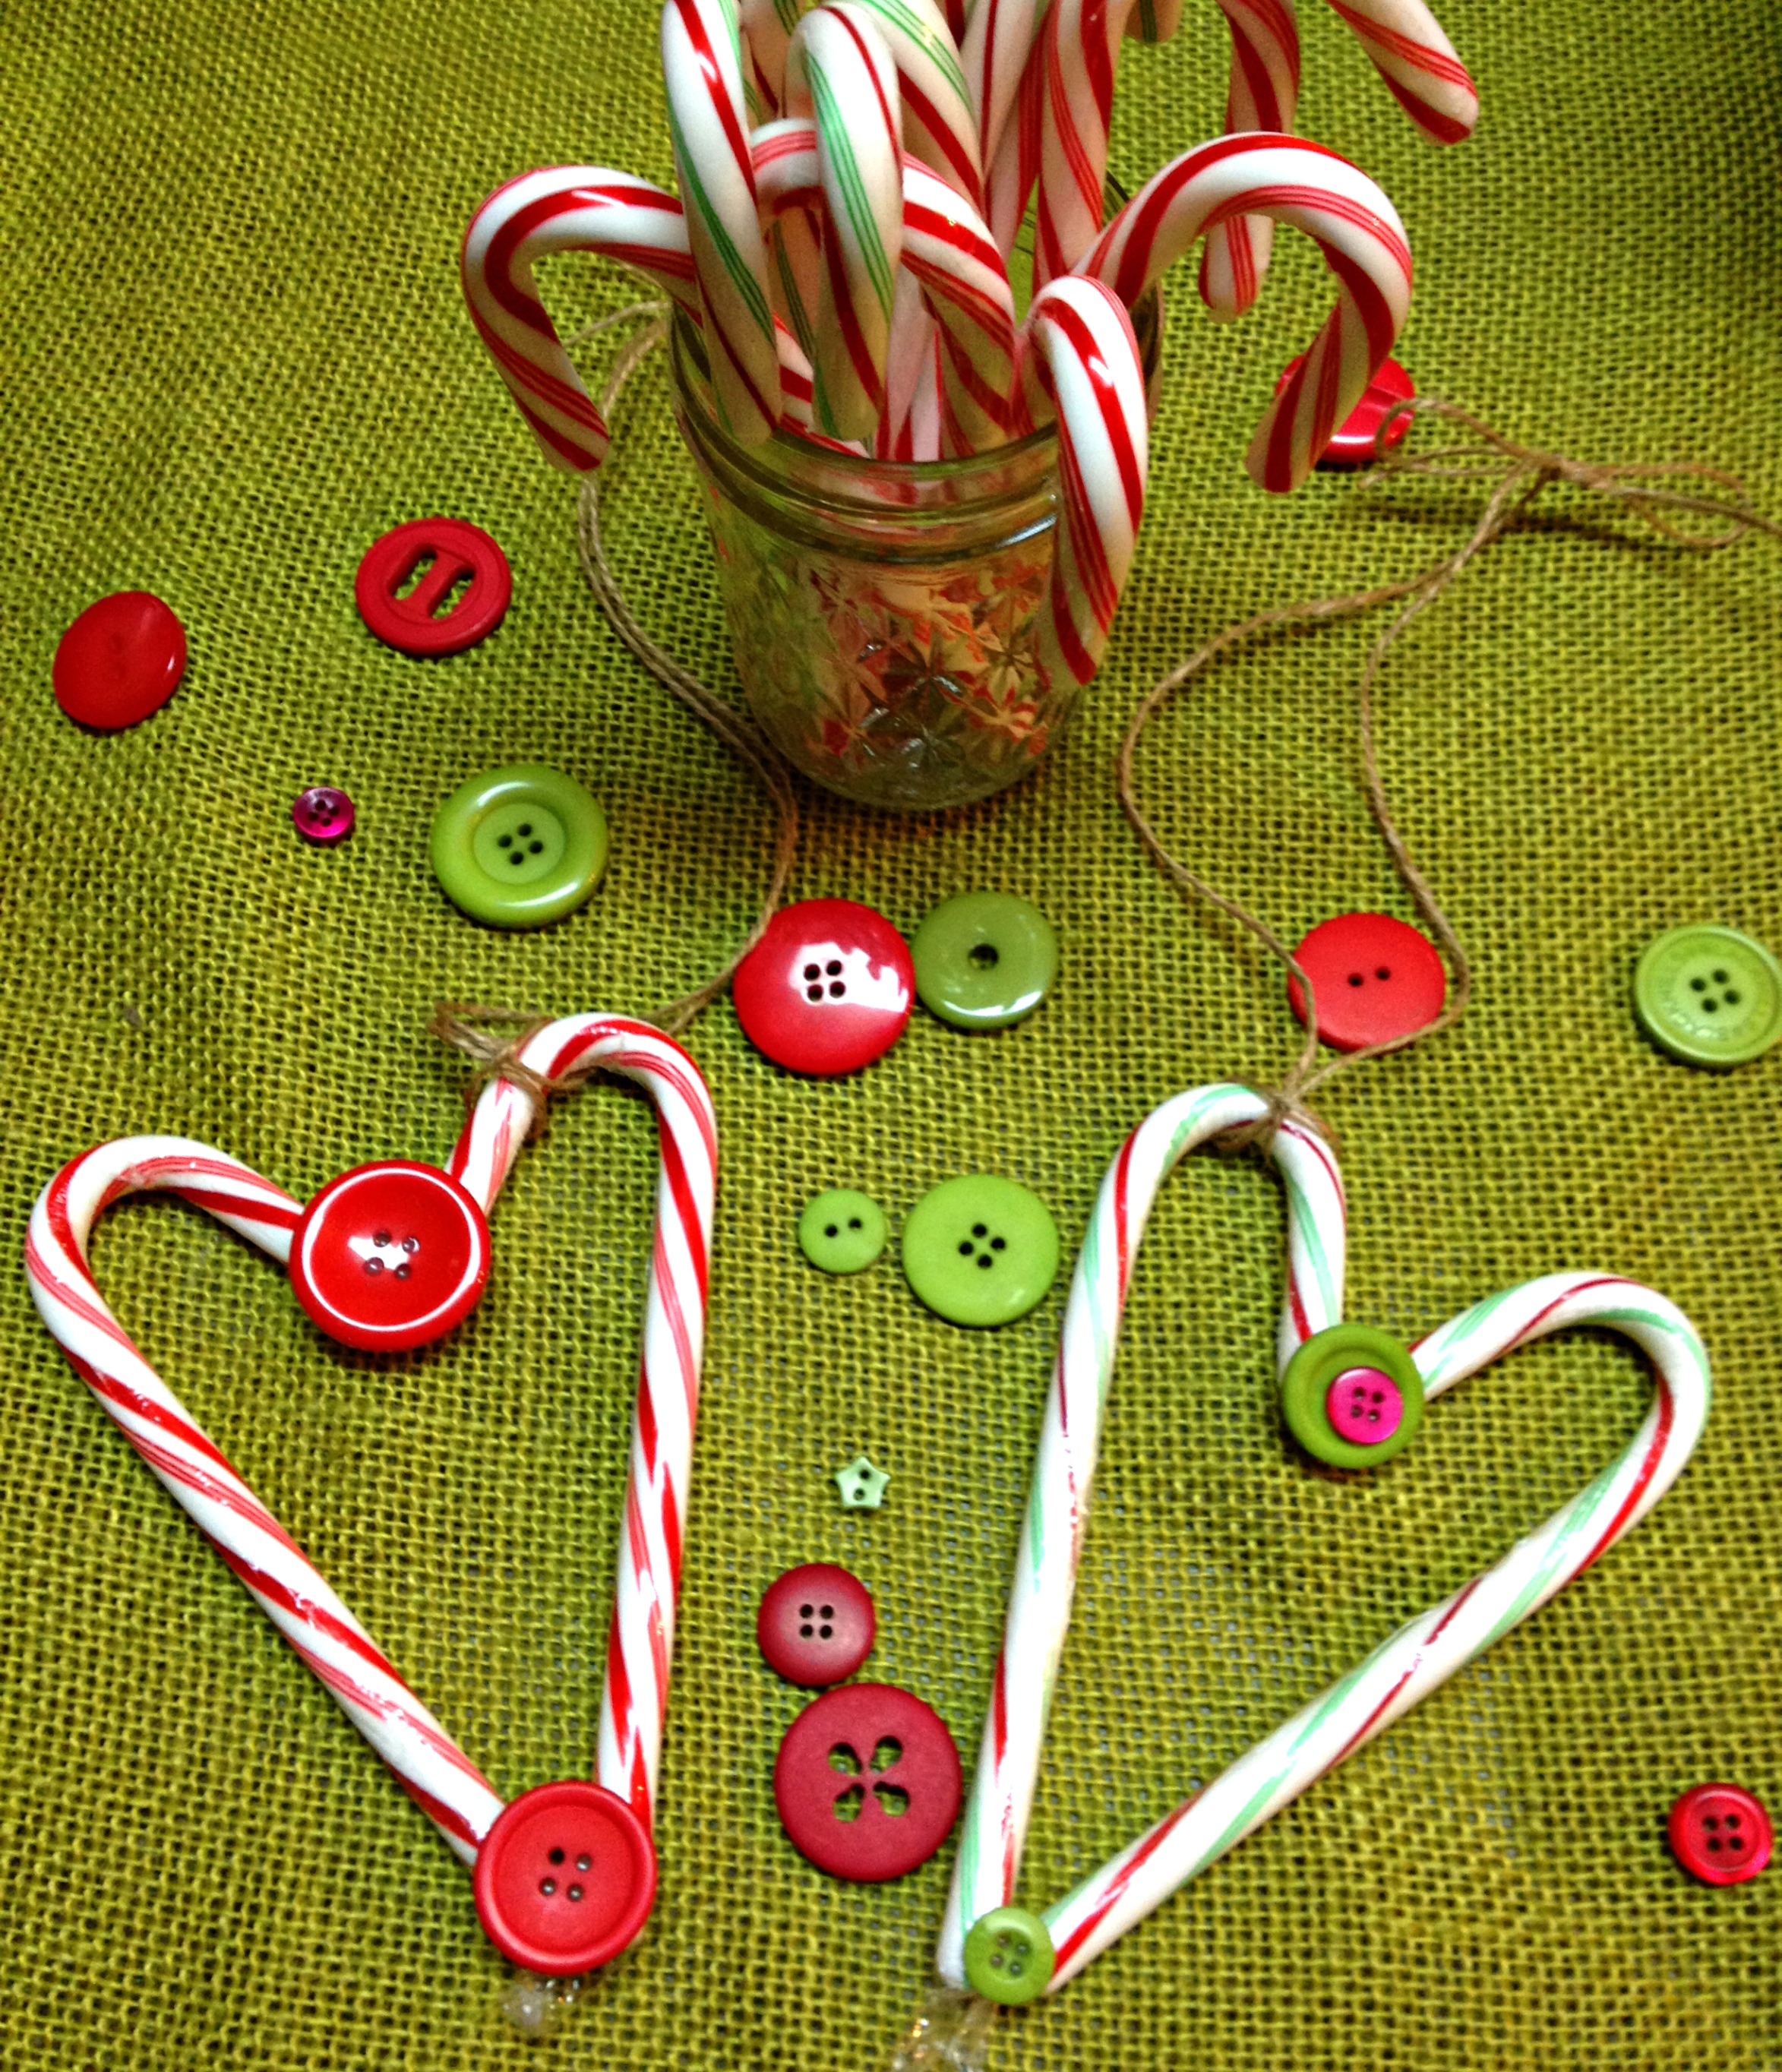
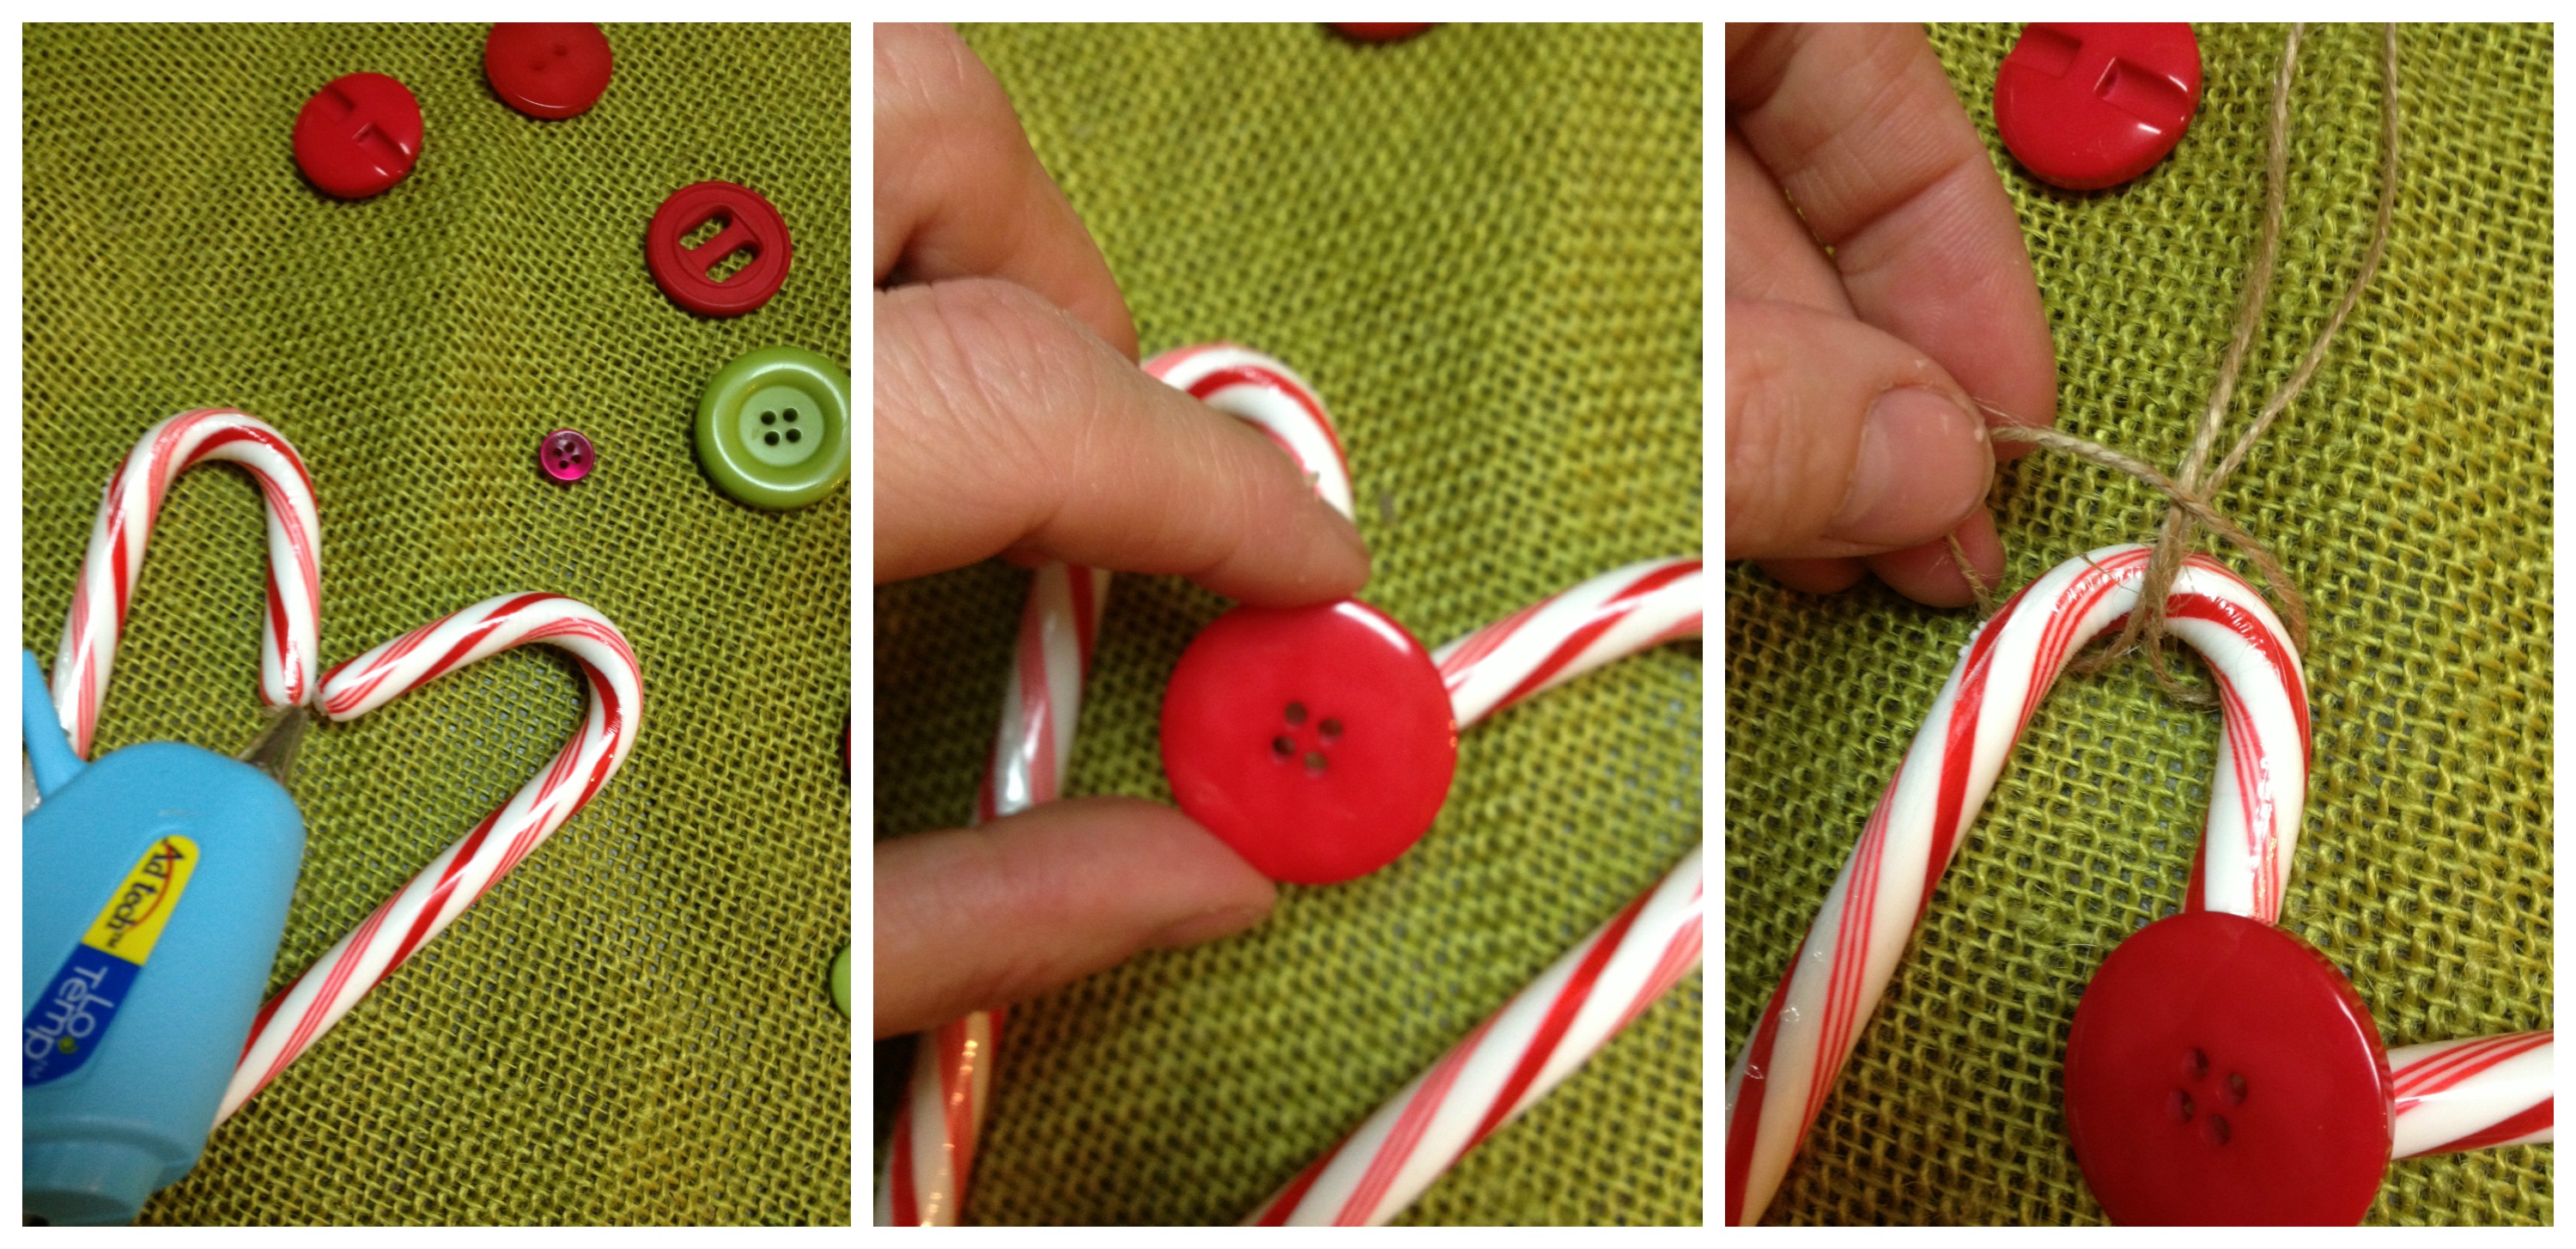
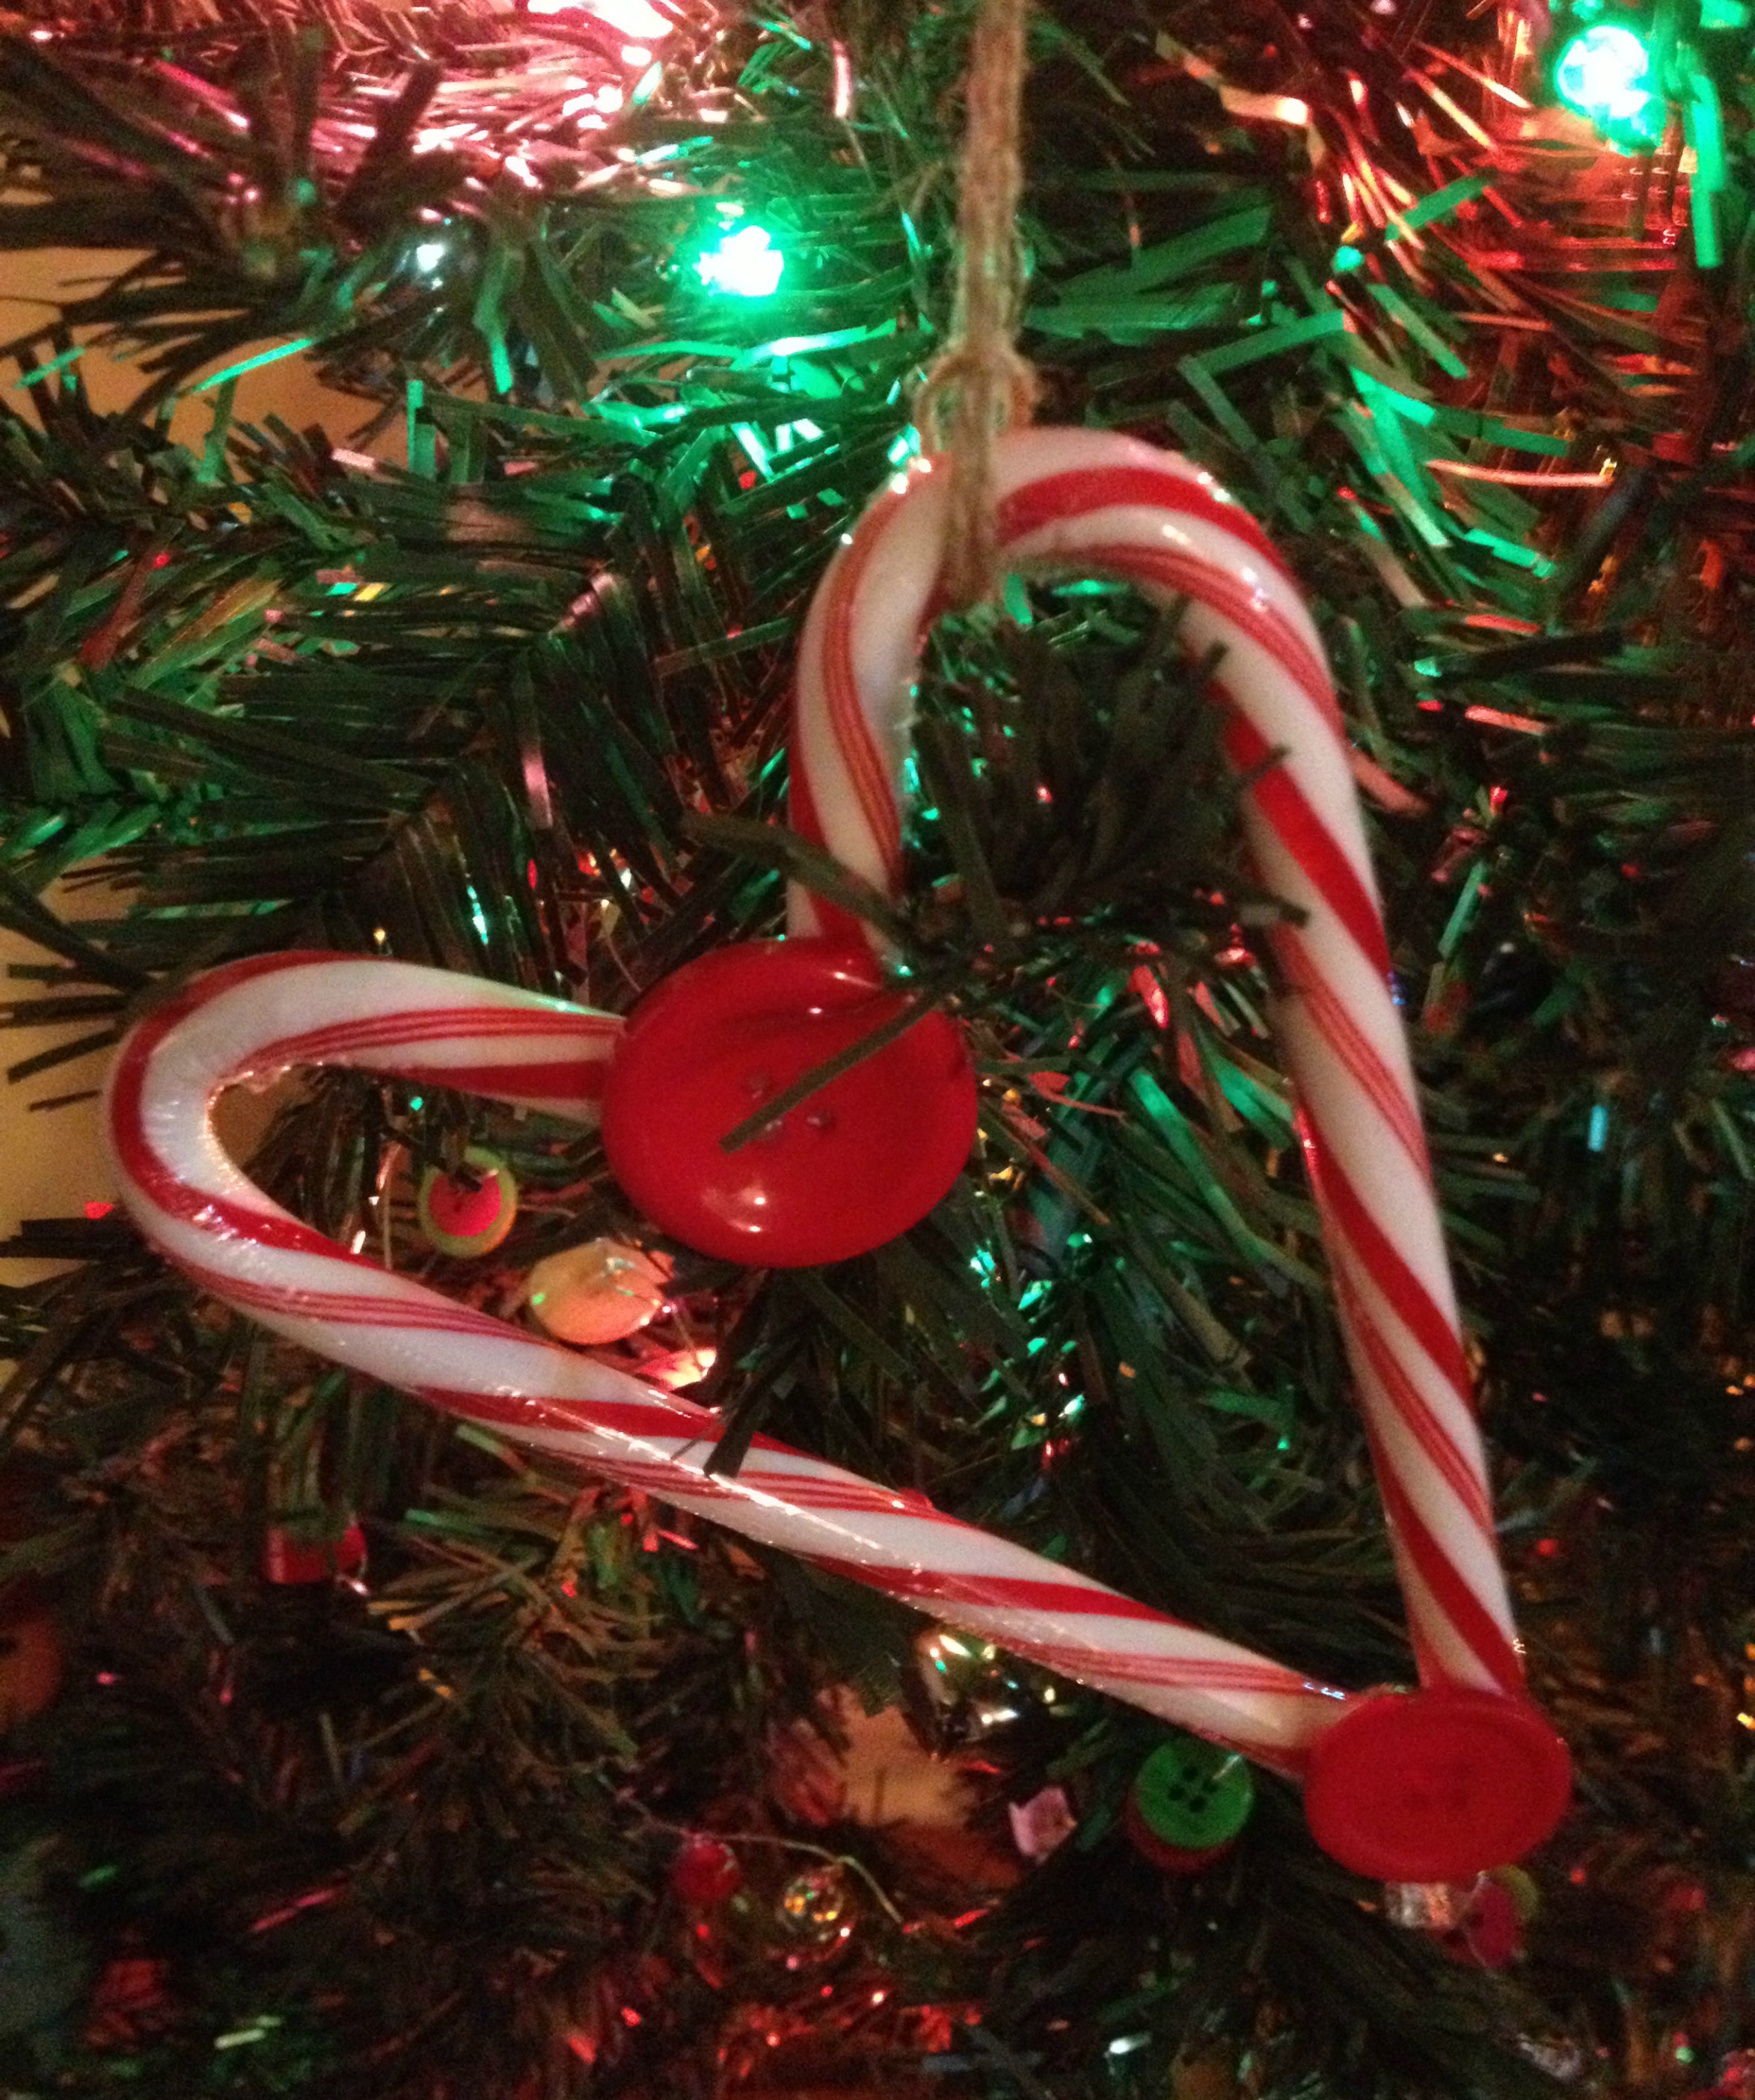
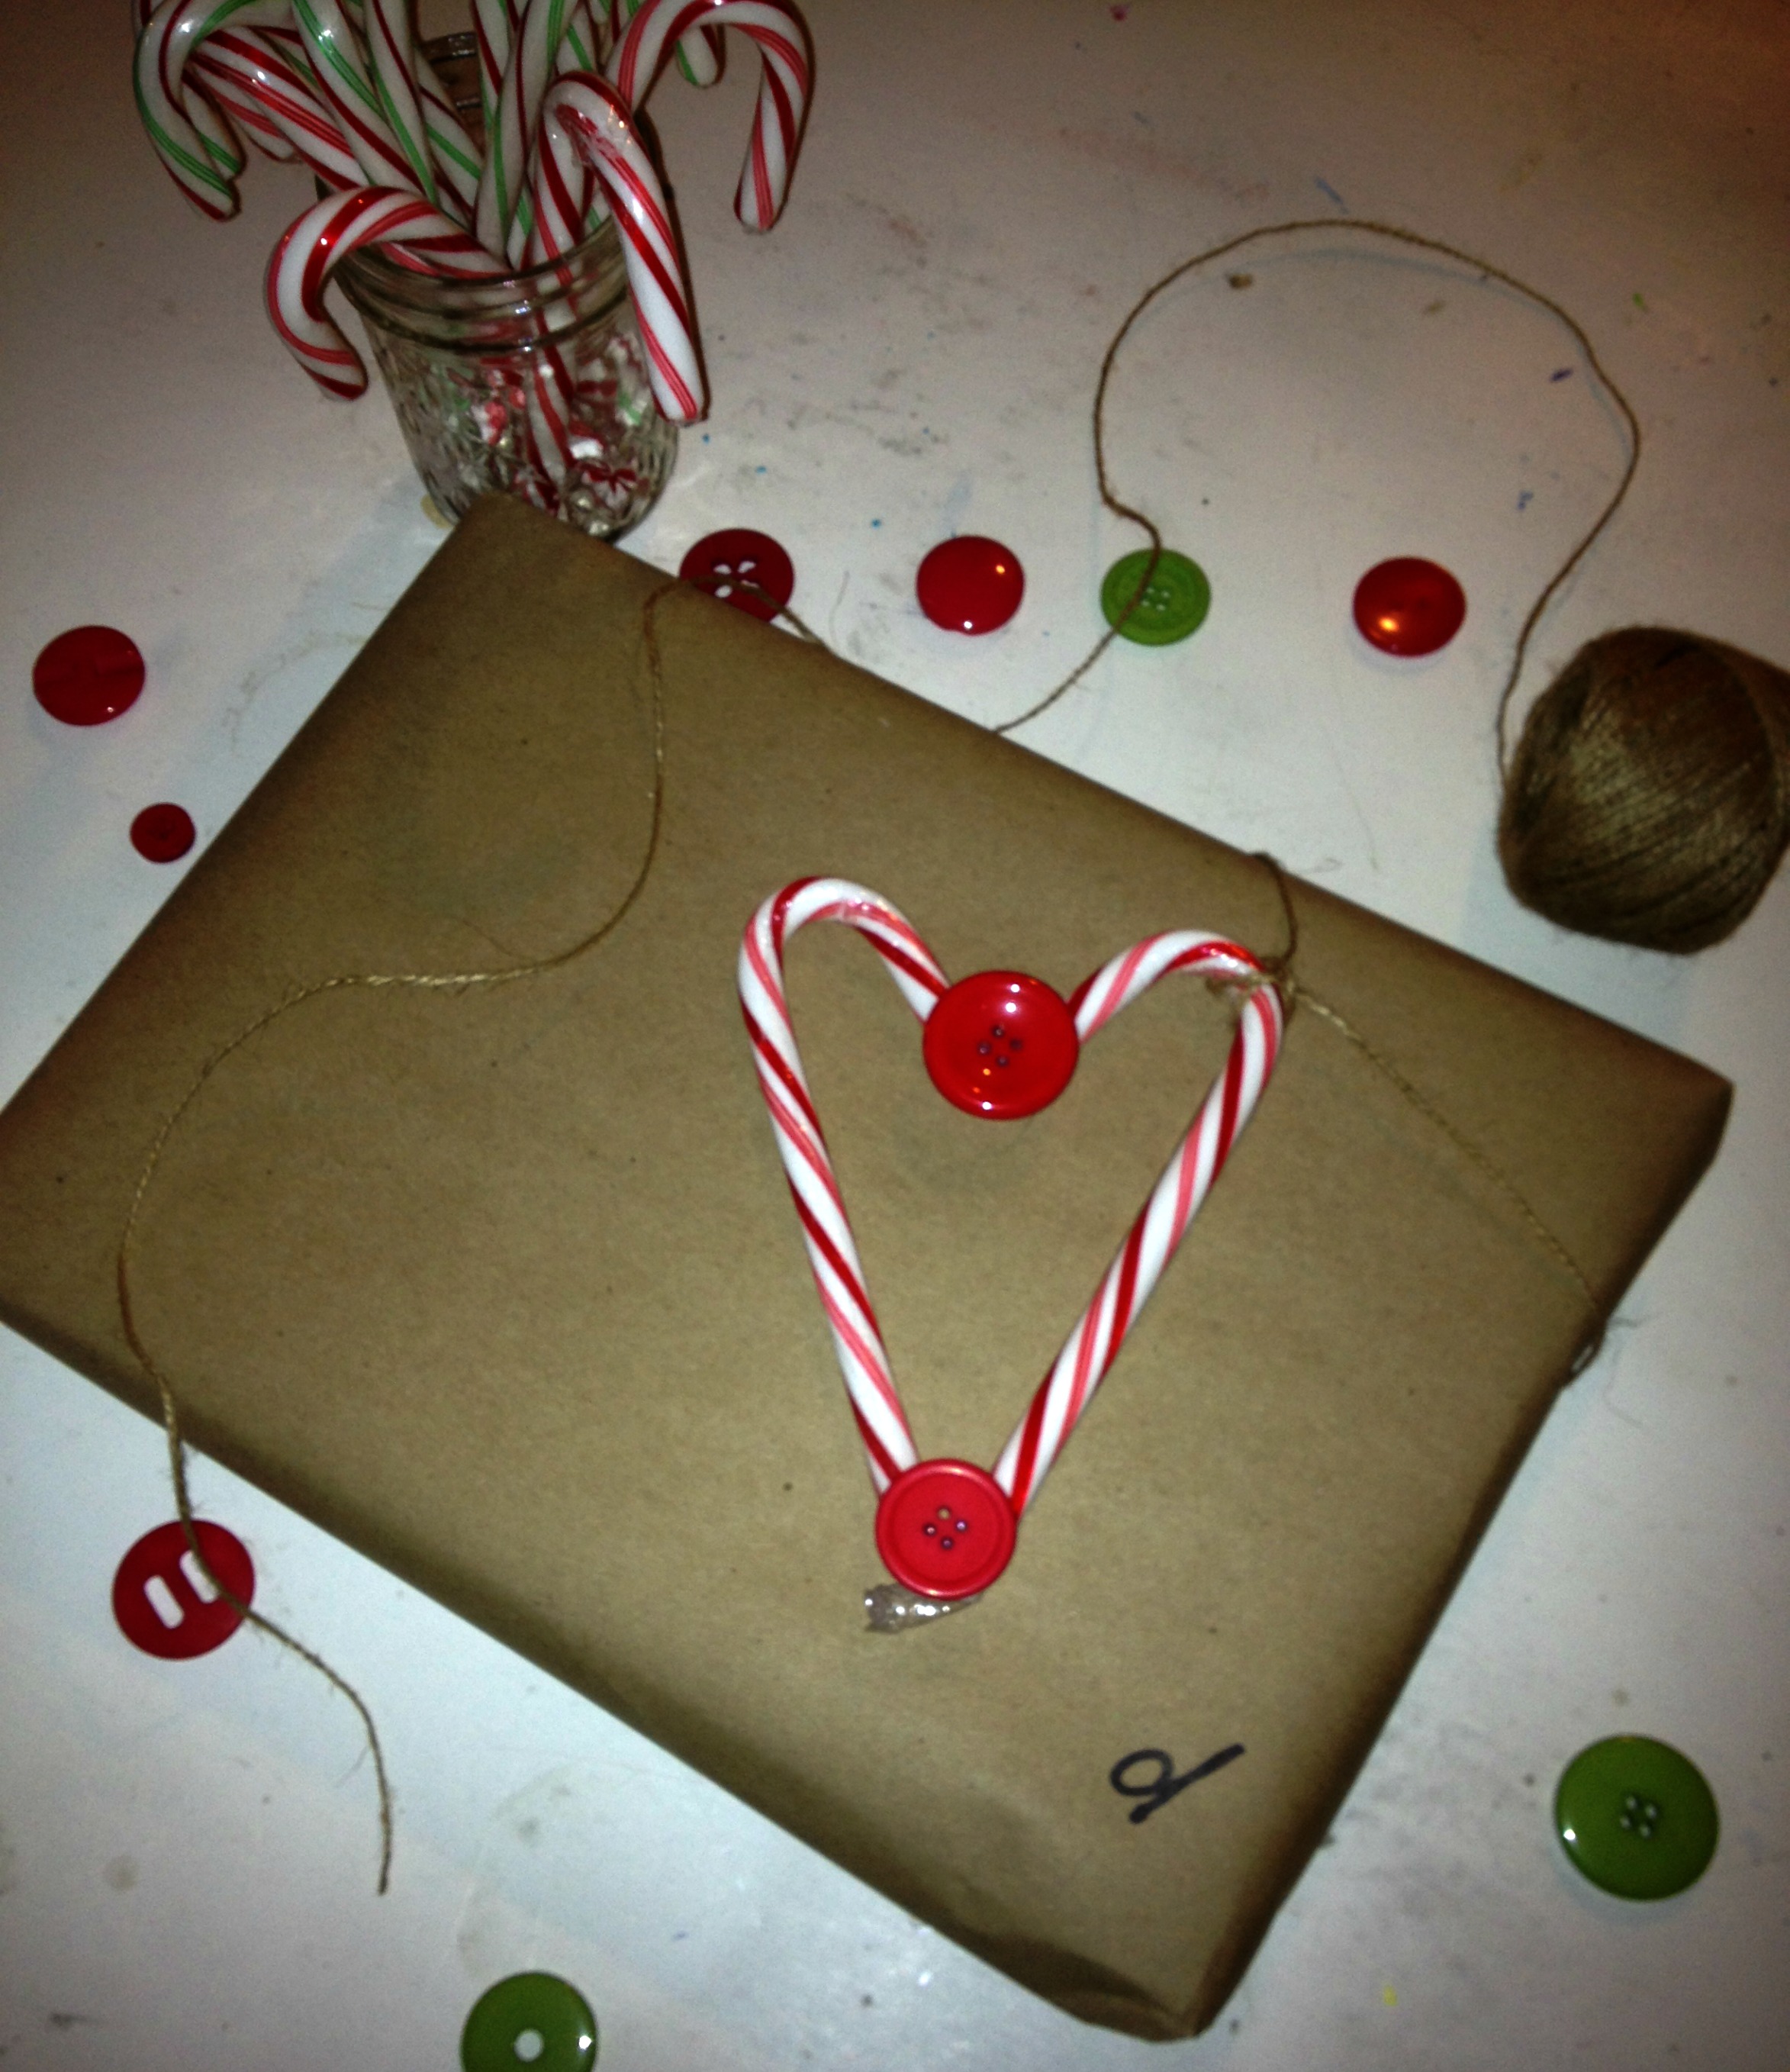
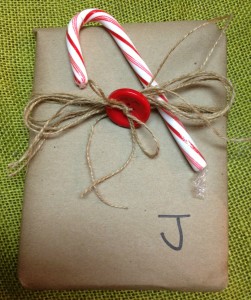
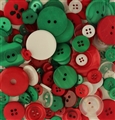
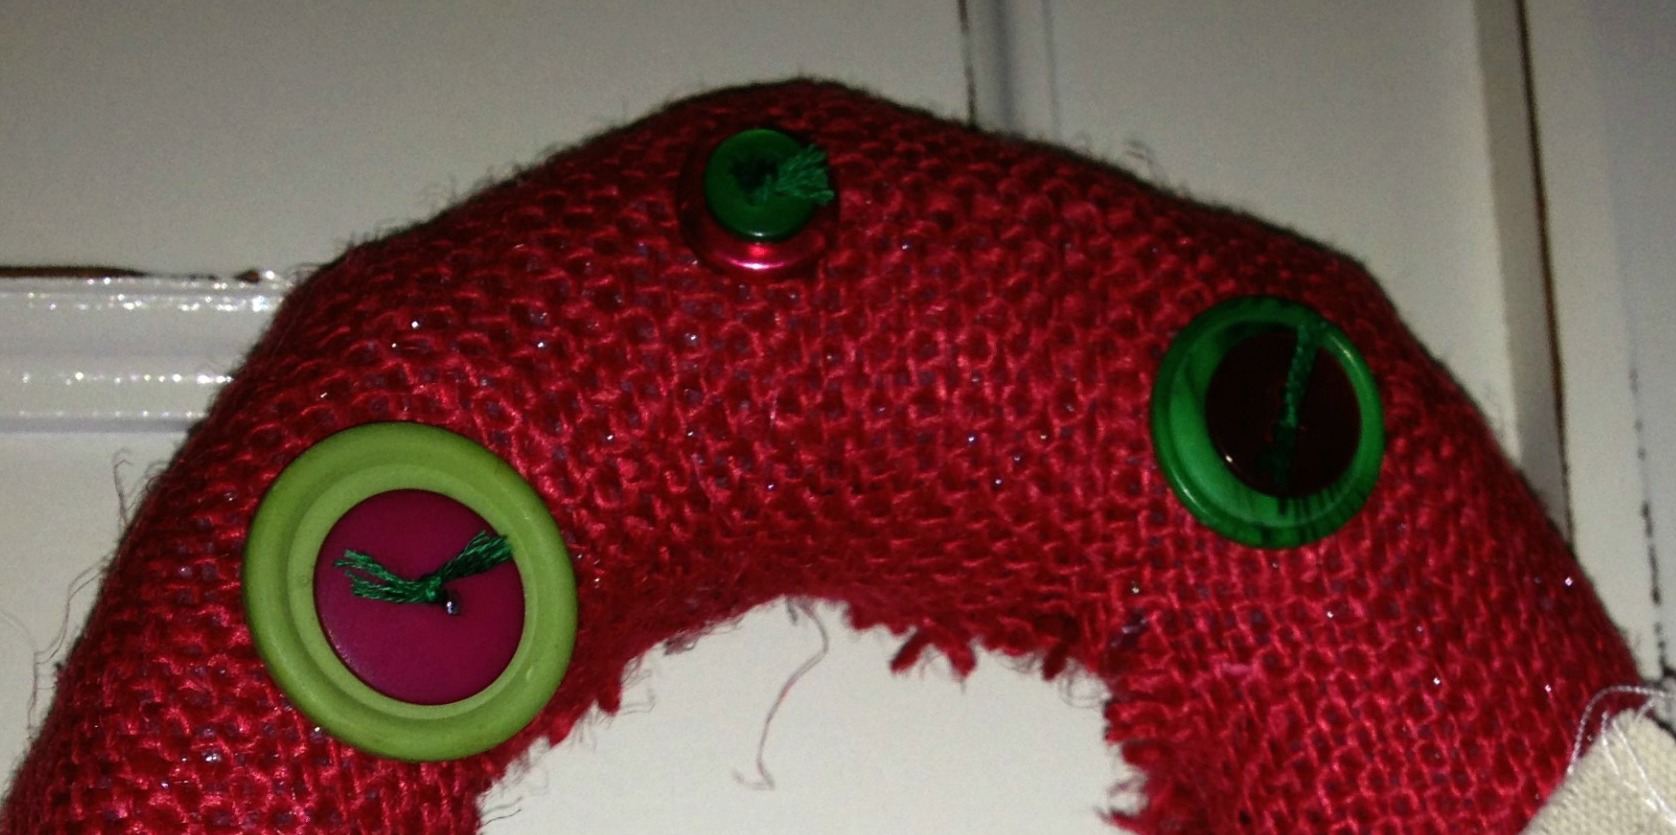
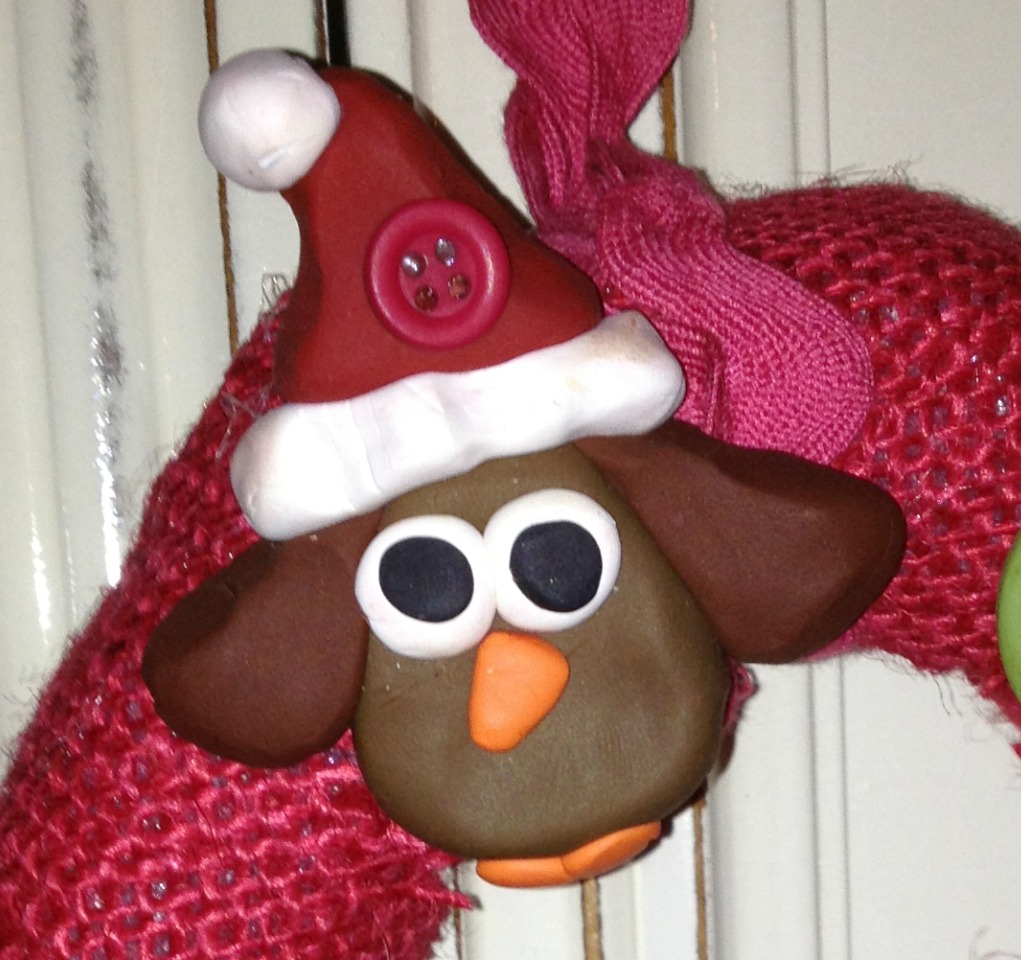
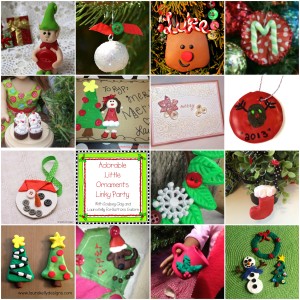
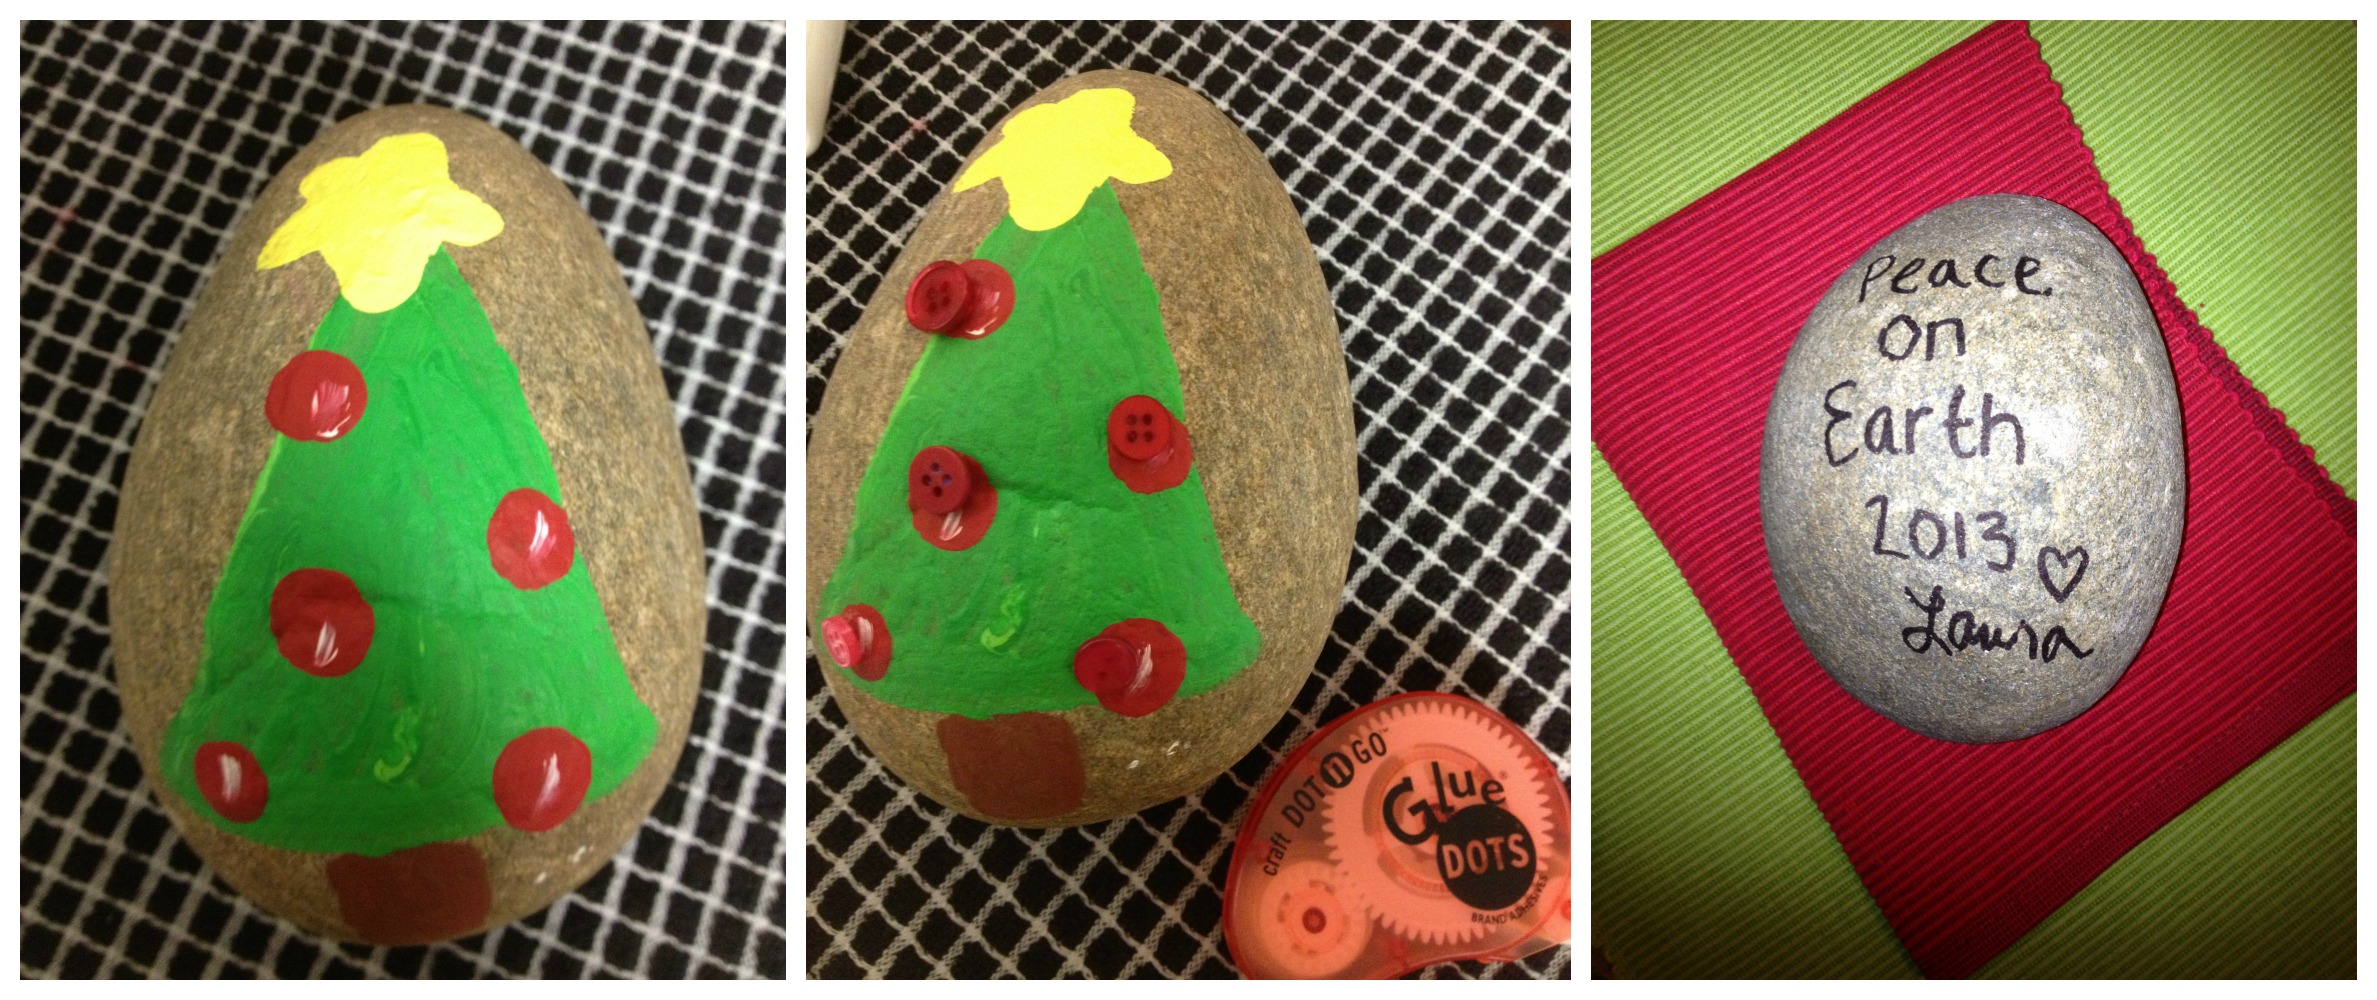
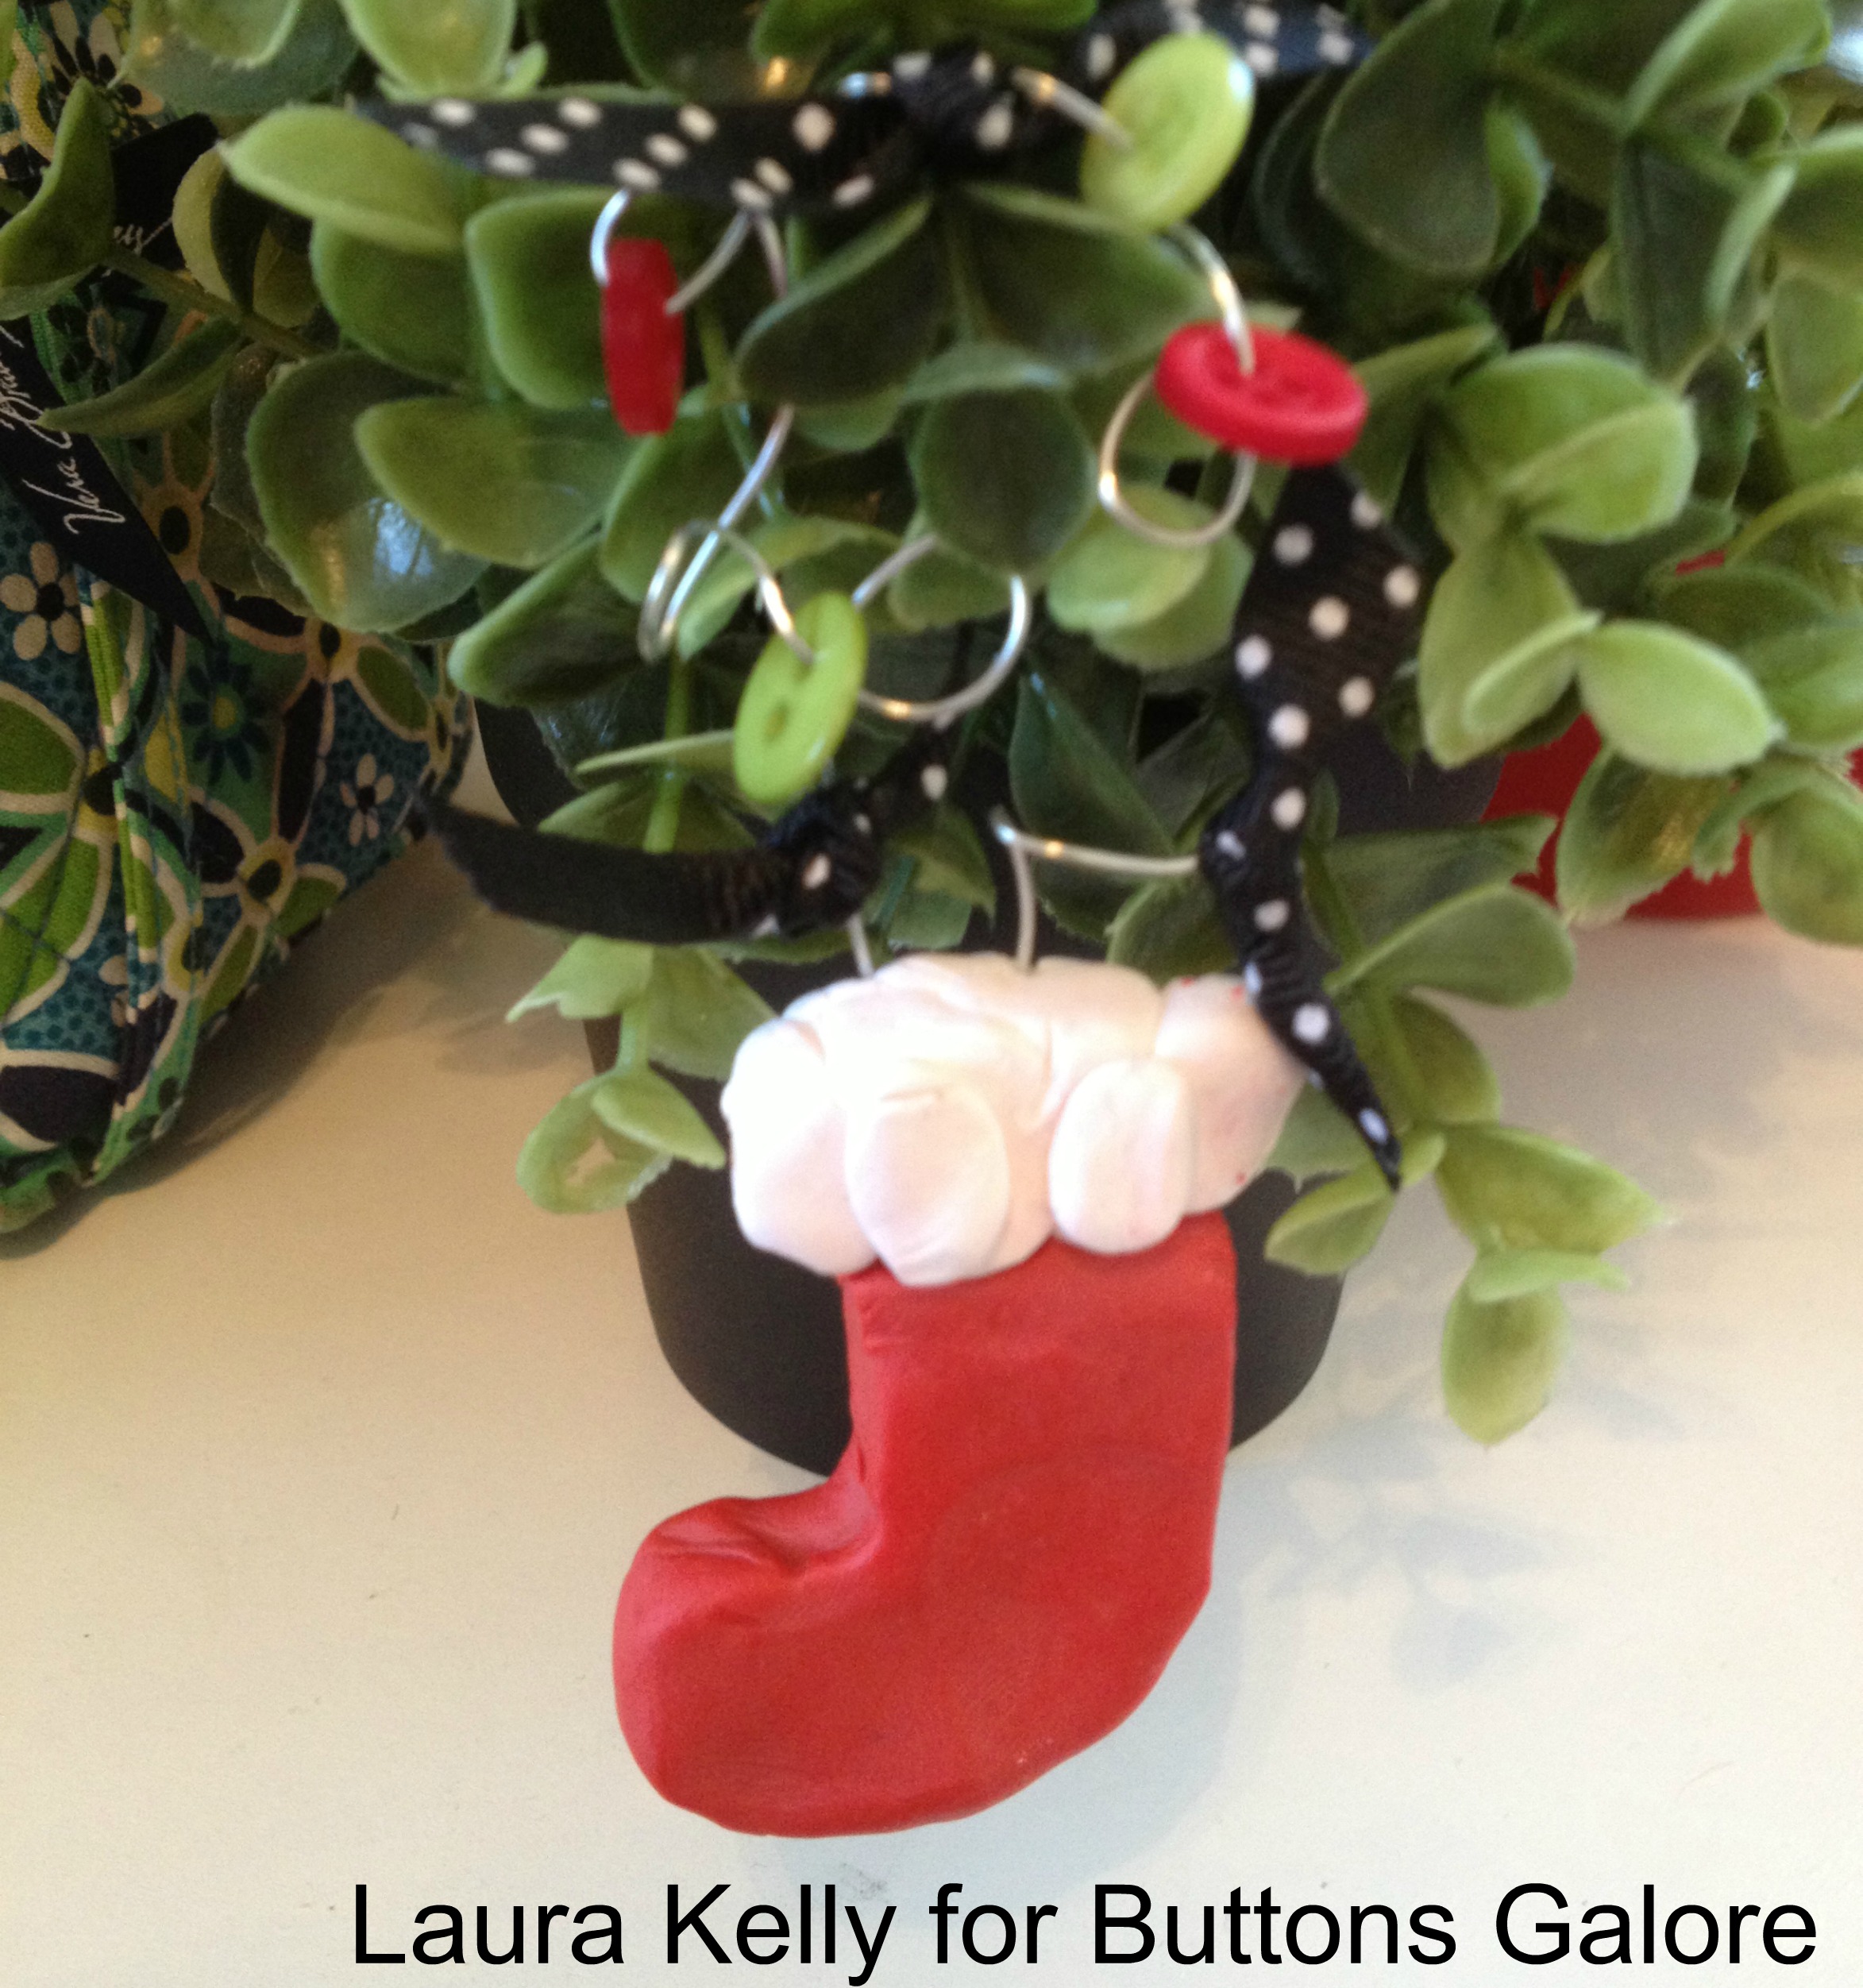
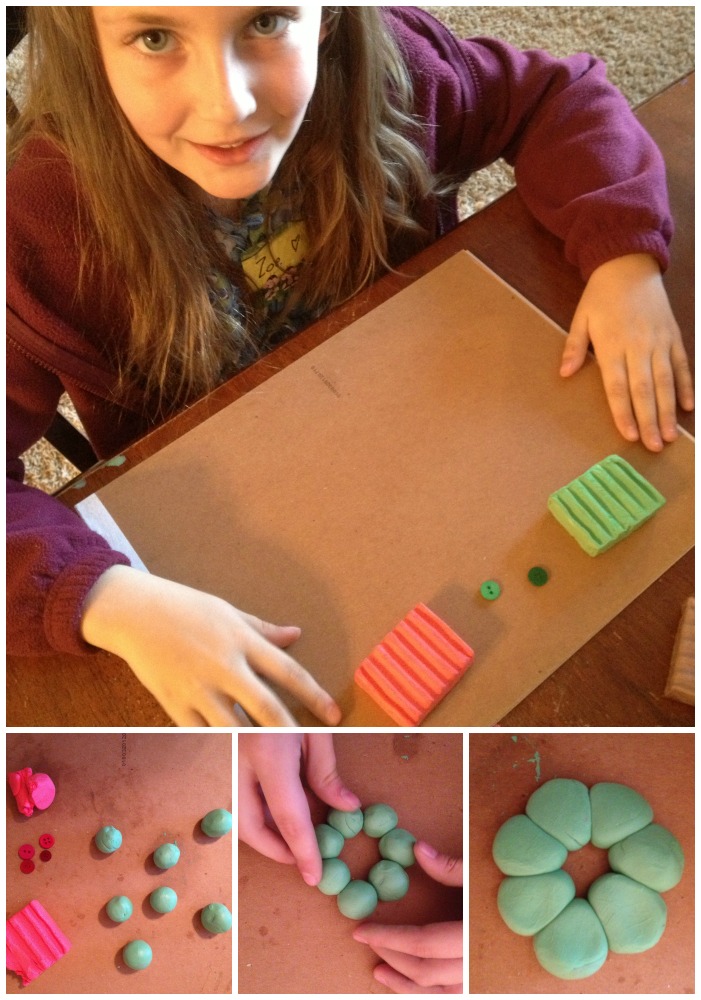
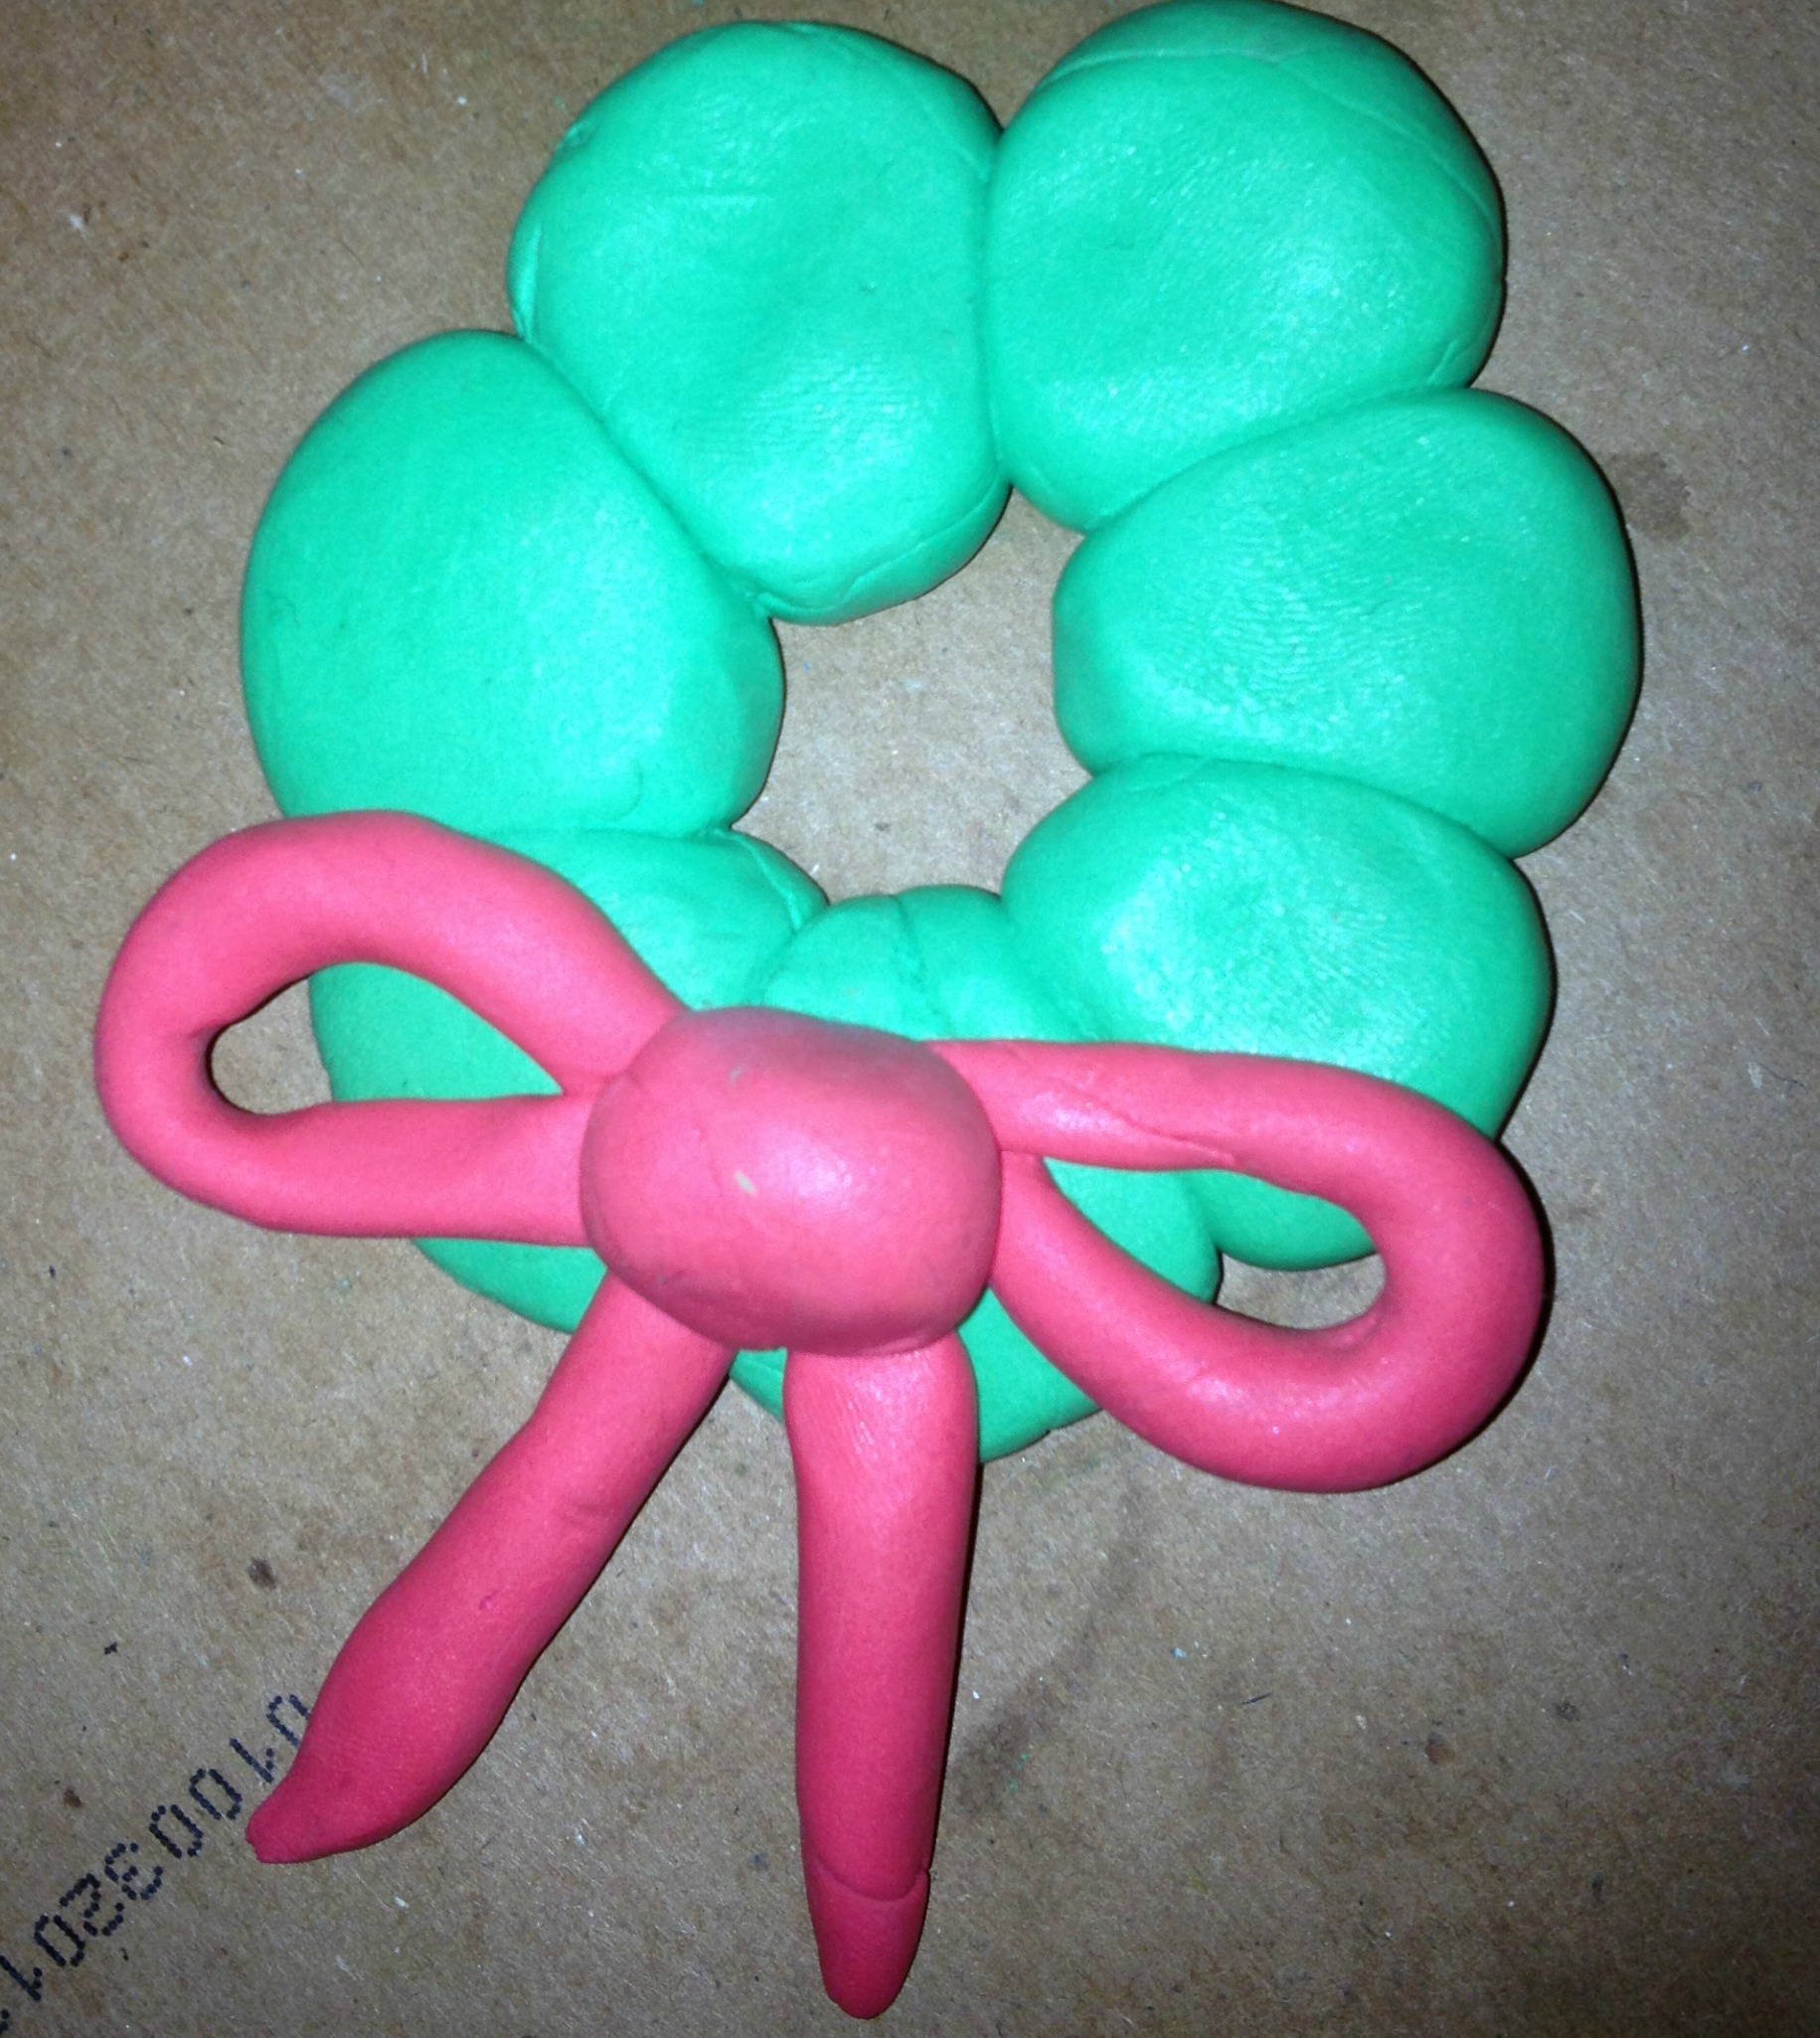
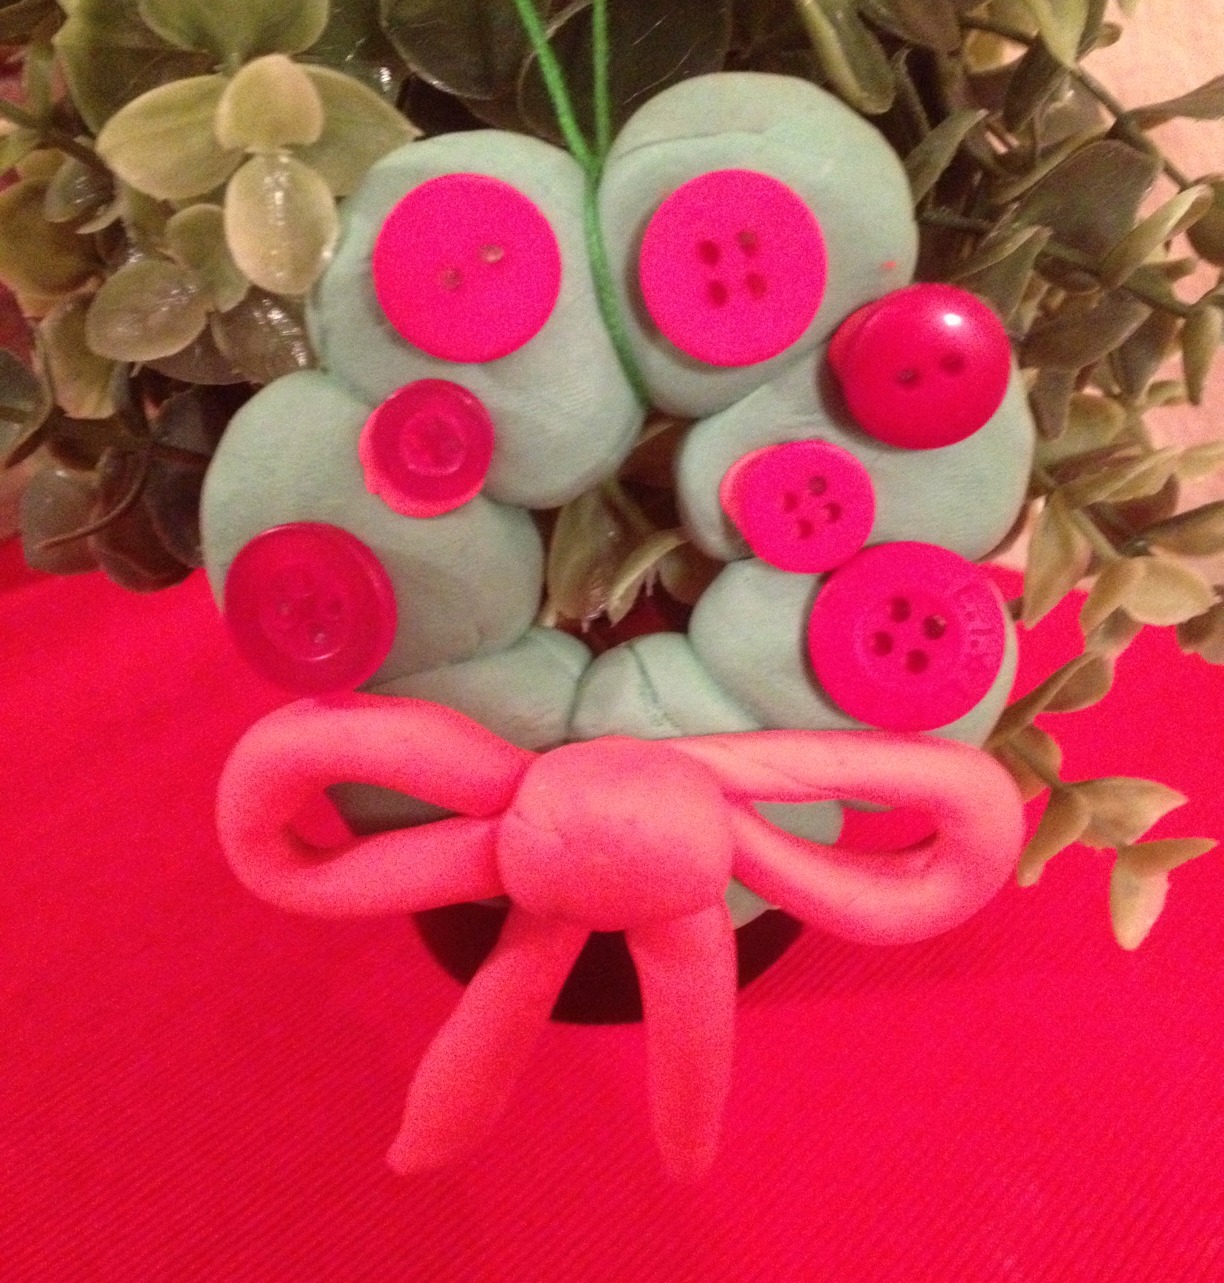
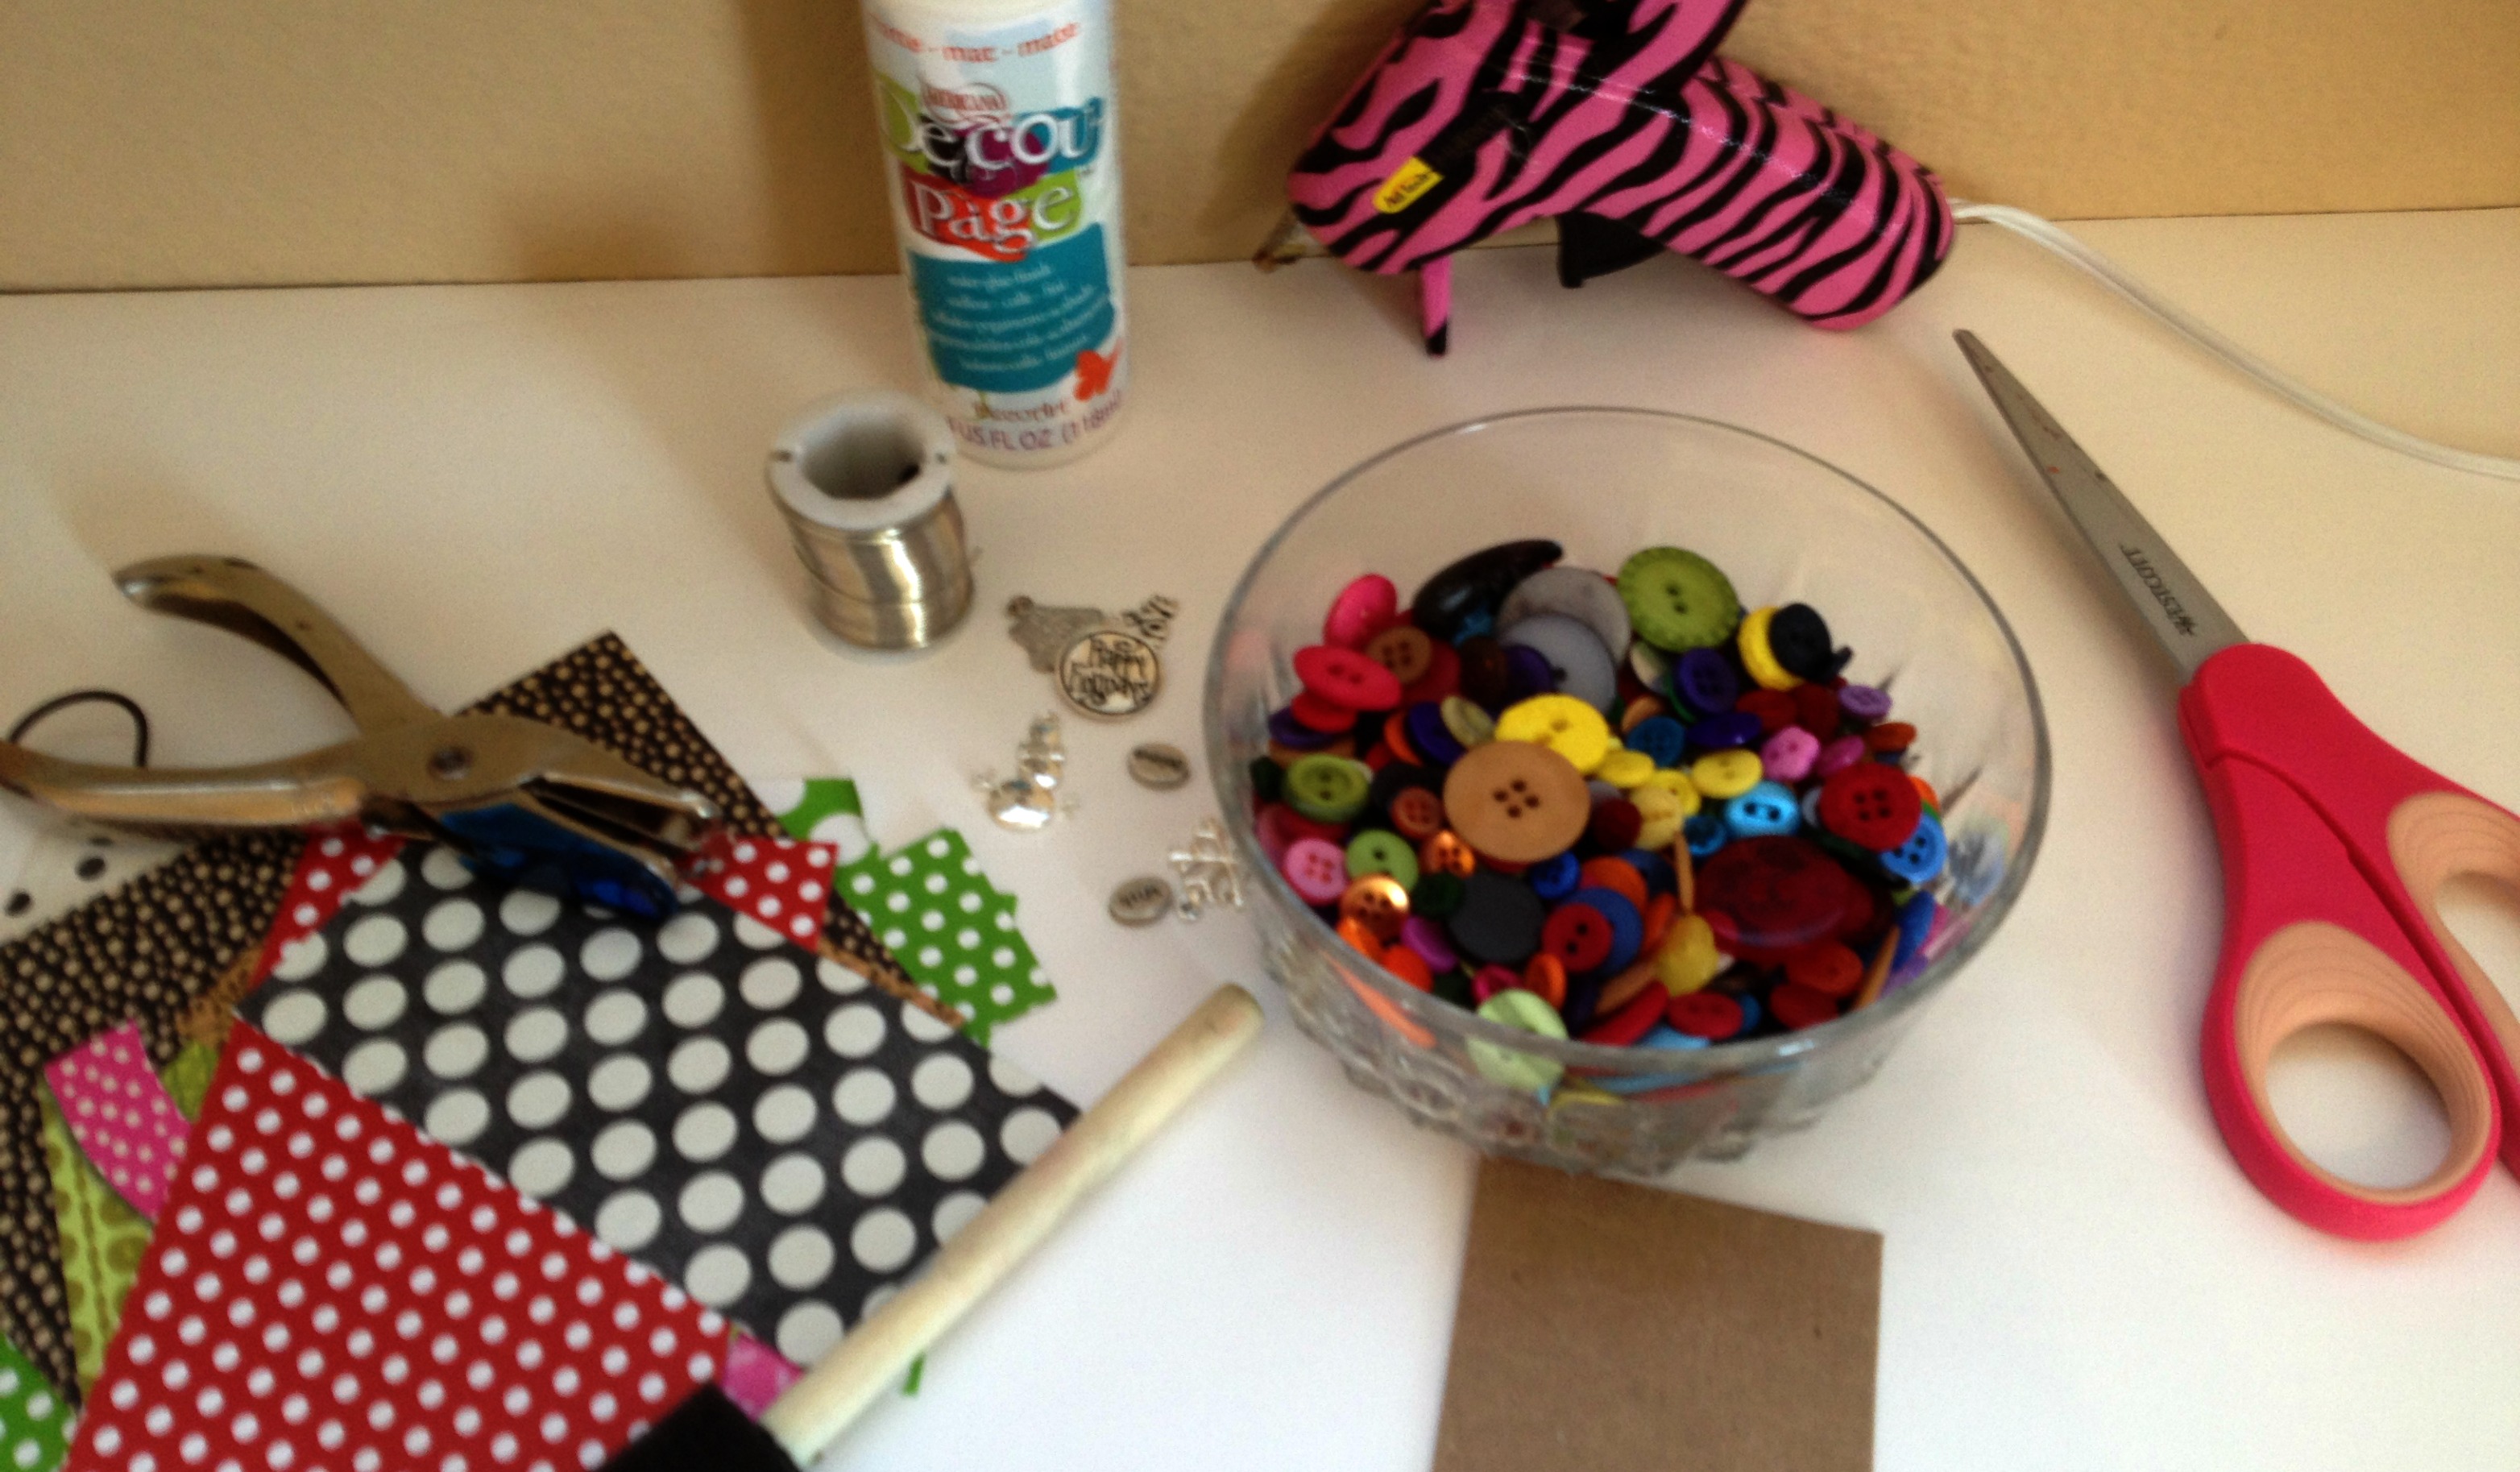
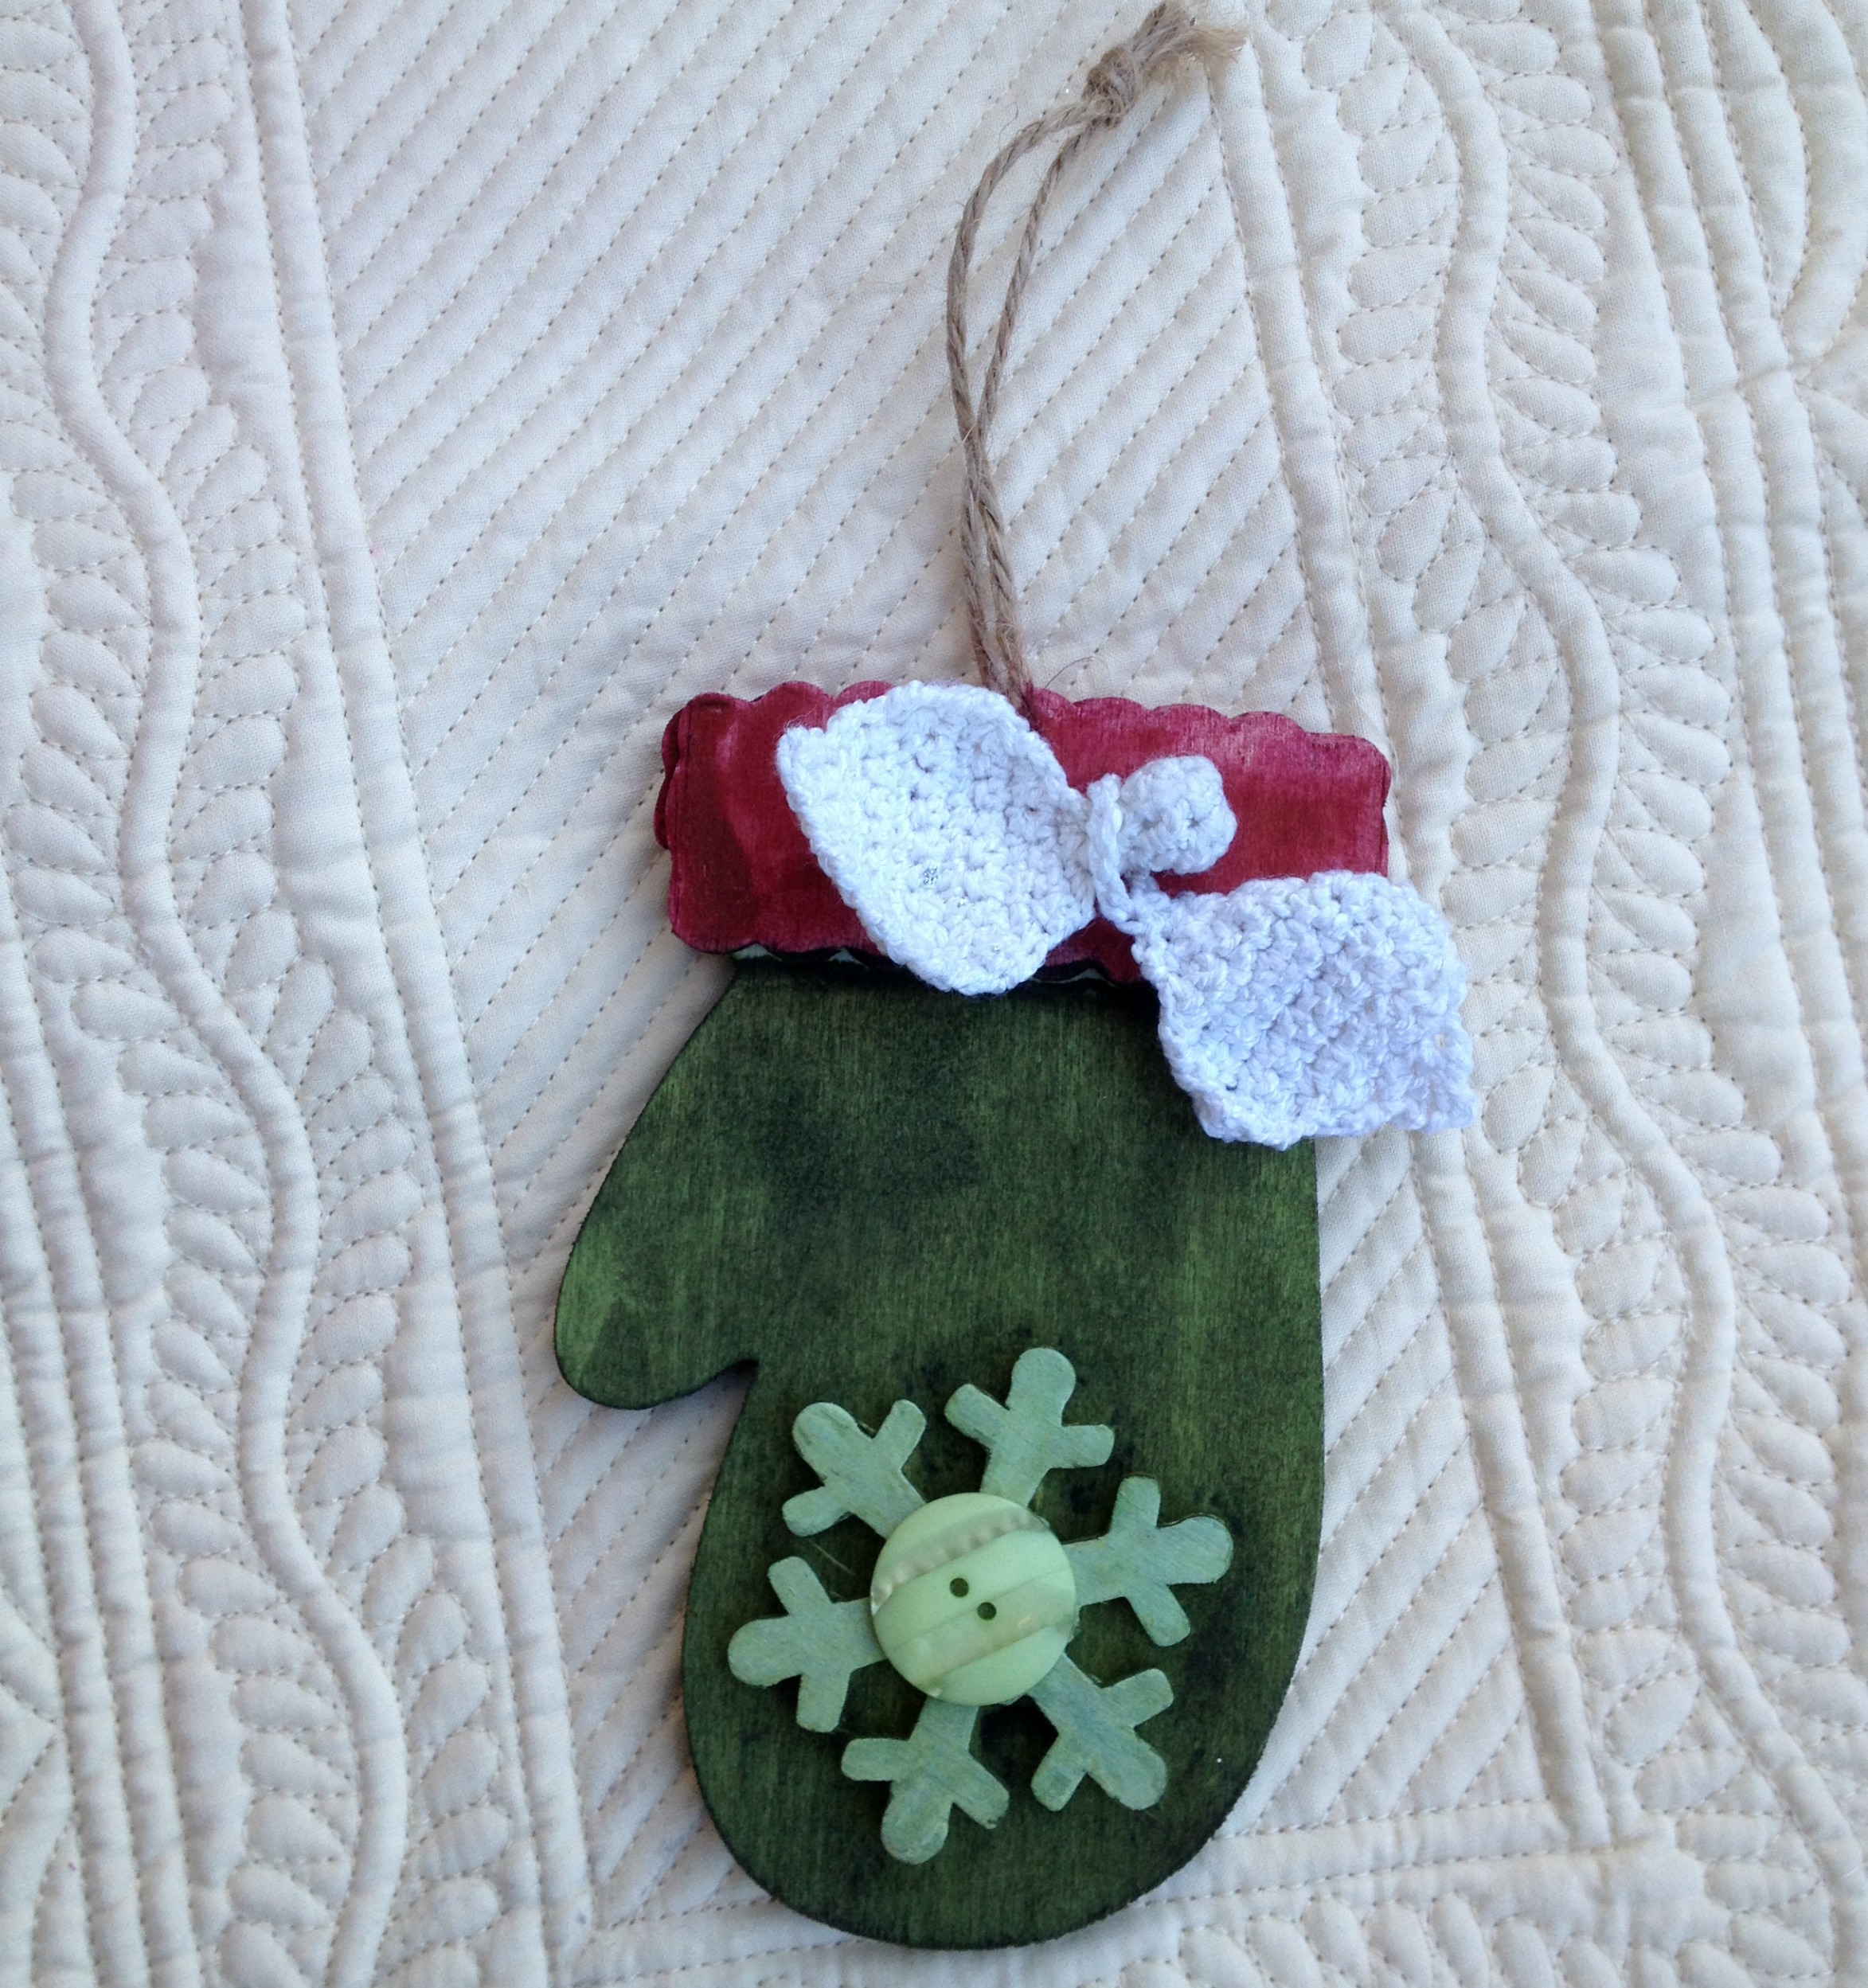
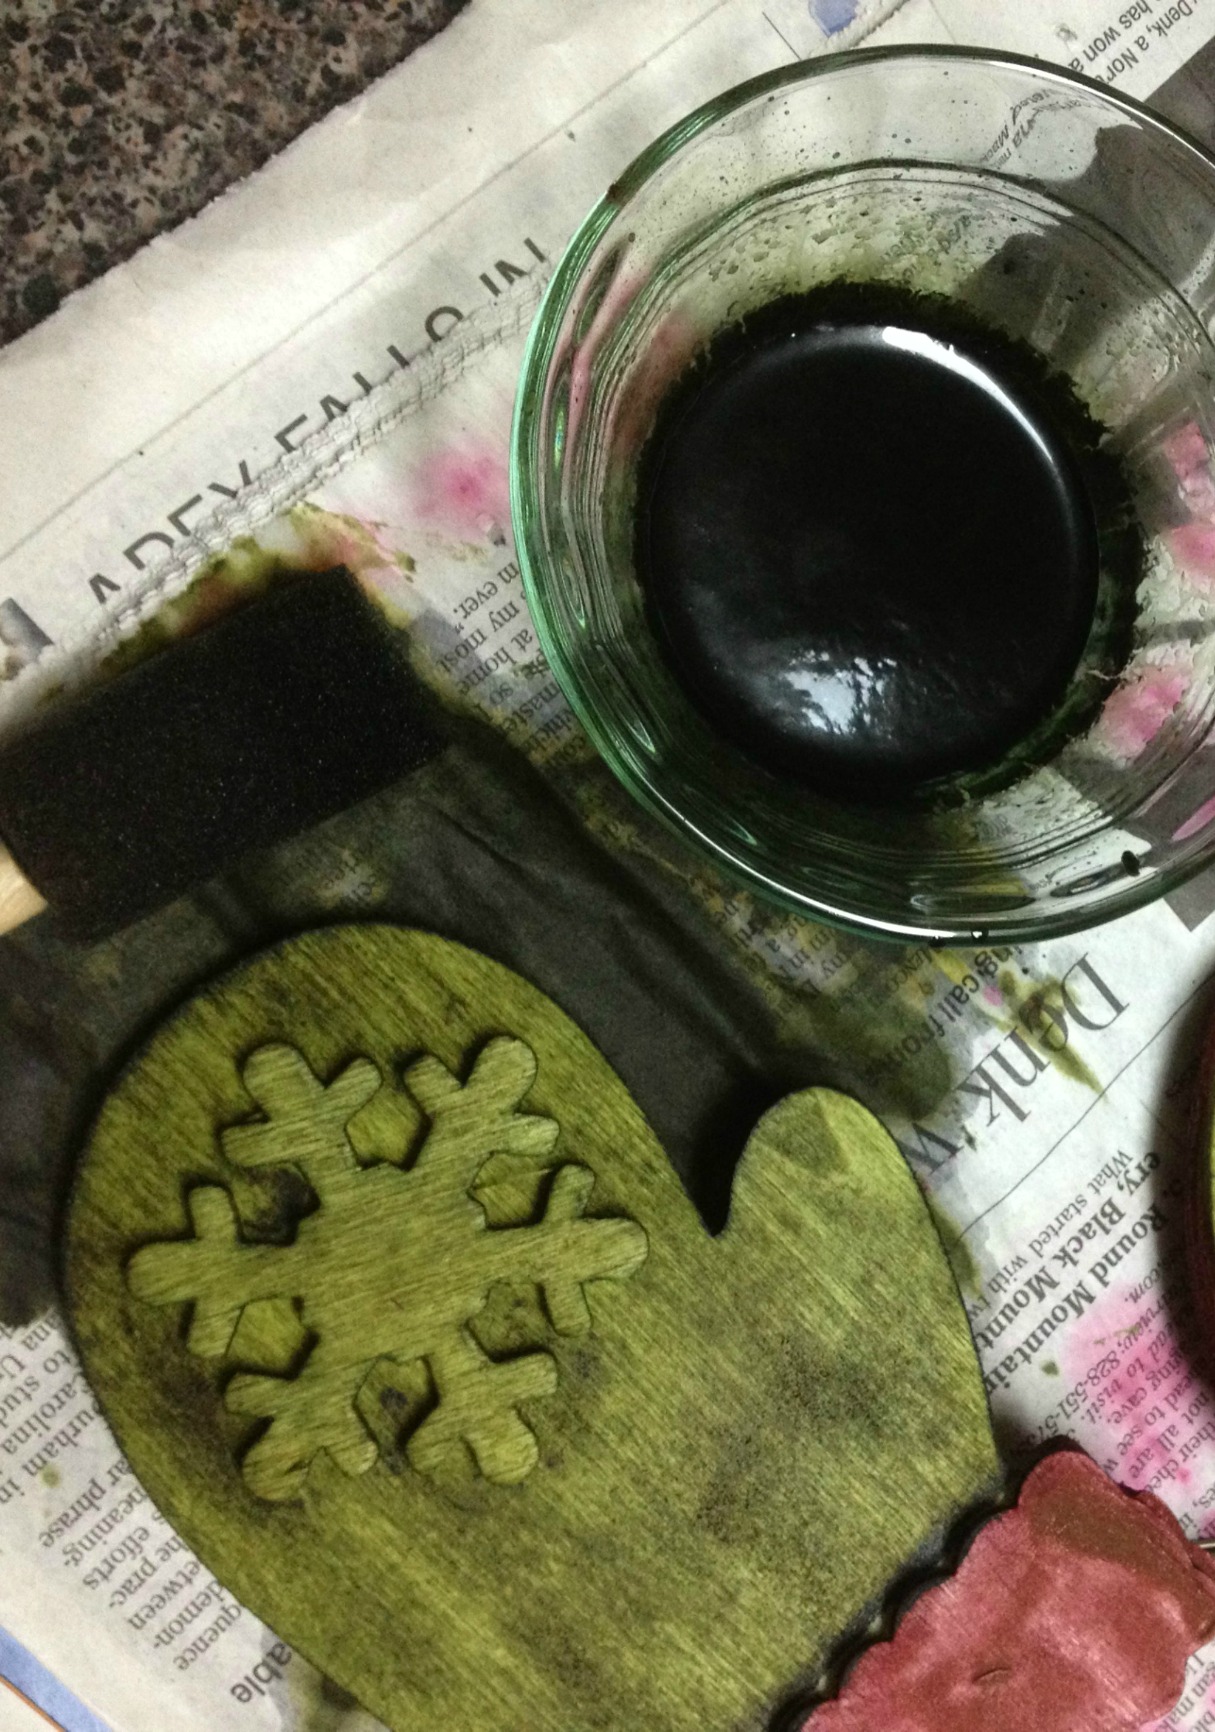
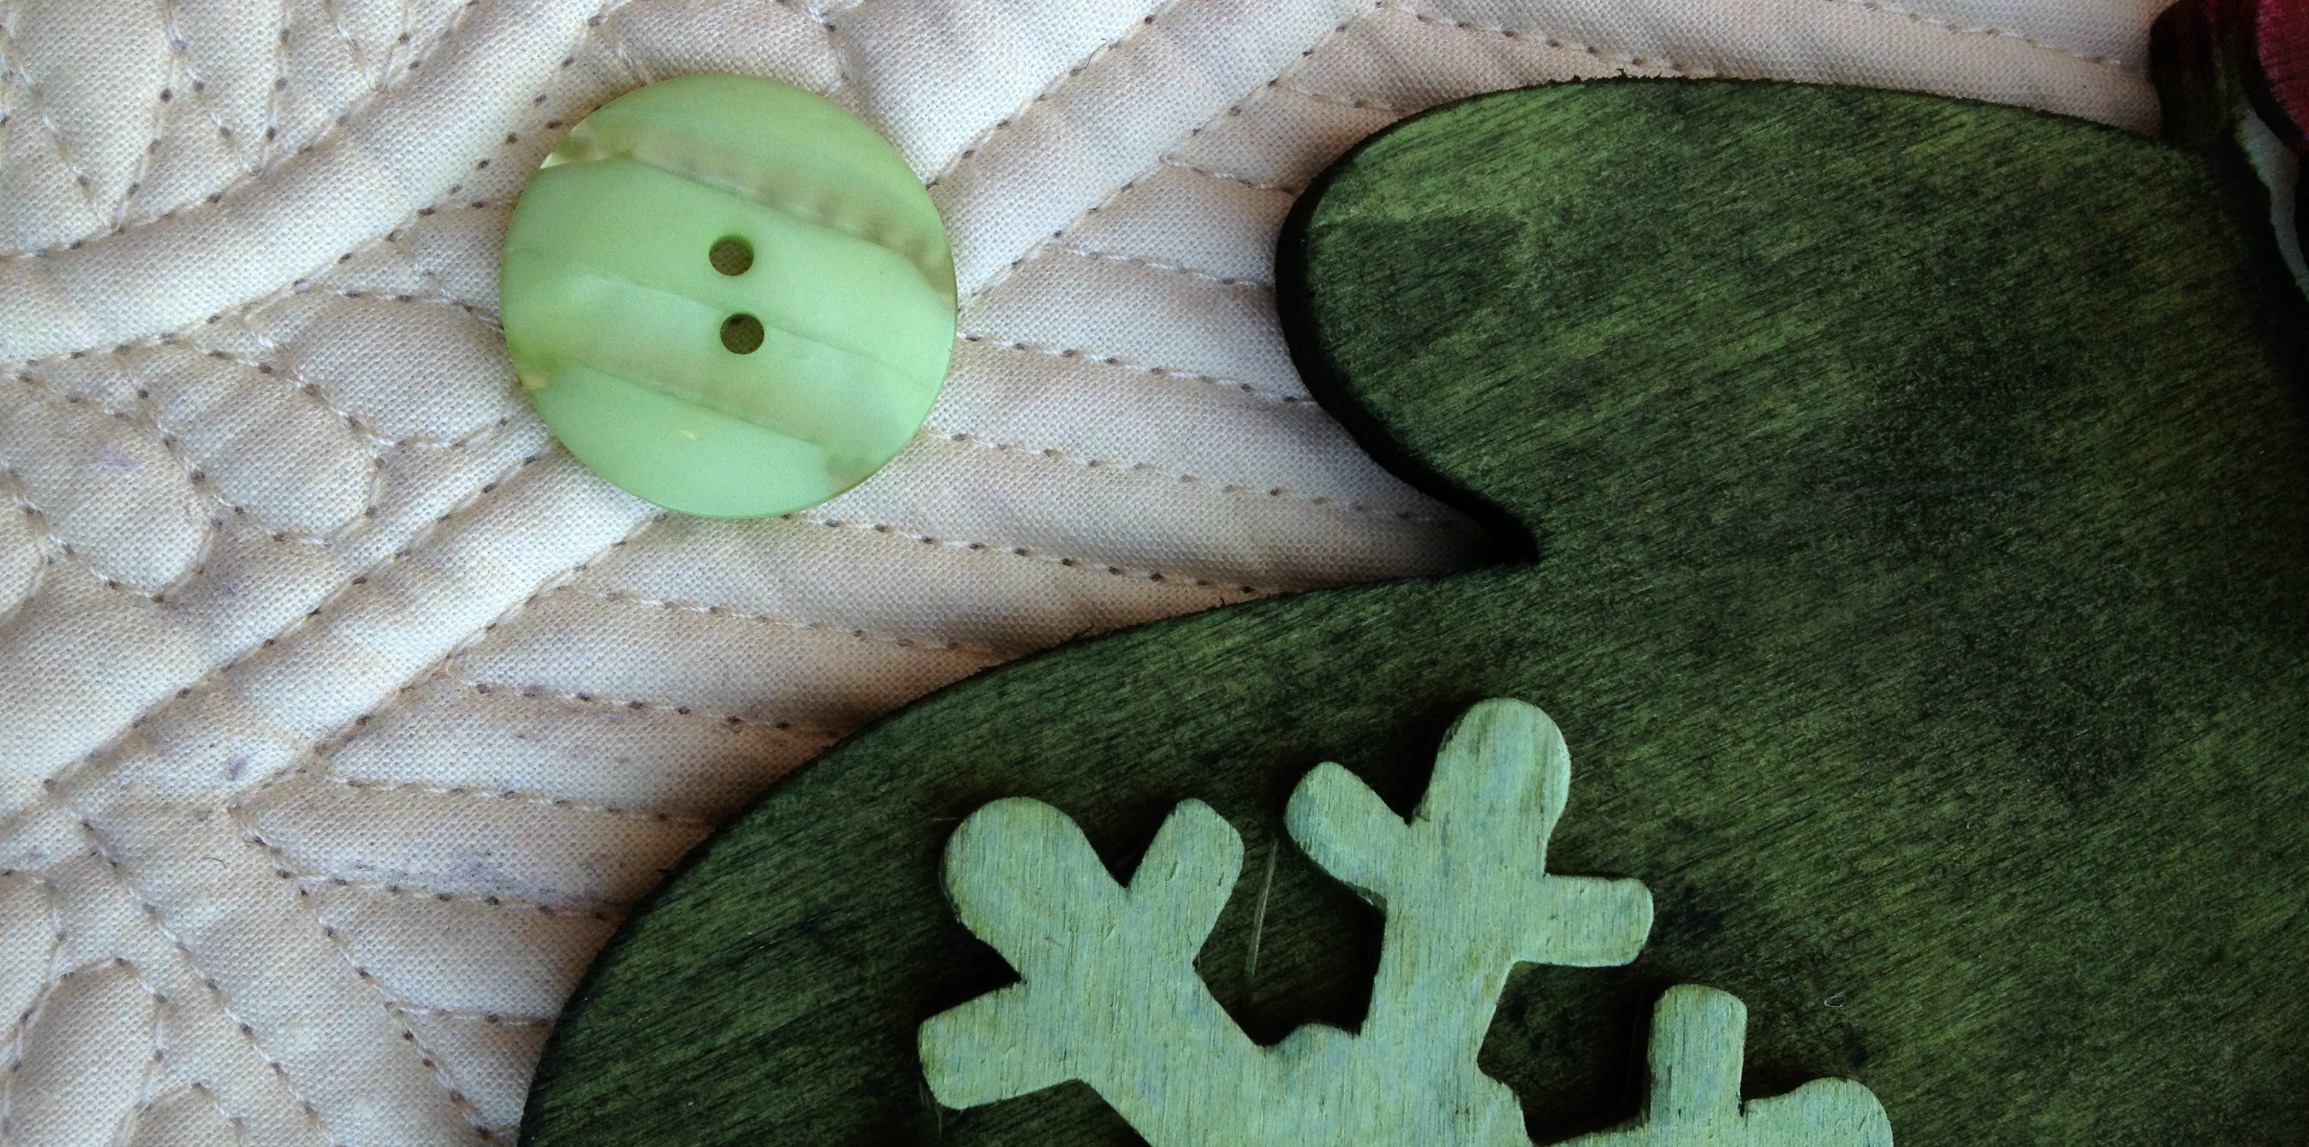
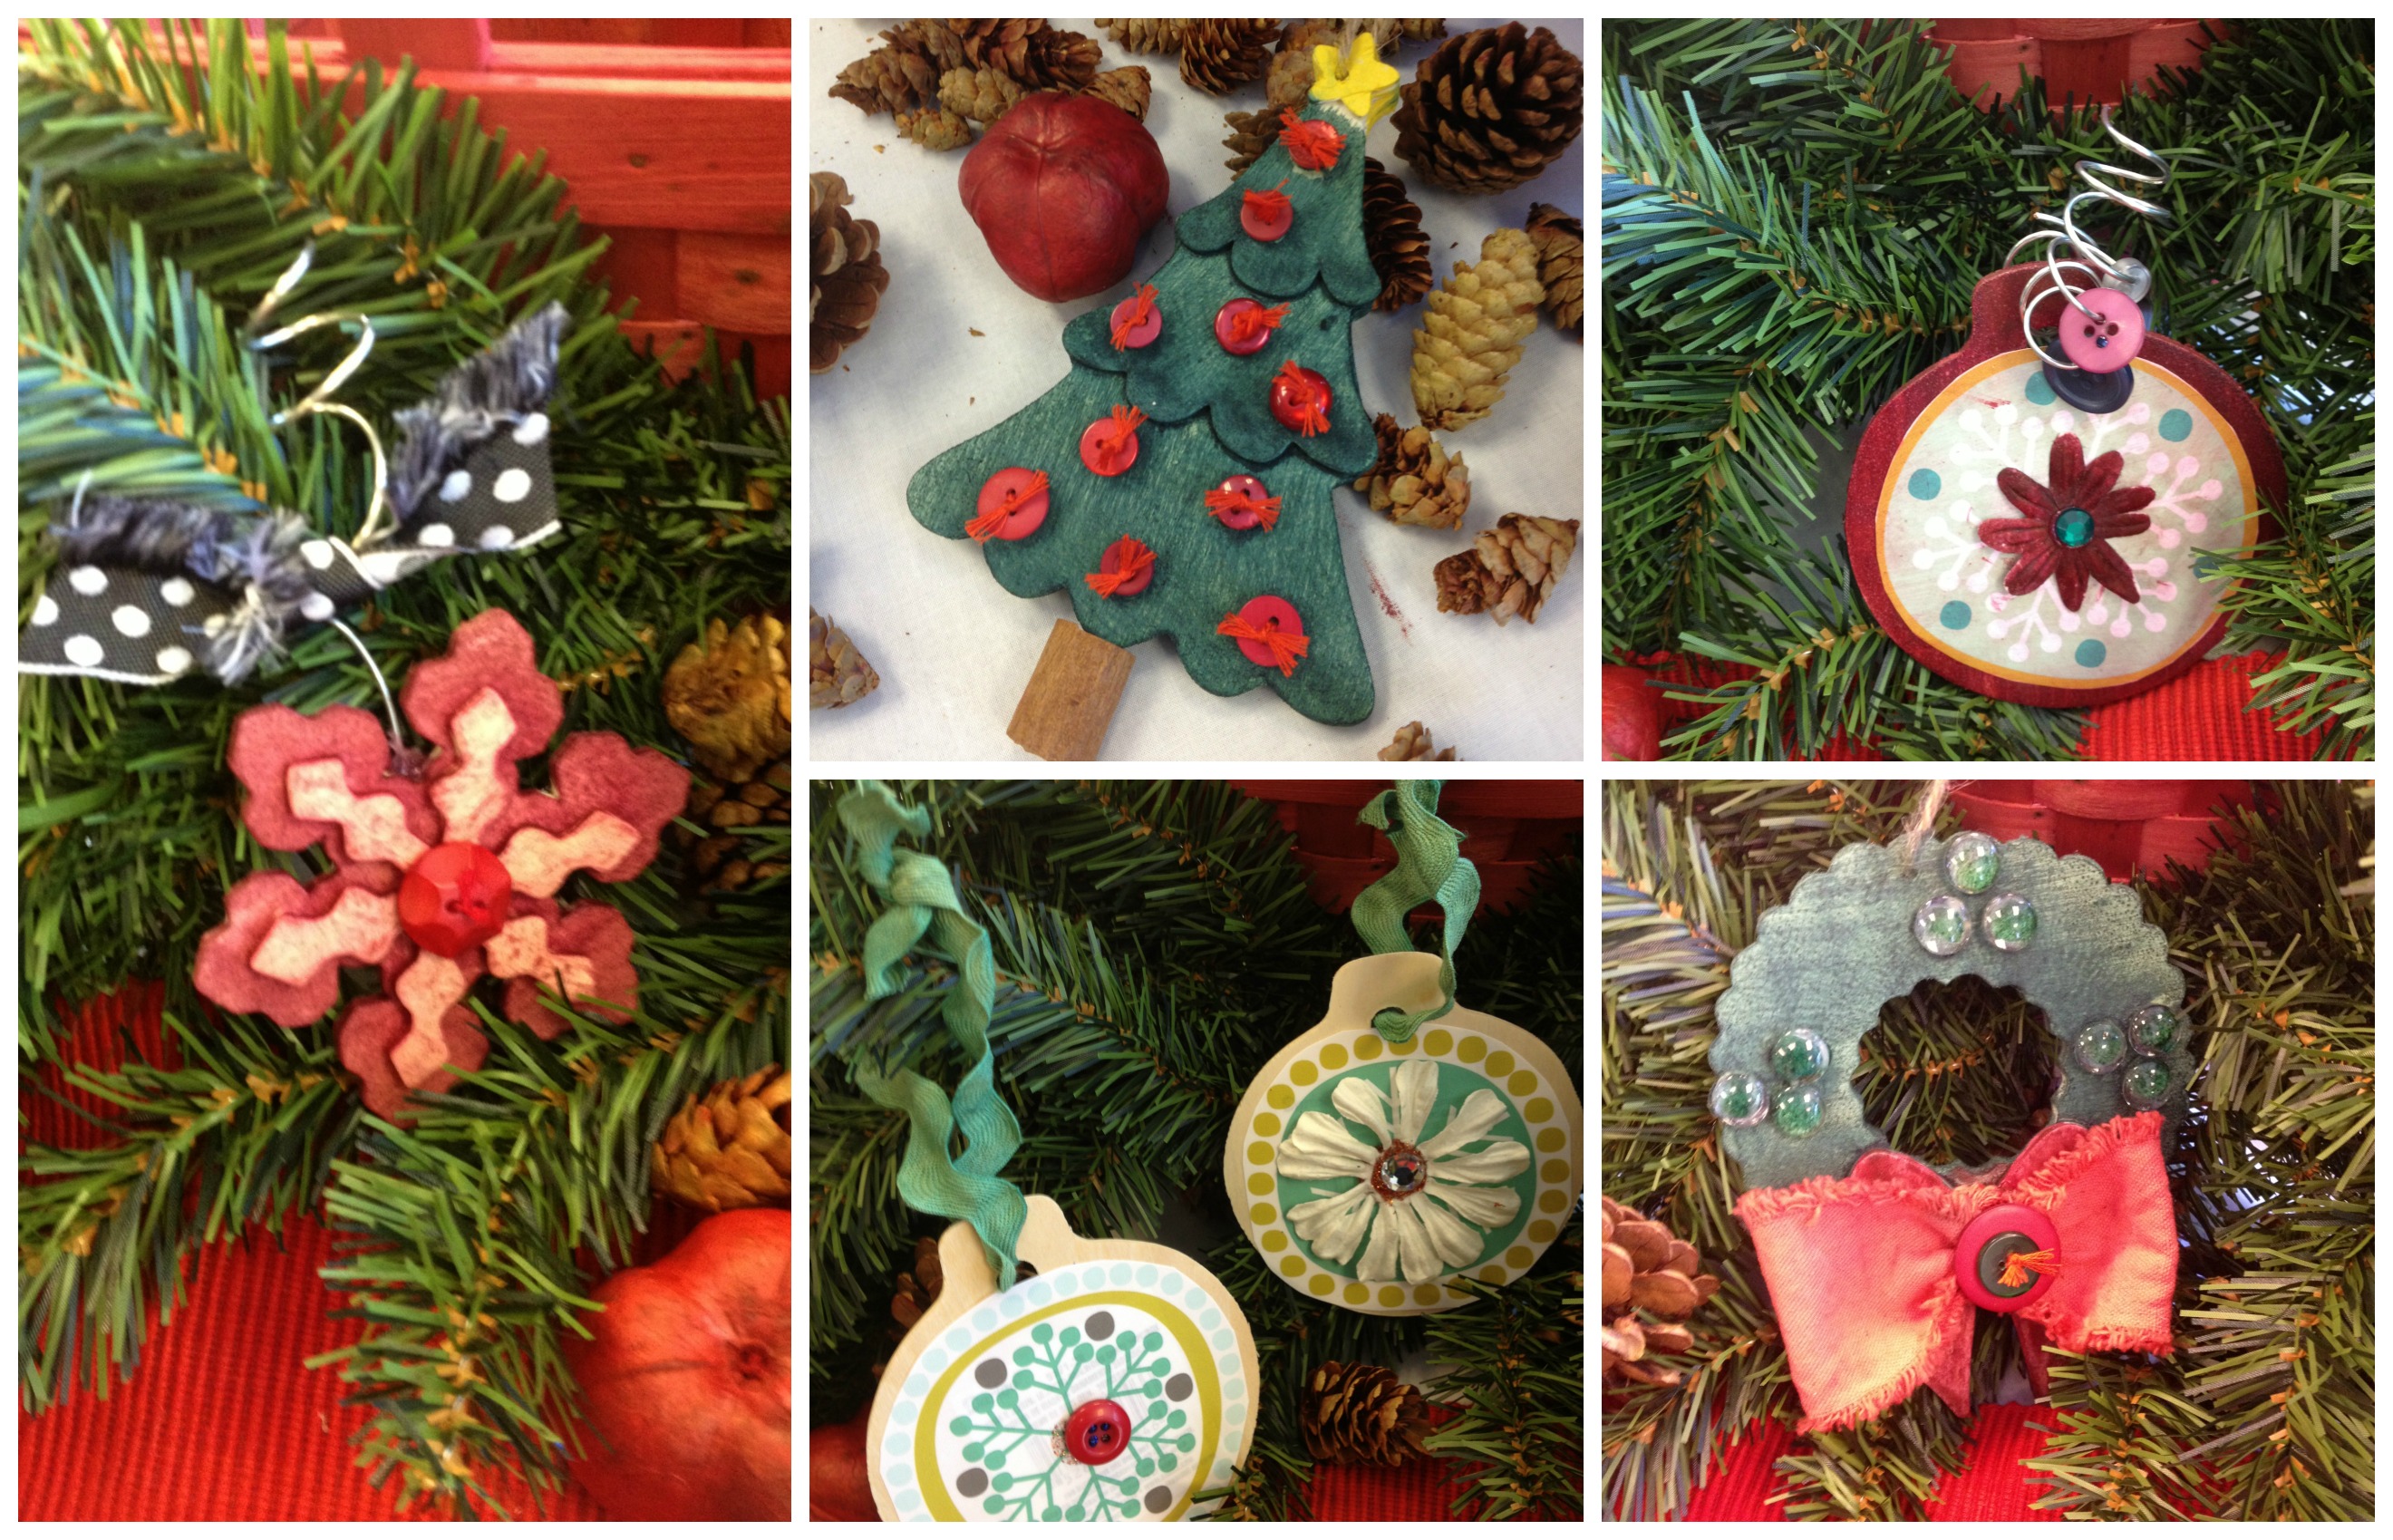
 Make 14 fun Christmas crafts with buttons


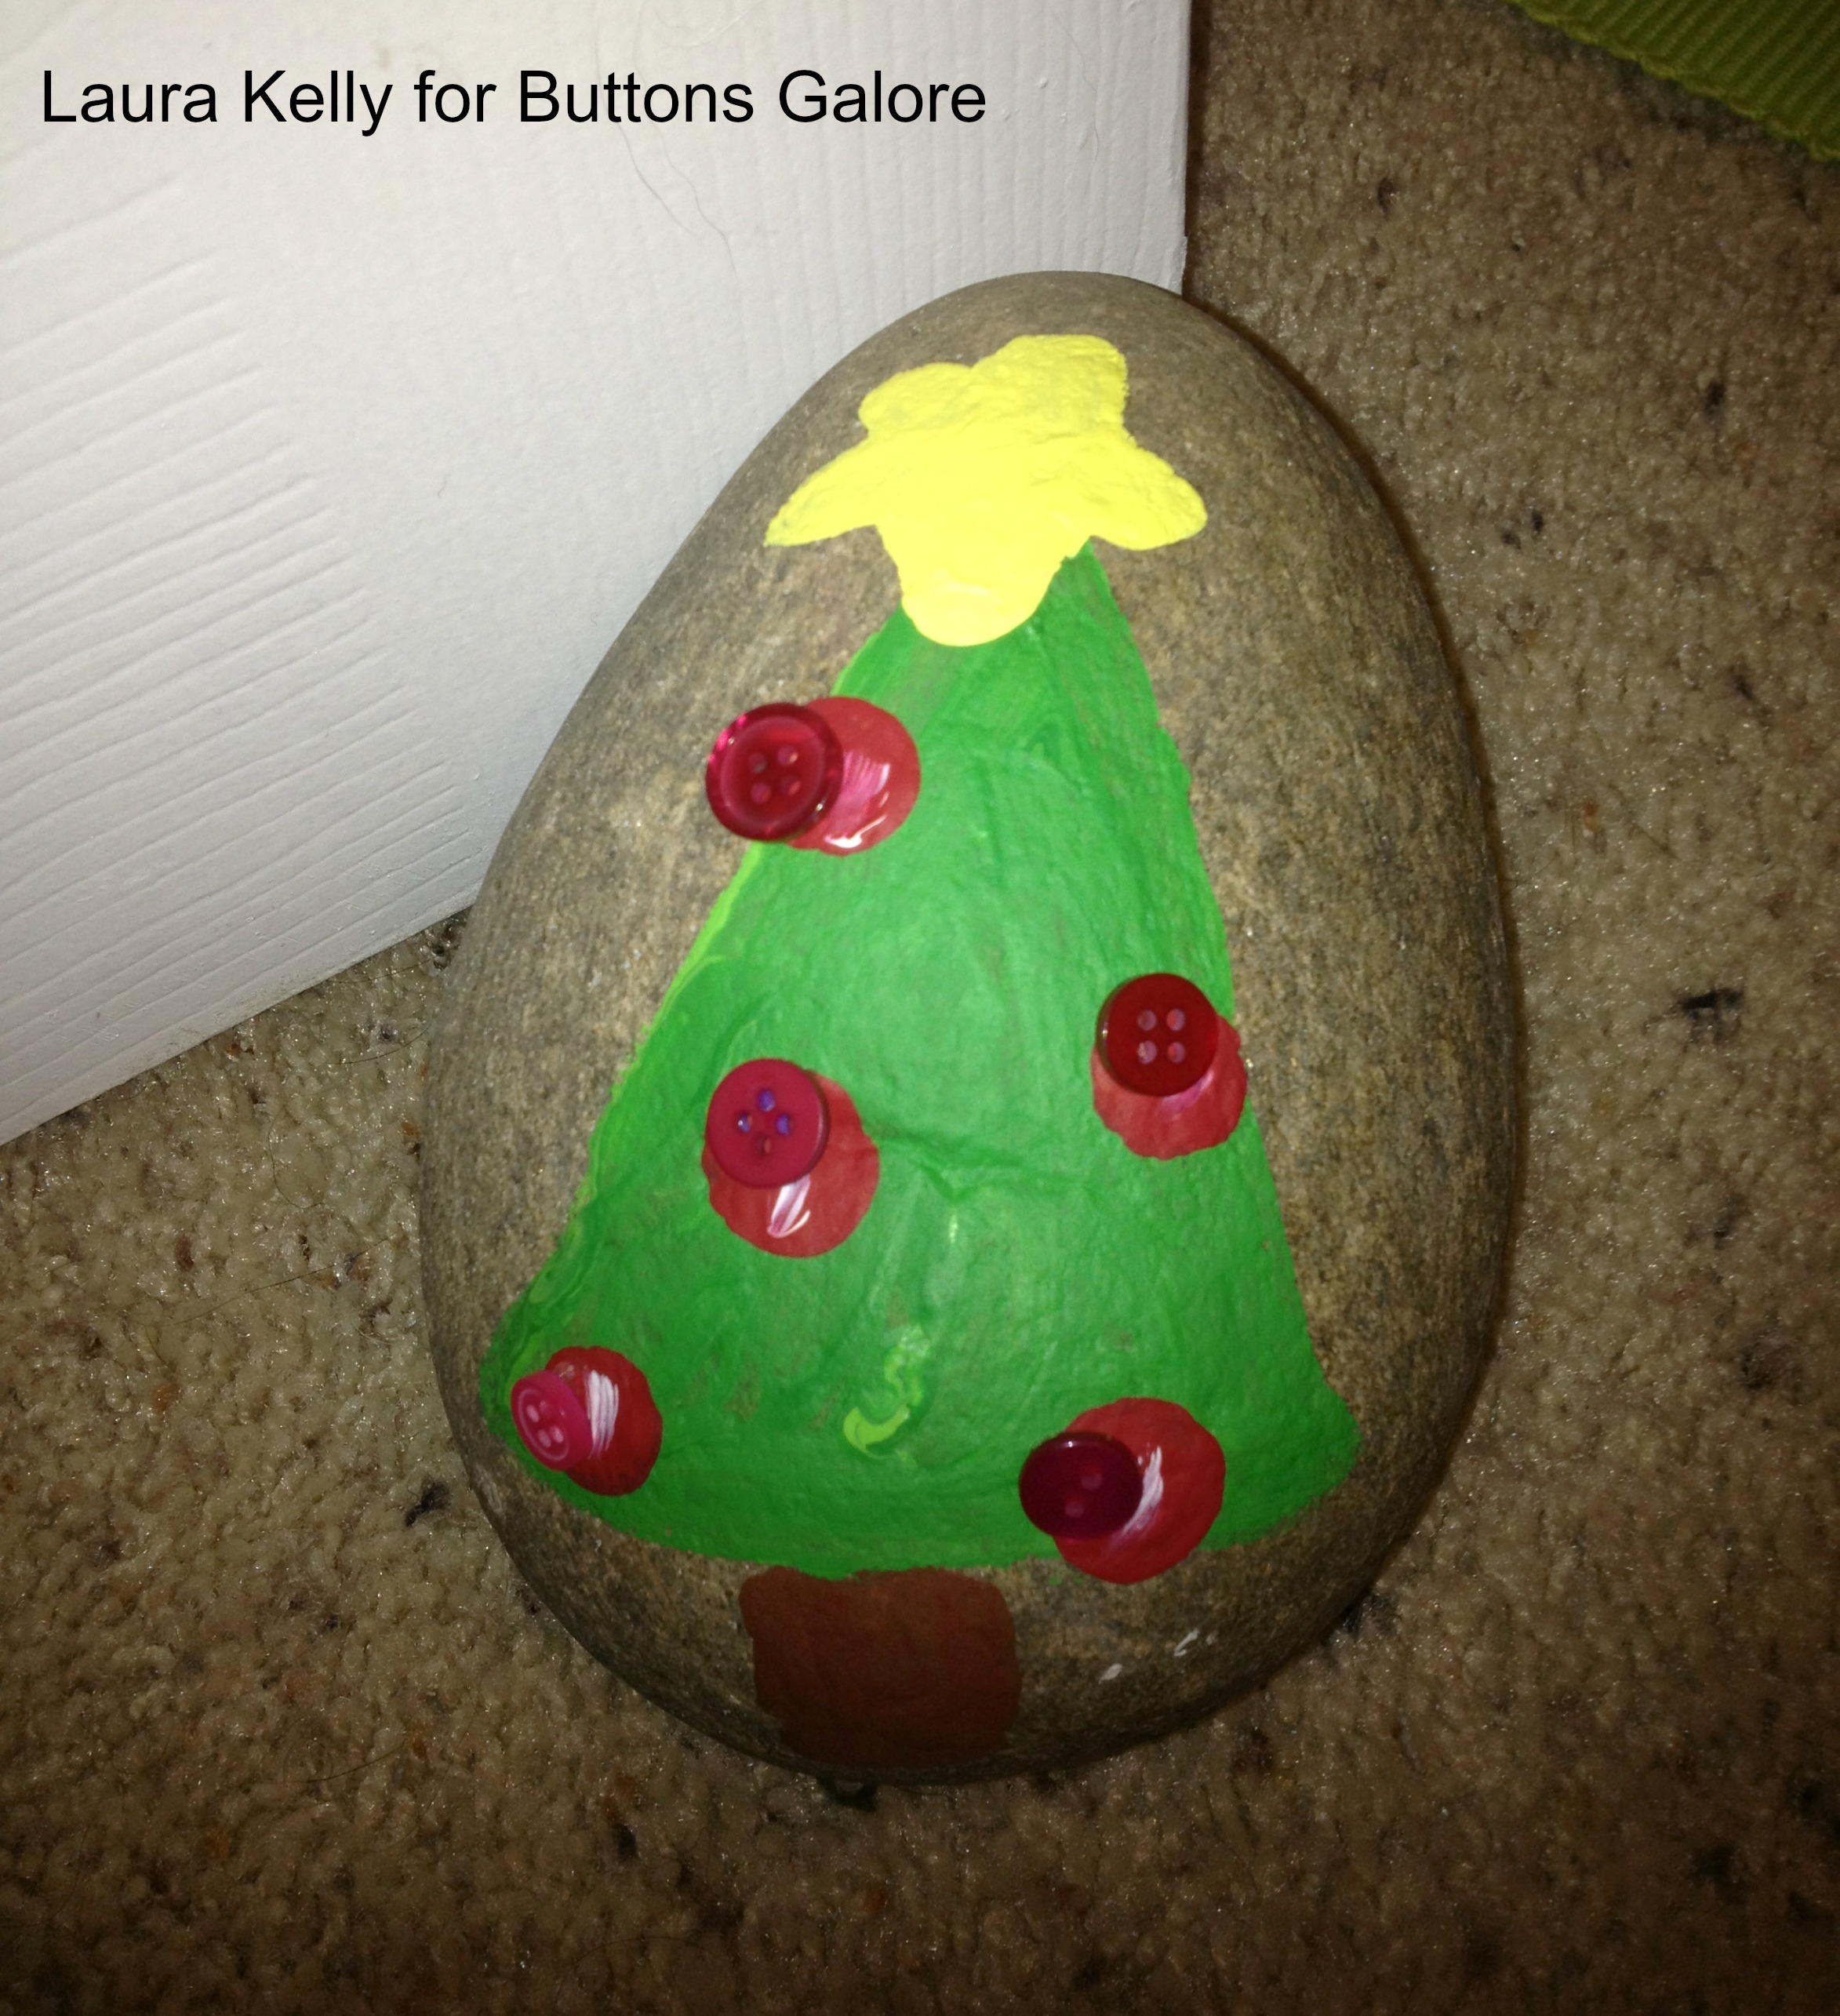
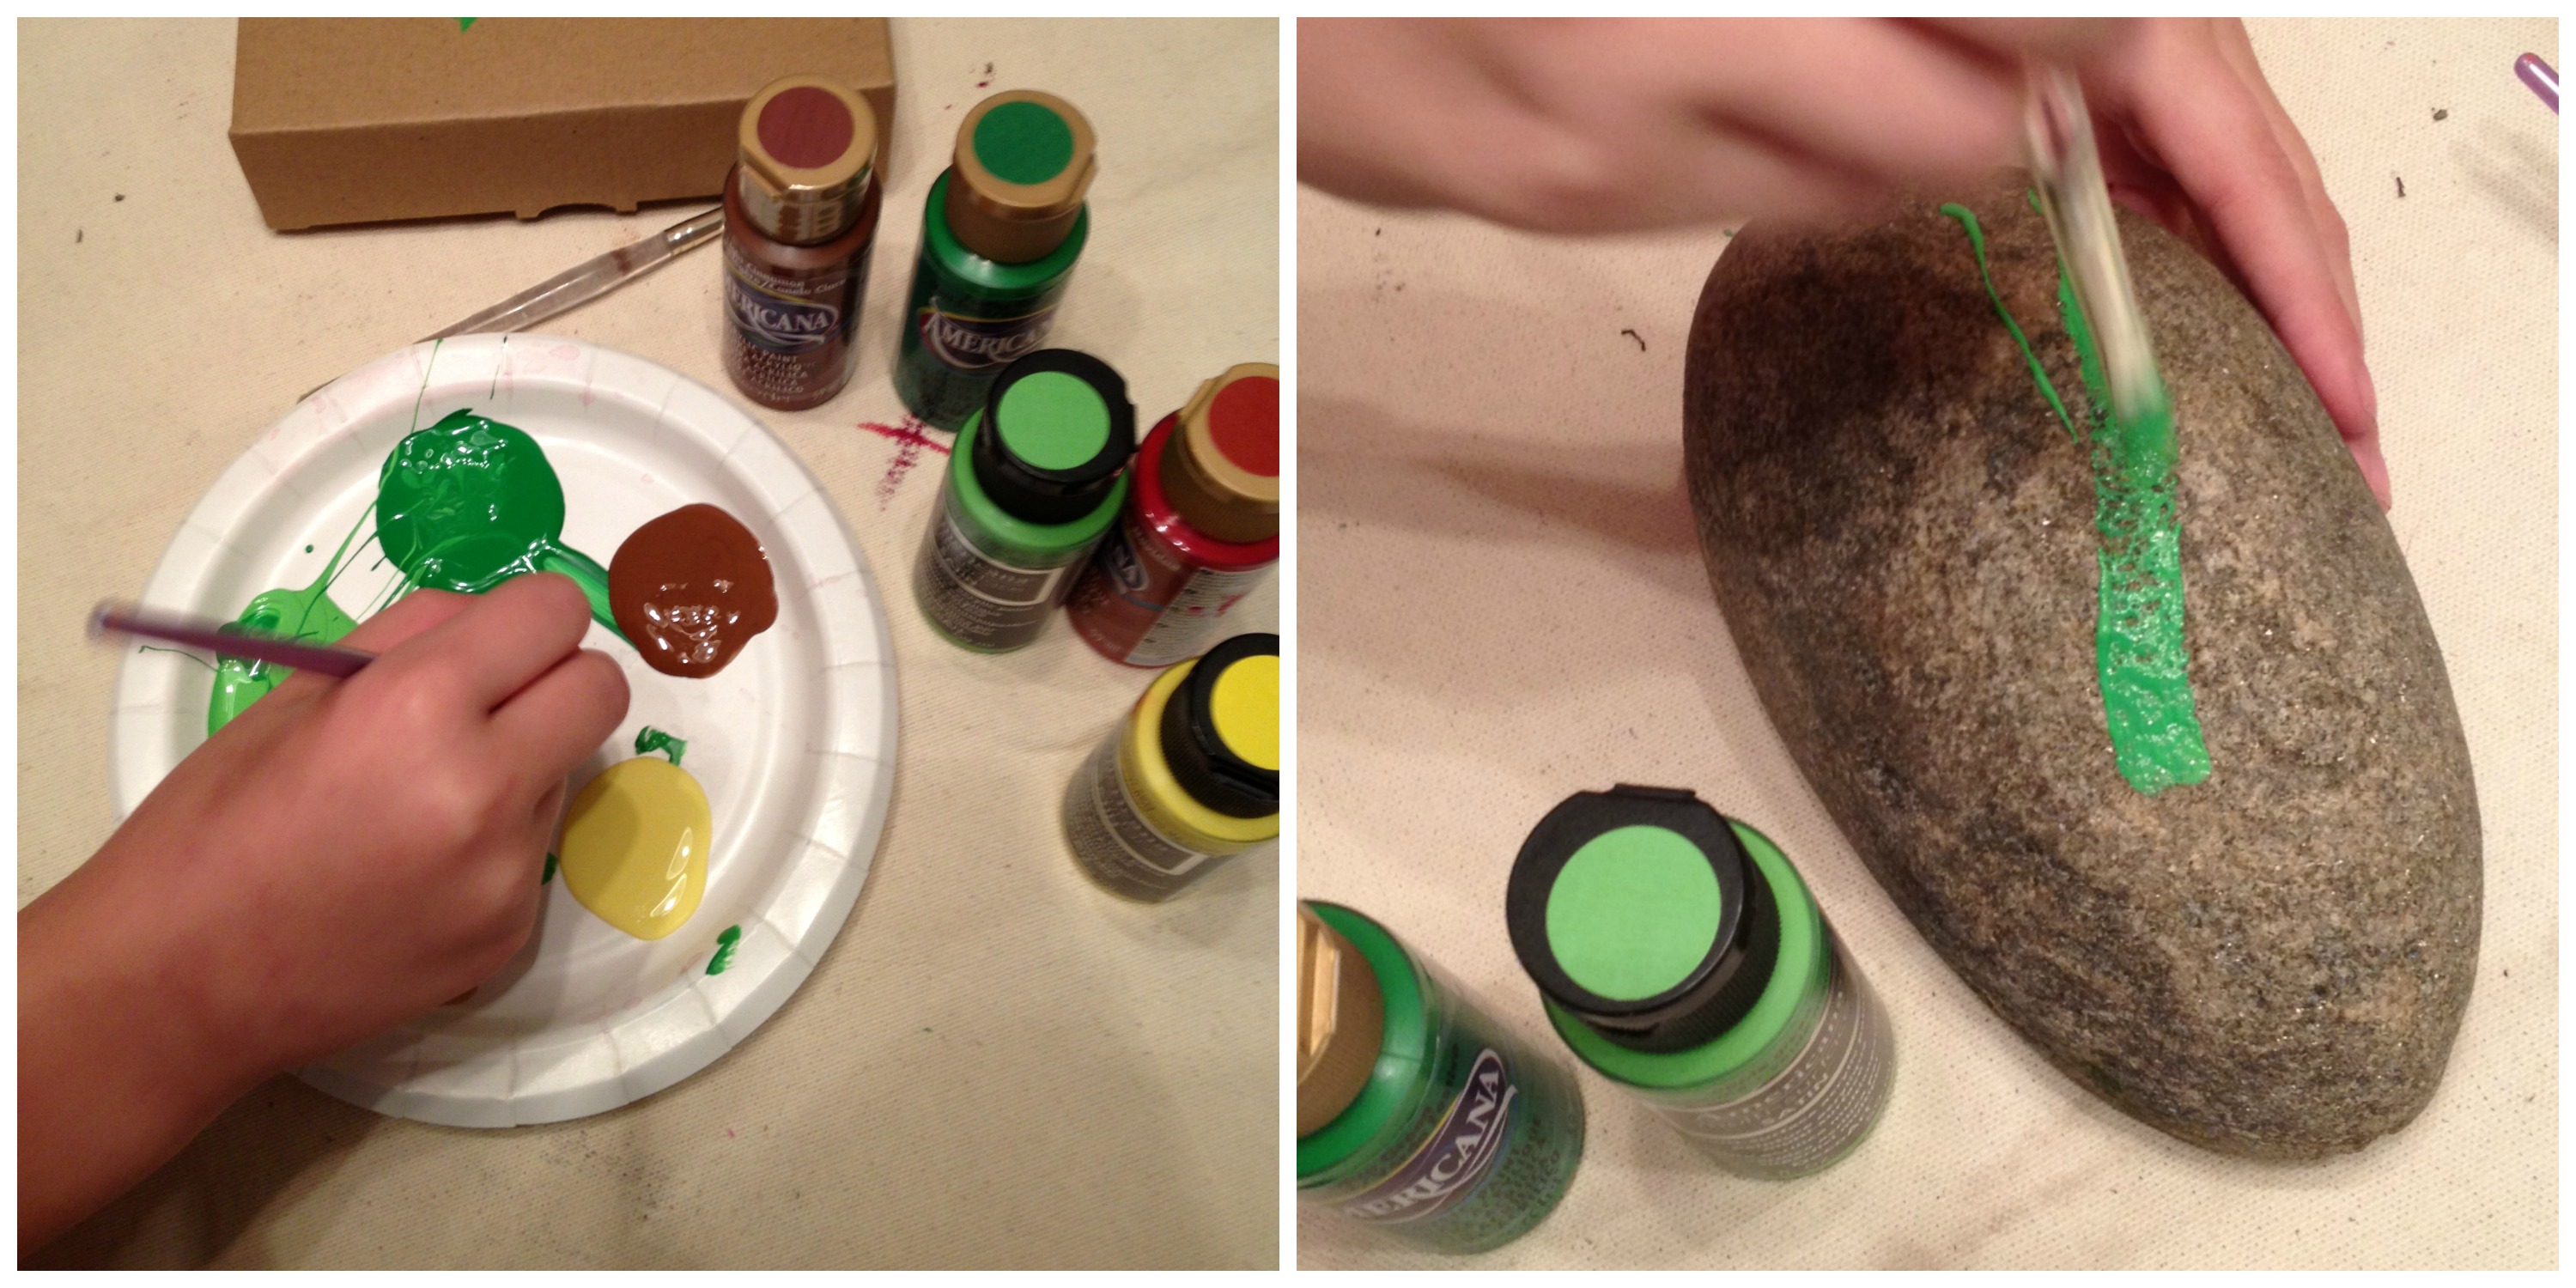
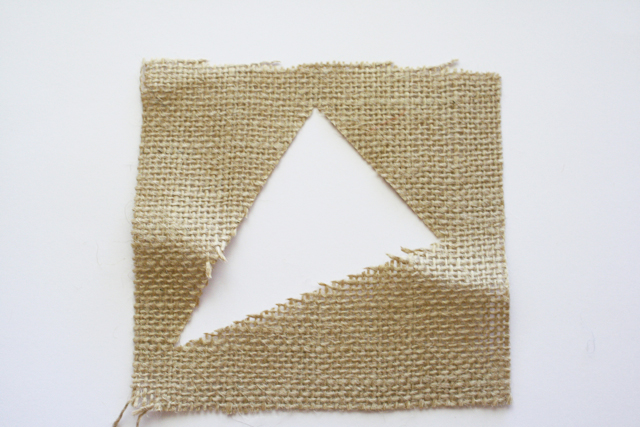
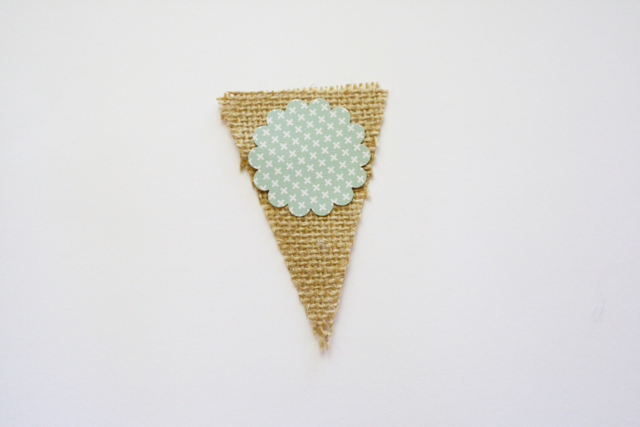
 To view the full tutorial please visit Margot’s blog –


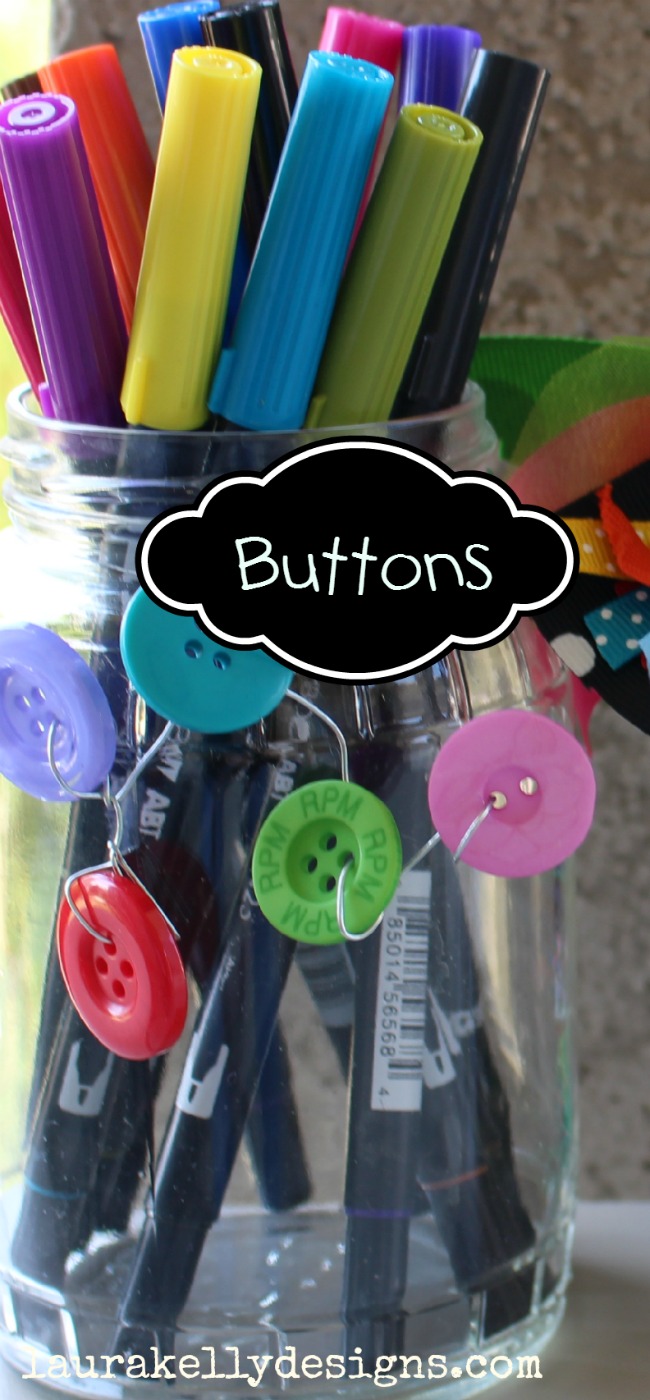
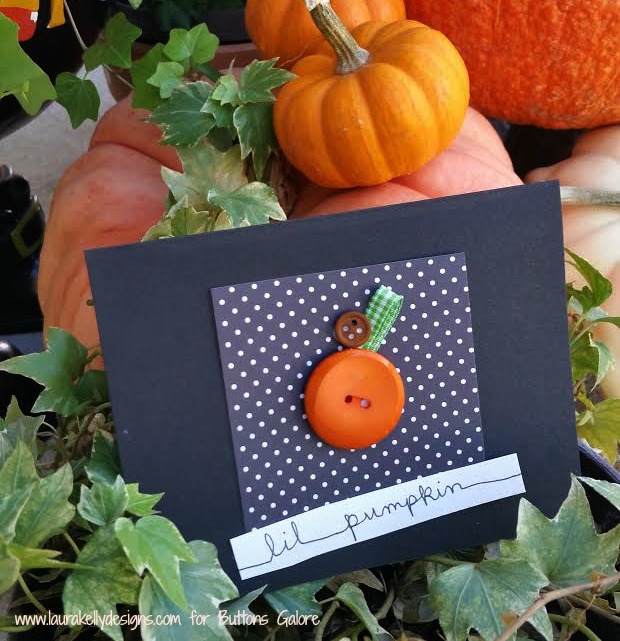
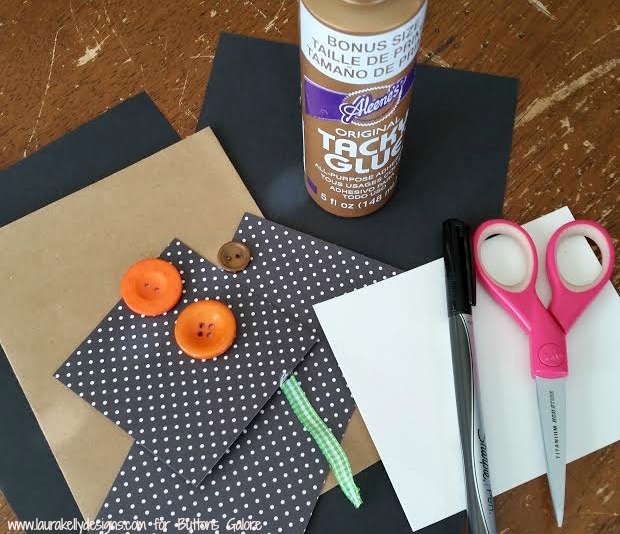
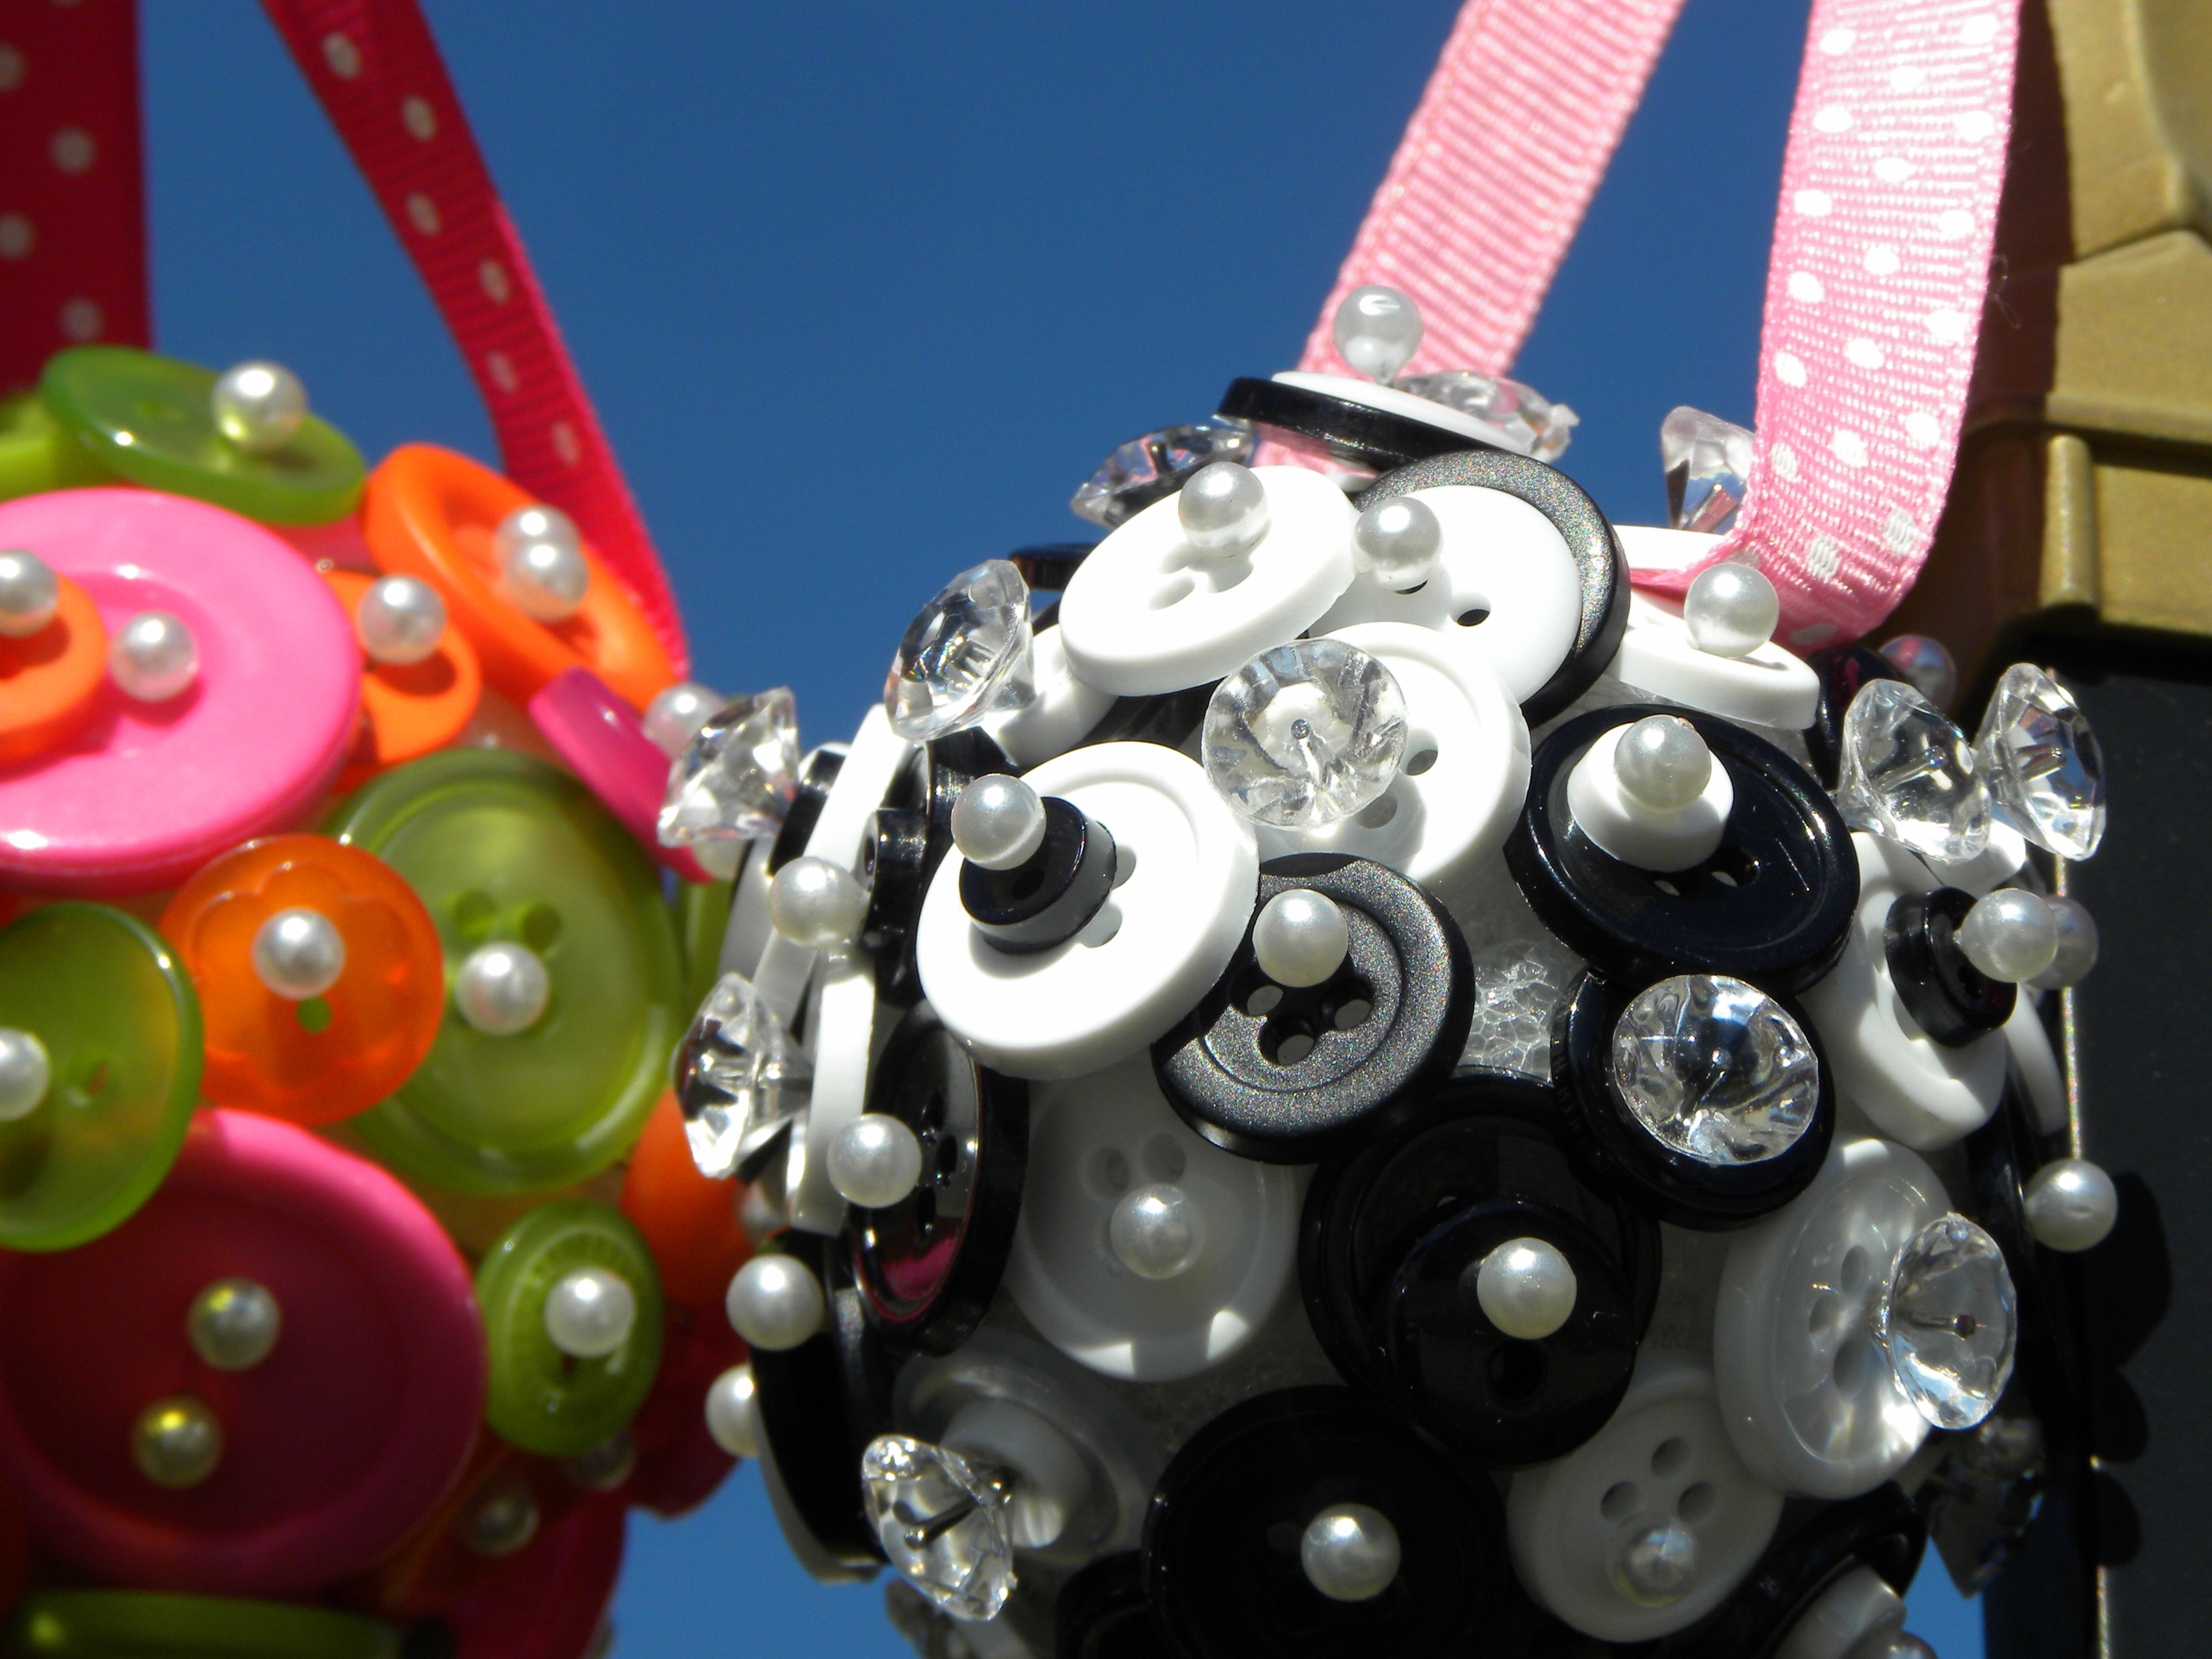
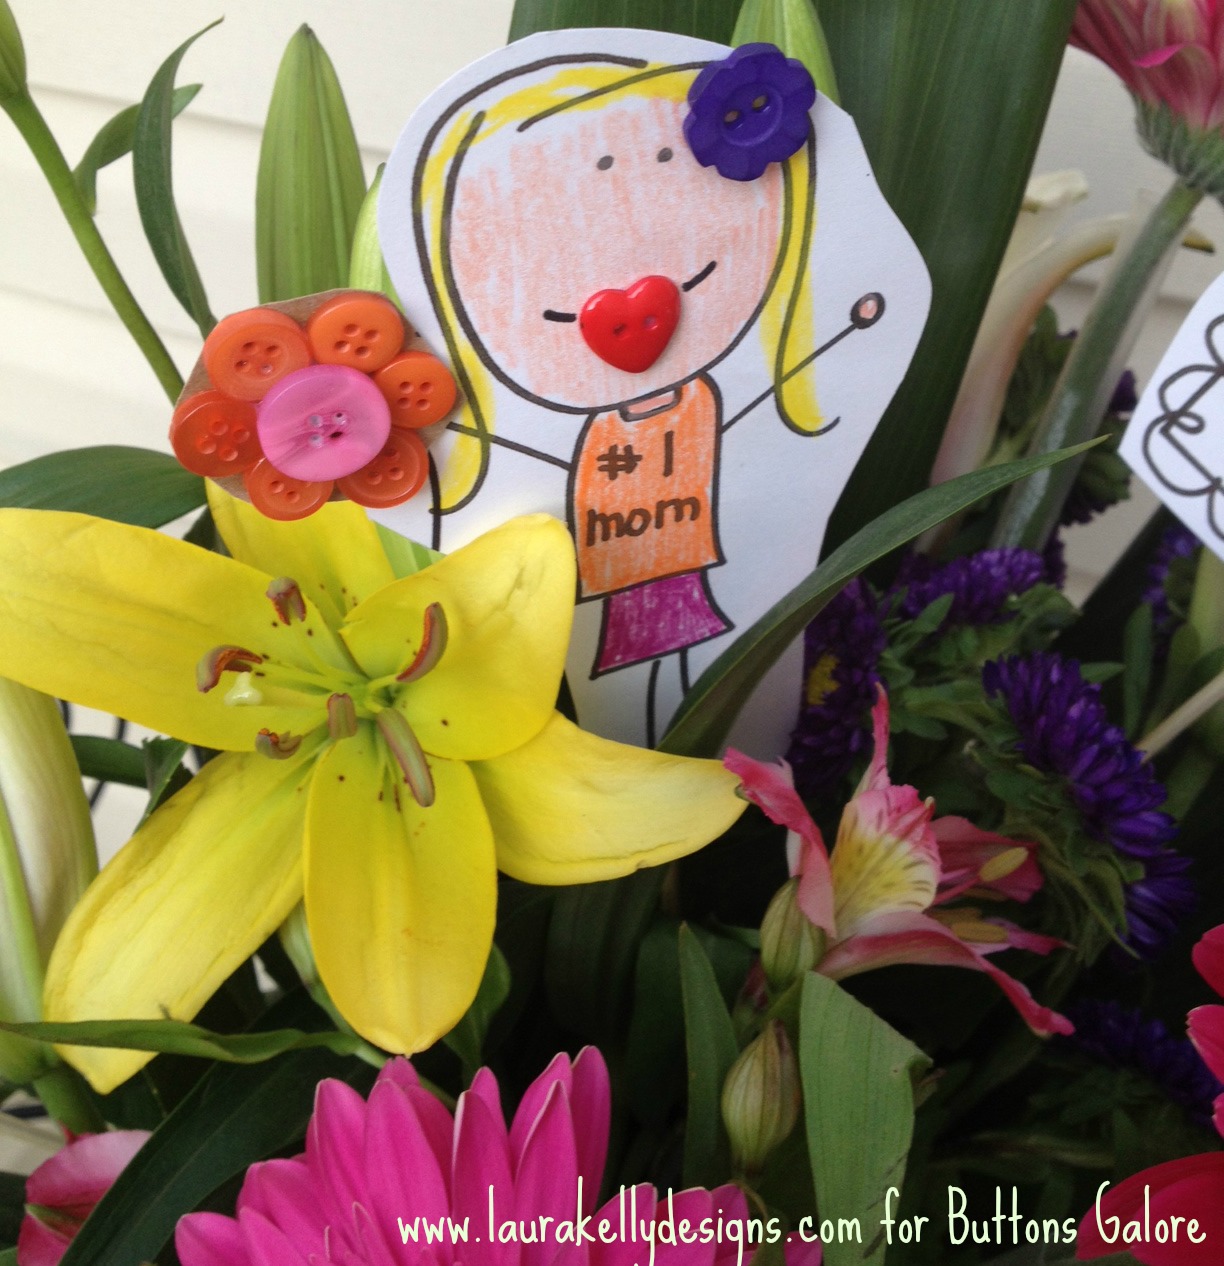
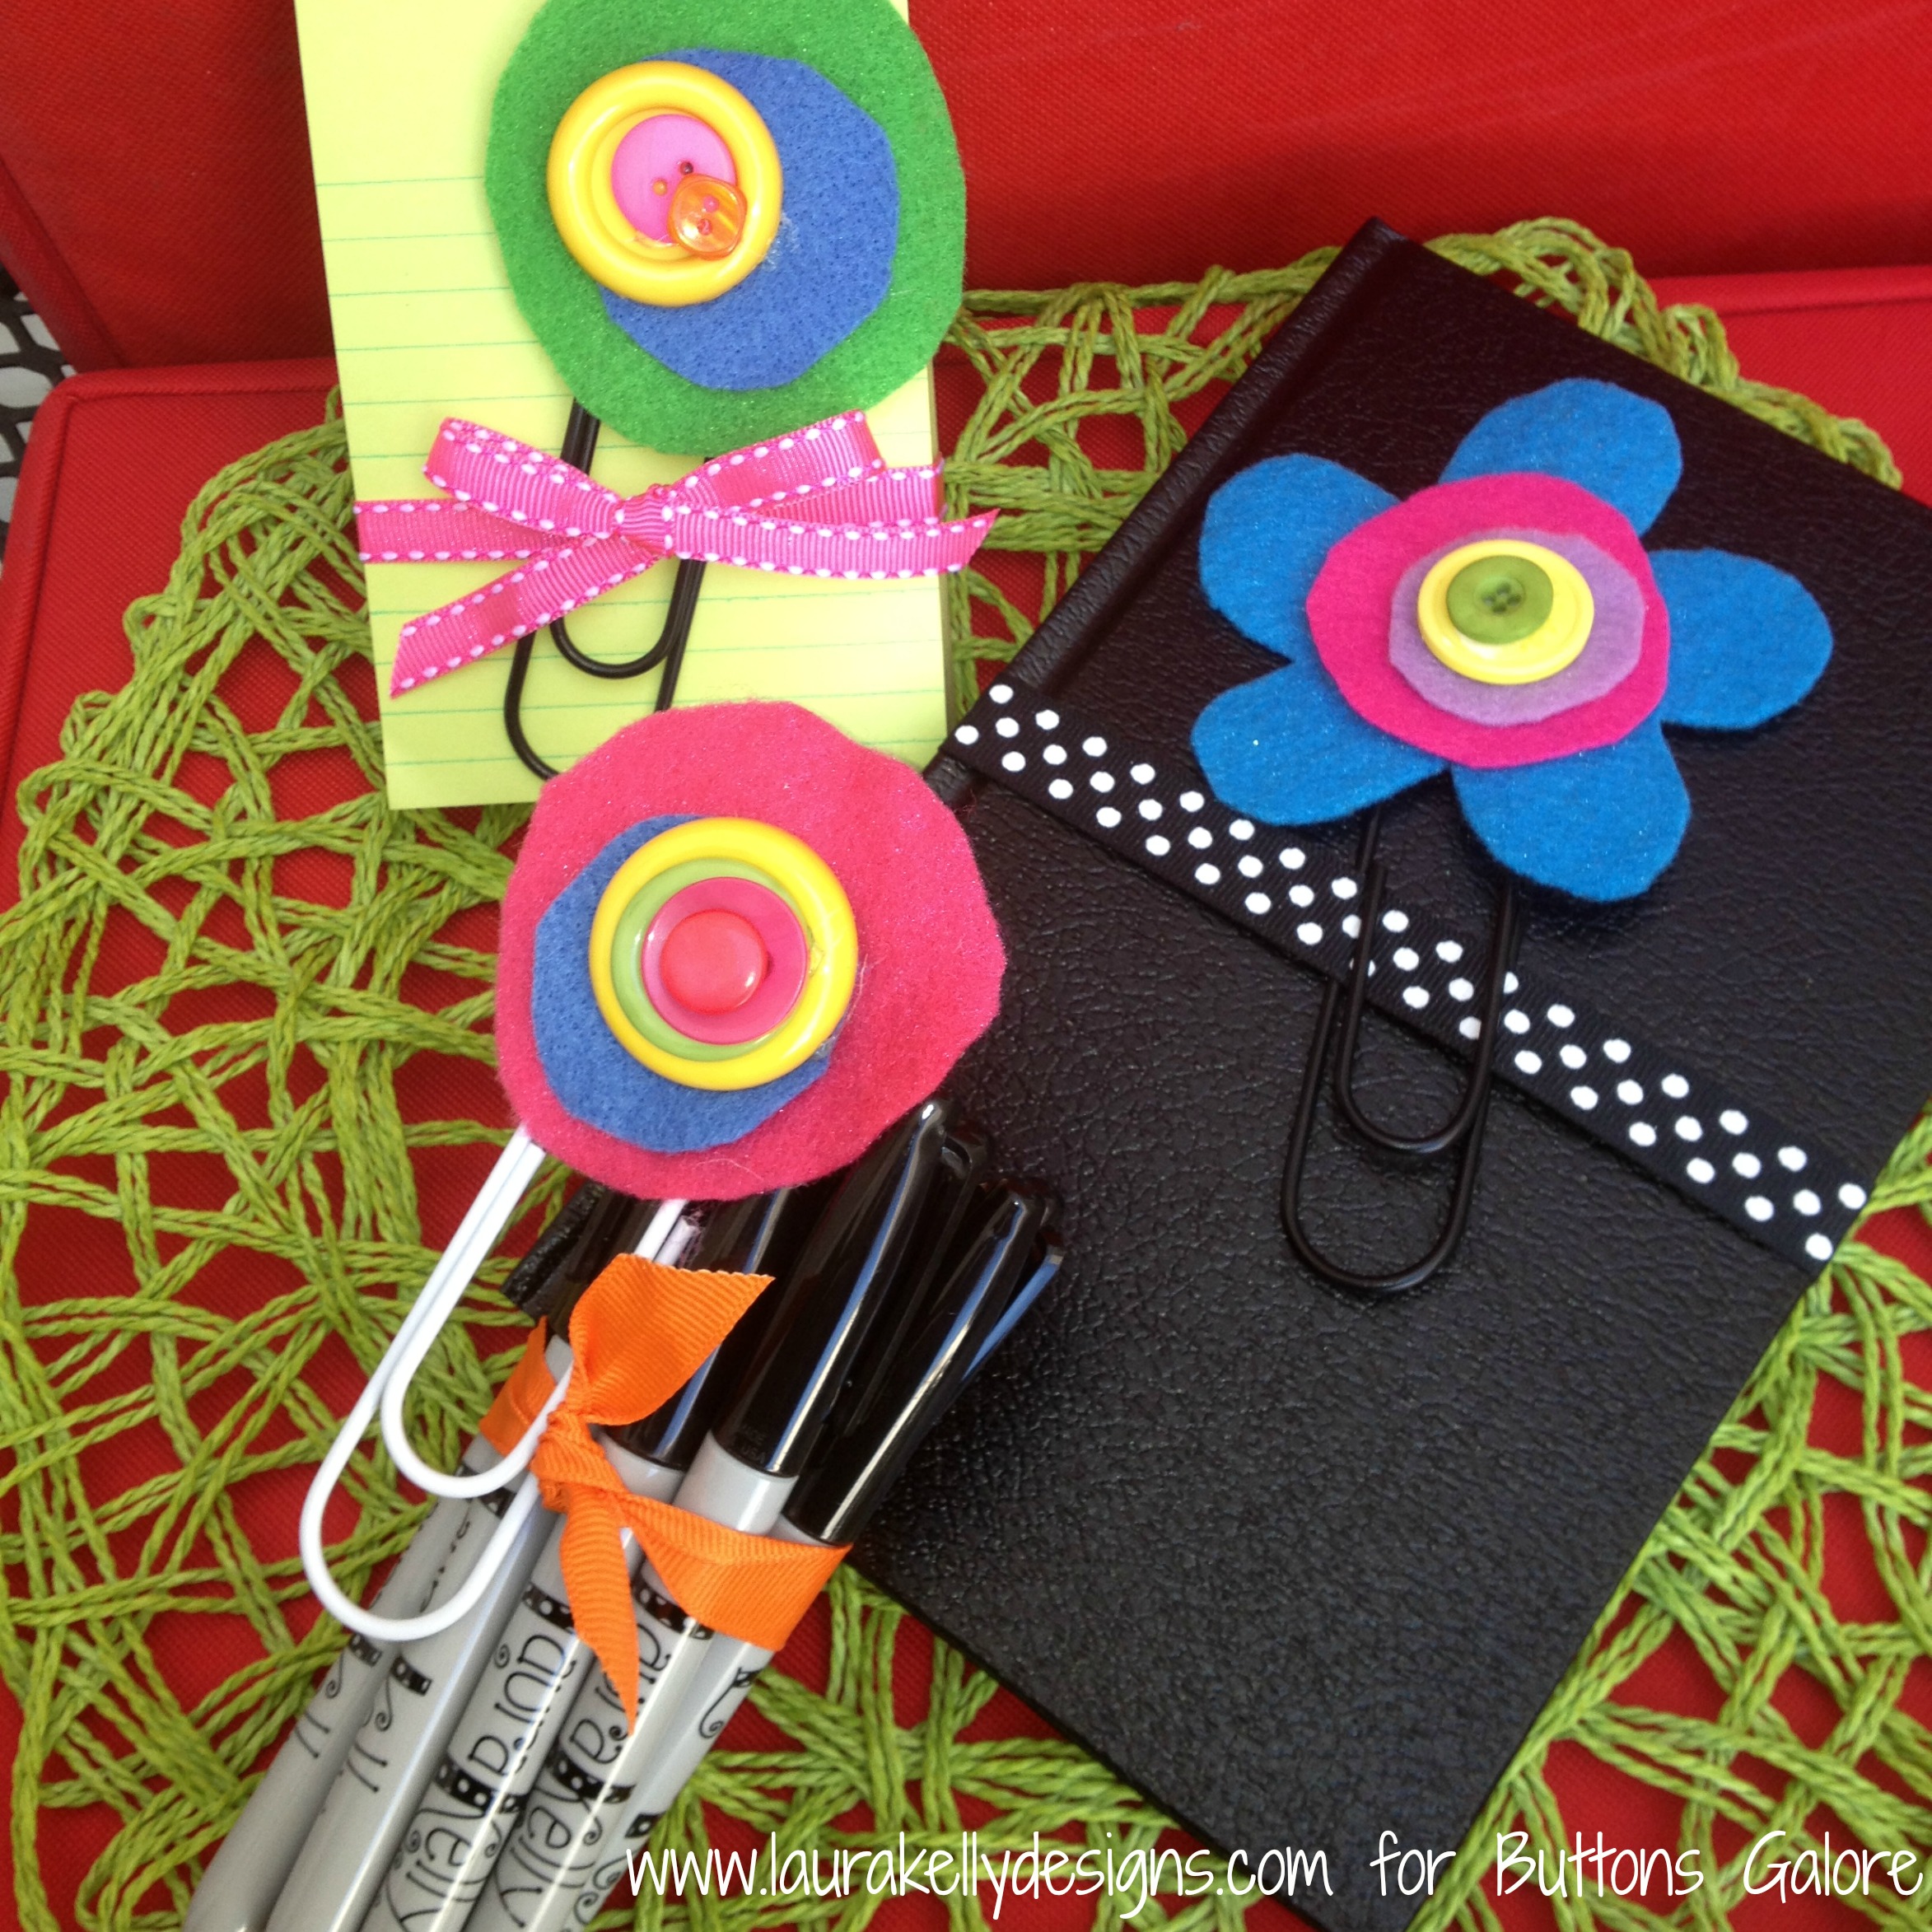
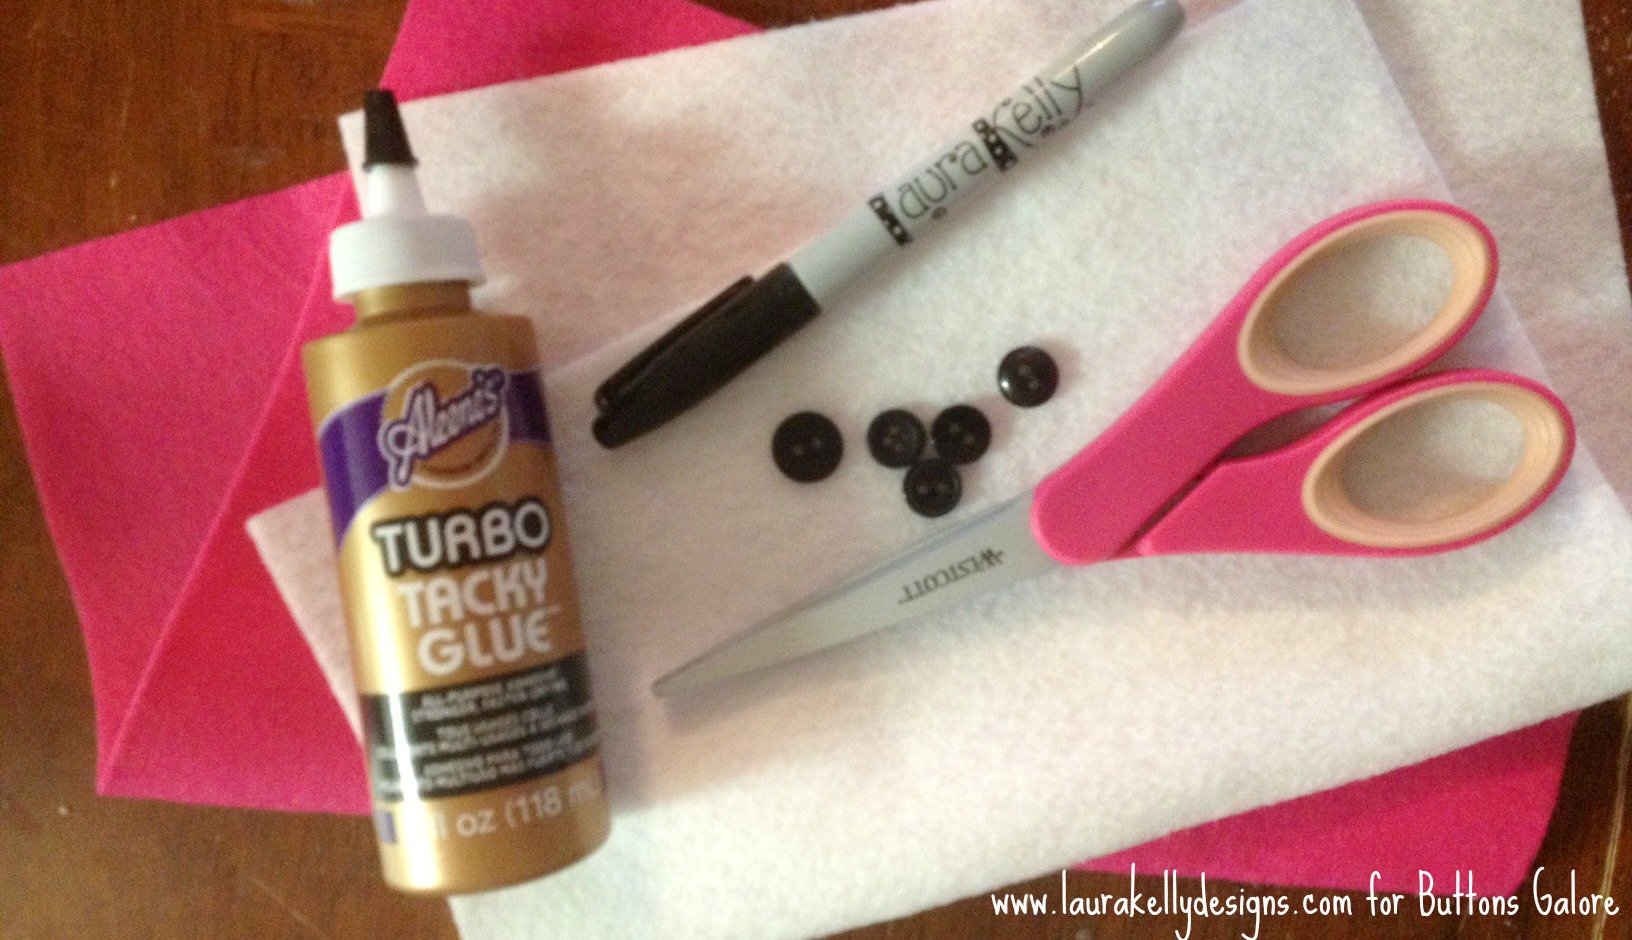
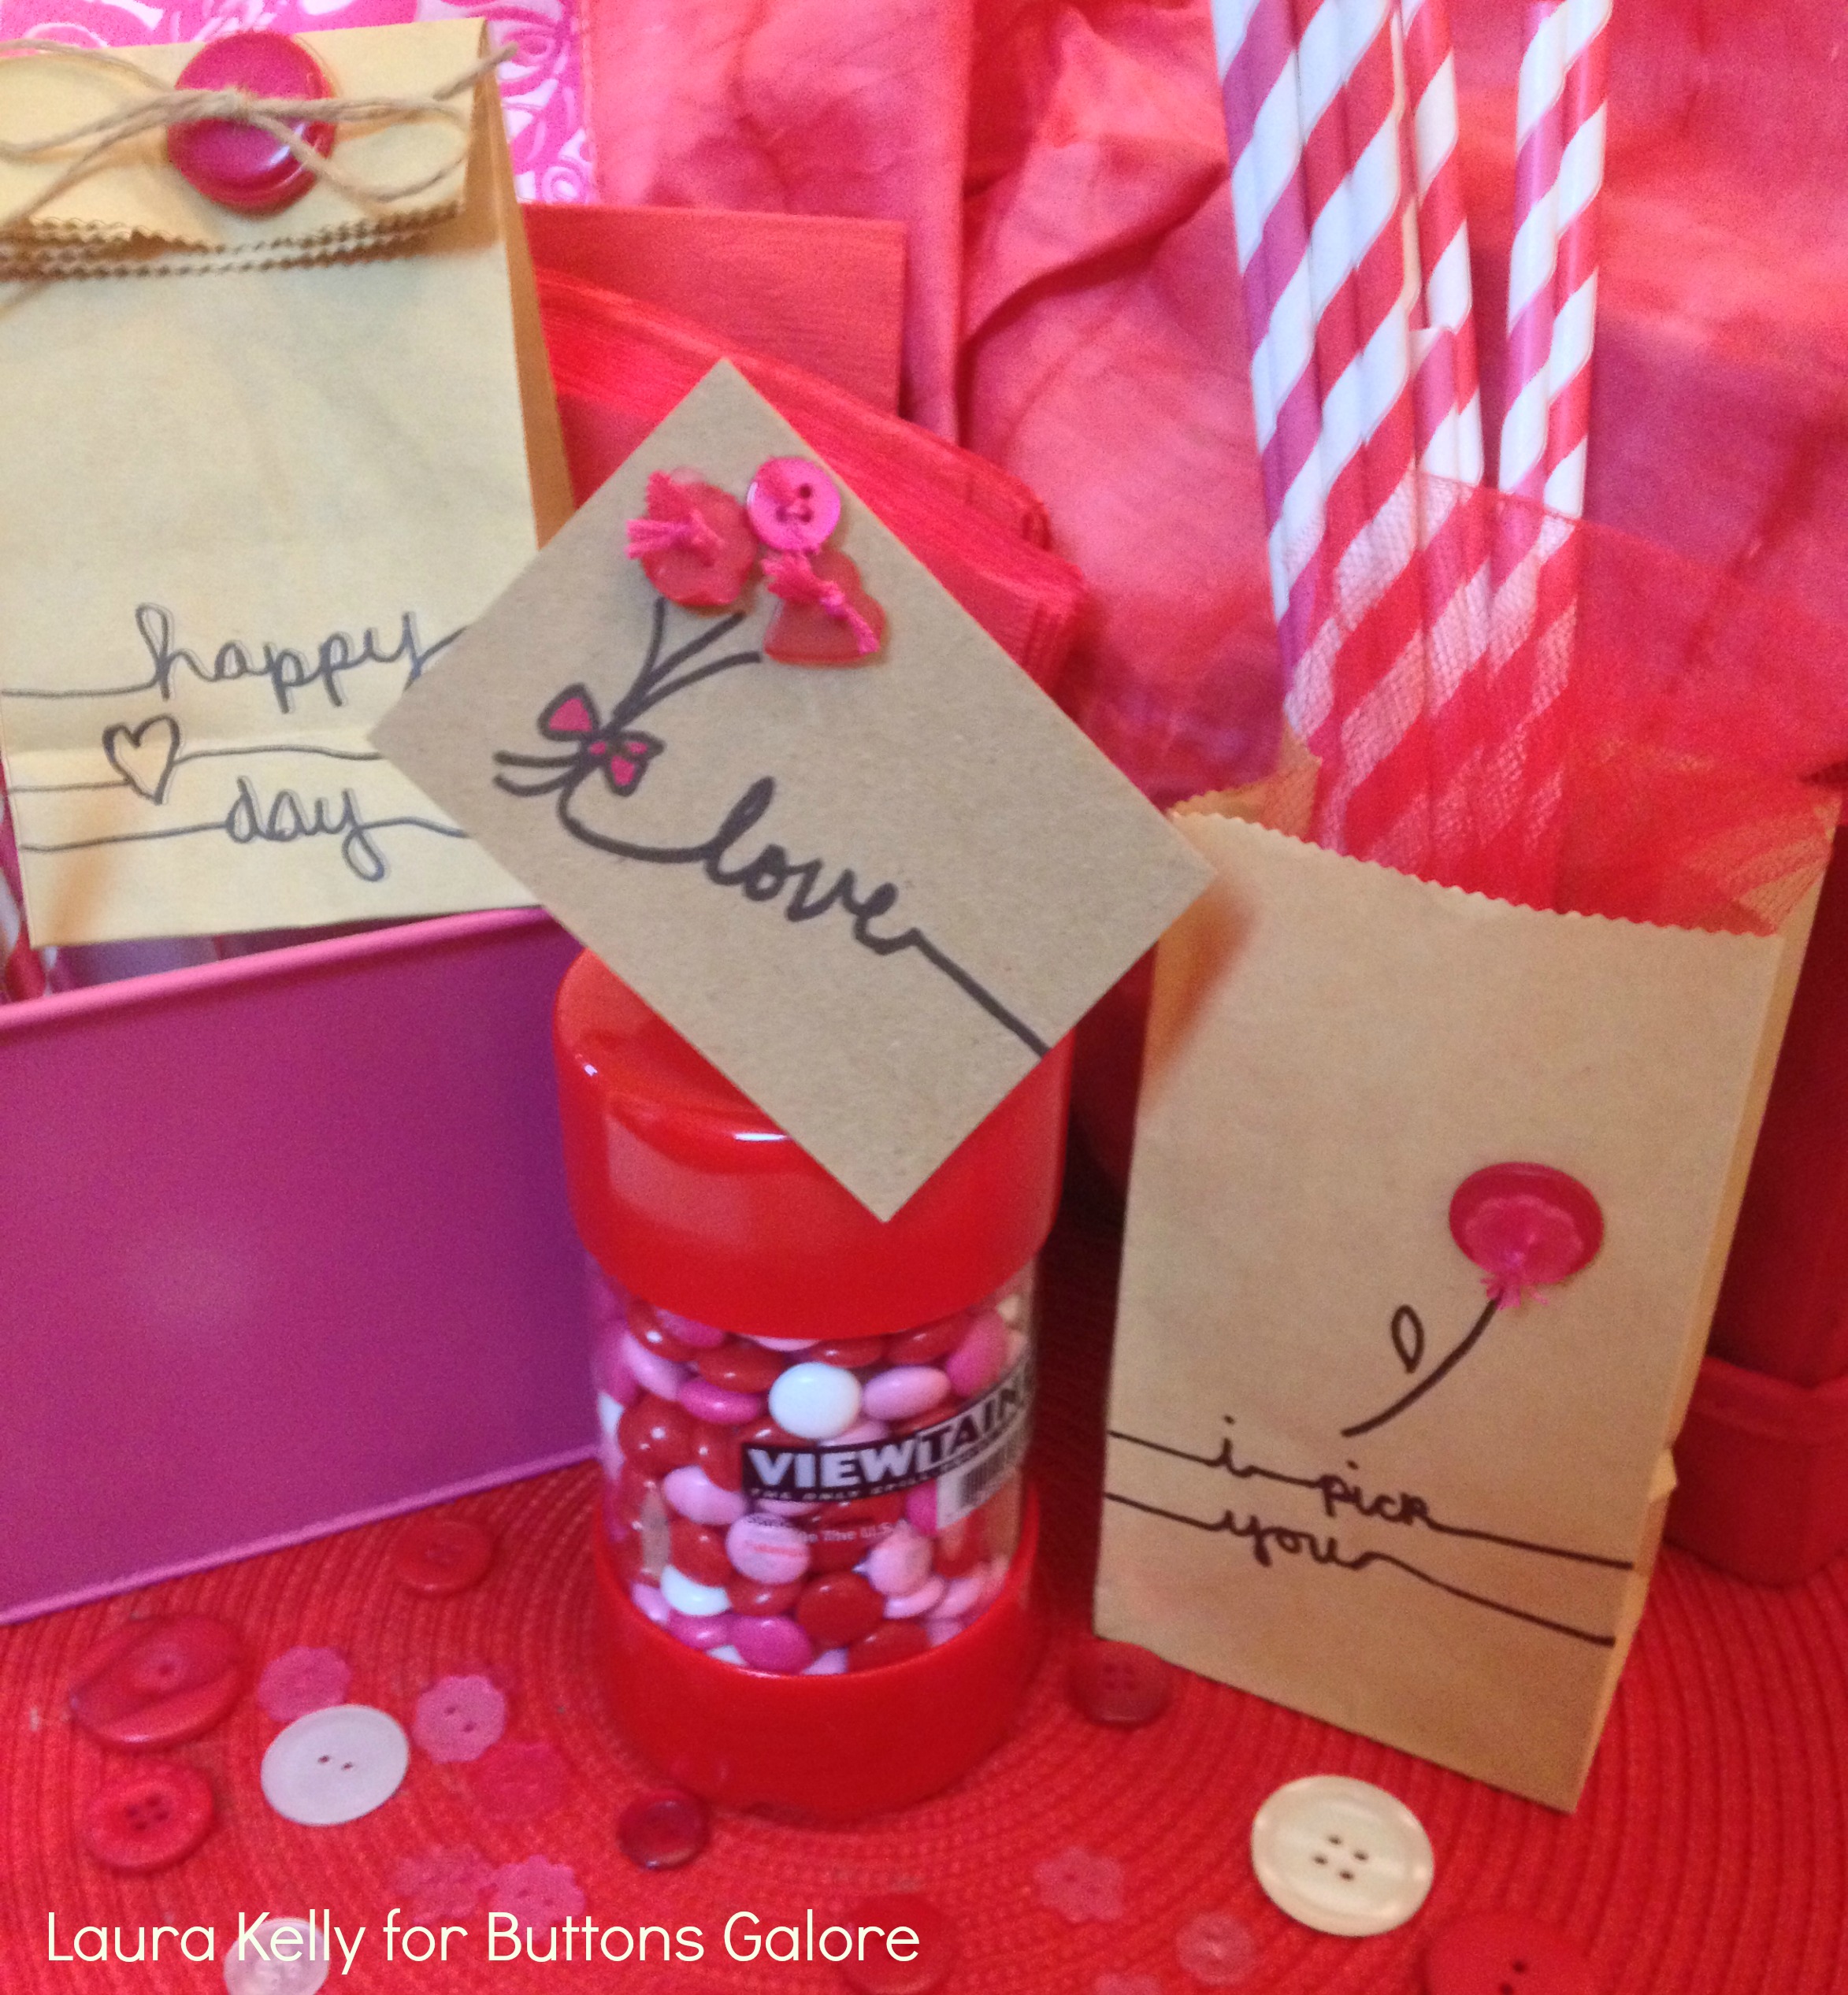
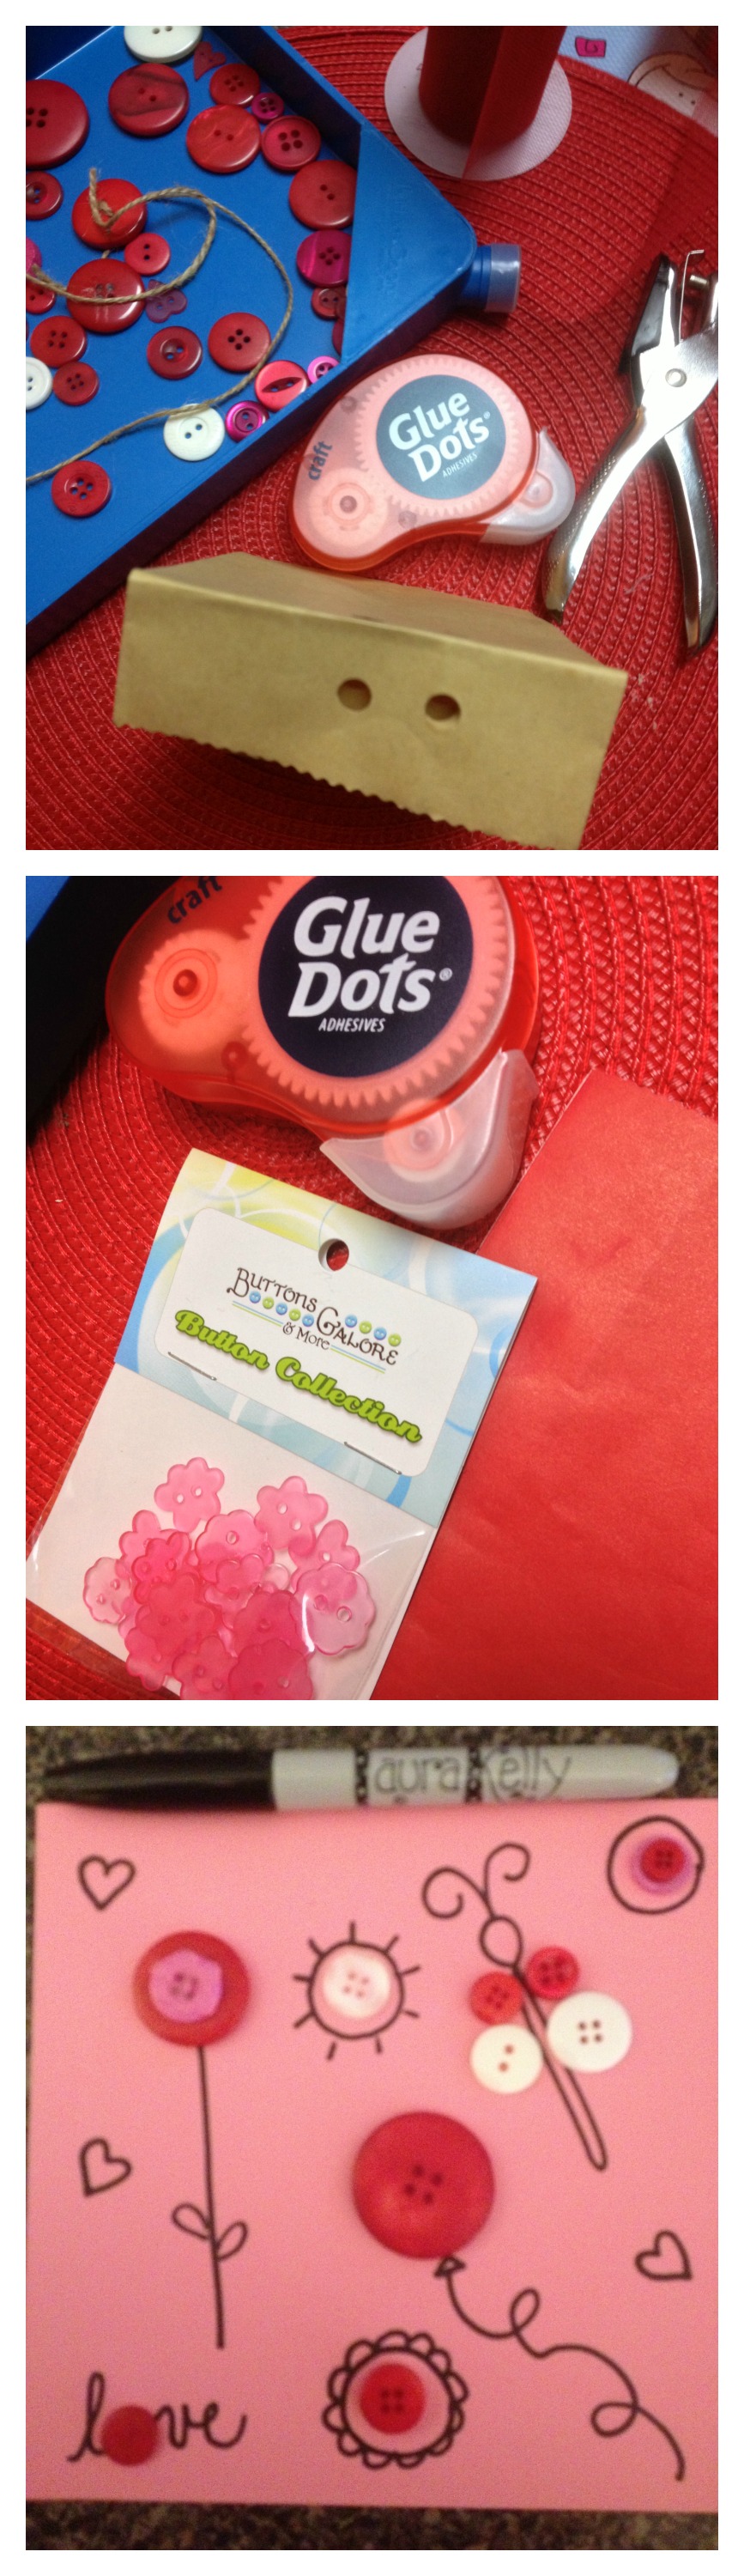
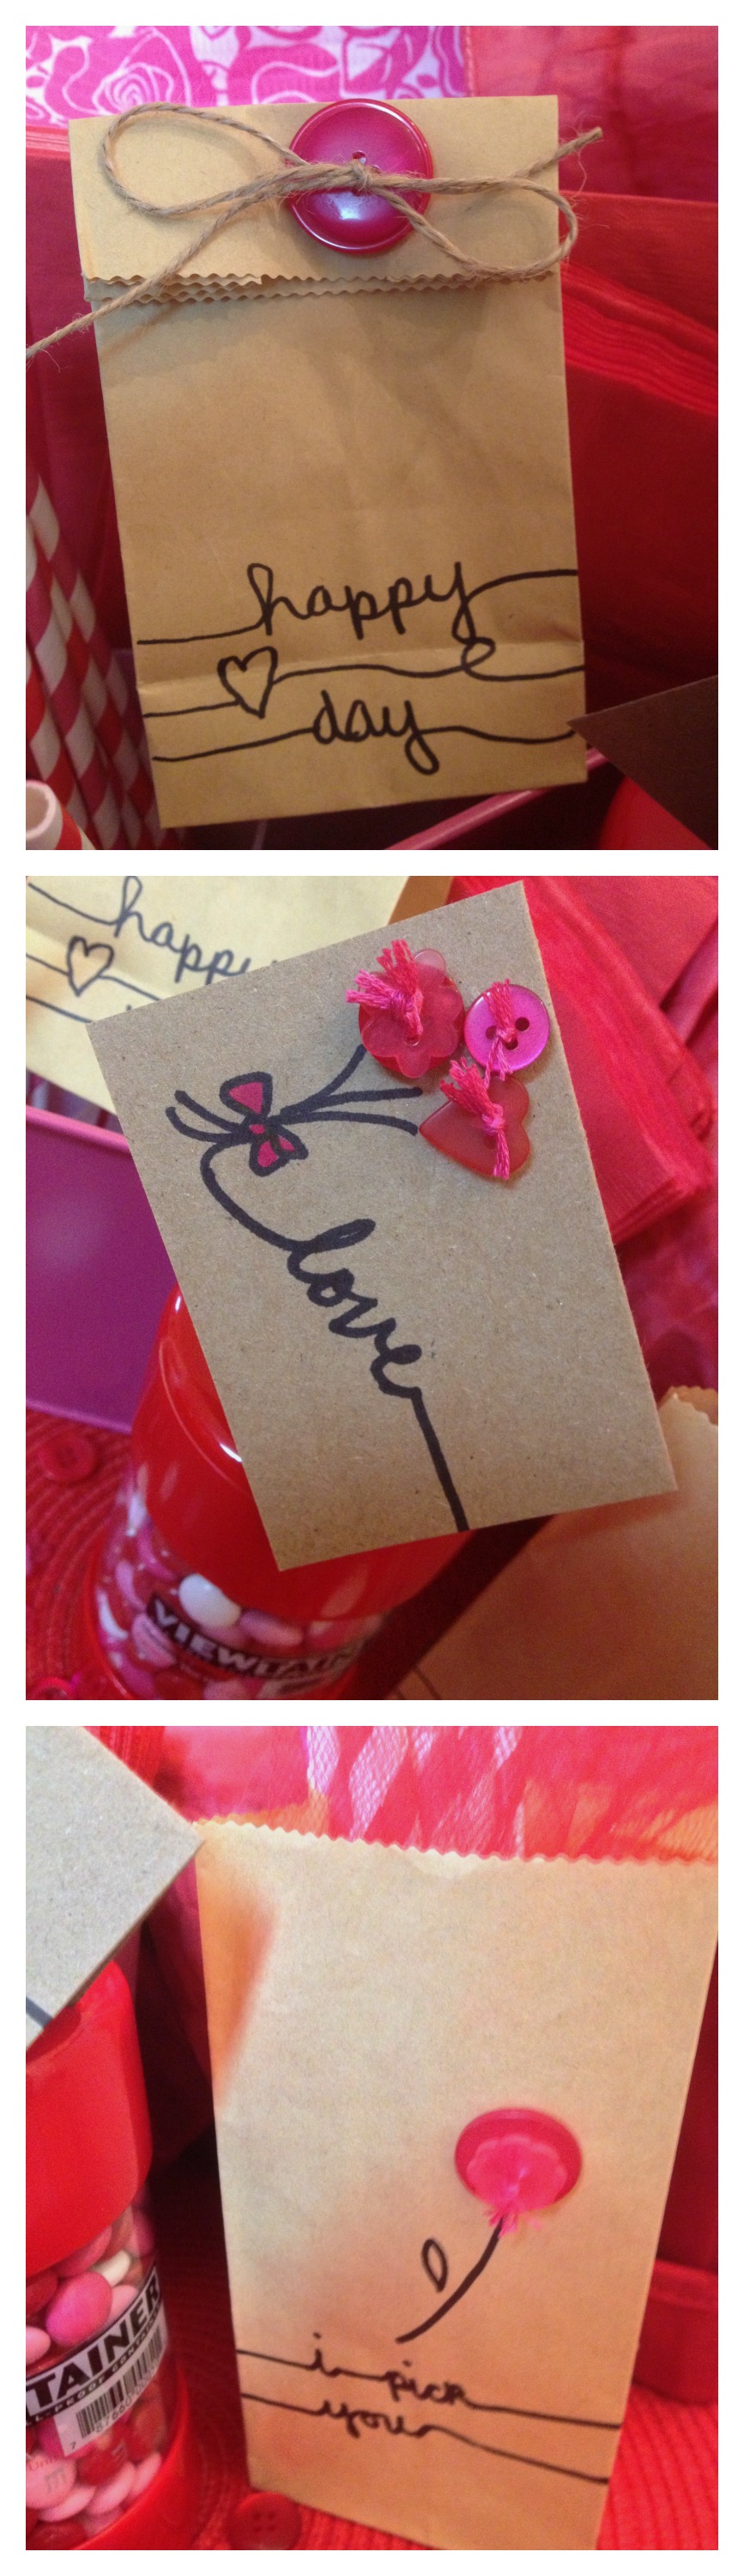
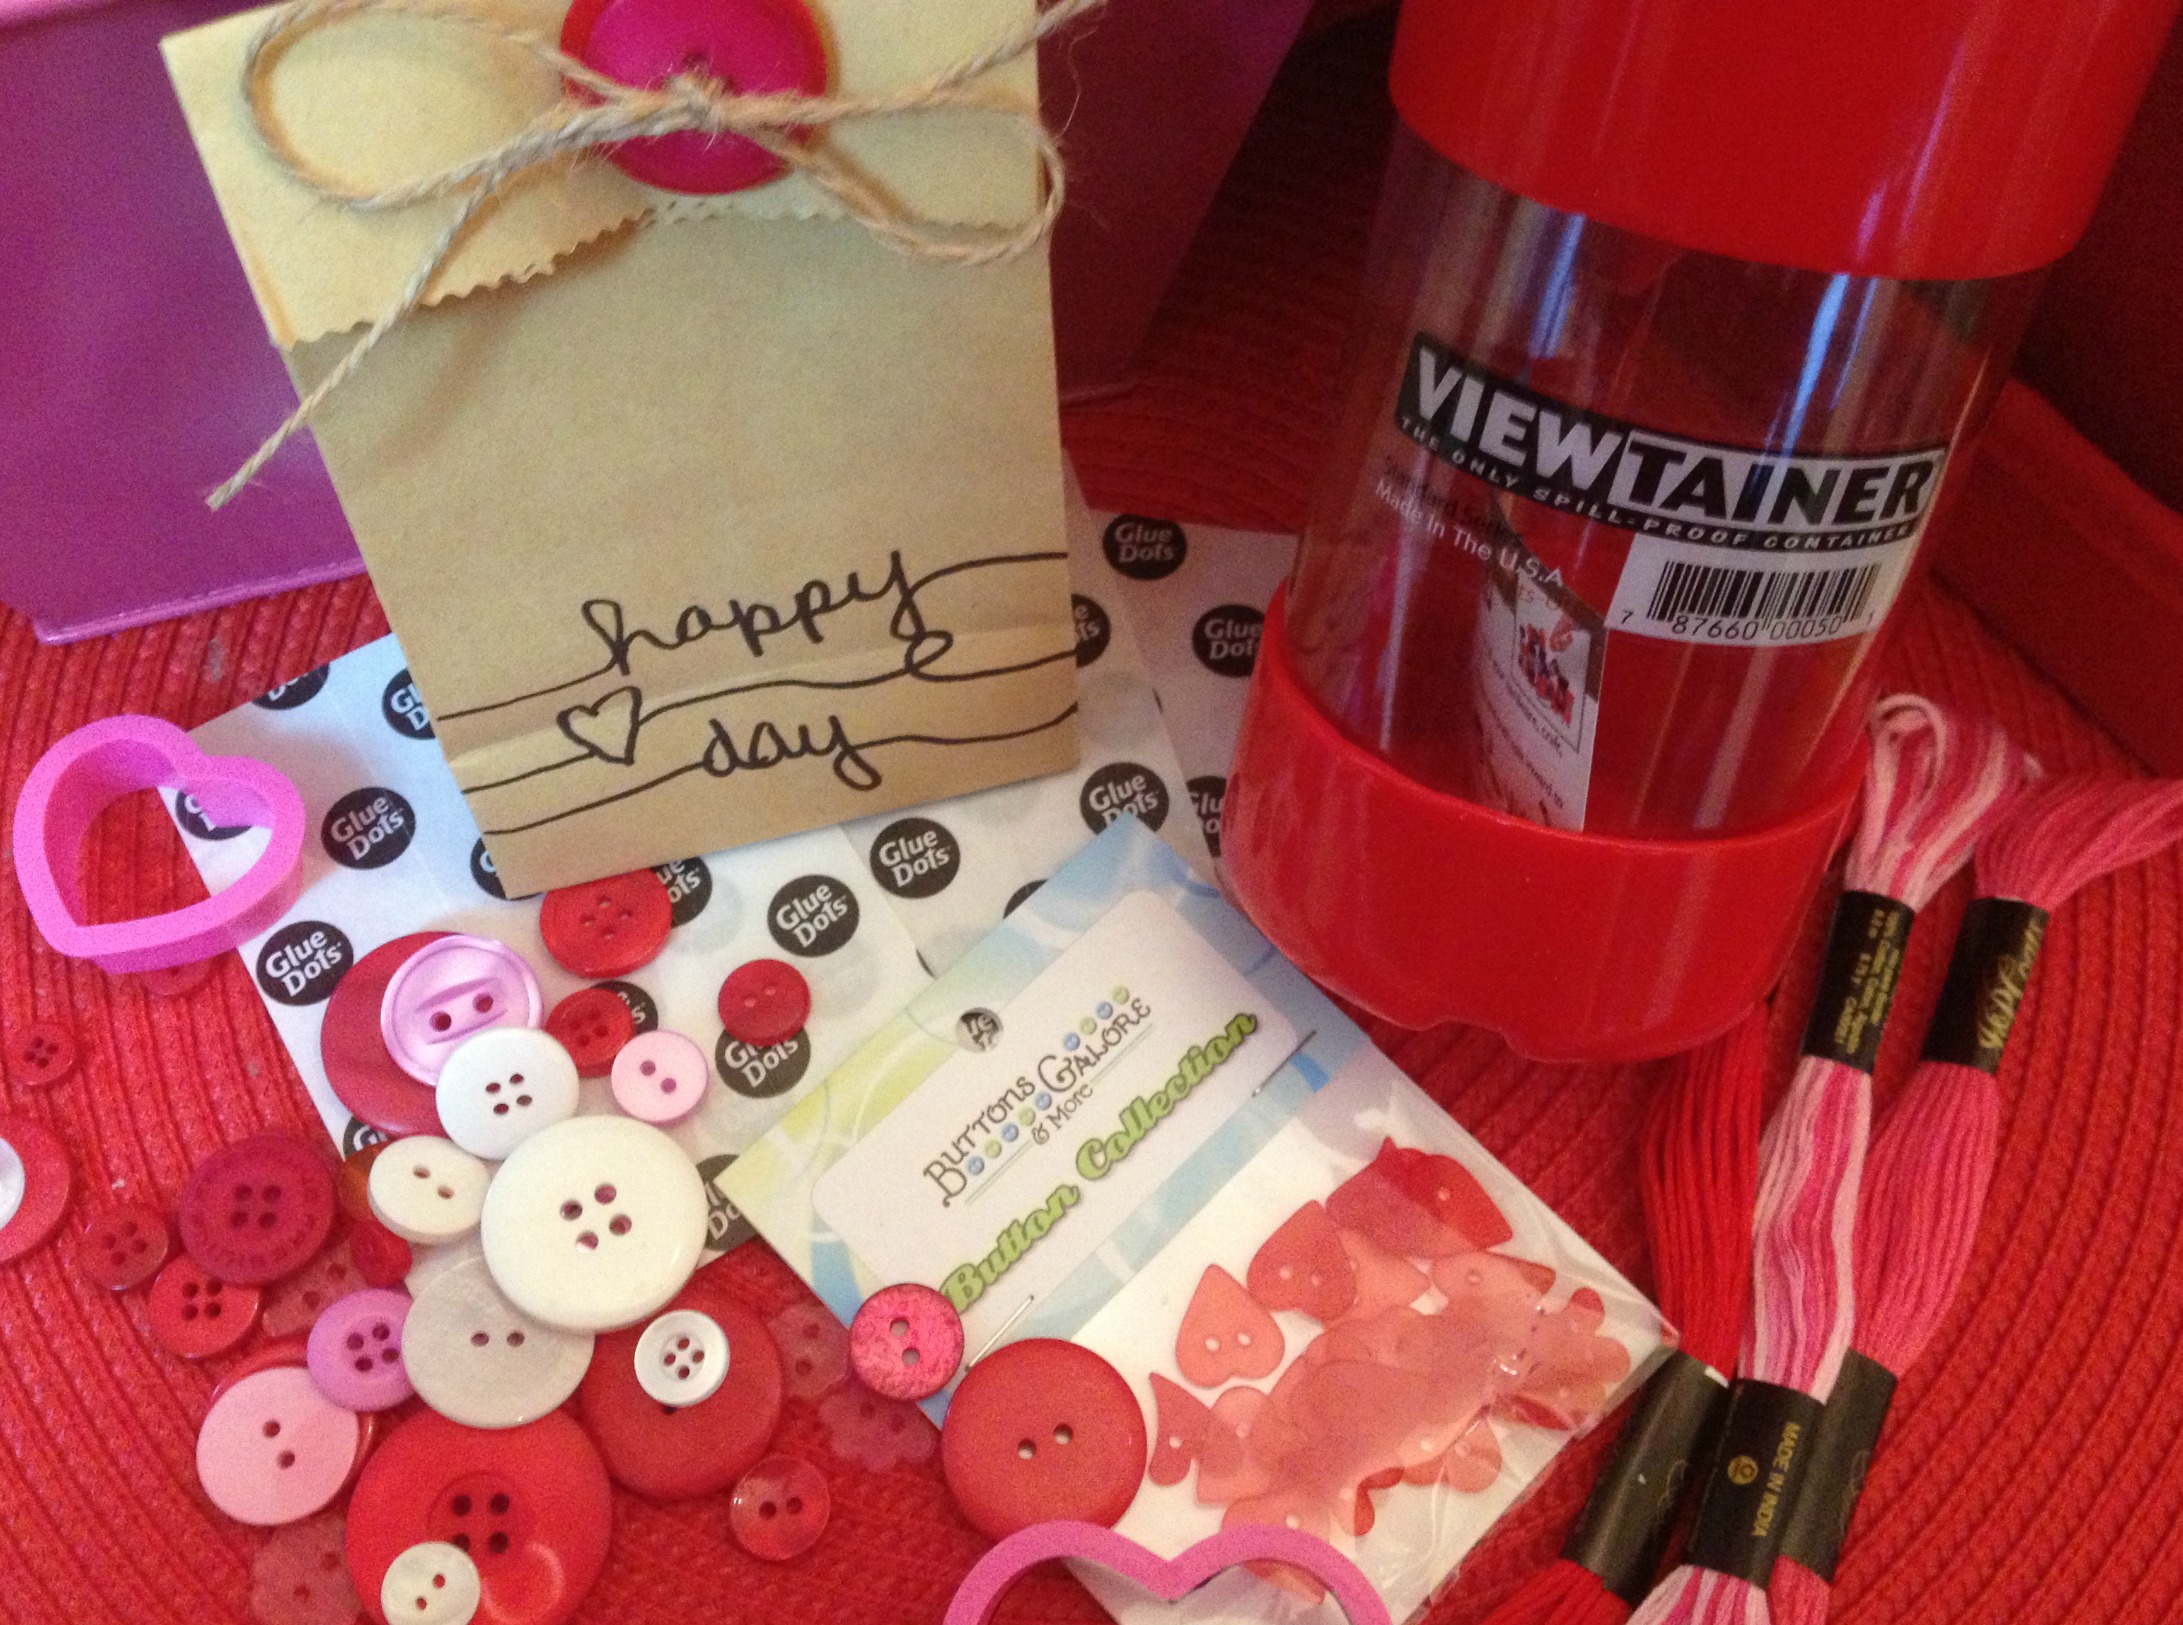
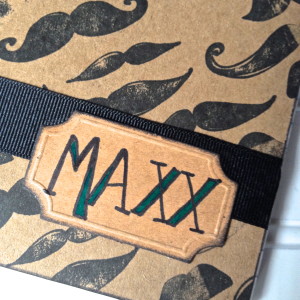
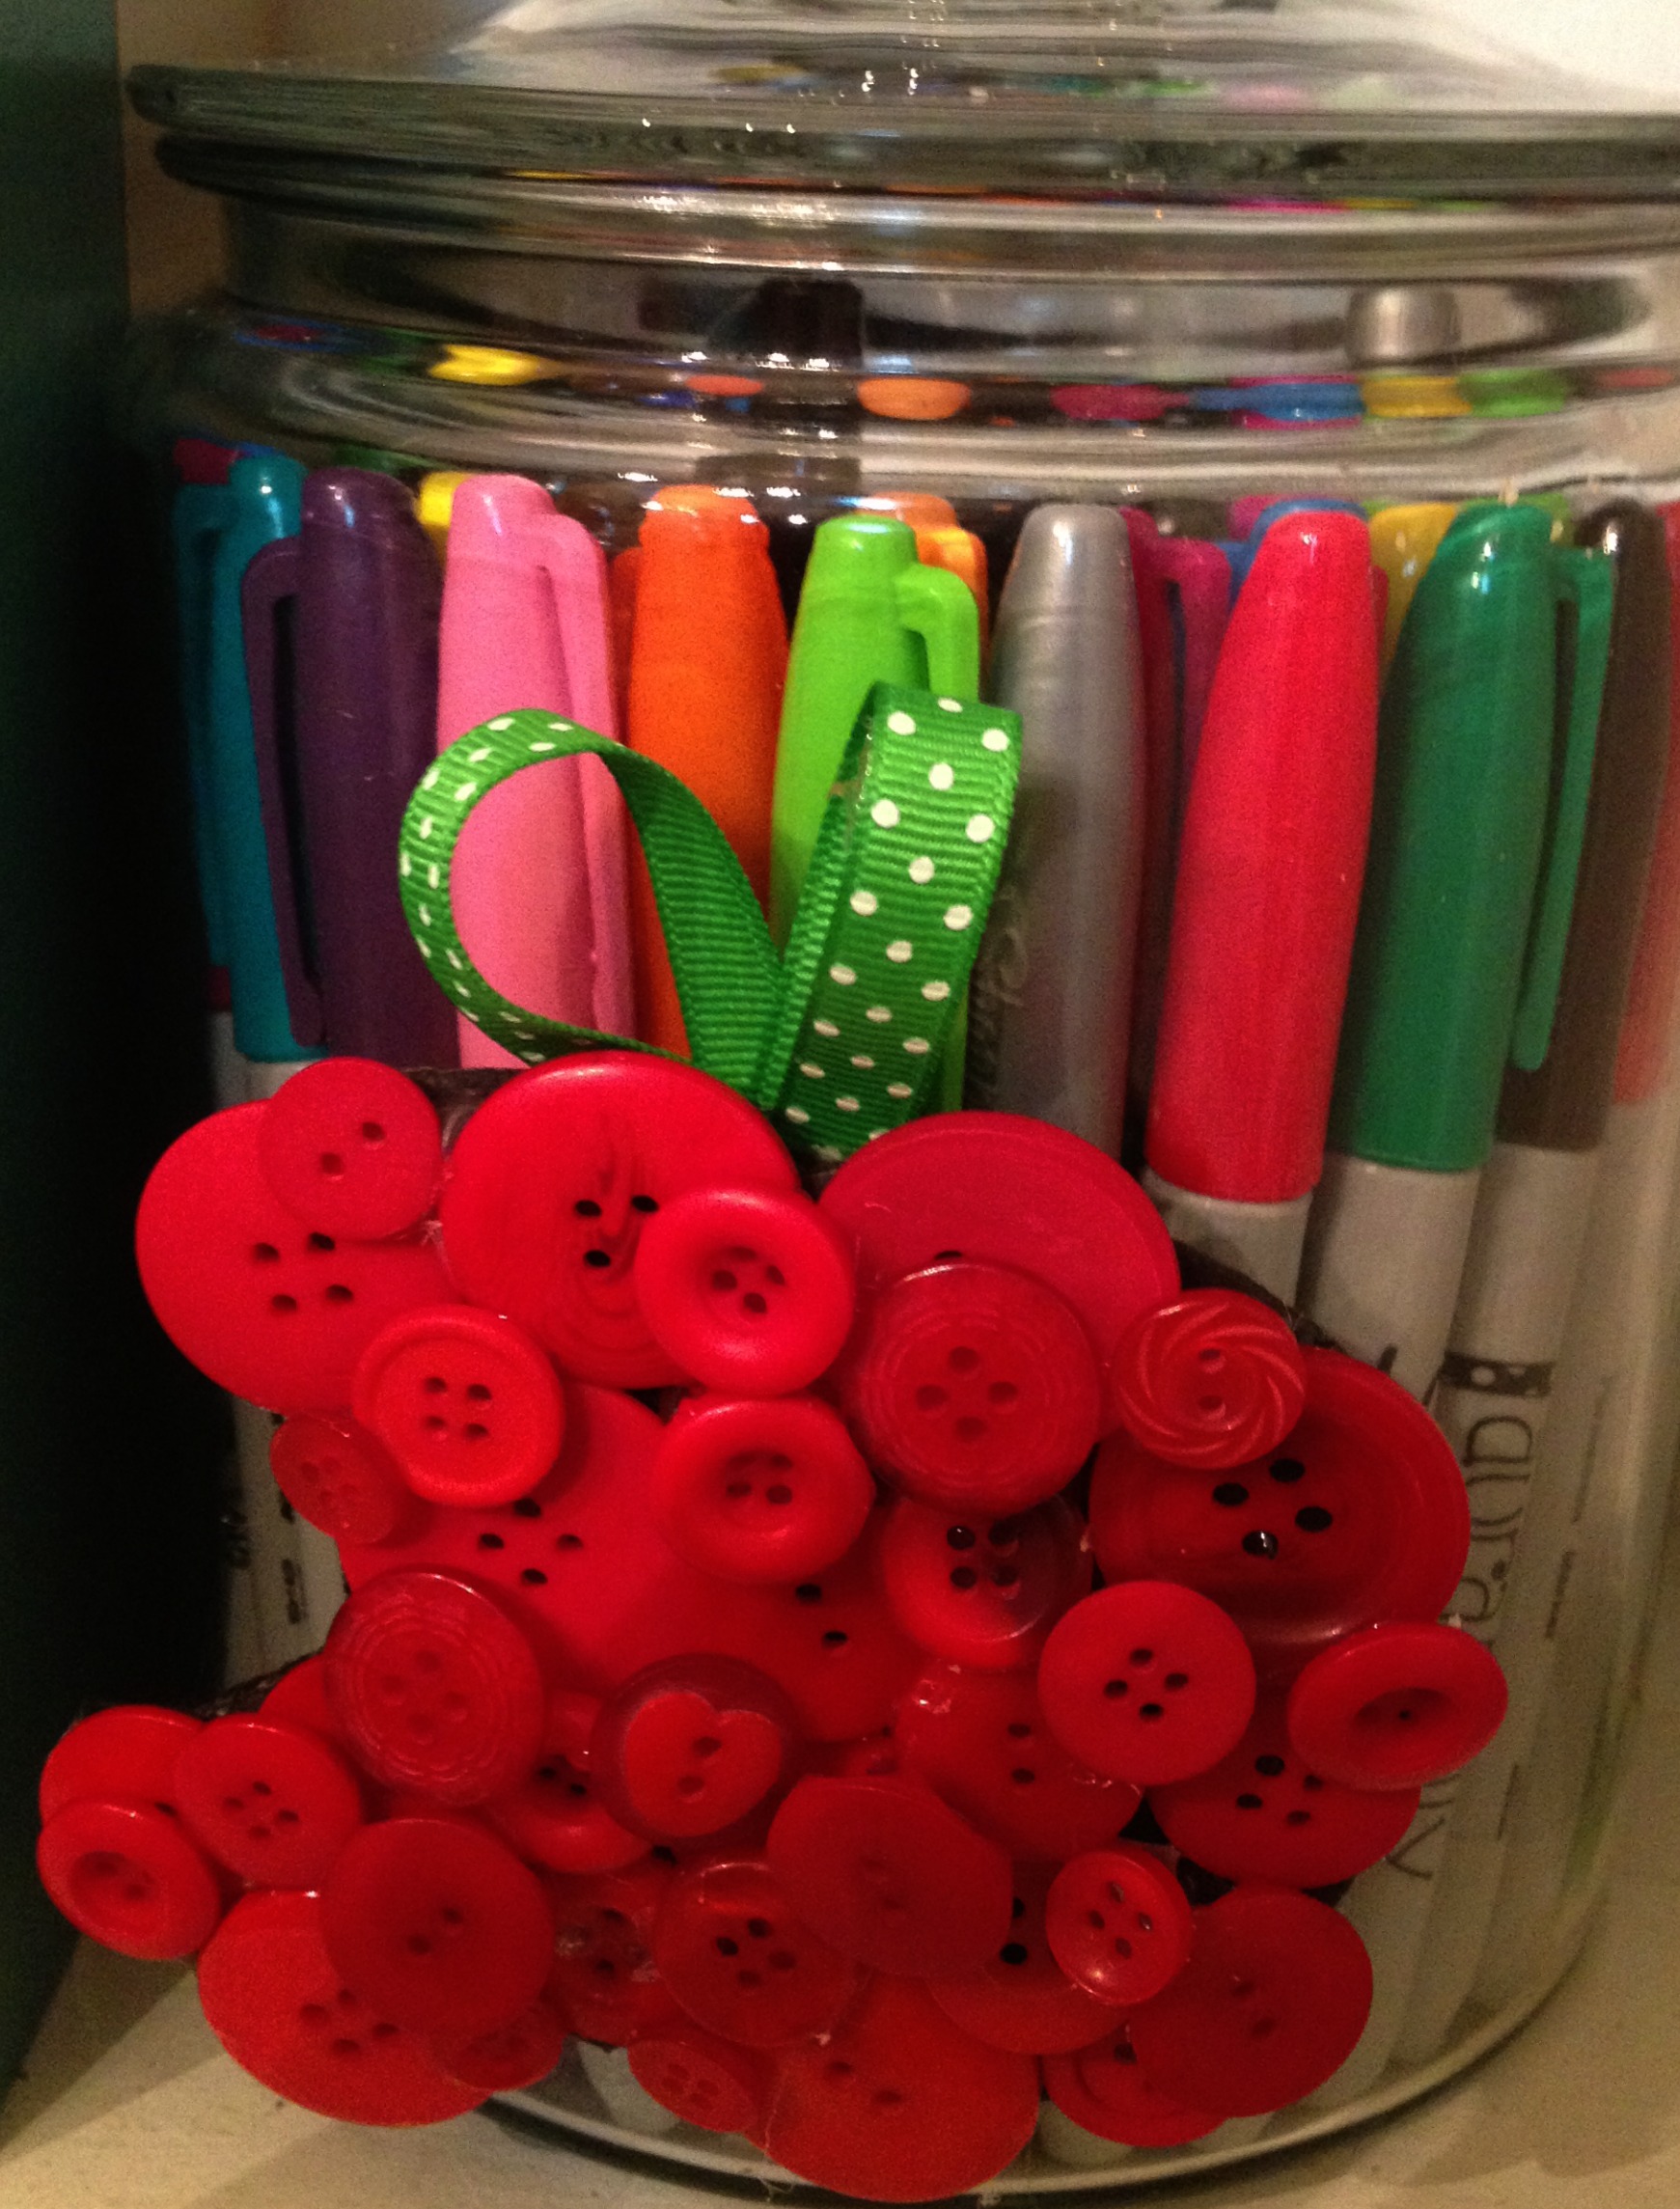
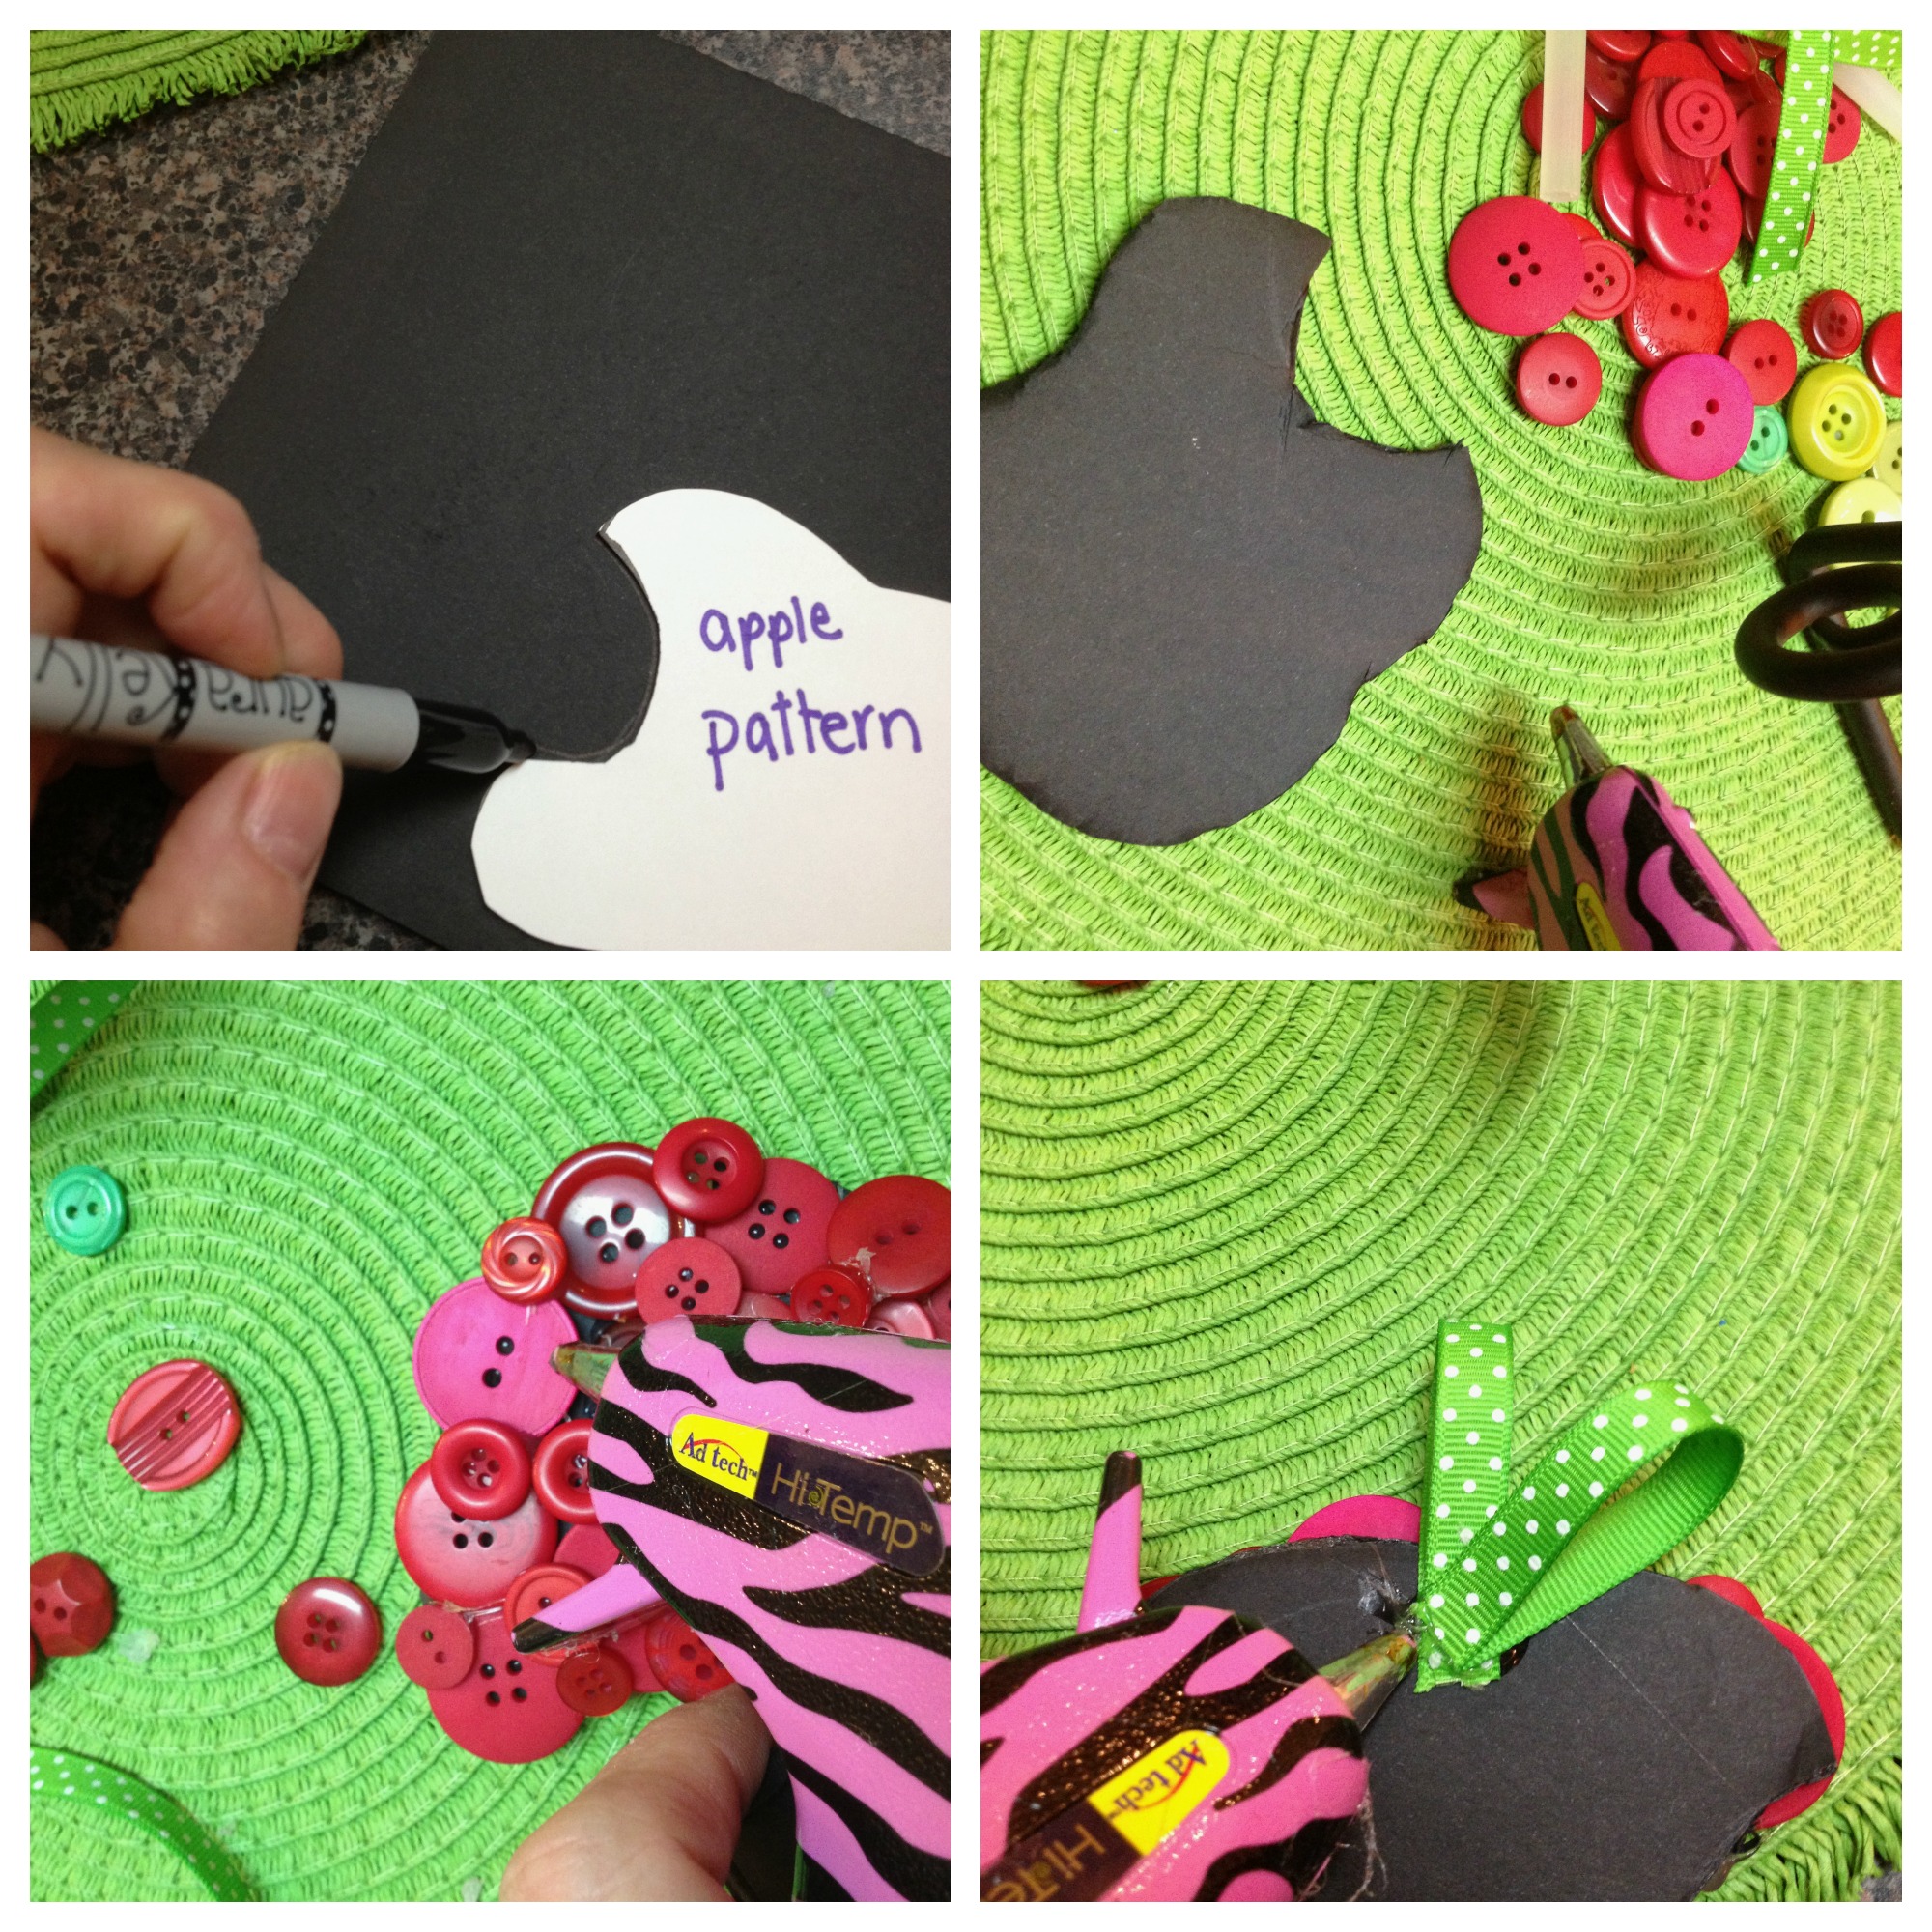
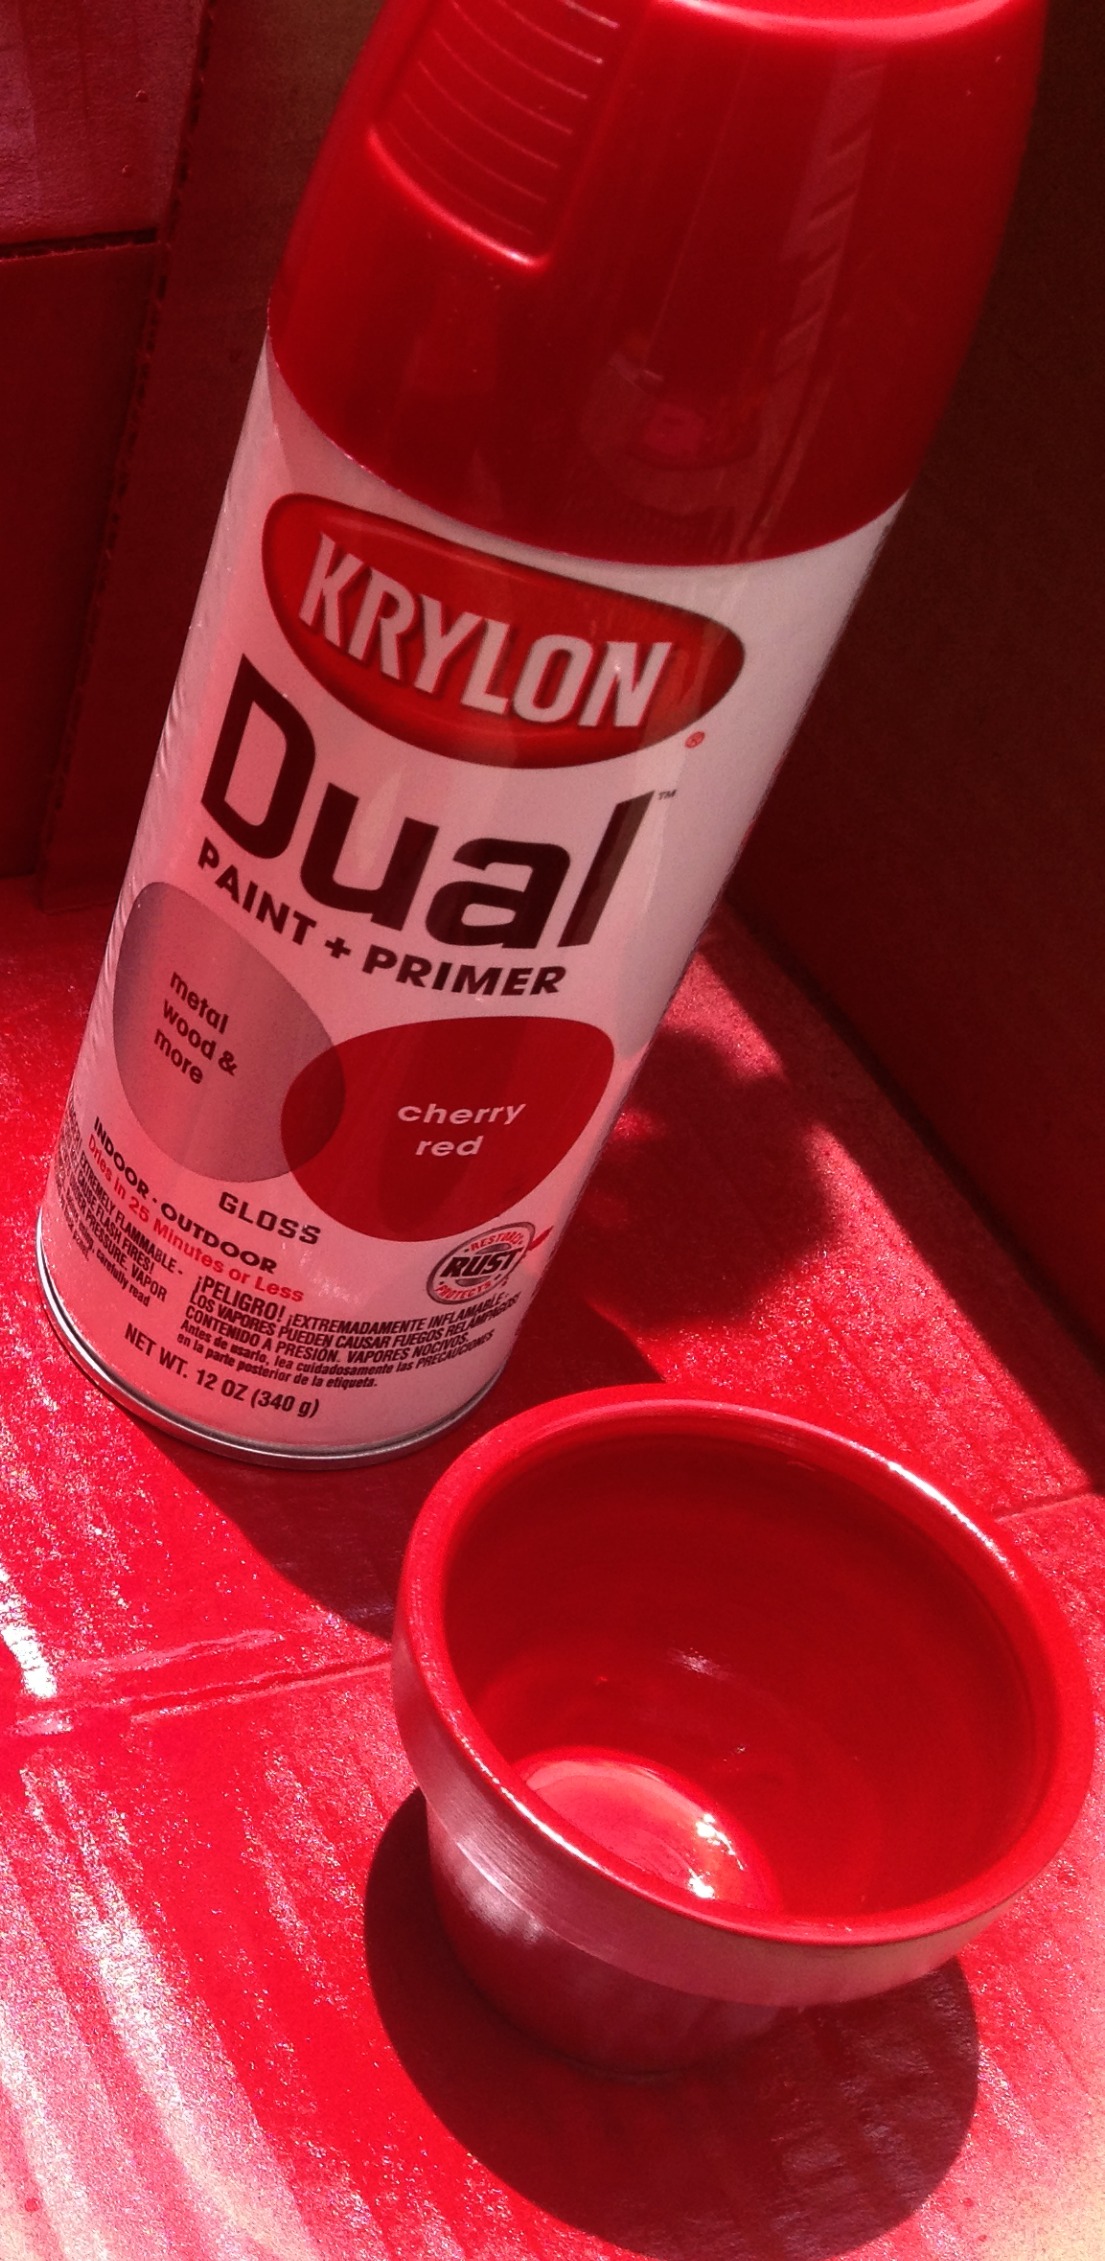
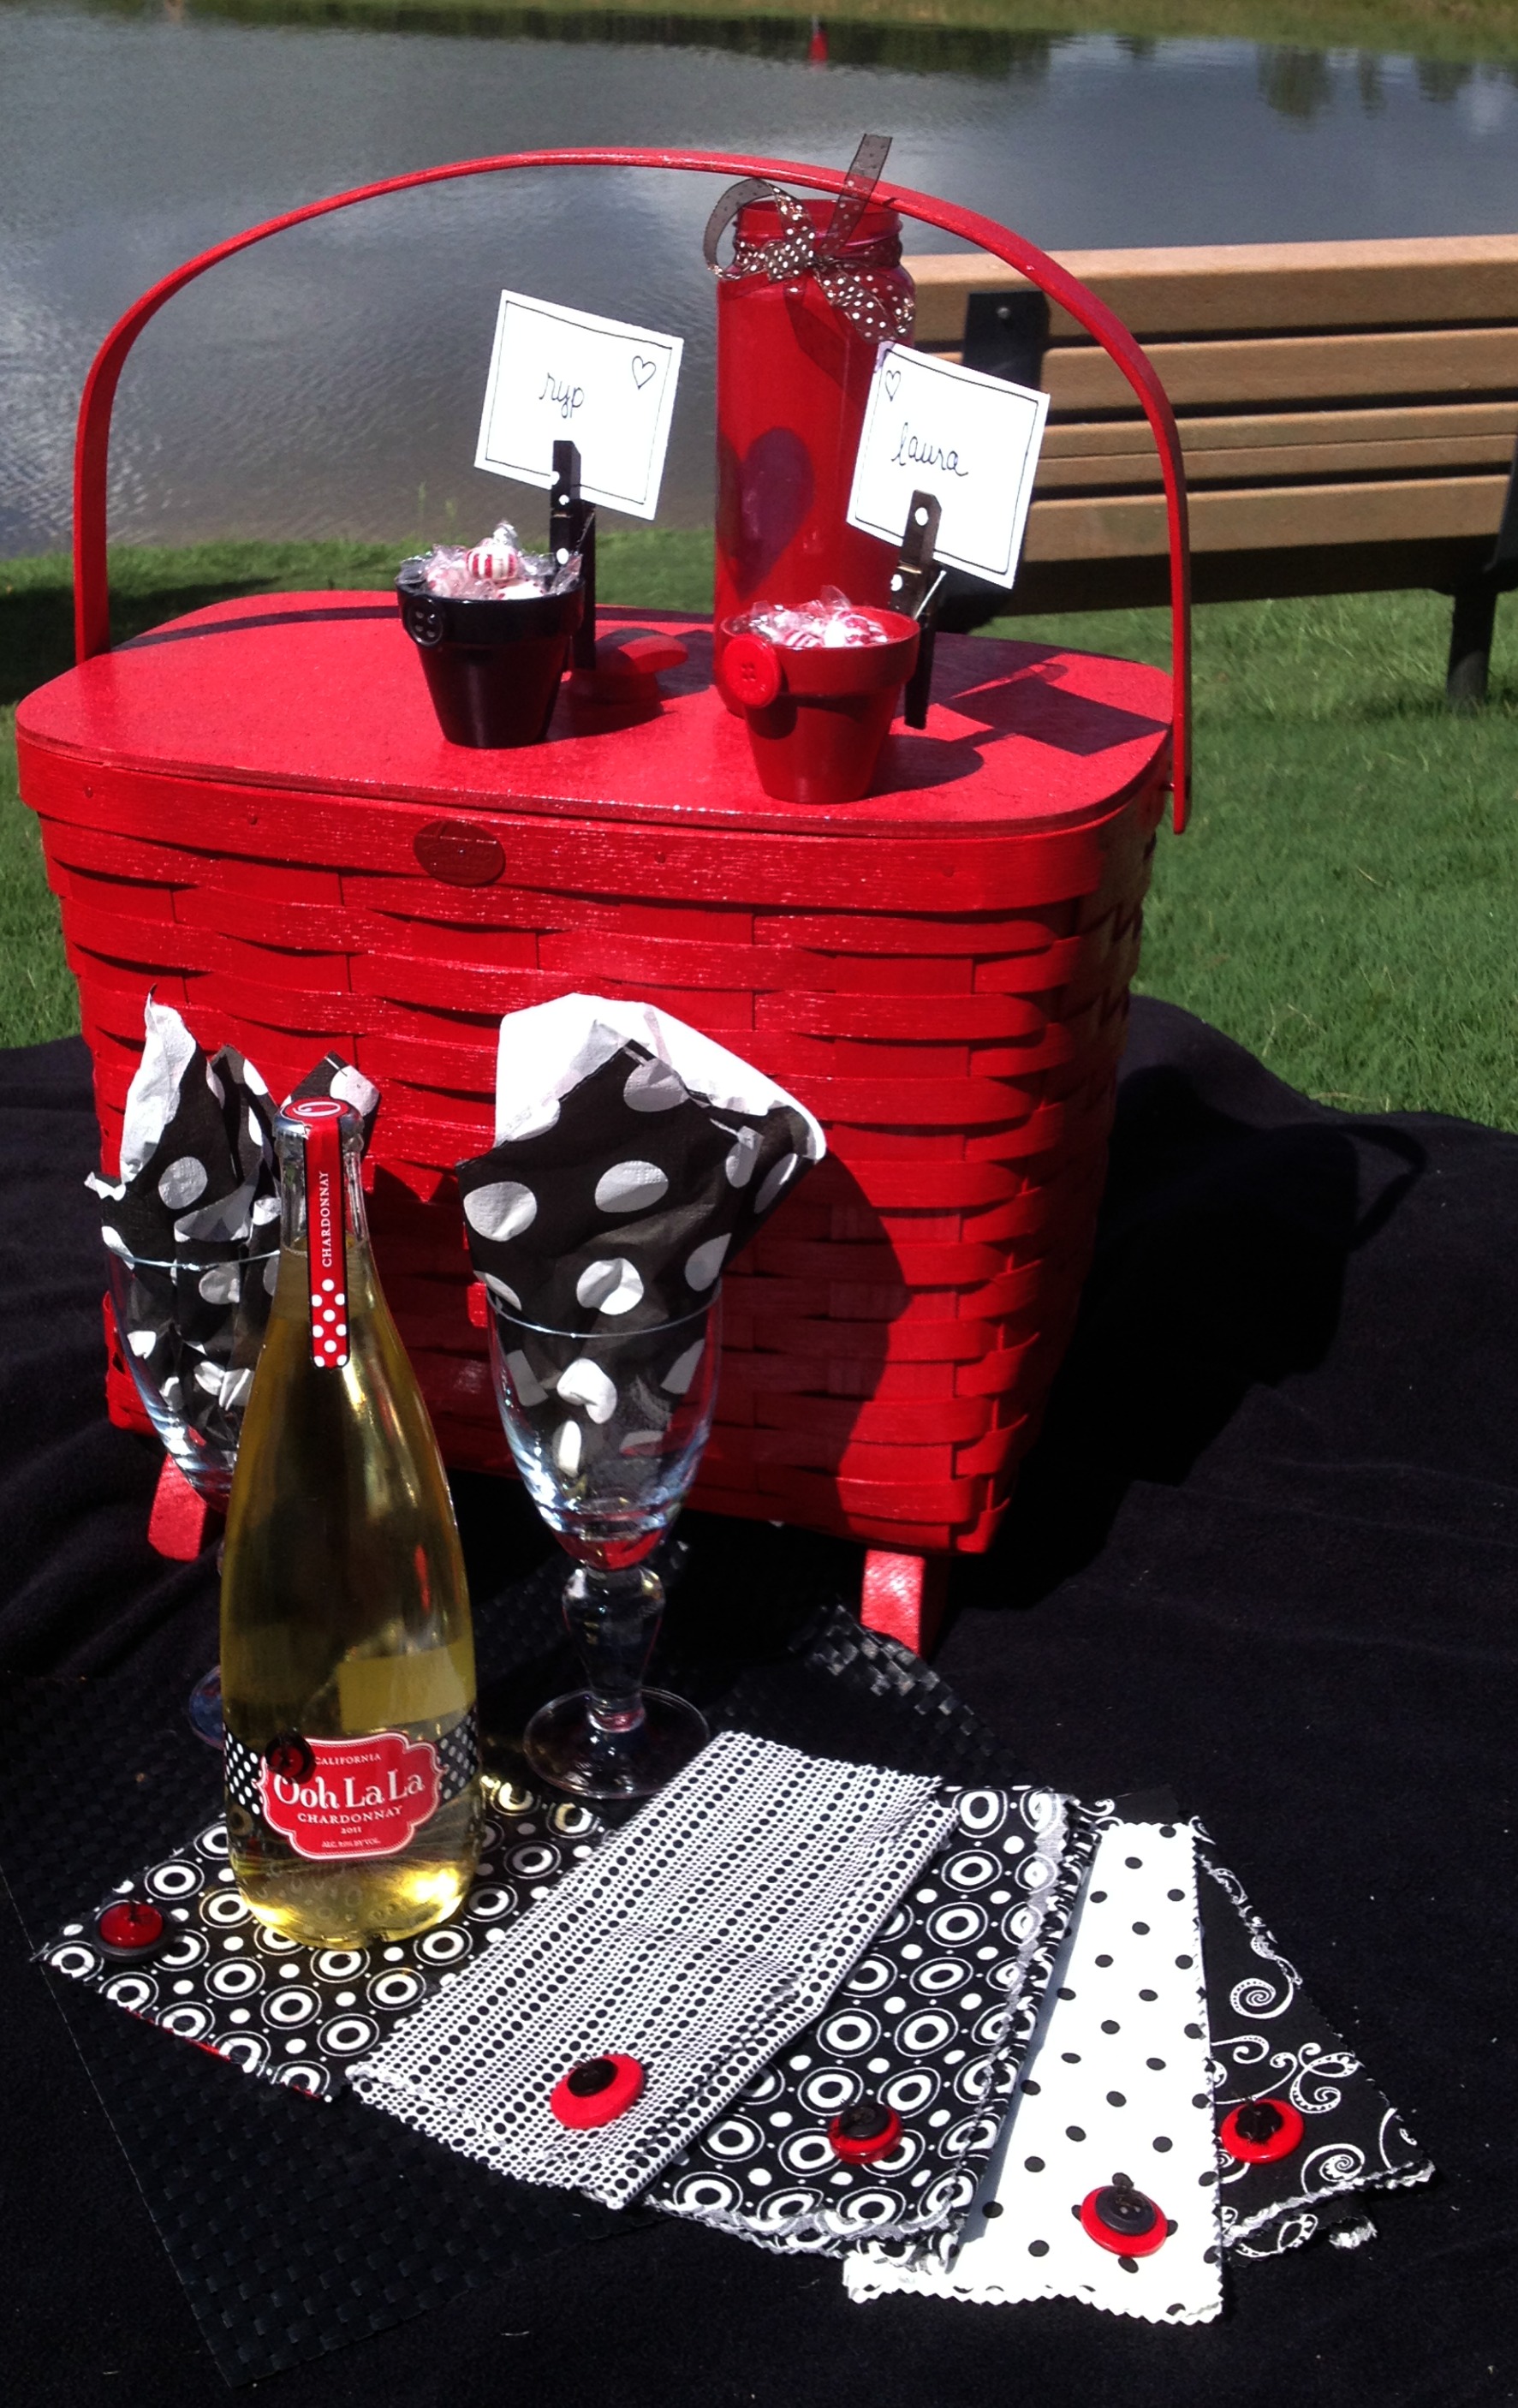
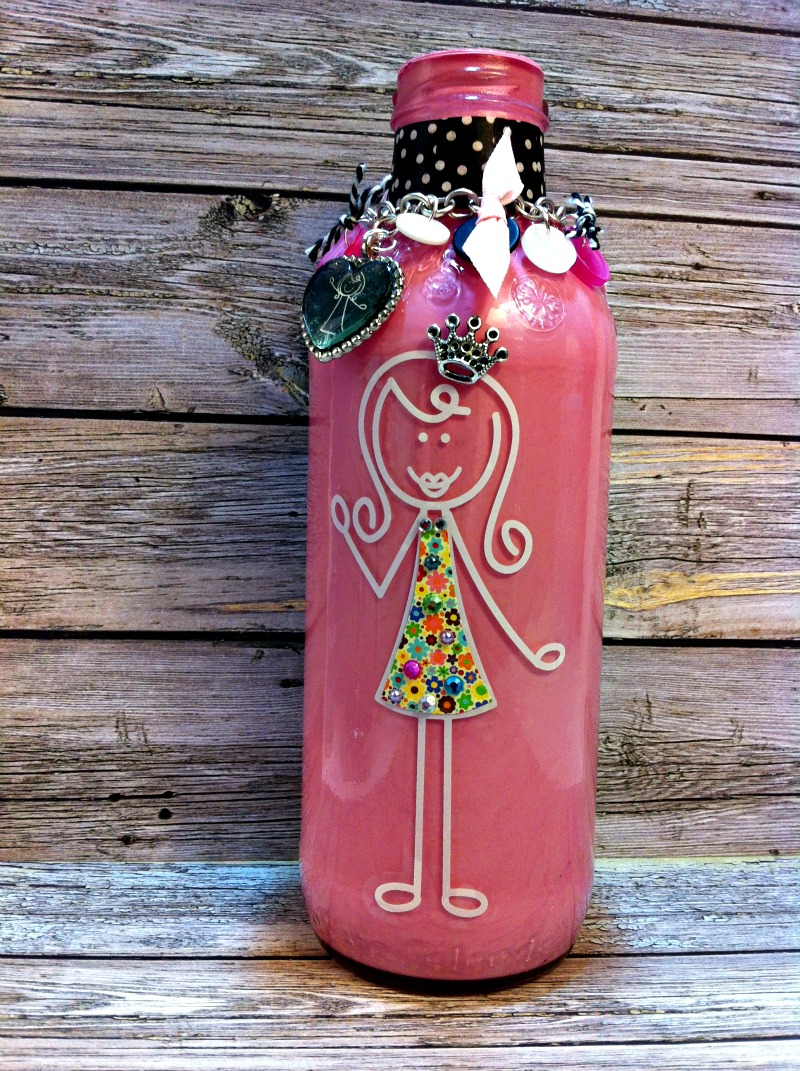
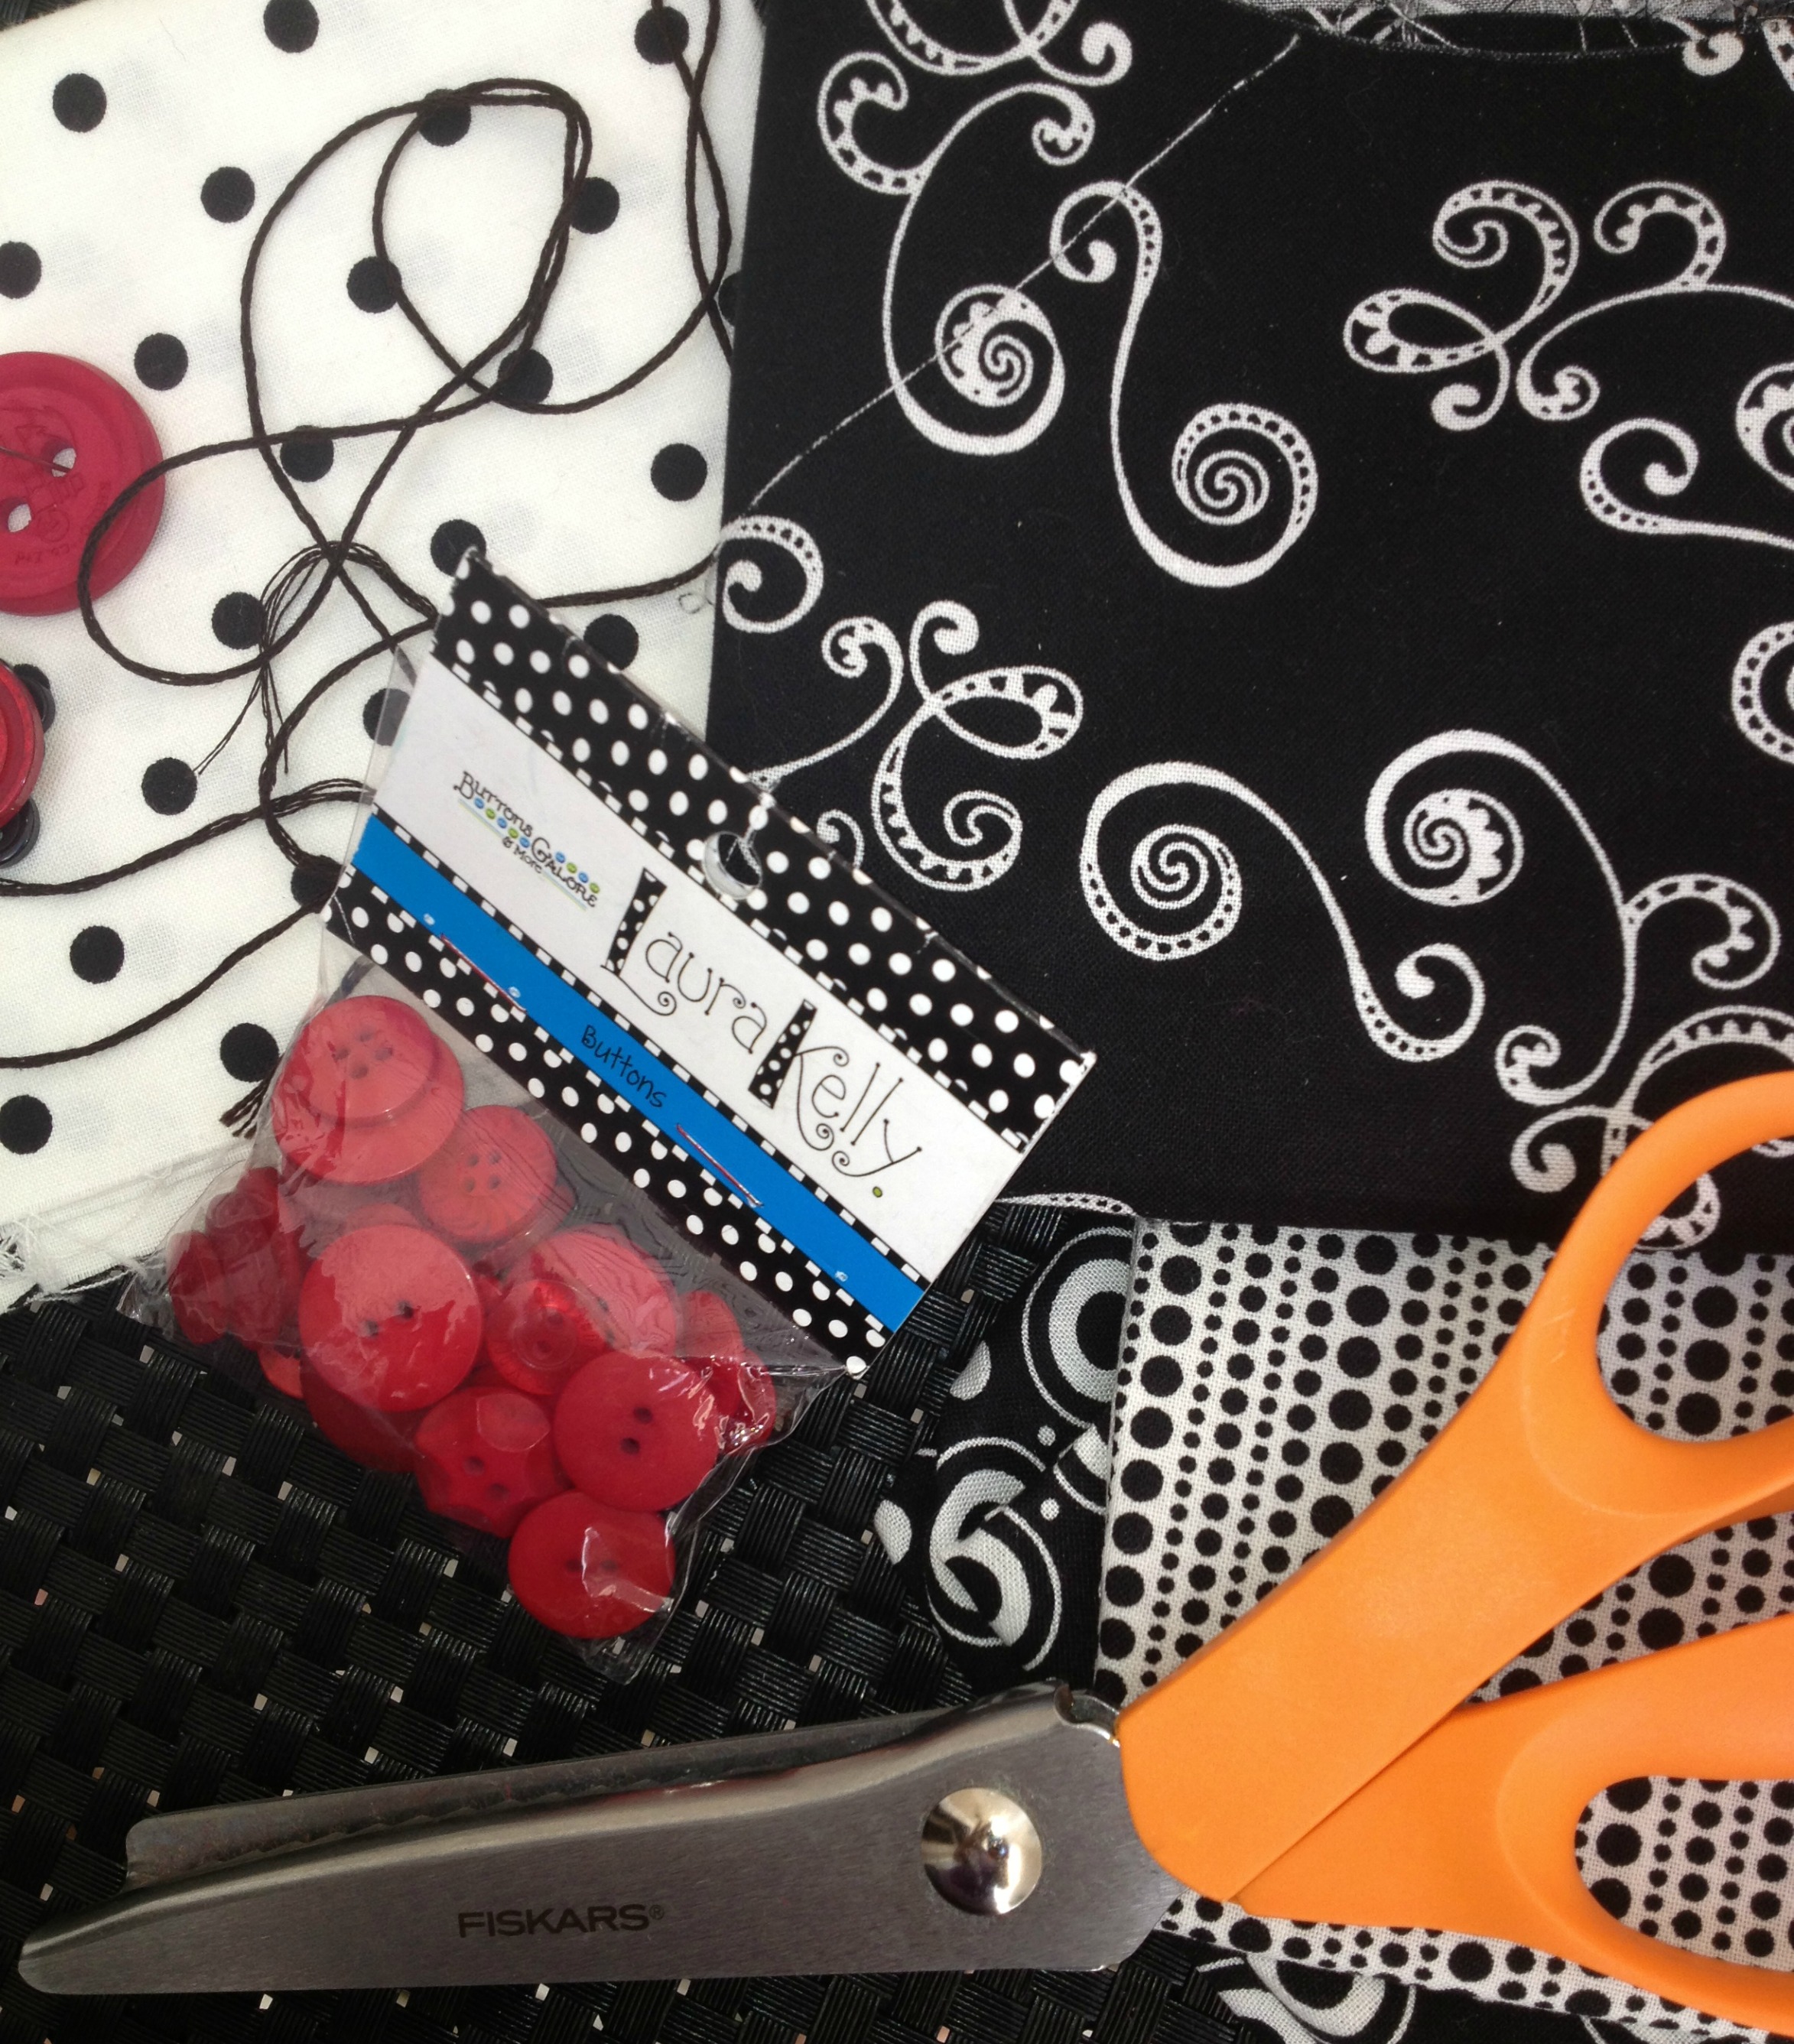
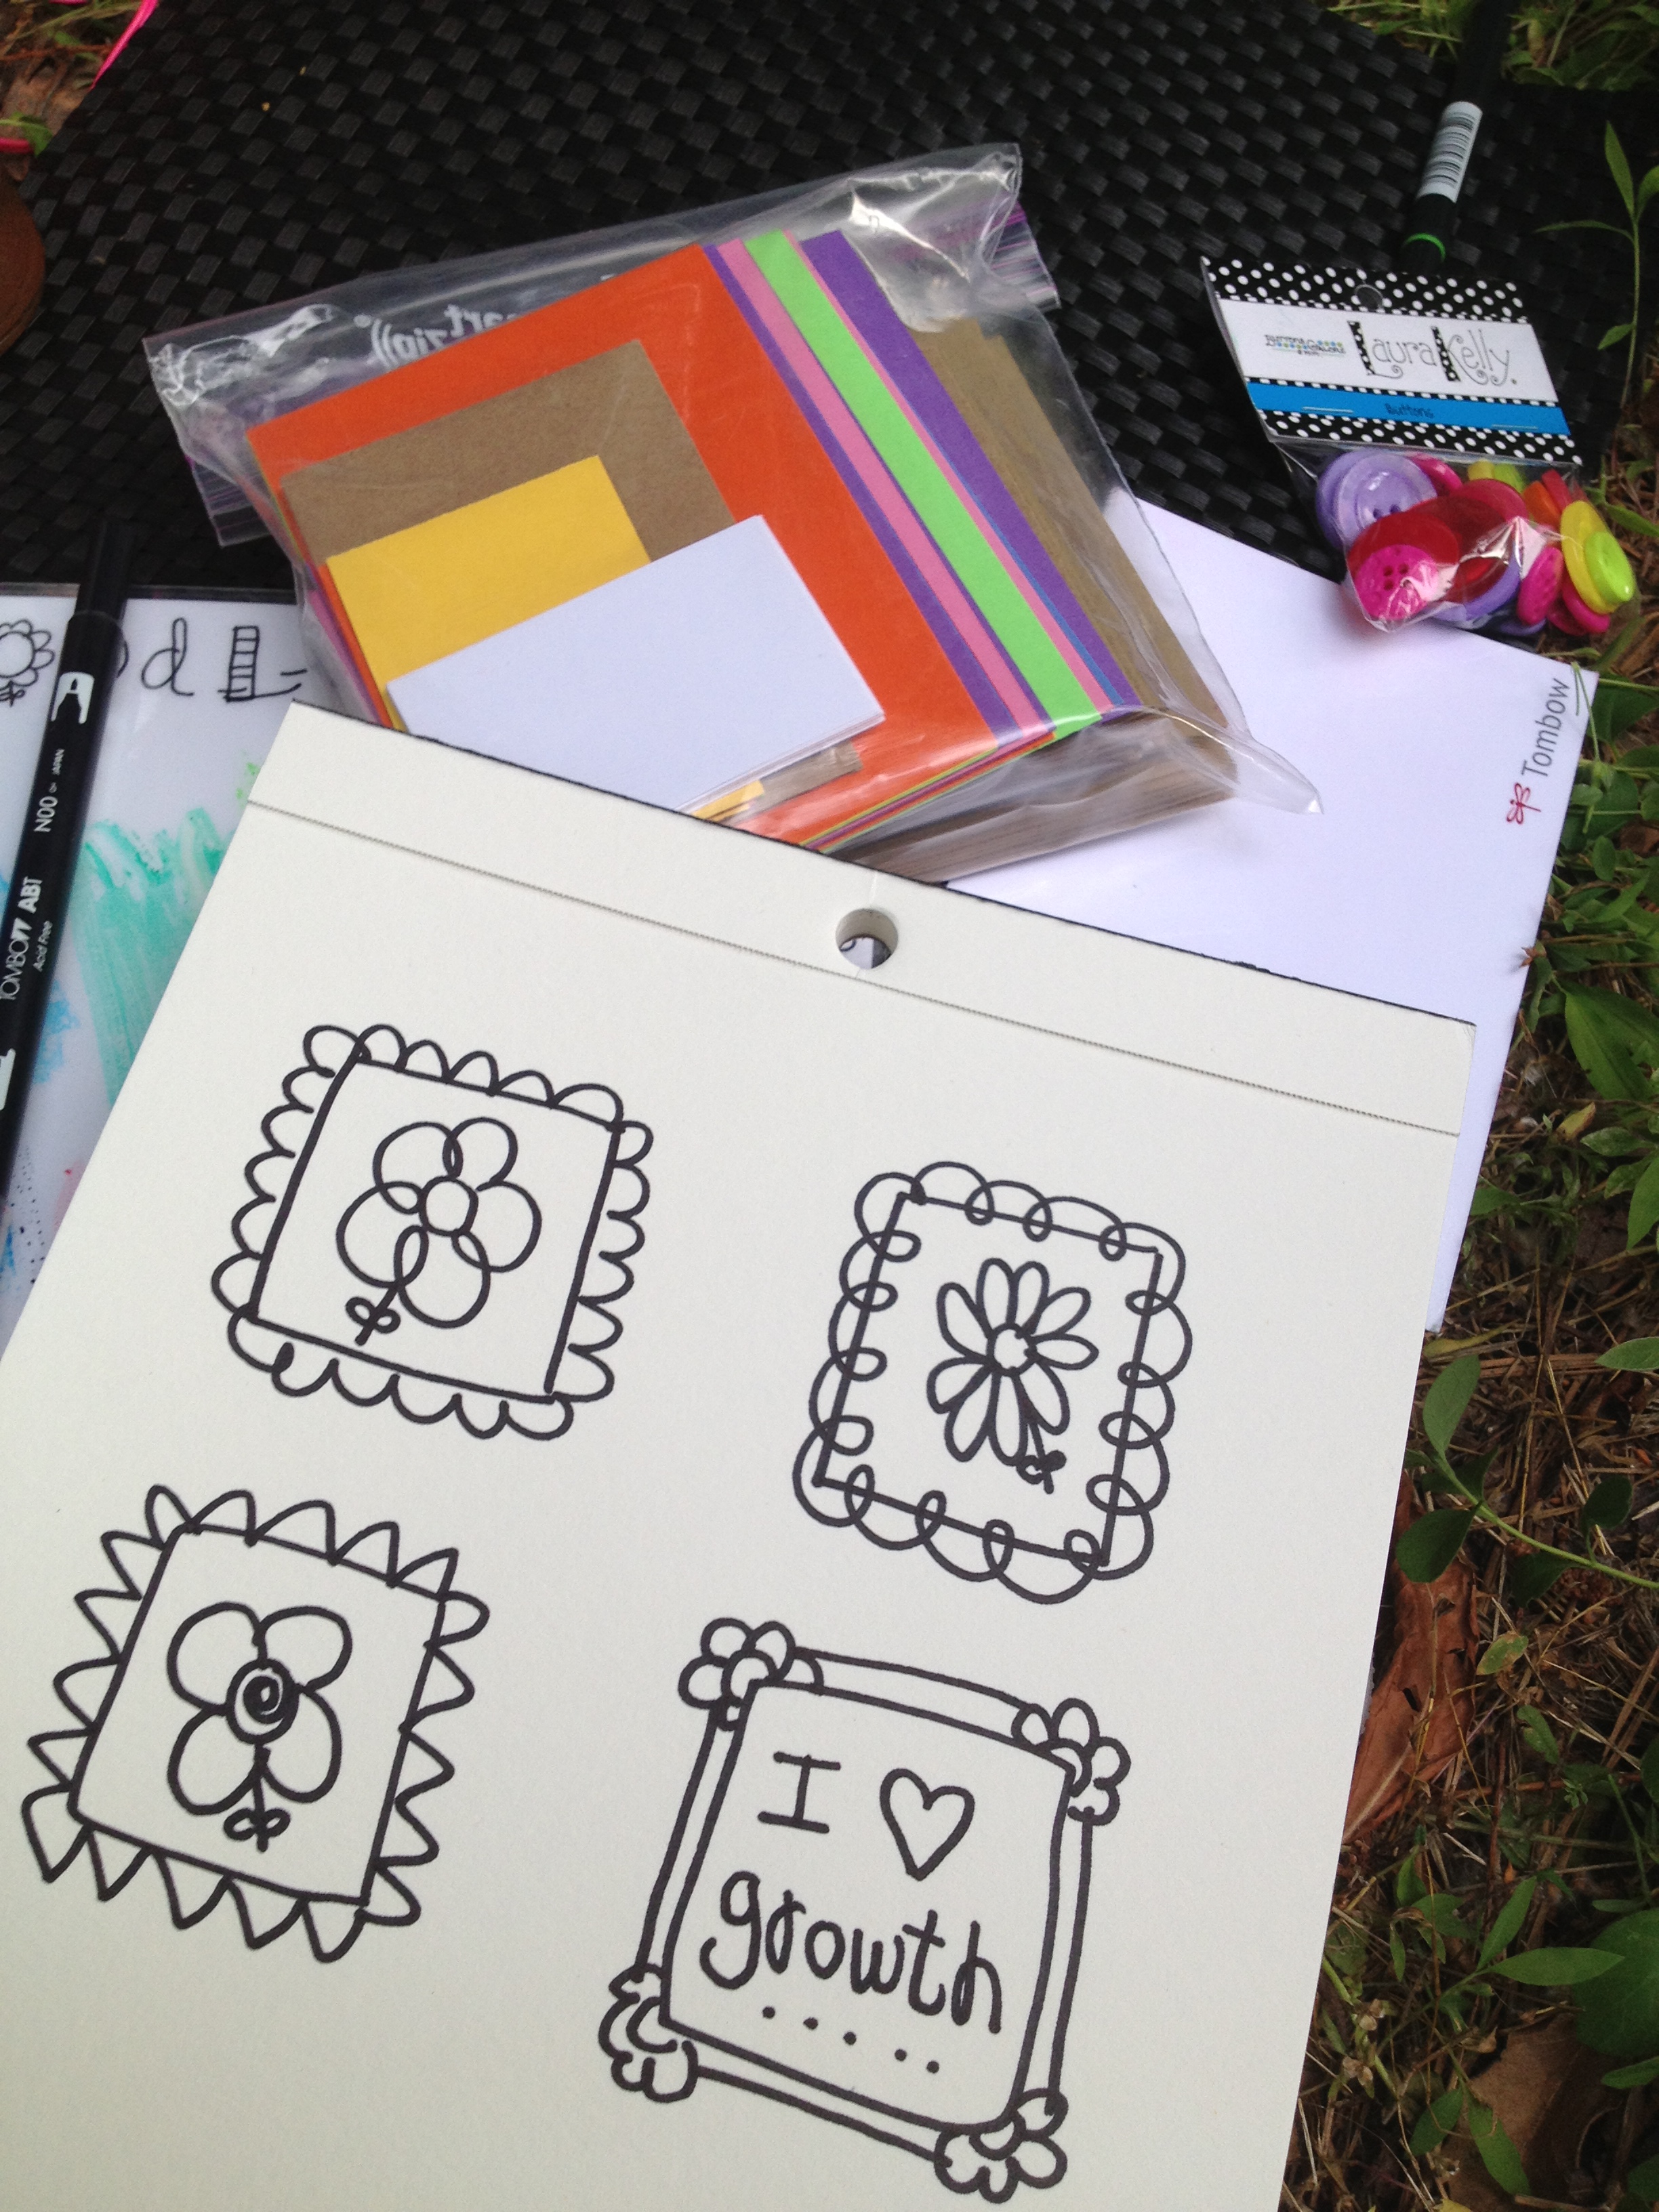
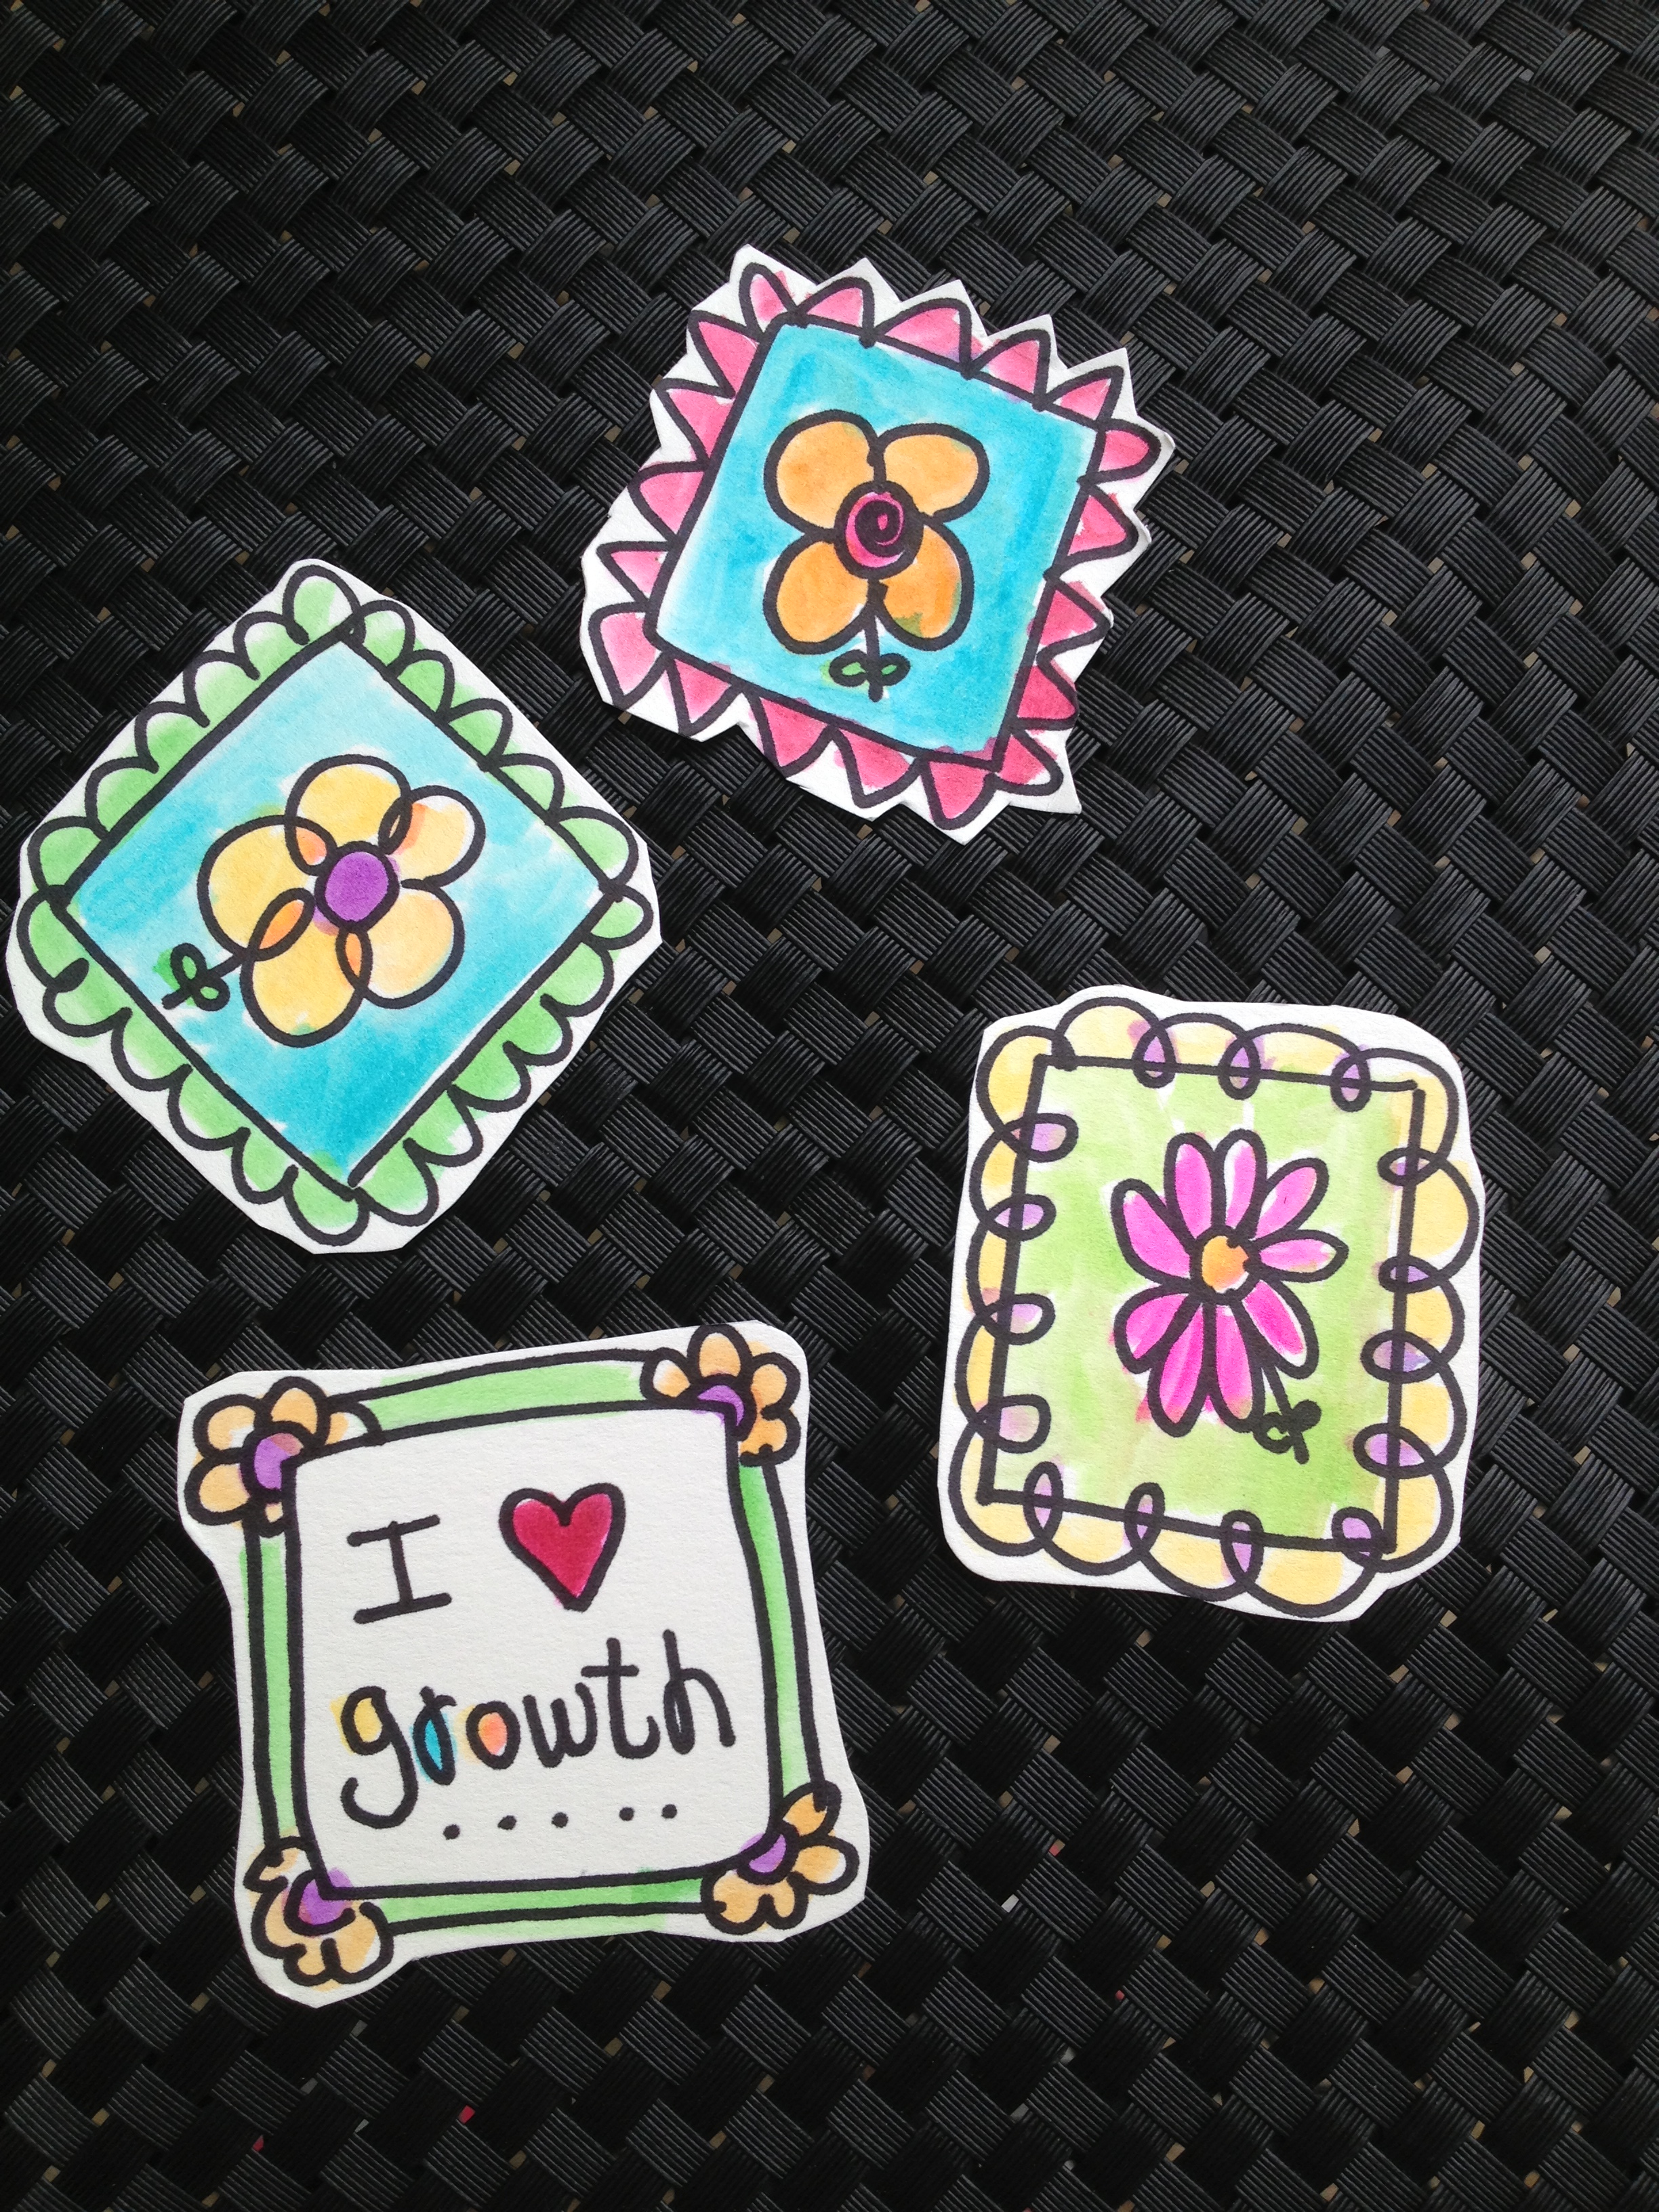
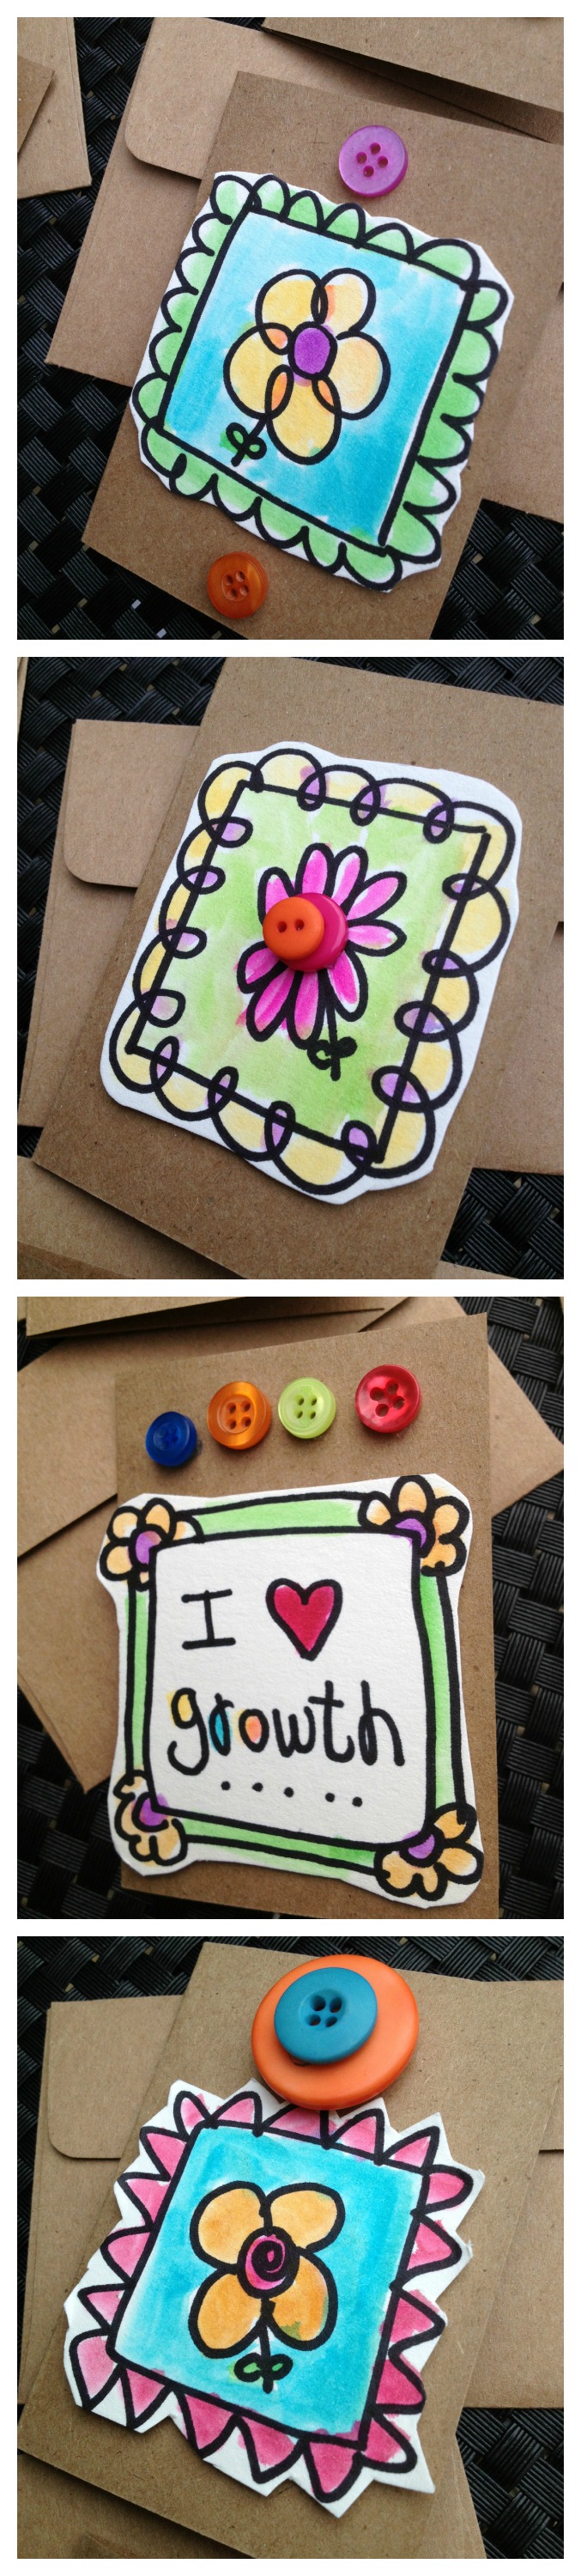
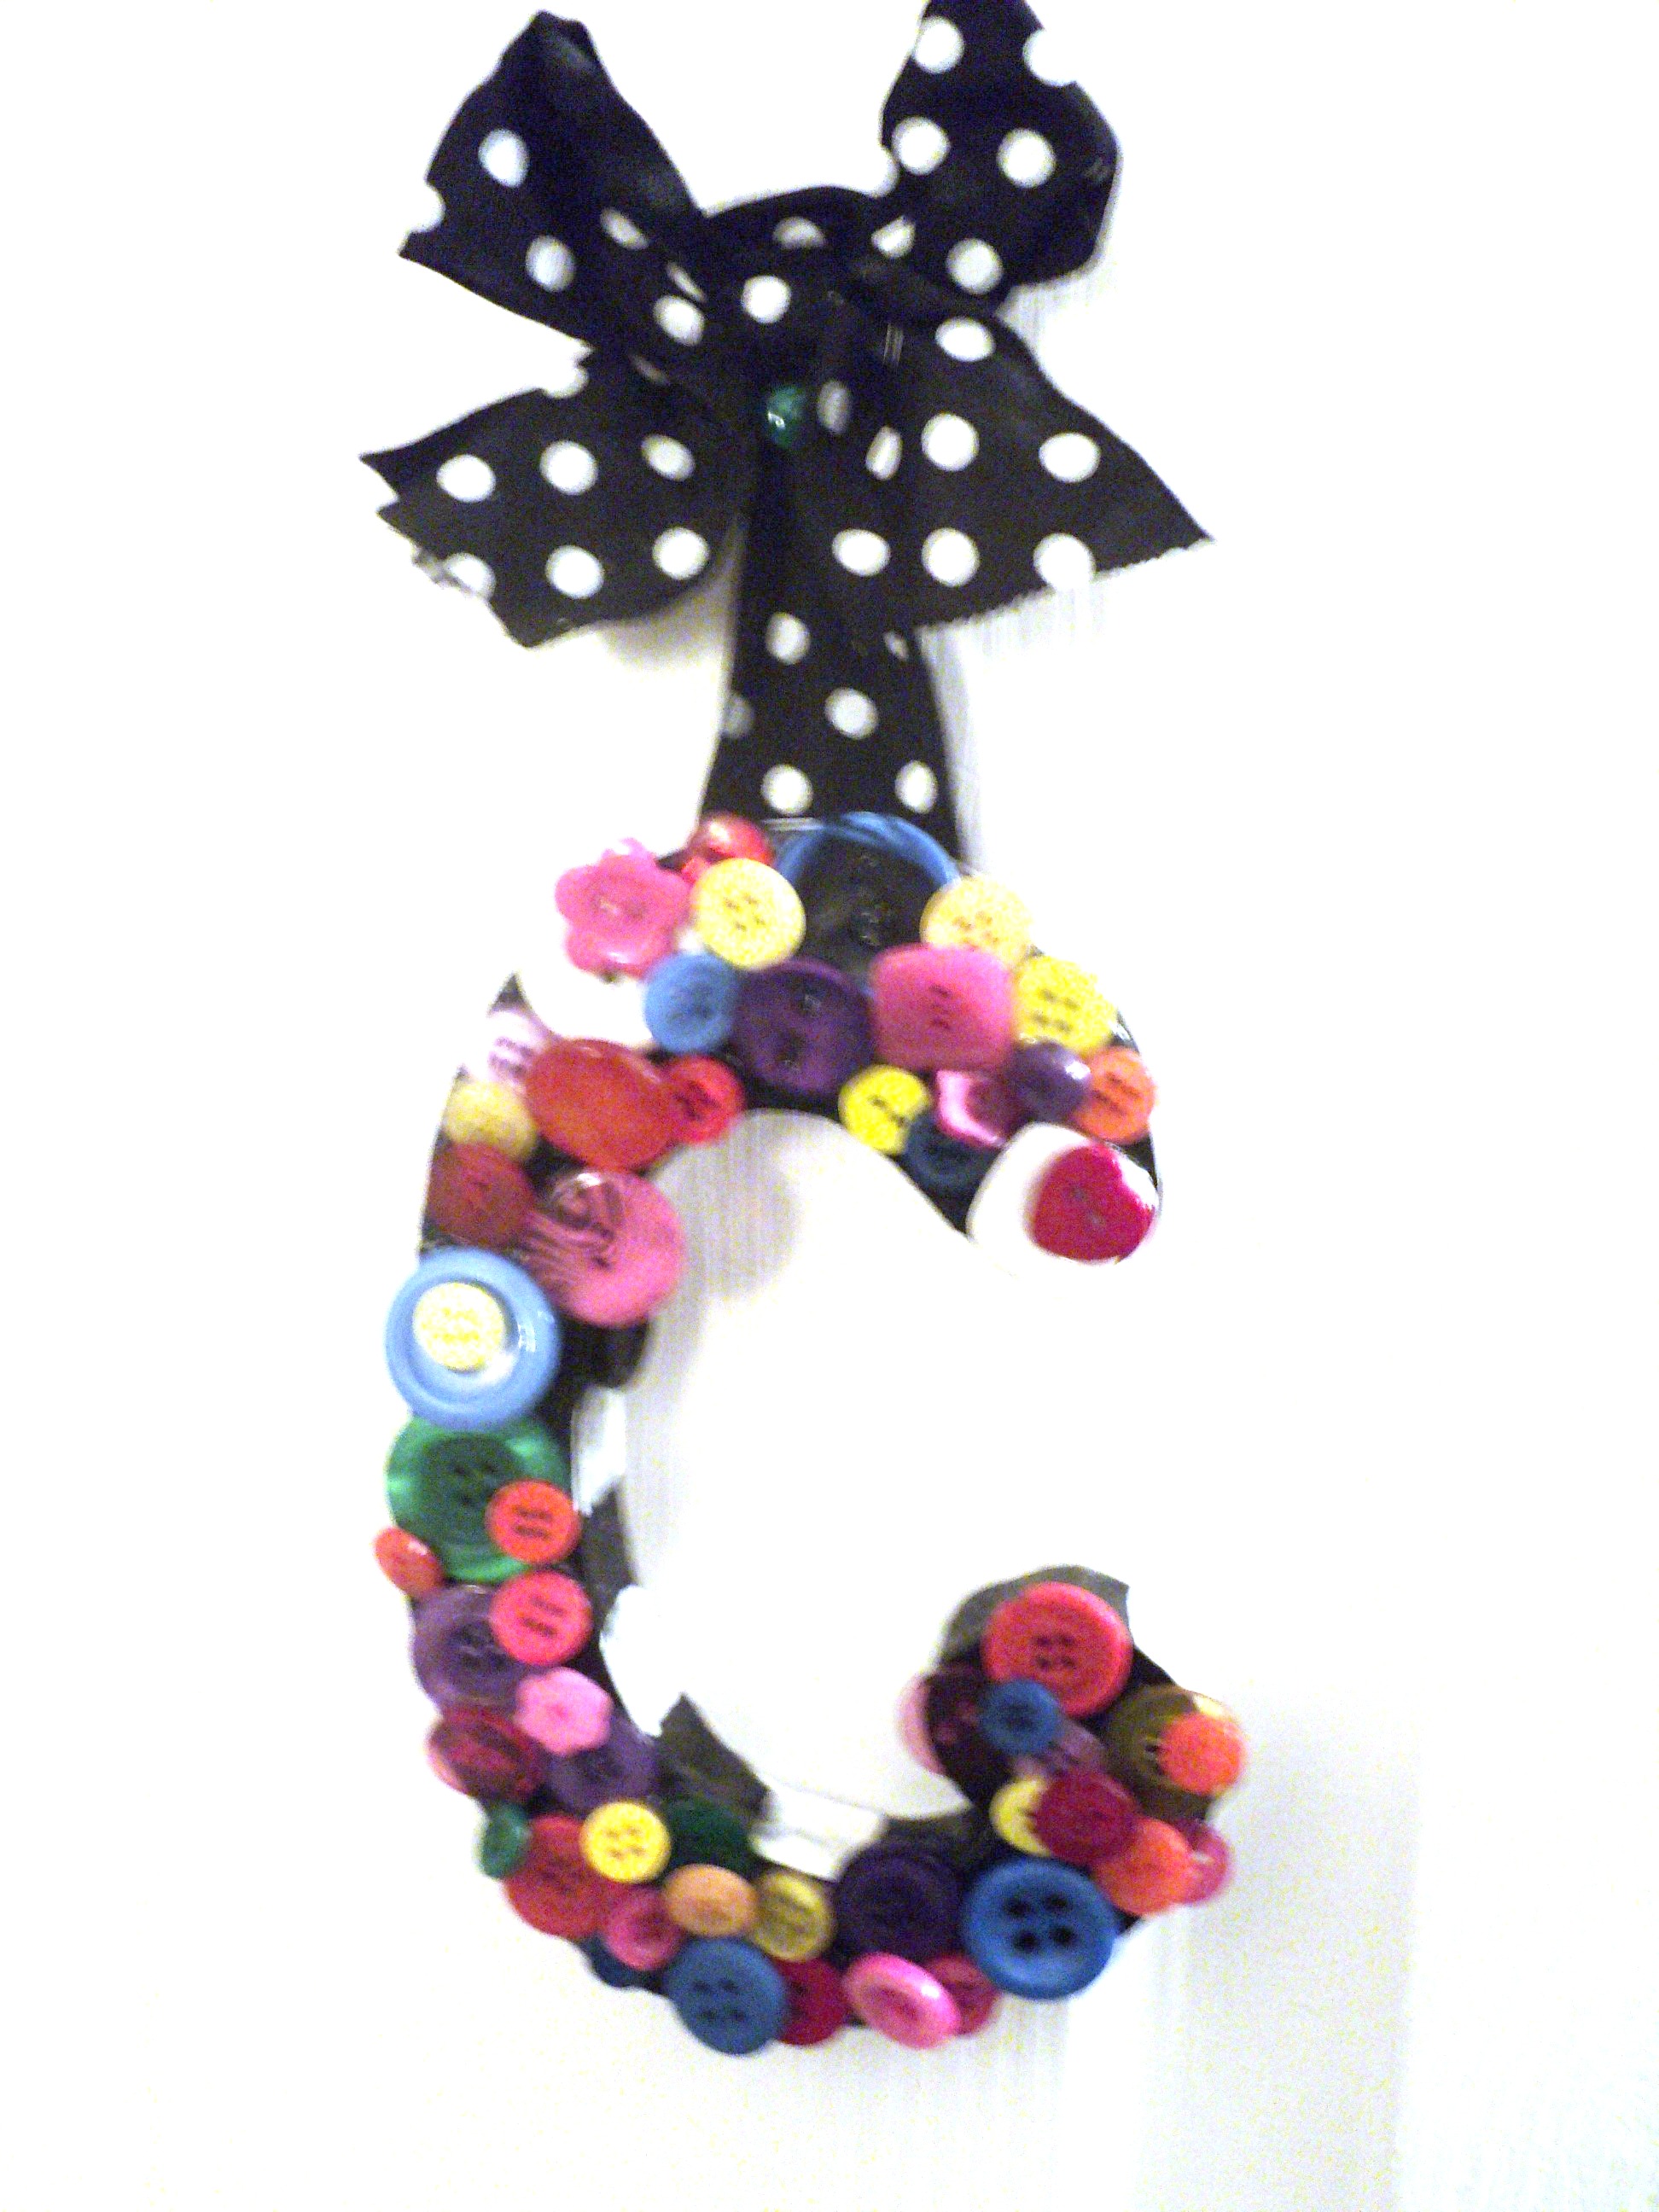
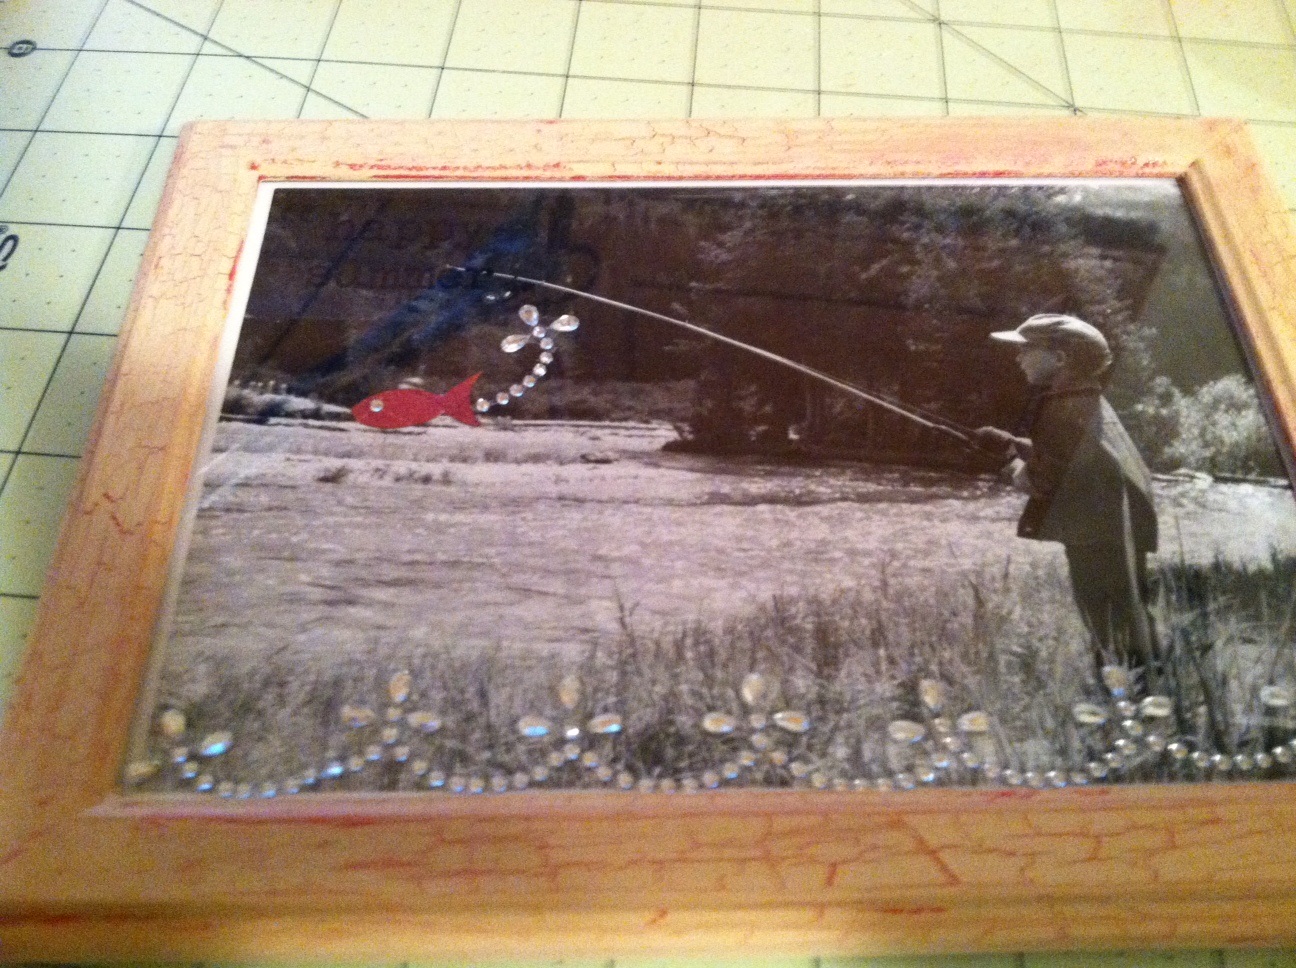
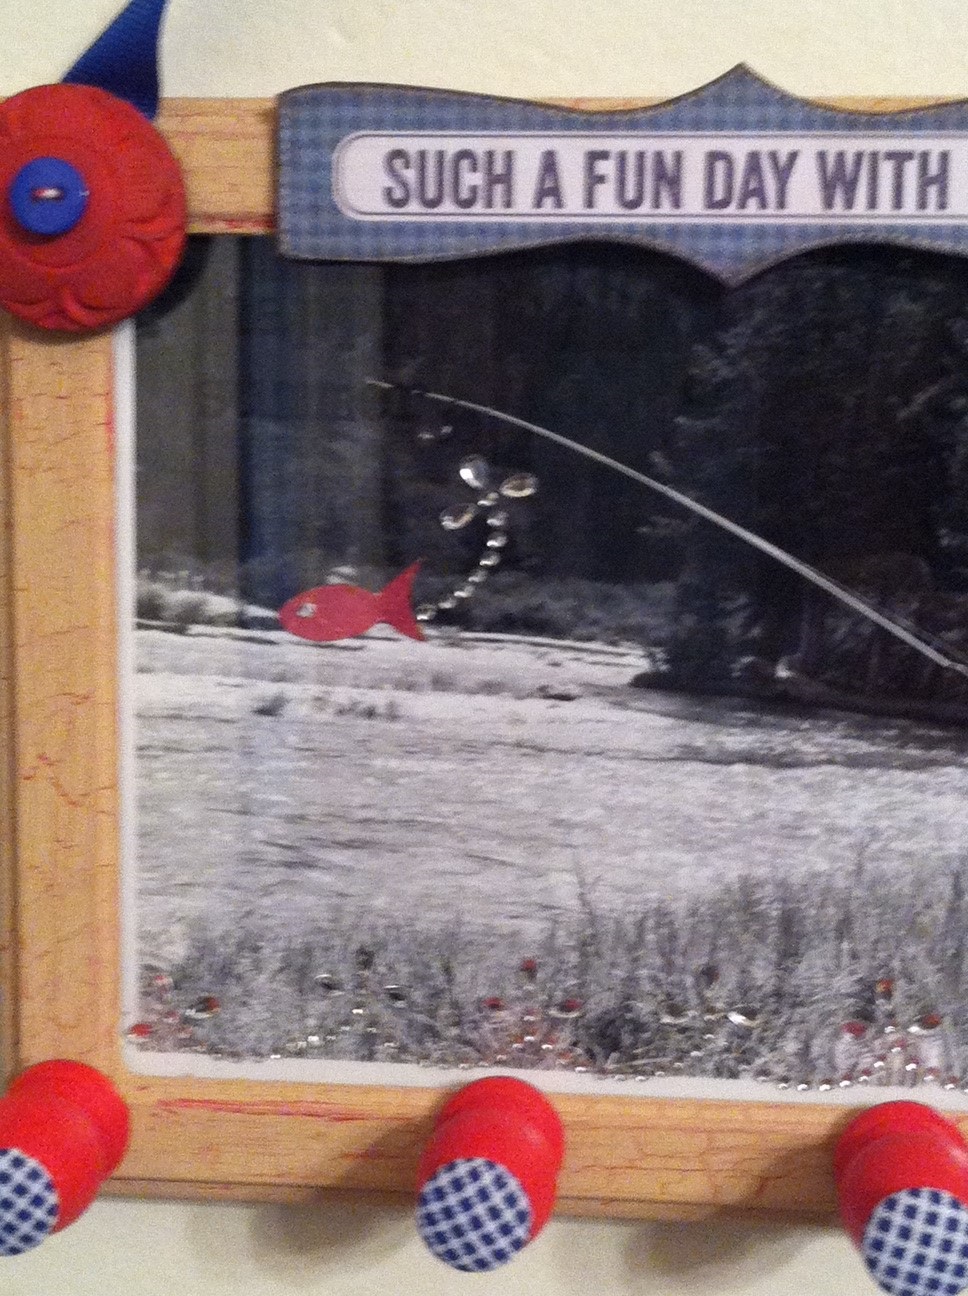
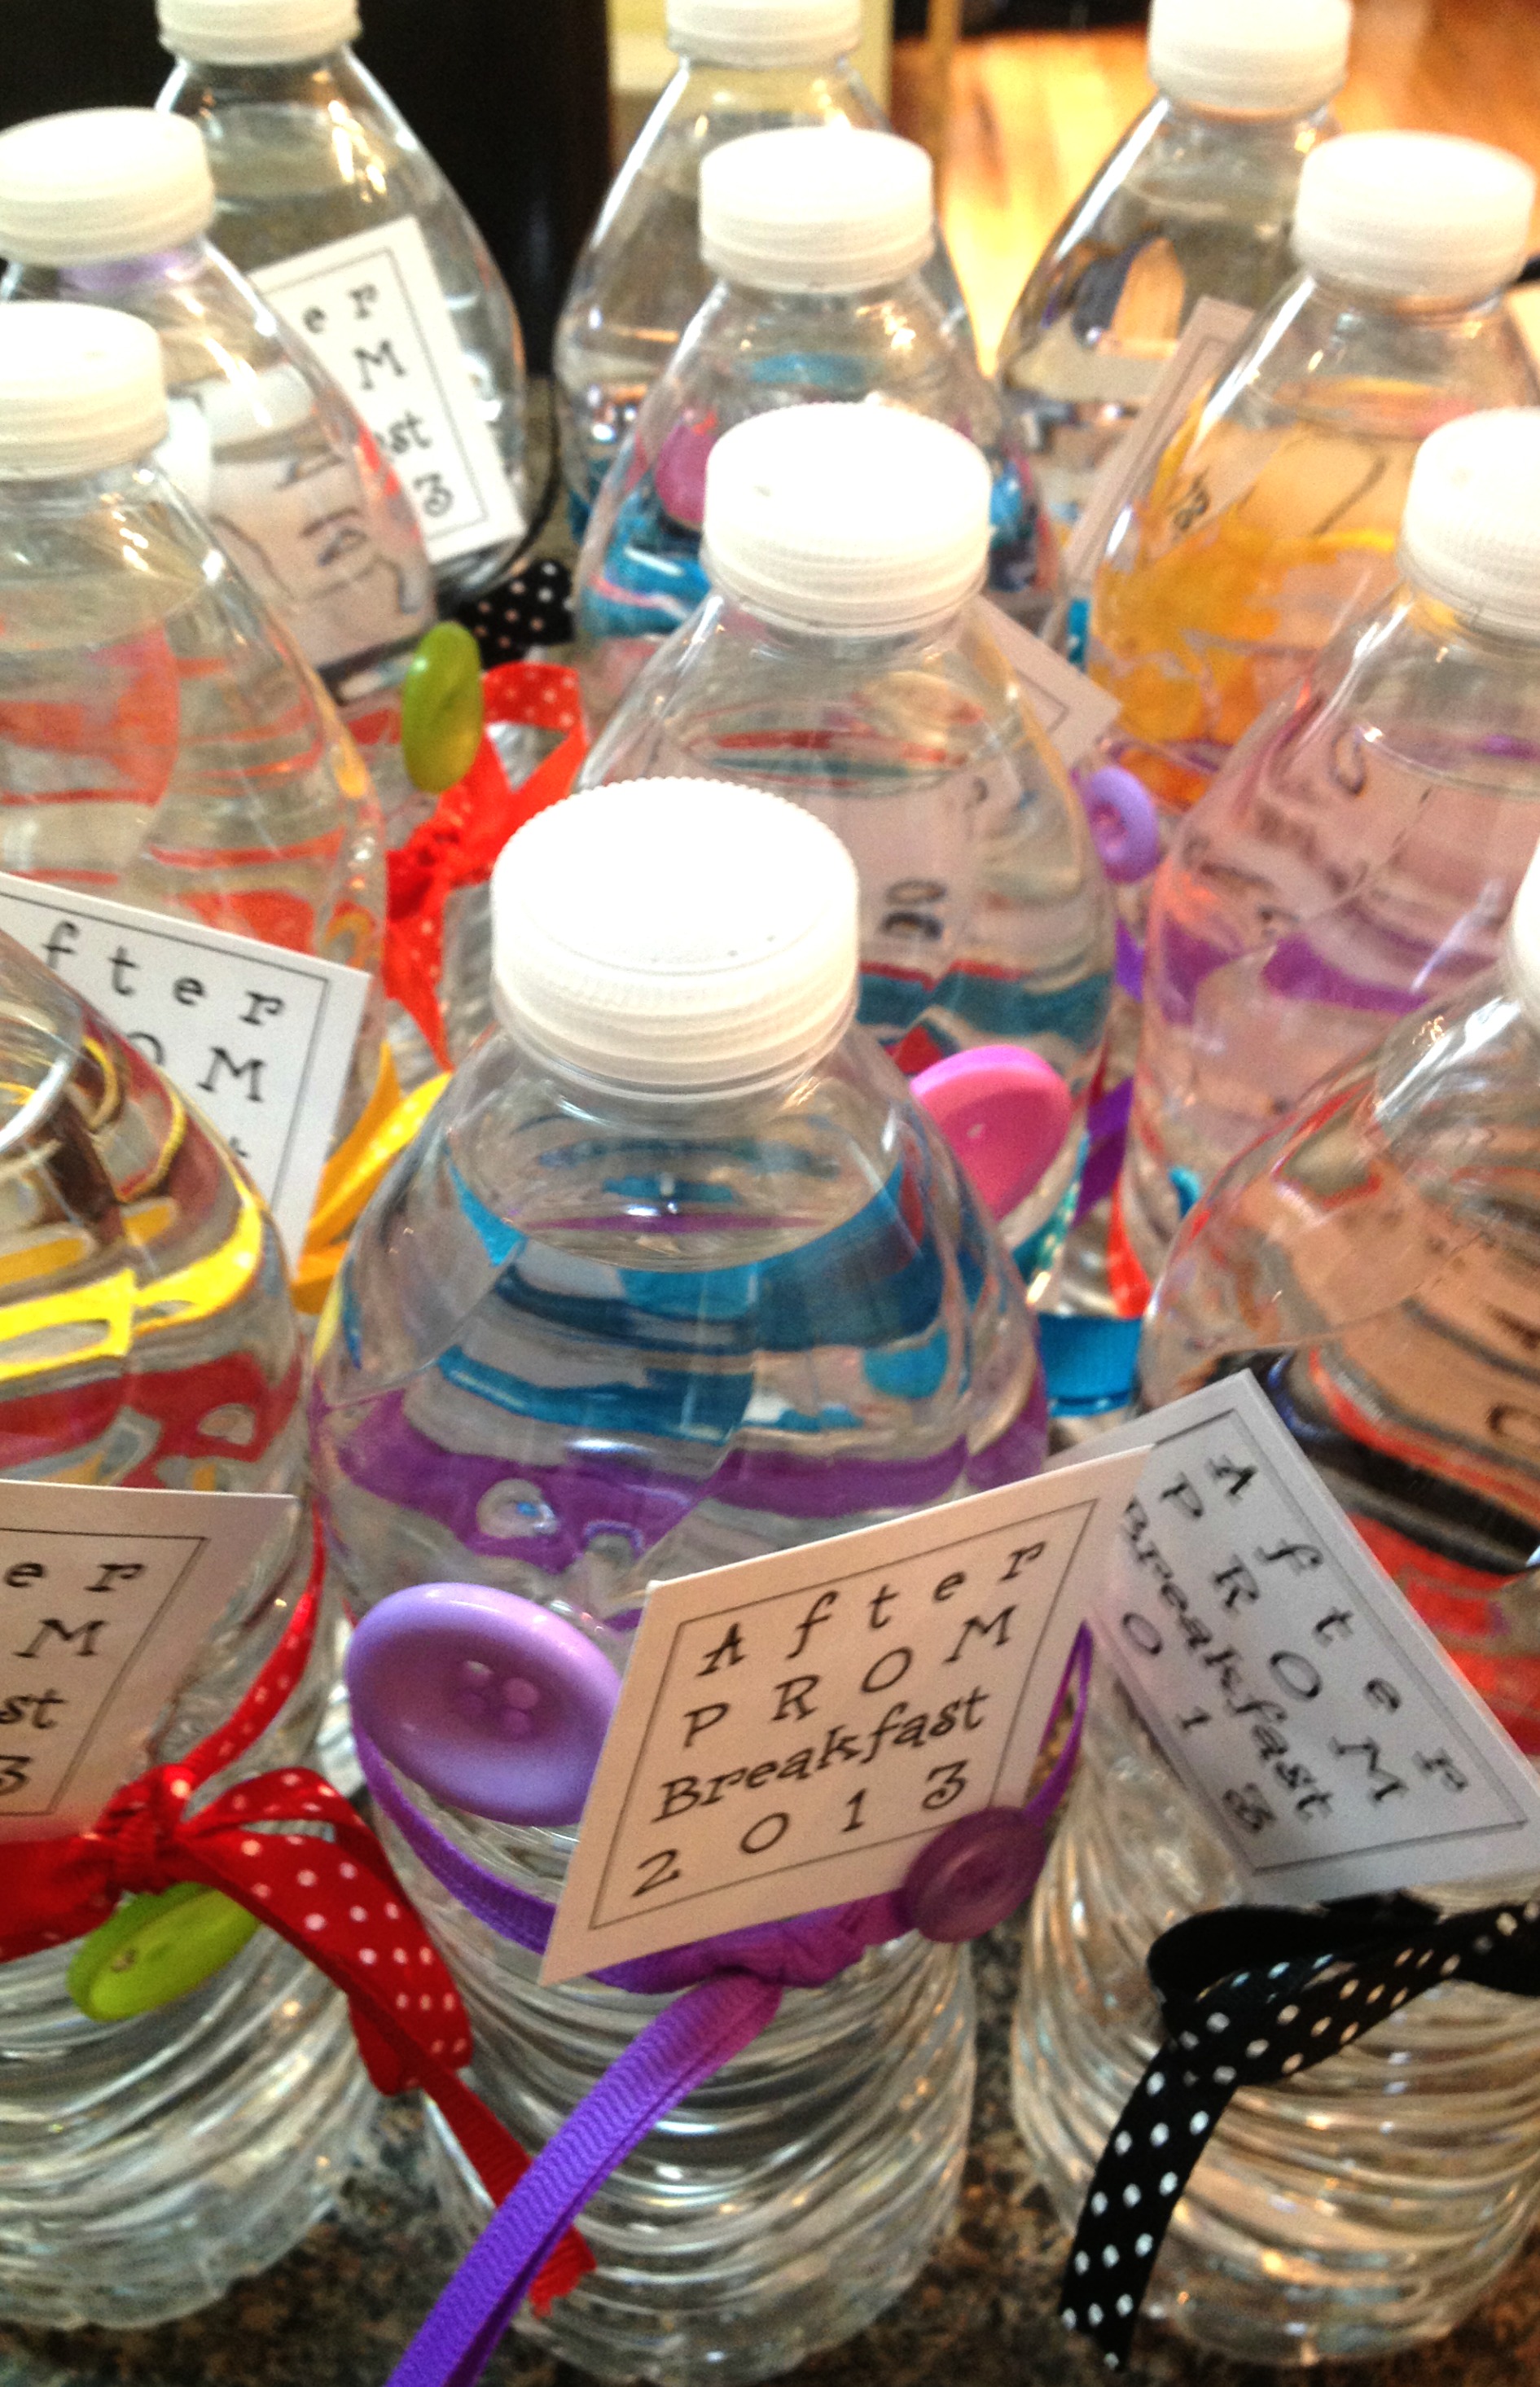
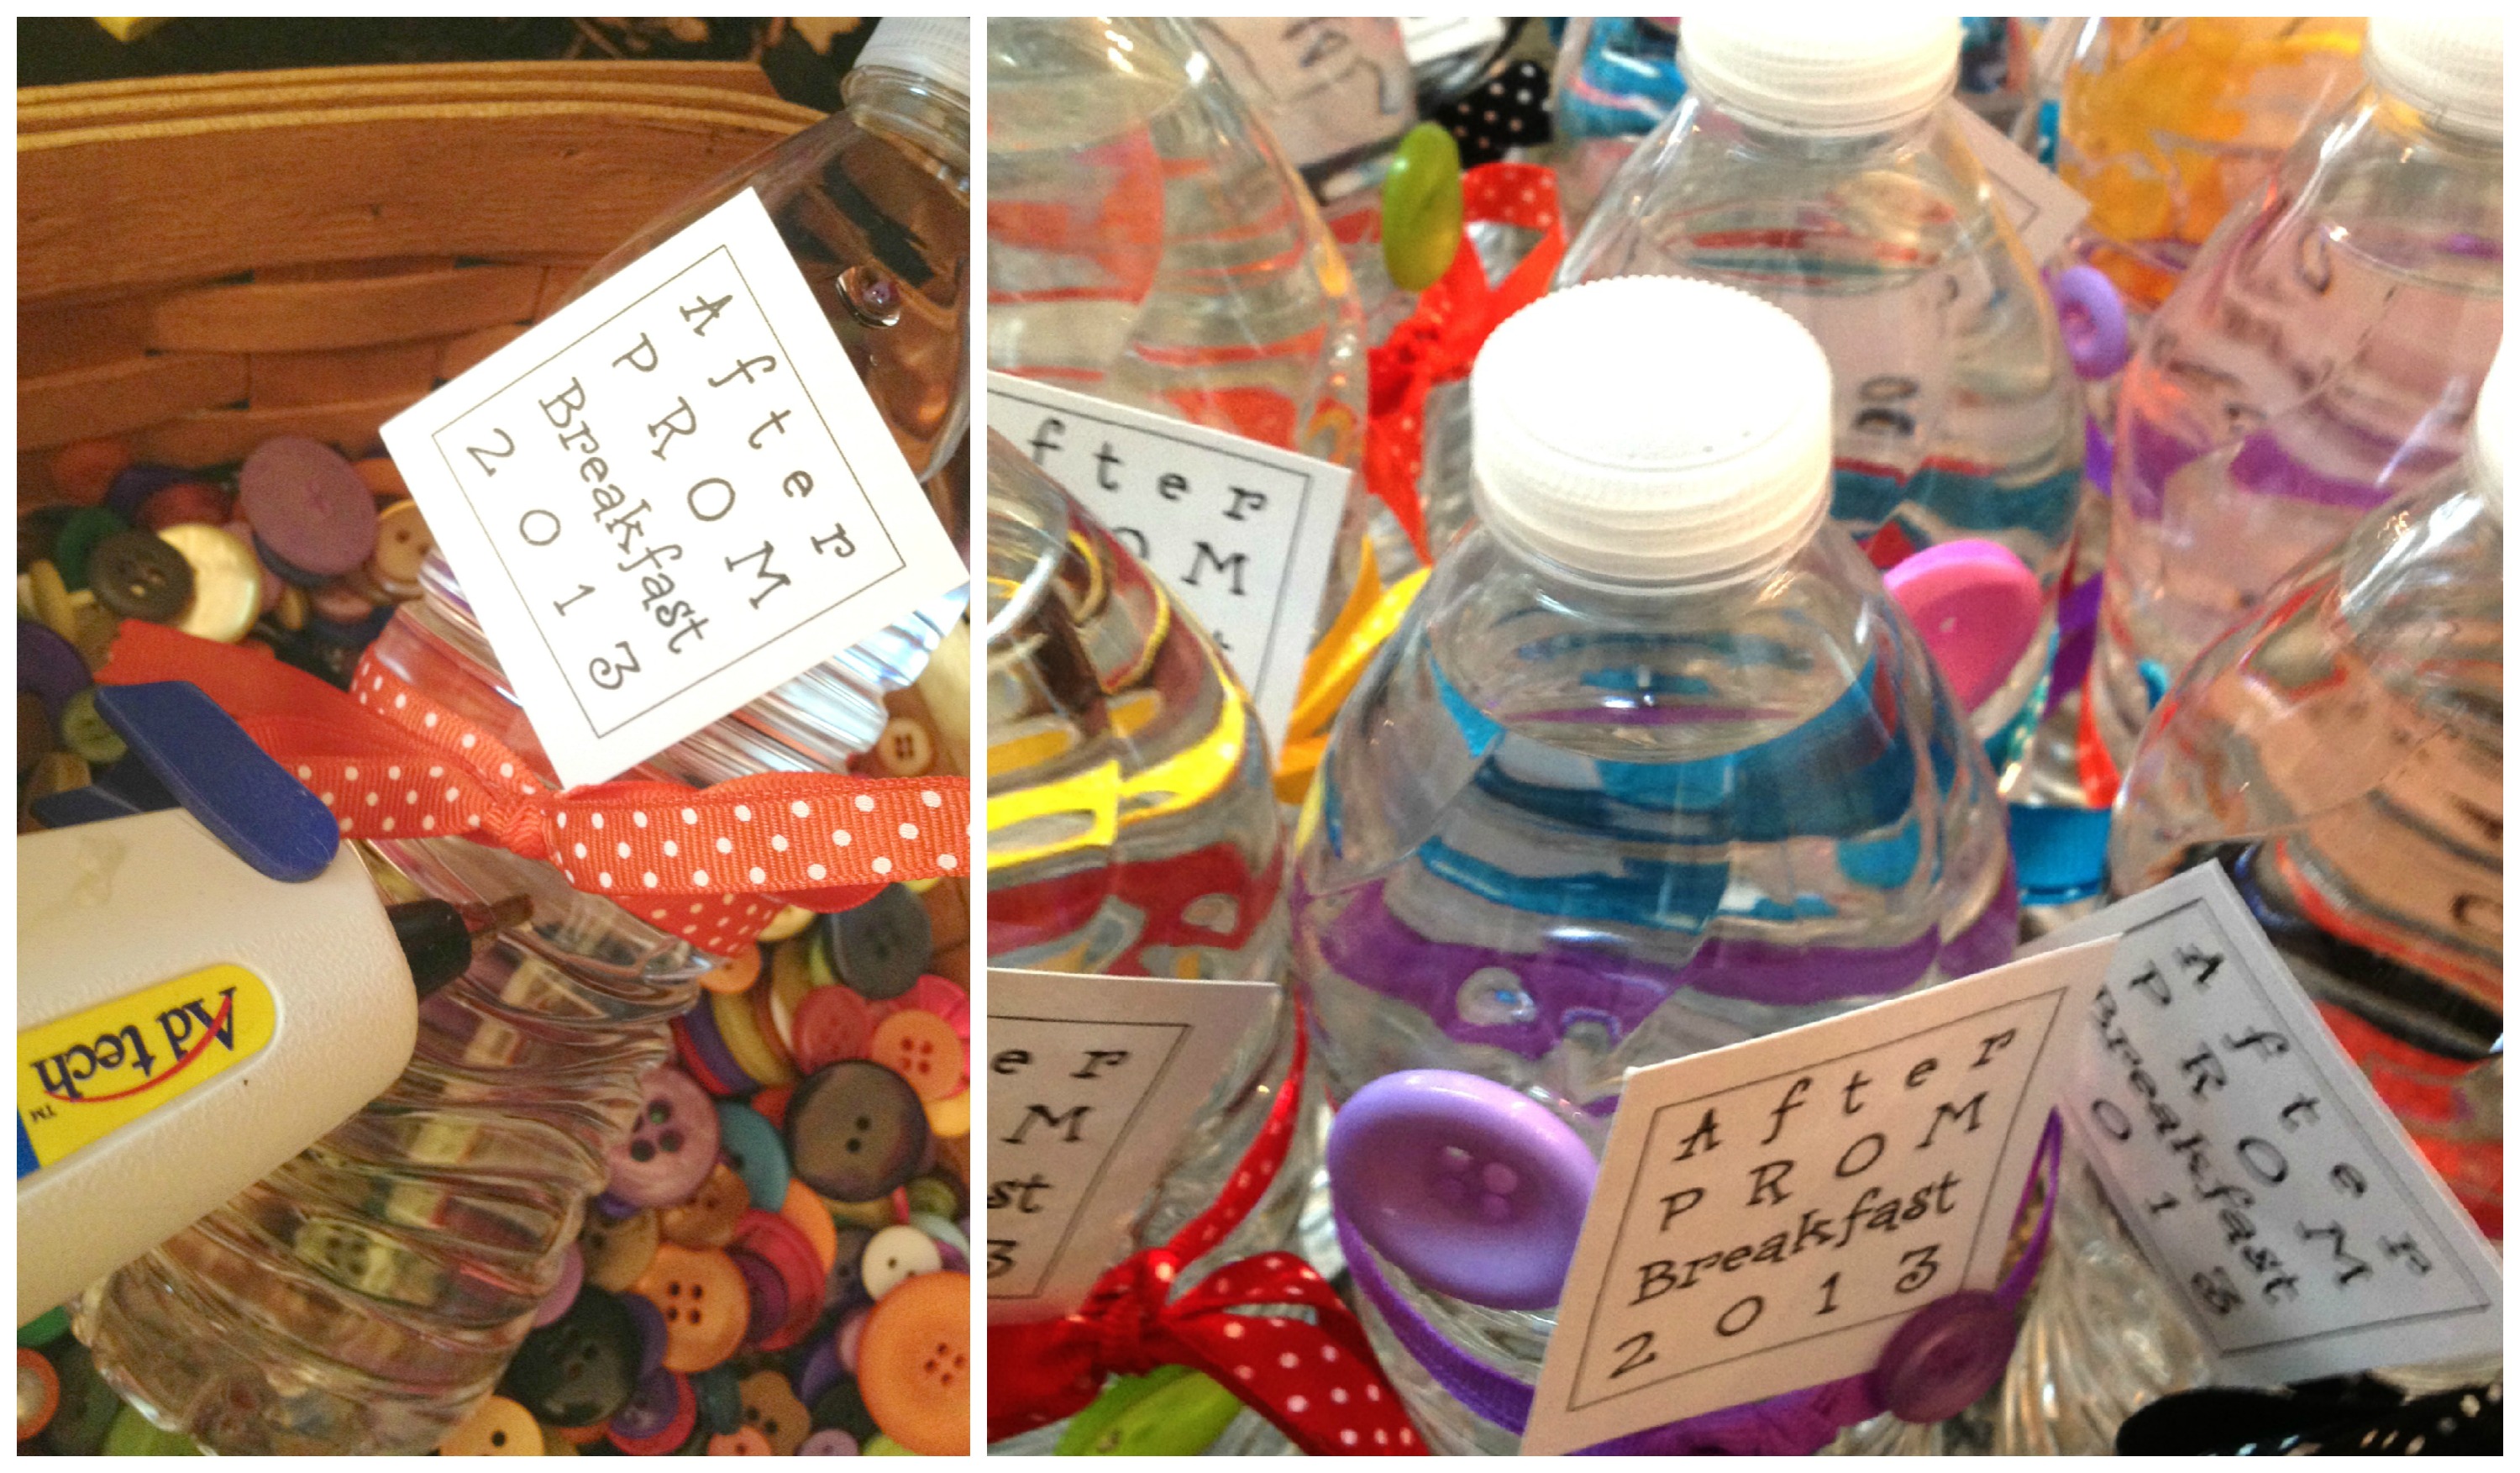
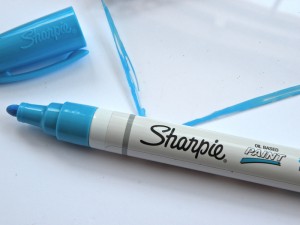
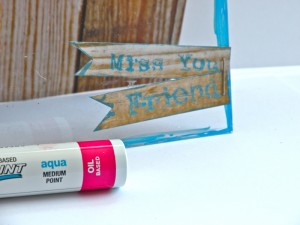
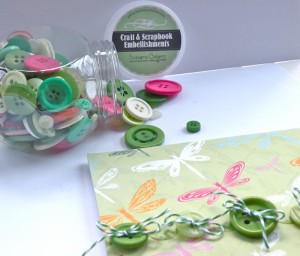
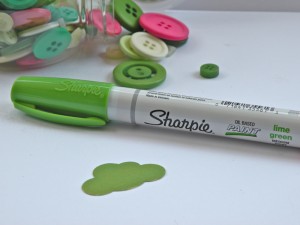
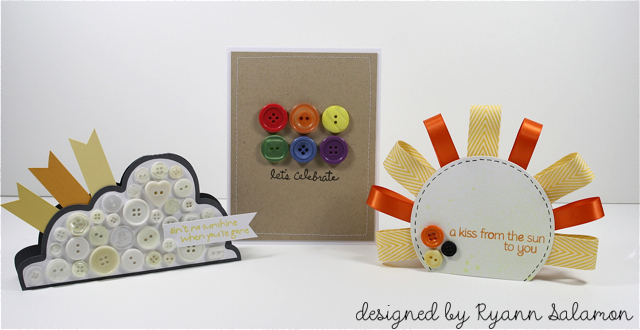
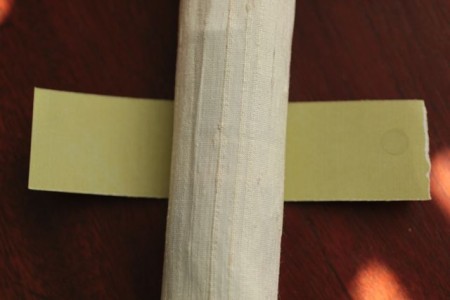
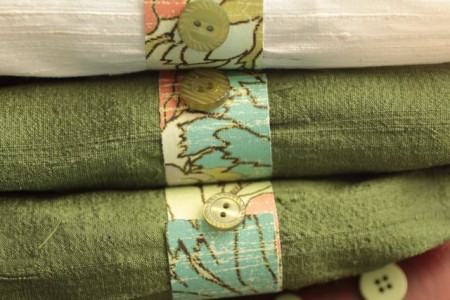
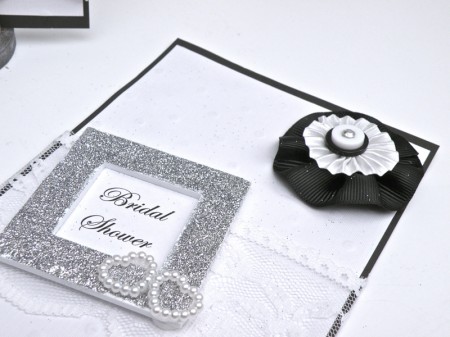
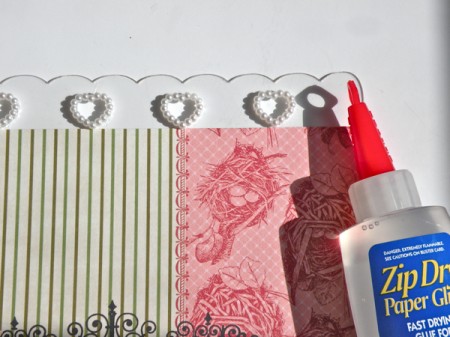
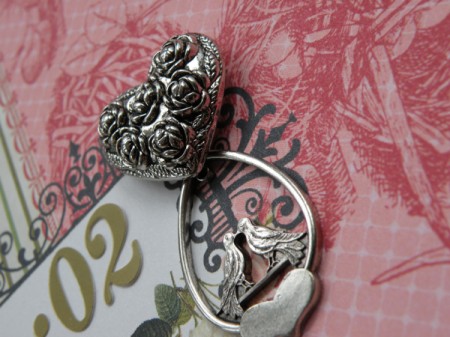
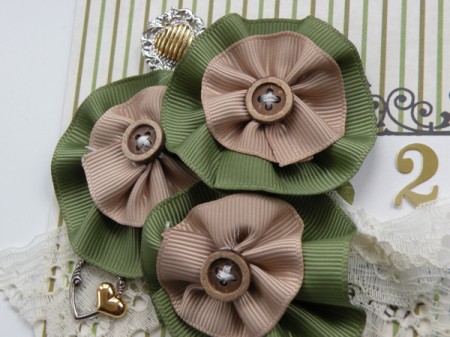
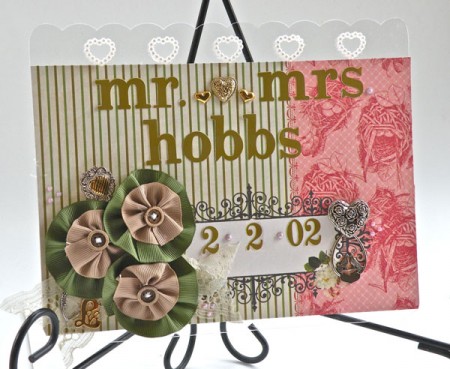
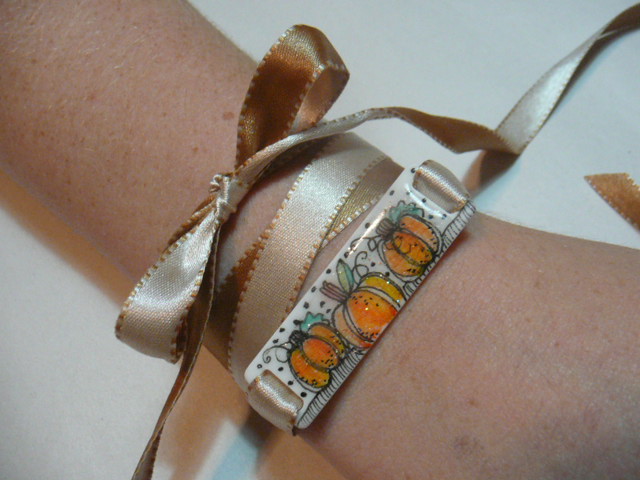
 Sharpie markers make creating with buttons so much fun. Our talented designers were sent a variety of Sharpies and asked to create a project around the theme of Weddings, Showers and parties in general. One of our own designers, Laura Kelly, is getting married next month. so in honor of her event we thought we would give you some inspiration for the upcoming wedding season.
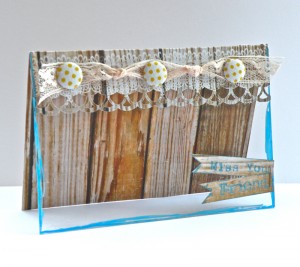
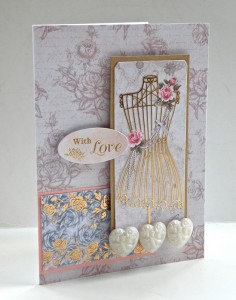
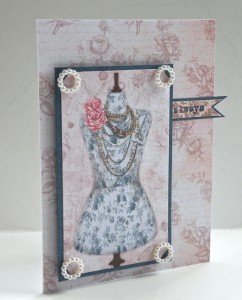


 The pin it to Win It Contest ends on Friday and we would not want you to miss out on great inspiration, and a chance at being a GUEST DESIGNER or winning a prize.


Oh, I started paper crafting as a scrapbooker and now make my own cards. Still not sure of my skills with card layouts. So, I love these ideas to use my MFS and buttons galore! thanks for the chance to win!