

Wooden pumpkin crafts are great for autumnal home decor. I created a whole patch of pumpkins for display in my home. I am in love with the pumpkin frame and the way it stands out in the patch. I guess it is partially due to the adorable photograph I placed in the frame . It is my oldest son and the photo is from 14 years ago, but I really do think the frame is adorable too.

Materials for Wooden Pumpkin crafts:
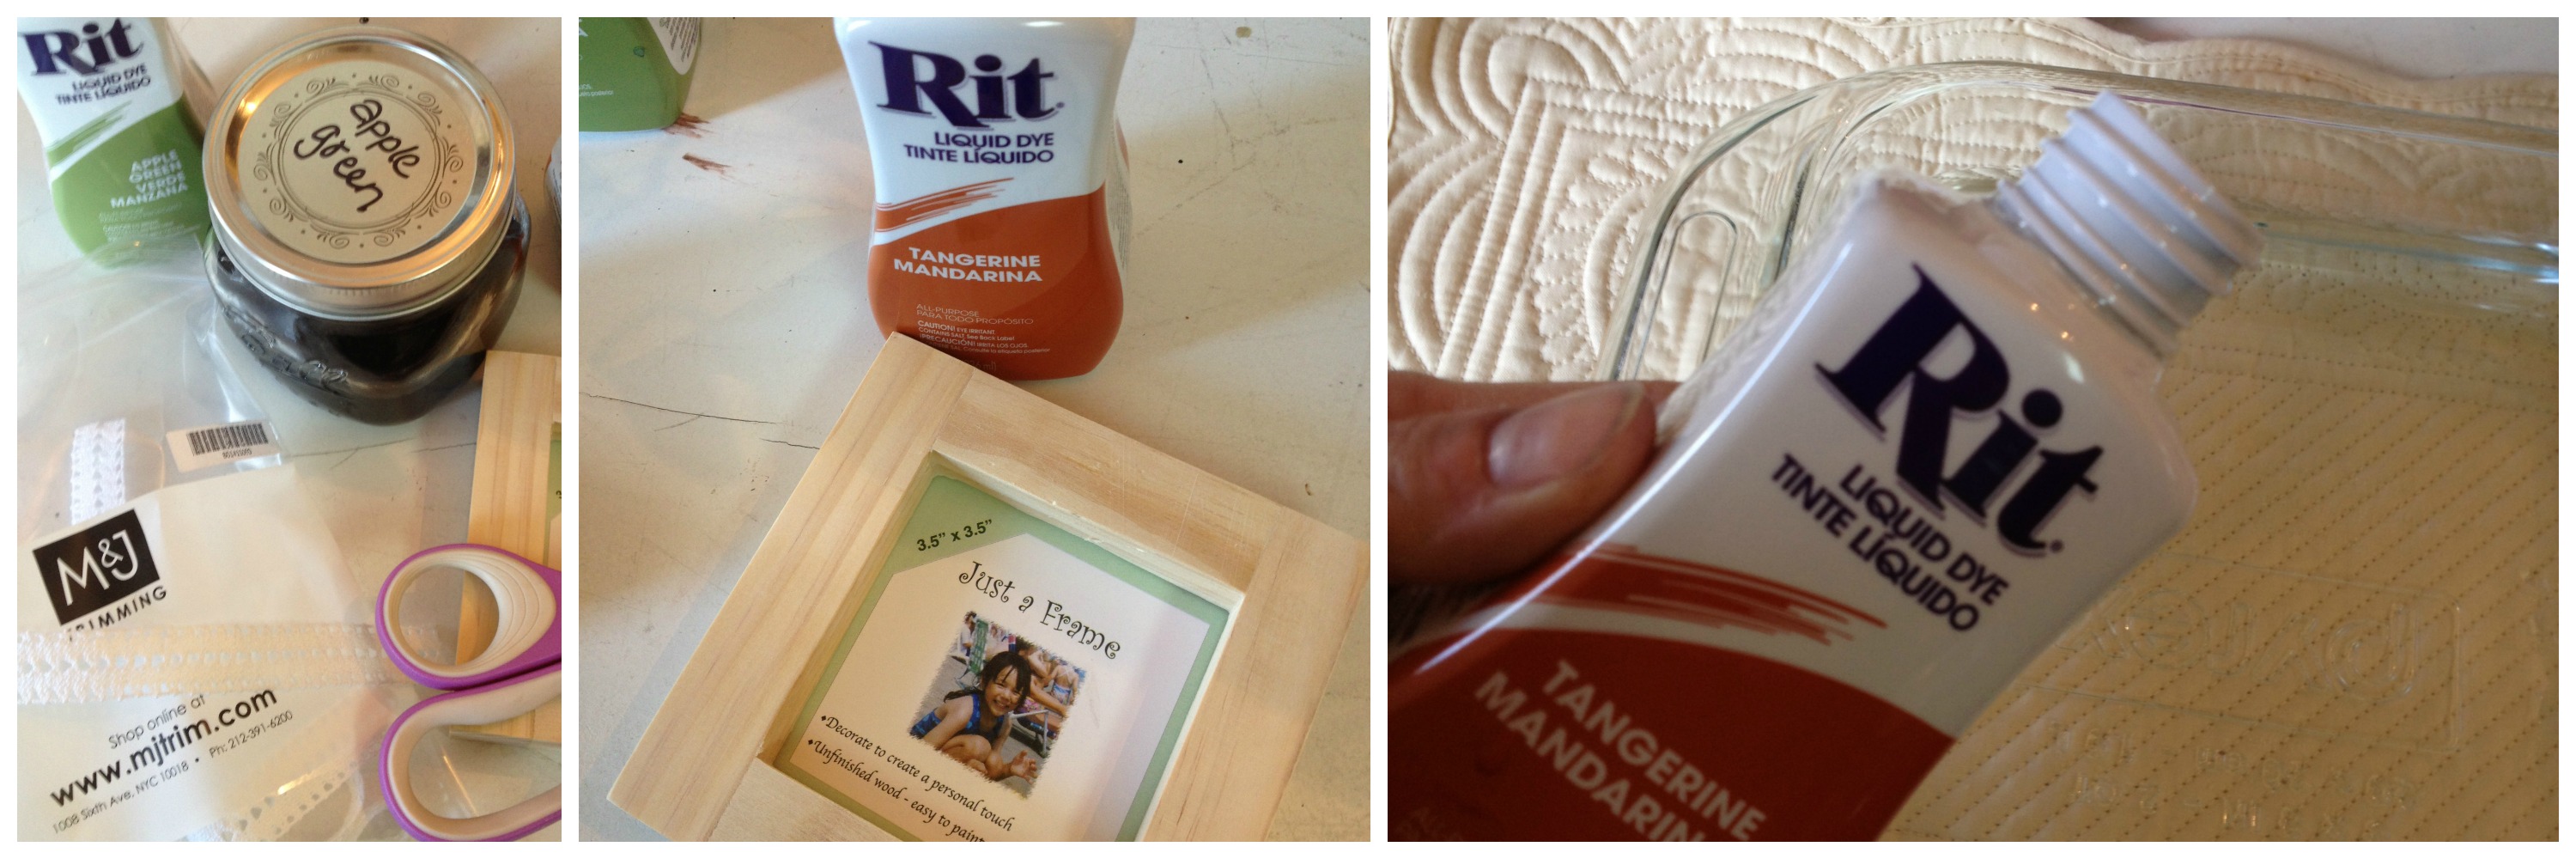
- The frame is from the dollar section in your local craft store.
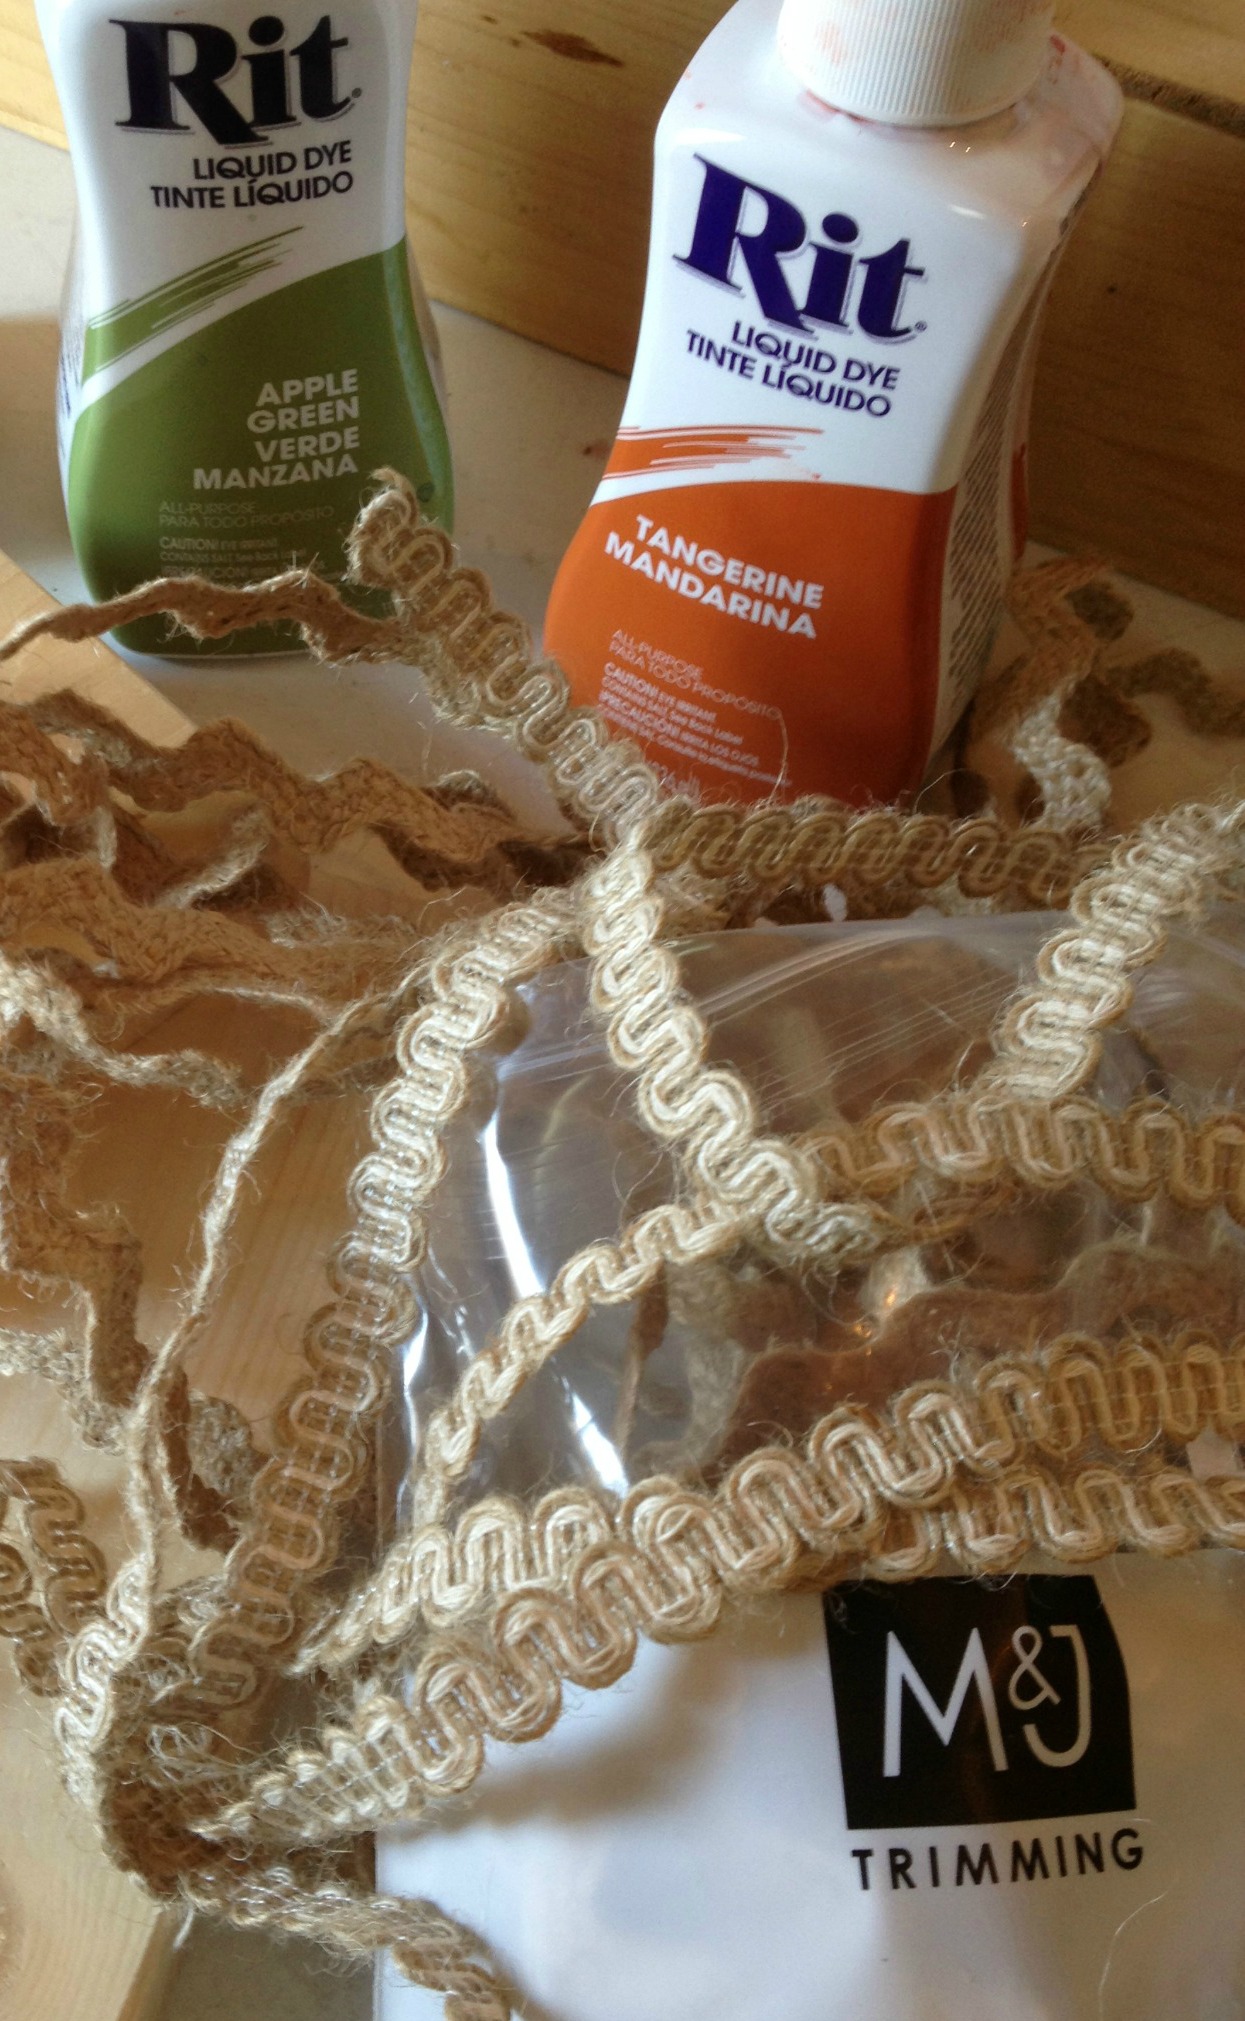
- Rit Dye in two colors (Tangerine and Apple Green) liquid or powder
- Burlap trim, fabric scrap and rosette
- AdTech Hot glue gun and glue sticks
- Covered working area, rubber gloves and sand paper
Directions to make the Wooden Pumpkin Crafts:
- Sand any rough surfaces. Dust off any excess. Dip dye the wooden frame in Rit Tangerine dye. Allow the frame to dry completely on a covered surface.
- Dip dye the trims in Apple Green Rit dye. Allow trim to dry completely. Use the hot glue to attach the trim around the frame to create a band. Attach the fabric scrap strips as the leaves and tendrils on the top of the frame.
- Using the hot glue gun, create a stack of brown buttons to resemble a stem.
I created a button stack for a stem with my Laura Kelly Bold Brown buttons and love the way the stem turned out.

To find out more about making a whole patch of wooden pumpkin crafts, visit my blog post today.
Happy Decorating for Halloween,
Laura
The following two tabs change content below.

Latest posts by Admin (see all)
- Ladybug Button Card - May 1, 2015
- Button Up a Teacher Gift in a Flash - April 10, 2015
- Don’t Get Pinched! Guest Blogger DIY Shamrock Accessory - March 2, 2015
Cute button stem!
http://www.mel-designs.typepad.com
Thanks Melony!