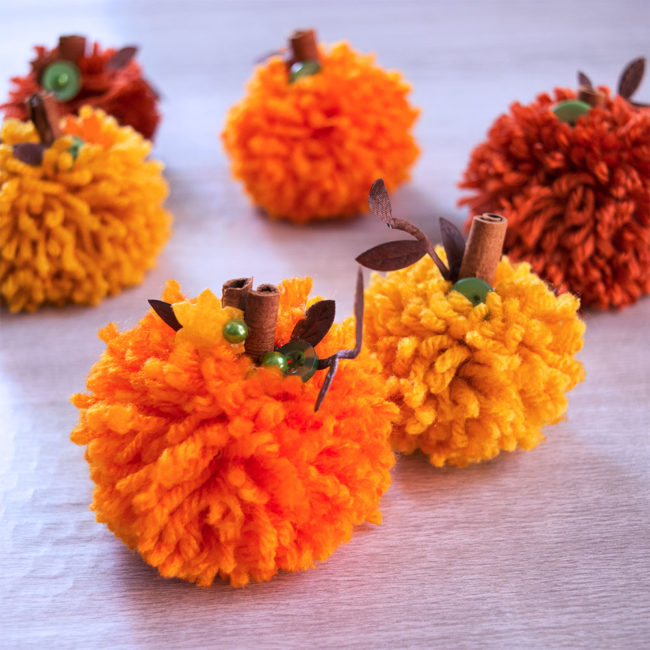
The weather here has started to cool down this week and so I’ve decided it’s time to bring out those pretty autumn colors. Pumpkins are my favorite seasonal decoration in the fall – I love using both fresh pumpkins and artificial pumpkins in my decor. Yarn pom poms are such a fast and easy craft to make. They can add a bit of whimsy to any decor. I wanted to make some DIY pom pom pumpkins to add to my fall decorations, and the beautiful Autumn Afternoon Embellishment Kit from the 28 Lilac Lane collection was the perfect addition to finish off these cute little poms! Continue Reading →
Tag Archives | pumpkin
How To Make A DIY Button Pumpkin Wall Hanging
Hello Everyone! This is Katie from the Buttons Galore & More Design Team, and today I have a fun button pumpkin wall hanging project to get you in the mood for fall decorating!

This project is perfect to make if you are looking for an easy and inexpensive way to spice up your home décor for fall, halloween, and thanksgiving. I got the idea for this project when I saw a felt wall hanging designed for the 4th of July. However, instead of a pumpkin, the original wall hanging had a heart shaped flag made from felt and a few buttons. Personally, I thought the idea was cute but could be recreated in a simpler way. In today’s project, the whole DIY is only 3 steps and does not involve any sewing tools!
To decorate my button pumpkin wall hanging, I used two button sets for a majority of the project. Those two button sets were the 28 Lilac Lane ”Pumpkin Spice” Embellishment Bottle and the Buttons Galore Autumn Value Pack. Both of these button sets provided a wide variety of harvest/fall style buttons and worked really well together. My personal favorite out of both of these sets was definitely the 28 Lilac Lane ‘”Pumpkin Spice” Embellishment Bottle because you received a ton of beautiful orange colored buttons.
So, to find out how to make your own pumpkin button wall hanging, keep reading below!
Supplies for Making Button Pumpkin Wall Hanging:
- 28 Lilac Lane ”Pumpkin Spice” Embellishment Bottle
- 28 Lilac Lane ”Paws and Pets” Embellishment Kit
- Buttons Galore Autumn Value Pack
- 2 pieces of felt (in the same color)
- 1 piece of burlap
- dowel rod or wooden stick
- ruler
- scissors
- pen
- hot glue gun + glue sticks
How to Make a Button Pumpkin Wall Hanging
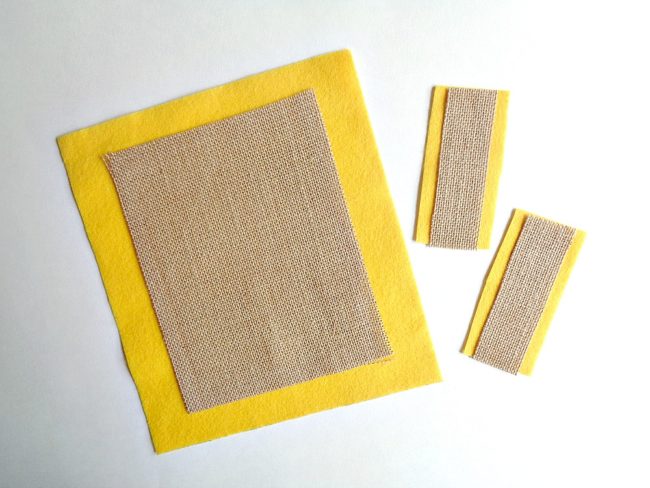
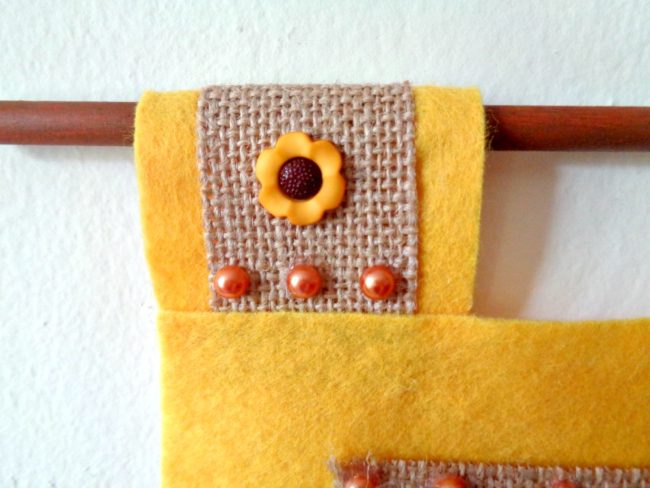
Step 1: Cut one piece of felt that measures 9 inches by 10 inches and two smaller pieces of felt that measure 2 inches by 3 ½ inches. Then cut out one piece of burlap that measures 6 ½ inches by 8 inches and two smaller pieces that measure 1 inch by 3 ½ inches.
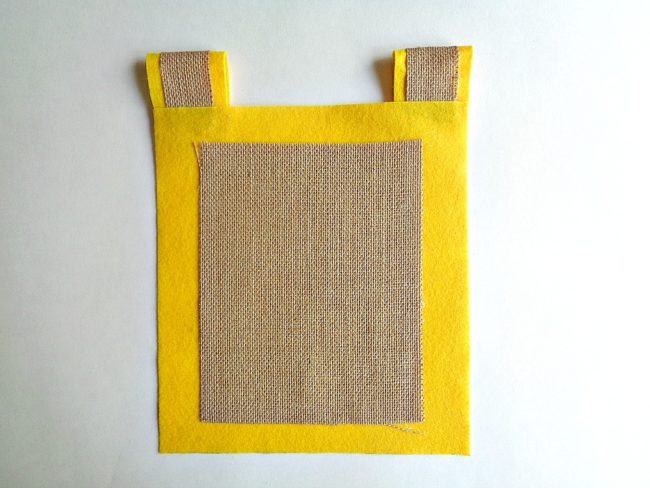
Step 2: Layer the larger piece of burlap centered onto the larger piece of your felt and glue it into place with your hot glue gun. Then layer the smaller pieces of burlap centered onto your smaller pieces of felt and glue them into place. Finally, create loops for your wall hanging by folding over the smaller pieces of felt/burlap and glue them in the corners of your larger felt piece.
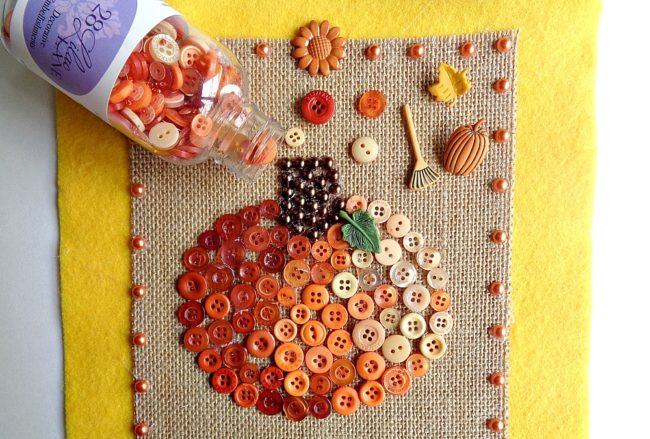
Step 3: Now take your pen and draw the outline of a pumpkin onto your burlap. Then begin gluing on your buttons around the outside of your pumpkin to create an outline and then fill in the middle with more buttons. For my pumpkin, I decided to go from dark to light buttons and then use shimmering half pearl flat backs for the stem. Finally, use the rest of your normal buttons and decorative buttons to decorate the rest of your wall hanging.
For my button pumpkin wall hanging I used the following:
- Buttons and Shimmering Half Pearl Flat Backs from 28 Lilac Lane ”Pumpkin Spice” Embellishment Bottle
- Shimmering Half Pearl Flat Backs from 28 Lilac Lane ”Paws and Pets” Embellishment Kit (this was used for the pumpkin stem)
- Decorative buttons (like the green leaf) from Buttons Galore Autumn Value Pack
Once you are happy with how your button pumpkin wall hanging looks, you are ready to hang it on the wall by sliding a dowel rod or wooden stick through the two loops!

I loved how this pumpkin button wall hanging turned out and I think it would look so cute as part of a gallery wall!
While creating this project, I did free hand the design of the pumpkin. However, if you are not comfortable drawing your own pumpkin (in step 3), you can always google ”pumpkin template” and print out a template to trace around. With that being said, if pumpkins are not your thing, you could always change the main image to be something else. For example, I think a leaf created from the 28 Lilac Lane “Toasted Graham” Embellishment Bottle would look really pretty.
If you made this pumpkin button wall hanging, what 28 Lilac Lane items would you use?
Little Pumpkin Button Cards for Fifteen MINUTE Friday
Halloween is absolutely one of my FAVORITE holidays and to celebrate I pulled together the creative minds of some of my talented blogging friends to bring you over 110 fabulous Halloween ideas! From costumes to parties, crafts and home decor, recipes and free printables, we have so many fun ideas to share! I guarantee you’ll find a project (or 10!) that you would love to incorporate into your Halloween festivities. All week (Monday through Saturday) myself and my blogging friends will be sharing our fun creations with all of you. Each day will include approximately 20 Halloween projects and you can “hop” from one blog to another to check them all out.
It’s Friday and day 5 of our Halloween Bash blog hop! Glad you could join us on this fabulous Friday for more Halloween ideas from me and my talented blogging friends!
These are so super cute and easy peasy to create!
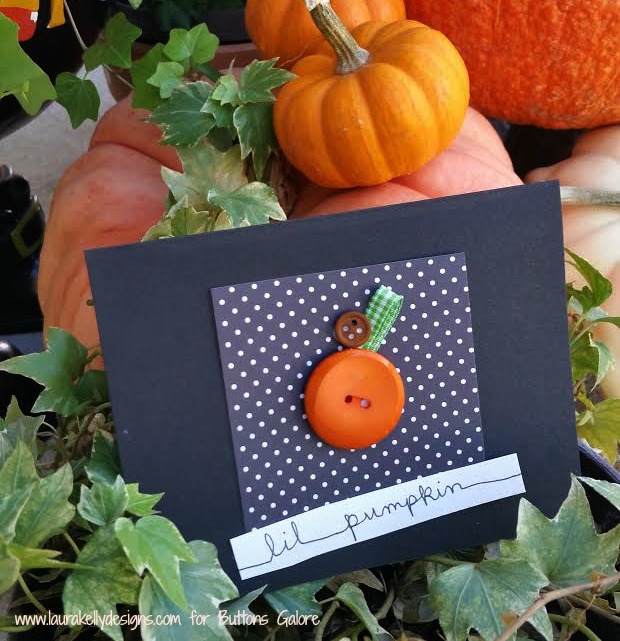
You will need just a few things…paper, Outrageous Orange buttons and Aleene’s Tacky Glue.
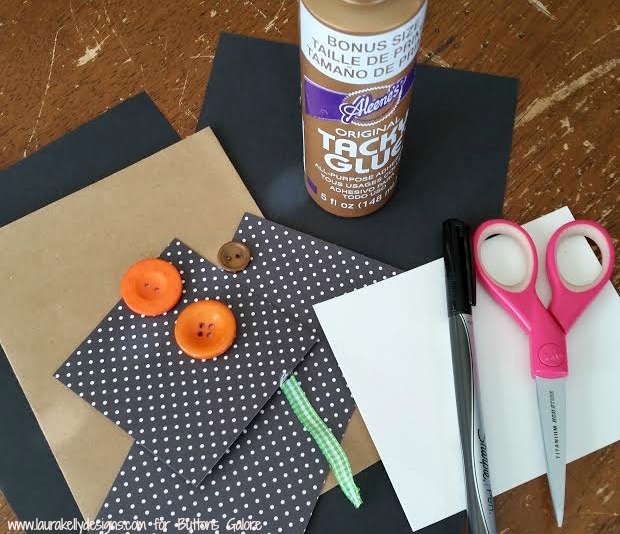
Cut out your decorative paper and attach it to your card with Aleene’s then add a BIG orange button for a pumpkin. I added a little brown button for a stem and green ribbon for the vine.
TA DA! So adorable and simple and fun!
But the fun ideas don’t stop here! Continue checking out the creative Halloween projects my blogging friends have created for our blog hop by clicking on each of the links below, for the Halloween projects you’d like to see in more detail and it’ll take you right to that post with additional information and photos on how to create it. Have fun and pin away!

1. Happy Halloween Treat Bucket
2. Beware of the Bam-BOO
3. Halloween Beeswax Candles
4. Caramel Apple Cupcakes
5. Halloween Treat Bag Tags – Free Printable
6. Halloween Cookie Pops ~ Nutter Butter Bats & Mummies
7. Halloween Photo Booth Props
8. Halloween Candle Jars
9. Ghost Candles
10. Dollar Store Spider Halloween Wreath
11. Healthy Halloween Class Treat
12. Little Pumpkin Button Cards
13. Pumpkin Playdough Mats
14. Craft for Kids: Finger Puppet Monsters
15. Creepy Halloween Jar Labels
16. Halloween Party Favor and Printable
17. Kids Halloween Lanterns
18. Candy Box Head Skeletons
19. Sweet & Salty Halloween Treat
Follow our Fabulous Halloween Ideas Pinterest board for even more inspiration!
Follow Design Dazzle’s board Fabulous Halloween Ideas on Pinterest.
Be sure to come back tomorrow for another 20 awesome Halloween ideas!
Thanks to all 110+ fabulous bloggers participating! We’d love for you to visit their blogs and see what else they’re up to!
100 Directions || 365daysofcrafts || a girl and a glue gun || A Prudent Life || Addicted 2 DIY || Albion Gould || Ashlee Marie || Atta Girl Says || Bakerette || BD Design || BellaGrey Designs || Black and White Obsession || Bloom Designs Online || Blue i Style || Bombshell Bling || bumblebreeblog || C.R.A.F.T. || Celebration Lane || Clean and Scentsible || Clearsnap || Confetti Sunshine || Crafts by Courtney || Creations by Kara || Creative Juice || Cutesy Crafts || Design Dazzle || Dress It Up Crafts || Echoes of Laughter || Everyday Party Magazine || Eye Candy Creative Studio || Fairfield World || Fearlessly Creative Mammas || Five Heart Home || Fizzy Party || Free Time Frolics || Frenchie || FrugElegance || Glued To My Crafts || GreatStitch || Happiness is Homemade || Here Comes the Sun || Home Maid Simple || Honeybear Lane || hoopla palooza || Hydrangea Hippo || I Dig Pinterest || ICE Resin || inkhappi || Insitefull Living || It’s Sew Lorine || Jaco’lyn Murphy || Jen A. Street || Just My Little Mess || Just Us Four || Katarina’s Paperie || Kiki and Company || Laura Kelly’s INKlings || Let’s Eat Grandpa || Let’s Go Junking || Liz on Call || Love The Day || Made by a Princess || Made From Pinterest || Made to be a Momma || Major Hoff Takes A Wife || Make Life Lovely || My Craftily Ever After || My Daylights Blog || My Insanity || Nature’s Knockout || Not Just A Mommy || One Creative Mommy || Organize & Decorate Everything || Our Thrifty Ideas || Paleo Priests || Persia Lou || Pink Cake Plate || PinkWhen || Play. Party. Pin. || Practical Parenting || Reclaim Yourself Retreat || See Vanessa Craft || She’s Crafty || Simple Sojourns || Simply Designing || Soiree Event Design || Sowdering About || Splendid Design || Stuffed Suitcase || Super Simple with Terri O || Suzys Sitcom || Sweet and Simple Magazine || Swish Printables || Sypsie Designs || That’s What Che Said || The Benson Street || The Cards We Drew || The Gunny Sack || The Happy Scraps || The Life of Jennifer Dawn || The Scrap Shoppe || The Things I Love Most || Tikkido || Two Thirty~Five Designs || Wait ‘Til Your Father Gets Home || Walnut Hollow Blog
Happy Crafting,
Laura
DIY T-Shirt Pumpkin Decor
Last week we made autumn scarves out of t-shirts (that we stole from Daddy’s drawer) using Rit Dye and we had a bunch of leftover scraps. Not being able to bear throwing away such beautifully dyed fabric, I decided to stitch up a DIY pumpkin and see how it would turn out for Halloween decor. It took less than 15 minutes and I think it is quite adorable and will make for some fun decorating.
Easy To Make T-Shirt Pumpkin
I matched up the fabric and drew on the top the shape of a little pumpkin. Then I cut the shapes out at the same time so they would match up for stitching. I stitched around the outside and stuffed the guts with a grocery bag. I love to use recycled items when I am crafting. I stitched on a two button stem (using Laura Kelly Bold Brown buttons) which I think really puts the mini decor into the “cute as a button” category. Now I want to make about 5 more because they look like they are growing on the vines when I put them outdoors.
I also really like the way it looks outside on the fairy wall in the back yard. Maybe I will spray it with the stuff I use to waterproof my boots and leave it out to see how long it makes it in the weather. I think that a bunch of them around the fairy wall would be really fun and magical over the next few weeks.
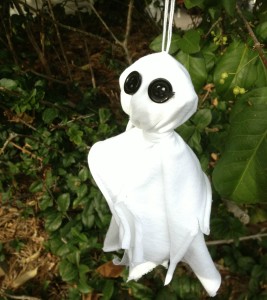
I used the white scraps from the t-shirts too to make…a ghost of course. I am sharing that project on my blog today.
Happy Fifteen MINUTE Crafting,
Laura
wooden pumpkin crafts – DIY a Photo Frame

Wooden pumpkin crafts are great for autumnal home decor. I created a whole patch of pumpkins for display in my home. I am in love with the pumpkin frame and the way it stands out in the patch. I guess it is partially due to the adorable photograph I placed in the frame . It is my oldest son and the photo is from 14 years ago, but I really do think the frame is adorable too.

Materials for Wooden Pumpkin crafts:
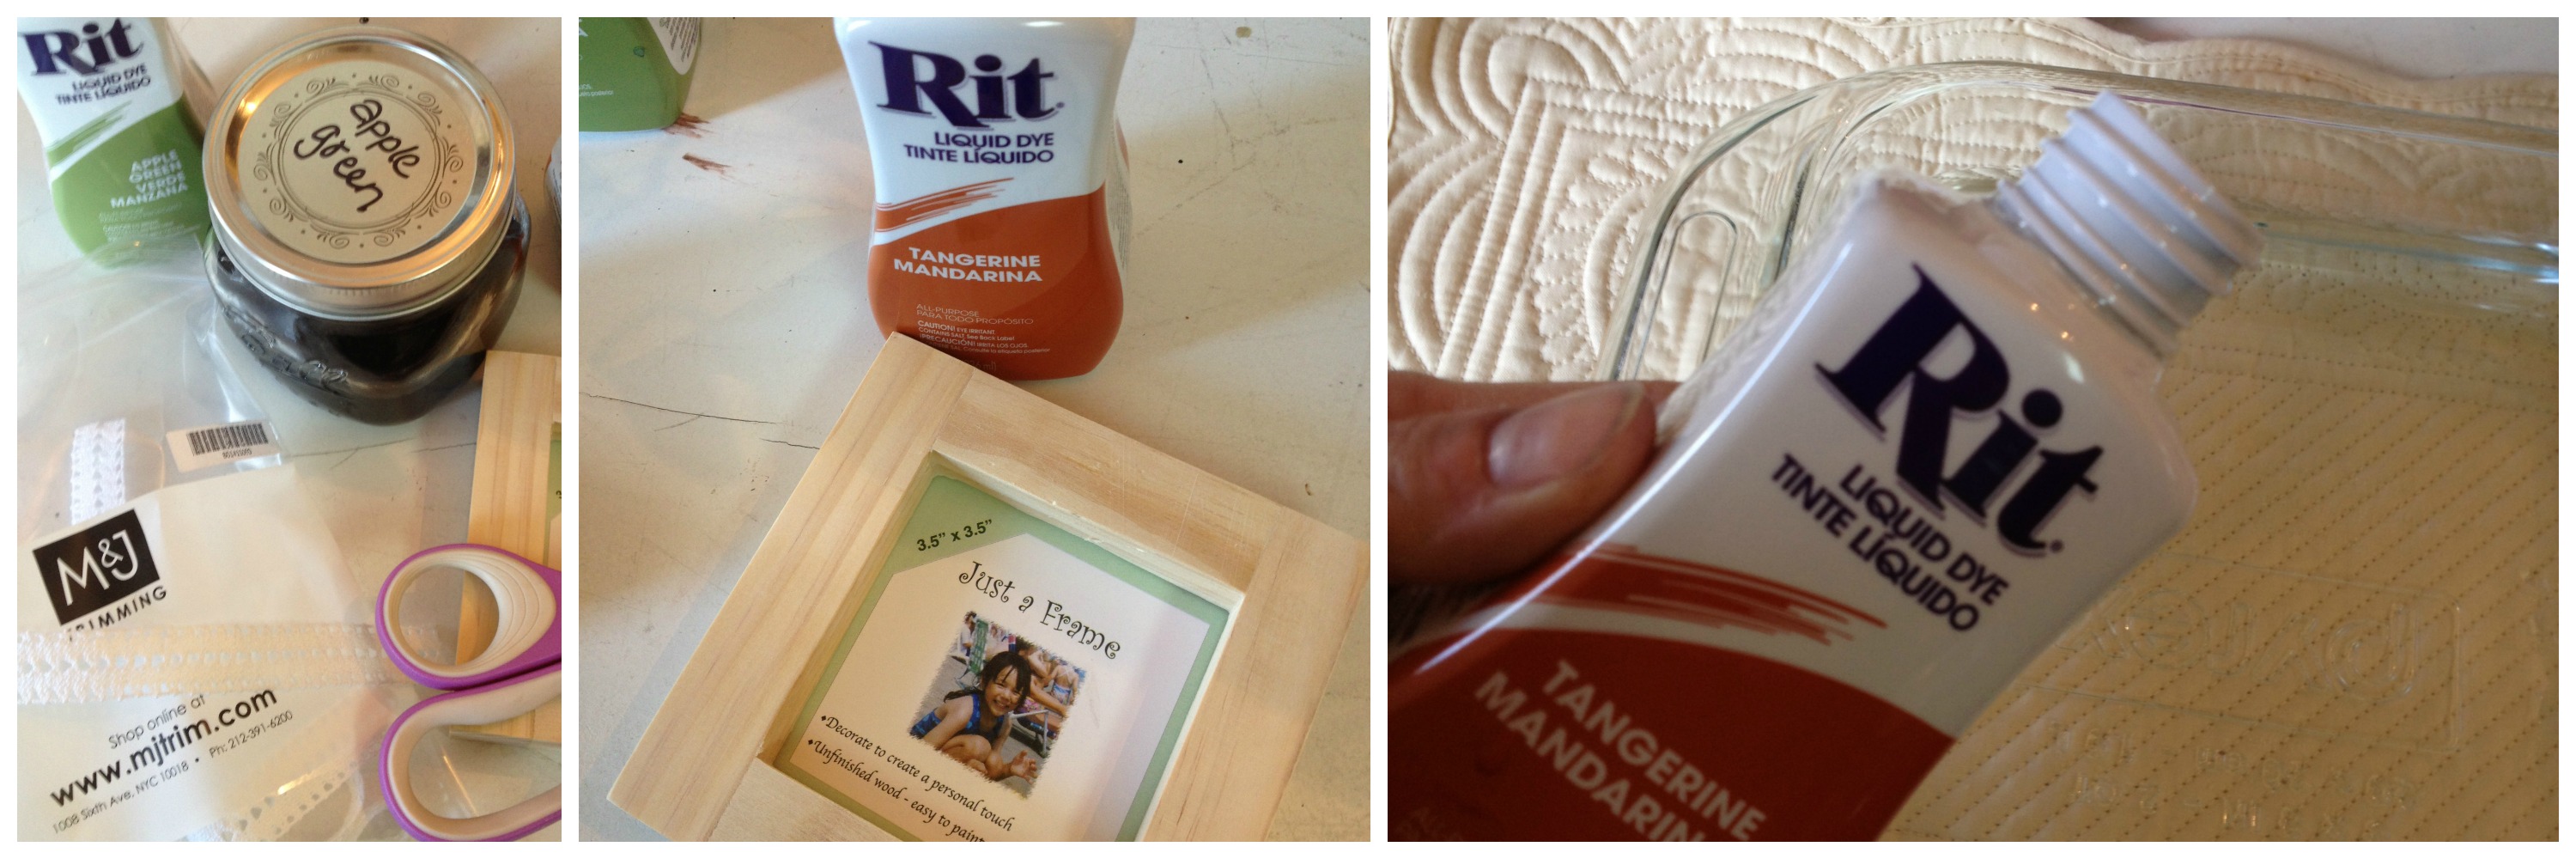
- The frame is from the dollar section in your local craft store.
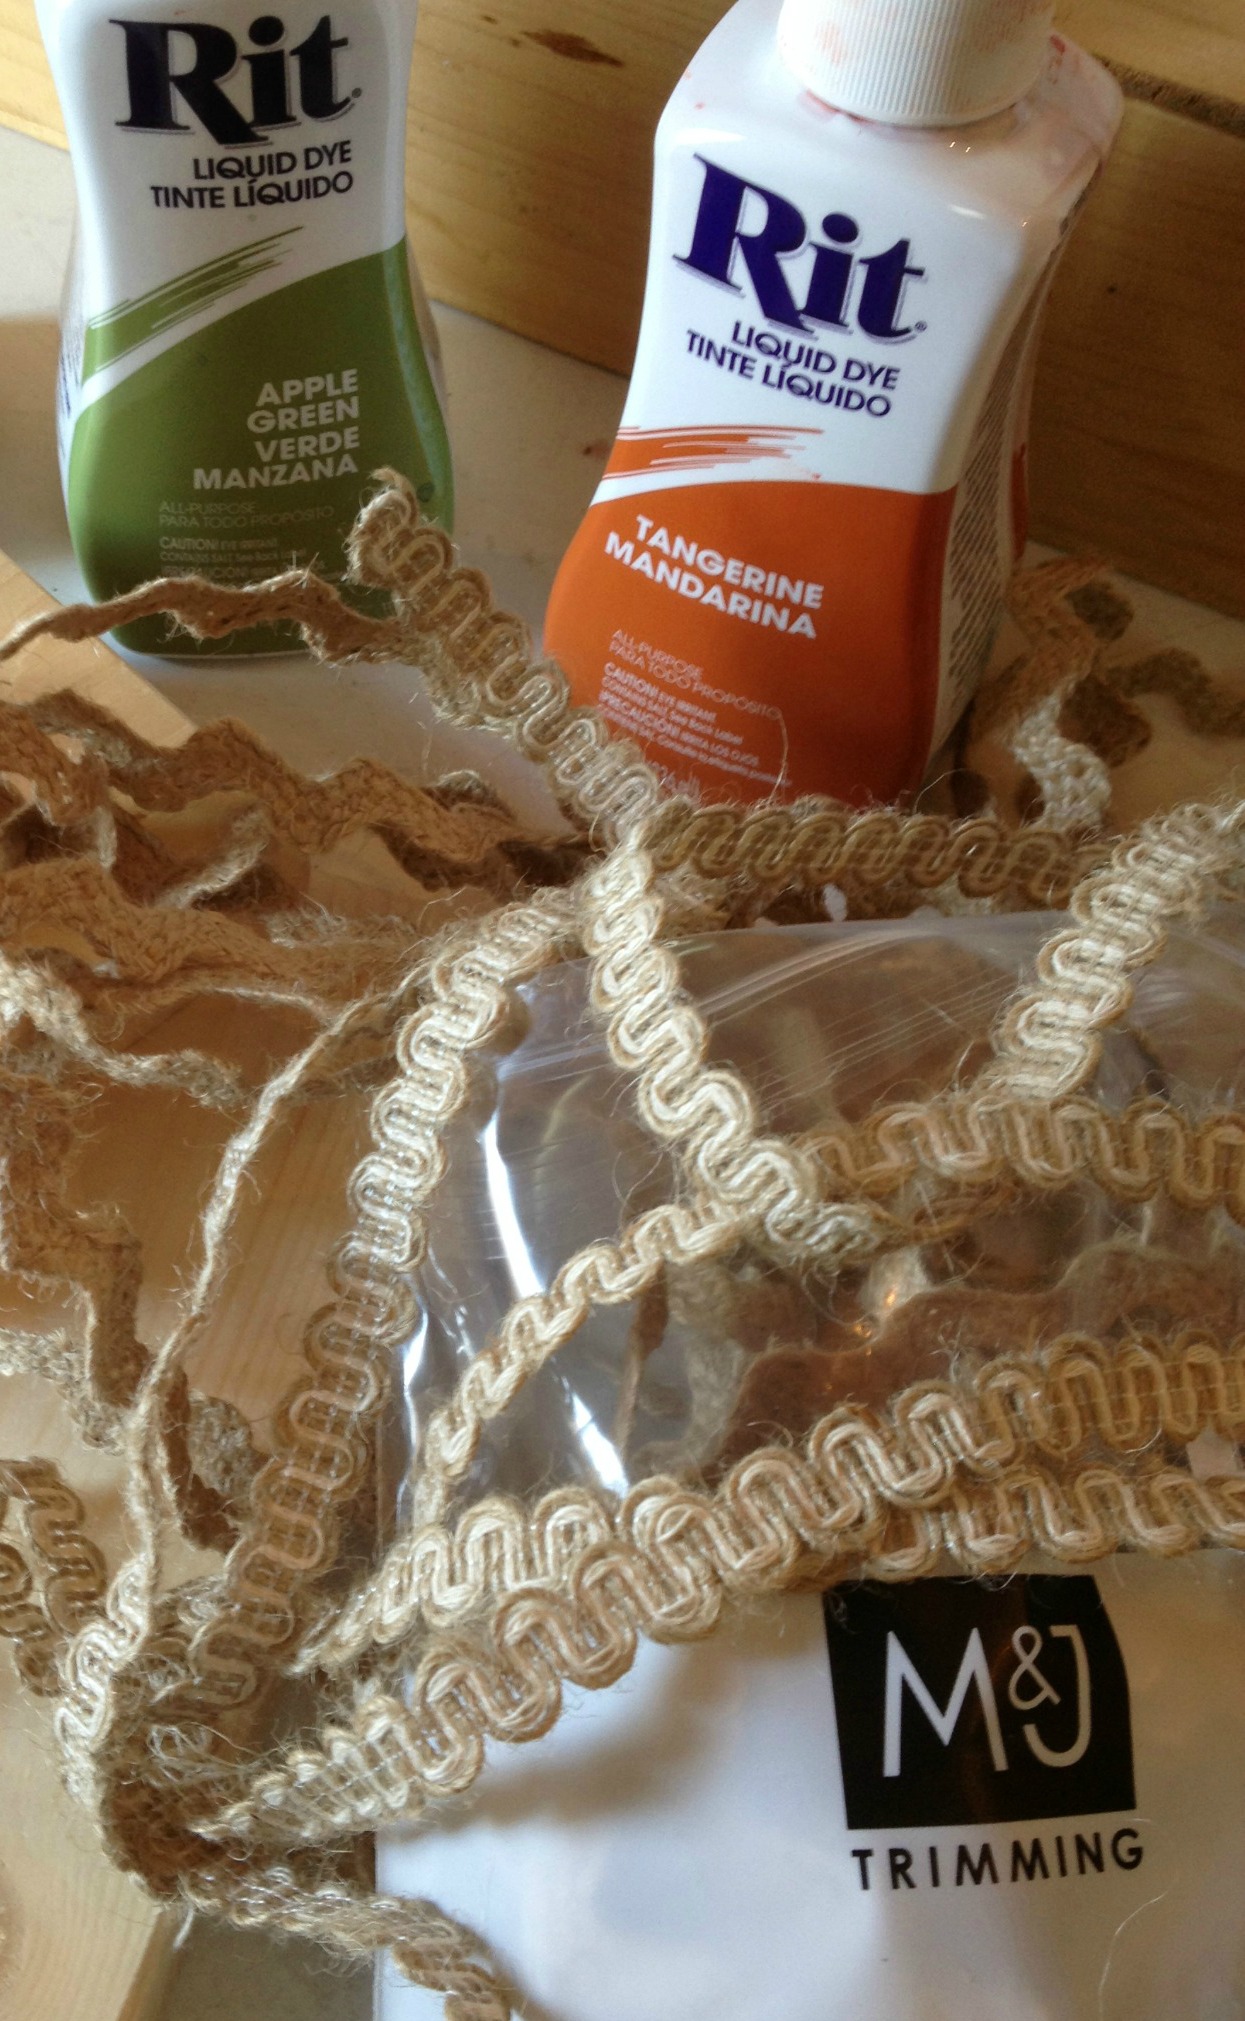
- Rit Dye in two colors (Tangerine and Apple Green) liquid or powder
- Burlap trim, fabric scrap and rosette
- AdTech Hot glue gun and glue sticks
- Covered working area, rubber gloves and sand paper
Directions to make the Wooden Pumpkin Crafts:
- Sand any rough surfaces. Dust off any excess. Dip dye the wooden frame in Rit Tangerine dye. Allow the frame to dry completely on a covered surface.
- Dip dye the trims in Apple Green Rit dye. Allow trim to dry completely. Use the hot glue to attach the trim around the frame to create a band. Attach the fabric scrap strips as the leaves and tendrils on the top of the frame.
- Using the hot glue gun, create a stack of brown buttons to resemble a stem.
I created a button stack for a stem with my Laura Kelly Bold Brown buttons and love the way the stem turned out.

To find out more about making a whole patch of wooden pumpkin crafts, visit my blog post today.
Happy Decorating for Halloween,
Laura
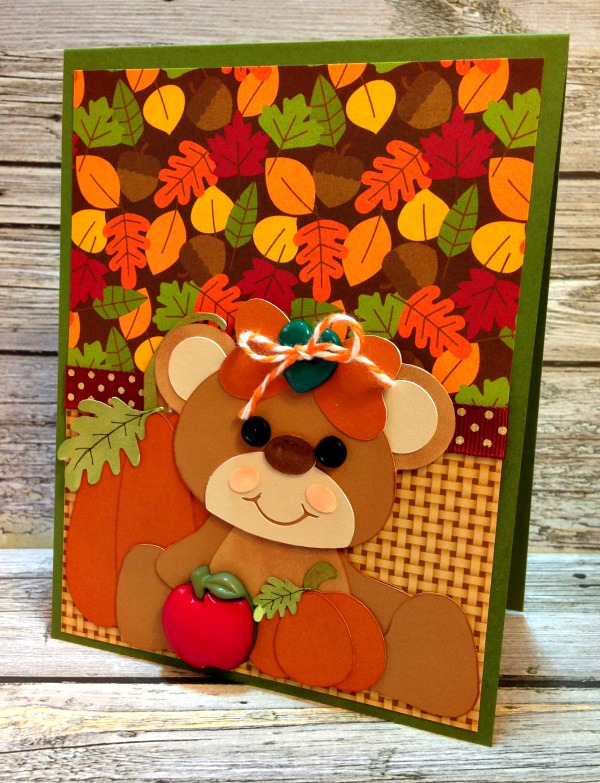
Fall Bear Card
I have had such fun looking at Fall papers and designs, and fell in love with this Fall Bear and decided to paper piece with buttons to make a Fall Bear Card.
Supplies for making Fall Bear card:
- Buttons – Apple, Eyes, Bow
- SVG – Fall Bear
- Cardstock – Green – My Favorite Things; Champagne, Autumn Terracotta, Chocolate, Colonial White – Close To My Heart
- Patterned Paper and Twine – Doodlebug Design
- Ribbon – Bo Bunny
- Other – Precision Craft Cutter (for removing shank from apple button), Copics (a few of the pieces were hand colored on Colonial White Cardstock)
Instructions:
- Prepare a card base – 4.25×5.5 from Green Cardstock.
- Create a panel with patterned paper from Doodlebug Design. Wrap Bo Bunny dotted ribbon around this panel and attach panel to card base.
- Cut and prepare pieces. Assemble and adhere to card.
- Add Apple from “Off to School” assortment, “Micro Buttons” for the Eyes and tie some twine through the “Heart of Color” button for the Bow.
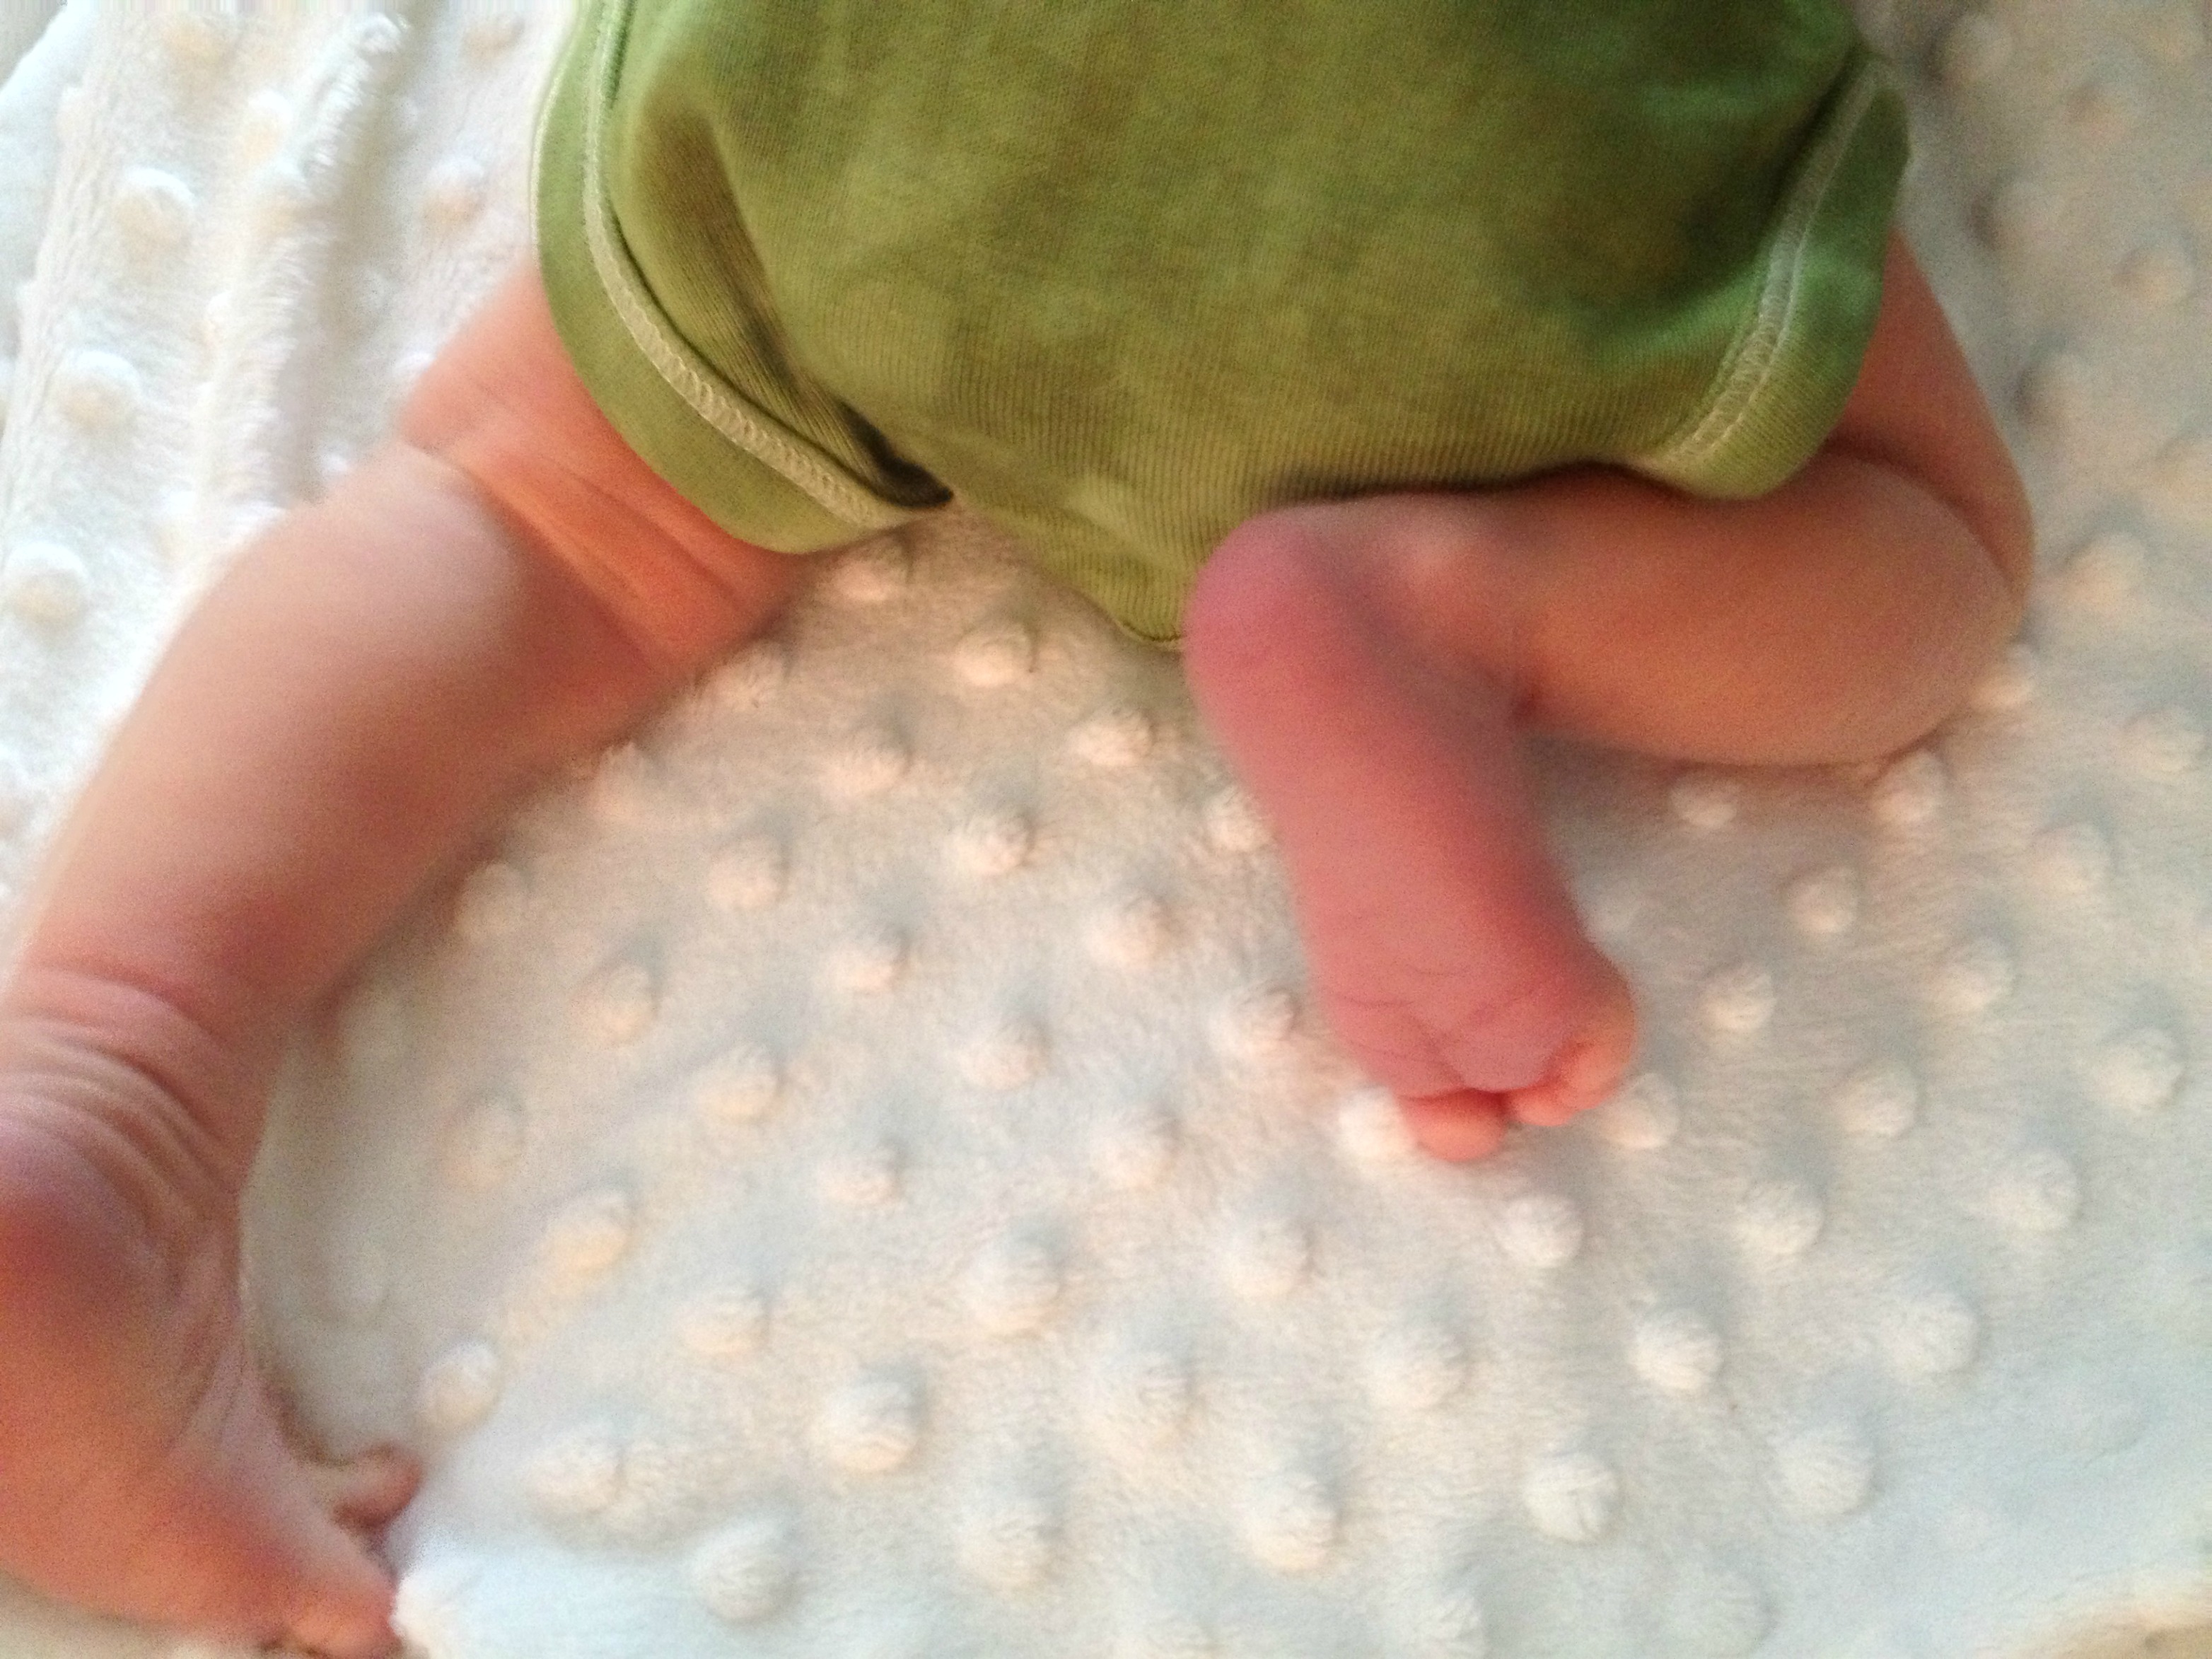
Button pumpkin onesie – Baby’s First Halloween
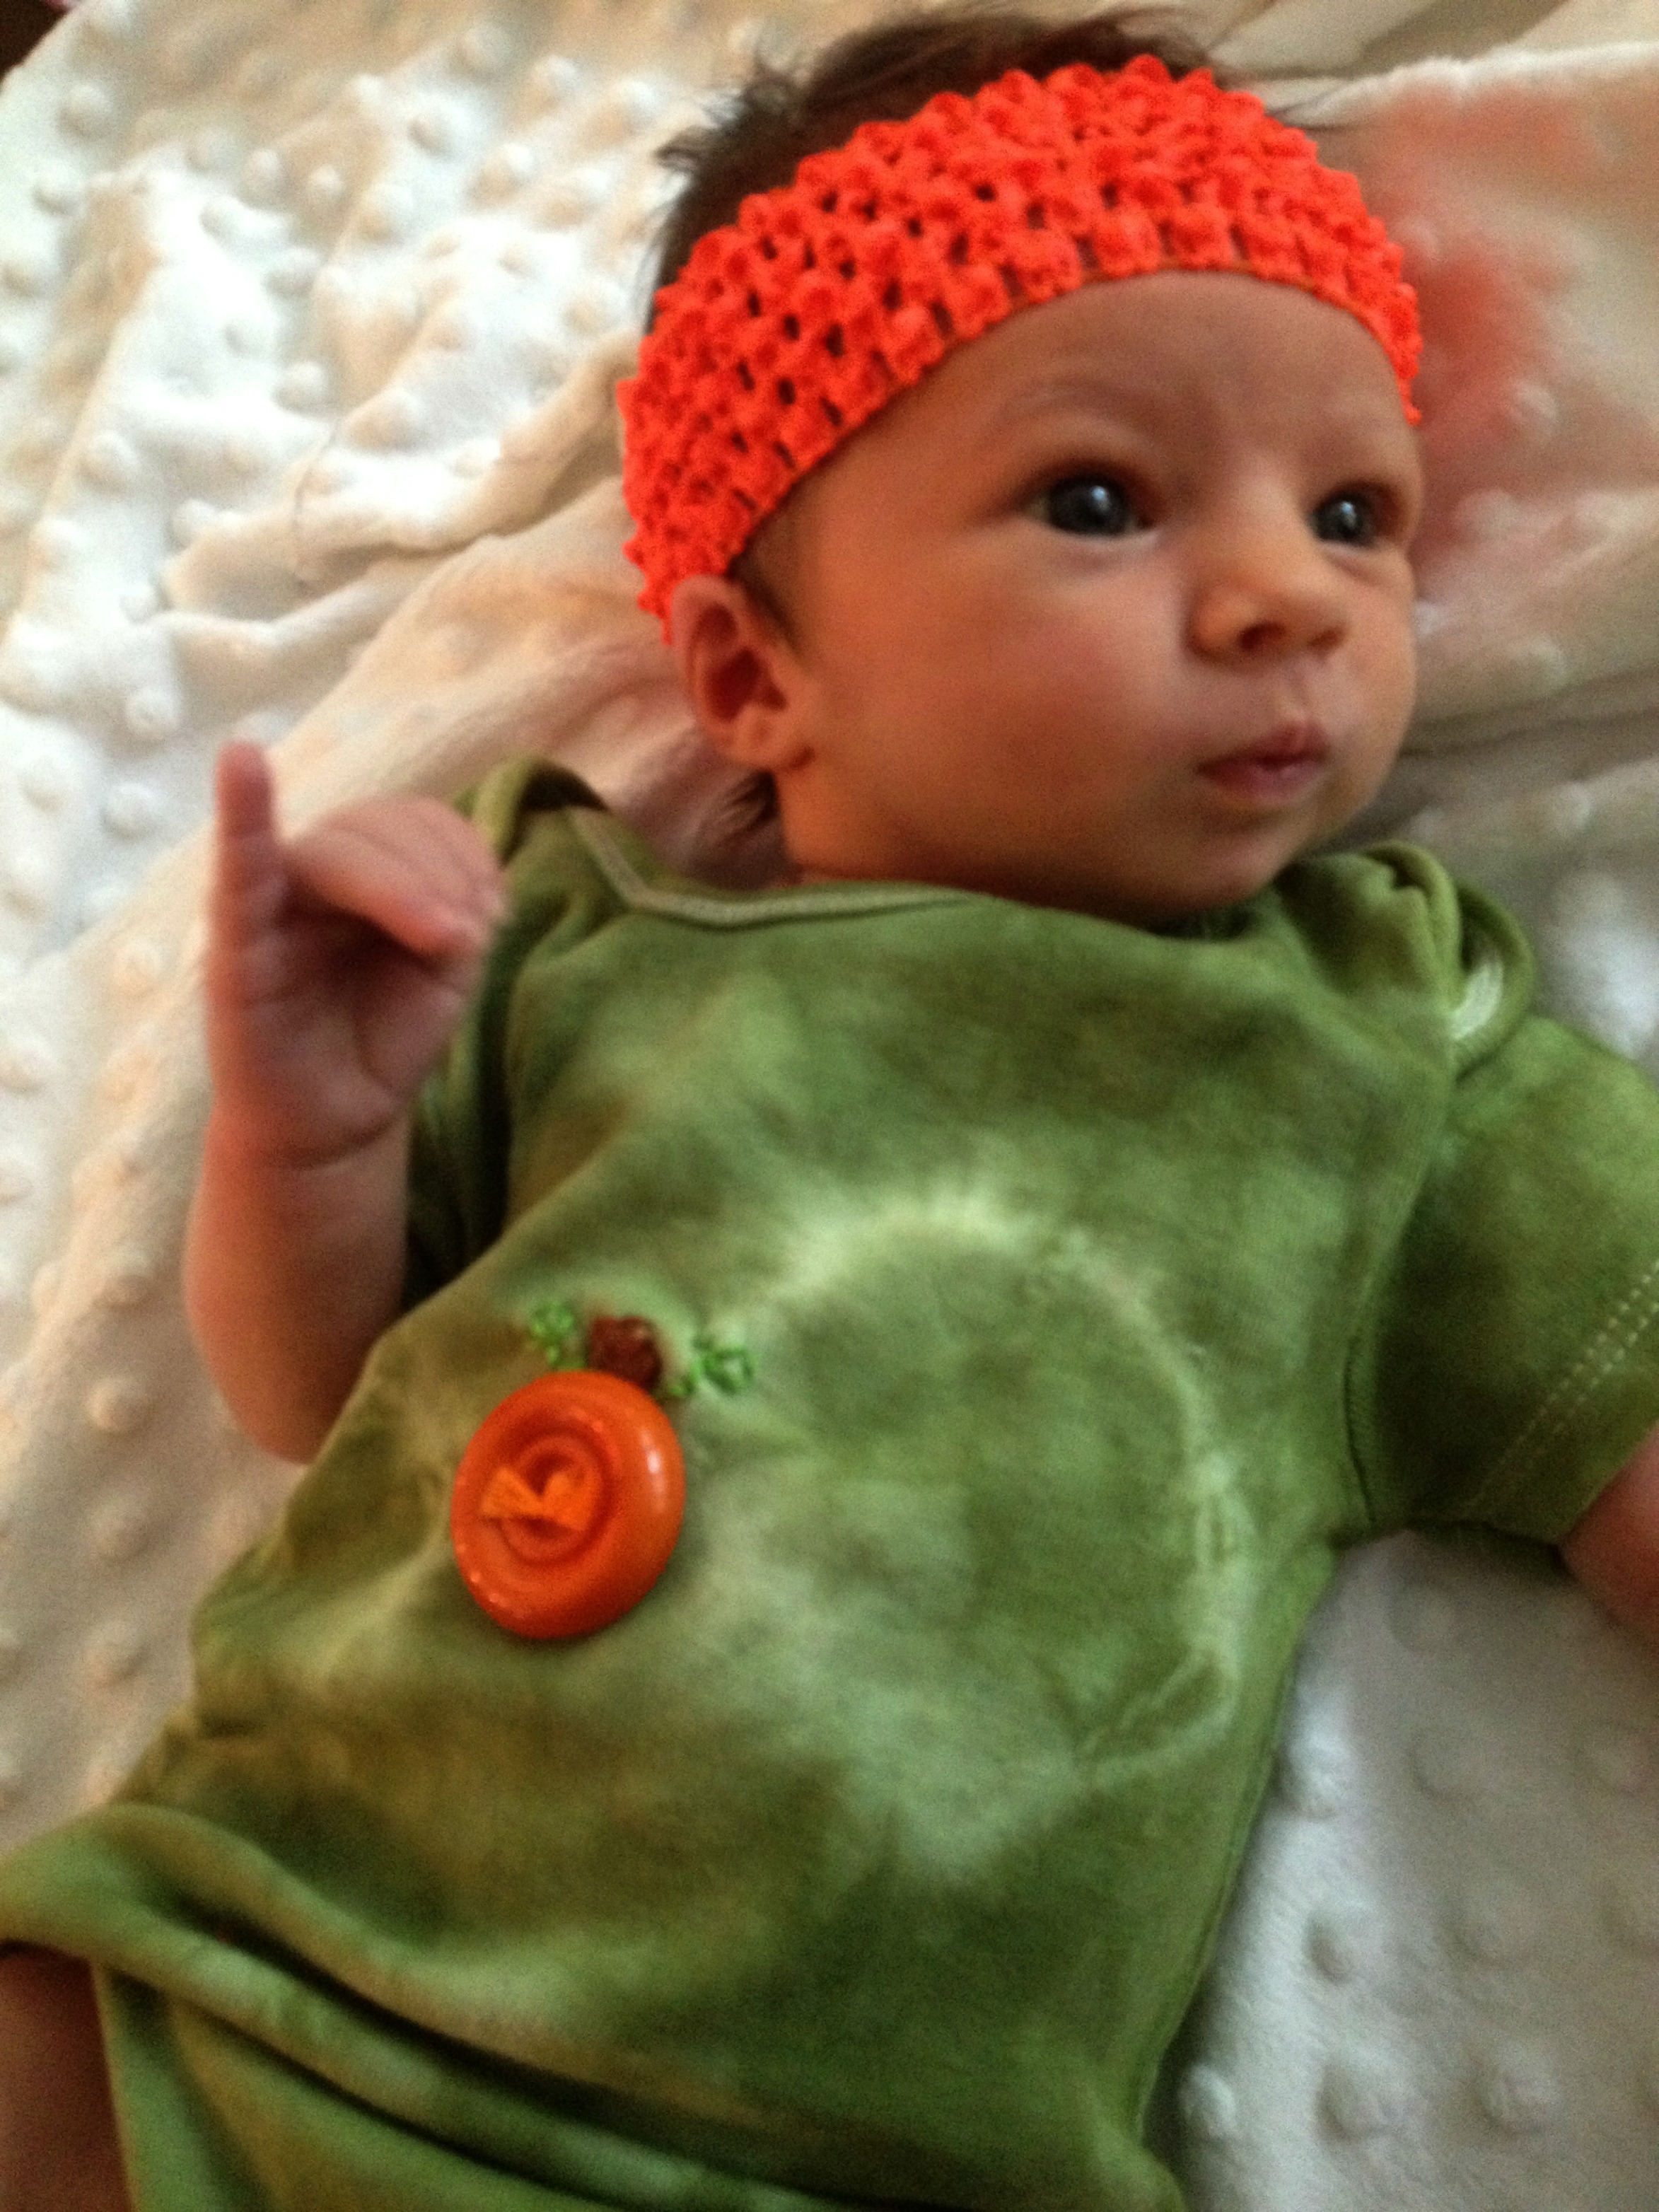
Babies are so adorable when they are dressed to celebrate the holidays. This pumpkin onesie creation for Halloween is super cute as well as quick and easy.

Directions to make the pumpkin onesie:
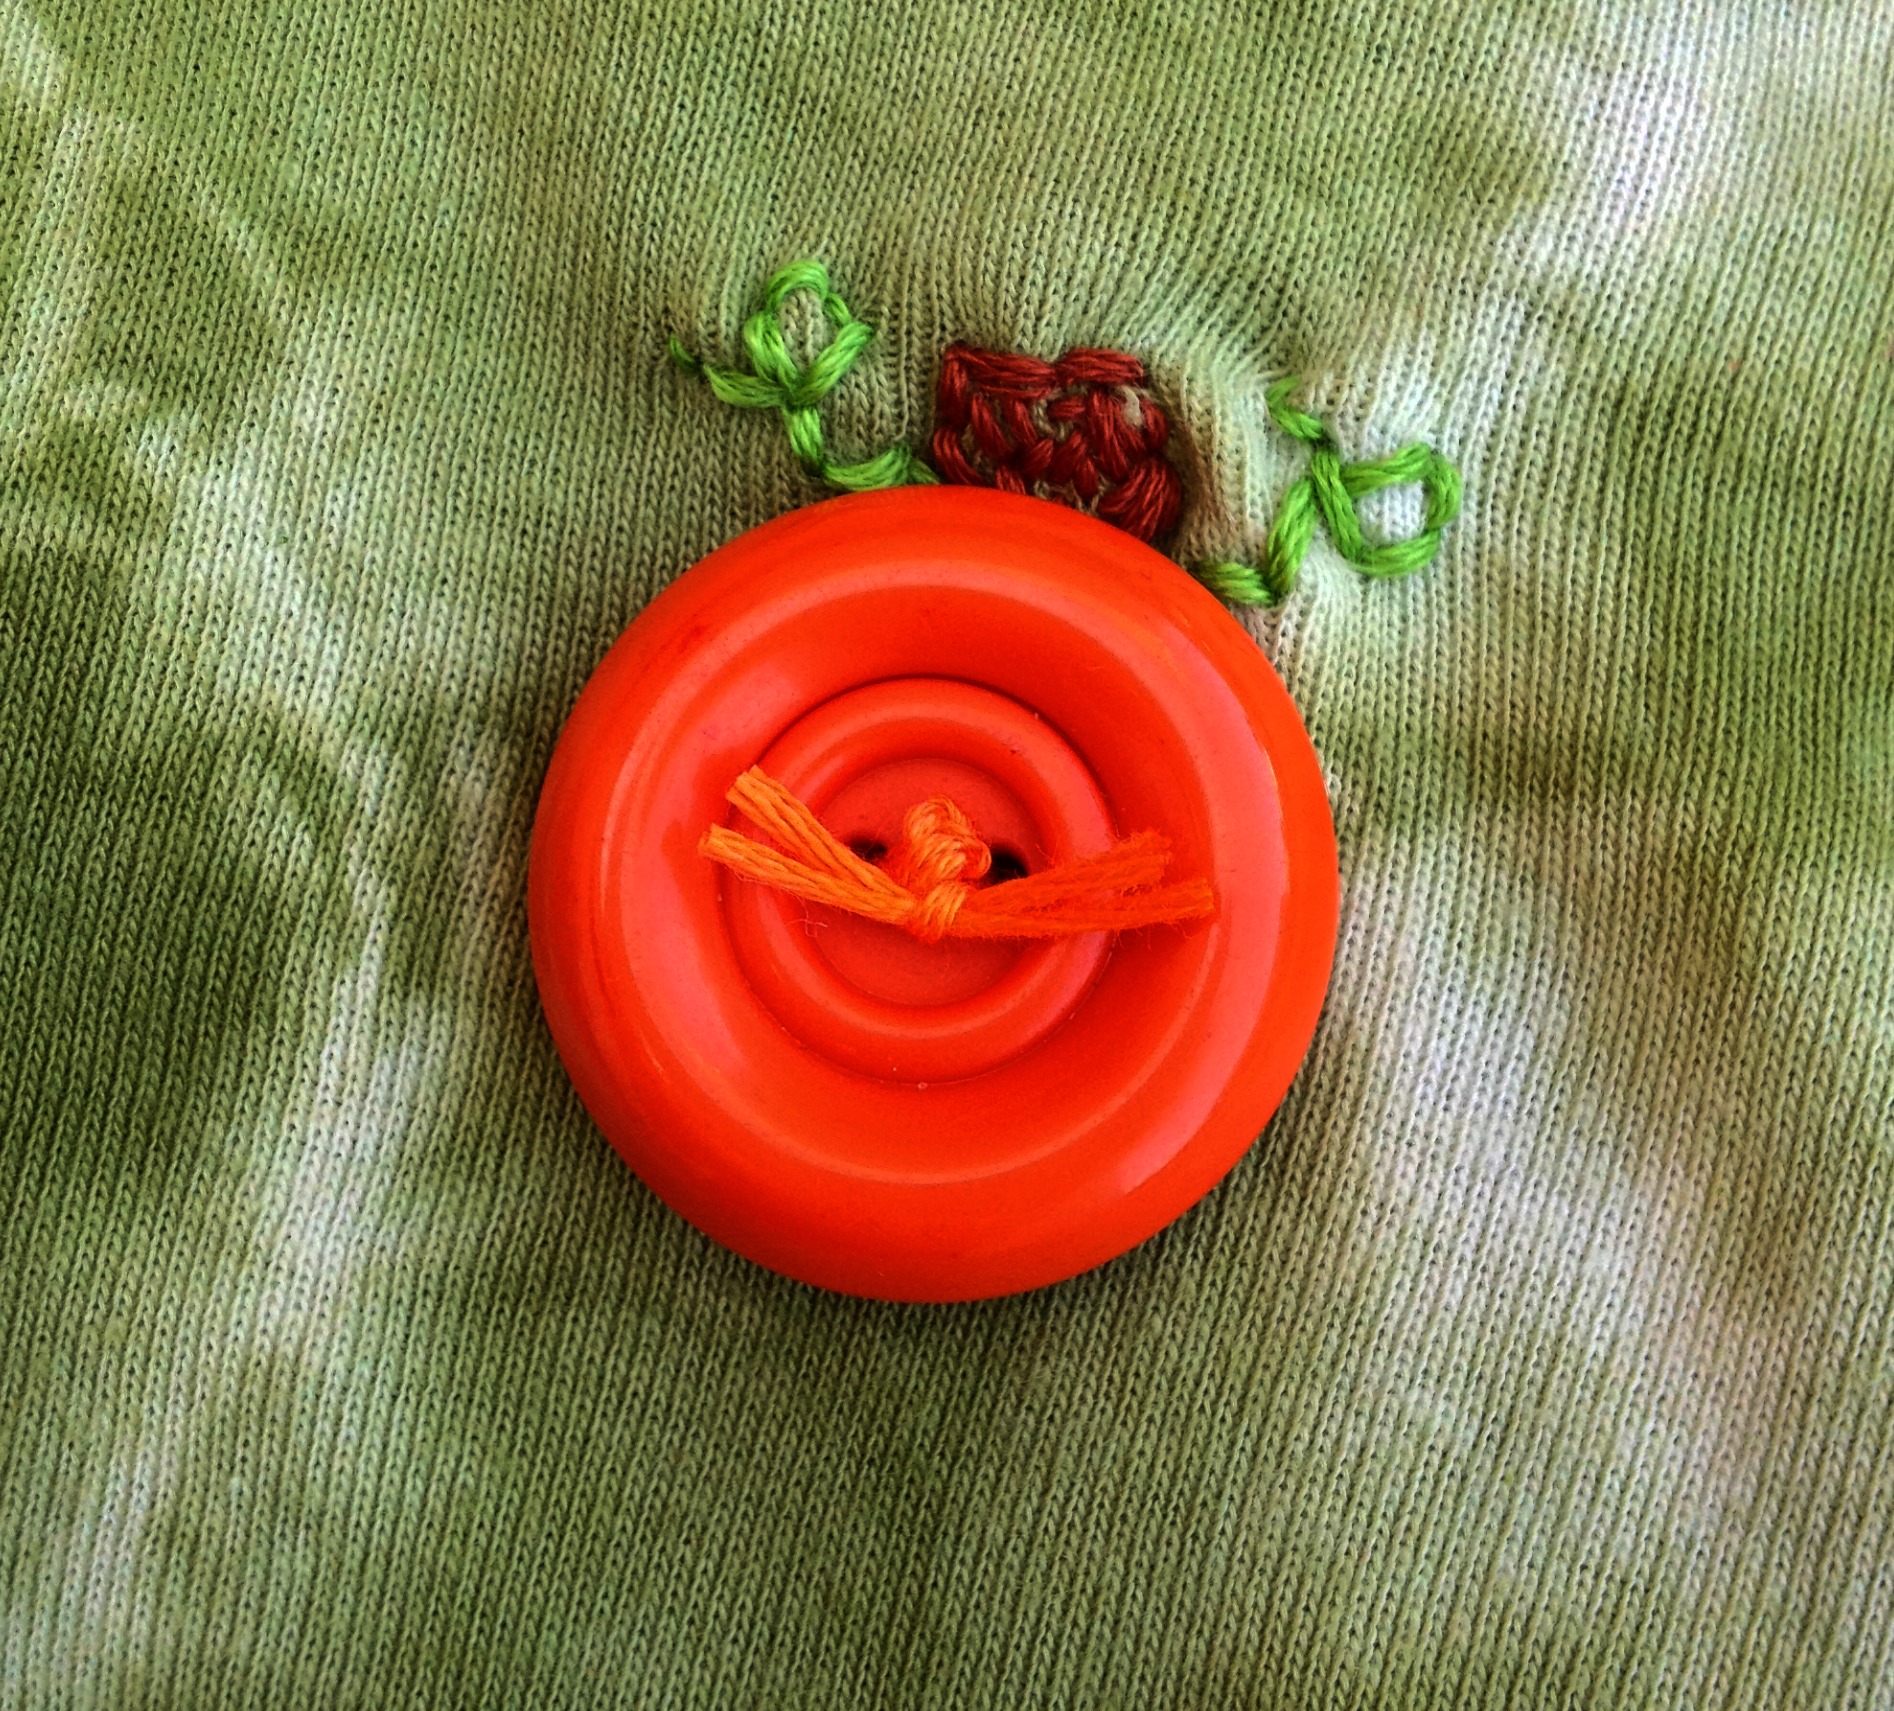
All you need is a onesie, embroidery floss and a large Outrageous Orange button . If you want to put your pumpkin on a green onesie and you can’t find one, you can dye one. That is what I did first. I used Rit Dye’s Apple Green and tie dyed it in a mason jar.

It is best to embroider the stem and vines first and then add your button. My favorite floss is embroidery floss by Coats and Clark! I think the little pumpkin is just simply so adorable. So make your little pumpkin a onesie today.
Happy Pumpkins, Buttons and Stitching,
Laura