Header

Archive | Party Planning

Make a DIY Tailgate Party Invitation with Buttons Galore

Fall is quickly approaching, and we all know that fall means FOOTBALL! Today, I will show you how to make the cutest DIY tailgate party invitation using football themed buttons from Buttons Galore. So get ready to fire up the barbecue and cheer on your favorite team!
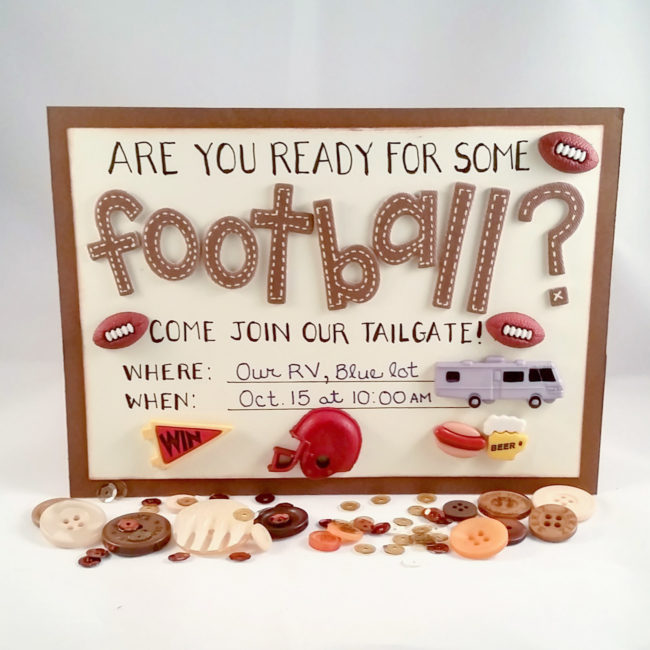
DIY tailgate party invitation

Supplies needed for DIY tailgate party invitation:

How to make a DIY tailgate party invitation:

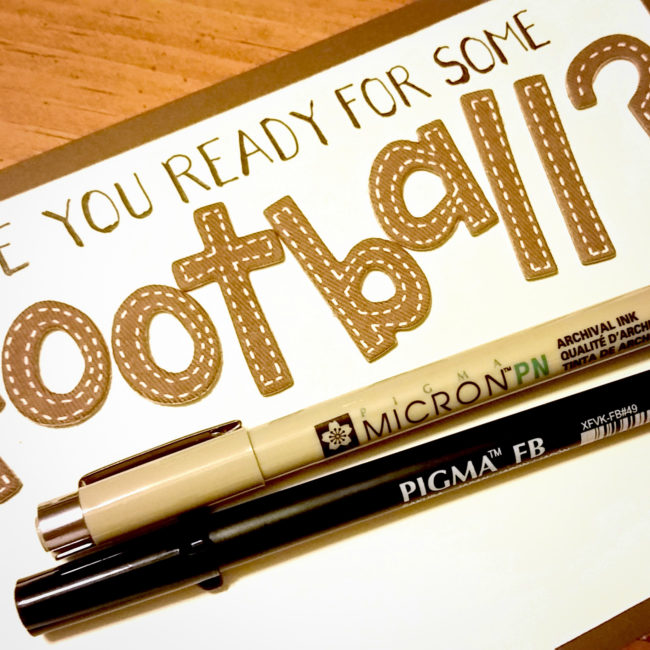
Using a paper trimmer, I cut the brown cardstock to 5″ x 7″ and the tan cardstock to 4.5″ by 6.5″. I then inked the edges of the tan cardstock with brown chalk ink to add dimension. I used a tape runner to attach the tan cardstock to the brown cardstock to make the base of the invitation. Next, I hand lettered the words on the invitation. I used a fineline pen to do the lettering, then used a brush pen to darken all my downstrokes. This is an easy way to make your hand lettering look great, even if you aren’t that good at it! The word “football” made from alphabet stickers was then added.
DIY tailgate party invitation

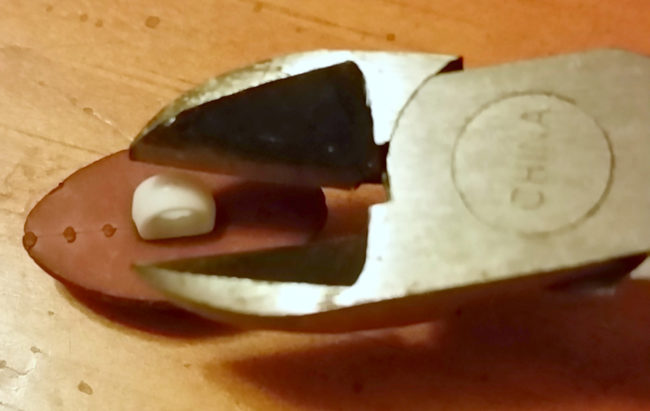
I then chose the buttons I was going to use. Most of these buttons had shanks on the back. In order to use them on a flat surface like this one, I had to remove the shanks. This is easy to do using a button shank remover or a pair of side cutters. I clipped off the shanks, then attached the buttons to the invitation using red line tape. This tape is strong enough to hold these buttons securely!
I placed the buttons all around the card in the white spaces. The buttons give this invitation a fun feel and cool dimension that you just can’t get with any other embellishments… plus they are absolutely adorable!
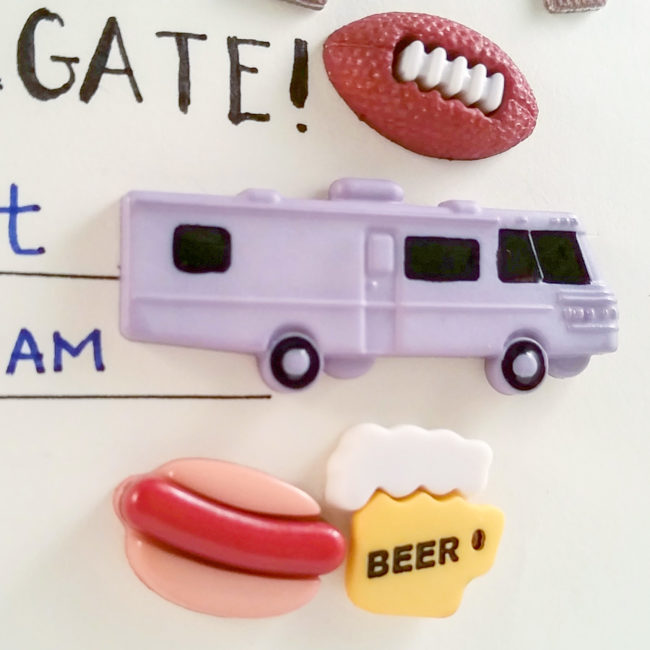
DIY tailgate party invitation

Your guests won’t be able to resist this super fun invitation! Go team!

SaveSaveSaveSave

0

Quick Flower Banners for a Girl’s Room

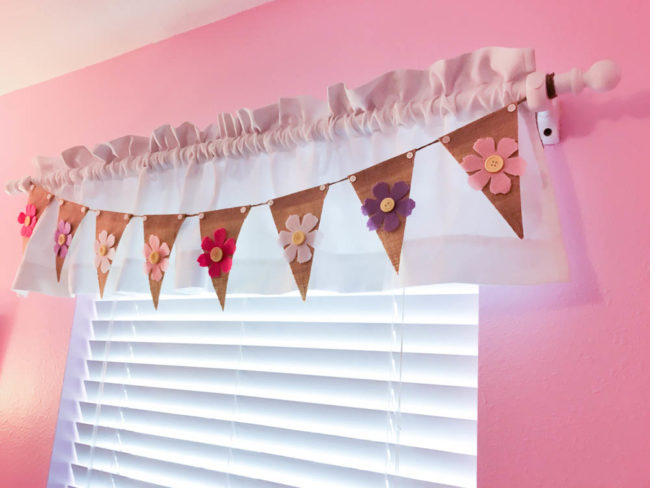
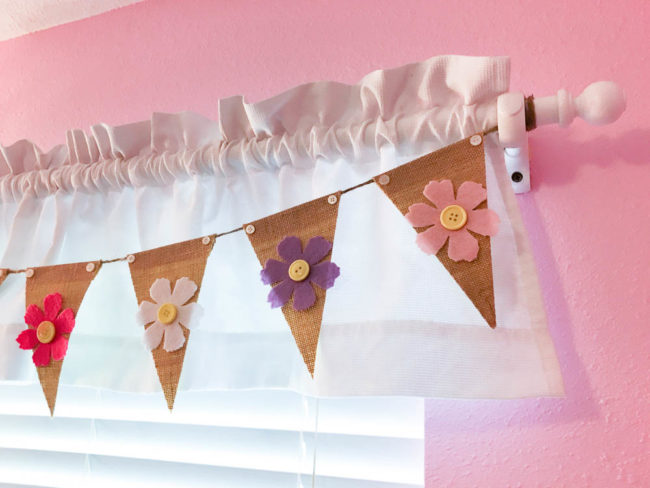
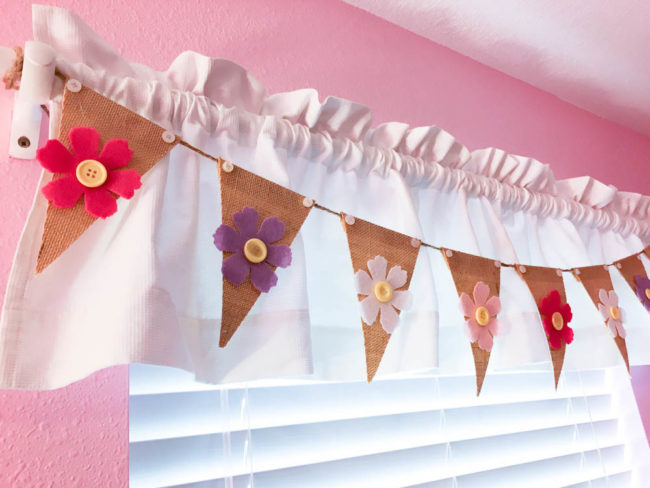
Buttons are a great way to add detail to home decor projects. This flower banner project uses them to finish off the flowers and banners that make a plain valance into a pretty accent for a girl’s room.

Flower Banner

Supplies:

My daughter’s room has had this simple white valance since I first designed her nursery before she was born. She’s nearly 14 now, and it seemed time to change it up a bit. She loves everything with flowers, so I thought a flower banner would be an easy and fun way to add some more color to her room.

Flower Banner-1480

To make this flower banner, cut the number of triangle banners you think that you’ll need from burlap or cotton fabric. Die cut the flowers from felt and  hot glue them to the front of the banners. Hot glue a button into each flower center to finish it.

Cut a length of jute twine that is long enough for your window. Fold over the top of each banner, lay the string into the crease, and hot glue the fold down. Once all of the banners are glued onto the string, finish each banner with two buttons.

Flower Banner-1478

If you are decorating on a budget – or even if you aren’t – this is a great way to add some style to a simple valance. And because it isn’t permanent, it can be easily removed for washing the valance, or redecorating. Make one today!

2

Easy DIY Flower Placemat for Easter & Mother’s Day

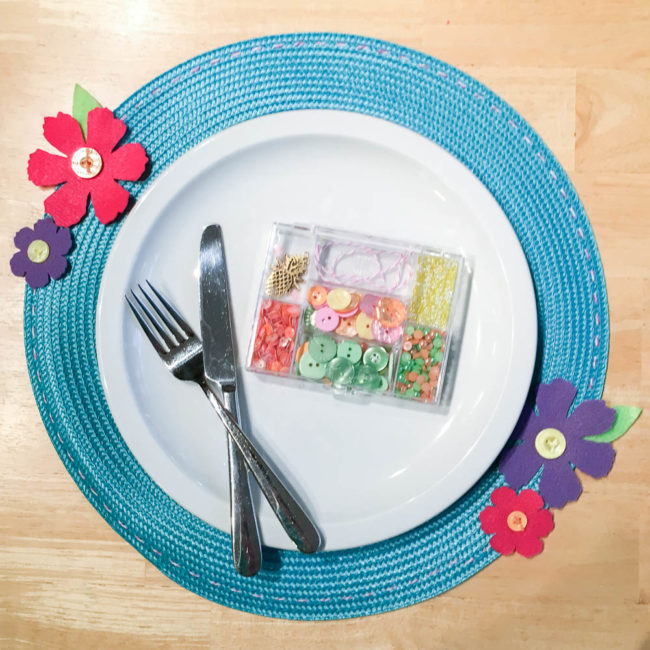
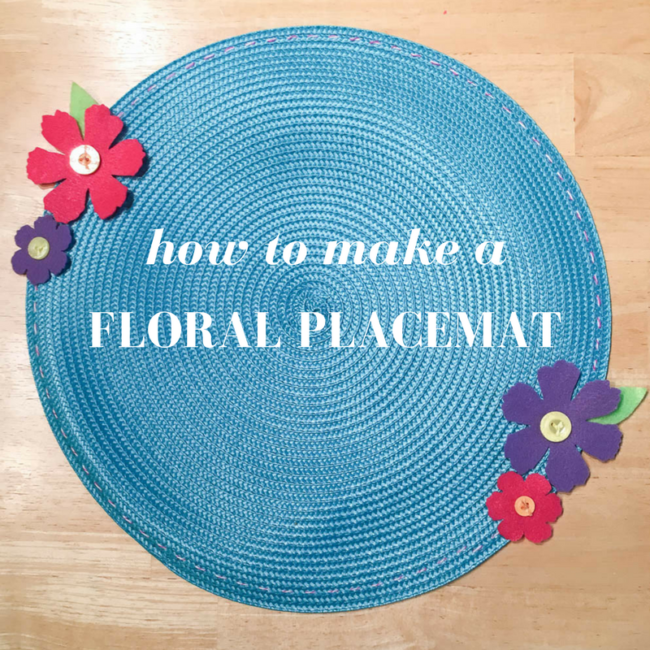
Spring means lots of special occasions! This flower placemat design is great for Easter, Mother’s Day, or for making a birthday girl feel extra special – and it’s super quick and easy to make!

Easy DIY Flower Placemat

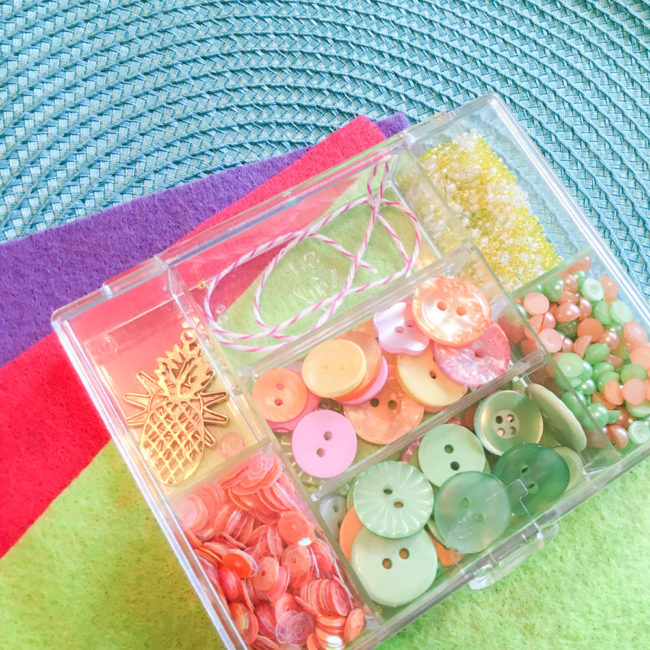
This flower placemat uses supplies from the popular 28 Lilac Lane “Tropical Twist” kit. You can tell that it’s definitely one of my favorites since many of the supplies are used from it! Although the name of this kit, and its themed charms, are definitely summer themed, this project is a great reminder to look at your kits not just as themes but as color palettes as well.

Easy Floral Placemat color palette

Supplies Needed:

To start making this flower placemat, get out a large needle. Thread it with the baker’s twine from the Tropical Twist kit, and stitch around the outside edge of the placemat. (I recommend doing this is several short lengths to avoid abusing your twine and for efficiency.) To make more than one placemat, use embroidery floss for this step as the kit only contains enough twine for one.

Next, use a flower die to cut flowers out of felt (or hand cut your own). Use scissors to hand cut the leaves.

Easy Floral Placemat close-up

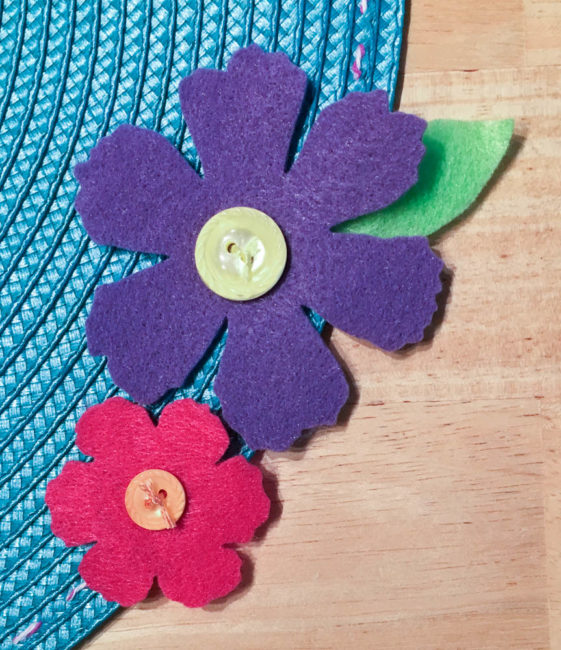
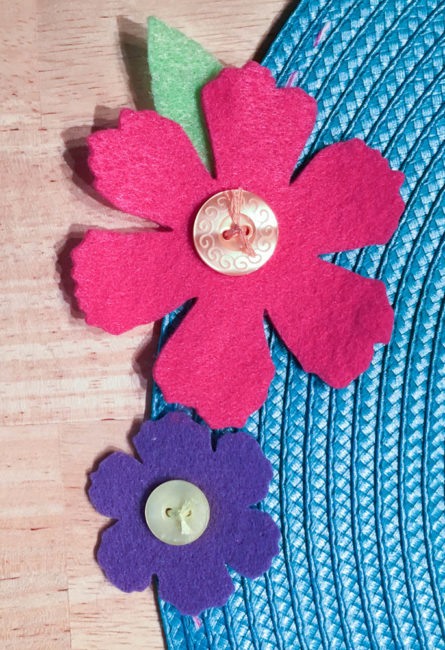
Position your flowers, and select buttons from the Tropical Twist kit to create their centers. Stitch through both the buttons and the flowers with a needle and embroidery floss to attach the flowers to the placemat. Use a needle and thread that matches the felt to stitch the leaves in place under the edges of the flowers as well.

Easy Floral Placemat close-up

Whether the occasion is Easter, Mother’s Day, or something else…this flower placemat will definitely brighten your spring table!

Flower Placemat graphic

0

Don’t miss our Creativation Booth Projects!

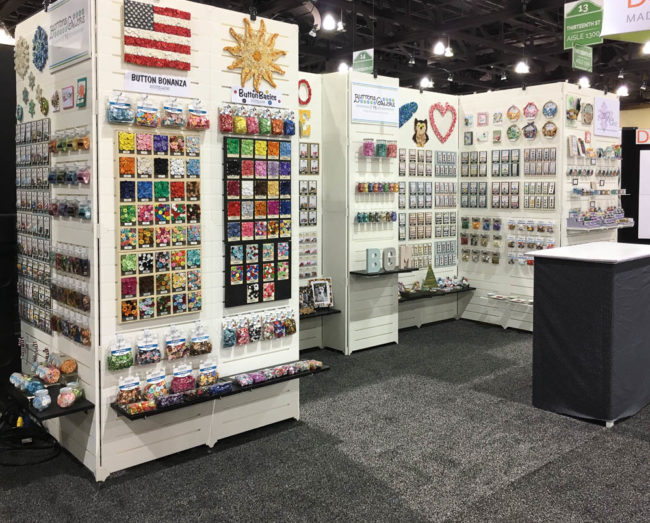
One of our favorite things about attending shows is the chance for our staff and some talented craft designers to show off in our booth the beautiful range of possibility that can be created with Buttons Galore products. So today, for those who weren’t at Creativation, we’re going to give you a peek into our booth at the show to see all of the gorgeous inspiration we shared!

Buttons Galore Creativation 2017 booth

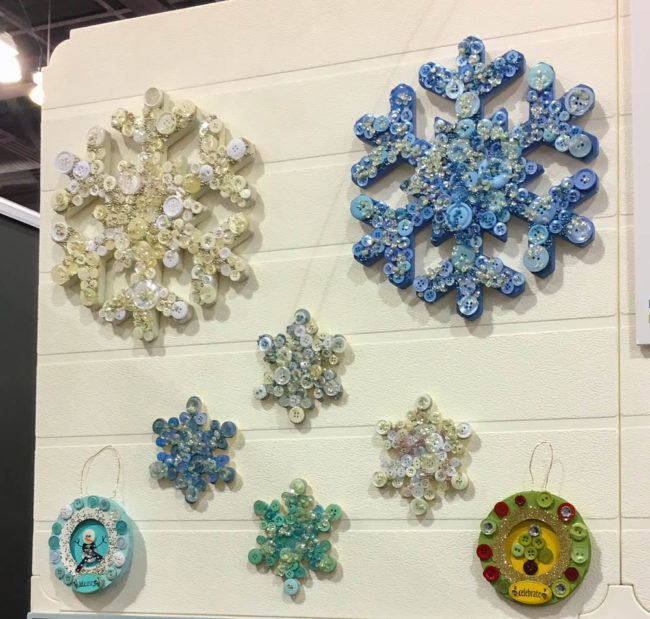
It may have been warm in Arizona, but inside the convention center it was snowing a blizzard in our booth! These snowflakes, created by Buttons Galore staff, show that buttons make gorgeous snowflakes of all sizes from tree ornaments to wall art.

Button Snowflake Wall Art

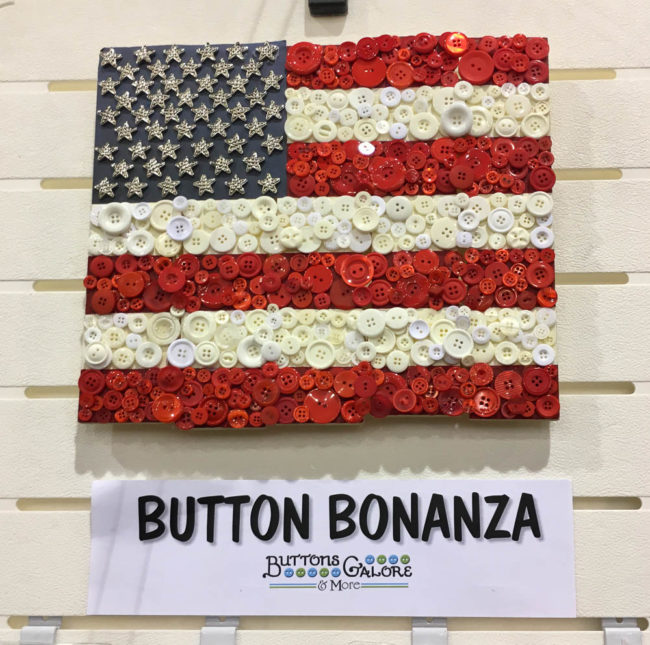
This American flag wall art piece, also created by Buttons Galore staff, combines our bulk buttons with our 3D decorative star buttons. It’s perfect for holiday decor for occasions like July 4th, or leave it up all year round for a patriotic touch of homespun decor.

button flag wall art

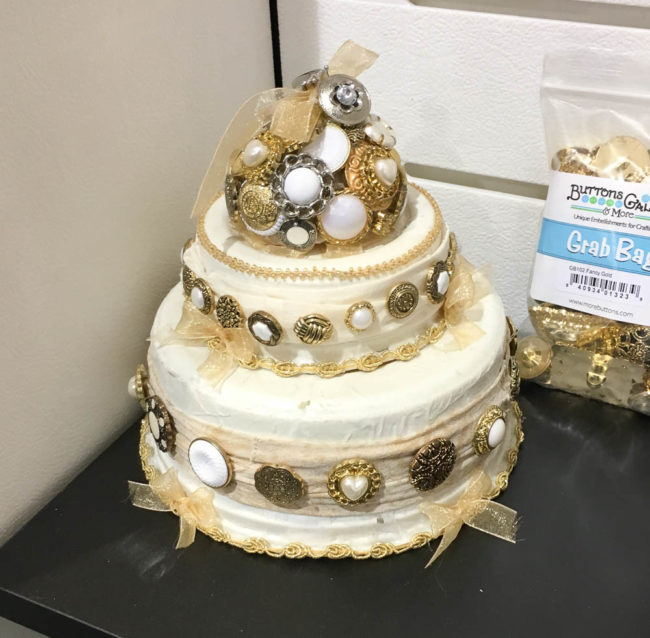
Speaking of special occasions, our decorative button grab bags are a beautiful and affordable option for creating decor for events like showers and weddings! This button cake, created by designer Jen Goode, is perfect for decorating a buffet table.

Button Cake Decorations

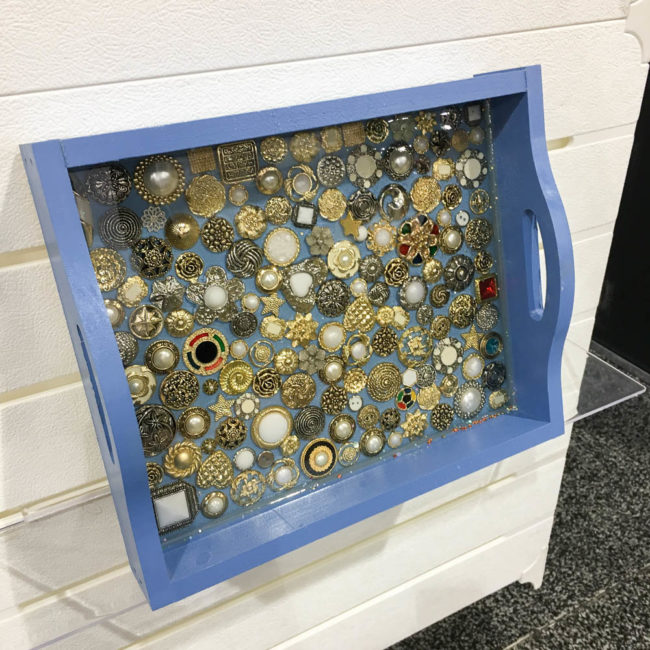
Love to entertain? Our decorative 3D buttons will make your tea time, cocktail hour, or coffee break oh so elegant! This tray project, by Buttons Galore staff, is quick and easy, too!

Button Tray

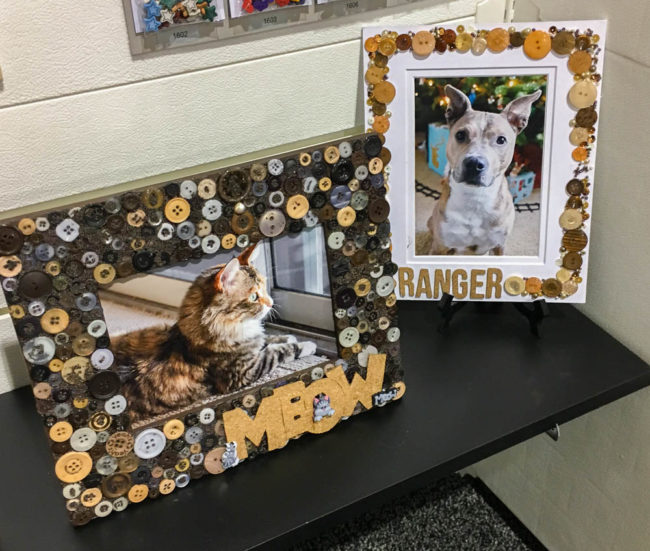
And let’s not forget our furry family members! Our booth went to the cats and dogs with these fun frames to display your favorite picture of your pet cat (by me) or dog (by 28 Lilac Lane designer May Flaum). For the instructions for the cat frame, click here.

Button Pet Picture Frames

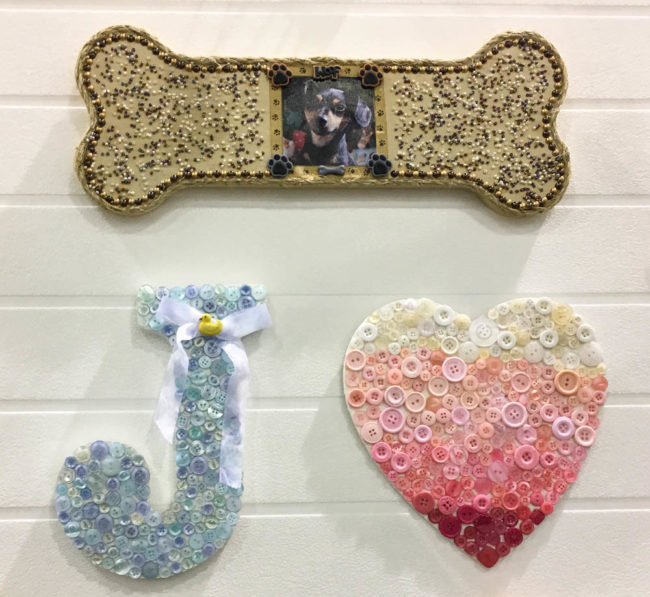
If you’d rather hang your pet photo on the wall, try out this dog bone wall art project by Buttons Galore staff!

This button monogram is easy to make and perfect for a nursery or kids room! (Click here for instructions.) Or create an ombre heart wall art piece for someone special to remember you by. (Click here for instructions.)
Button Wall Art

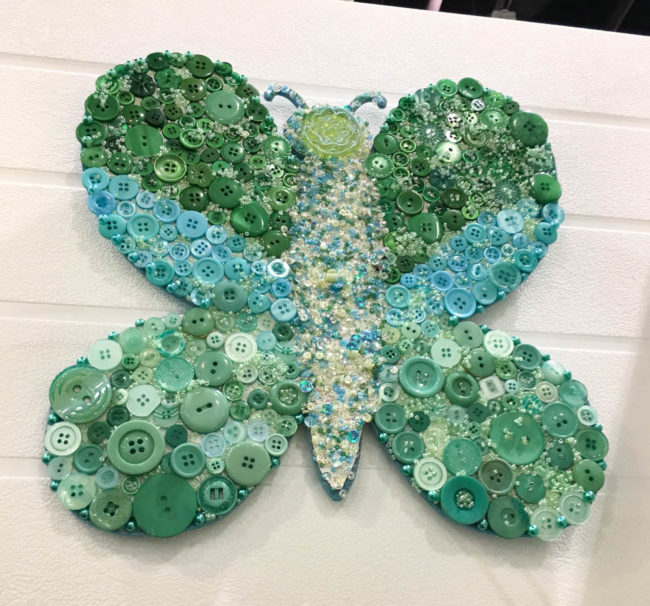
It seems everyone is in love with butterflies this season, and we agree! Our wall art butterfly, made by Buttons Galore staff, is great decor for a kid’s or teen’s room.
Button Butterfly Wall Art

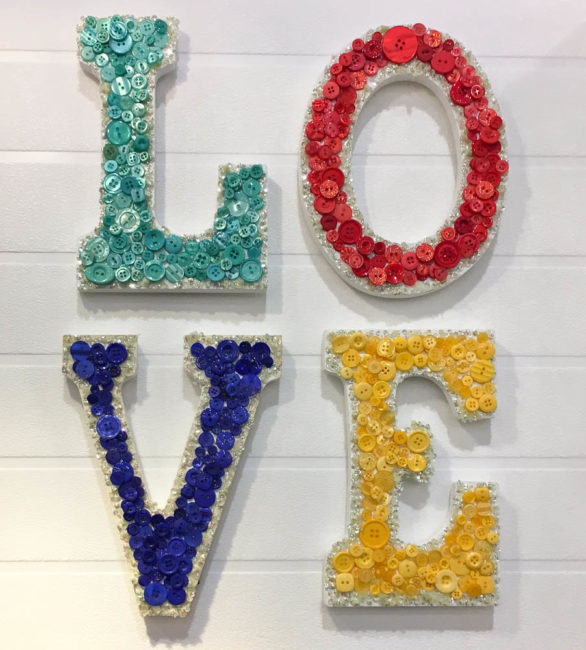
Text as wall art is very hot in home decor, and our staff decided to pay tribute to the greatest sentiment of all: love! These easy to make letters could be made in any colors to coordinate with the decor of a nursery or a shabby chic home decor.

LOVE button wall art

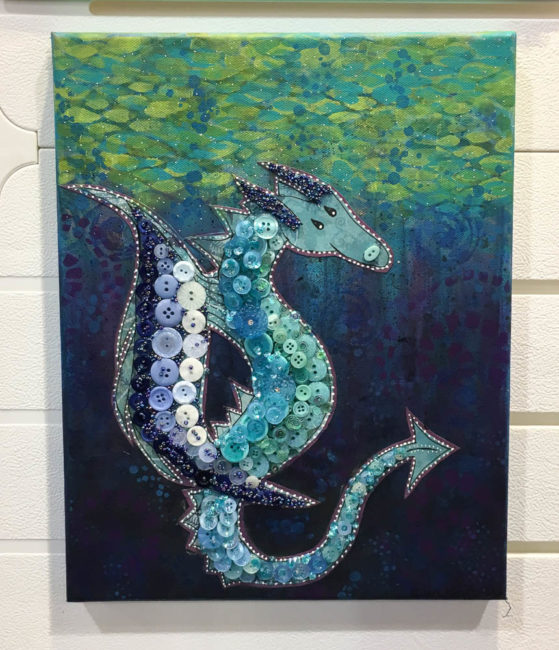
Our buttons are fabulous for working in mixed media, and designer Maura Hibbitts took them to canvas for us! This whimsical sea monster is full of texture and color!

button sea monster wall art

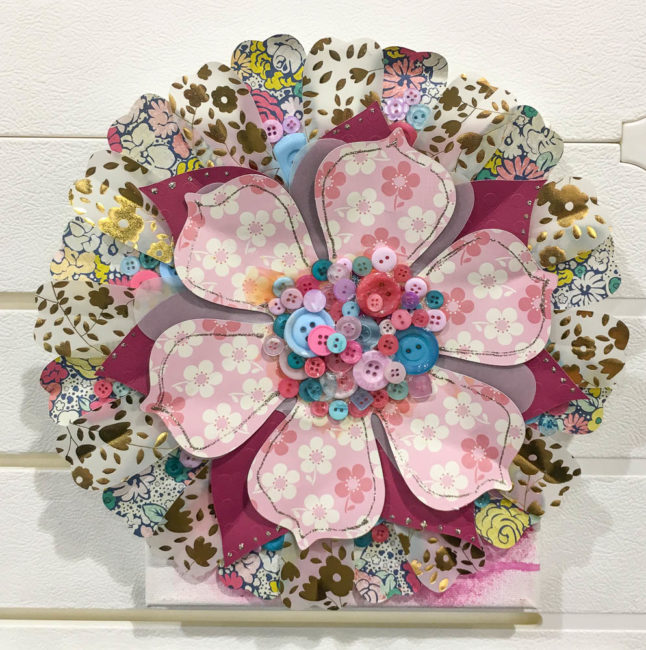
Last but not least, 28 Lilac Lane designer May Flaum shared her take on the 3D paper flower trend in our booth. Accented with a center of buttons, this flower will bring color and pattern to your walls or your party decor!

Flower Wall Art

We hope that you enjoyed this peek at some of our booth projects from Creativation! Thanks to all of you who visited to see them in person!

0

An Easy All Occasion Gift Bag with Washi & Buttons!

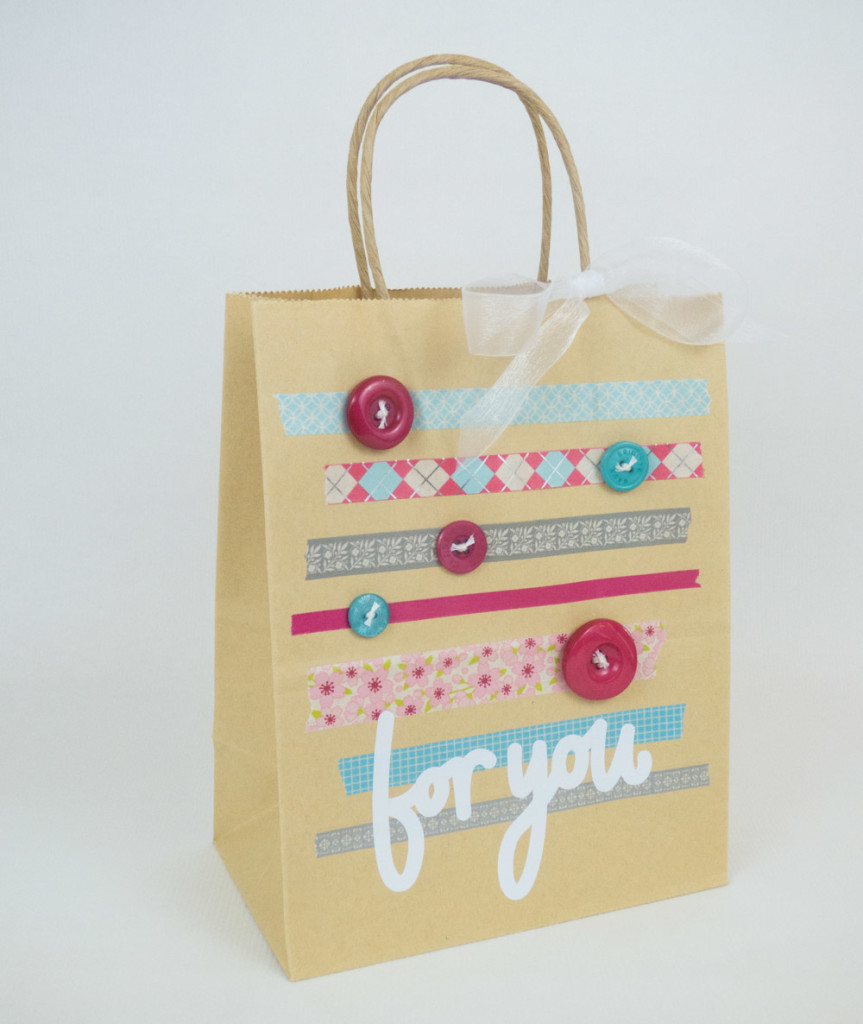
Pre-designed gift bags can easily run $5 or more, and it’s not always convenient to run out and buy one at the last minute. What to do? Craft up a solution, of course. Keeping a stash of blank bags in your craft supplies means that with a few minutes of creativity, you always have the perfect gift bag on hand!

all occasion gift bag

To make this gift bag, all you need is:

  • a blank gift bag
  • assorted washi tape rolls
  • Vacation button assortment (HB107)
  • embroidery floss & needle
  • 7/8″ sheer ribbon
  • hot glue gun
  • die cut machine
  • white vinyl & transfer tape

Making this bag is super easy:

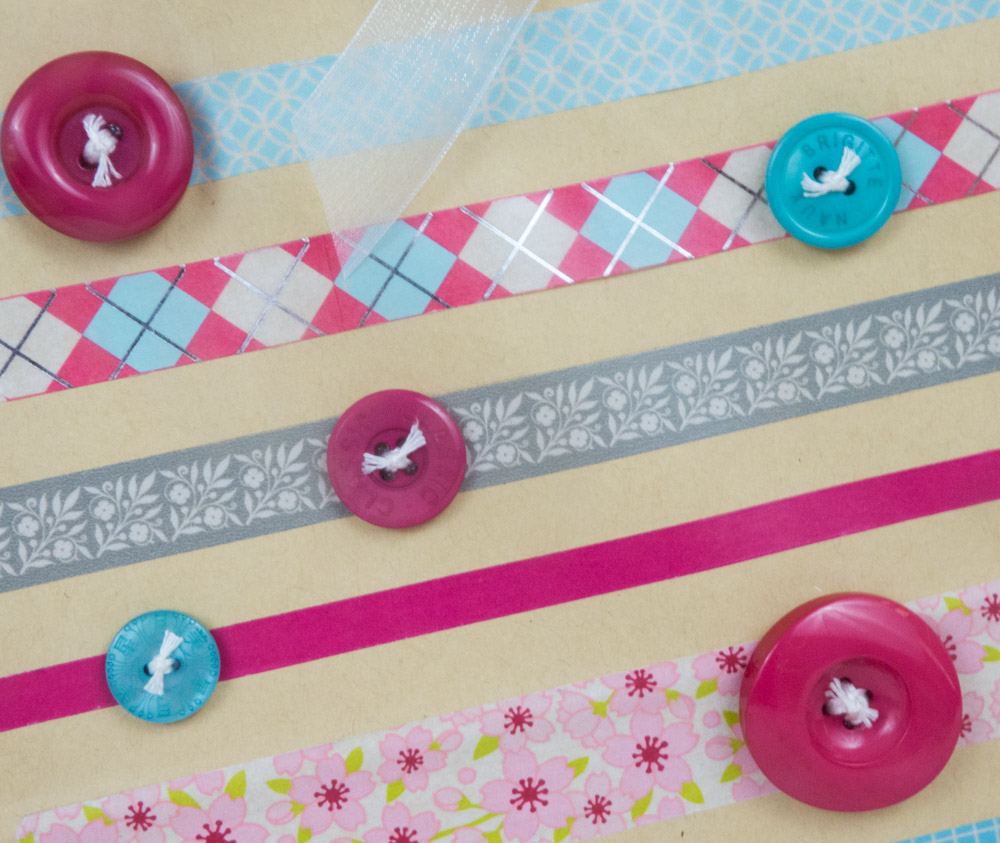
1. Start by tearing off some strips of washi tape and attaching them to the bag as stripes, varying the colors.

2. Using embroidery floss, sew thread through buttons and tie it off.

3. Attach the buttons to the top few rows of washi tape in random positions, using a hot glue gun.

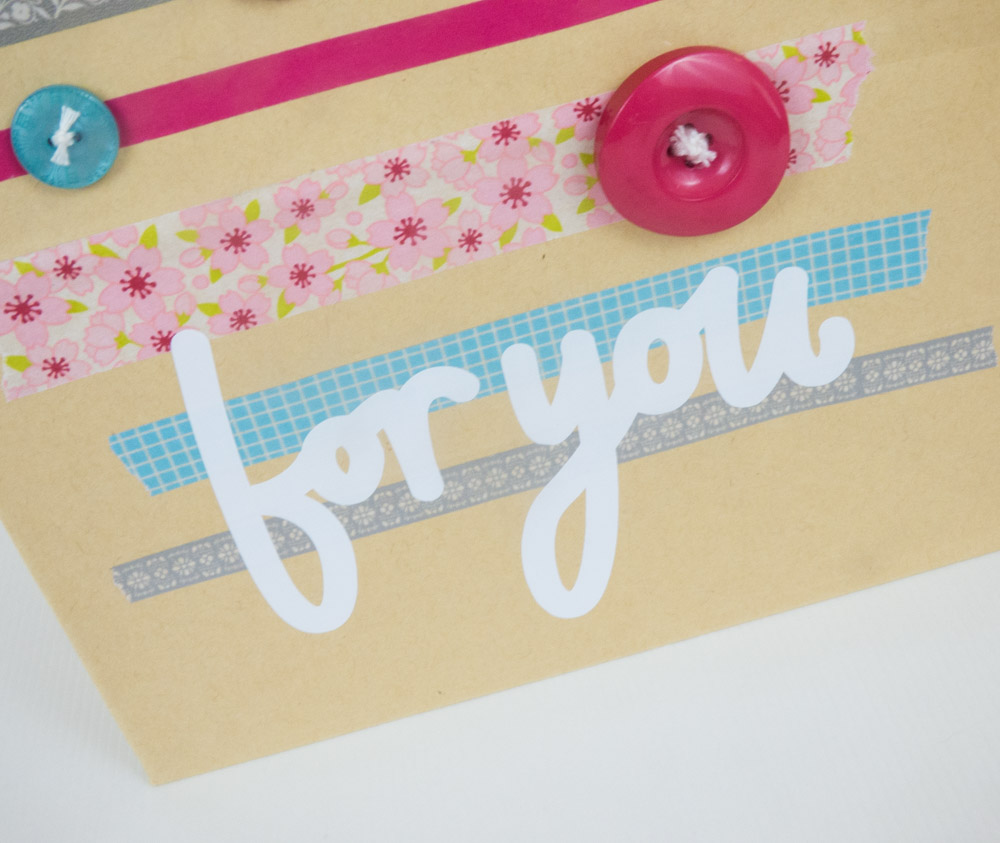
washi tape and buttons4. Using a die cut machine, cut out the words “for you” from vinyl. Use transfer tape to attach it over the bottom layers of washi tape. (I used the Cricut Explore machine for this project.)

vinyl sentiment on gift bag

5. Tie a bow from sheer ribbon around one side of the handle.

And there you have it…five steps to a fabulous all-occasion gift bag! While my bag is a generic theme, this bag design could be customized for any holiday by selecting washi tape and buttons that are themed and colored appropriately (such as red and green for Christmas).

What occasions do you use gift bags for?

0

Button Up a Decorative Pinwheel

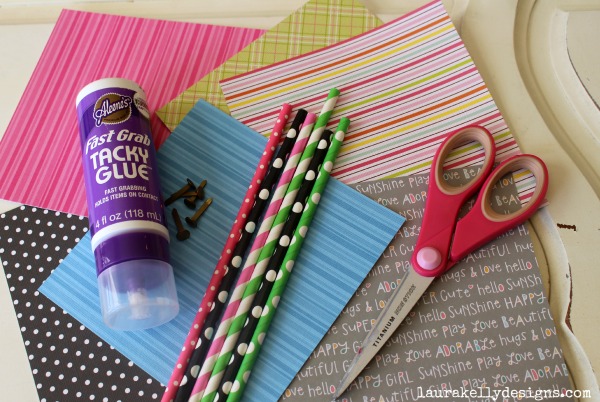
Pinwheels are so much fun for adding pizzazz and energy to decorating for parties and events.  Here are the directions to make them using just a few simple materials.  You will need the following:

  • Decorative Paper Squares (6 inches)
  • Scissors
  • Brads
  • Paper Straws
  • Aleene’s Always Ready Fast Grab Tacky Glue
  • Laura Kelly BUTTONS for Buttons Galore and More

Pinwheel_Supplies

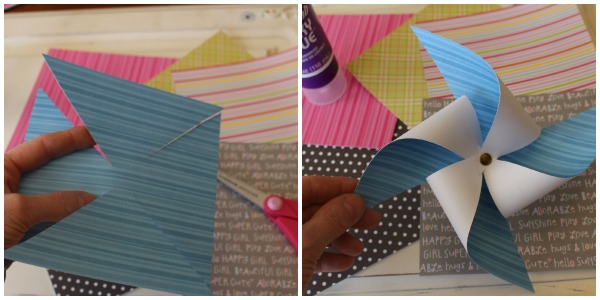
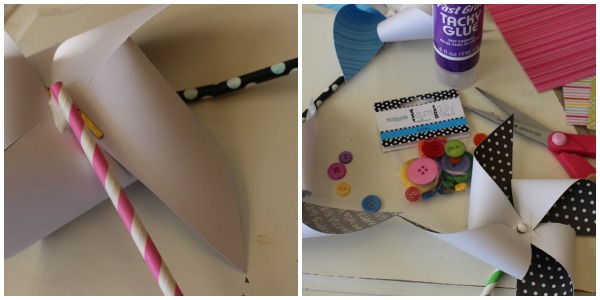
The first step is to cut from the four corners in towards the centers, stopping to leave a one inch square center that is uncut.  Then using your brad fold the first point of each corner in poking a hole through them as you go then through the center and securing with the brad in the back.

PinwheelOne_Two

Add your straw to the back and buttons to the front with the tacky glue.  The Fast Grab is great because is holds them right away.  Then allow time to dry before using them.

PinwheelThree_Four

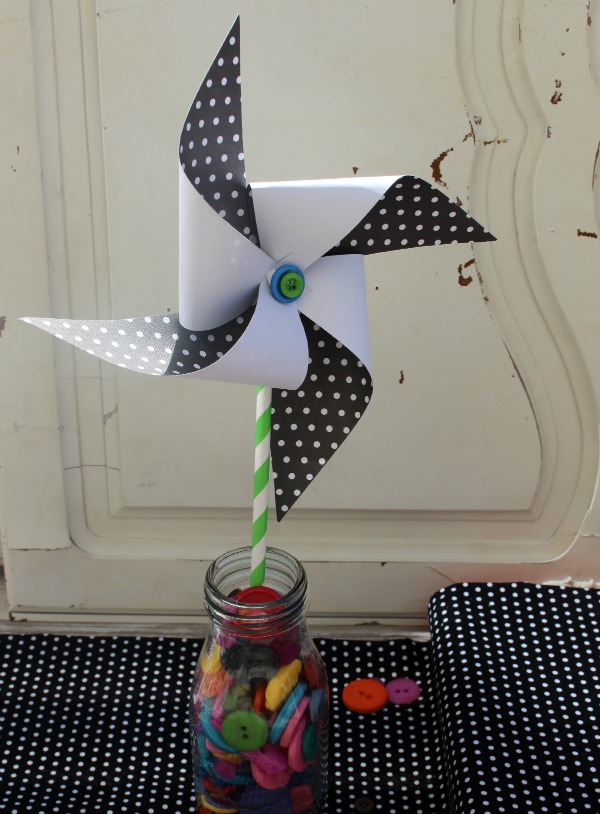
They are so bright and cheery and simply fun.

Pinwheel_Single

Cheers,

Laura

0

Cute as a BUTTON – Snacks for the Fireworks

It’s Fifteen MINUTE Friday and the 4th of July.  Here is a really quick and cute way to pack up some snacks for the fireworks show.  This little packaging idea would be great in a variety of colors for lots of occasions, goody bags and school treats too.

Button Snack

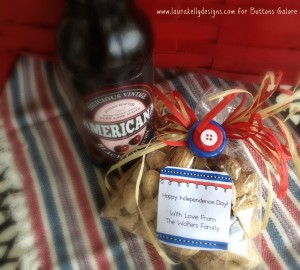
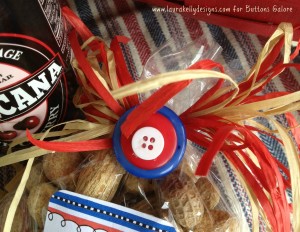
Put you snacks in bags that you can tie closed with ribbon or raffia then add the buttons with Aleene’s Turbo Tacky Glue.  The super cute label is from Expressionery.Com and was designed by me so totally matches the colors of the buttons that come in the Laura Kelly Patriotic Mix.

Buttons RWB

Happy Celebrating!

Laura

1

Canvas Favor Bags

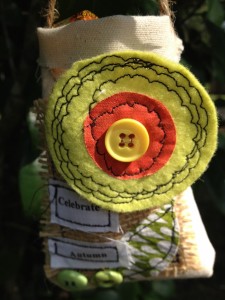
Completed bag 3 (768x1024)

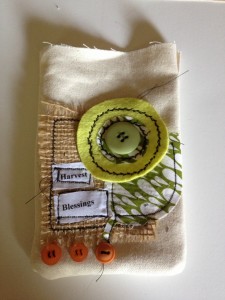
Its time to look forward to cooler days and falling leaves and all the rest of the great things that Autumn ushers in. As a transitional season, Autumn is one of my favorite seasons and it always inspires me to create something new. I love the rustic feel of Fall projects. Its so easy to use canvas, hemp, jute, wood and other natural materials to make something that looks and feels like Fall. That’s why I decided to try my hand at creating these canvas favor bags.

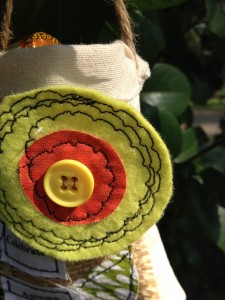
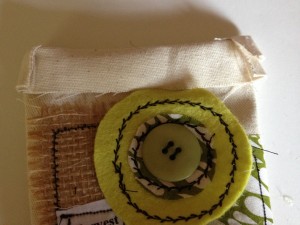
Completed bag detail (768x1024)Inspired, I sat down with my fabric, wool felt scraps and buttons recently and decided to make a bunch of sewn fabric circles recently. Not really knowing what I was going to do with them, I have since used them to make wall art, pillows and now these little Autumn inspired canvas favor bags.

Materials used for Canvas Favor Bags:

1/8 yard of natural cotton canvas

Wool felt and fabric scraps

Inkjet cotton fabric

Burlap Scraps

Buttons Galore and More Laura Kelly Hand Dyed buttons

14″ hemp

Sizzix BigShot die cutting machine and Bigz Leaves Die

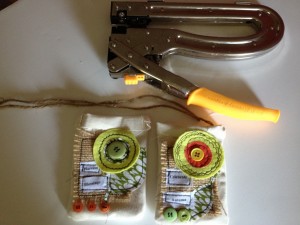
Rotary cutter and self healing cutting mat, scissors, sewing machine and thread, hand sewing needle and thread, heavy duty hole punch

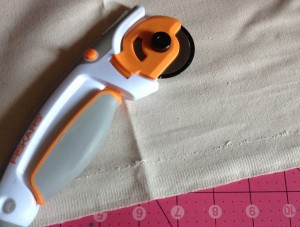
Cut canvas (1024x775)

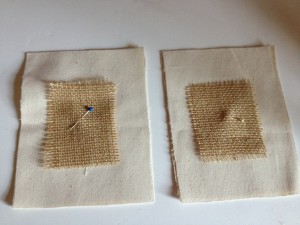
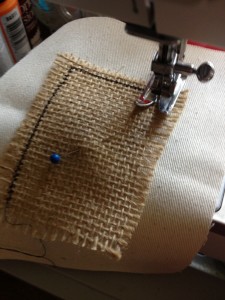
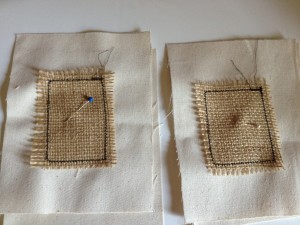
To make a canvas favor bag, cut two canvas rectangles that measure about 6″ x 8.” Pin small scraps of burlap rectangles to the center of one of the canvas rectangles.

pinned burlap

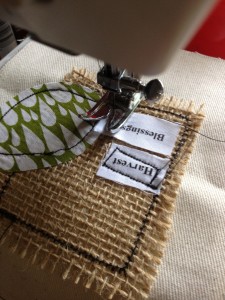
Use your sewing machine and thread to zig-zag stitch the burlap to the one of the canvas rectangles.

machine stitch burlap (768x1024)

stitched burlap (1024x768)

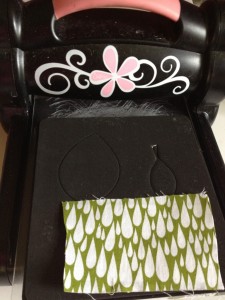
Add elements such as die cut leaves to your canvas favor bags. Fuse webbing to the back of a fabric scrap and die cut a leaf shape.

die cutting leaves (768x1024)

die cut fabric leaves (768x1024)

Peel away the paper backing and fuse the leaf shape to the canvas.

peel away paper backing (768x1024)

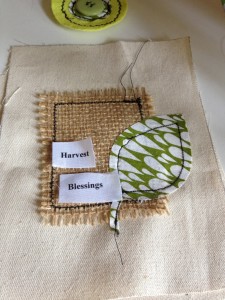
Machine stitch the leaf shape and inkjet fabric sentiments printed from your computer with a straight stitch.

inkjet sentiments (768x1024)

stitch appliques (768x1024)

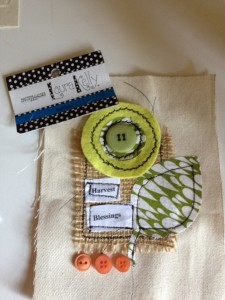
Now the real fun begins! Use hand dyed buttons from Buttons Galore and More to embellish your canvas favor bag. I used Laura Kelly’s hand dyed buttons and one of my previously created fabric circles to embellish these canvas favor bags. Sew them on with a hand sewing needle and thread.

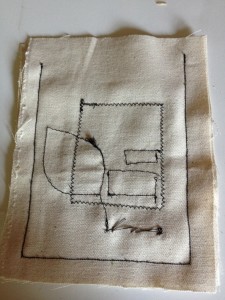
Buttons Galore and More (768x1024)Place the canvas rectangles right sides together and machine stitch using a 1/2″ seam allowance. Leave the top of the canvas favor bag open and start sewing about 1 1/2″ down so you have material to create a top fold.

sew right sides together (768x1024)

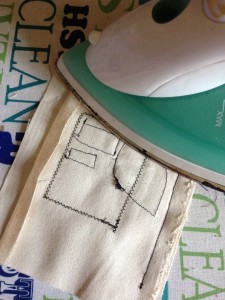
Use an iron on steam to steam the seams open.

steam seams open (768x1024)

Turn the bag right sides out and fold the top down to create a cuff.

turn right sides out (768x1024)

form cuff at top (1024x768)I created a simple handle by punching holes through the fabric layers using a heavy duty hole punch and inserting a piece of hemp through the holes.

make handles (1024x768)Fill your canvas favor bags with candy or other small treats. Surprise a neighbor by hanging on their front door for a nice Autumn surprise!

Live Life Creatively,

Signature


0

Fancy Straws with Buttons

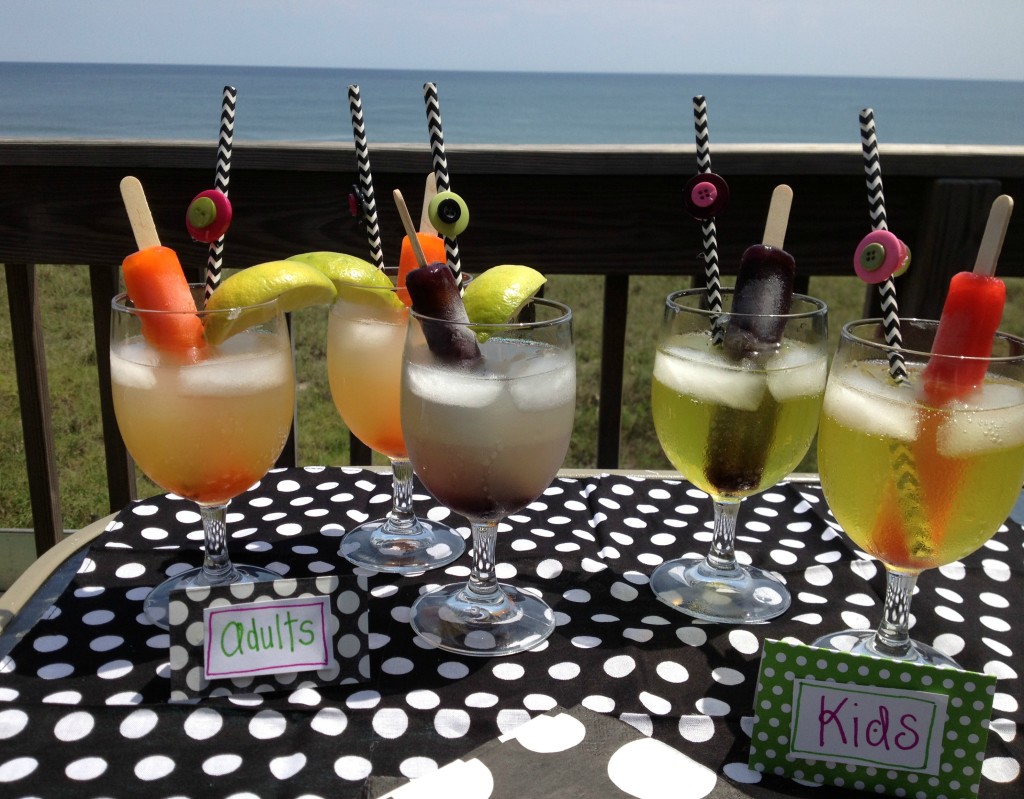
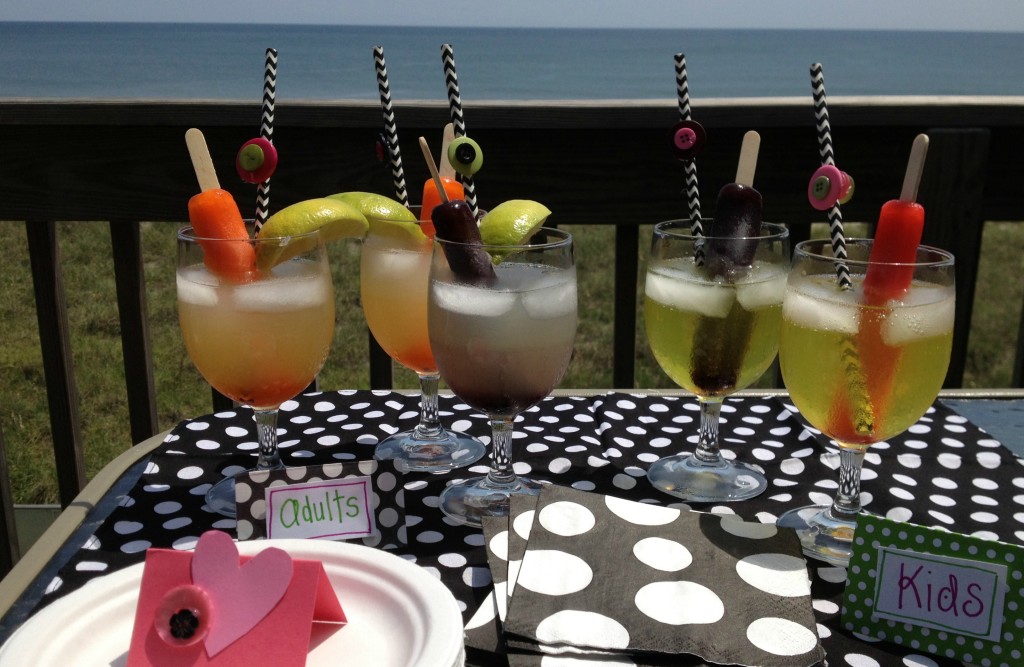
We are on vacation at the beach and I am loving this opportunity to create in a new environment. We love to make up new drink concoctions when we are on vacation and I love to decorate them and make them fancy.  Here is today’s special…Popsicle drinks with fancy straws!

ButtonStrawDrinks

I used my Ad-tech hot glue gun (never leave home with out it) and buttons from my Laura Kelly mix to create a fancy straw collection for our drinks.  We stirred them with Popsicles and sipped through the straws. They were yummy and decorative and lots of fun.  Buttons are a great way to decorate when you are in a hurry or don’t want to spend a lot of time on something that might end up getting thrown away.  The color selection in the Laura Kelly mix is really festive and bright.

PopsicleDrinks

We made two versions of the drinks, one for kids and one for adults.  Which ones do you think look yummier.

ButtonStraws

Happy Creating Fun Drinks and Decorations with Buttons,

Laura


1

Mini Flowerpot Card Holders

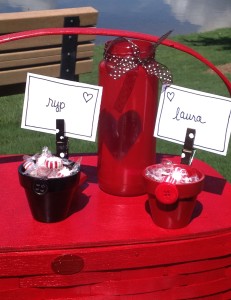
It is always nice to have a personalized touch when celebrating special times.  These little flowerpots turned place card holders add that special touch and they are really simple to make.  You only need a few things to make them (spray paint, mini terracotta pots, clothespins, buttons (Radical Red and Black Beauty were used on these pots, hot glue).

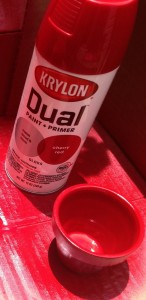
Spray paint the pots a solid color.  I used Krylon’s Cherry Red to match the picnic basket set.

Krylon_CherryRed

Glue on the clothespin upside down to hold the cards.  You can paint it the same color or make it different.  Add a button (or more) and you are ready to personalize.

PicnicBasket_Lake

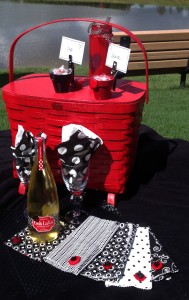
I filled the pots with my husband’s favorite organic mints for our picnic outing.  There are so many creative things you could put in the pots, even flowers!  For more ways to create a picnic basket ensemble, you can find in a previous Fifteen Minute Friday the project for the napkins.

PICNIC_Napkins

You can also visit my blog today today for directions on making the recycled glass jar heart candle.

Happy Friday,

Laura


0

Water Bottle Favors

AfterPromWater2

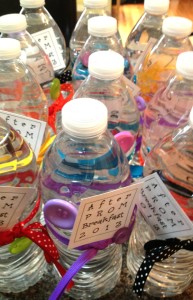
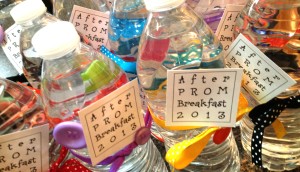
Sometimes creating the perfect party favor that equally serves as a decoration is simple to button up.  This project can be used to create color themes for birthdays, weddings, baby showers, etc…  Here is a really simple, quick and decorative way to create favors that are great for summertime.

AfterPromH20AdTech

Remove the label on the water bottle.   Using ad-tech’s hot glue, add a little message and a button or two from Laura Kelly’s bright collection of colors along with a ribbon tied in a bow and you have a bright, cheery favor that is sure to be a hit.

AfterPromWater

For more fun party decorating ideas with the prom theme, visit Laura’s blog.


0

Mason Jar Fairy Lanterns

BG_FairyLantern

Spring sprang and summer is on the way which means warmer weather and more time outdoors…whether playing, celebrating or entertaining.  This little recycled mason jar acts as a great fairy lantern that can be used as a candle jar, party decoration or a jar to be filled with goodies for favors.

To make it you will need assorted Laura Kelly buttons, wire that it easily bendable (I used electrical fence wire from the garage) and feeds through the button holes and pieces of ribbon (5 inches long) and a mason jar without the lid.

FairyLanternRibbonKnots

To make it simply feed the wire through the buttons twisting and turning to create bright and colorful design then tie the ribbon pieces in knots along the wire.  Twist the wire to go around the top of the jar then use the remaining length to create a handle, twisting the wire through the piece that went around it to secure.

It is simple, fun and easy and makes for a great quick project that you can complete in around fifteen minutes!  It is one of those creations that has lots of great uses and ways to spread bright joy and light.

0

Quick and Easy Place Cards Ideas

Quick and easy place cards ideas!

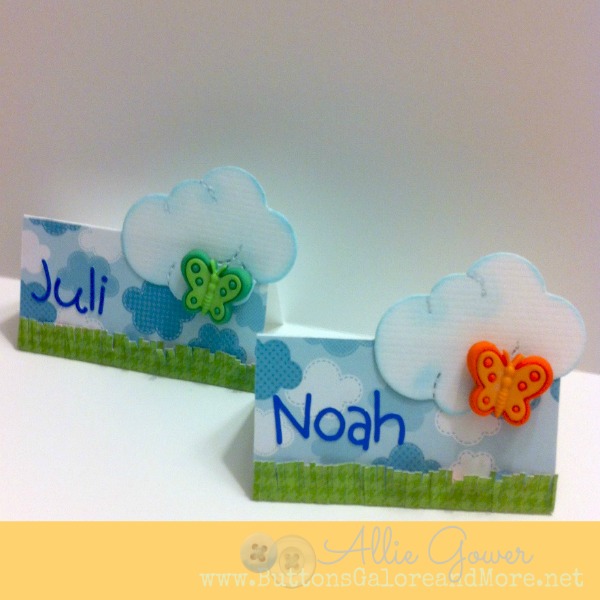
Do you need place cards for your next event? Create some with just buttons and paper. Here are some quick and easy place cards ideas.

Quick and Easy Place Cards Ideas


These are easy to create.

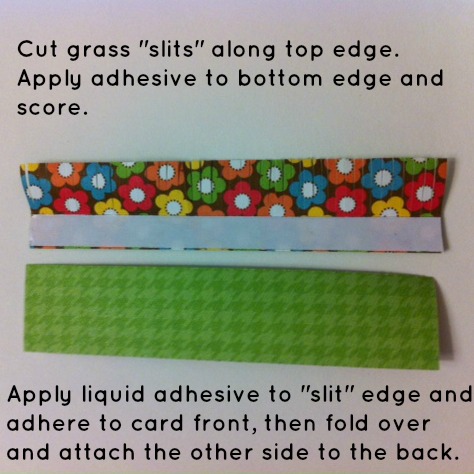
I’ve cut my cards 3X3″ and folded them in half. The image below shows how the easy grass border is made and attached. This month we’re lucky enough to be playing with Fiskars products, so of course I used my Fiskars orange handled scissors. Thanks, Fiskars!


Quick and Easy Place Cards Ideas - Making the Grass Border


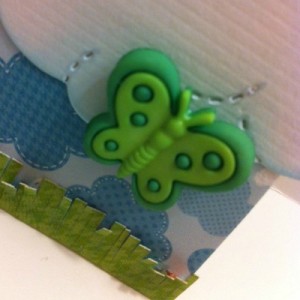
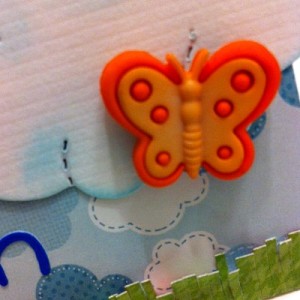
The cloud is a die cut that I inked. To finish off these quick and easy place cards, just add stickers. I love these adorable, chunky butterflies from Buttons Galore’s Butterfly Kisses Collection. I like to use Beacon’s 3-1 glue to make sure they stay put. Buttons Galore has several kinds of adhesive to offer in their Adhesives section.

Quick and Easy Place Cards Ideas Close Up Green

Quick and Easy Place Cards Ideas Close Up Orange


Supplies Used

Tools Used

  • Fiskars scissors
  • Sizzix Vagabond and cloud die

Thanks for joining me today. I hope you will find that our buttons are a great embellishment for all of your paper crafts.

1

Button Up Candy Jar

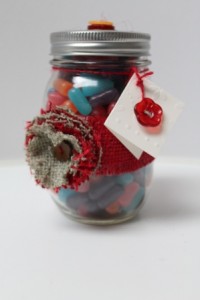
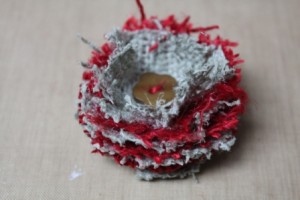
Candy Jars are quick and easy to make so it is a good idea to have several on hand for last minute gifts.  The one pictured below is no exception, it combines buttons and burlap which has great texture.  There is also a small gift tag with a flower button on the front on the front to go along with the burlap flower…..check out the instructions below….


Supplies:

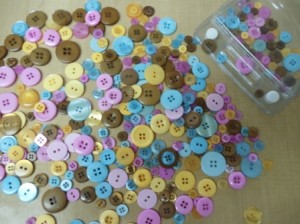
Buttons from Confetti BB87 and Mardi Gras GB127

Burlap 6″ x 18″ 2 colors of choice

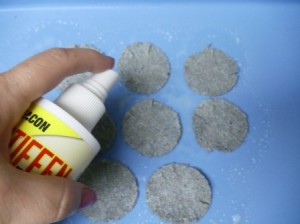
Beacon Adhesives Stiffen Stuff

Beacon Adhesive Felt Glue

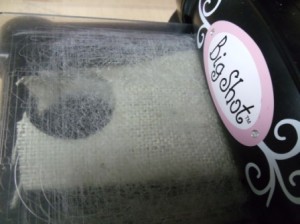
Sizzix Big Shot

Sixxix Fringe Flower Die

Mason Jar with Lid

1 1/2″ x 3″ cardstock

Scissors, hole punch

Instructions:

Die cut 6 – 8 medium fringe flowers.

Spray both sides with Stiffen Stuff; let dry.

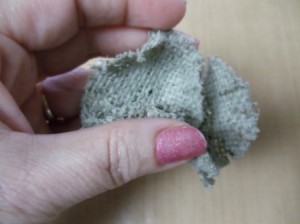
Scrunch each flower piece up to give it fullness.

Pick out your buttons.

Layer flower pieces together gluing between each layer.  Pull a thread from burlap to insert through holes of button and blue to top of flower.

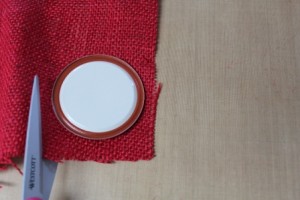
Cut out burlap to fit lid.

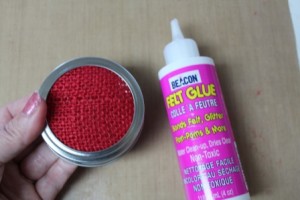
Glue burlap to lid and place inside jar band; then place on jar that is filled with candy.

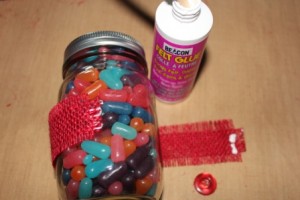
Cut burlap 1 1/2″ x width of jar, fringe by pulling threads; wrap around center of jar and glue in place.

Glue burlap flower onto front.  Fold cardstock in half to form a gift tag, glue threaded button to the front; punch hole in corner.  Pull thread from burlap, wrap around top of jar and thread through gift tag, tie.  Layer and thread three buttons together, glue onto the top of jar.

There you have it; a quick and easy button and burlap candy jar….


0

Powered by WordPress. Designed by WooThemes