Header

Author Archive | Lorrie McCullers

Fill an Easy Christmas Shaker Card with Buttons!

easy Christmas shaker card

There are few card styles out there that are more impressive or fun than the shaker card. The 28 Lilac Lane Embellishment Bottles made this easy Christmas shaker card beautiful!

I made this easy Christmas shaker card using the 28 Lilac Lane Embellishment Bottle in “Dragon Fire”. The gorgeous red tones of the buttons, sequins, beads, and pearls are perfect for Christmas cards, and they all come together in one adorable little bottle! Continue Reading →

0

Decorate Your Home Inside or Out with This Fun Fall Wreath!

Hi everyone! It’s Lorrie here with a fall wreath featuring autumn-themed buttons from Buttons Galore & More! This fall wreath will look great on your front door to greet visitors, or on the wall inside your home to add some seasonal flair.

To make this easy fall wreath, I started with a grapevine wreath and a plain burlap bow that I picked up at my local craft store. I decorated the wreath itself with some plastic leaves that I painted in beautiful autumn colors. But the real fun starts with the bow! Continue Reading →

1

Easy DIY Decorated Candle with Buttons & Ribbon!


Hey, y’all! Lorrie here with a fun new DIY decorated candle project that is super easy but makes a great gift!

I’ll admit it – I am a candle addict! I have a ton of them in my own home, plus they are my go-to gift for lots of different people: teachers, co-workers, friends, in-laws. You name them, and they have probably gotten a candle from me! Since I do love giving them, I am always on the lookout for deals on candles, because as much as I love them the one downside is that sometimes they are a little expensive. I have found that after the holidays, lots of stores have great prices on candles. I usually buy several to give throughout the year. But sometimes, those candles can be a little boring. They may be just a plain jar candle, or like I used for this project, just a 3-wick pillar candle. But with a little ribbon and some Pet Shop Button Basics buttons from Buttons Galore & More, these plain candles can go from “meh” to “wow” very quickly! Continue Reading →

0

Make a DIY Tailgate Party Invitation with Buttons Galore

Fall is quickly approaching, and we all know that fall means FOOTBALL! Today, I will show you how to make the cutest DIY tailgate party invitation using football themed buttons from Buttons Galore. So get ready to fire up the barbecue and cheer on your favorite team!

DIY tailgate party invitation

Supplies needed for DIY tailgate party invitation:

How to make a DIY tailgate party invitation:

Using a paper trimmer, I cut the brown cardstock to 5″ x 7″ and the tan cardstock to 4.5″ by 6.5″. I then inked the edges of the tan cardstock with brown chalk ink to add dimension. I used a tape runner to attach the tan cardstock to the brown cardstock to make the base of the invitation. Next, I hand lettered the words on the invitation. I used a fineline pen to do the lettering, then used a brush pen to darken all my downstrokes. This is an easy way to make your hand lettering look great, even if you aren’t that good at it! The word “football” made from alphabet stickers was then added.

DIY tailgate party invitation

I then chose the buttons I was going to use. Most of these buttons had shanks on the back. In order to use them on a flat surface like this one, I had to remove the shanks. This is easy to do using a button shank remover or a pair of side cutters. I clipped off the shanks, then attached the buttons to the invitation using red line tape. This tape is strong enough to hold these buttons securely!

I placed the buttons all around the card in the white spaces. The buttons give this invitation a fun feel and cool dimension that you just can’t get with any other embellishments… plus they are absolutely adorable!

DIY tailgate party invitation

Your guests won’t be able to resist this super fun invitation! Go team!

SaveSaveSaveSave

0

Make a Fun Coffee Gift Card Holder for National Coffee Day!

coffee gift card holder

It’s National Coffee Day, and what better way to celebrate than with a gift card to your favorite coffee shop? Using 3D buttons from our Buttons Galore Sweet Delights collection, you can make a sweet card that doubles as a gift card holder!

Supplies Needed to Make Coffee Gift Card Holder:

Instructions for Making Coffee Gift Card Holder:

  1. Trace front of side stepped card onto the back of one sheet of patterned paper. Cut out with scissors and adhere to front of the card. Ink edges of paper if desired.
  2. Cut two 3/4″ strips from the second sheet of paper. Ink edges if desired. Adhere one strip to the bottom of the card. Cut the other strip in half. Adhere one piece to the top of the card, and adhere the other on the second “stairstep” of the card.
  3. Spell out “Thanks a Latte” by placing stickers onto leftover pieces of the 2nd sheet of paper and then cutting out rectangles around the words. Inks edges if desired. Adhere to card with foam pop dots to add dimension to the card!
  4. Remove shanks from back of “coffee cup” and “cupcake” buttons with a button shank remover. Adhere to card using red line tape.
  5. Adhere gift card to the last step of the stepped card using red line tape.

SaveSave

1

Christmas in July | Craft an Easy Christmas Tablescape

Hi everybody! It’s Lorrie here from the Buttons Galore and More design team, and today I am here to show you a fast and fun way to craft a Christmas tablescape for your holiday gatherings. This holiday decor project is amazingly easy — the kids could even help out with this one!

Supplies to make a Christmas tablescape:

Instructions to make a Christmas tablescape:

To start your Christmas tablescape, wrap a styrofoam ball once with ribbon. Cut and glue the ends of the ribbon. Continue wrapping the styrofoam ball with ribbon until the entire ball is covered.

Once the styrofoam ball is entirely covered in ribbon, glue buttons to the ribbon in a variety of patterns. (Before gluing down shank buttons, use a pair of scissors or a button shank remover to cut the shanks off.)

Repeat the previous steps until you have made enough balls to fill a jar or vase for your Christmas tablescape. To display your balls, fill the bottom of the vase with a mixture of red and green buttons (such as Buttons Galore “Christmas” Button Bonanza, and then add your new ornaments!

This Christmas tablescape project is so quick to make but would add so much to your holiday table, mantel, or coffee table. Of course, if you prefer a more trendy color scheme for your holiday decor, try pairing these buttons with white ribbon and our Contemporary Christmas button mix for a touch of lime green and light pink. It also doesn’t have to be just for Christmas — you could always make the same craft using different ribbon and buttons for various holidays or for every day use!

0

Embellish a Seashell Coloring Canvas with 28 Lilac Lane

seashellcanvas-650x650

This project combines two of my favorite things: coloring and sequins! Using a pre-printed canvas, markers, and new sequins from 28 Lilac Lane, I made a fun project that is an easy way to decorate an ocean-themed room. This project is so easy that even the kids can do it!

To make this project, you will need:

How to:

  1. Color in the coloring canvas using markers. 
  2. Fill in “water” areas of the canvas with clear drying glue. Only work on a small section at a time so the glue doesn’t dry before sequins have been applied.
  3. While the glue is still wet, shake on sequins from the 28 Lilac Lane Sequin & Bead Mixes and the 28 Lilac Lane Sequin Tins. When the glue has dried, shake off the excess sequins onto a piece of paper. You can then reuse those sequins!
  4. Use clear drying glue to mark accents on selected seashells on the canvas. Use sequins from the 28 Lilac Lane Sequin Tins. Shake off the excess.

This canvas was so fun to make. I absolutely love to color so I really enjoyed getting out of coloring books and onto a canvas, and the addition of a little sequin bling just makes it even better!

0

Hit the Beach with Summer Fun Crafty Sunglasses

Hi! It’s Lorrie here, visiting the Buttons Galore blog today! Buttons are a fun and easy way to embellish your summer fashion, but have you thought of adding them to your accessories? Who cares if you can’t make it to the beach this summer? Bring the beach to you every single day with these super cute crafty sunglasses (that look and feel like they are covered in sand) featuring summer-themed buttons from Buttons Galore!
beach crafty sunglasses

Materials Needed:

  • sunglasses
  • Paradise Found and Fan Shells buttons from Buttons Galore
  • Stone Effects Dimensional Paint from Art Anthology in “Sandstone”
  • foam brush or palette tool
  • hot glue gun
  • button shank remover

beach crafty sunglasses supplies

How to:

  1. Apply Stone Effects paint to the sunglasses with a foam brush or palette tool. If you are using a foam brush, apply the paint with a tapping motion to get better coverage and to add even more dimension.beach crafty sunglasses in progress
  2. While the paint on your sunglasses is drying, remove the shanks from the buttons using a button shank remover.
  3. Once the dimensional paint is dry, place the buttons onto the sunglass frames and the ear pieces by attaching them with hot glue.

beach crafty sunglasses

Now you are ready to hit the beach with your summer fun crafty sunglasses – whether the “beach” is your local pool or an expanse of tropical sand!

0

Make a Fun Wall Hanging with 28 Lilac Lane

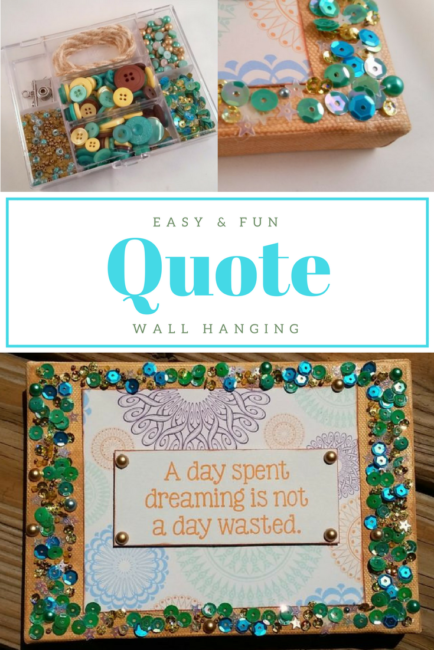
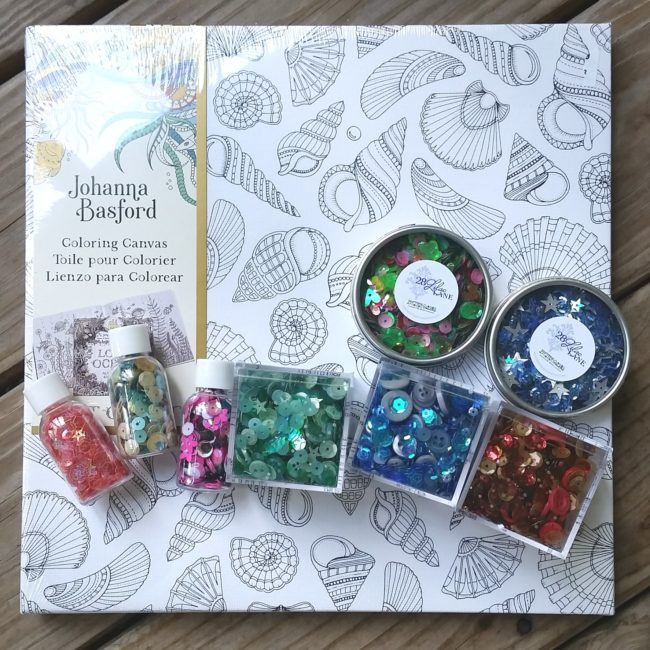
Hey y’all! It’s Lorrie here with my first project for the Buttons Galore team! Today I am sharing a cool wall hanging canvas featuring an embellishment kit from 28 Lilac Lane.

quote wall hanging

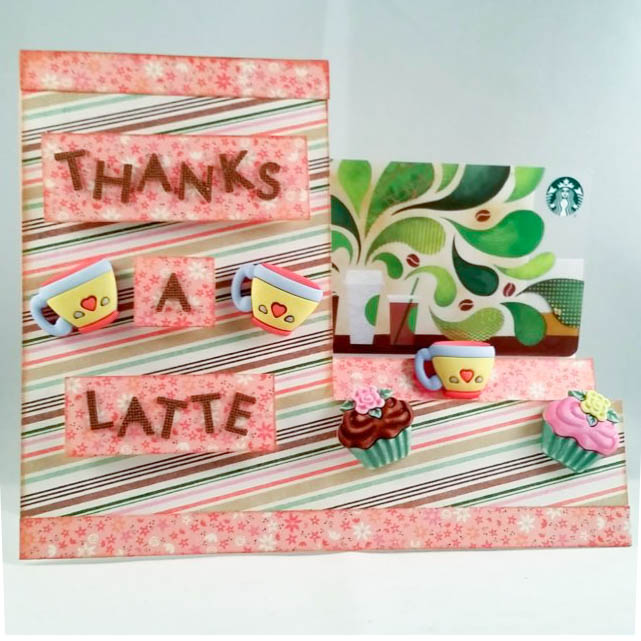
I had this cute quote that I loved and I wanted to show it off, so I decided to make a wall hanging using the quote and matching scrapbook paper on a 5″x 7″ canvas. Such an easy and fun project!
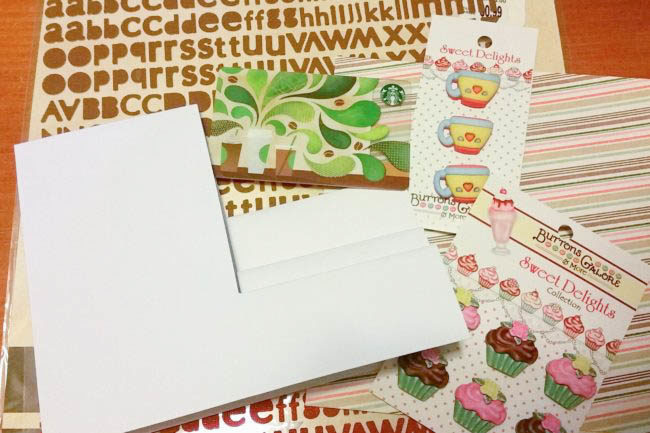
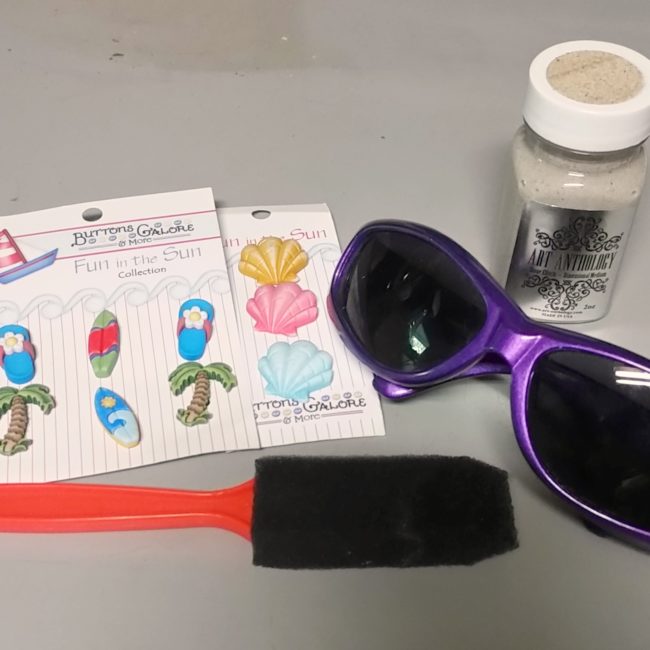
Supplies needed:

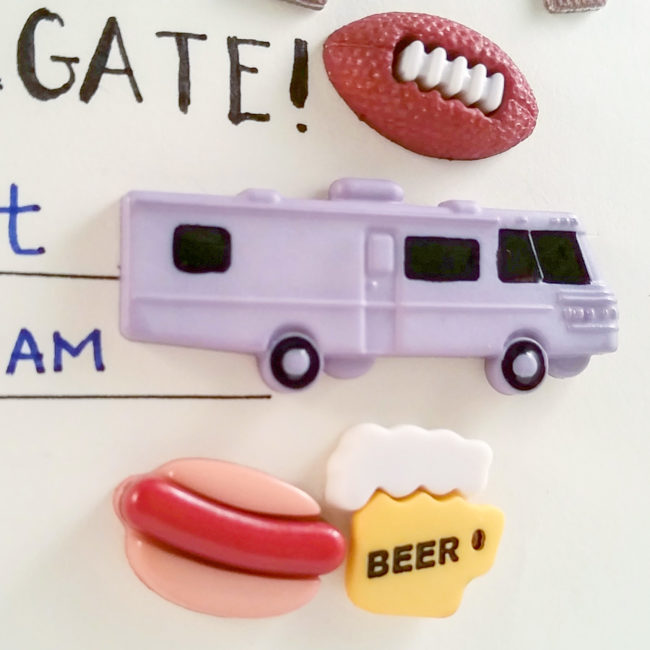
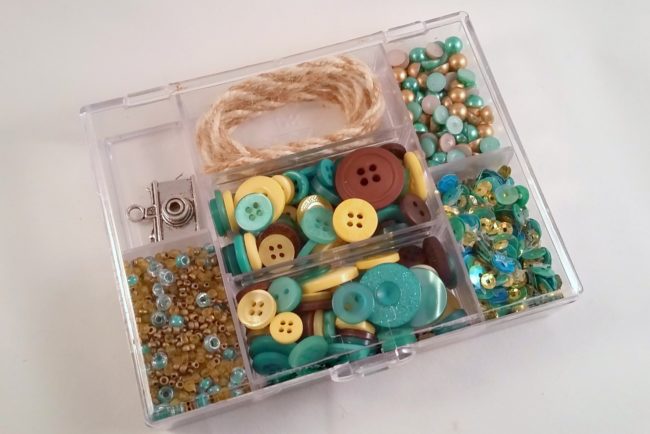
  • 28 Lilac Lane “Let’s Go” embellishment kit
  • 5″x 7″ stretched canvas
  • light brown acrylic paint
  • paintbrush
  • red liner tape
  • adhesive dots
  • brown ink
  • foam adhesive dots
  • patterned scrapbook paper
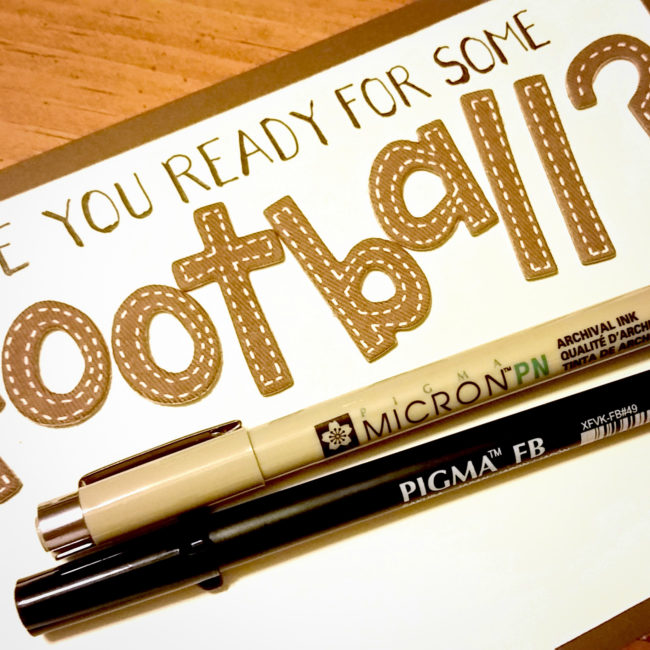
  • quote (from patterned paper, or use a stamp)

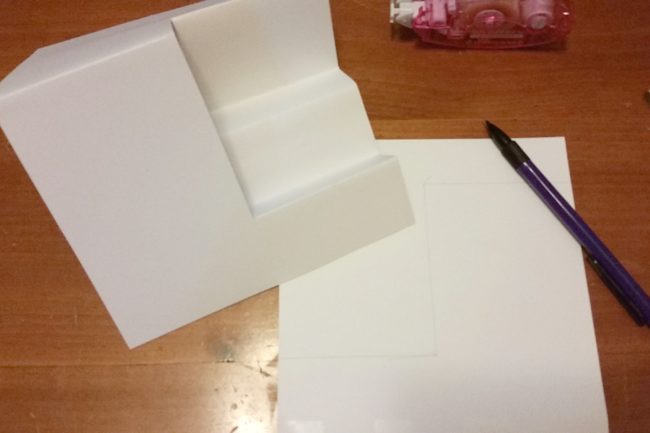
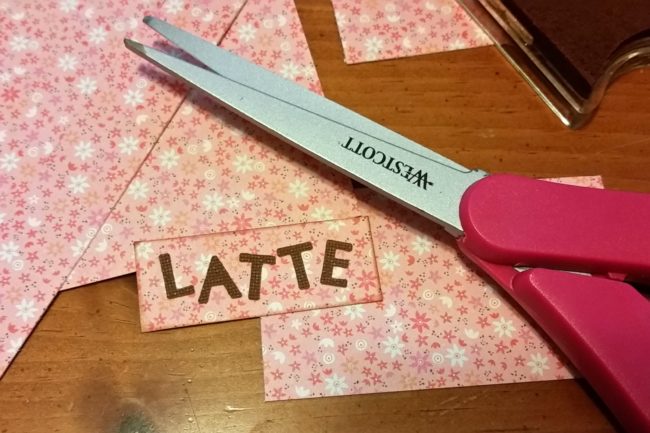
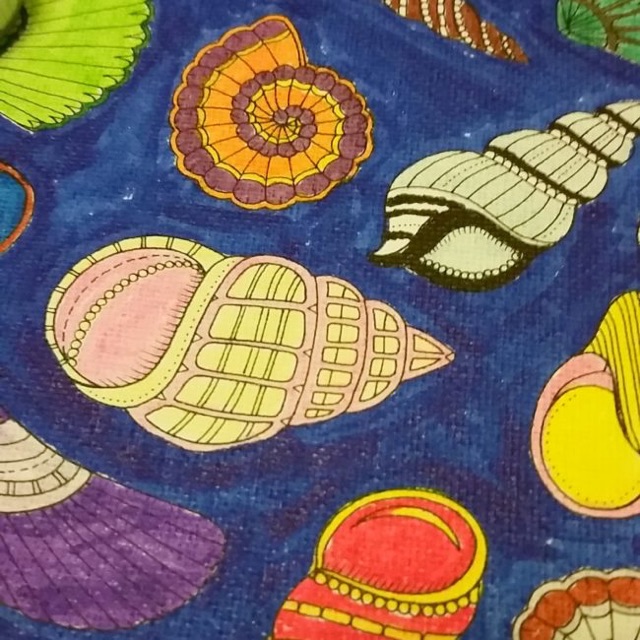
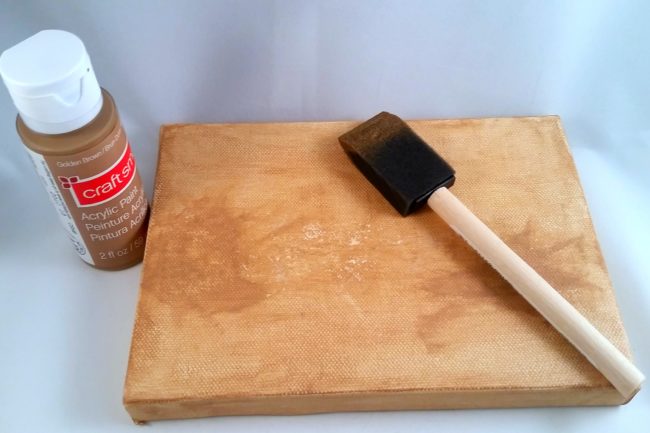
I started by painting the canvas using a light brown acrylic paint. I then cut out the quote and a 3″x 5″ piece of coordinating paper (the quote came from a sheet of quotes as part of a paper collection), and inked the edges.

quote wall hanging

I attached the paper to the canvas using double-sided tape. Then I used adhesive foam dots to “pop up” the quote —  this is an easy way to add dimension to your paper projects. Next came the fun part: adding the embellishments from this adorable “Let’s Go” embellishment kit by 28 Lilac Lane!

28 Lilac Lane Let's Go embellishment kit

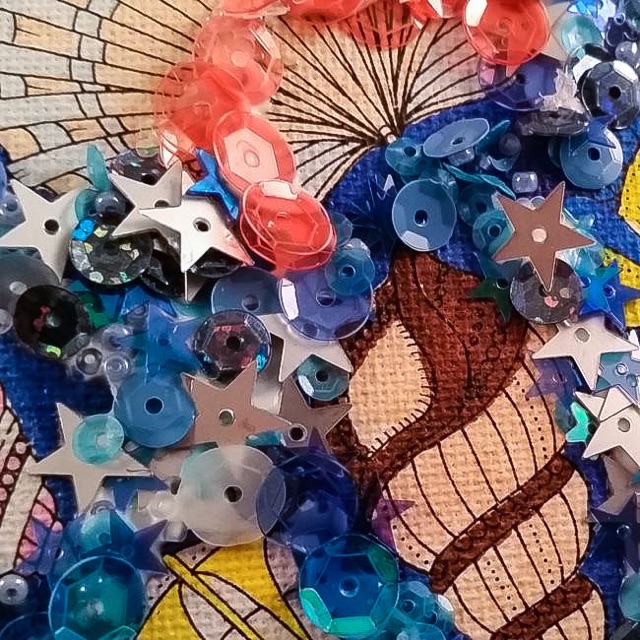
I will let you in on a little secret — I am not a big fan of liquid adhesives. I use them on projects, but they aren’t my favorite, mainly because here in the hot, humid south they take forever to dry. So to hold the sequins and beads from the embellishment kit onto my wall hanging, I used my not-so-secret weapon: red liner tape! Red liner tape is a double-sided tape that holds just about anything. It is the perfect alternative to liquid glues.

red liner tape

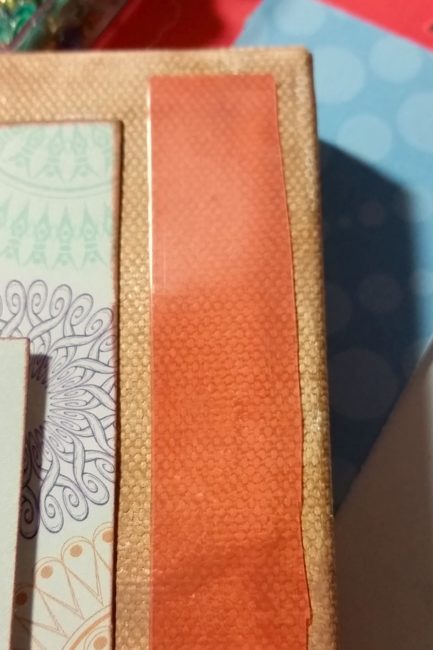
I applied red line tape to the edges of the canvas, and then sprinkled the sequin mix onto the tape. Just like when you’re using glitter, sprinkle the sequins liberally onto your project, then pick up and shake the item to remove the excess. Once most of the tape has been covered, fill in any empty spaces with the tiny seed bead mix and pearls from the kit.

quote wall hanging

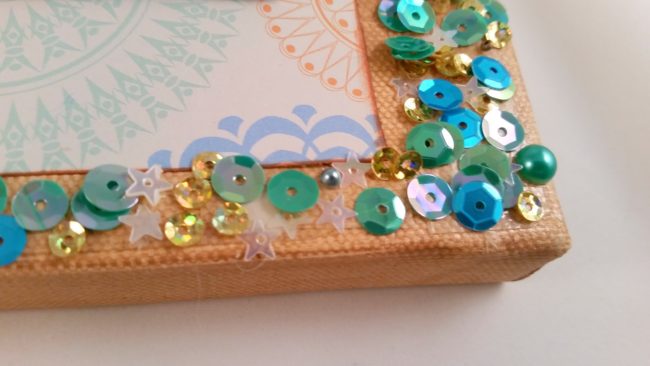
For the finishing touch, I placed gold pearls from the Embellishment Kit on each corner of the quote using mini adhesive dots.

quote wall hanging

Now you have a fun quote wall hanging that would look great on any wall in your home – and plenty of embellishments left over in your “Let’s Go” kit for lots more creative fun!

Quote Wall Hanging by Lorrie McCullers for Buttons Galore using 28 Lilac Lane embellishments. Great wall art for office

0

Powered by WordPress. Designed by WooThemes