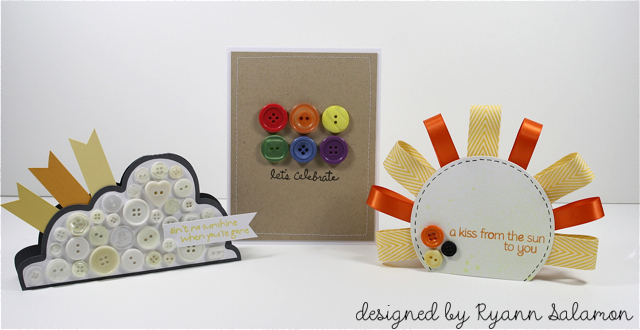
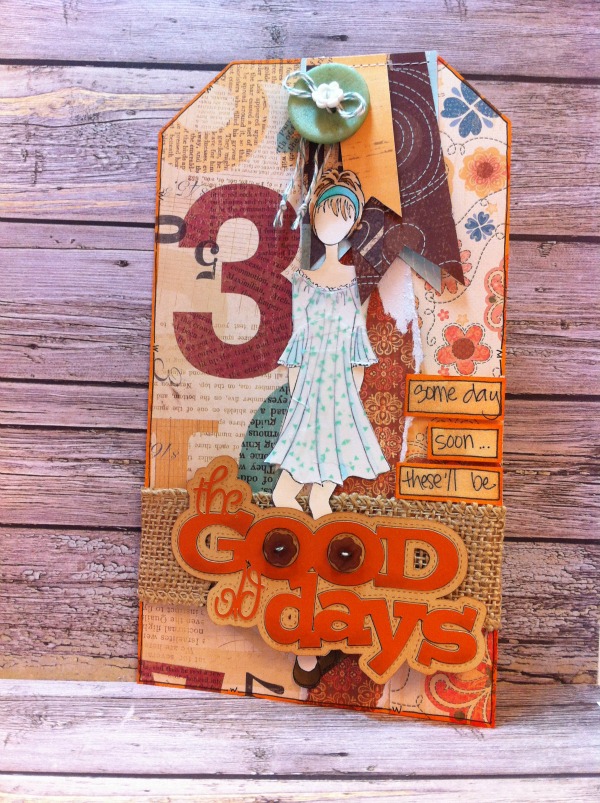
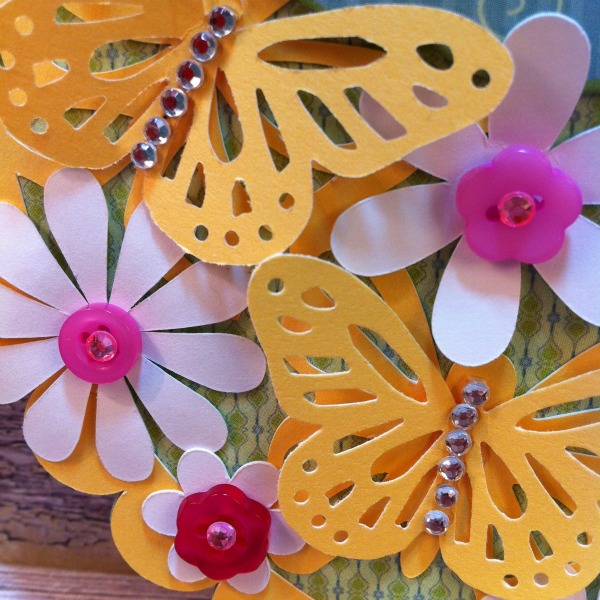
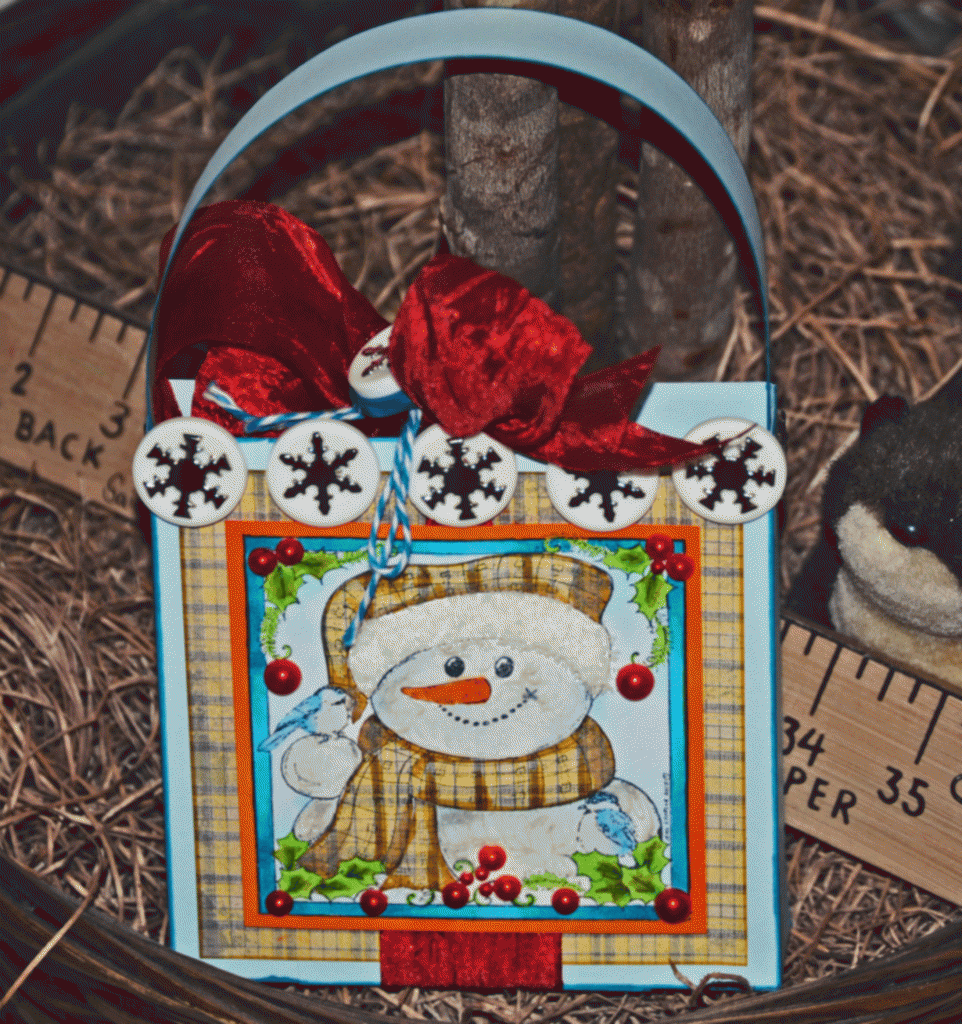
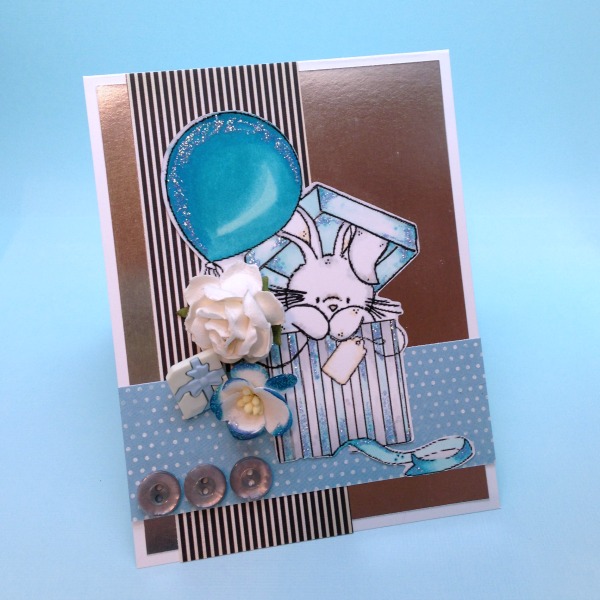
Hi all! Ryann here with my first Buttons Galore & More design team post and I couldn’t be more thrilled to be here with you today! I have a fun handmade card set to share with you today in a weather theme using lots of buttons! Now I know not everyone makes cards so I thought it would be neat to have a project for each type of card maker. So whether you are a beginner, intermediate or more seasoned card maker, there is a project here for you!
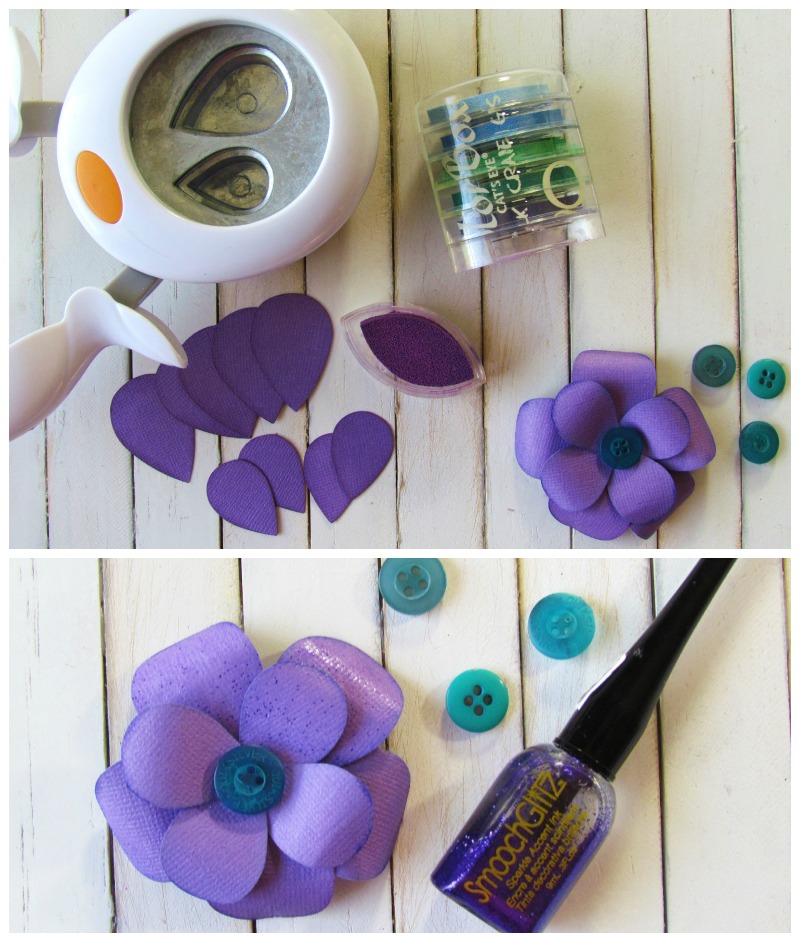
Supplies used:
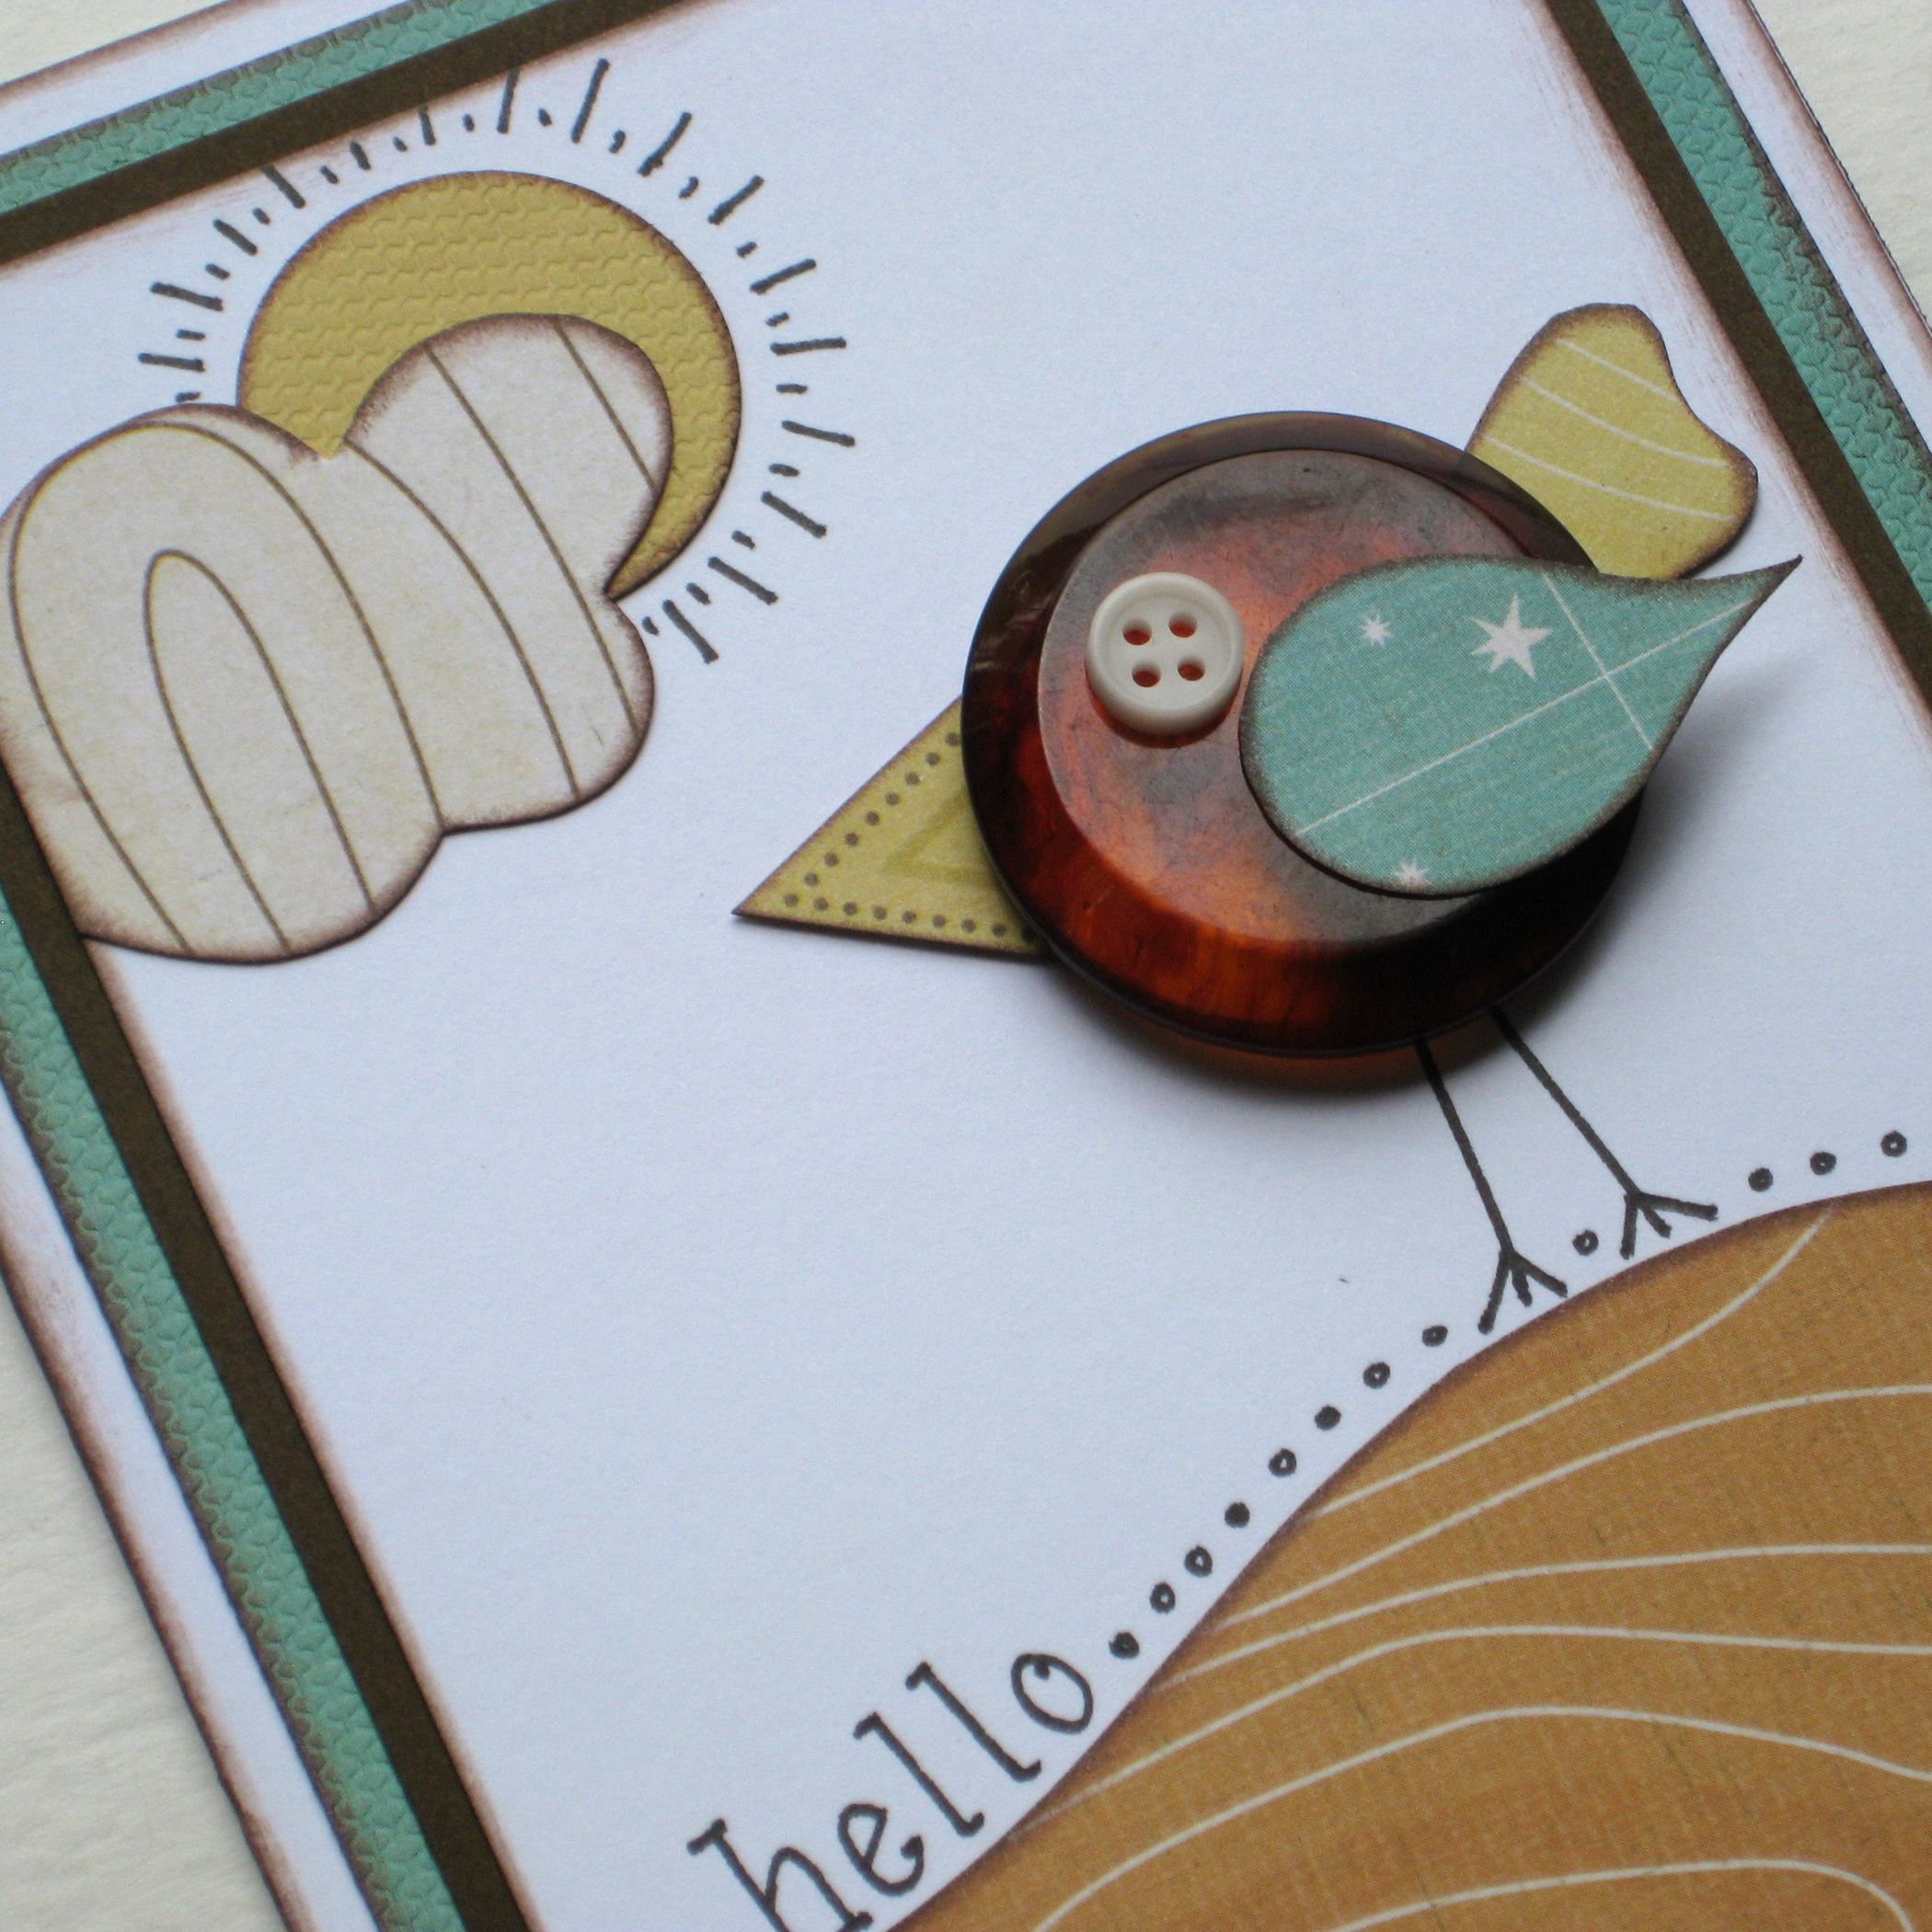
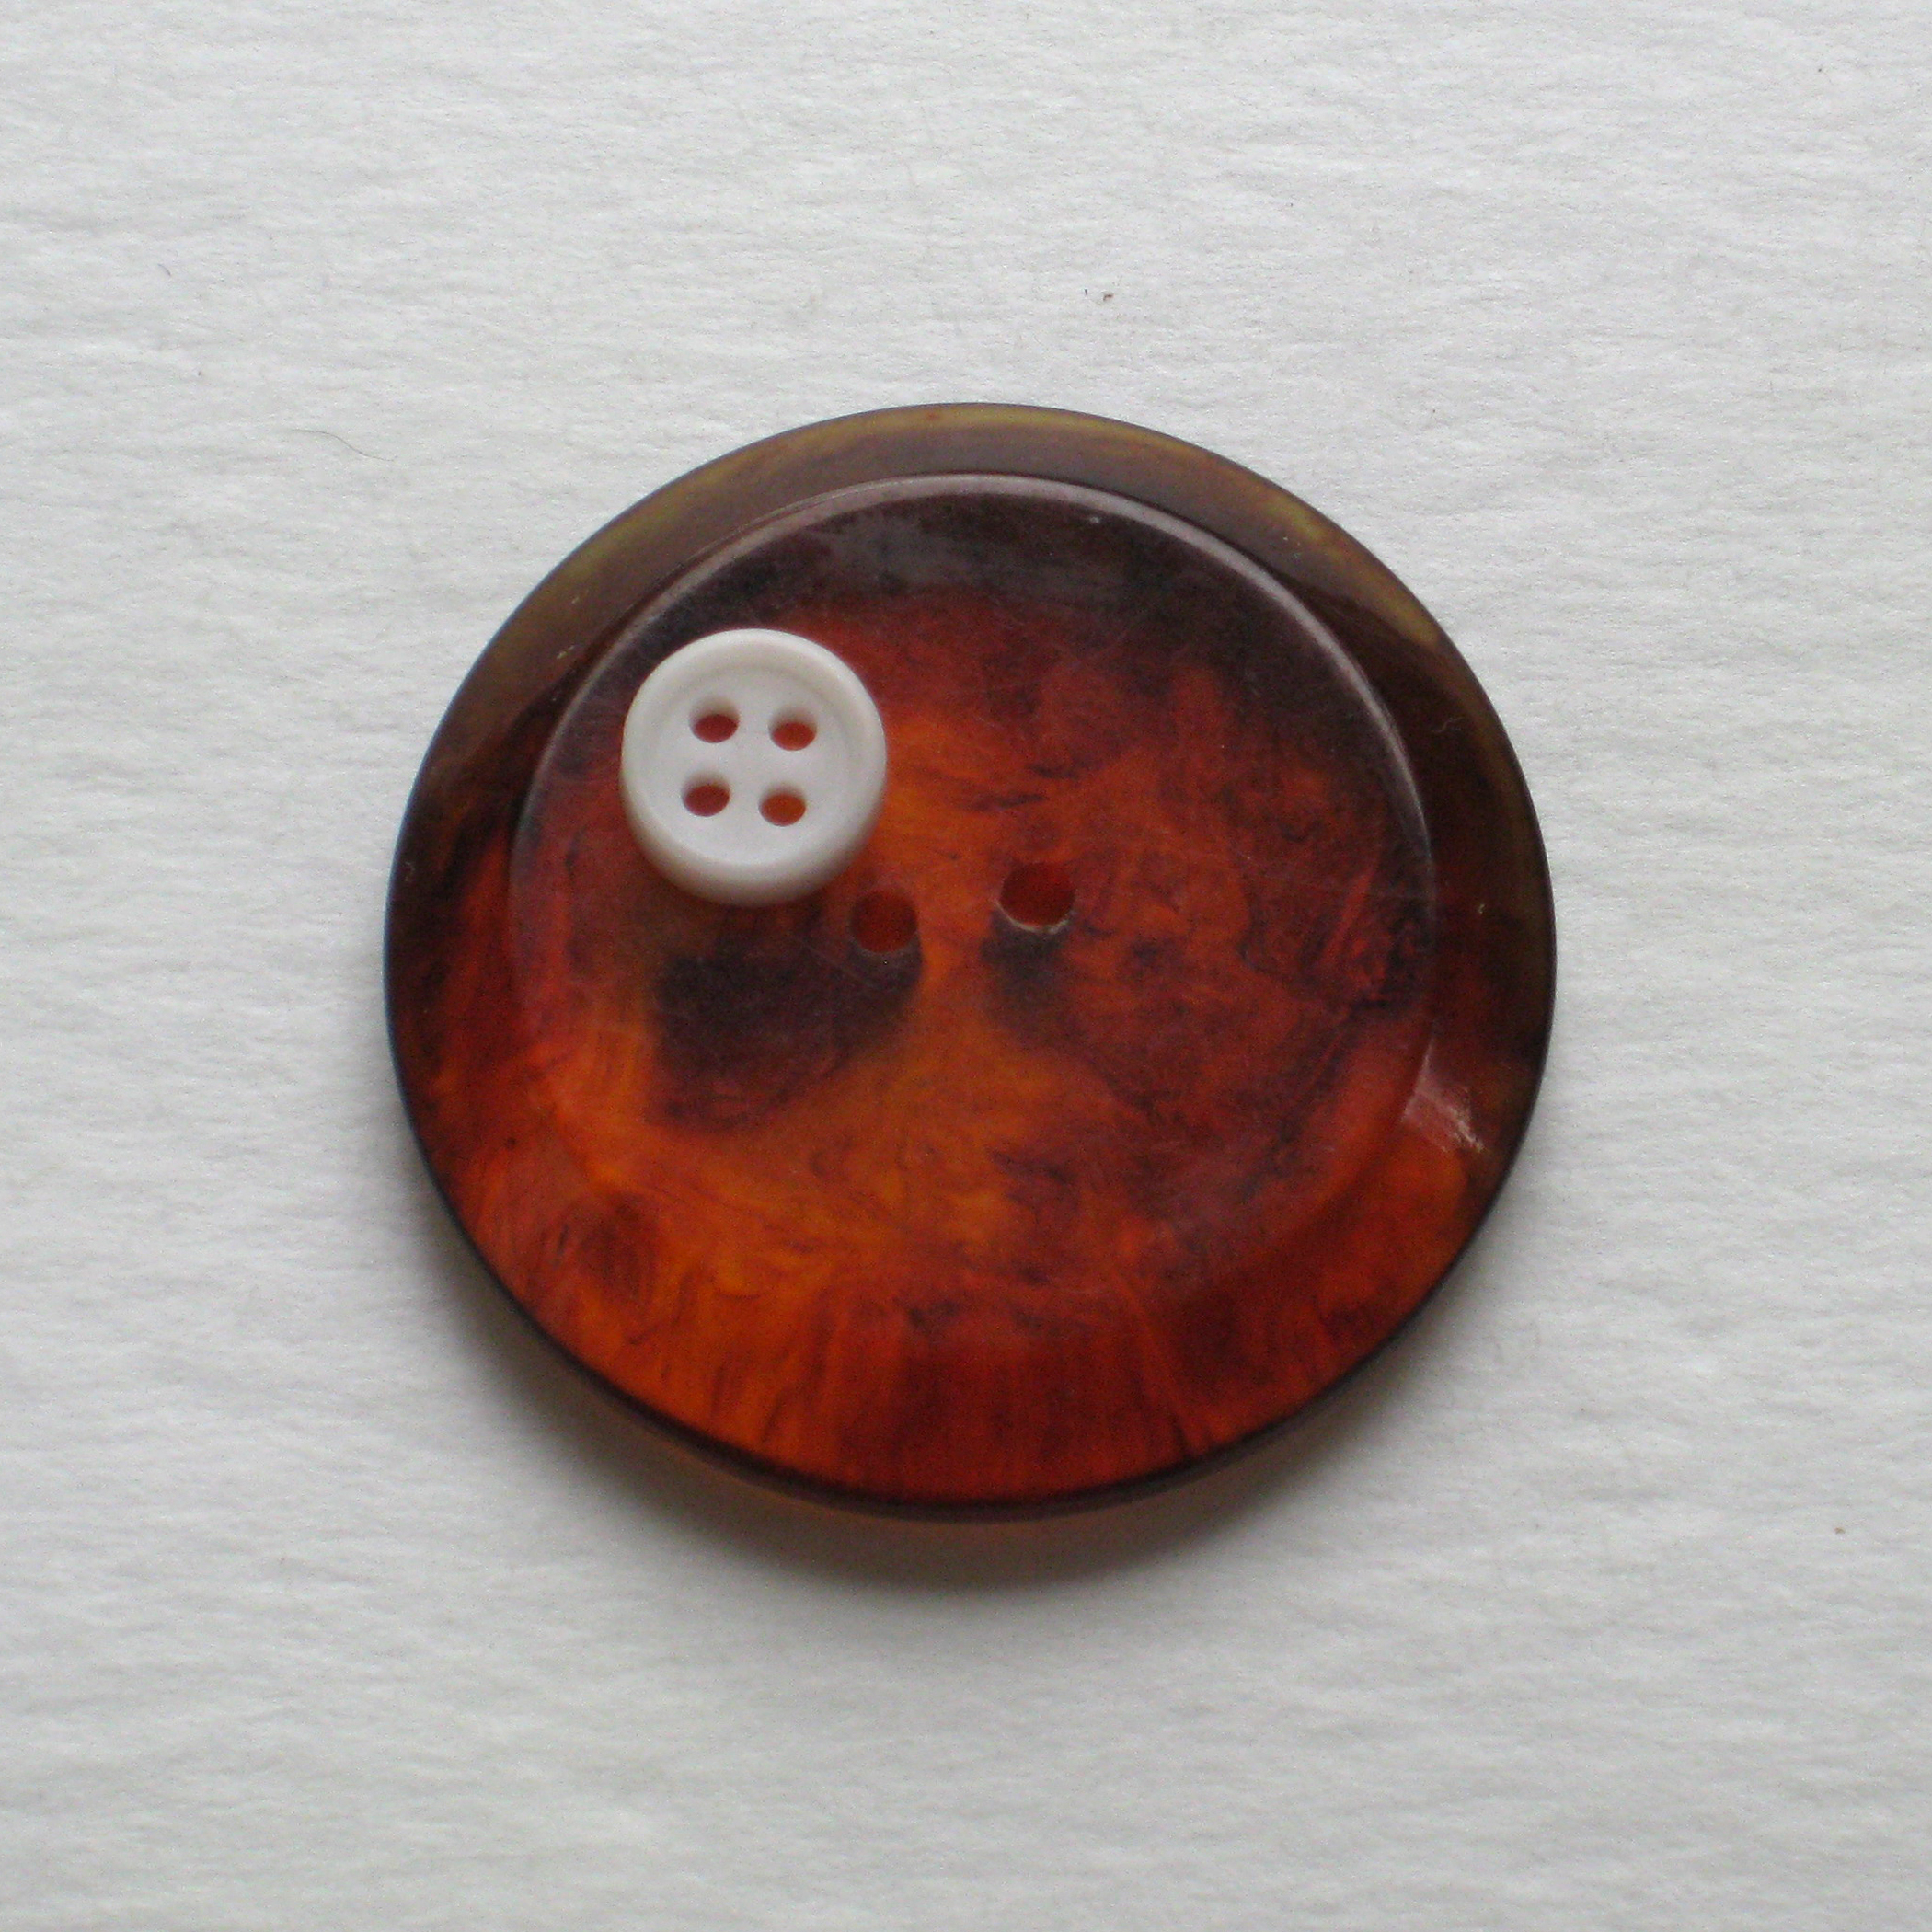
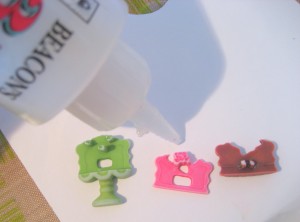
Cloud card: cardstock, ink, stamps, Neutrals buttons
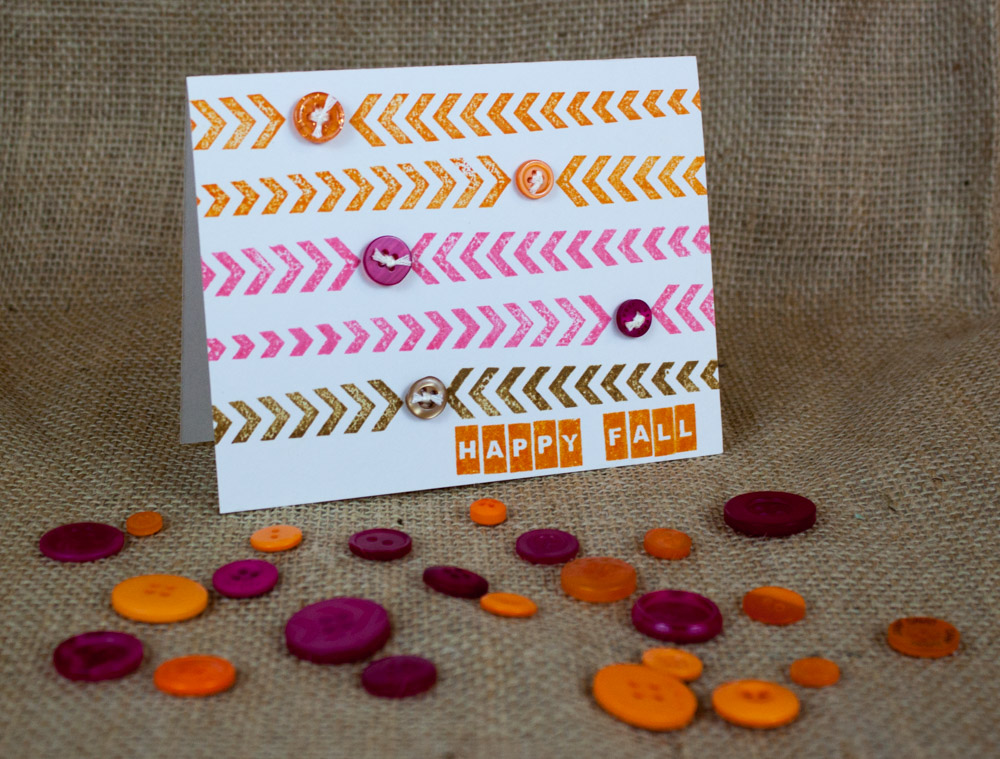
Rainbow card: cardstock, ink, stamps, sewing machine, thread, Primary buttons
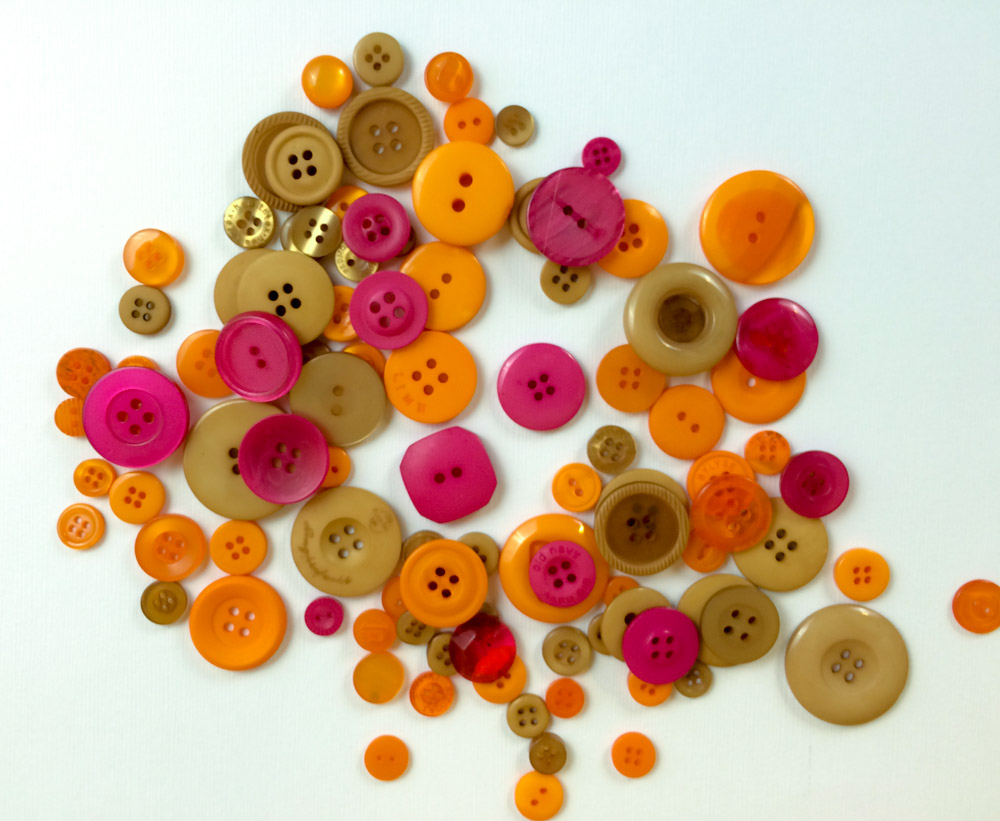
Sun card: cardstock, ink, stamps, ribbon, marker, circle die, yellow spray mist, Harvest buttons, Tuxedo buttons
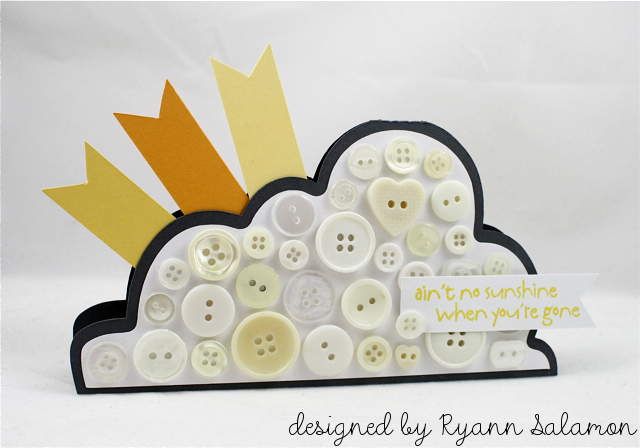
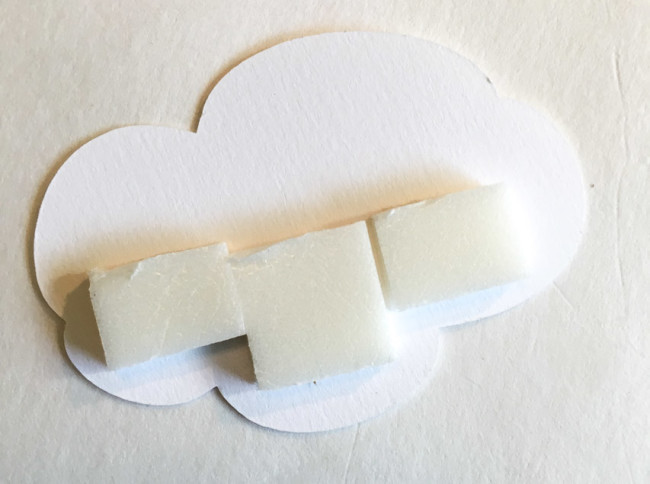
Cloud Card Directions:
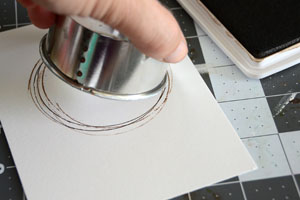
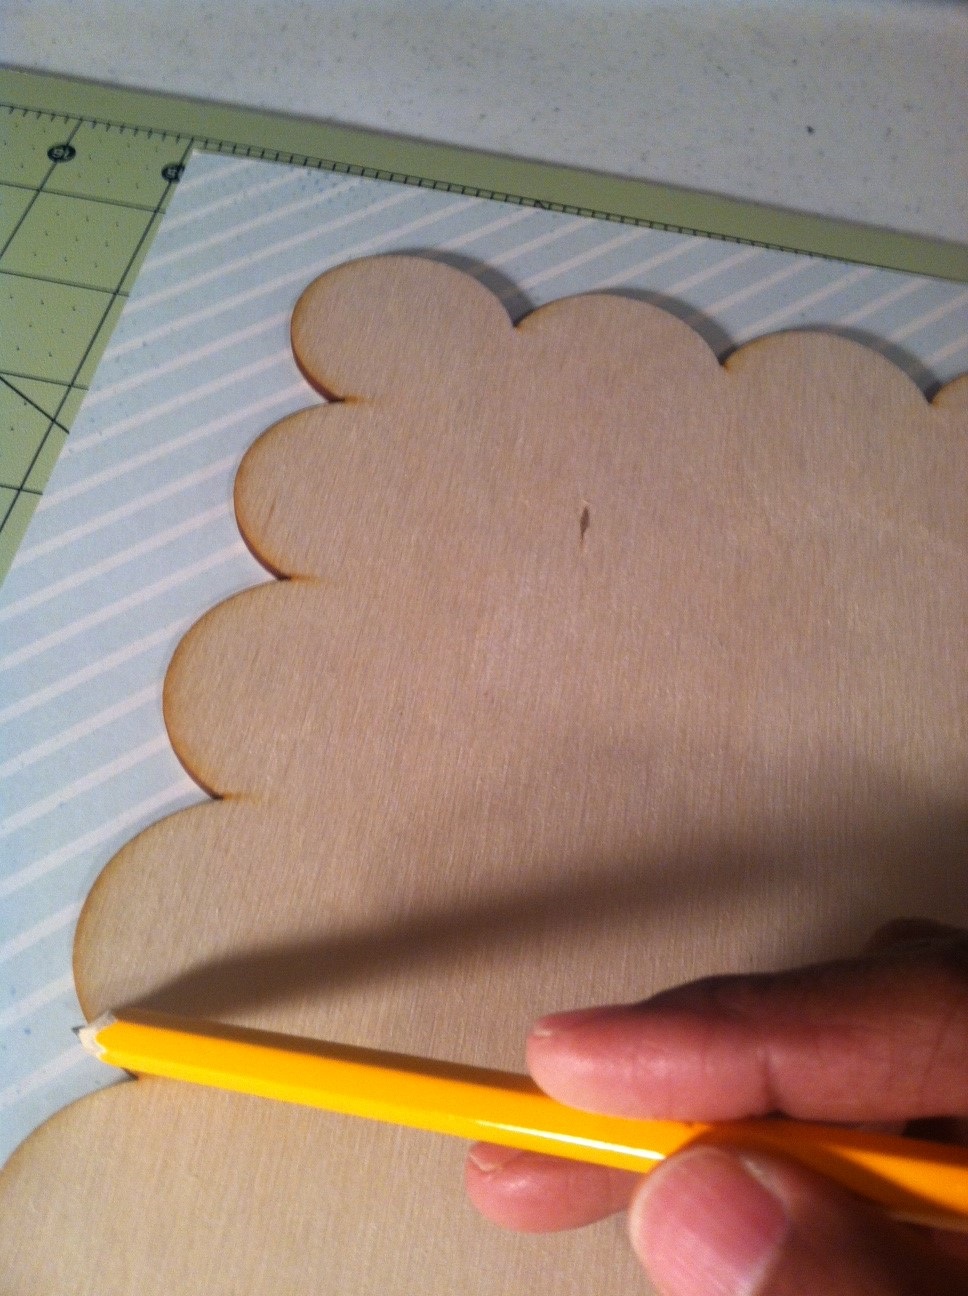
1. Sketch out the shape of your card onto a piece of sturdy cardstock and then cut out. This will be your template to trace onto your gray card base and white mat layer.
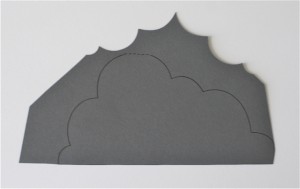
2. Trace the cloud shape onto your card using the template. The top of the template should match up to the top of your card (at the fold). Cut out and set aside. (Note: You’ll notice the template is backwards from the card pictured. When you turn it around, your trace lines will be on the backside of your card, so they won’t be visible when decorating!)
3. Trace the cloud shape onto white cardstock using the template. Draw a cloud just a little bit smaller than the cloud you traced. Use the traced cloud as your guide. Cut out the inside cloud. This piece will be the layer you adhere the buttons to.

4. Turn over your white cloud so the trace lines are on the back and adhere to your cloud shaped card base. Adhere buttons onto card.
5. Cut out three long strips of yellow/orange shades of cardstock. Notch the ends to look like banners and arrange them how you want them to be placed behind the cloud. Adhere the three strips together using scotch tape. Adhere the sun rays behind the card front panel, NOT the backside of the card.

6. Stamp sentiment onto strip of white cardstock and adhere onto card base. Notch end of strip hanging off side of card.
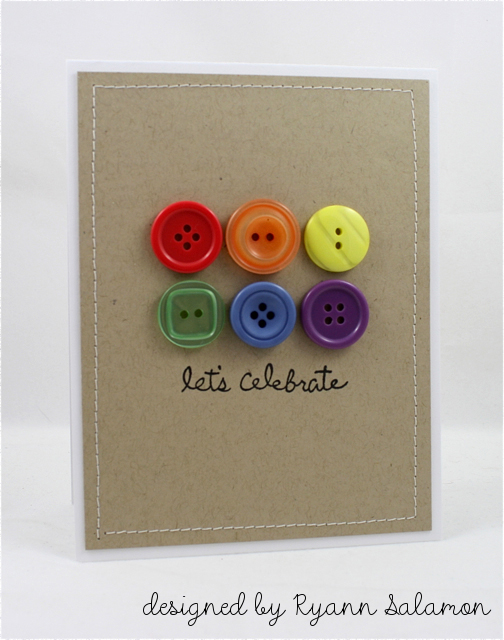
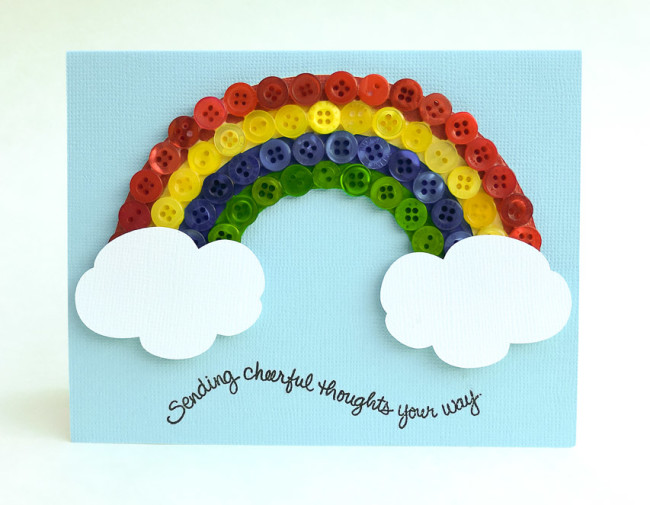
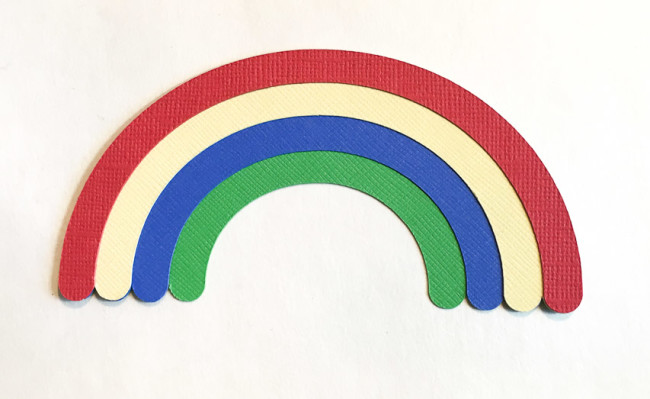
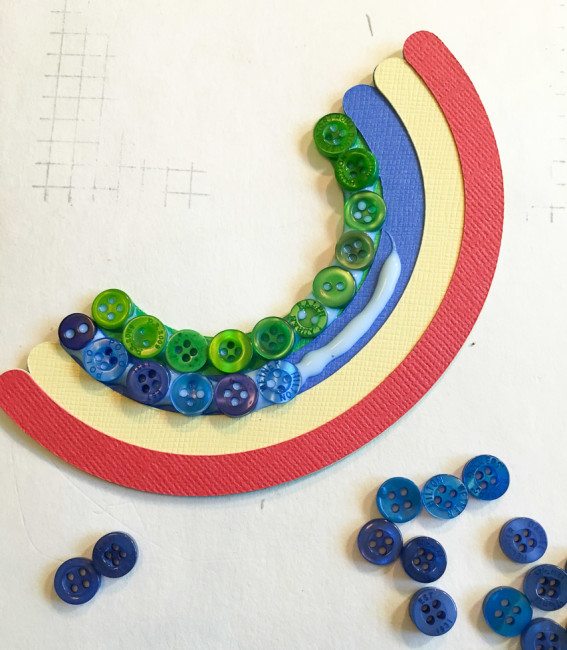
Rainbow Card Directions:
1. Create A2 card from white cardstock.
2. Cut kraft cardstock to measure 4″ x 5-1/4″. Sew along edges of kraft panel then adhere onto card base. (Note: If you don’t have a sewing machine, faux stitching made with a marker will look just as good!)
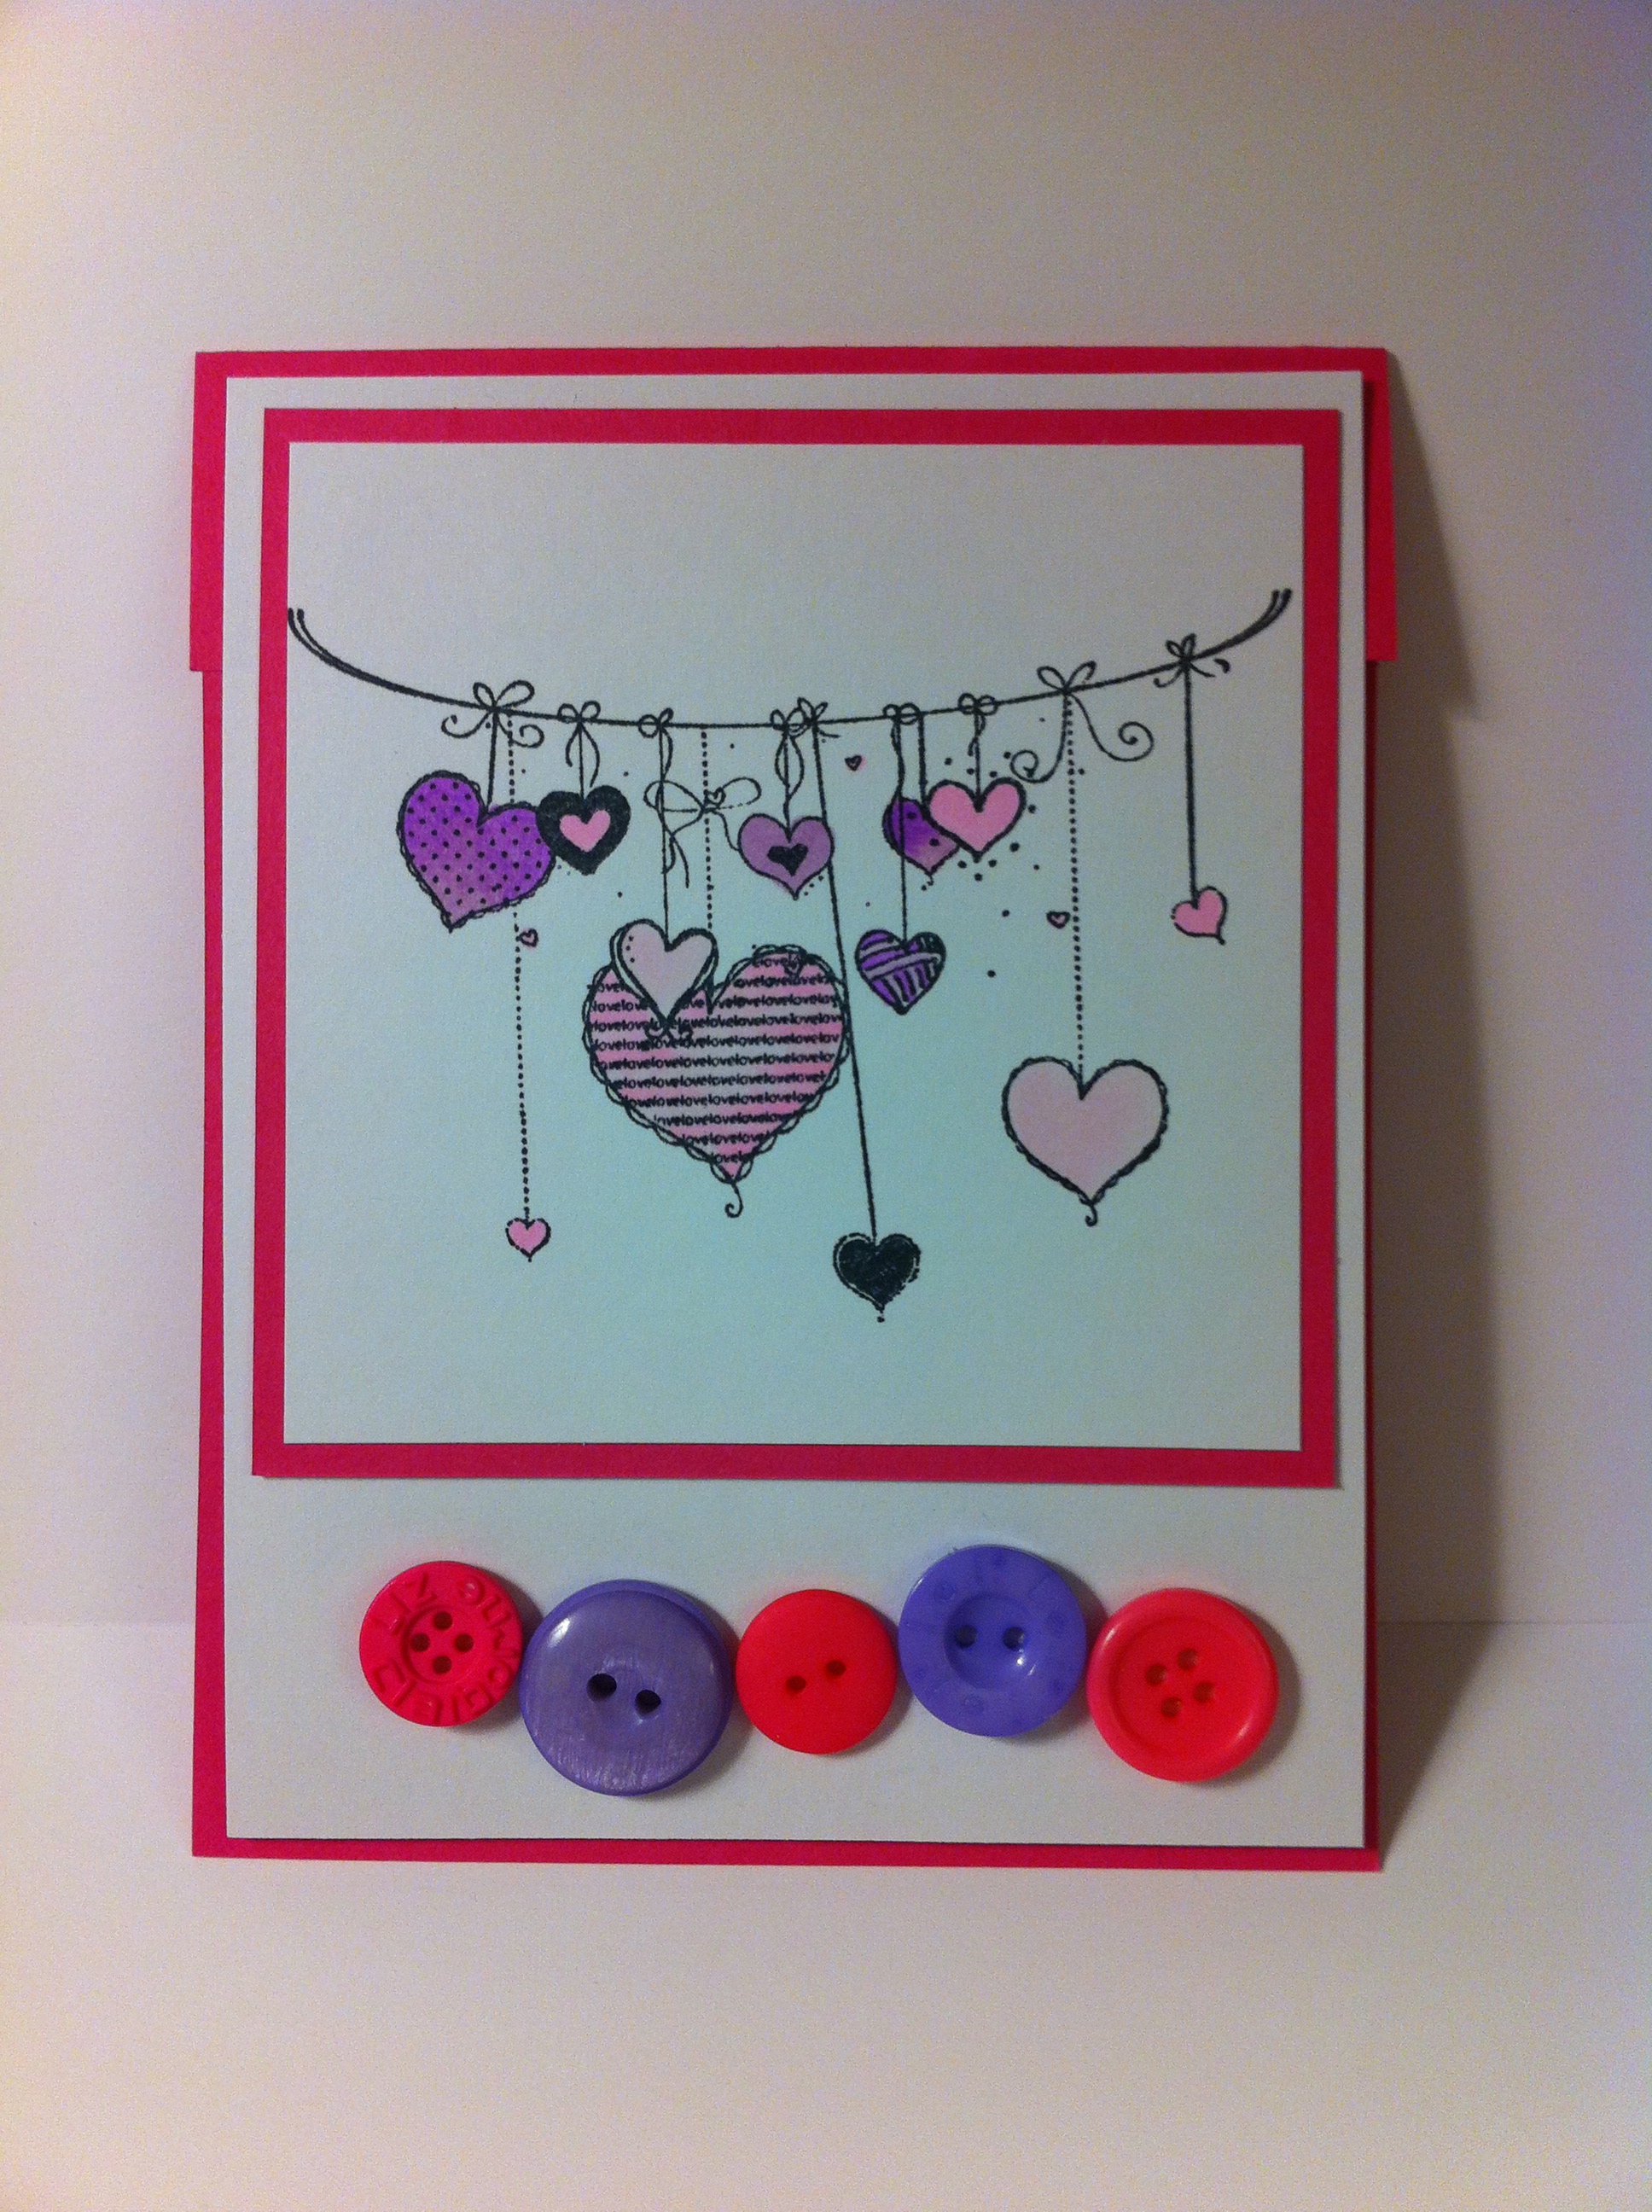
3. Stamp sentiment onto card, then adhere buttons in rainbow pattern.

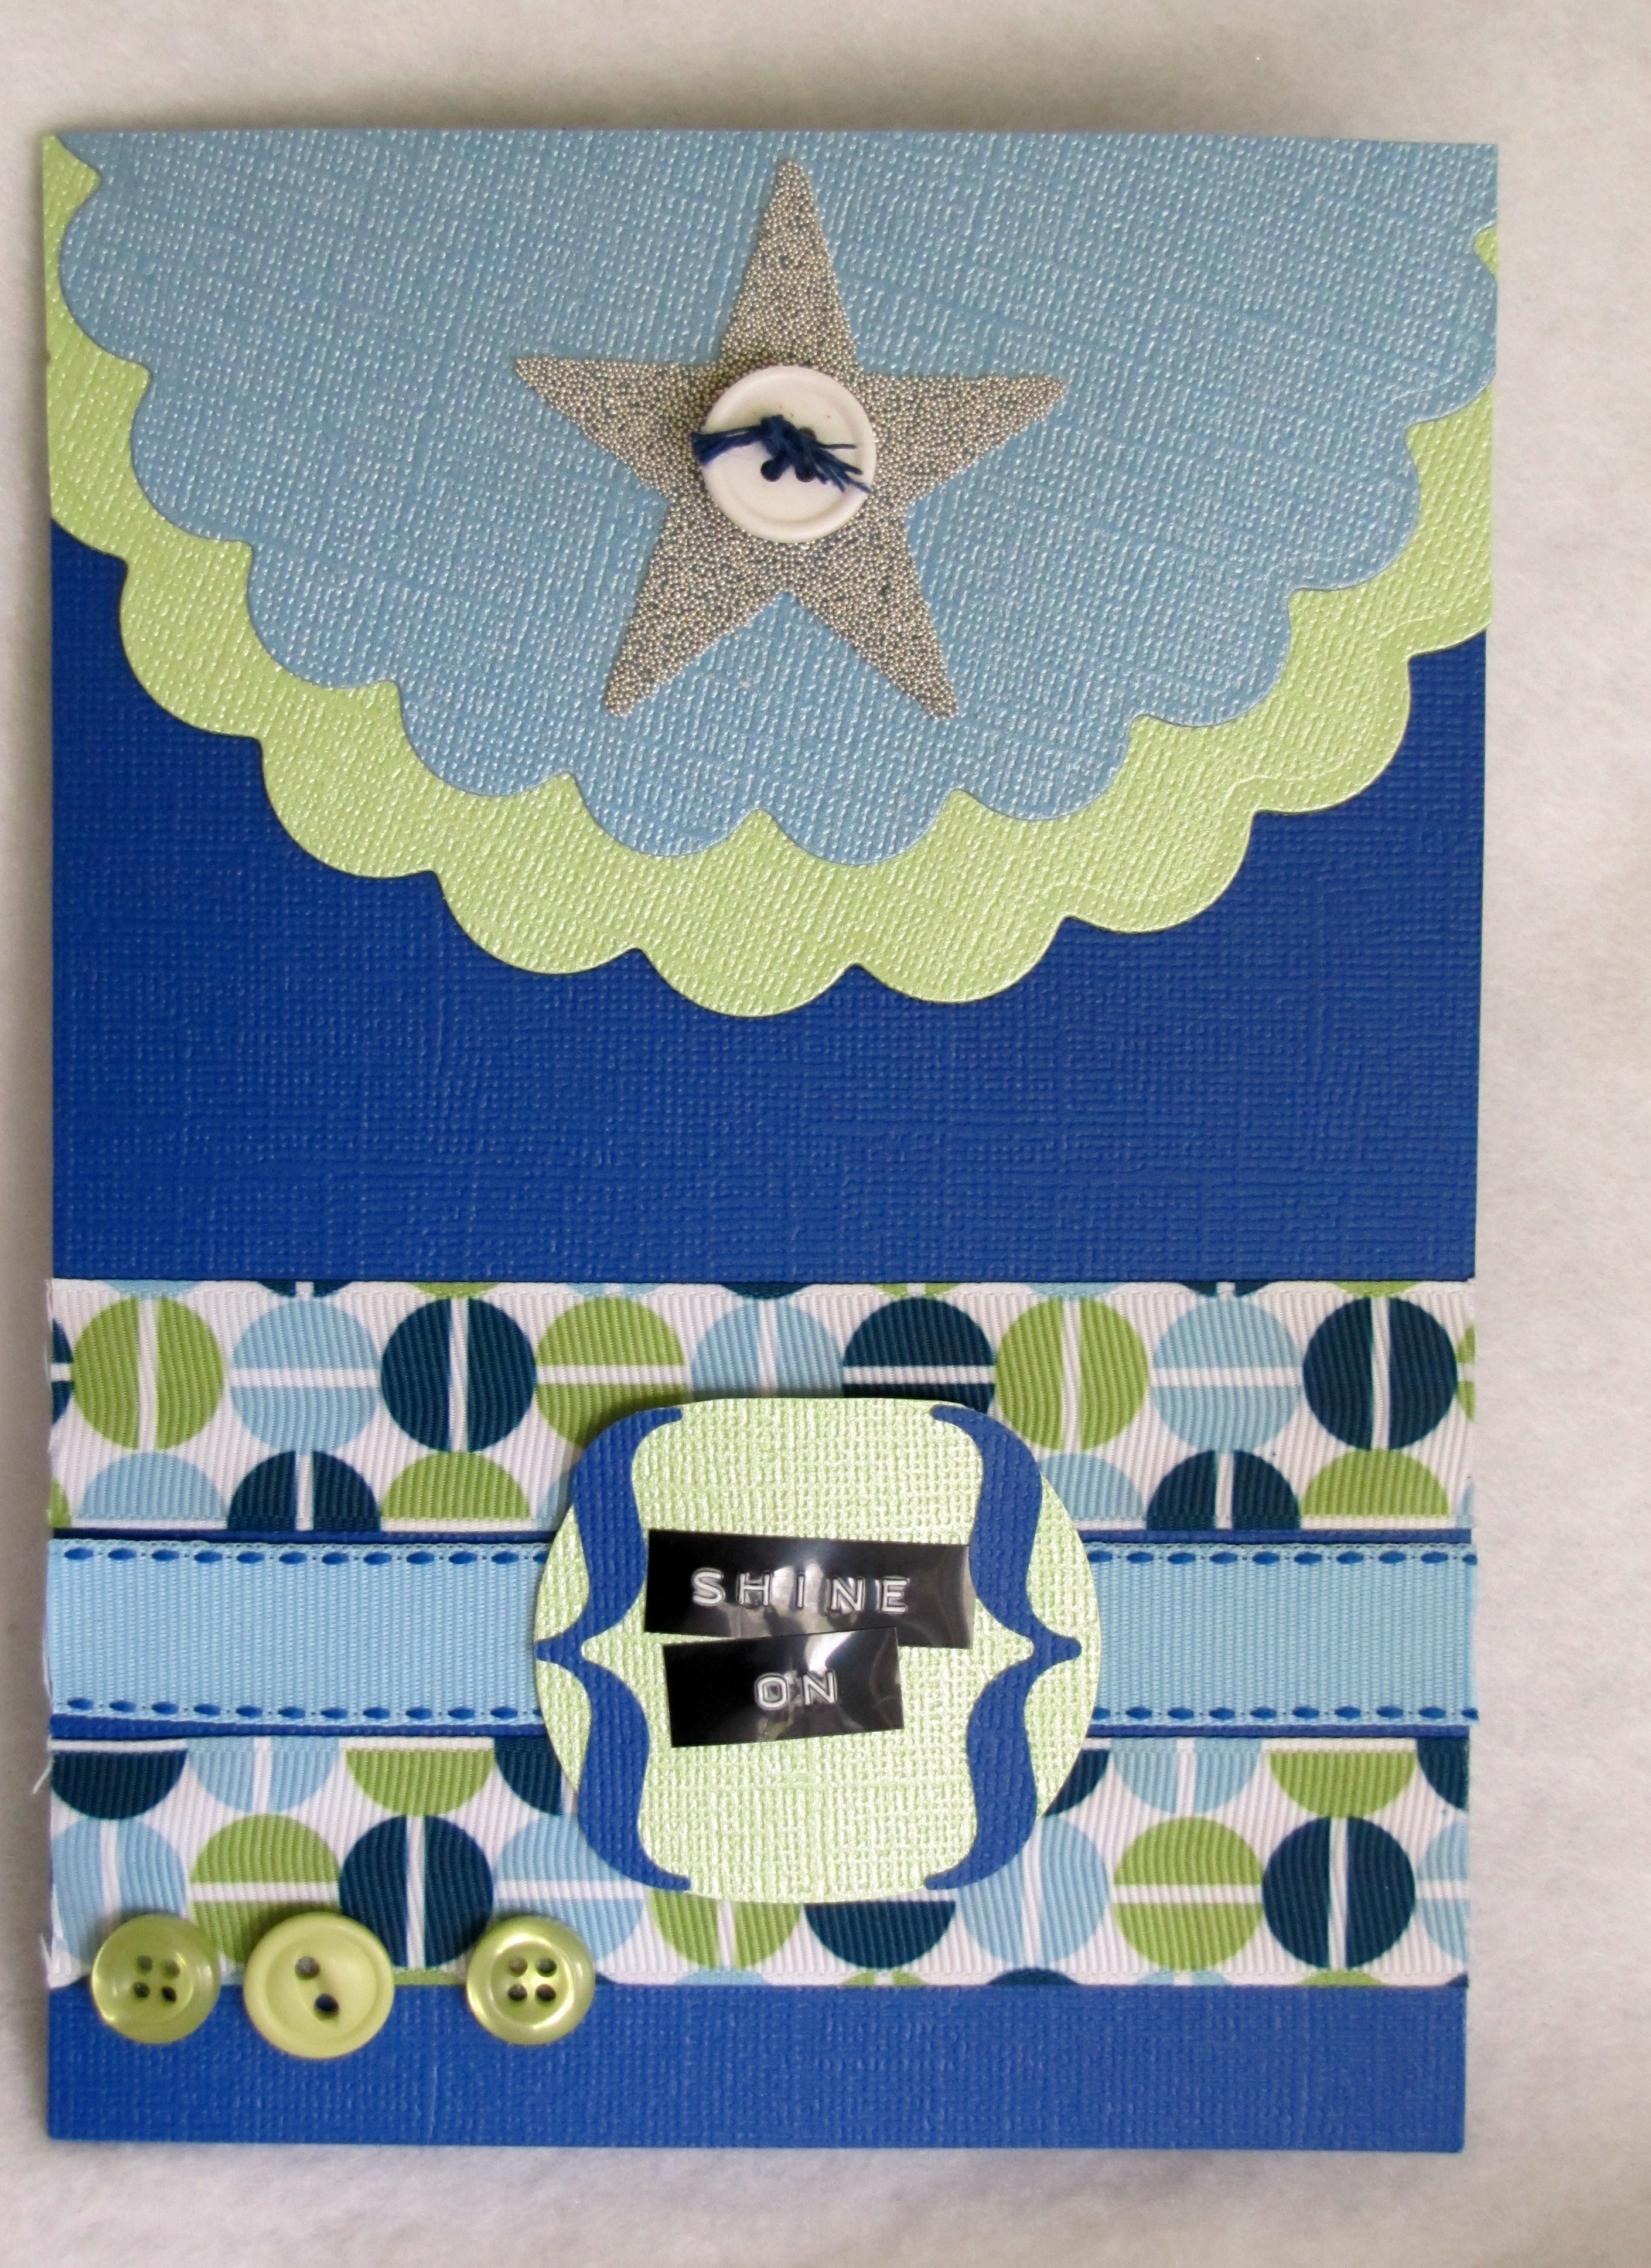
Sun Card Directions:
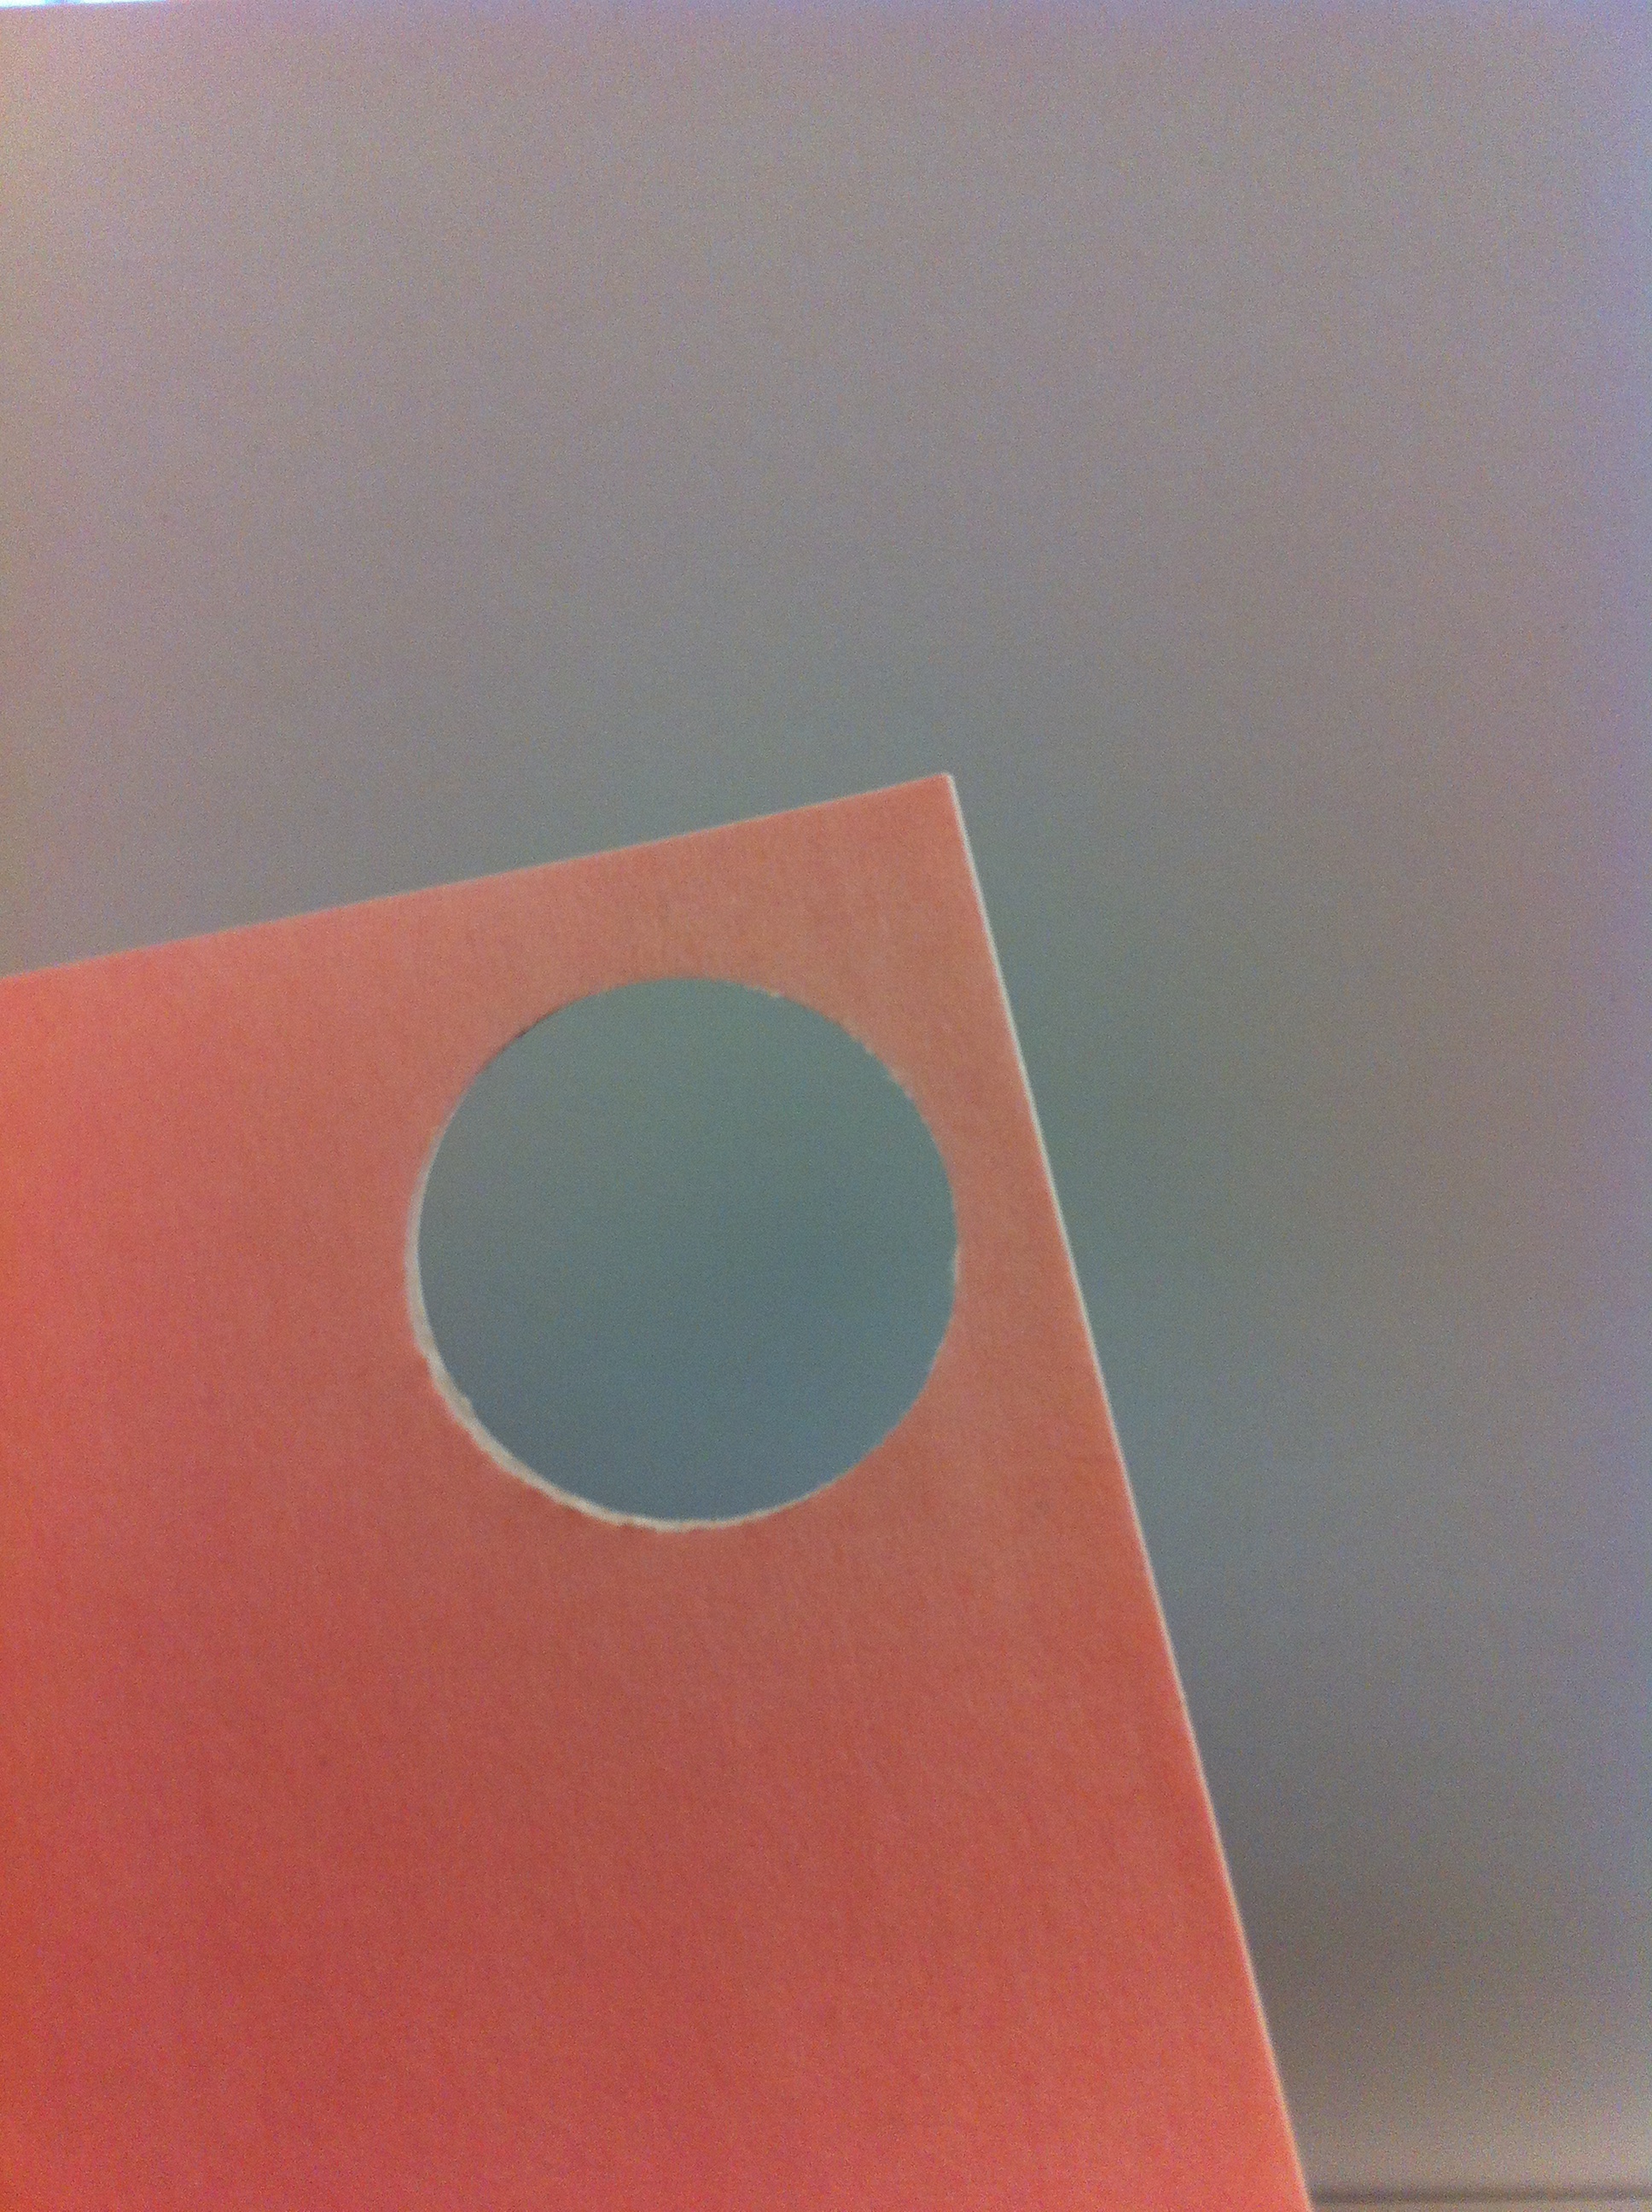
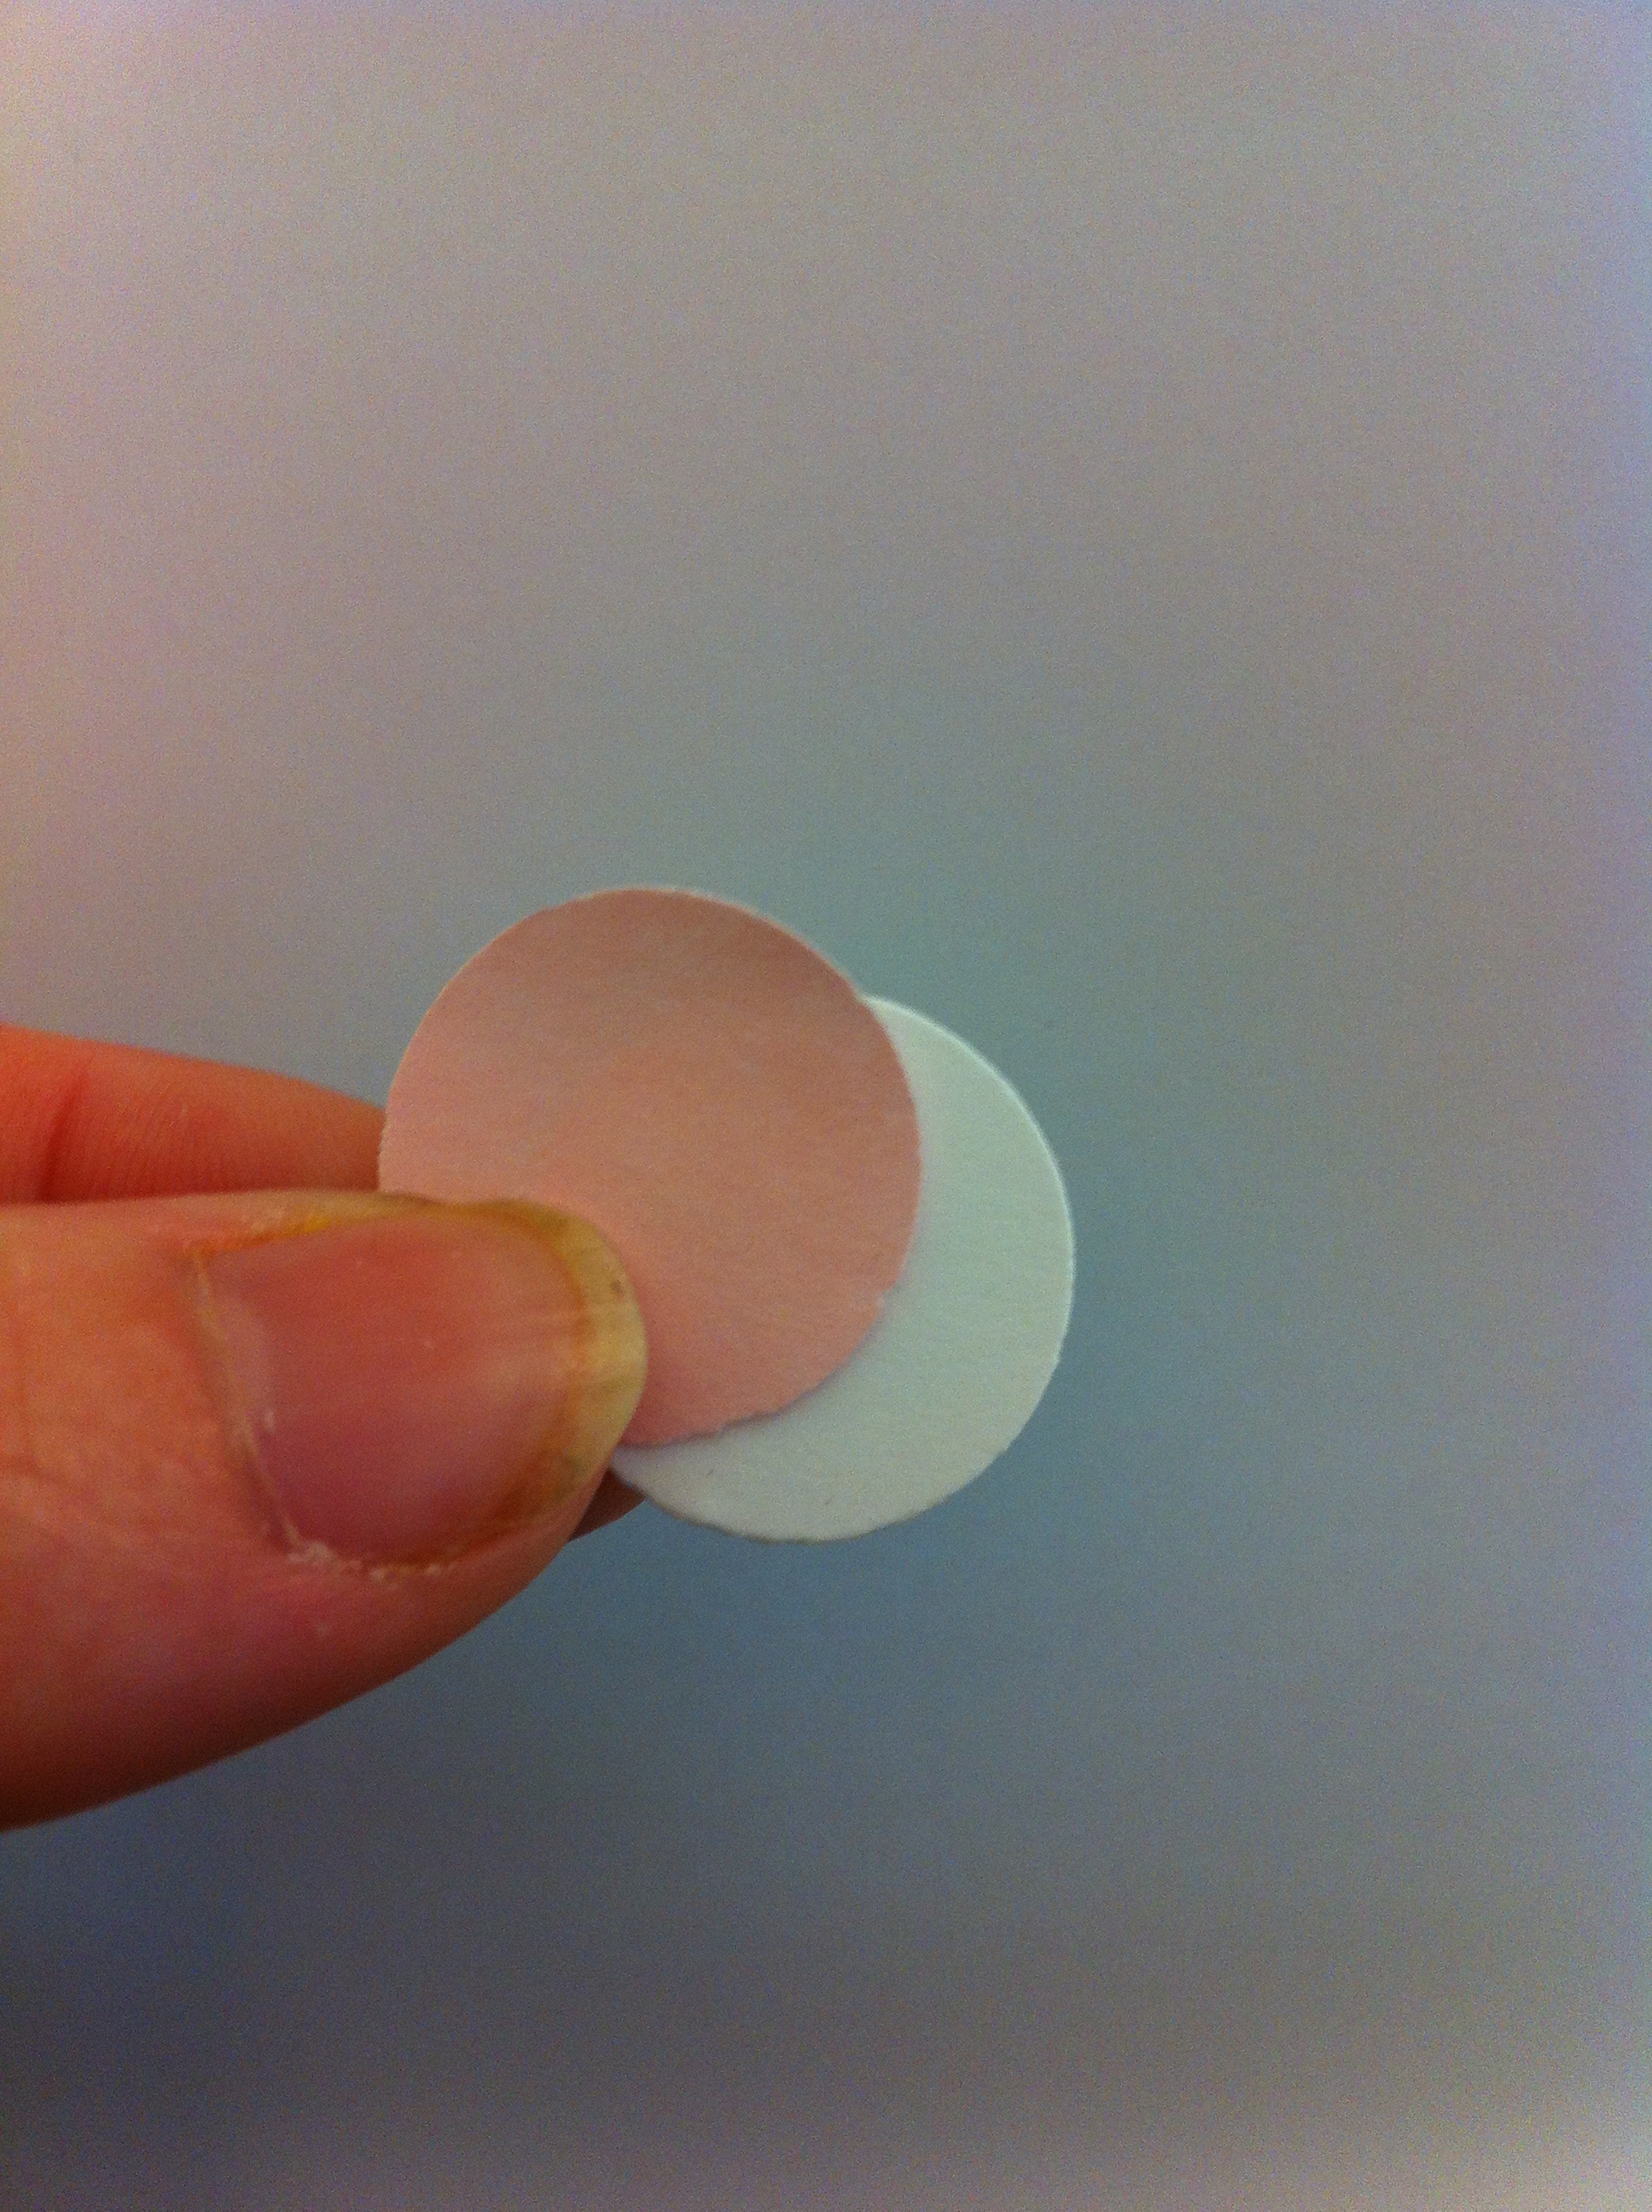
1. Cut out two circles. Place them on top of each other and cut off a small section that will be the bottom of your card. Set one circle aside.
2. Stamp sentiment onto circle (card front) and create faux stitching along edges using marker. Spray with yellow mist.
3. Turn card front over and begin creating your sun rays from ribbon. Create a loop from a small length of ribbon with your fingers and secure onto backside of card front.
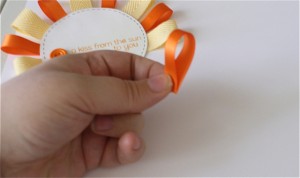
4. Alternate ribbons going along the edge of your card front, securing as you go.

5. When done, use a piece of foam tap at top of your card, on the backside, to adhere your card front and back together. Turn over and adhere buttons onto the card.
I hope this handmade card set has inspired you to get crafting today! Thanks for joining me in my first post with Buttons Galore and More. We’ll see you again tomorrow for more crafty button inspiration!!
Signing off,
Ryann


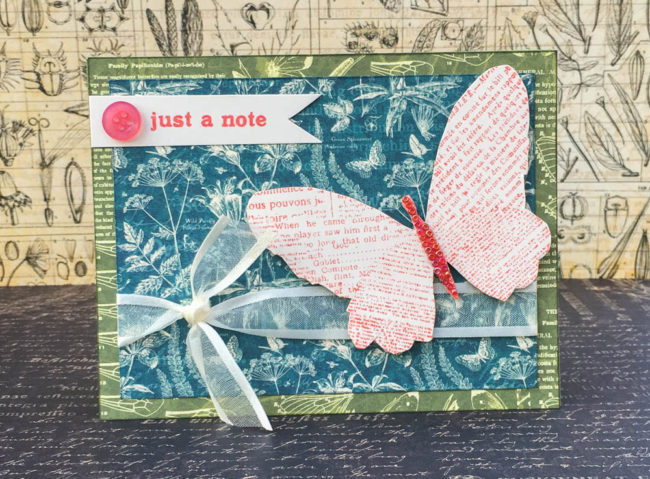
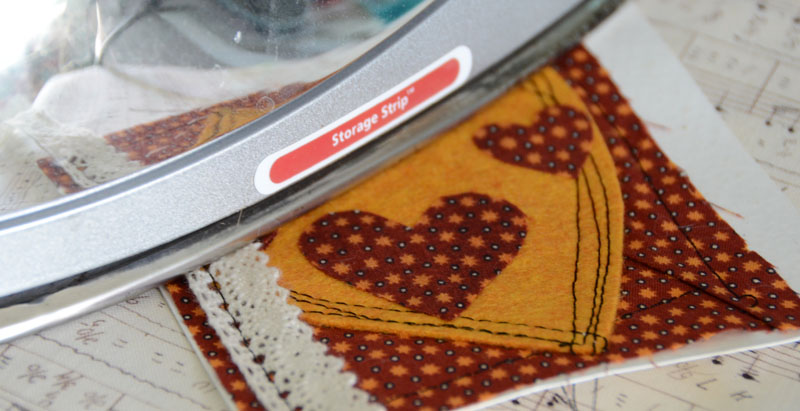
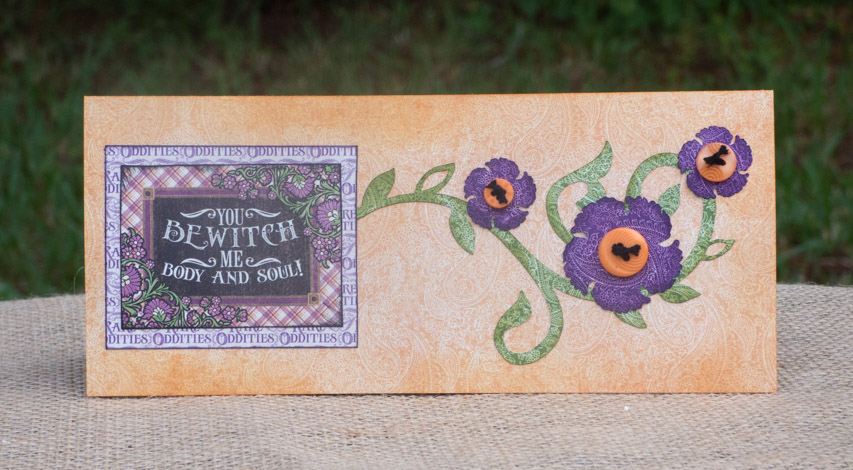
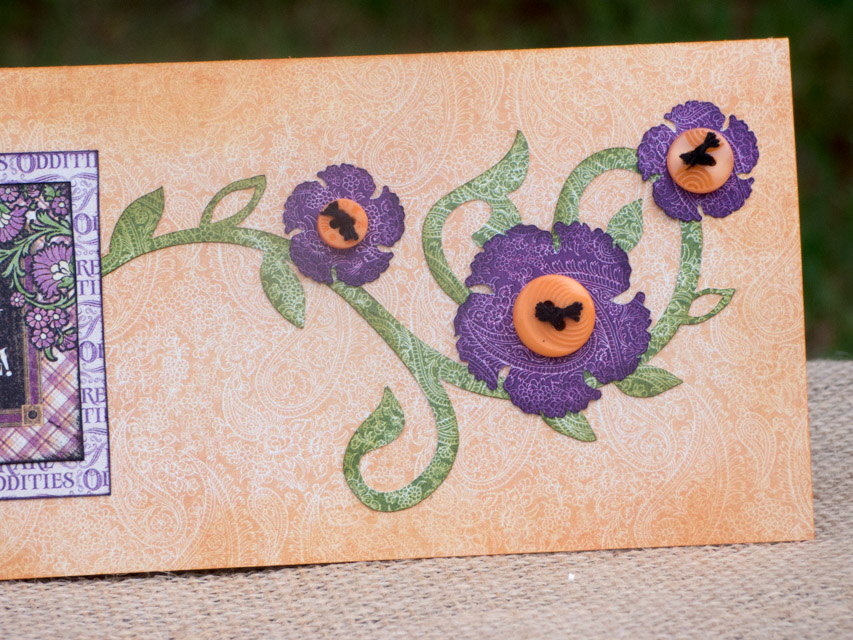
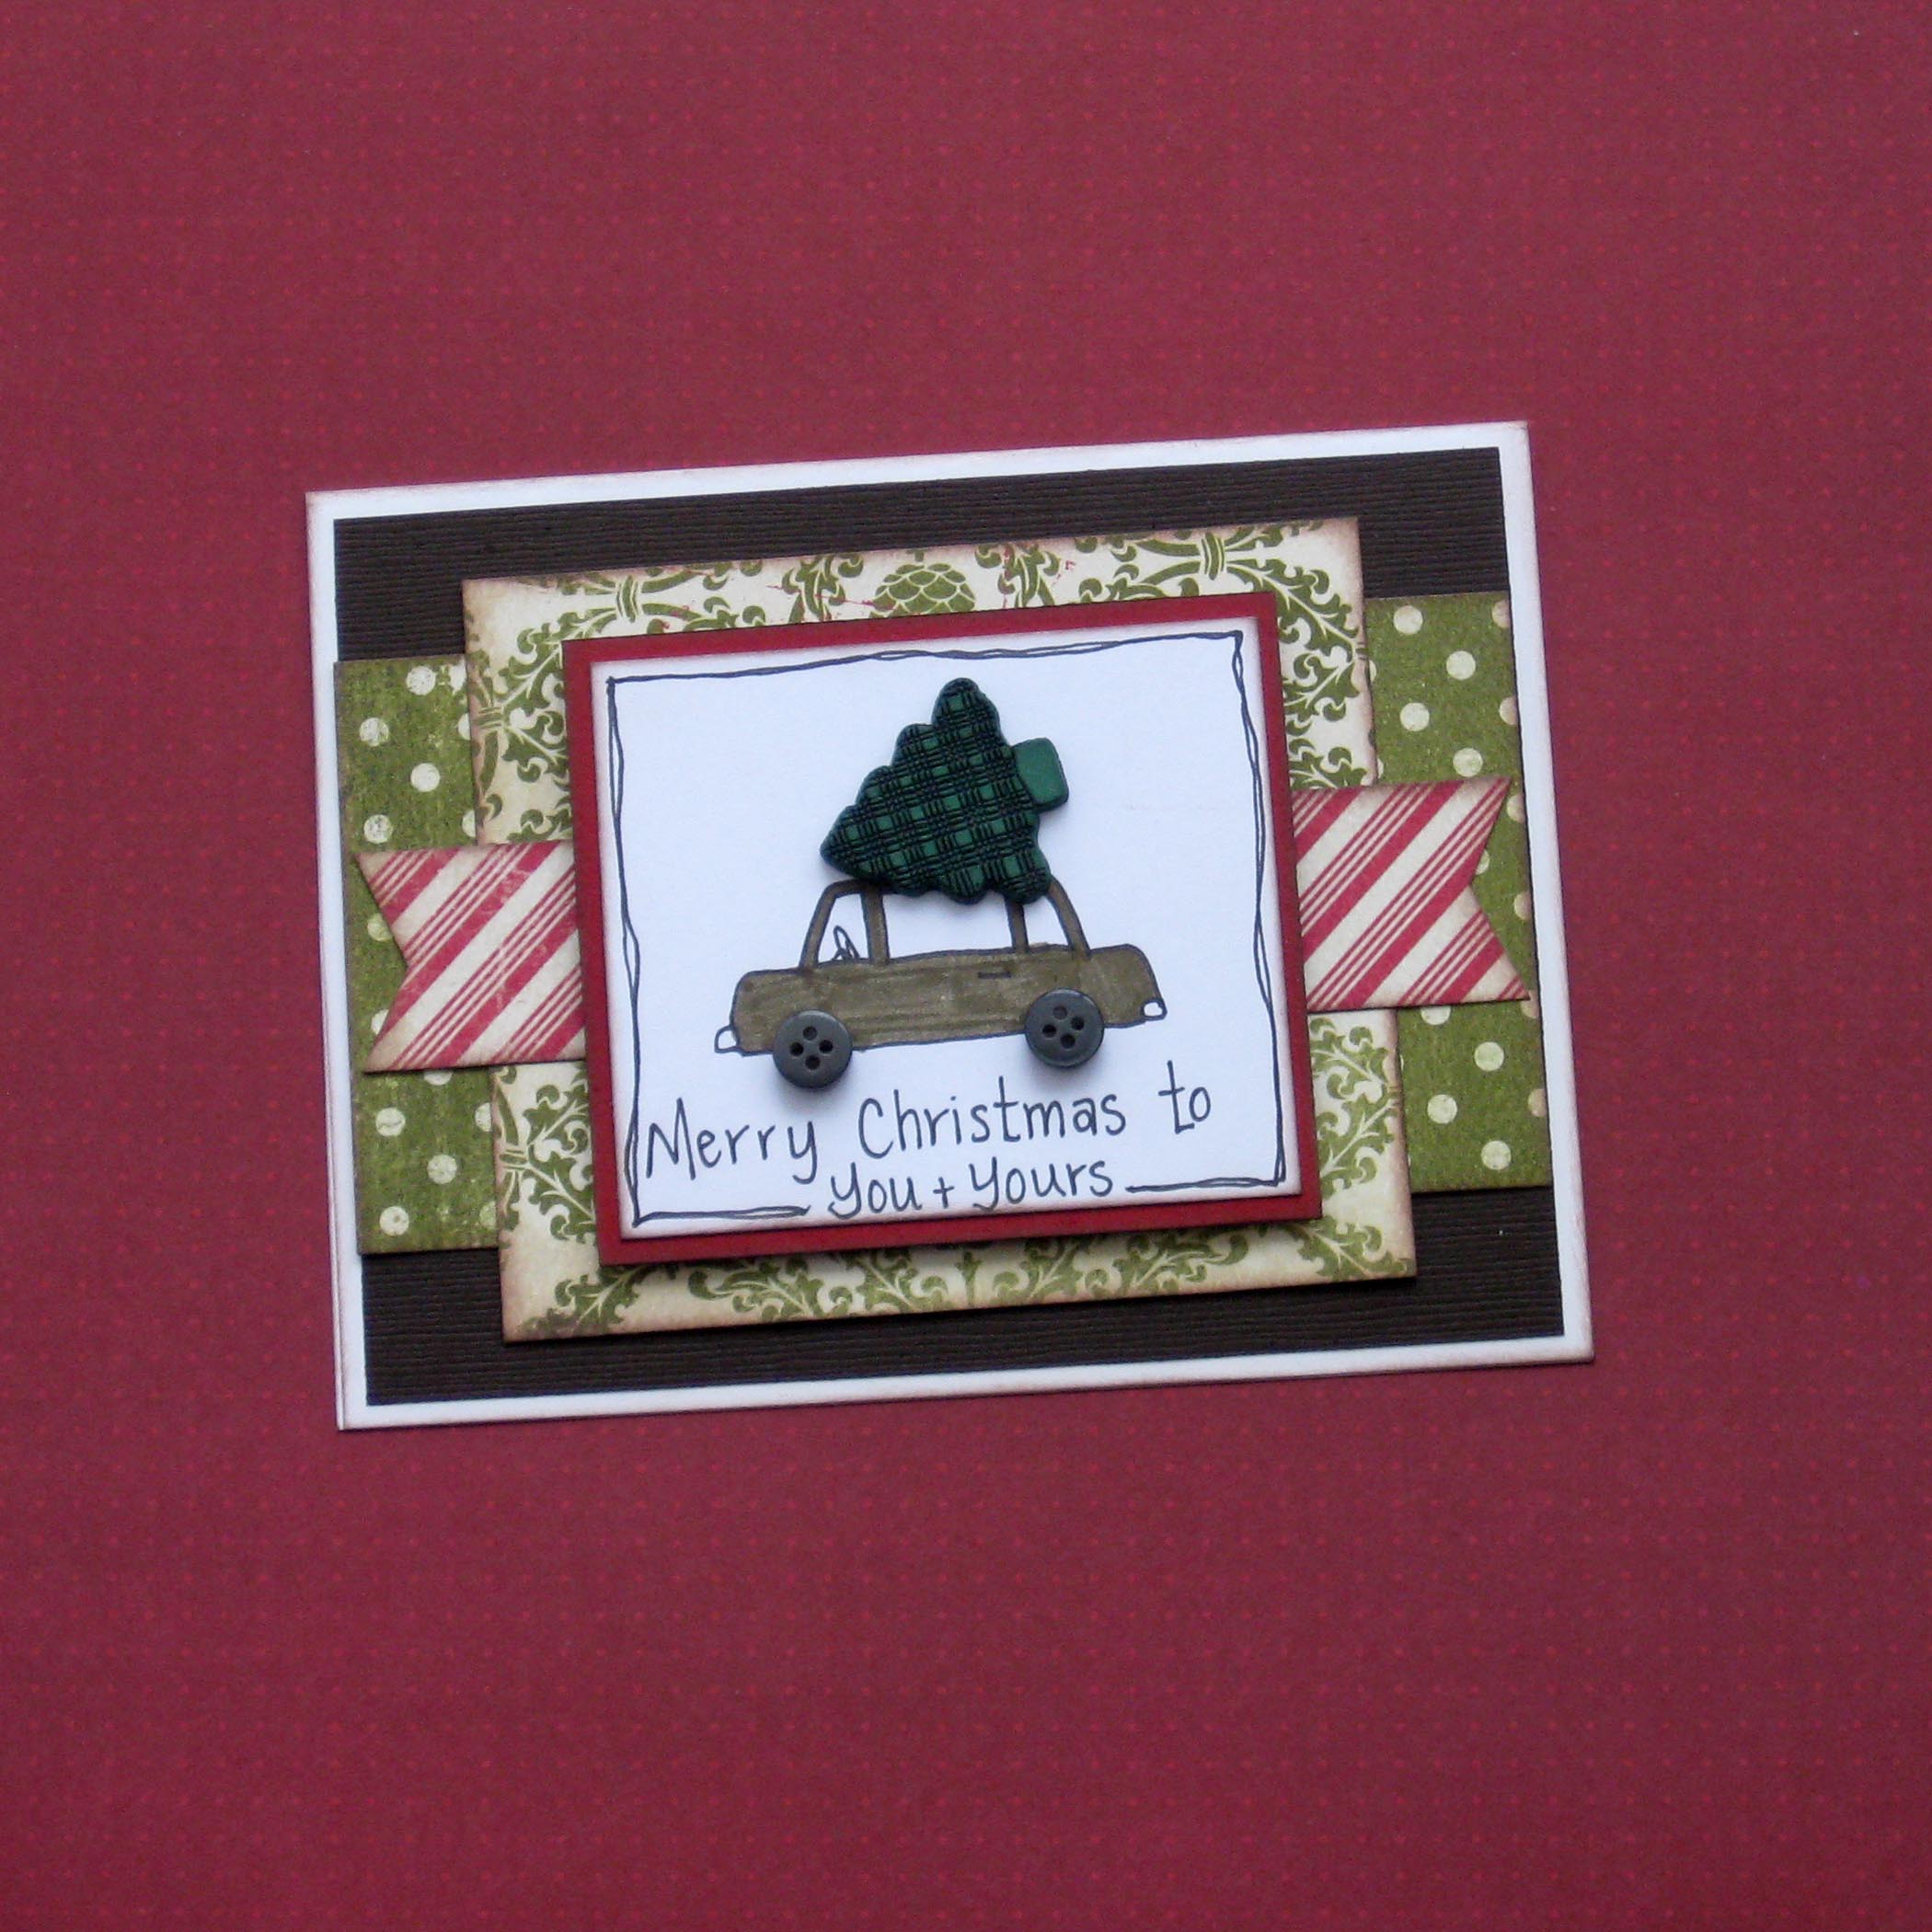
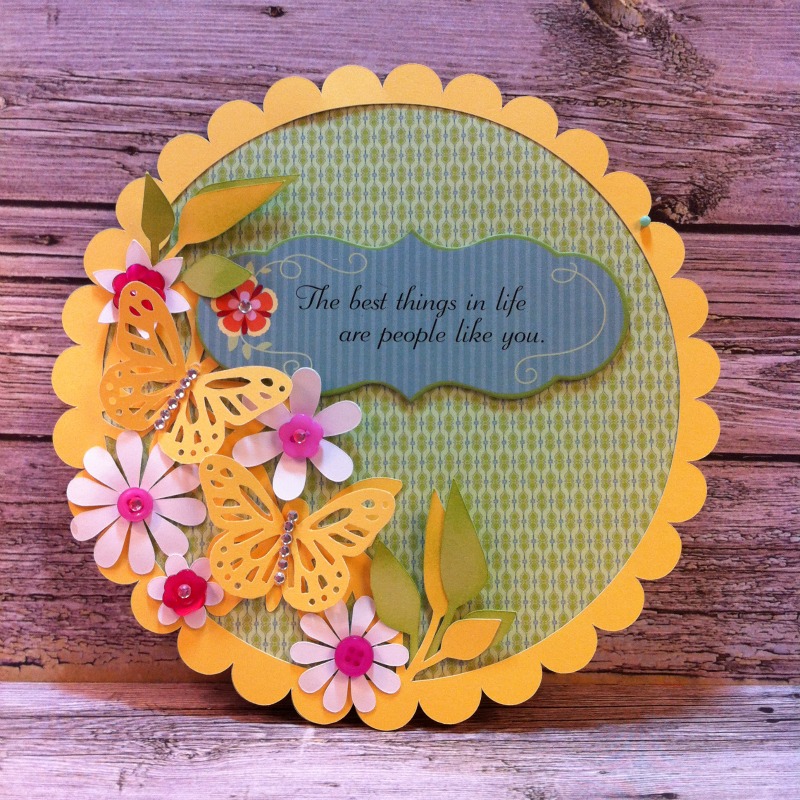
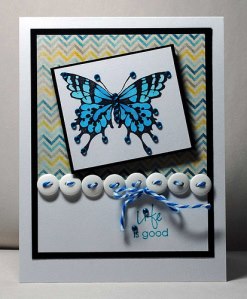
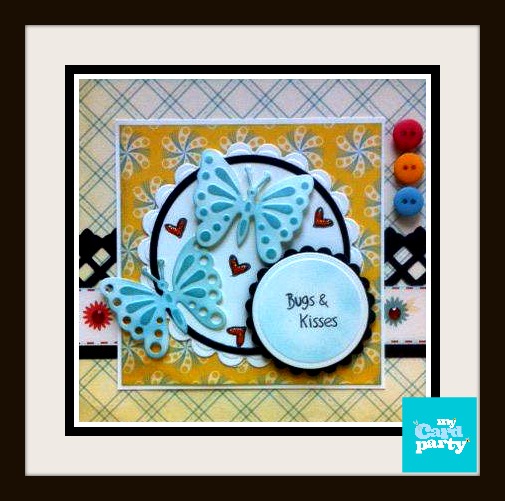
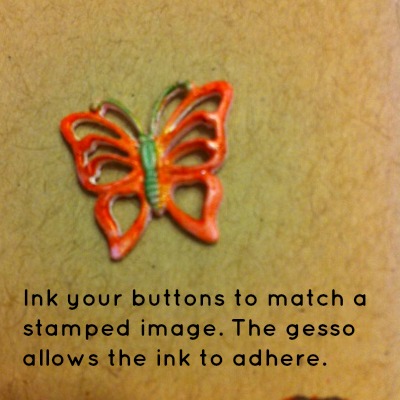
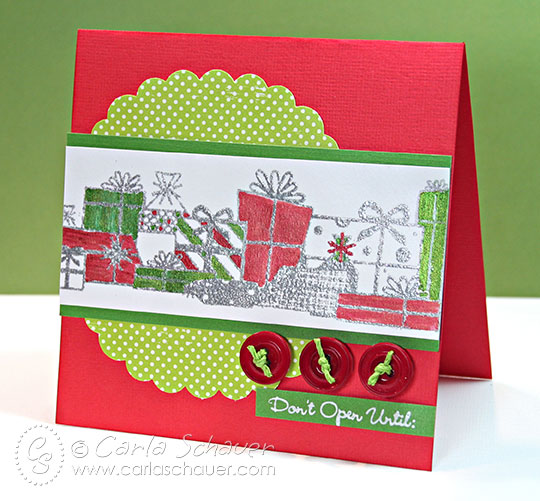
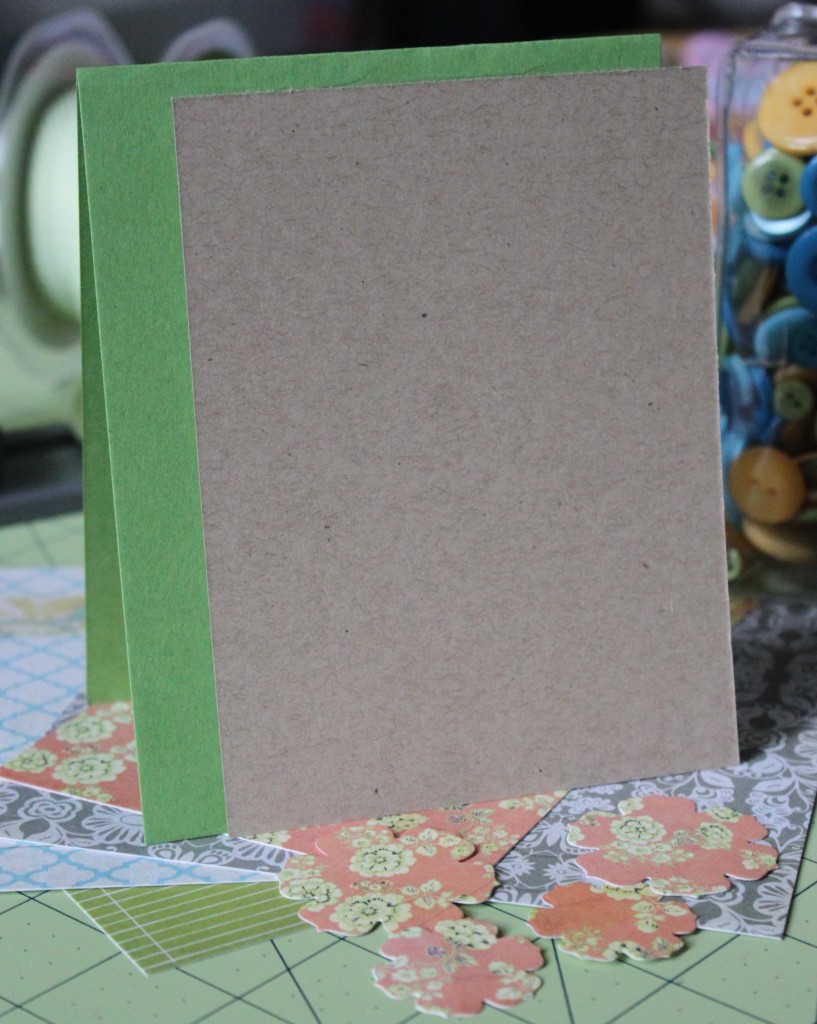
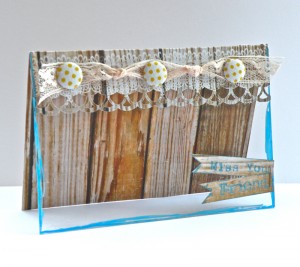
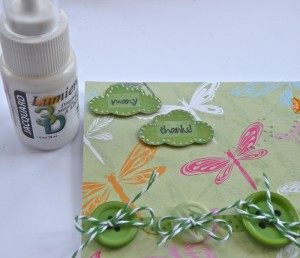
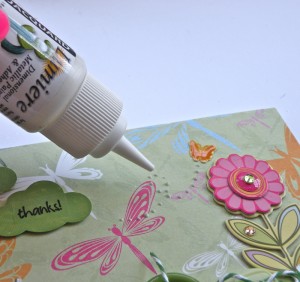
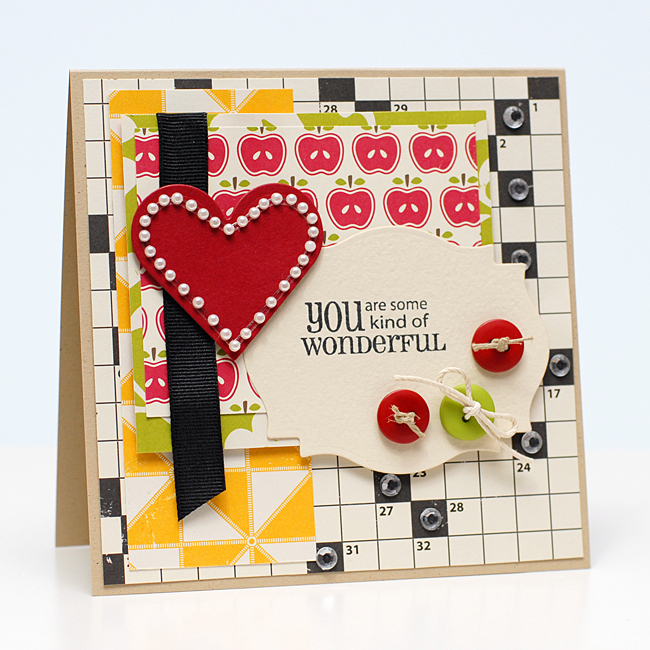
 To start making this butterfly card, cut a piece of green patterned paper to 4.25″ by 5.5″, ink the edges, and adhere it to the card base.
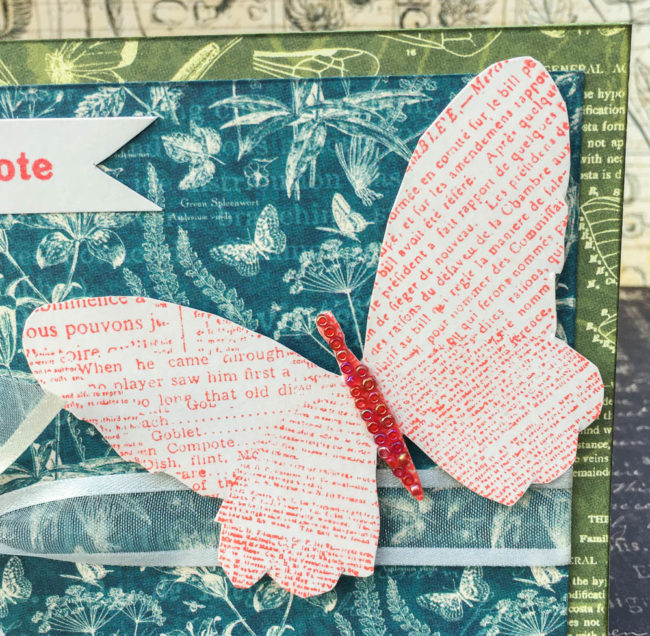
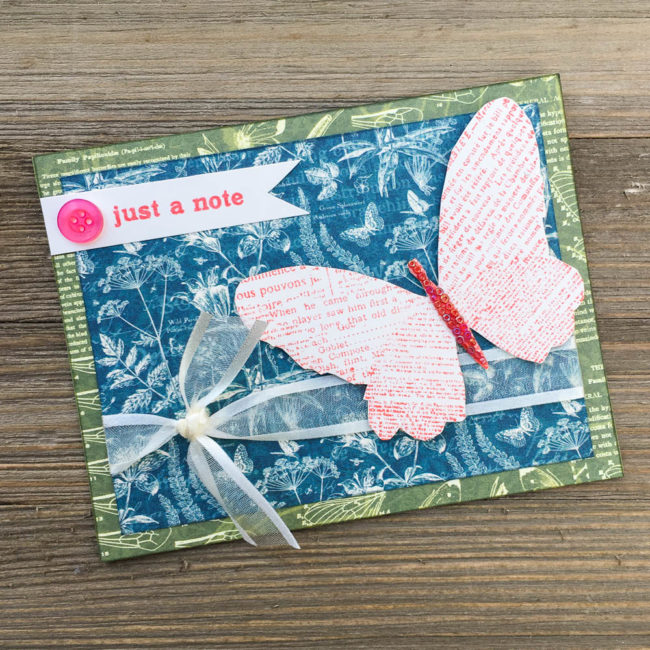
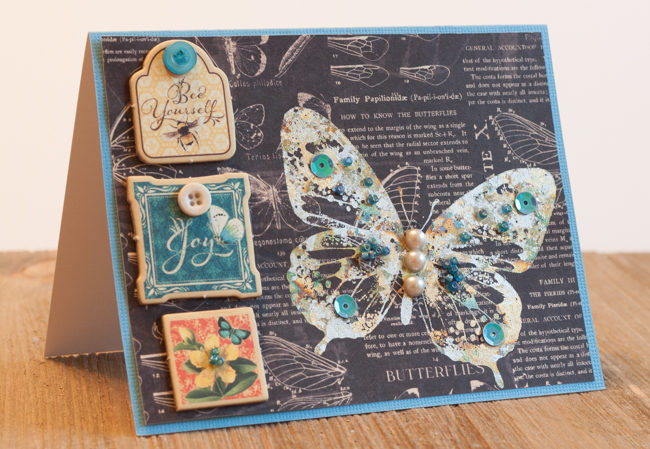
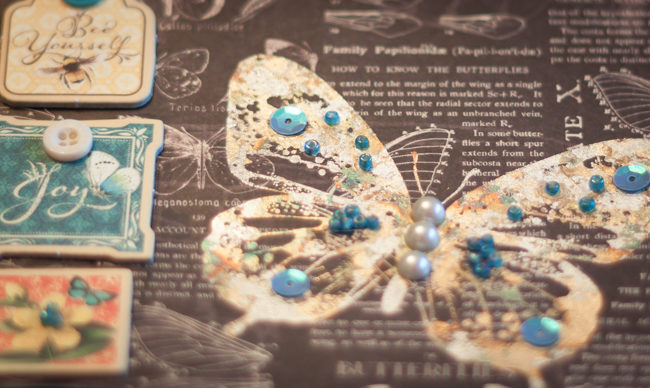
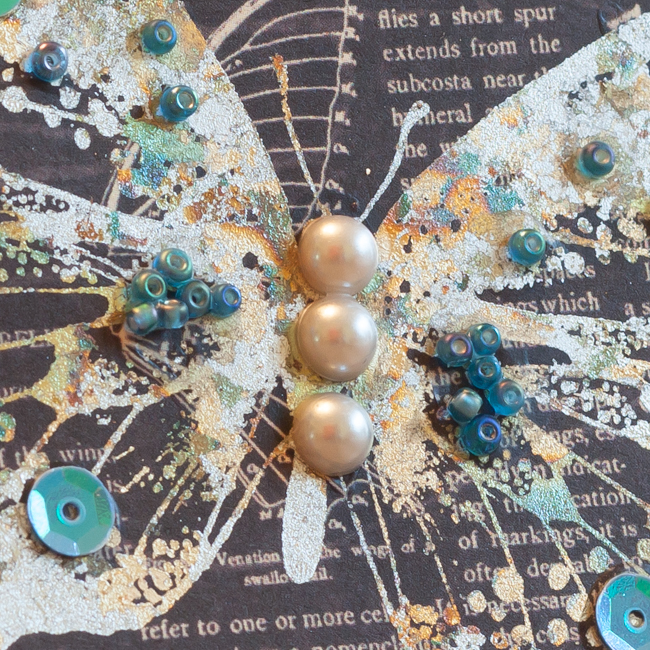
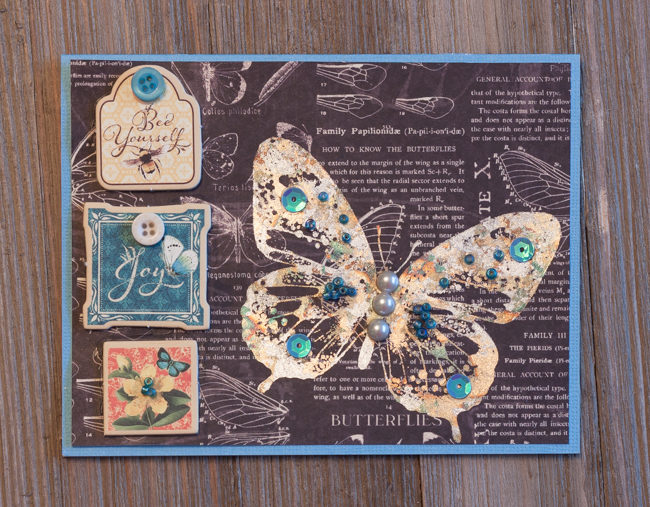

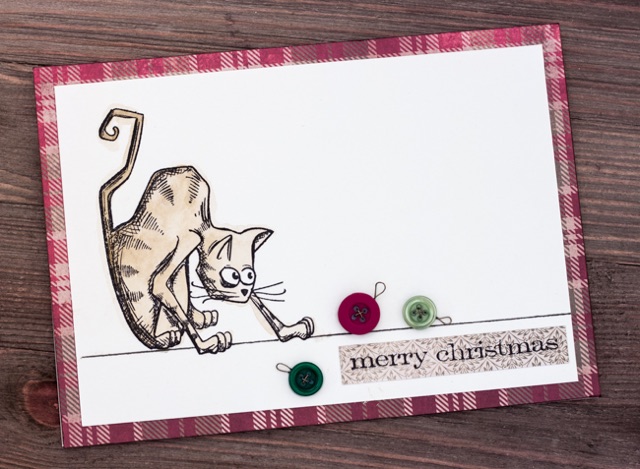


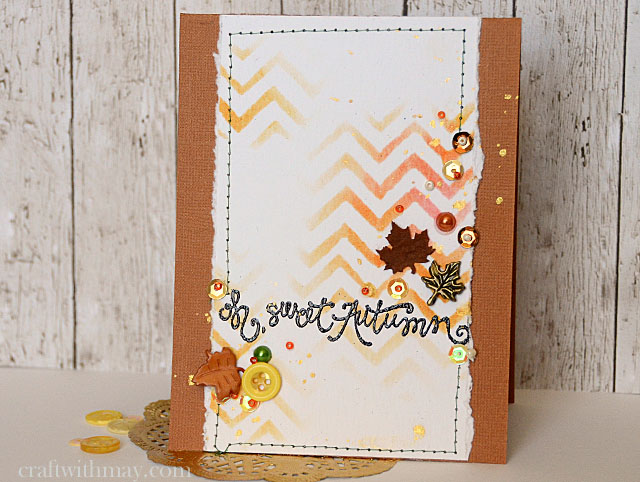
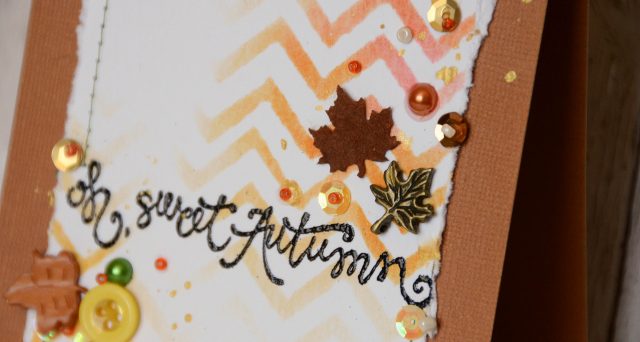
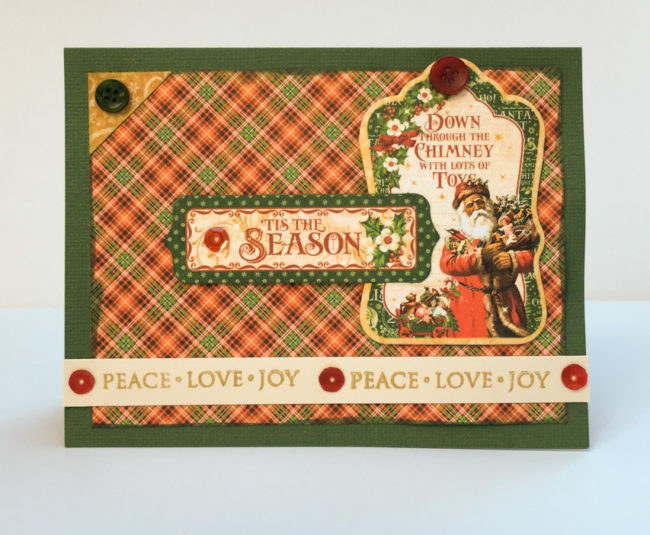
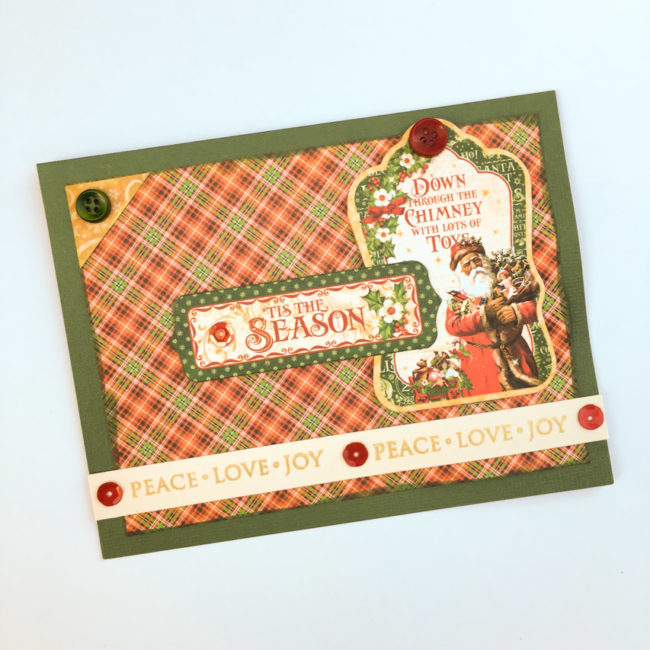
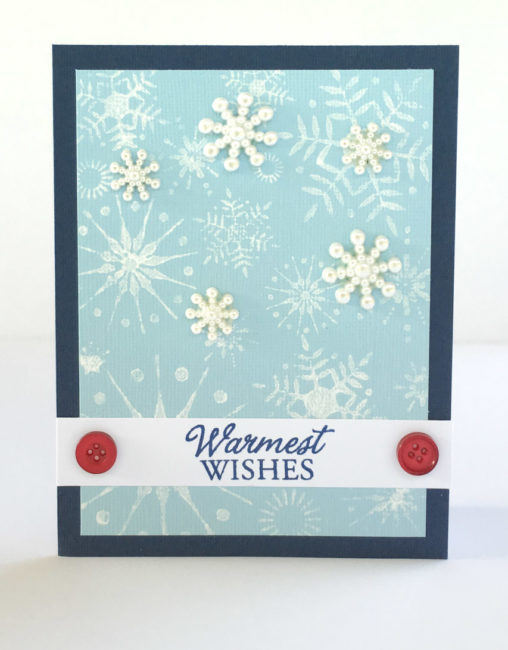
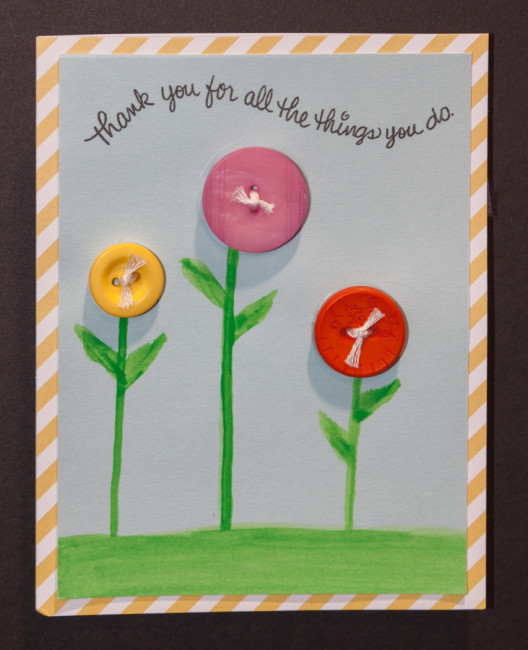
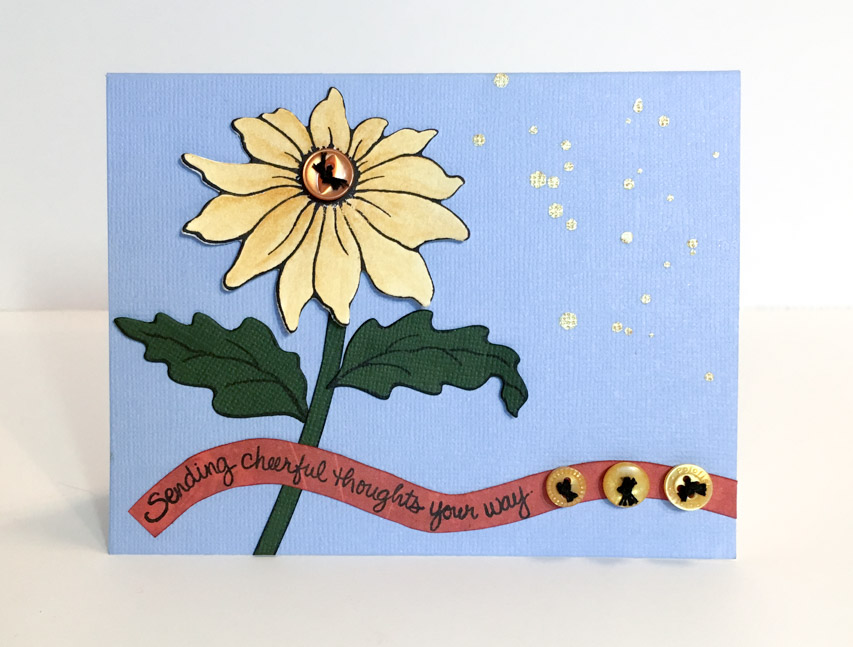
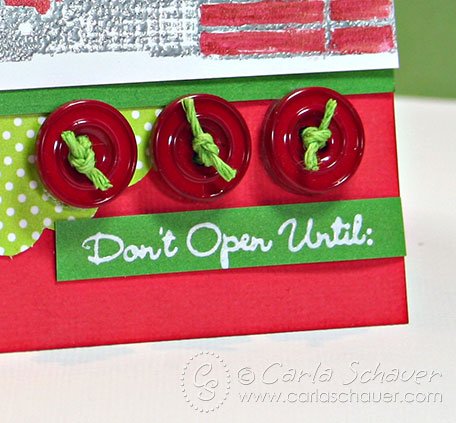
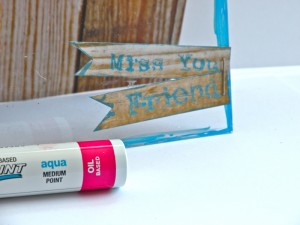
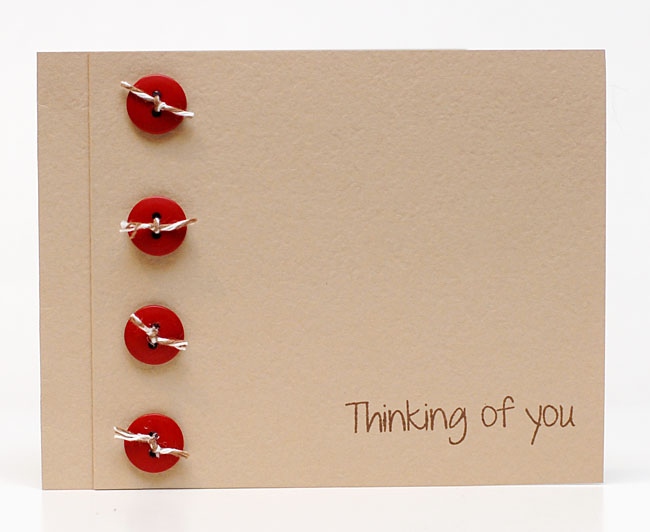
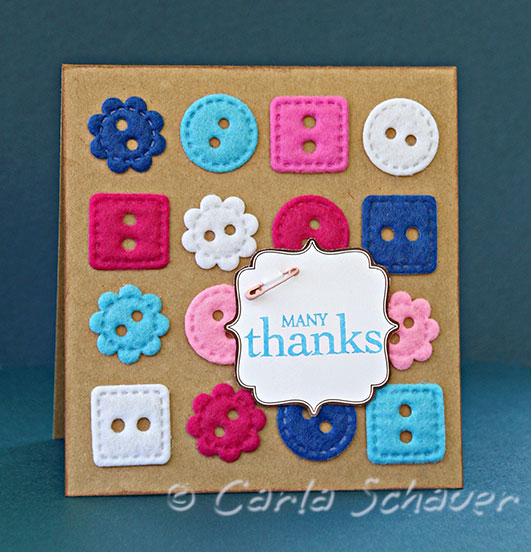
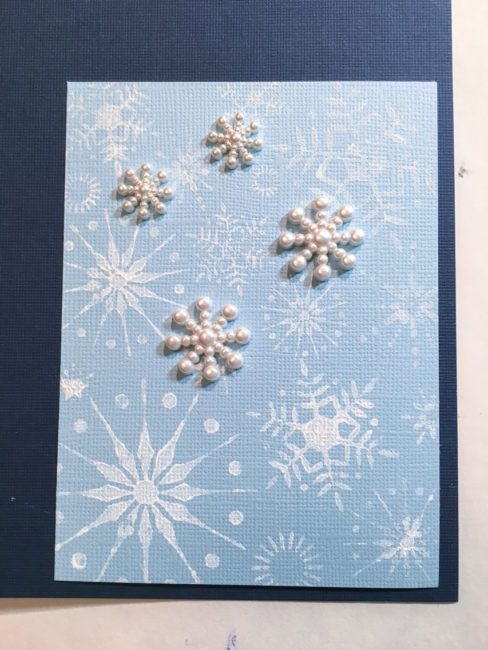 For the sentiment strip, cut a 3/4″ strip of white paper. If you stamp in the middle of that strip and then adhere it before snipping off the ends, it is easy to get your sentiment perfectly centered on the card front. Then you can arrange the red accent buttons around the edges of the sentiment strip and they will also be perfectly spaced!
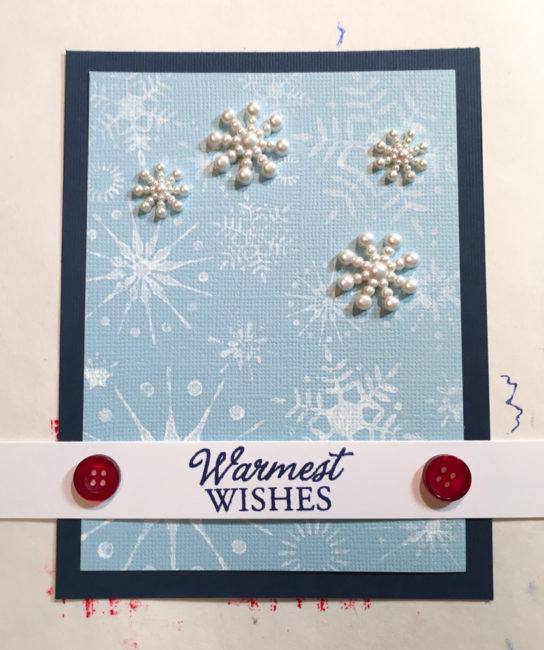
 For the full how to tutorial about the card, check out the video below!
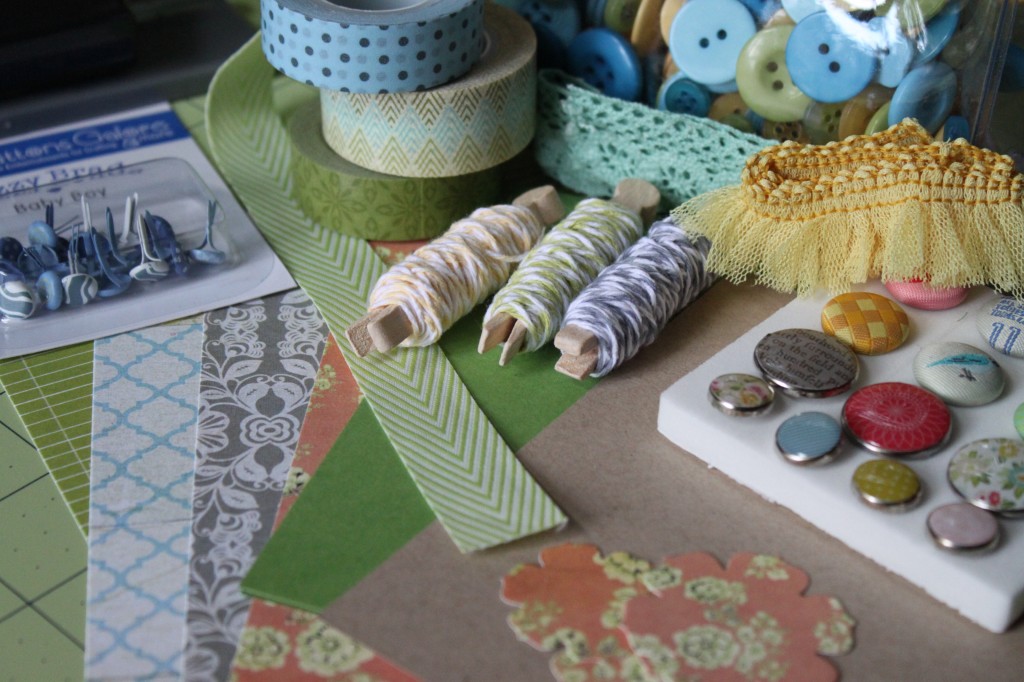
 Supplies:


 Ashli Oliver (aka soapHOUSEmama) lives with her husband and four girls, age 10 and under, in a suburb of Atlanta, Georgia. Ashli is a recovering graphic designer and when she is not busy homeschooling her kiddos, you can find her drinking copious amounts of coffee while playing with paint and pretty paper in her studio. Not only does Ashli love documenting her family’s memories, but she finds great joy in the creative process… which, in her case, usually involves lots of messy, painty fun!


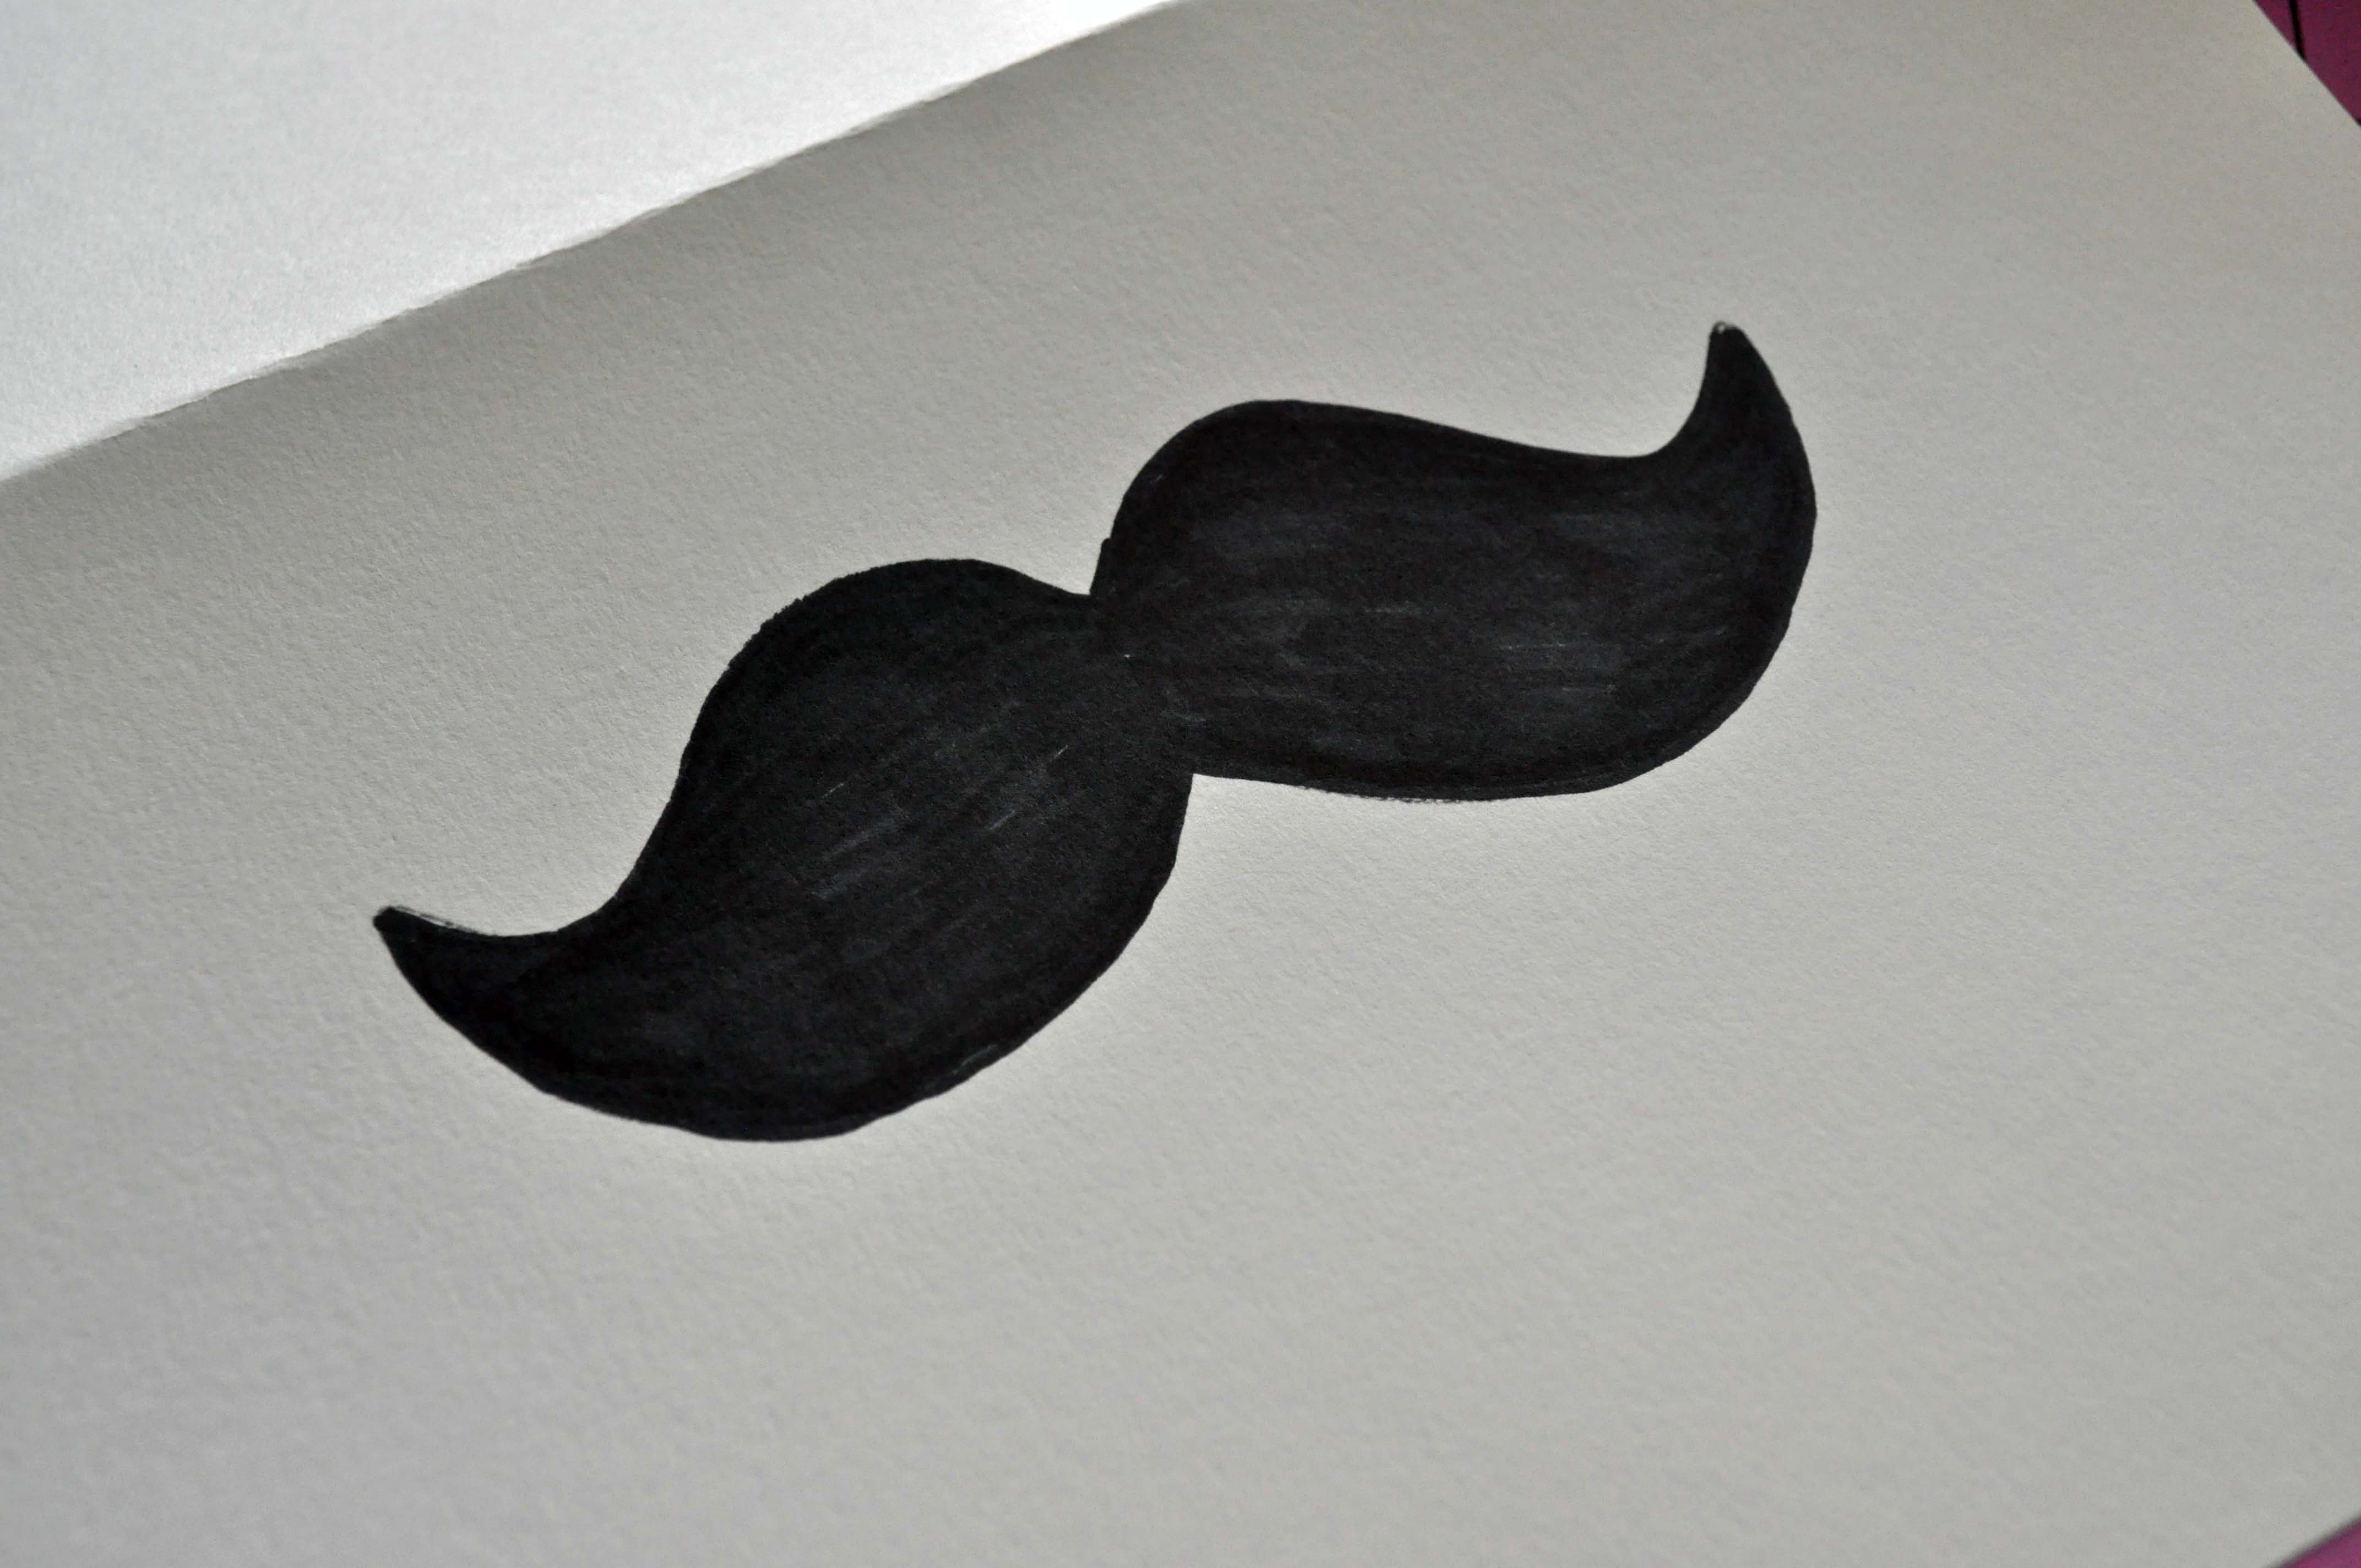
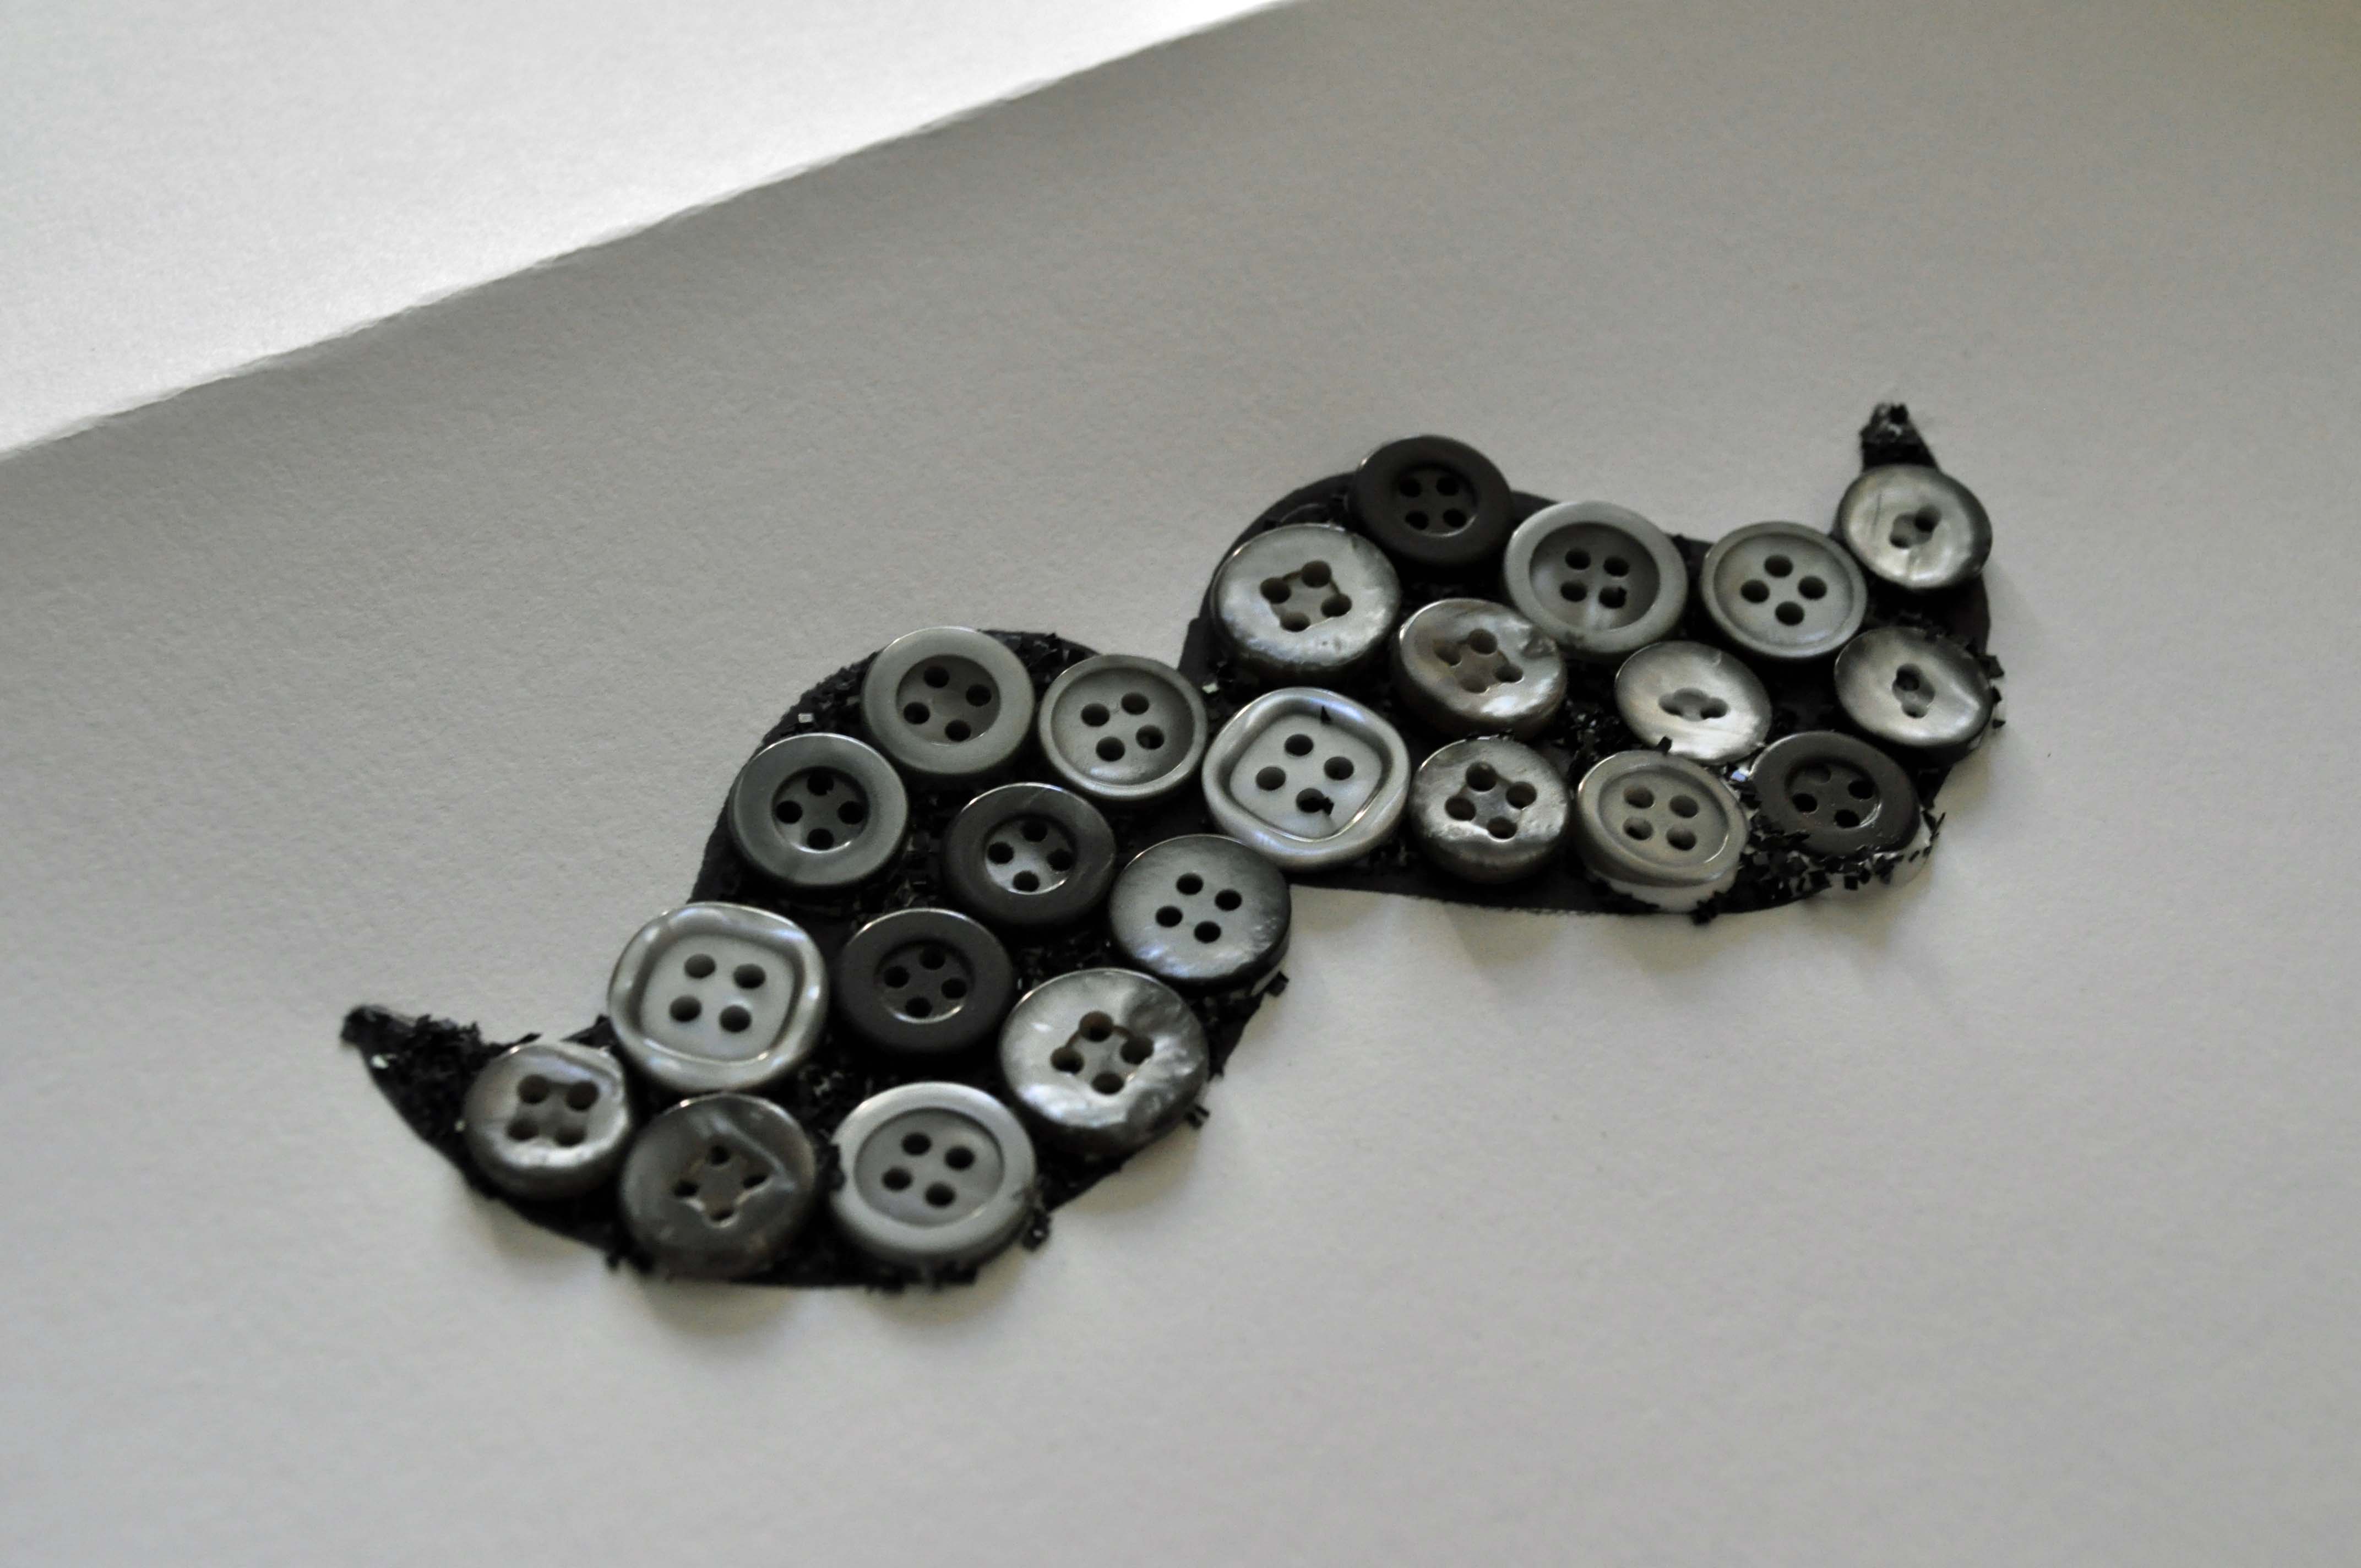
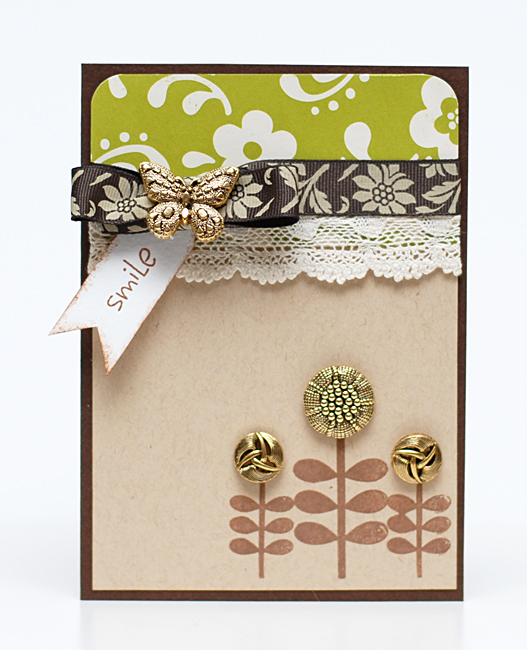
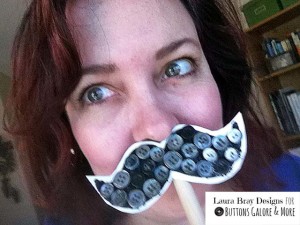 Moustache for men birthday card and fun photo prop
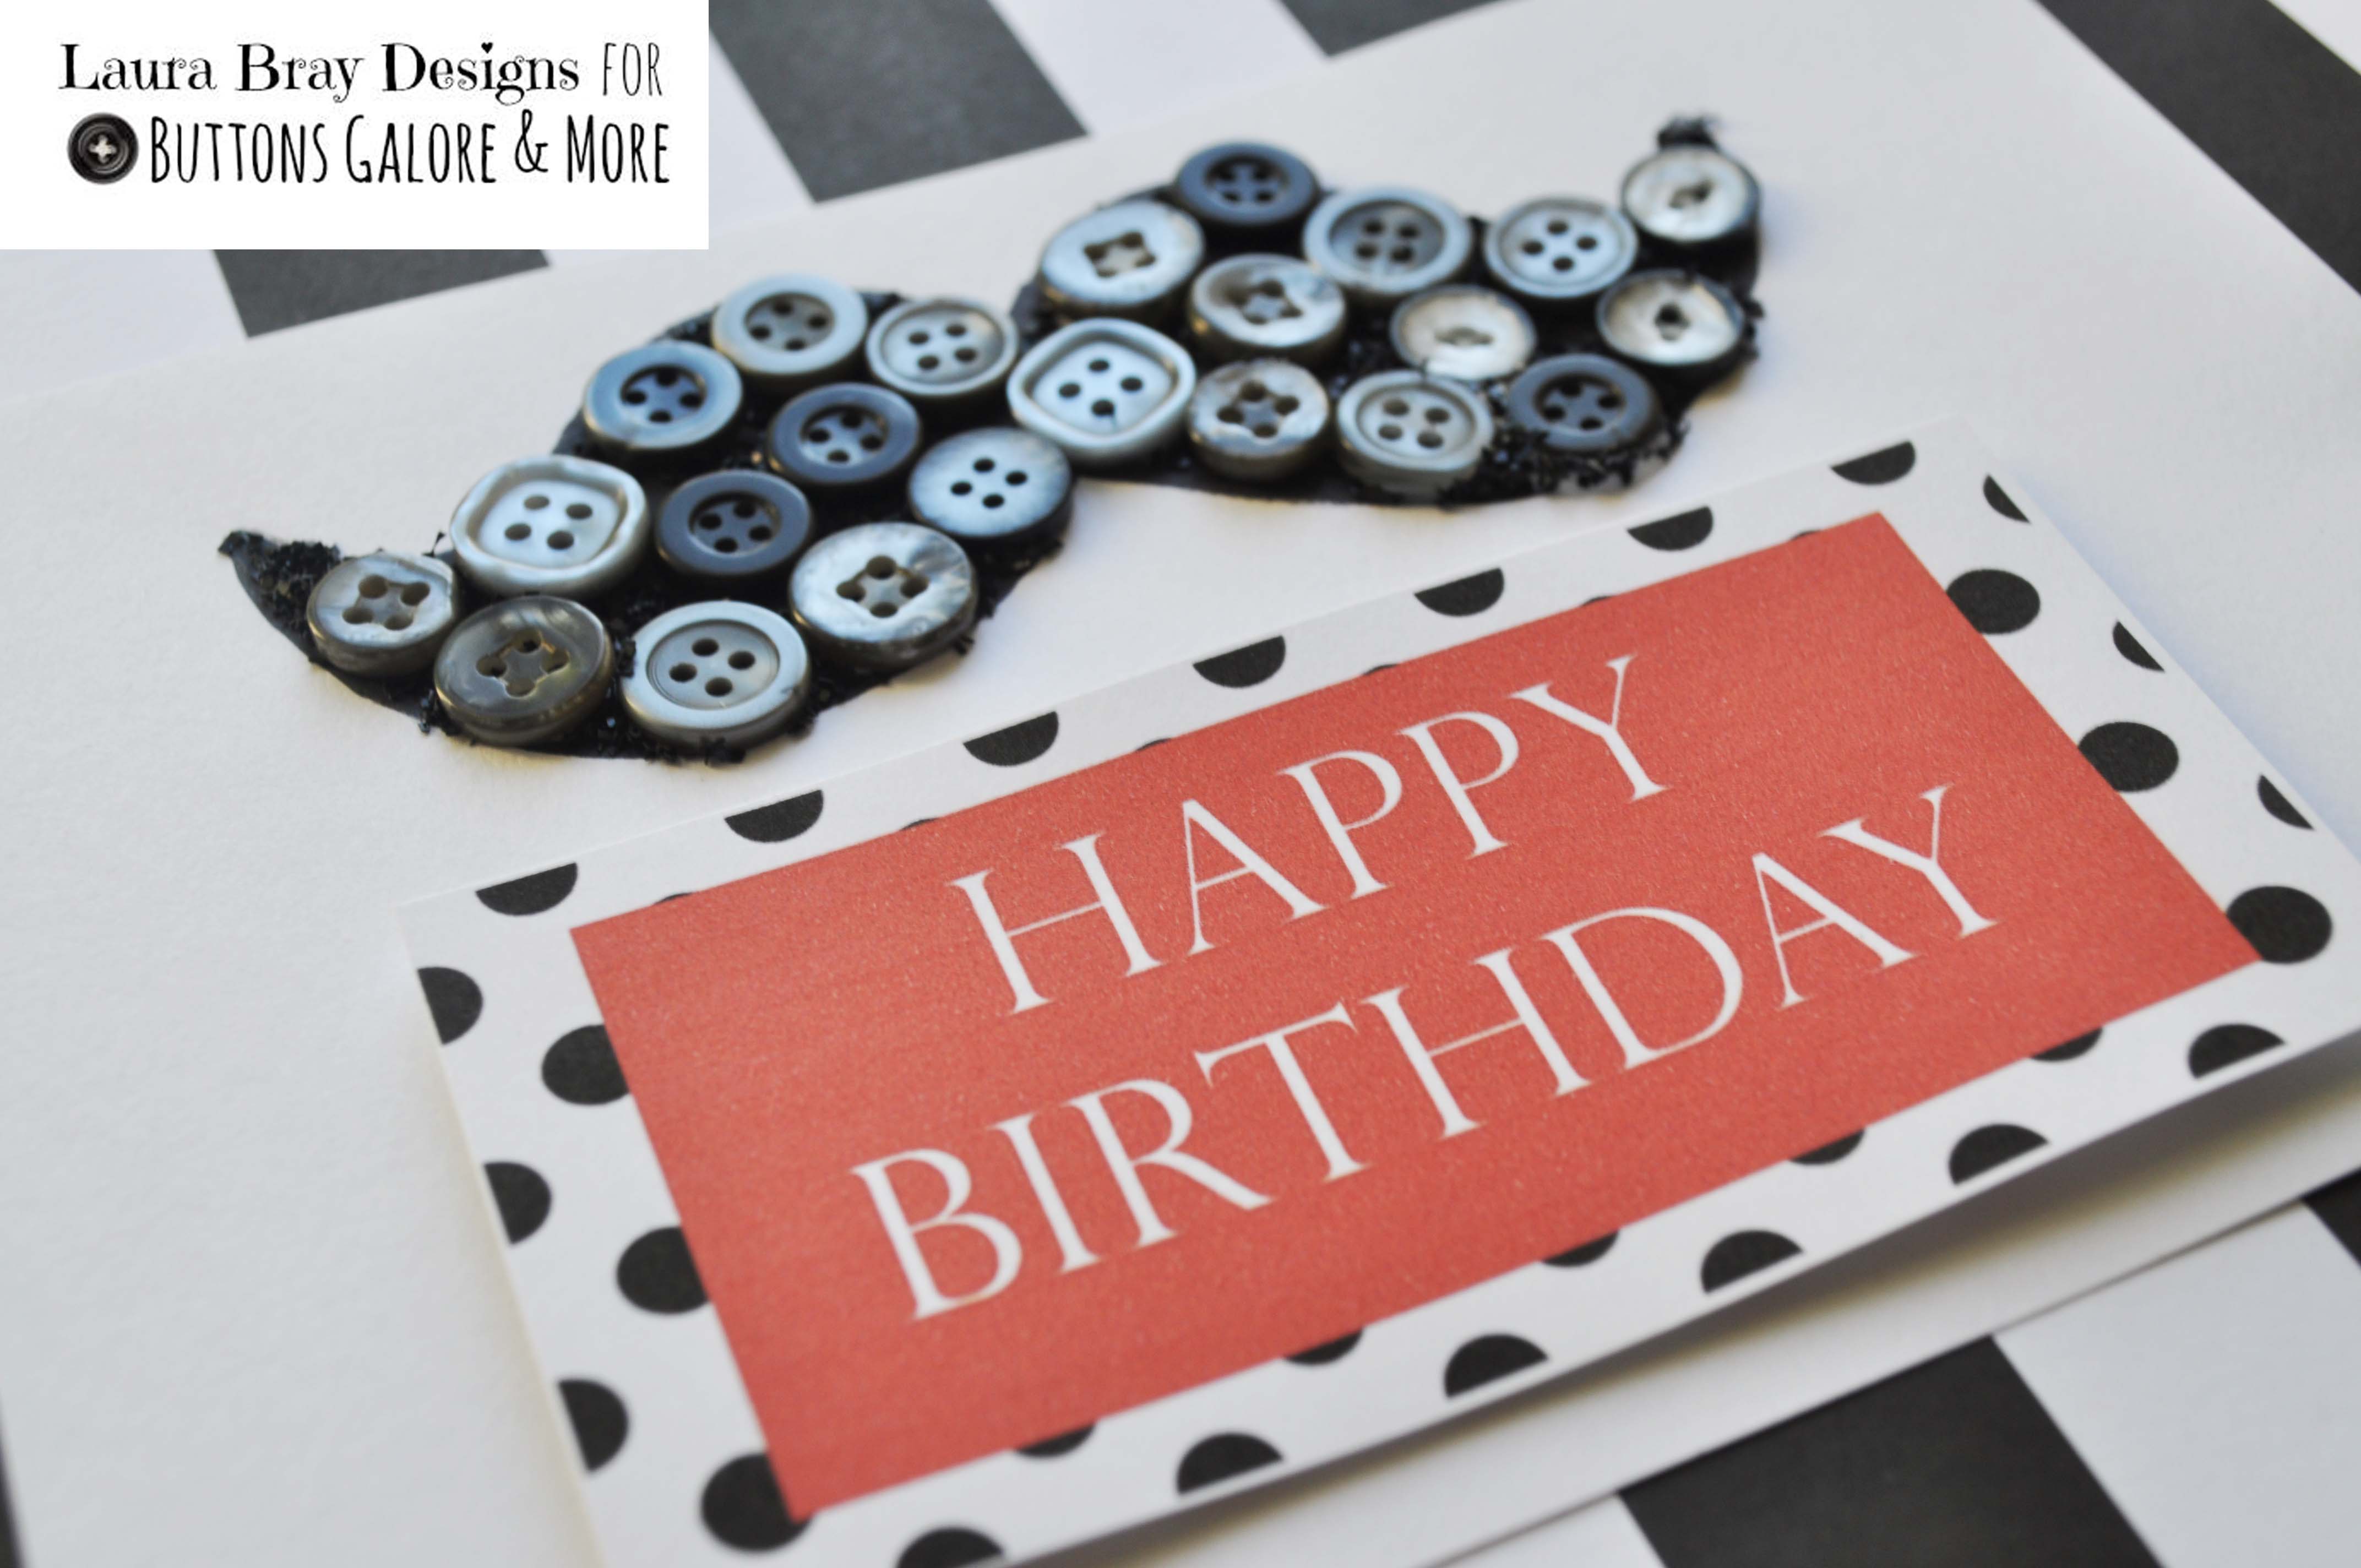


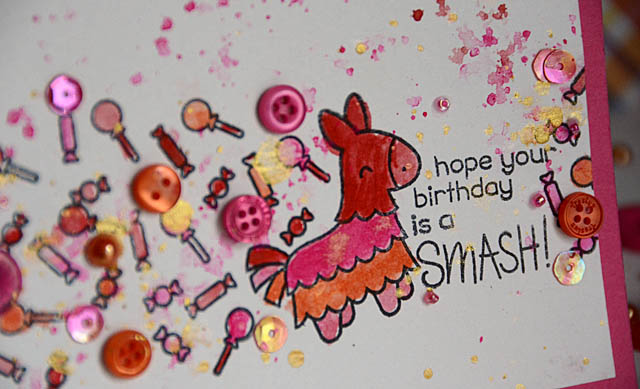
Oh, I started paper crafting as a scrapbooker and now make my own cards. Still not sure of my skills with card layouts. So, I love these ideas to use my MFS and buttons galore! thanks for the chance to win!