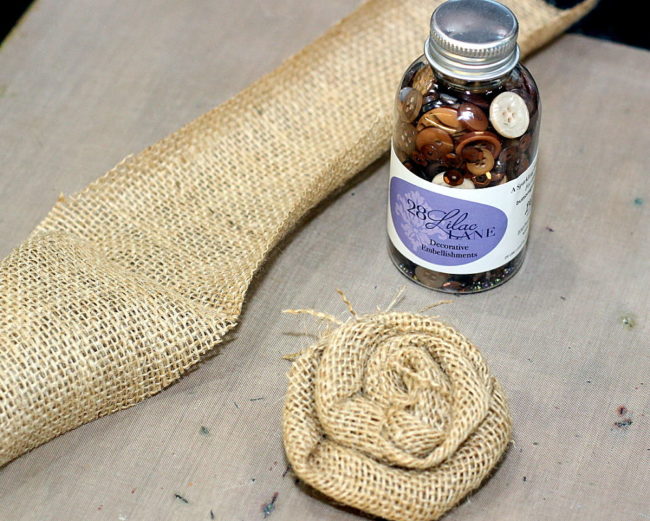
Hi, Connie here with Buttons Galore & More design team! Today I will be sharing an idea using the Toasted Graham Embellishment Bottle by 28 Lilac Lane. The contents of the bottle remind me of graham crackers, buttons in rich brown tones along with seed bead and sequins. Taking beautiful embellishments and adding them to clothing to accessorize is a favorite project of mine. Making a DIY button brooch, to add to a denim shirt or straw hat, is where I started!

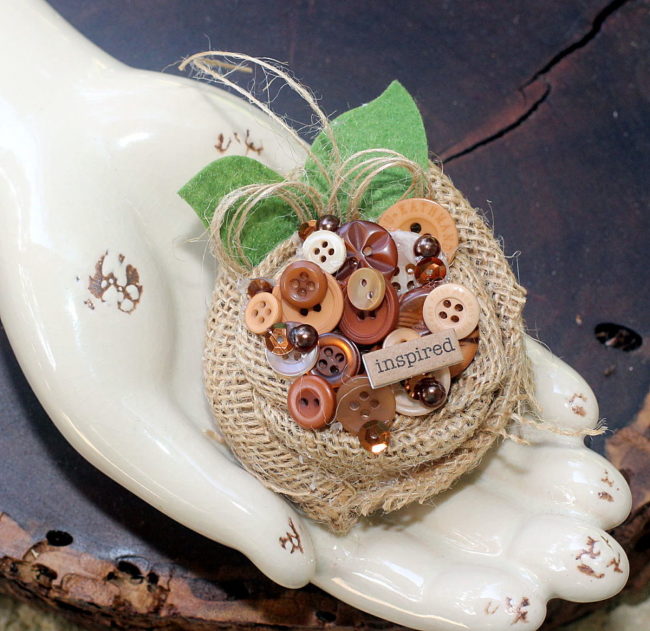
Take a small piece of burlap and twist it, to make an easy to create rose flower to serve as the base of the brooch. Coat the ends with a strong glue to keep them from fraying, and mount the burlap flower on a circle of felt, so the flower will not unravel.
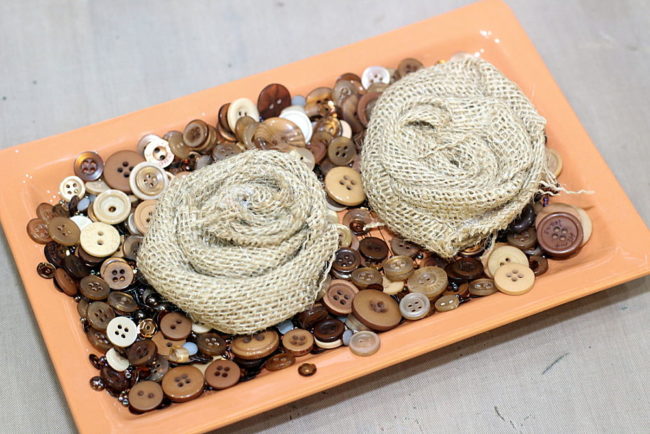
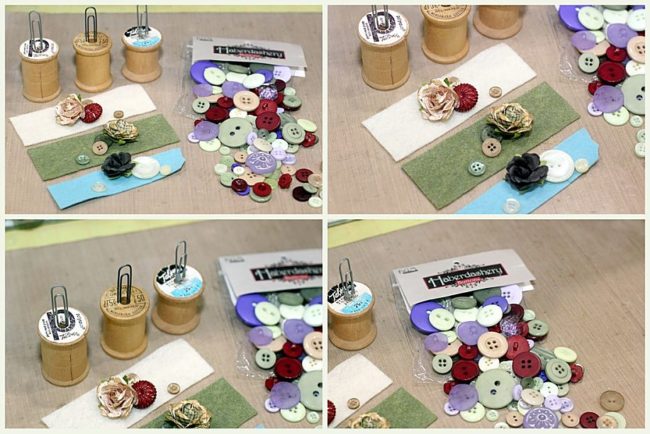
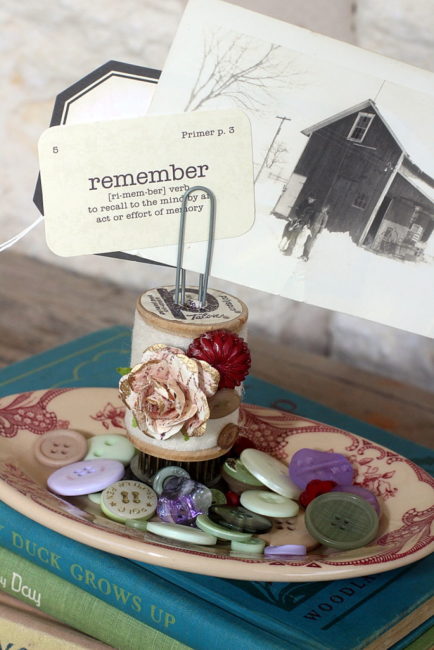
Now comes the fun part! Pour the contents of the Toasted Graham embellishment bottle on a dish (so you can see all of the pretties that are in it), and start selecting the buttons for the center of the DIY button brooch.
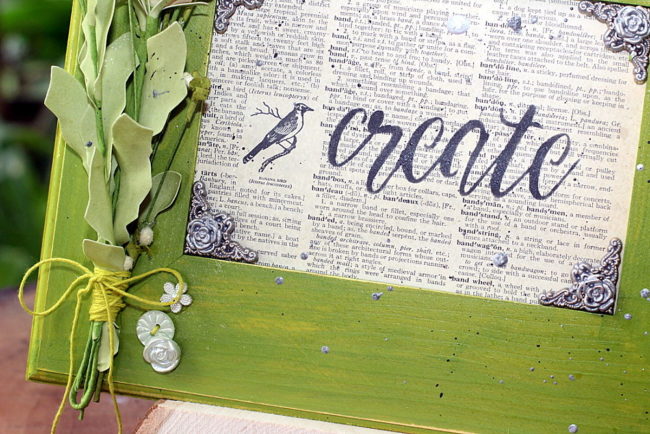
Using a strong glue, start gluing down buttons, sequins, pearls and beads onto the brooch. Overlapping the buttons and tucking in the sequins under the buttons will make a beautiful looking brooch. Add felt leaves and twine to finish off the brooch. Glue a pin onto the back of the brooch, making it easy to attach to a shirt or hat.
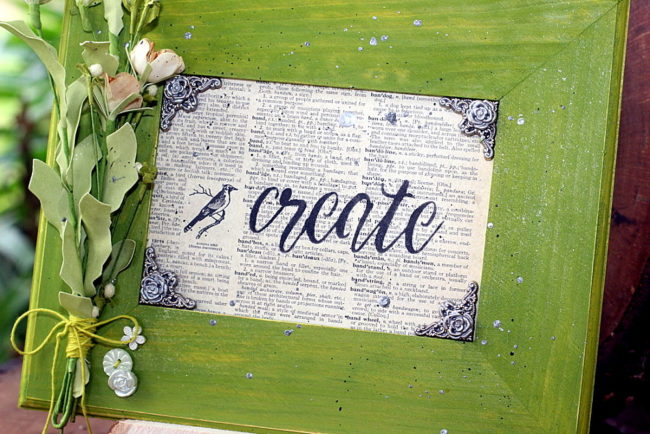
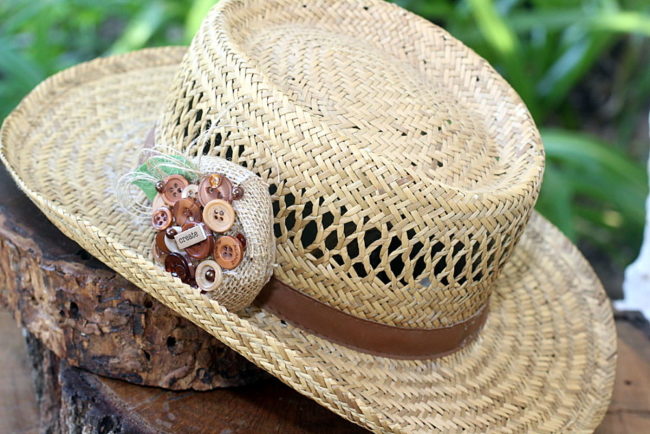 I love how the “create” brooch looks on this straw hat. It’s such a fabulous look for the fall season! Just attach it to the hat, using the pin that was glued to the back of the brooch.
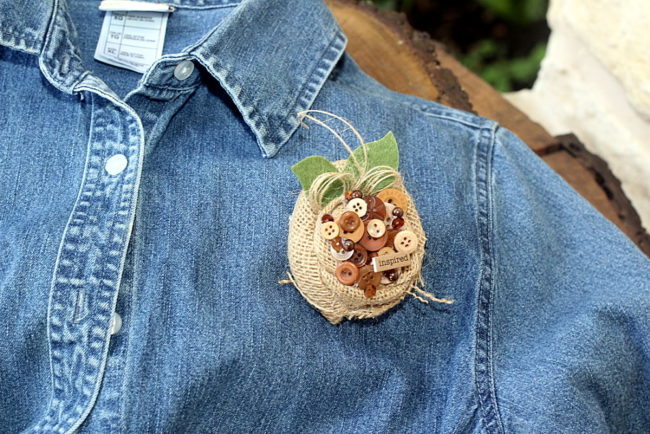
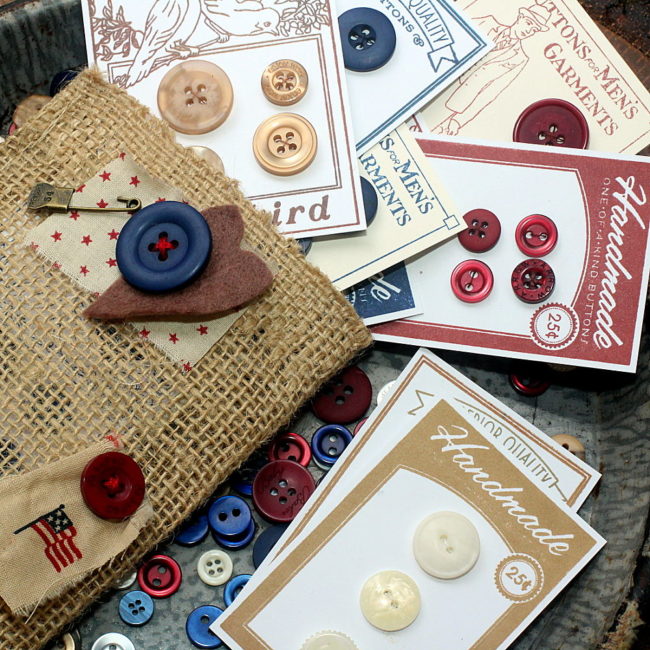
Here is the”inspire” brooch on the denim shirt. I love this look!
I hope you will give the 28 Lilac Lane embellishment bottles a try and create something to add to those hats, sweaters and shirts like I did!
Supplies Used:
28 Lilac Lane “Toasted Graham” Embellishment Bottle
Felt (leaves and back of brooch)
burlap
strong glue
word sticker
twine
Thanks for stopping by~
Connie Mercer/DT Member

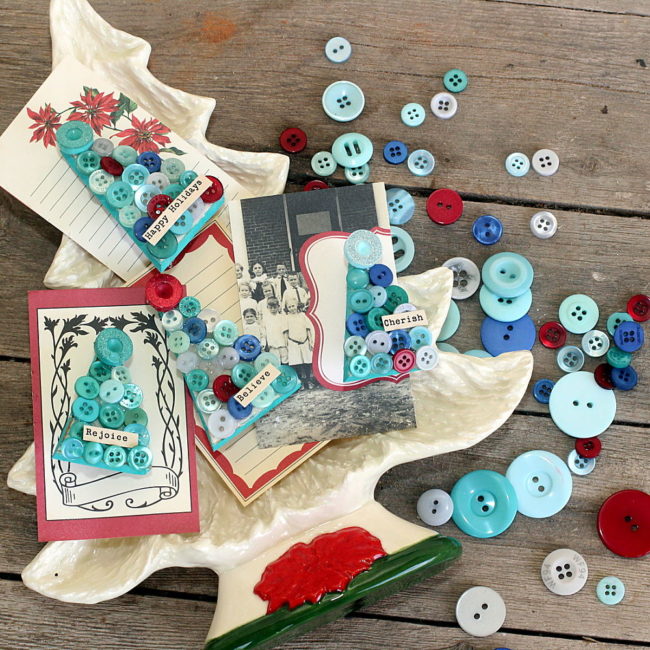

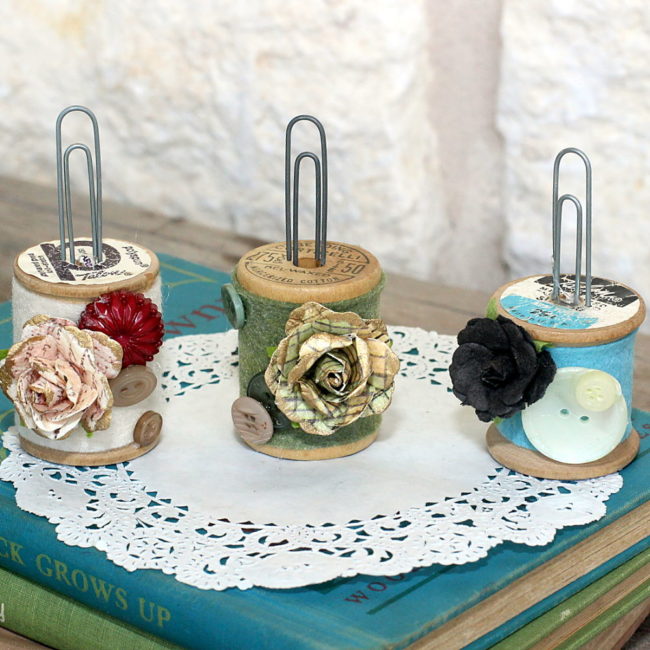
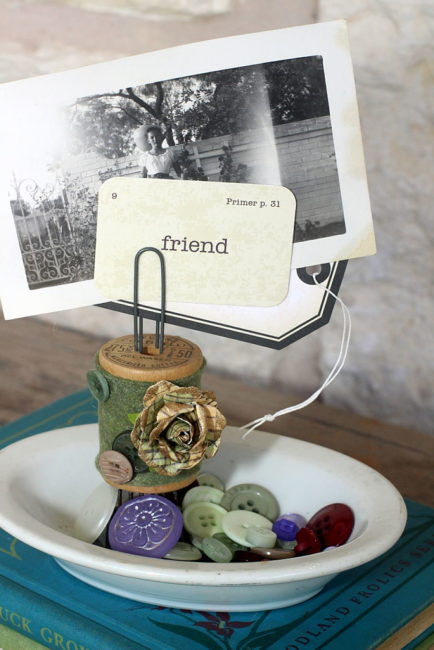
 The Heirloom Keepsakes buttons were glued to the side of the flower cluster. They come in several different colors. I used the light green ones for this project.
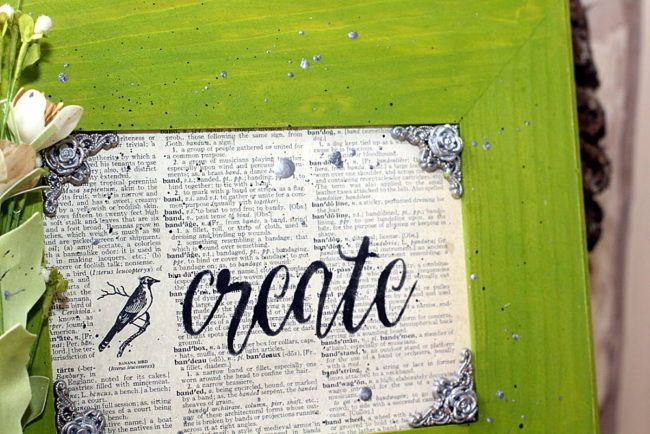
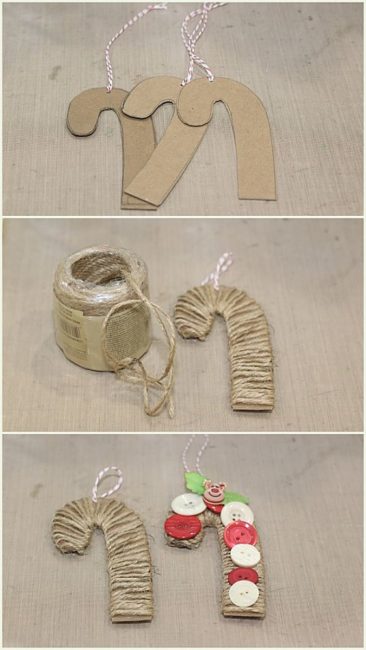 Instructions:
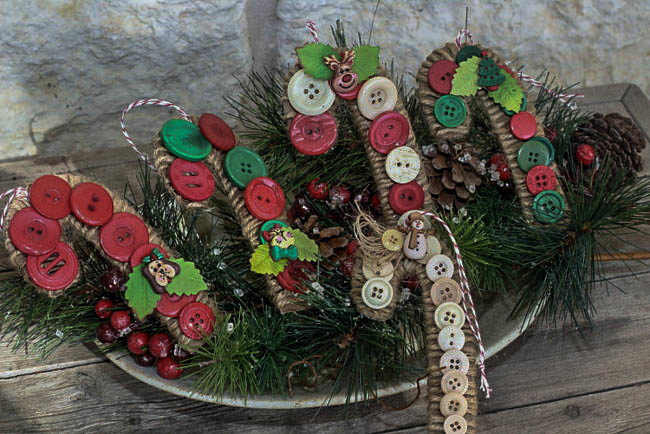
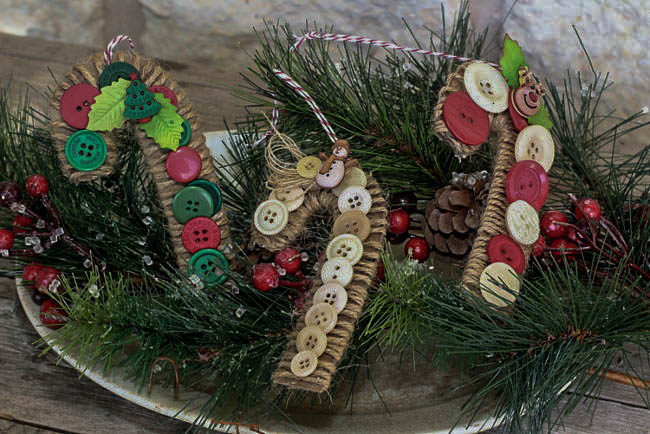 The candy canes are wrapped with jute loosely. Once the big buttons are adhered the jute is nice and secure.
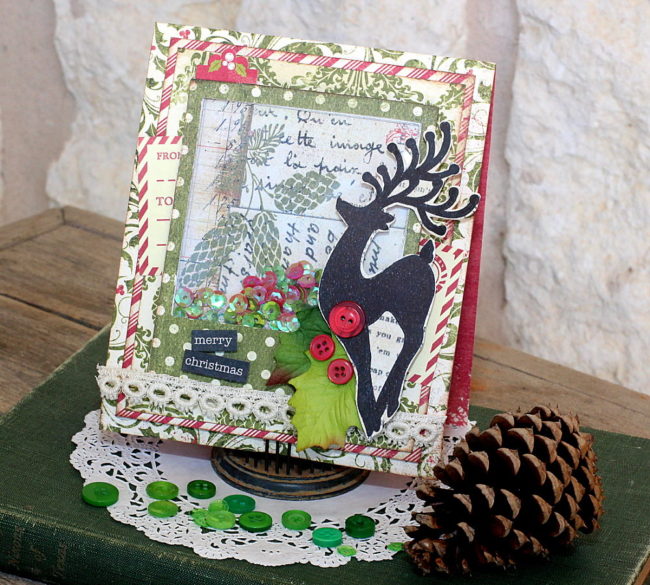
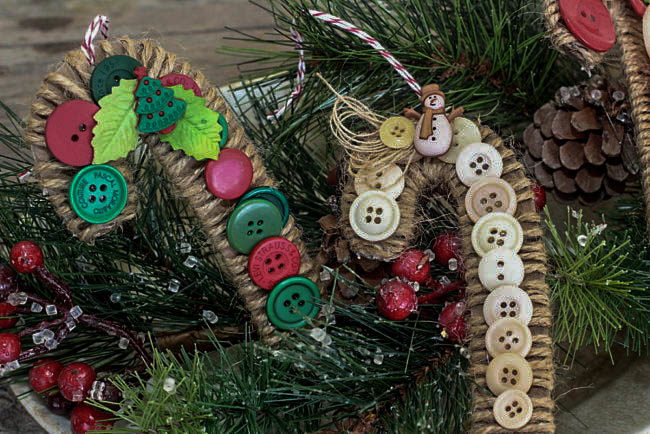 You may be familiar with our color mixes of flat buttons, but did you know that Buttons Galore & More also makes the cutest 3D buttons? Today, I’m using some called the Holiday Fun collection, that include snowmen, Christmas trees, stars, deer, and a cat and dog, just to name a few. They are so fun, just like their name! I snipped the shanks off and added these cute “Holiday Fun” buttons to the candy cane ornaments. Paper holly leaves are tucked in behind the “Holiday Fun” buttons.
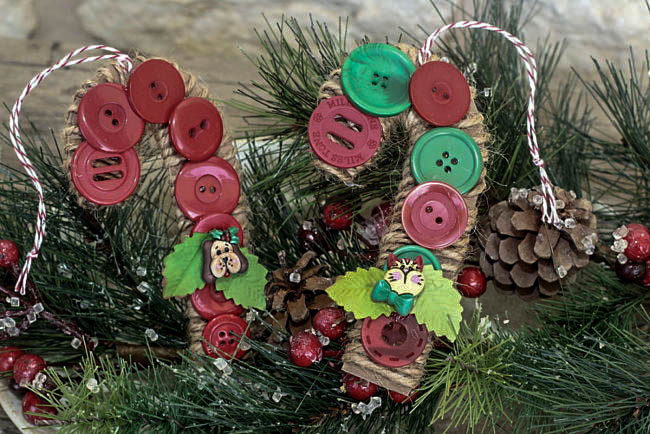 I’m looking forward to adding these handcrafted candy cane ornaments to my little Christmas tree this year, mixed with some real candy canes. That is sure to make everyone happy!
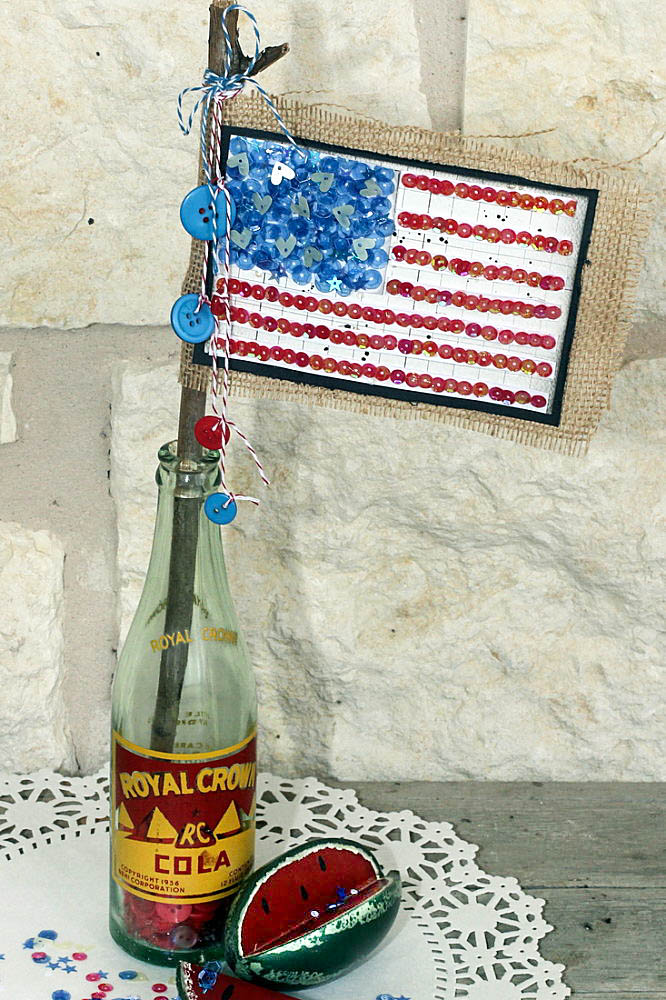
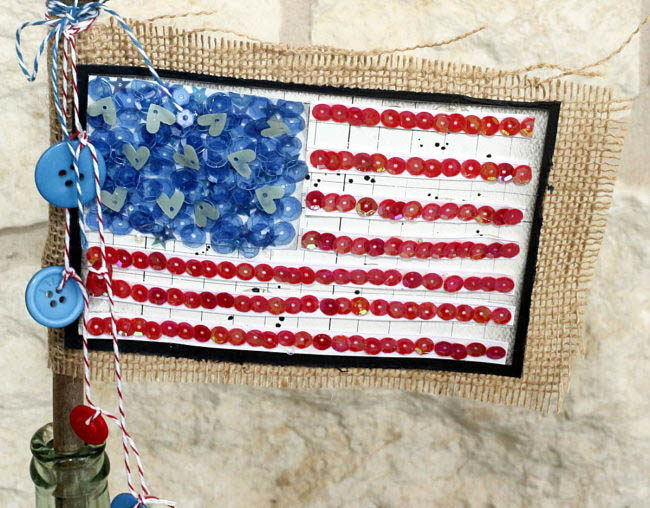
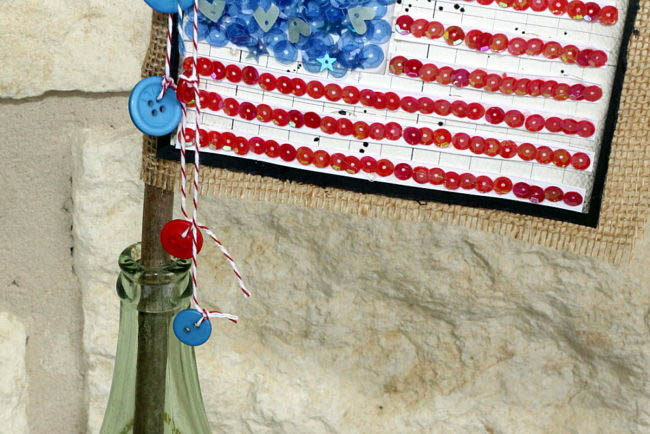
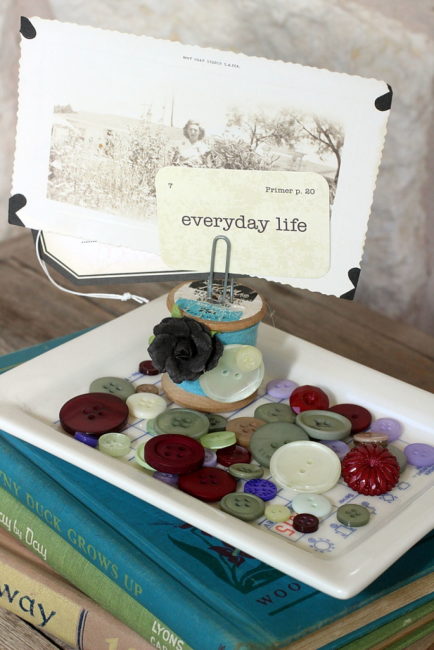
 I chose the vintage soda bottle to display my flag instead of a grapevine wreath. The soda bottle is full of red buttons to hold the stick in place. I really love the finished look!
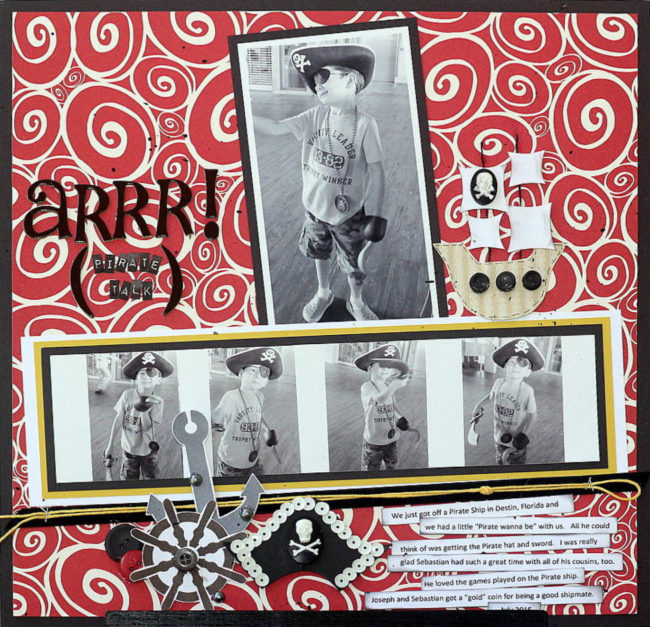
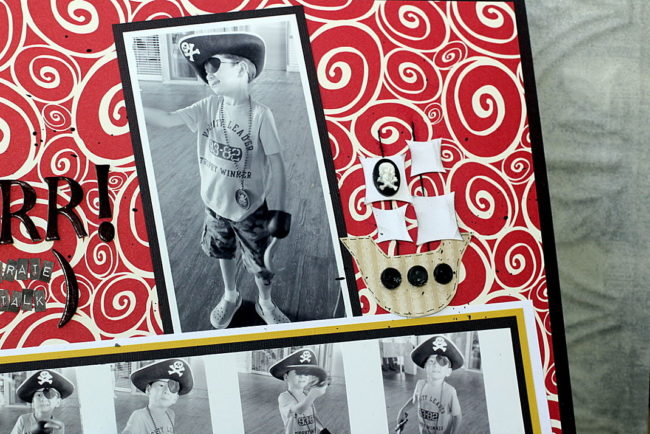 The first embellishment I created was the pirate ship. Drawing a pirate ship can be kind of scary when you’re not sure what one looks like to begin with. When you have a picture in front of you, it’s not so hard at all! Once the pirate ship was created from pattern paper and buttons, it was ready to put in place on the scrapbook page. It’s amazing what can be created with paper and buttons!
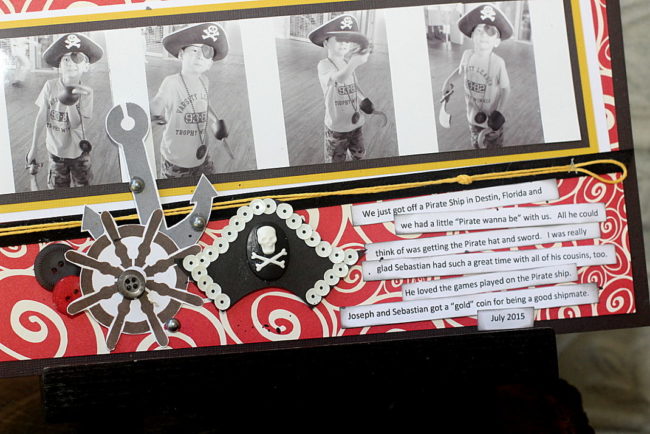 The next embellishment to be created was the pirate’s hat. I traced the outline of the hat on cardstock and then embellished it with sequins and the pirate skull from the 28 Lilac Lane “Pirate’s Life” kit. The embellishment cluster was enhanced with grey pearls from the kit as well. The black velvet trim was added below the film strip of black and white photos and I tucked in a few large buttons in the bottom pirate cluster also. Next, the journal text was created and added to the side of the Pirate cluster.