Header

Tag Archives | Rit Dye

Button Ladybug Valentine

Holly here from Ribbons & Glue sharing with you a 3D Button Ladybug Valentine that is sure to make the “Love Bug” come out of you.

Button Ladybug Valentine

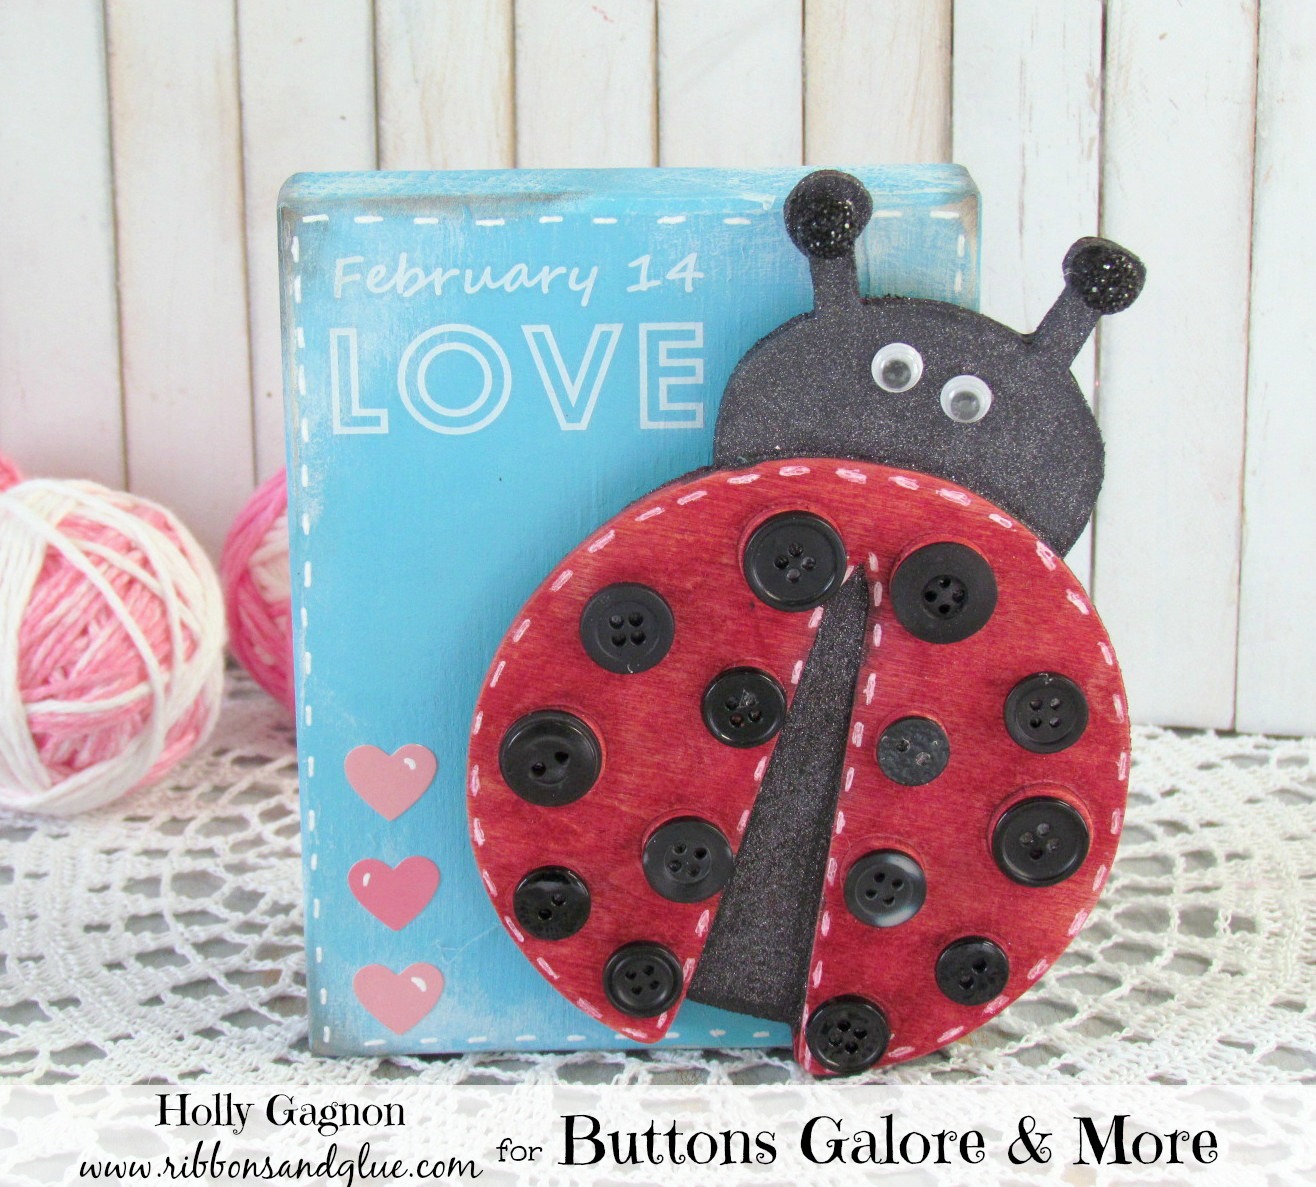
I’ve has this wood ladybug for a while now and always thought it would look really cute with Buttons Galore black  Haberdashery Buttons on it.  I finally busted her out of hiding and did just that.

How to make a Button Ladybug Valentine:

Wood Ladybug dyed with RIt Dye

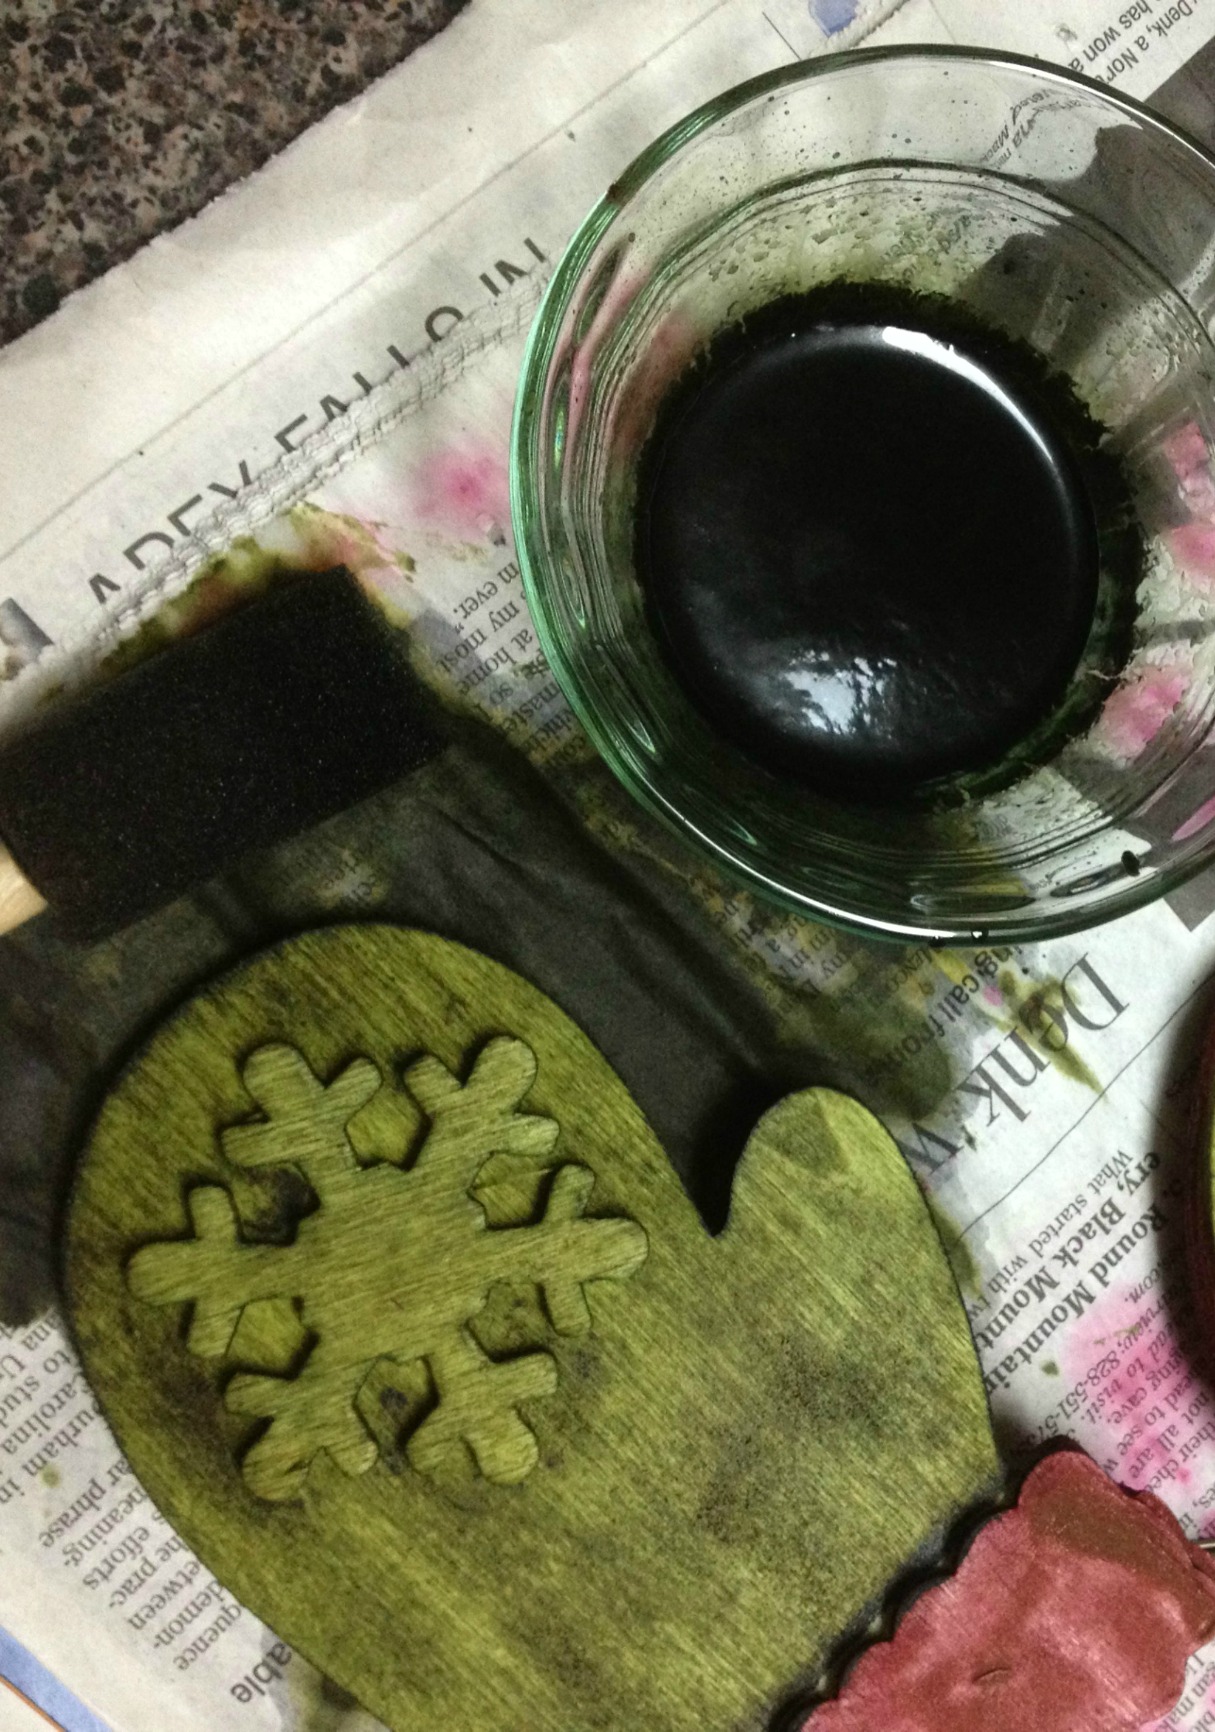
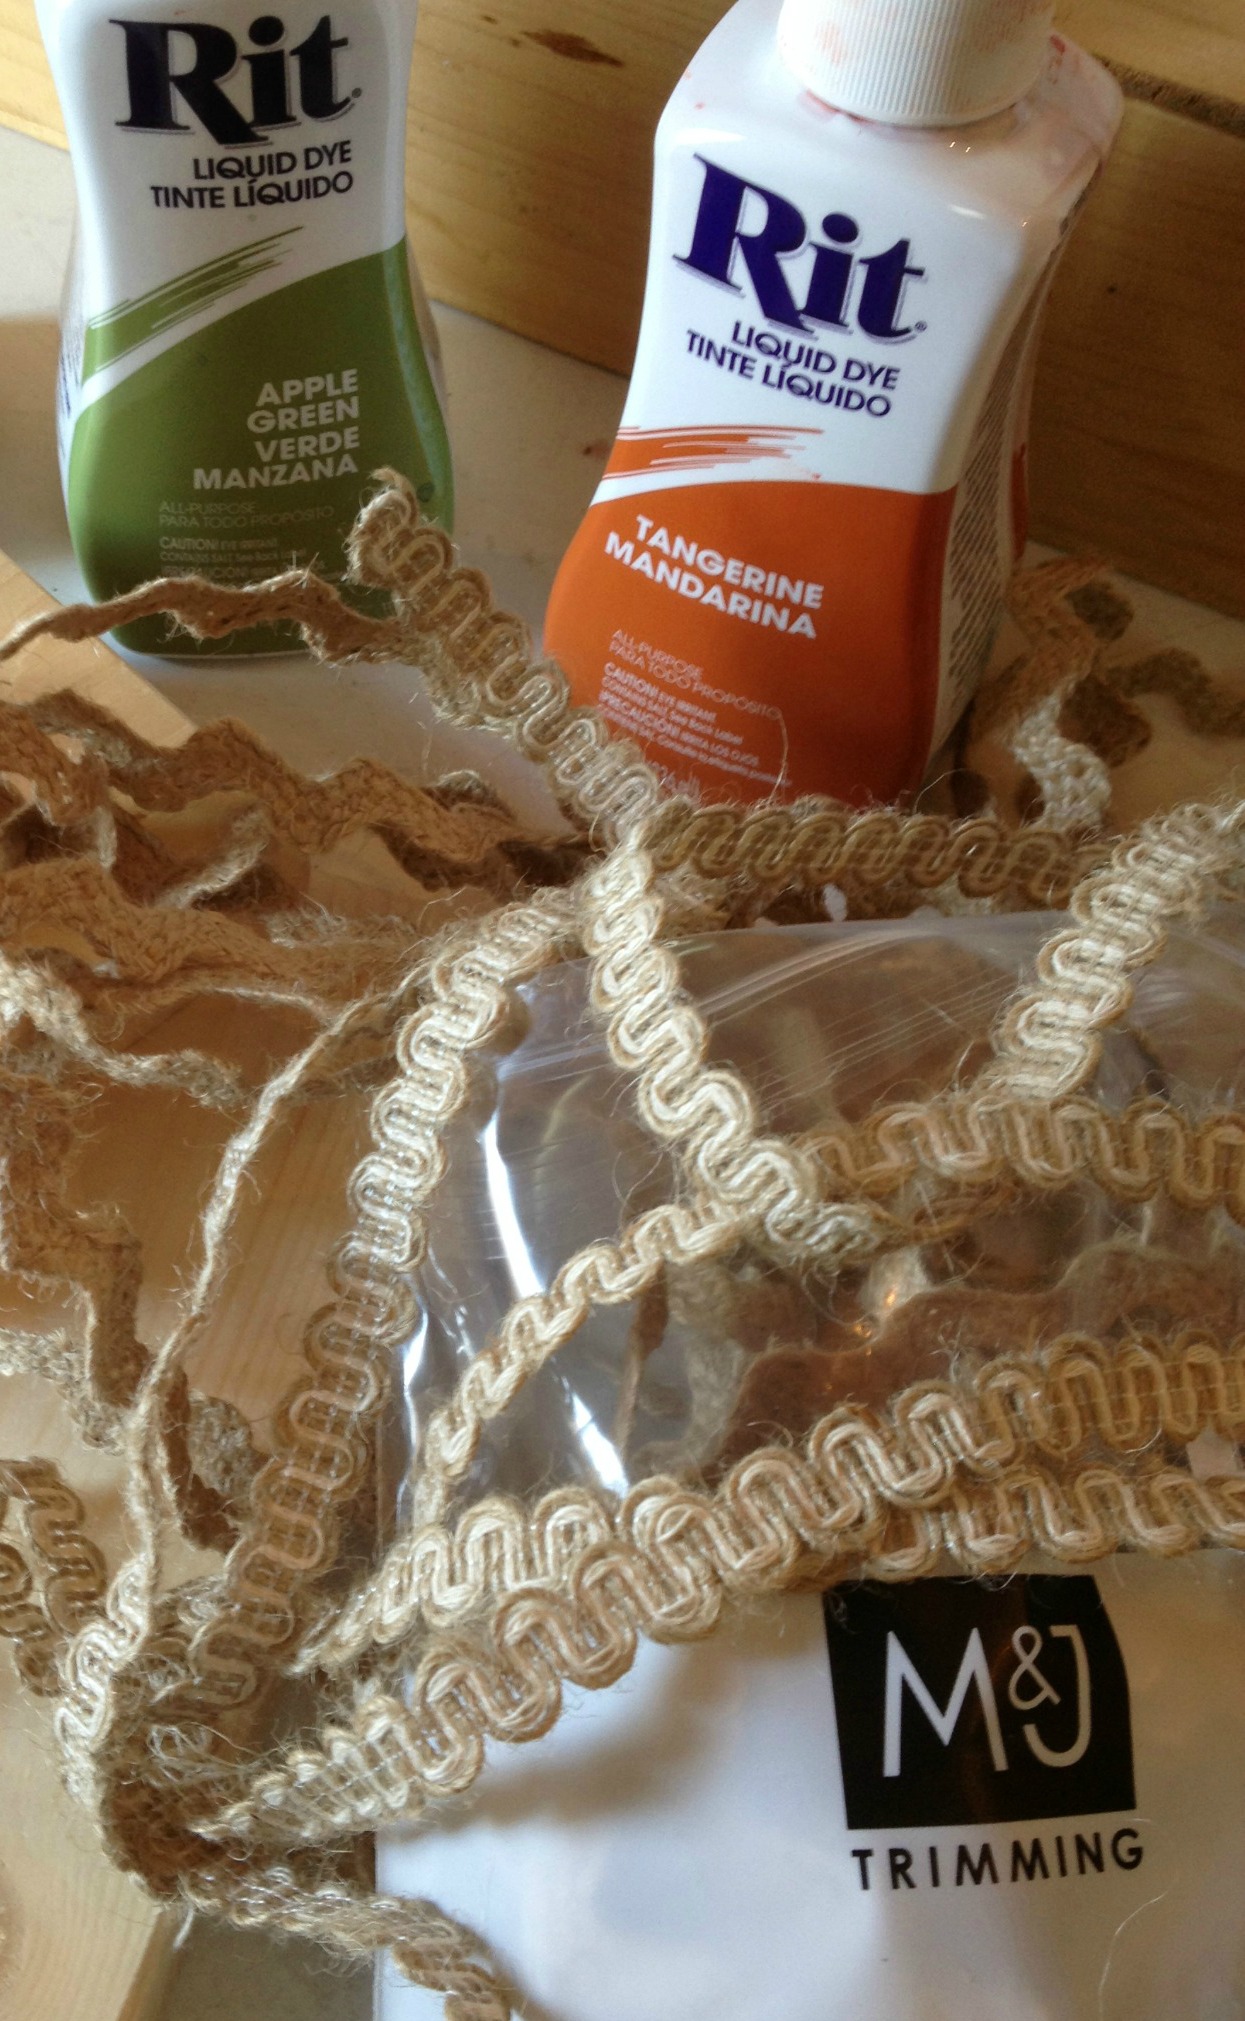
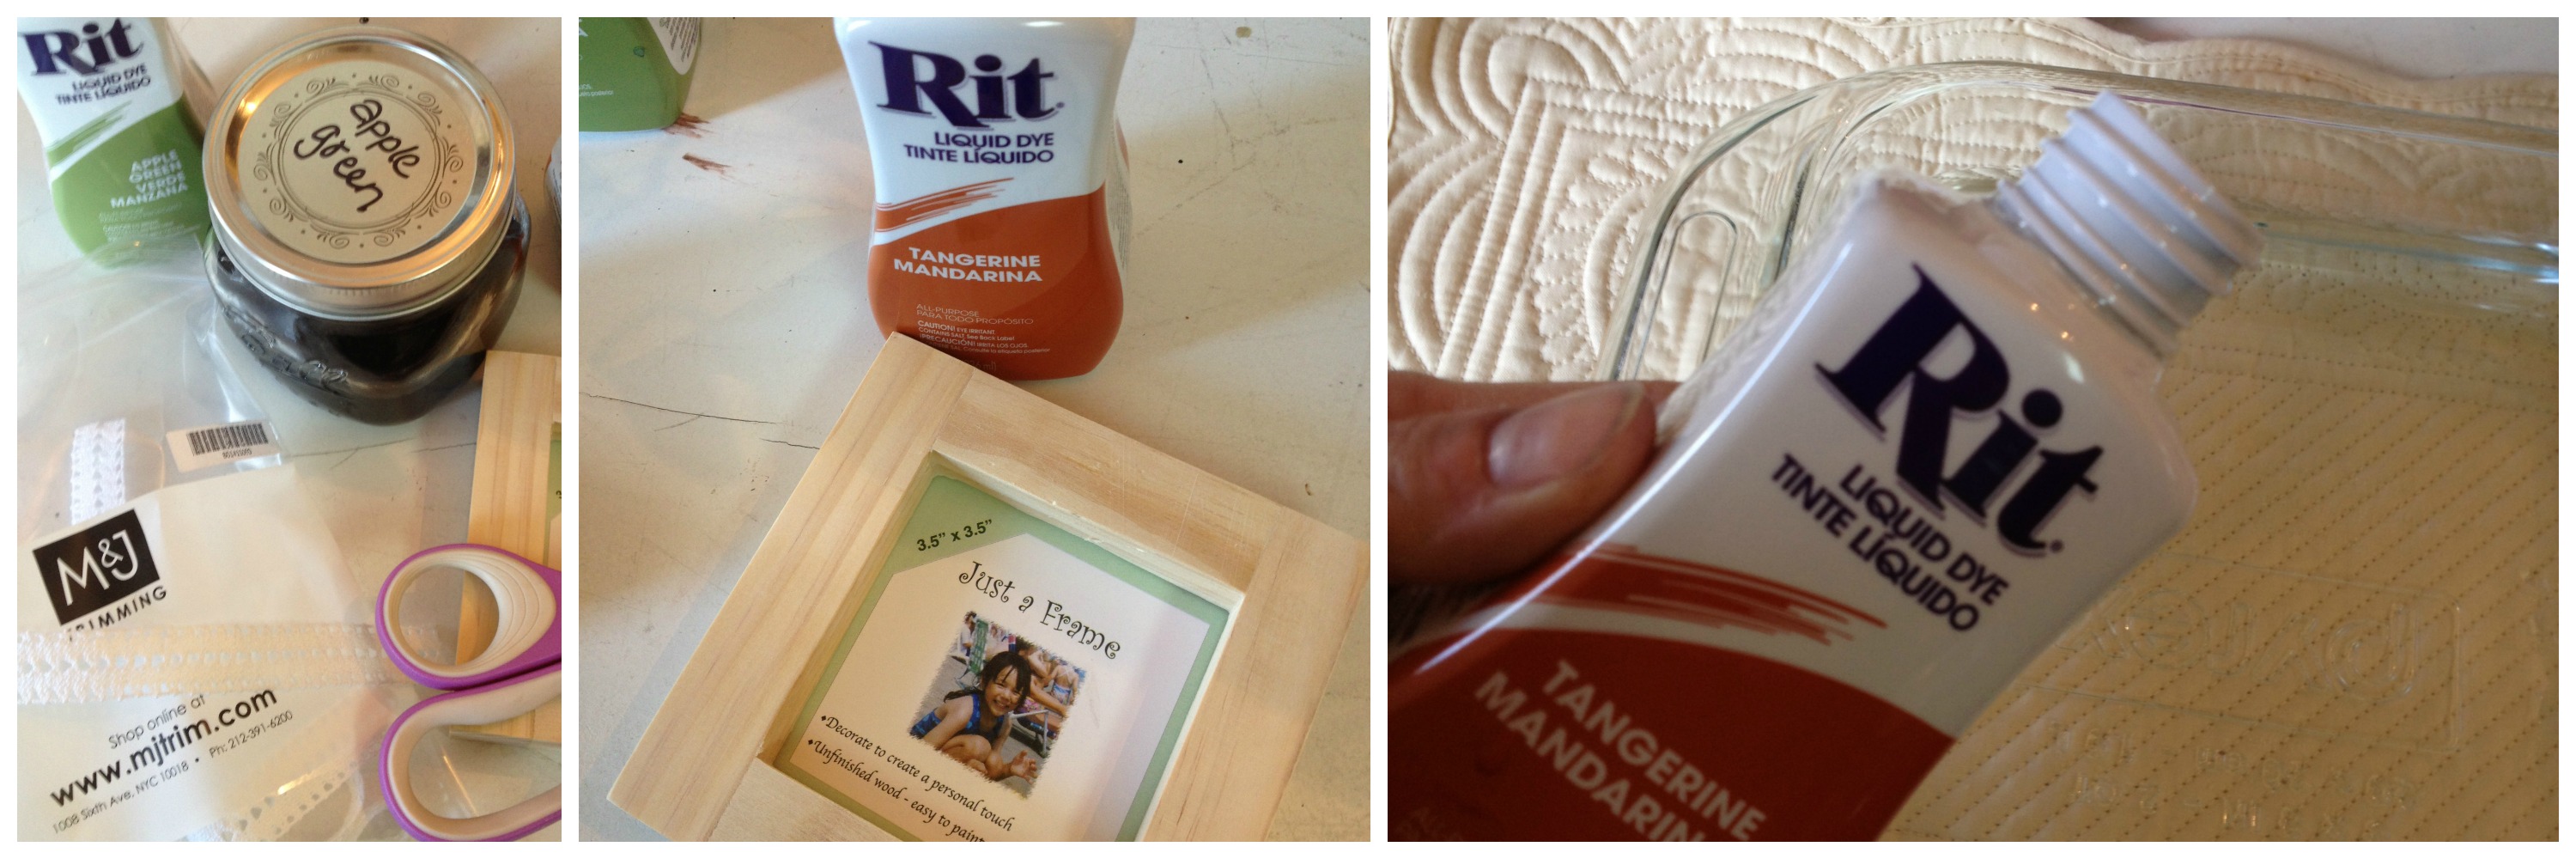
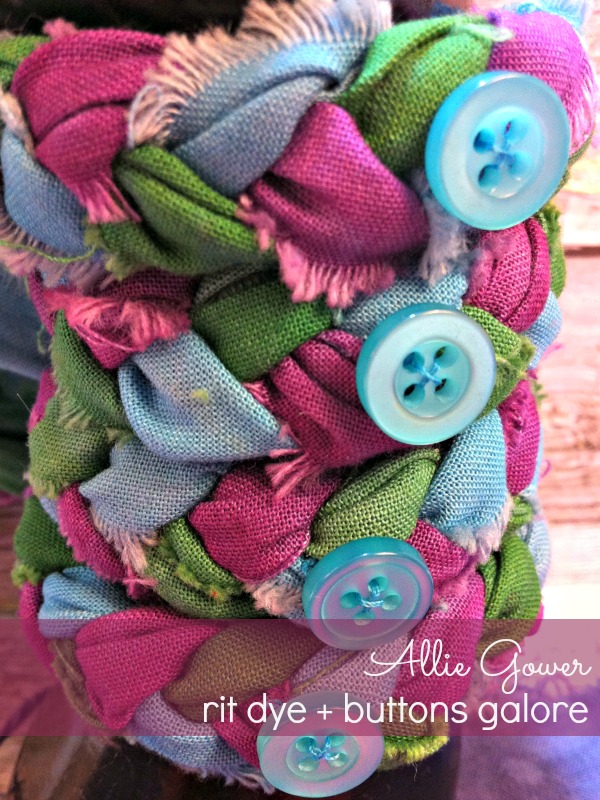
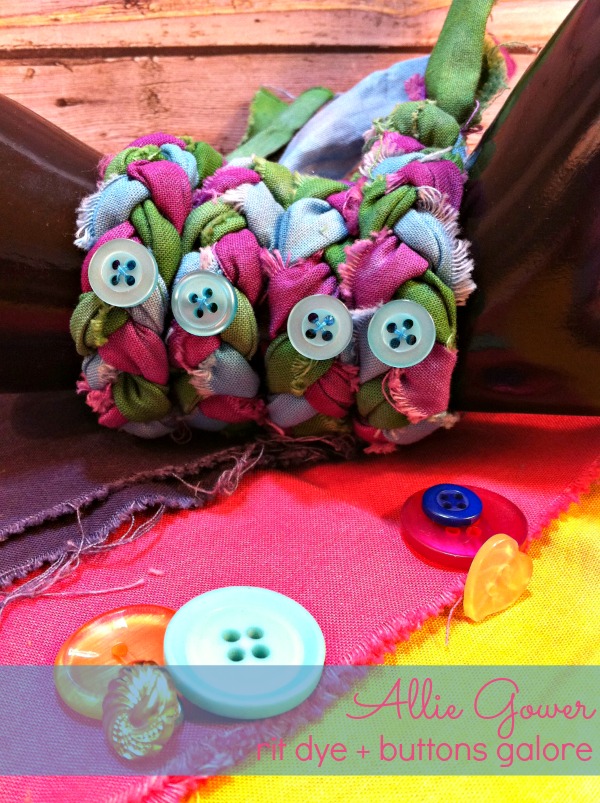
I dyed the Ladybug Cherry Red using Rit Dye.

DecoArt painted Ladybug

Then, painted the body of the ladybug with  DecoArt Glamour Dust paint

Ladybug with black buttons

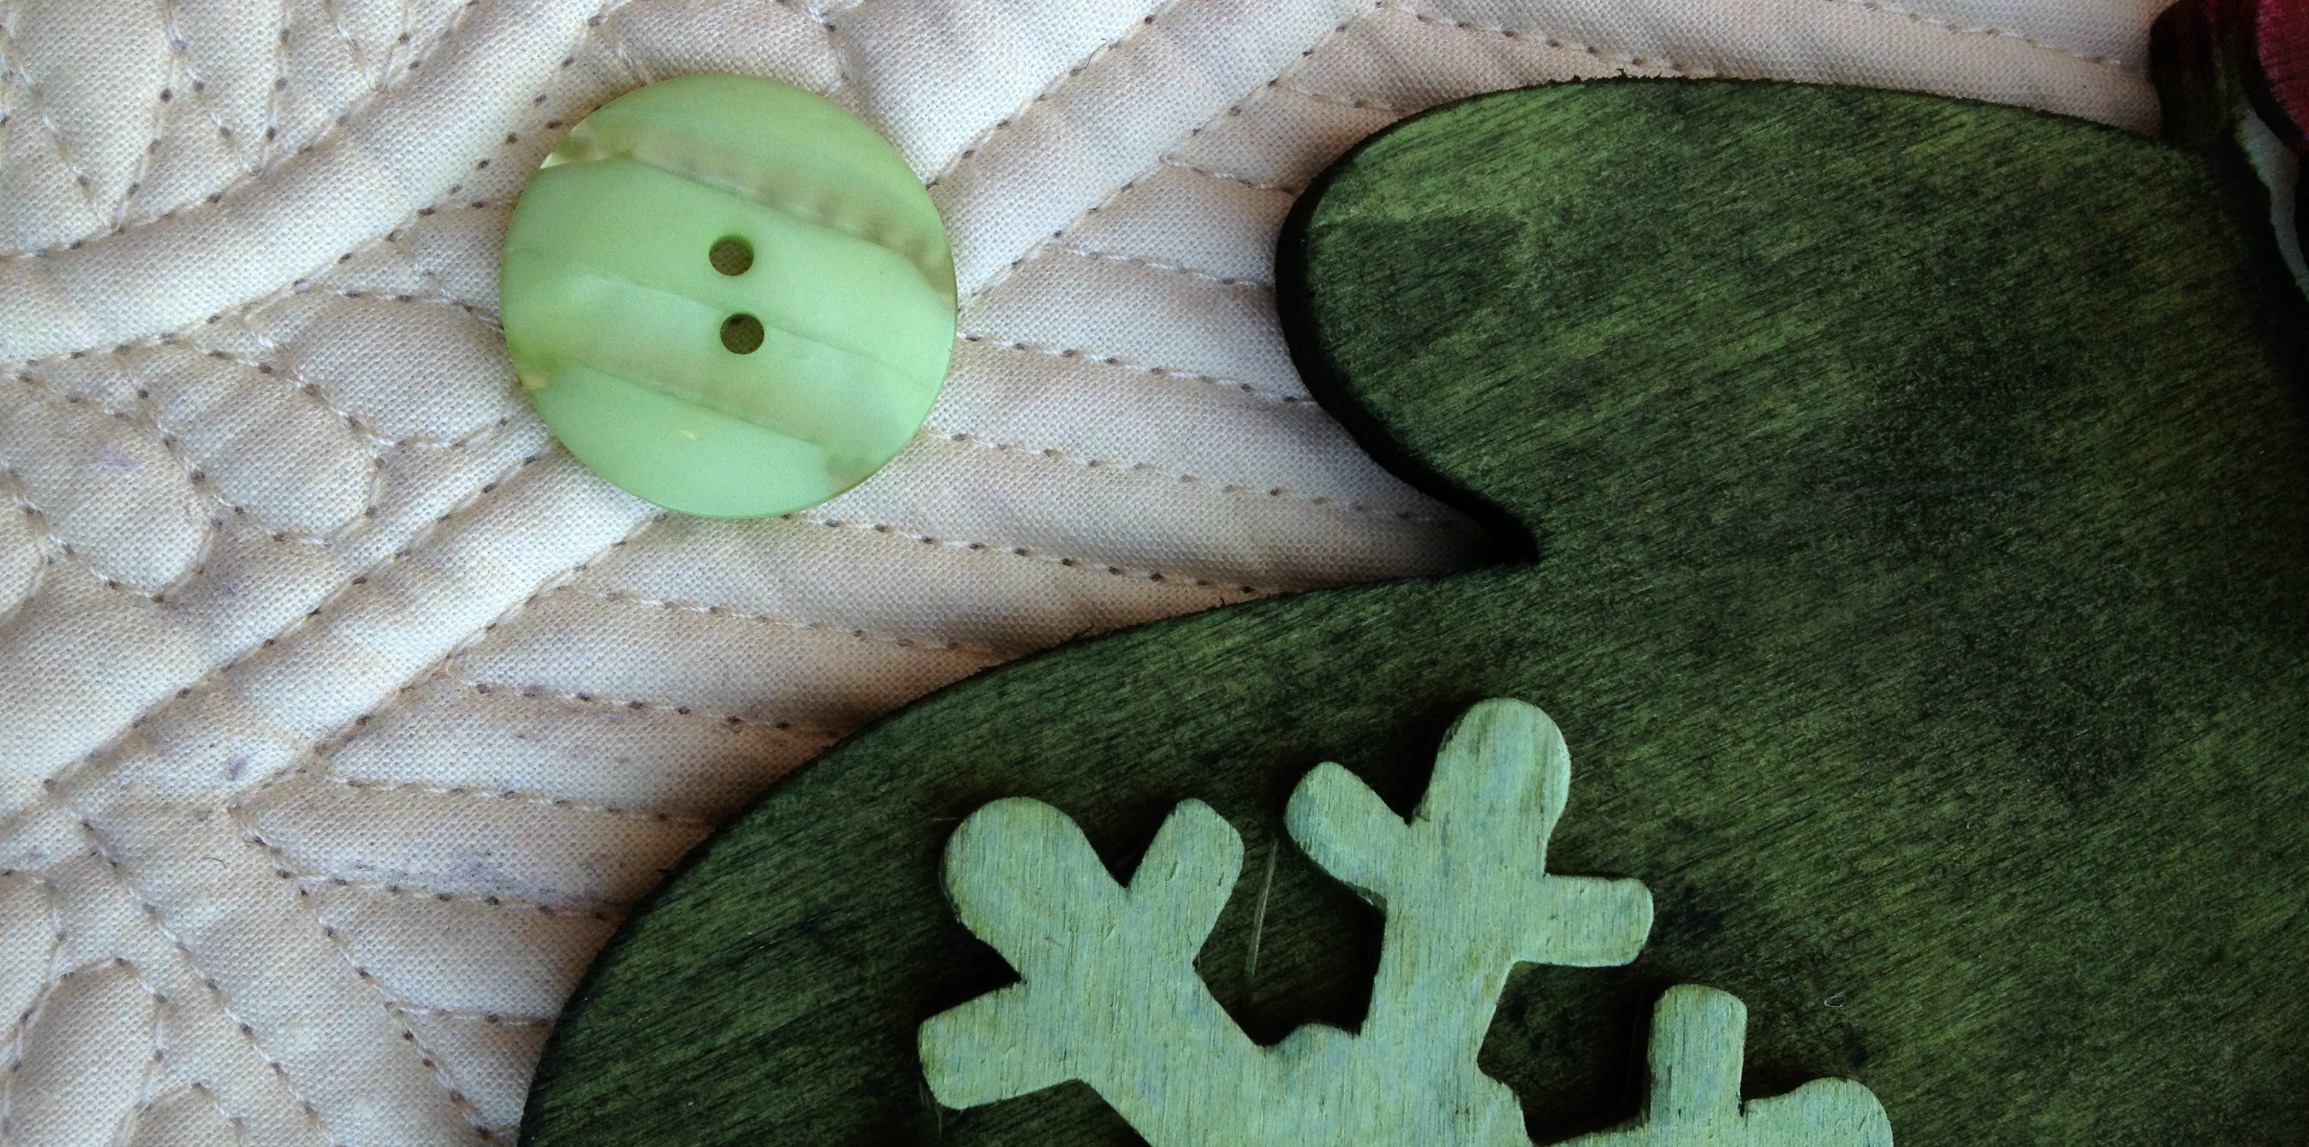
and adhered black Haberdashery Buttons from Buttons Galore.

button ladybug

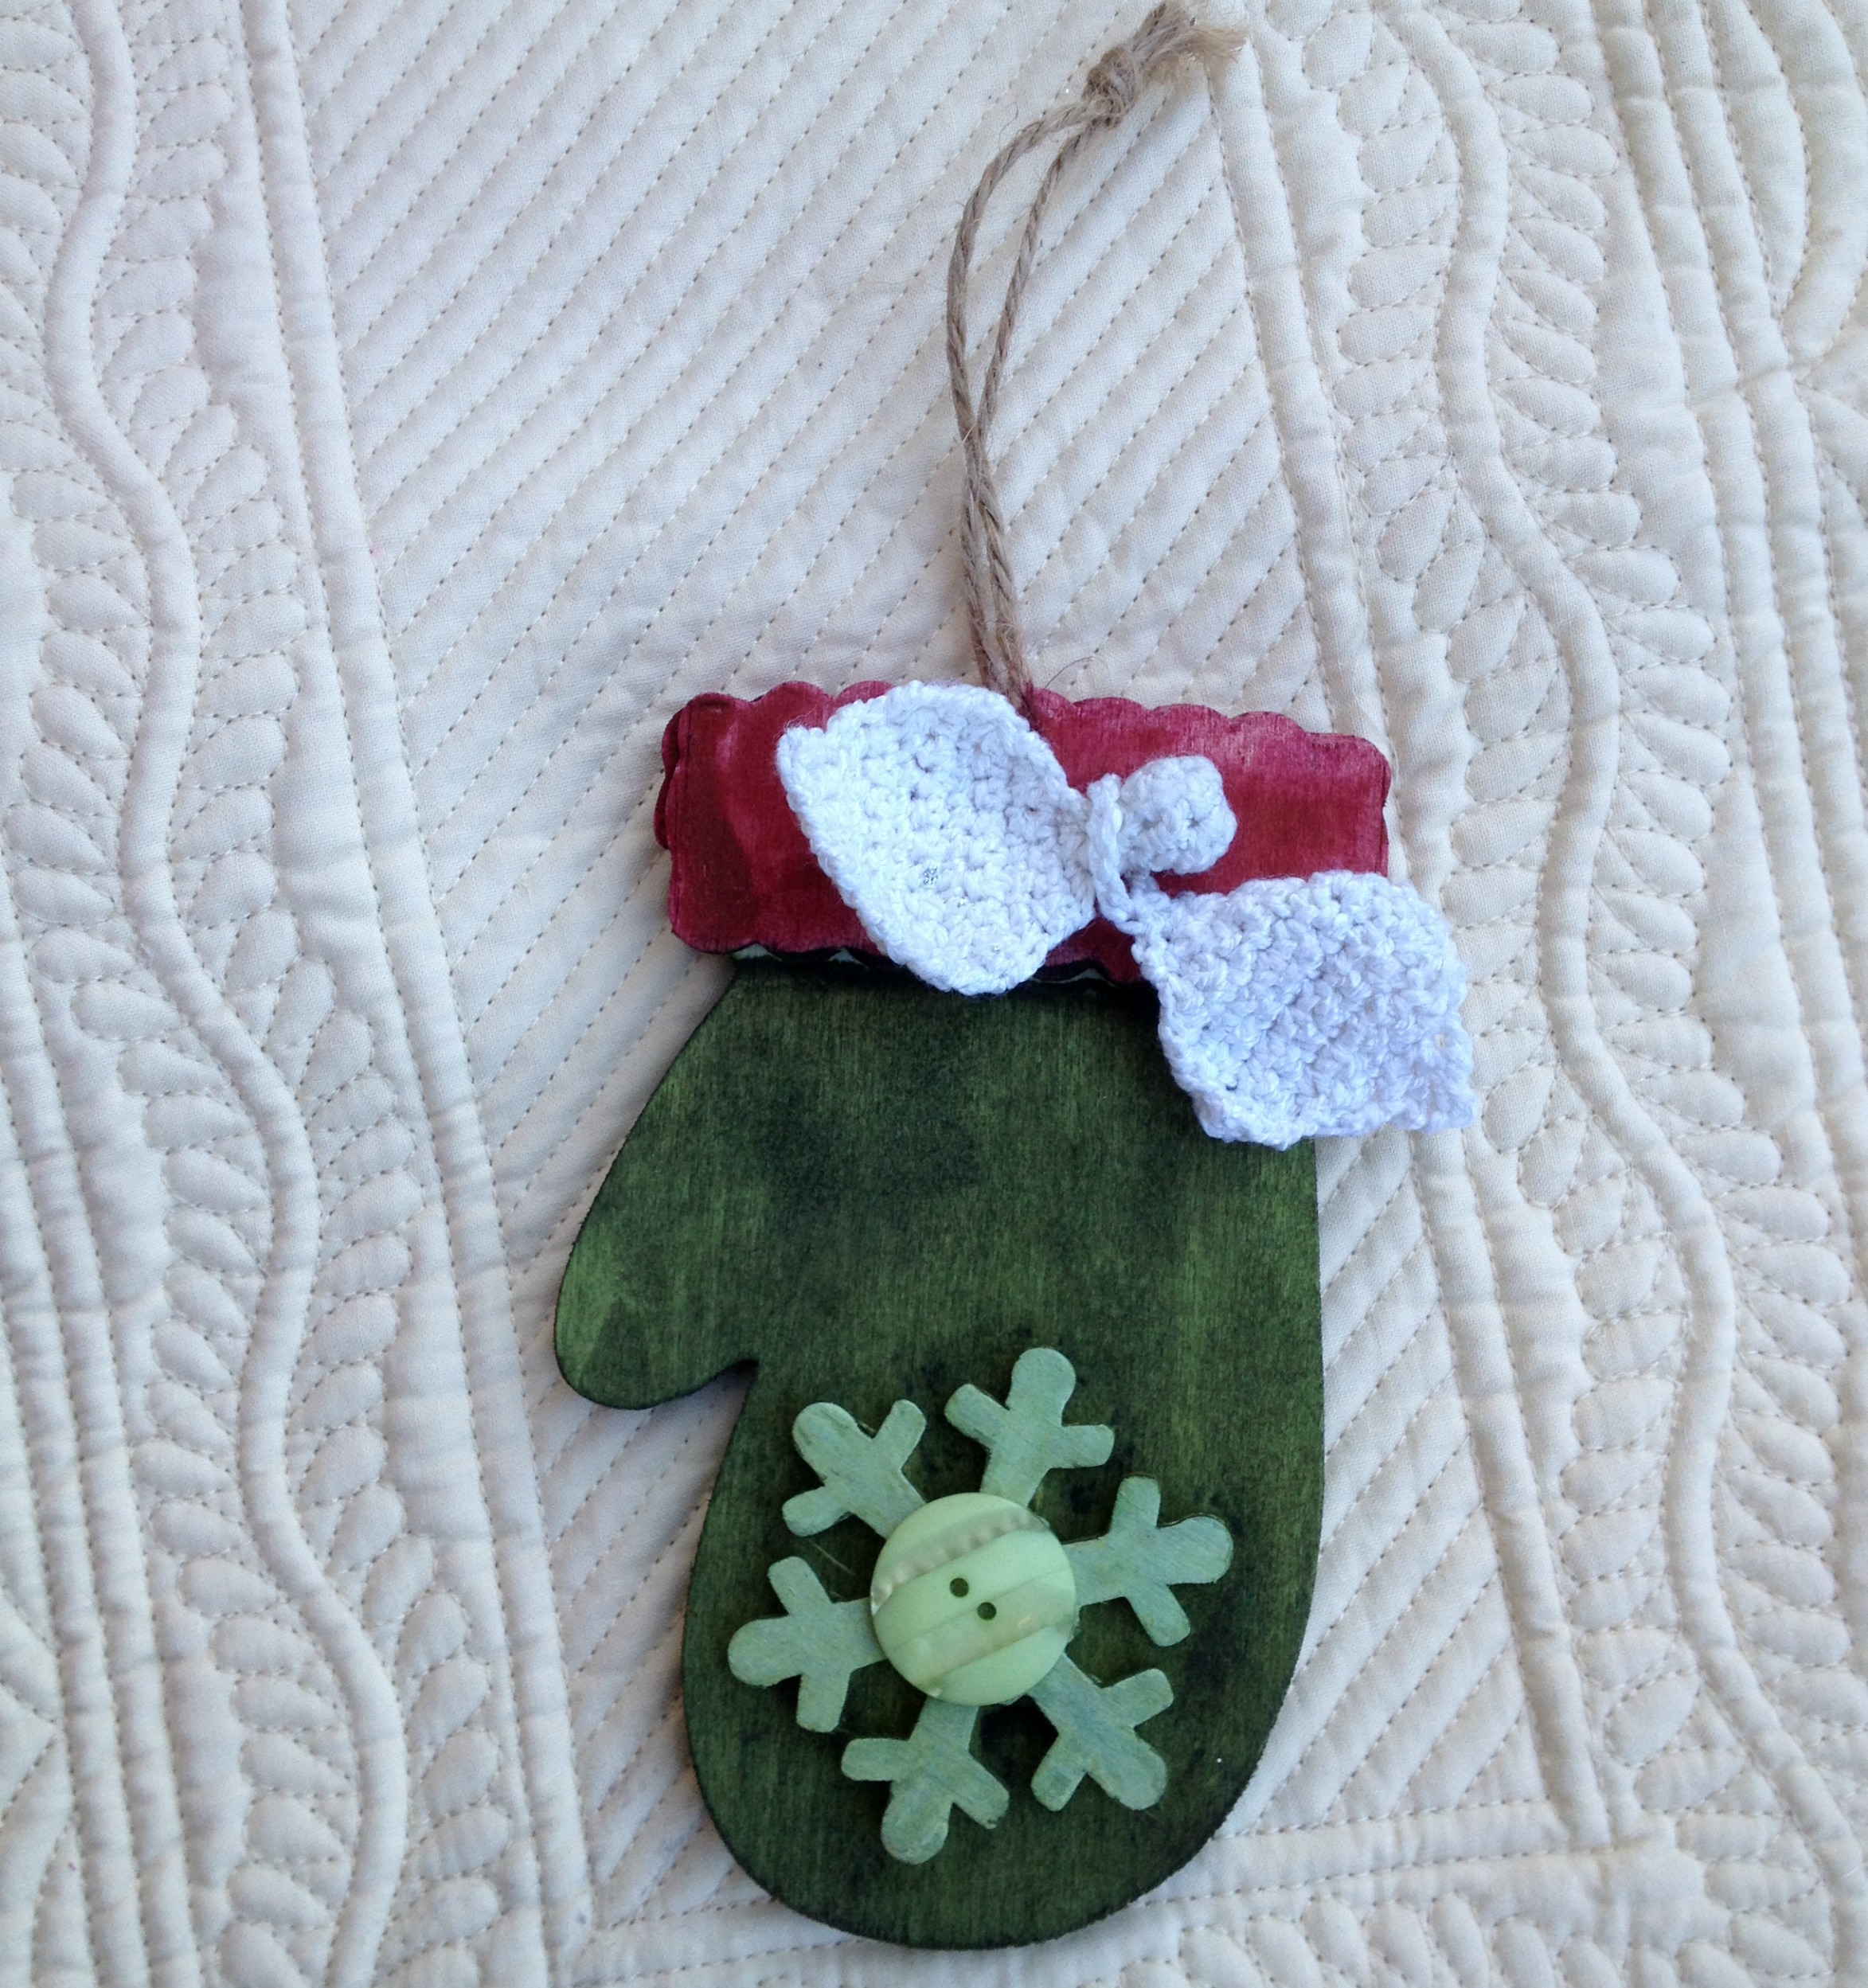
I hot glued the pretty lil’ Lady on a wood block to make it into a 3D Valentine and added a few embellishments from the Pebbles Inc Yours Truly collection.

Supplies Used to make a Button Ladybug Valentine:

For more Valentine’s Day inspiration check out my blog Ribbons & Glue.

newsignature

Like Me on Facebook!

0

DIY Doll Accessories with DOLL DIARIES

The wonderful folks at Doll Diaries love BUTTONS for making DIY Doll Accessories! Laura Kelly Buttons are the perfect craft staple for creating fun crafts for and with your dolls! From jewelry and clothing to accessories and decorations, the sizes and colors make creating easy.

DIY Christmas Tree Garland with Buttons Galore

Decorating for Christmas with the dolls has never been more festive with this DIY Christmas Tree Garland.

Doll Diaries, Laura Kelly Buttons, Christmas DIY

Doll Crafts – Button Jewelry for Dolls

Use Buttons Galore and More’s wonderful Snowflakes Value Pack or Olde Fashion Lights to make jewelry for your dolls and YOU.

#Snowflakes, DIY Button Jewelry, winter buttons

#christmas buttons, DIY Jewelry


Doll Diaries, Laura Kelly Buttons

Wishing You a Cherry Christmas

Holiday Bazooples make perfect accents!

#christmas, holiday buttons, bazooples

Santa & Friends

#christmas, buttons, bazooples

Here Comes Santa

#christmas, holiday buttons, bazooples

Reindeer Games

Doll Diaries, Rit Dye, Buttons Galore

Camp Doll Diaries: Make Button Yo-Yos

Two buttons and string? How many things can you create. #1 … Yo-Yos!

Doll Diaries, Laura Kelly Buttons

Doll Sized Bake Sale with Button Cookies

With a little creativity, buttons can become lots of wonderful things, including cookies!

Doll Diaries, Laura Kelly Buttons

Doll Sized Napkin Rings

Why should the kids’ table or the dolls’ table look any less festive.  Learn how to make these adorable napkin rings. Make some for your table too!

Doll Diaries, Laura Kelly Buttons

 Special thanks to the ladies at Doll Diaries for sharing their creativity with us.

Our Laura Kelly Buttons Selection is growing. Which collection is your favorite?


To help you with your holiday crafts, here is a list of our current specials:

Visit our “SPECIAL BUYS” section for savings:

20% off EVERYTHING*

Expires: 12/9/13     Code: HBH20

20% OFF Christmas Button Theme Packs*

Expires 12-20-13     Code: CBTP1213

20% OFF Holiday Fun 3D Buttons*

Expires 12-20-13     Code: 20HFUN

*Please note that offers may not be combined.

Free Shipping to the U.S. on orders over $30.

0

Button Up Ornaments to “Dye” For

Creating Christmas ornaments that are handmade and created with a personal touch have never been easier.  With the pre-cut shapes that are available in all of the craft stores and buttons, here are ornaments you can make quickly that are to dye for – as in dye with Rit Dye that is.

MittenFinalBG

It is so incredible simple that you can make them in fifteen minutes or less.  To do it, paint the wood with dye directly from the bottle.  If you want it darker, heat it up first.  It dries pretty quickly but if you are in a hurry, you can stick it in the microwave for 30 seconds to speed it up.

MittenPaint

Then you add your buttons and embellishments to make it into something special.  I used an Laura Kelly Candy Apple Green button on this ornament.  Before I added it with hot glue, I went over the snowflake with a white paint pen a little bit.

Button

Here are some that were created with a group of fabulous attendees at a crafting event last week.  I had a blast leading the workshop and am amazed at how awesome their ornaments turned out.

Ornaments

Happy Getting Ready For the Holidays,

Laura

1

Dyed Button Necklace

Last month I dyed some buttons using Rit Dye, and I had some left over so I’ve made this Dyed Button Necklace.

fall buttons, fall leaves, button jewelry

 Supplies for Dyed Button Necklace

I used one large Coconut button and embellished it. I love that these buttons have an earthy, natural feel, and come in their own little tin with a clear top. This tin is great for storage, and great for using later for creating more fun!

coconut shell, natural buttons

Rustic Coconut Shell

Additional Supplies:

Rit Dye (Aquamarine), Imagine® Crafts/Tsukineko VersaMark ink and Gold Embossing Powder, and StāzOn™ Inks (in Olive, Forest Green, Rusty Brown, and Pumpkin for coloring charm – applied with Fantastix™ Applicators), 3-in-1 Glue, charm

Also: Jump ring, chain, pliers, heat tool (for melting embossing powder)

Instructions:

See Rit Dye for their Wood & Wicker Dyeing instructions. I had prepared dye in mason jars, and simply reheated it and added it to the button.

Make sure your button is dry before you try embossing. Sponge on ink and dip in embossing powder. Carefully heat set to melt. I did different areas separately, and used some tongs to hold the button.

I colored a charm with StāzOn™ Inks using Fantastix™ applicators  and added a jump ring and chain, then adhered the charm to the button with 3-in-1 Glue.

I love the colors and how they all came together. Doesn’t fall have a beautiful assortment of colors to choose from? Fall is my favorite, no wait – I love snow, oh but spring flowers … Every season is lovely.

Thanks for joining me today for another project featuring button jewelry. Are you wearing your buttons? I’d love to see!

2

DIY T-Shirt Pumpkin Decor

Last week we made autumn scarves out of t-shirts (that we stole from Daddy’s drawer) using Rit Dye and we had a bunch of leftover scraps.  Not being able to bear throwing away such beautifully dyed fabric, I decided to stitch up a DIY pumpkin and see how it would turn out for Halloween decor.  It took less than 15 minutes and I think it is quite adorable and will make for some fun decorating.

Easy To Make T-Shirt Pumpkin

pumpkinlove

I matched up the fabric and drew on the top the shape of a little pumpkin.  Then I cut the shapes out at the same time so they would match up for stitching.  I stitched around the outside and stuffed the guts with a grocery bag.  I love to use recycled items when I am crafting.  I stitched on a two button stem (using Laura Kelly Bold Brown buttons) which I think really puts the mini decor into the “cute as a button” category.  Now I want to make about 5 more because they look like they are growing on the vines when I put them outdoors.

TshirtPumpkin

I also really like the way it looks outside on the fairy wall in the back yard.  Maybe I will spray it with the stuff I use to waterproof my boots and leave it out to see how long it makes it in the weather.  I think that a bunch of them around the fairy wall would be really fun and magical over the next few weeks.

TShirtPumpkinWall

I used the white scraps from the t-shirts too to make…a ghost of course.  I am sharing that project on my blog today.

ButtonGhost

Happy Fifteen MINUTE Crafting,

Laura

0

wooden pumpkin crafts – DIY a Photo Frame

PumpkinFrameF

Wooden pumpkin crafts are great for autumnal home decor.  I created a whole patch of pumpkins for display in my home.  I am in love with the pumpkin frame and the way it stands out in the patch.  I guess it is partially due to the adorable photograph I placed in the frame .  It is my oldest son and the photo is from 14 years ago, but I really do think the frame is adorable too.

WoodenPumpkins

Materials for Wooden Pumpkin crafts:

  •  The frame is from the dollar section in your local craft store.
  •  Rit Dye in two colors (Tangerine and Apple Green) liquid or powder
  •  Burlap trim, fabric scrap and rosette
  • AdTech Hot glue gun and glue sticks
  • Covered working area, rubber gloves and sand paper


FrameTrims

Directions to make the Wooden Pumpkin Crafts:

  1. Sand any rough surfaces.  Dust off any excess.  Dip dye the wooden frame in Rit Tangerine dye.  Allow the frame to dry completely on a covered surface.
  2. Dip dye the  trims in Apple Green Rit dye.  Allow trim to dry completely.   Use  the  hot glue to attach the trim around the frame to create a band.  Attach the fabric scrap strips as the leaves and tendrils on the top of the frame.
  3. Using the hot glue gun, create a stack of brown buttons to resemble a stem.


DyeingMaterials

I created a button stack for a stem with my Laura Kelly Bold Brown buttons and love the way the stem turned out.

Stem created with buttons dyed buttons for fall craft wooden pumpkin crafts

To find out more about making a whole patch of wooden pumpkin crafts, visit my blog post today.

Happy Decorating for Halloween,

Laura


2

Dyed Boho Bracelet DIY

Buttons and Boho Bracelets … Say that three times fast.

This Dyed Boho Bracelet DIY is extra fun and special. Why BUY when you can DIY? Right?

We’ve all been having a lot of fun with the Rit Dye, and I had a lot of Moda Jelly Roll Strips left, so I was playing around with braiding and made this Boho style bracelet. It’s actually braided, but it has that vibrant, Boho feel.

Boho Bracelet


It’s funny, I work with buttons a lot, obviously … but it had been a while since I’d sewed. My fingertips would highly recommend you use a thimble!


Boho Bracelet


Dyed Boho Bracelet DIY Instructions:

Take three dyed Moda Jelly Roll strips and braid them. Determine placement for the buttons on your wrist and add the buttons. For specifics on how I dyed my fabric, please see my Rit Dye Blog Hop Post. It was really very easy! The strips naturally fray a bit and will fold and show different bits, it really adds to the look of the braid.

Knot your braids at each end. Tip – use a clip board to hold your strips and leave plenty of extra length at each end so that you can knot the ends and also tie it on your wrist.

Supplies for creating bracelet:

  • Rit Dye – Aquamarine, Kelly Green, and Fucshia
  • Buttons – Vacation
  • Thread – Coats & Clark


You will also need needles, and as suggested by my fingertips, a thimble! I hope you enjoyed this Dyed Boho Bracelet DIY.

Have you hopped with us? There are so many fun projects with buttons and dye that you won’t want to miss.


Don’t forget to enter our Rit Dye and Buttons Galore and More Giveaway

Rafflecopter giveaway

1

Powered by WordPress. Designed by WooThemes