Header

Tag Archives | Bold Brown

DIY T-Shirt Pumpkin Decor

Last week we made autumn scarves out of t-shirts (that we stole from Daddy’s drawer) using Rit Dye and we had a bunch of leftover scraps.  Not being able to bear throwing away such beautifully dyed fabric, I decided to stitch up a DIY pumpkin and see how it would turn out for Halloween decor.  It took less than 15 minutes and I think it is quite adorable and will make for some fun decorating.

Easy To Make T-Shirt Pumpkin

pumpkinlove

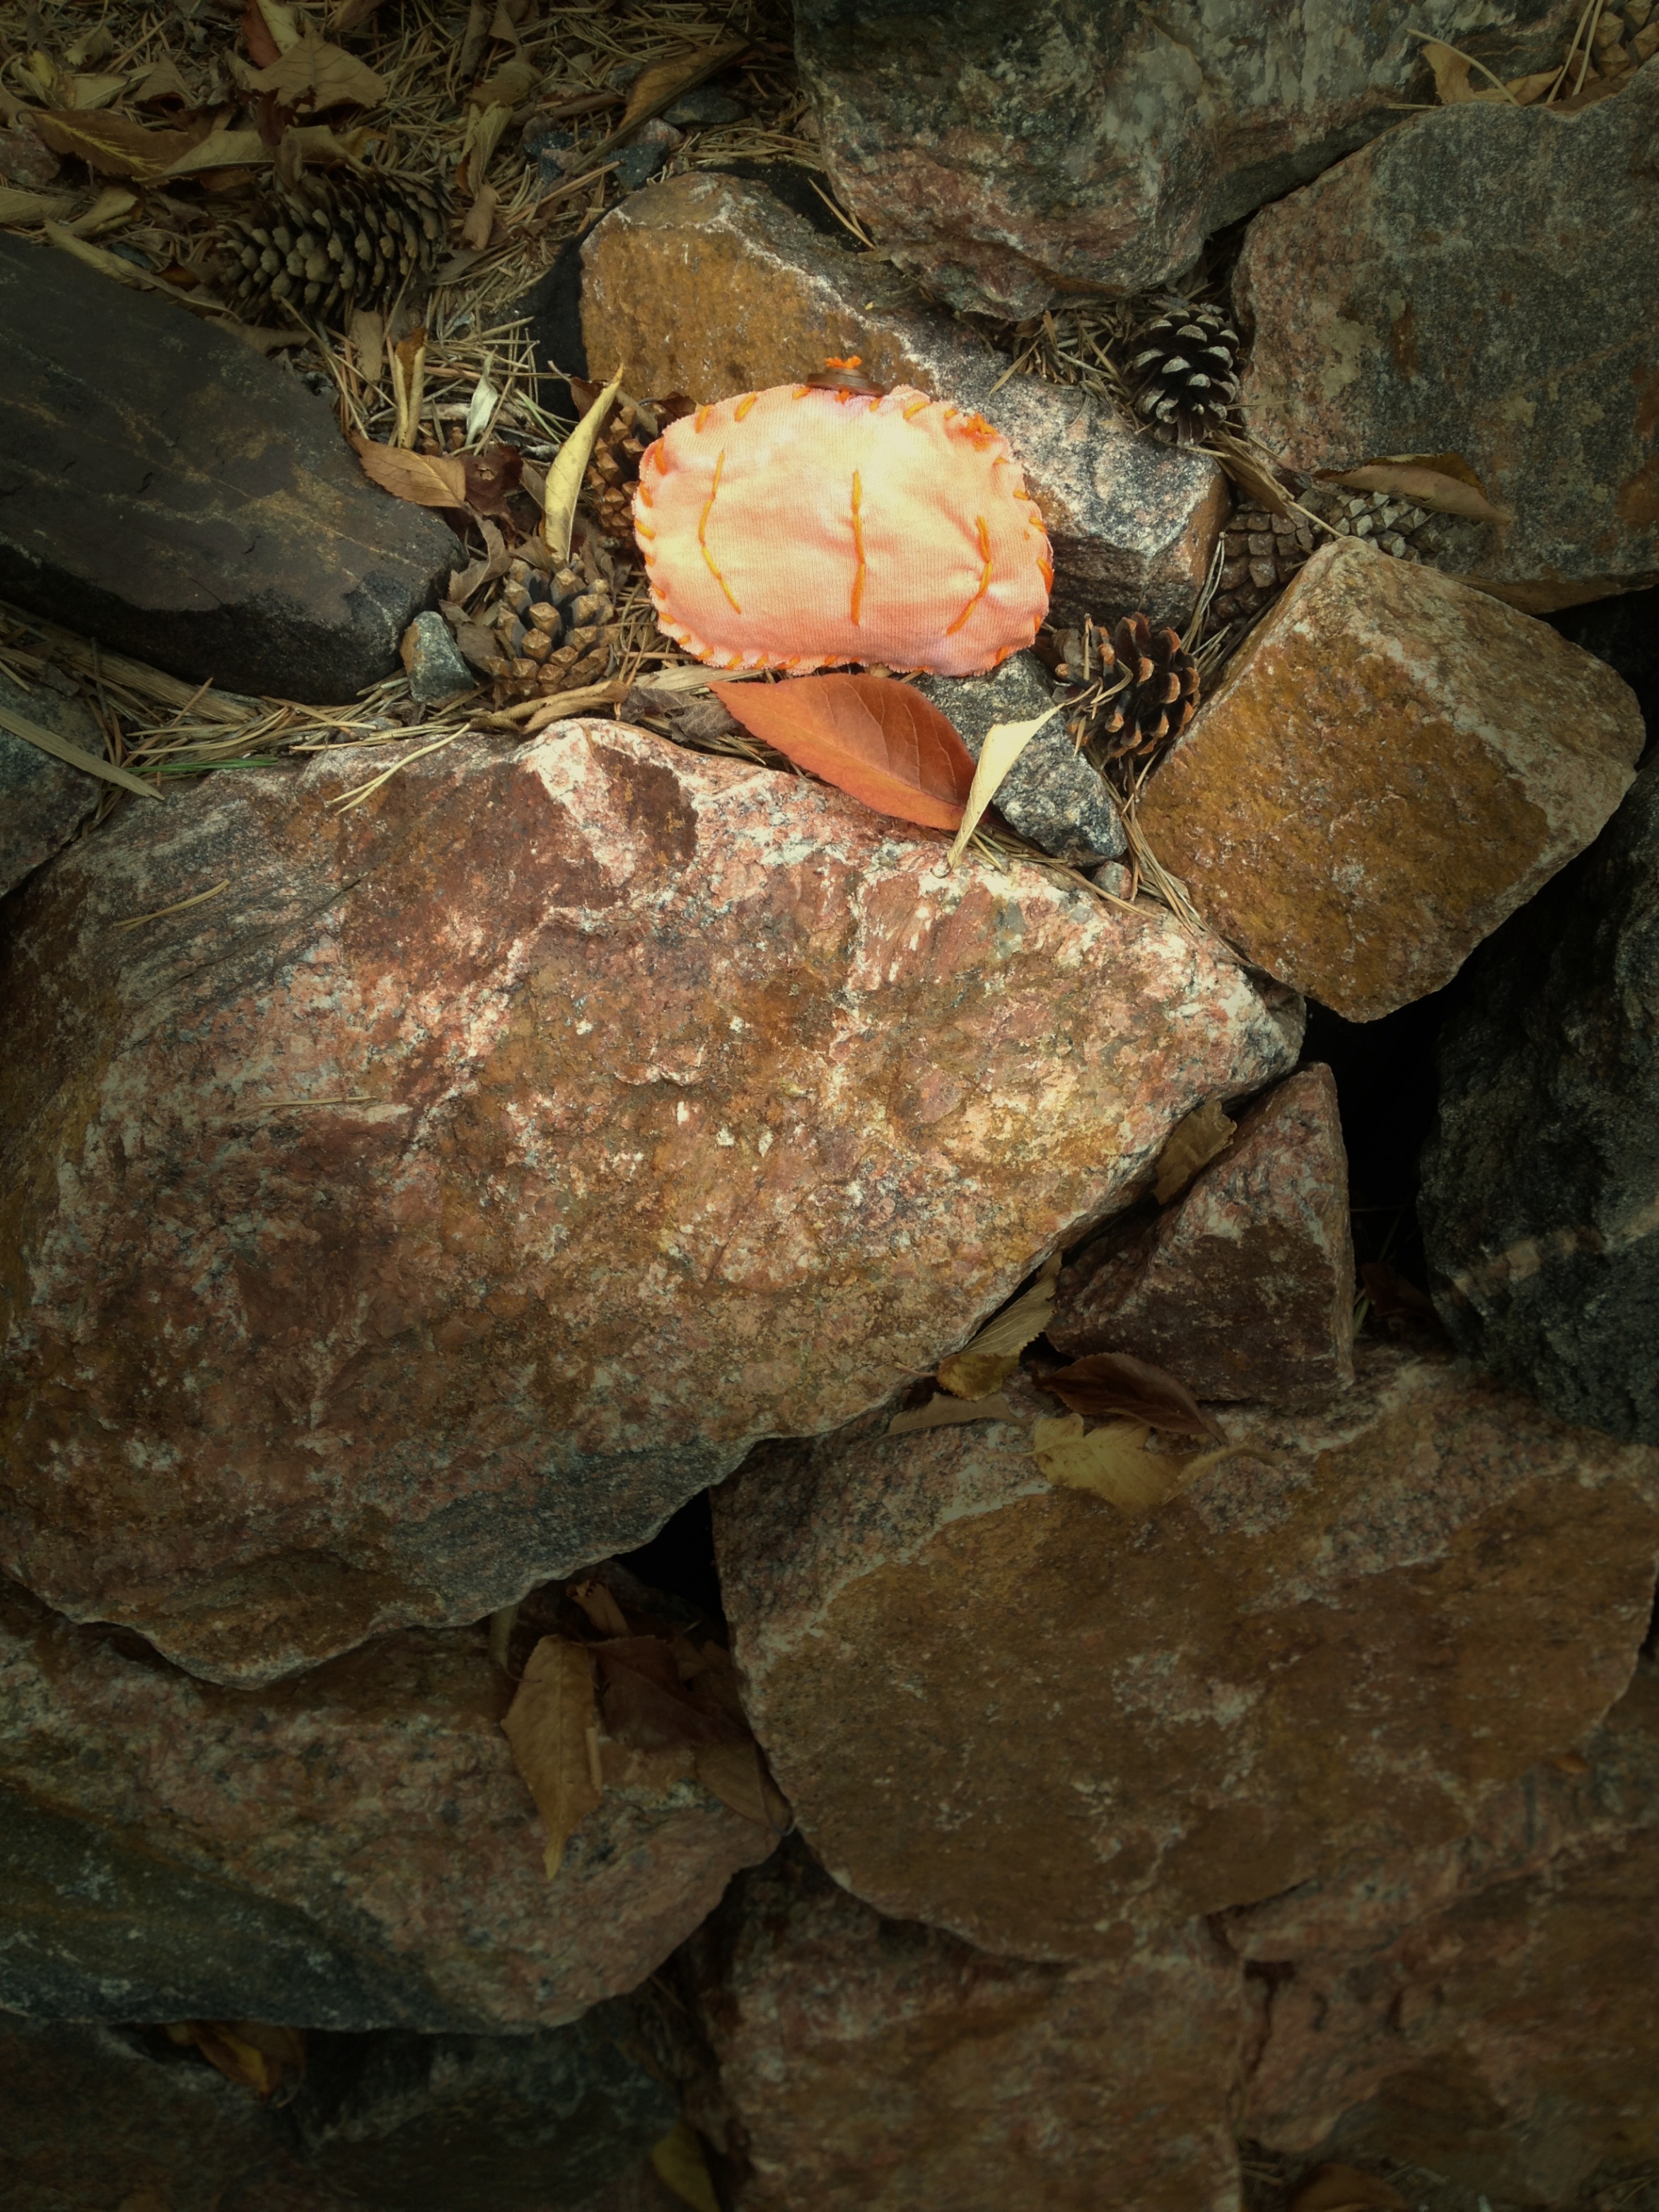
I matched up the fabric and drew on the top the shape of a little pumpkin.  Then I cut the shapes out at the same time so they would match up for stitching.  I stitched around the outside and stuffed the guts with a grocery bag.  I love to use recycled items when I am crafting.  I stitched on a two button stem (using Laura Kelly Bold Brown buttons) which I think really puts the mini decor into the “cute as a button” category.  Now I want to make about 5 more because they look like they are growing on the vines when I put them outdoors.

TshirtPumpkin

I also really like the way it looks outside on the fairy wall in the back yard.  Maybe I will spray it with the stuff I use to waterproof my boots and leave it out to see how long it makes it in the weather.  I think that a bunch of them around the fairy wall would be really fun and magical over the next few weeks.

TShirtPumpkinWall

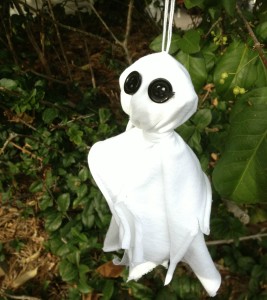
I used the white scraps from the t-shirts too to make…a ghost of course.  I am sharing that project on my blog today.

ButtonGhost

Happy Fifteen MINUTE Crafting,

Laura

0

wooden pumpkin crafts – DIY a Photo Frame

PumpkinFrameF

Wooden pumpkin crafts are great for autumnal home decor.  I created a whole patch of pumpkins for display in my home.  I am in love with the pumpkin frame and the way it stands out in the patch.  I guess it is partially due to the adorable photograph I placed in the frame .  It is my oldest son and the photo is from 14 years ago, but I really do think the frame is adorable too.

WoodenPumpkins

Materials for Wooden Pumpkin crafts:

  •  The frame is from the dollar section in your local craft store.
  •  Rit Dye in two colors (Tangerine and Apple Green) liquid or powder
  •  Burlap trim, fabric scrap and rosette
  • AdTech Hot glue gun and glue sticks
  • Covered working area, rubber gloves and sand paper


FrameTrims

Directions to make the Wooden Pumpkin Crafts:

  1. Sand any rough surfaces.  Dust off any excess.  Dip dye the wooden frame in Rit Tangerine dye.  Allow the frame to dry completely on a covered surface.
  2. Dip dye the  trims in Apple Green Rit dye.  Allow trim to dry completely.   Use  the  hot glue to attach the trim around the frame to create a band.  Attach the fabric scrap strips as the leaves and tendrils on the top of the frame.
  3. Using the hot glue gun, create a stack of brown buttons to resemble a stem.


DyeingMaterials

I created a button stack for a stem with my Laura Kelly Bold Brown buttons and love the way the stem turned out.

Stem created with buttons dyed buttons for fall craft wooden pumpkin crafts

To find out more about making a whole patch of wooden pumpkin crafts, visit my blog post today.

Happy Decorating for Halloween,

Laura


2

Powered by WordPress. Designed by WooThemes