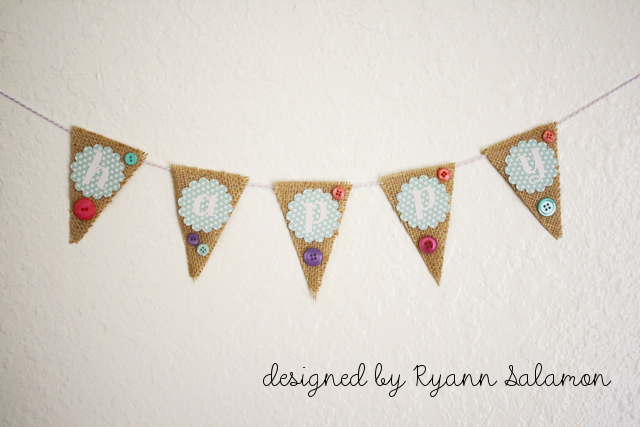
Hi all! Ryann here with a quick and easy tutorial to share with you today featuring burlap and buttons. Making little banners is a great way to use up scraps of paper or fabric because it doesn’t take much of either to put together a great little project to use for family celebrations! Your banner can be as big or as little as you want it, it all really depends on how large of a word you want to use. I find it’s best to use an odd number of pennants to achieve the “best” look for a banner.
Supplies Used:
- Buttons: Cherries Jubilee (Buttons Galore & More)
- Buttons: Plum Pudding (Buttons Galore & More)
- Buttons: Berrylicious (Buttons Galore & More)
- Buttons: Mint Cooler (Buttons Galore & More)
- Burlap (Joann’s)
- Patterned Paper (Echo Park Paper Co.)
- Banner die (Spellbinders)
- Scallop punch (Stampin Up)
- Alphabet stickers (Echo Park Paper Co.)
- Twine (Whisker Graphics)
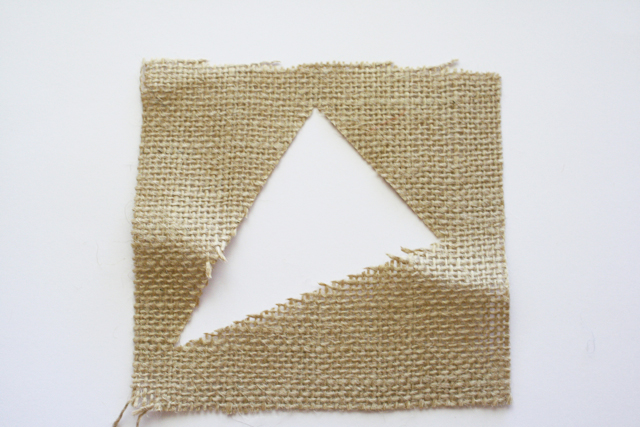
1. Die cut enough pennants to make your banner. If you do not have a pennant die cut, trace a triangle shape on a piece of heavy weight cardstock and use it as a template.
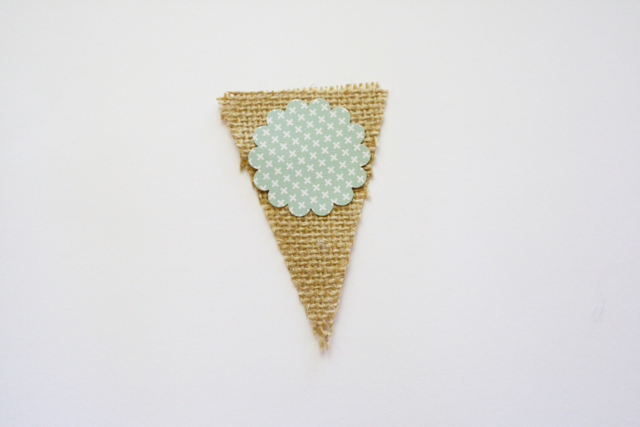
2. Cut out enough scalloped circles to place one on top of each burlap pennant. Place alphabet stickers onto scalloped circles to create message.
3. Decorate with buttons.
4. Thread burlap pennants with twine.
The possibilities are truly endless when making pennant banners from burlap and buttons. If you wanted to make a longer banner such as “Happy Birthday”, you could split your sentiment into two banners and have one hanging below the other. I’m going to hang my little “Happy” banner in my craft room! :) I hope you will give pennant banners a try – they are so simple to make and fun to have! Thanks for joining me today!
Latest posts by Admin (see all)
- Ladybug Button Card - May 1, 2015
- Button Up a Teacher Gift in a Flash - April 10, 2015
- Don’t Get Pinched! Guest Blogger DIY Shamrock Accessory - March 2, 2015


So Adorable!