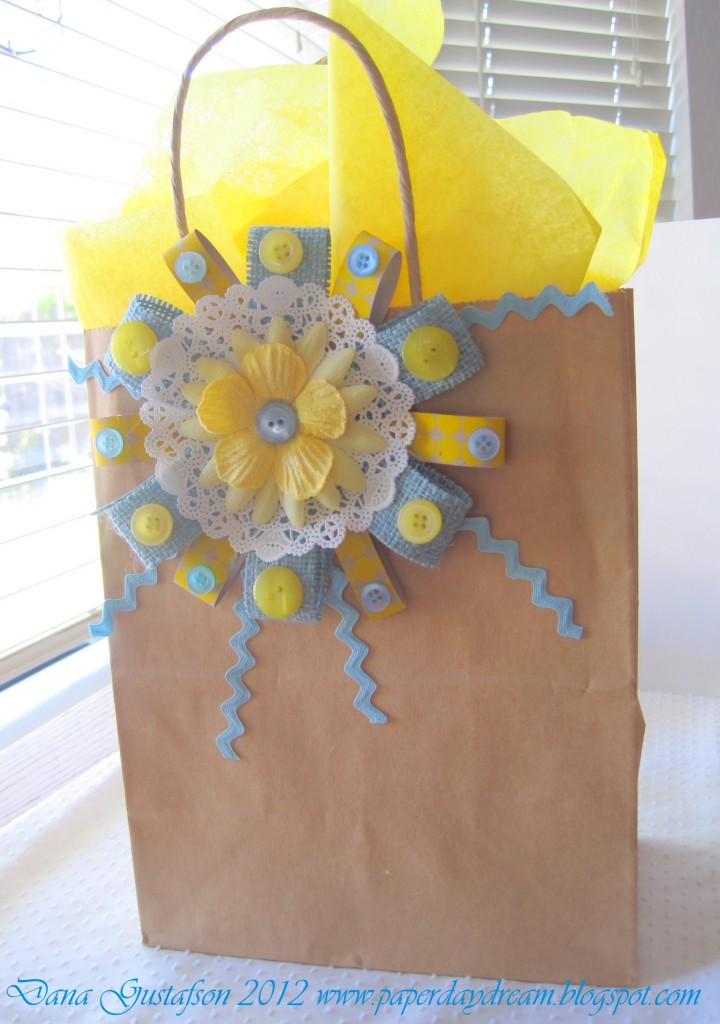
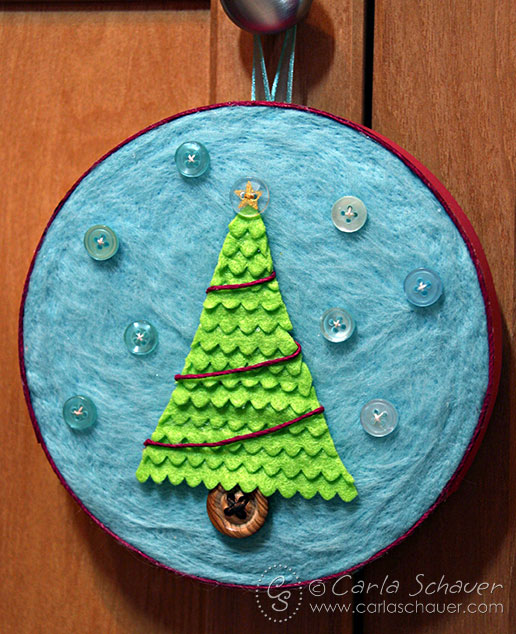
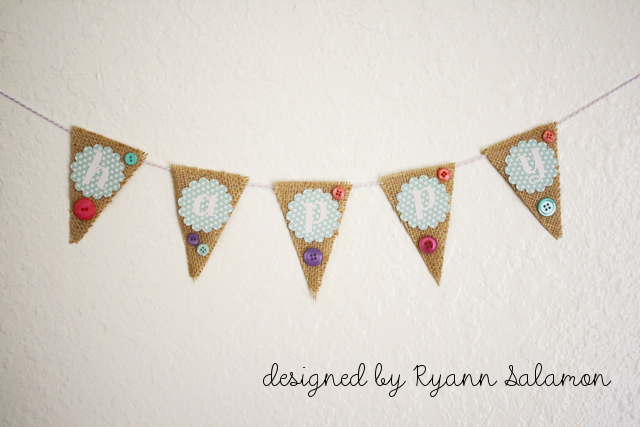
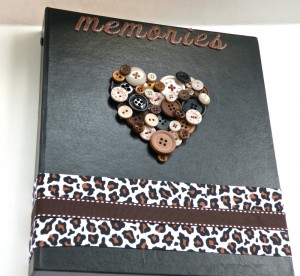
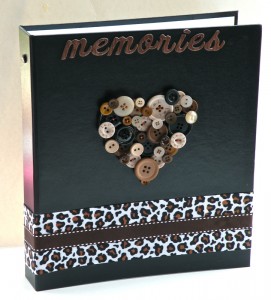
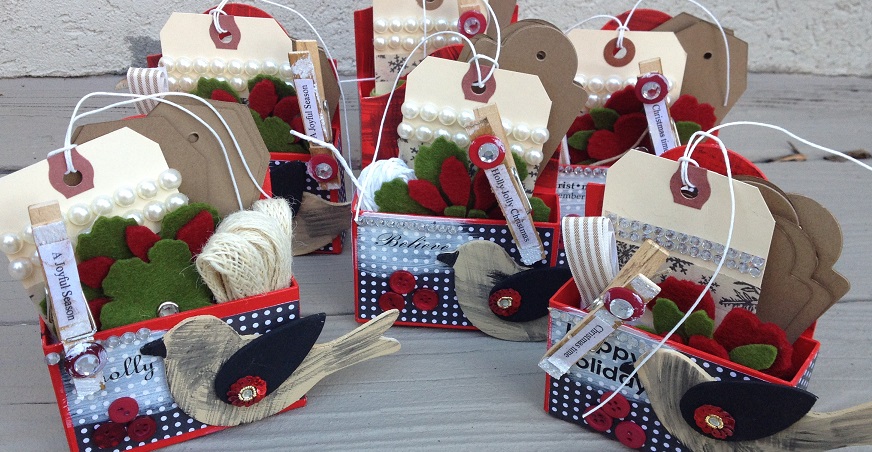
This Christmas, why not give your artsy crafty friends and family Inspiration kits? These adorable Christmas Inspiration Kit Gifts are embellished with buttons. They are fun to make and will surely delight every creative person on your list.
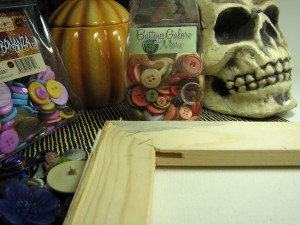
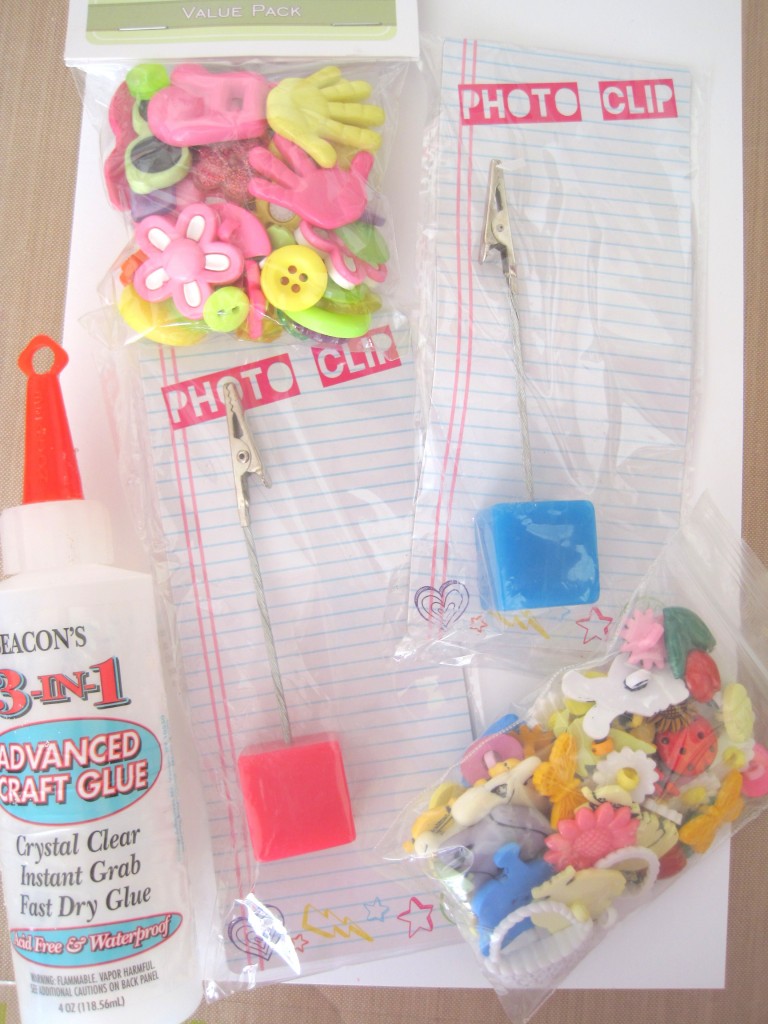
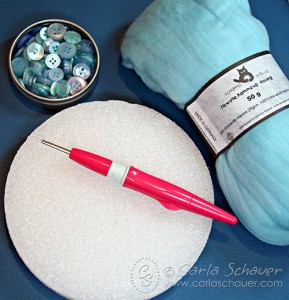
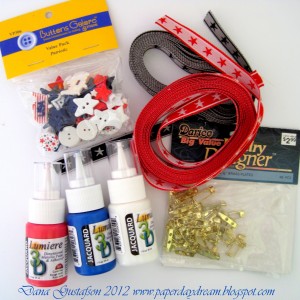
Materials and Tools for Inspiration Kit Gifts
- Sizzix Bag, Caddy Die Cut, tags die cut, Tattered Florals
- Sizzix Little Sizzles Matboard
- Sizzix Big Shot die cutting machine
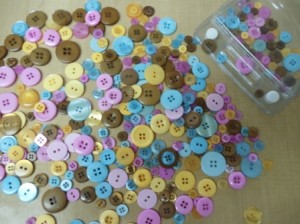
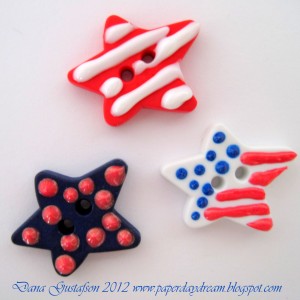
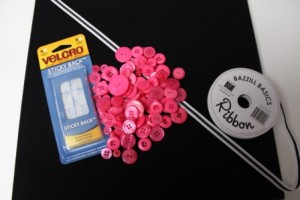
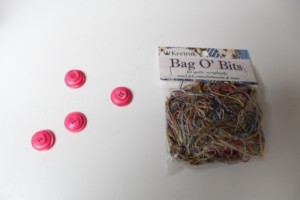
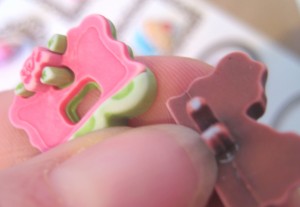
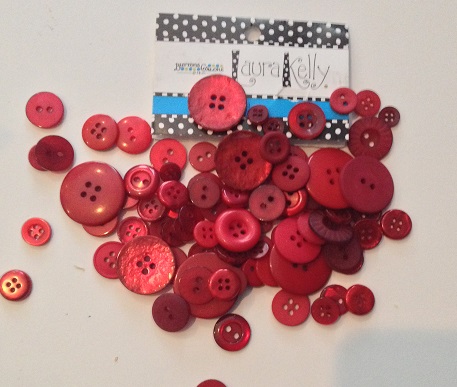
- Laura Kelly Hand Dyed Buttons from Buttons Galore and Morein Radically Red
- Unfinished wood- bird shape, teardrop, clothes pin
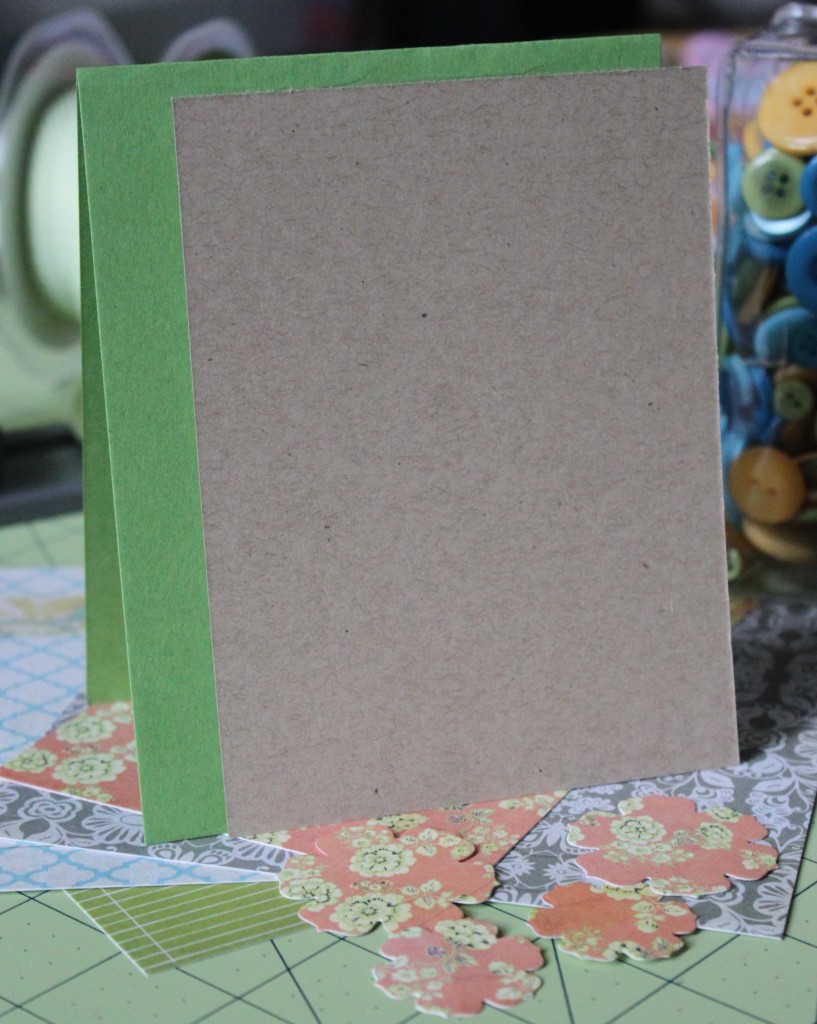
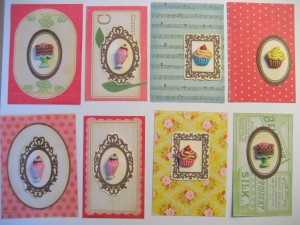
- Patterned paper, cardstock
- DecoArt Americana Acrylics, Tuscan Red, Antique White, Lamp Black, Snow White
- Prima Flower centers- red sequined, Brown chalk ink
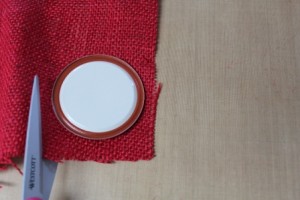
- National Nonwovens Wool Felt- Country Red, Moss
- Stazon Black ink
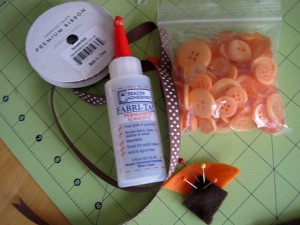
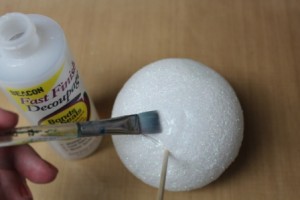
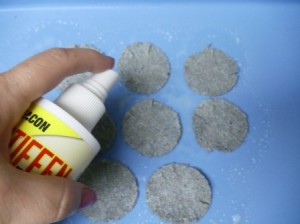
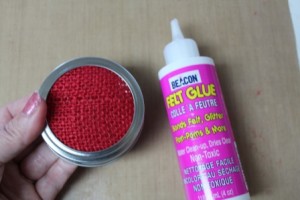
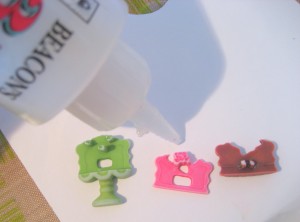
- Beacon Adhesives Gem-Tac, Fast Finish Decoupage
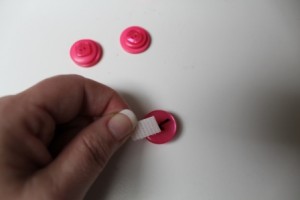
- Strong double sided tape (“red line” tape)
- Paintbrushes, Foam brush
- Rubber stamps- sentiment of choice
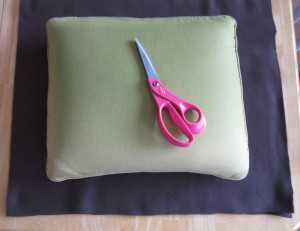
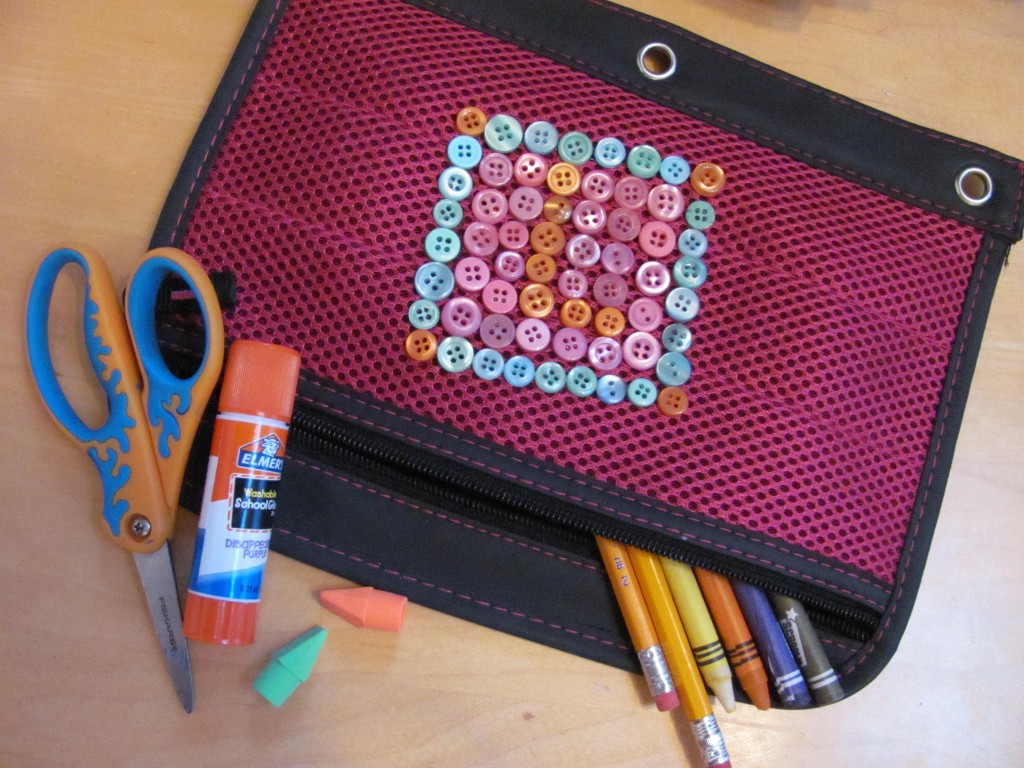
- Paper trimmer, scissors, ruler

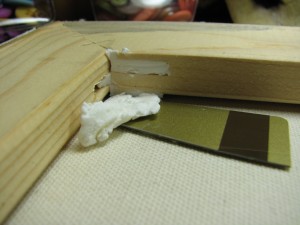
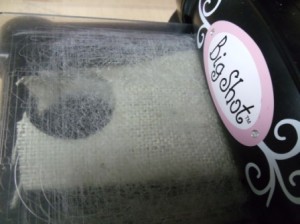
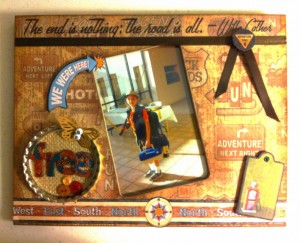
To create your Inspiration Kit Gifts, die cut one Bag Caddy from the matboard. Assemble it according to manufacturer’s instructions using the red line tape.
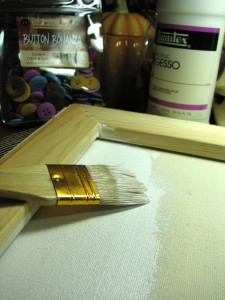
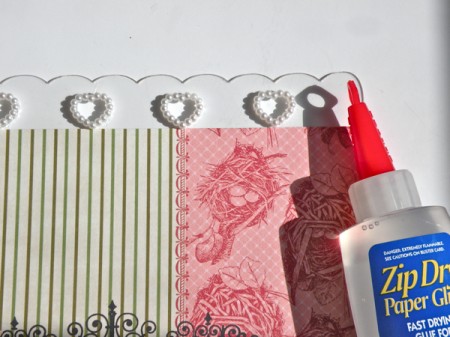
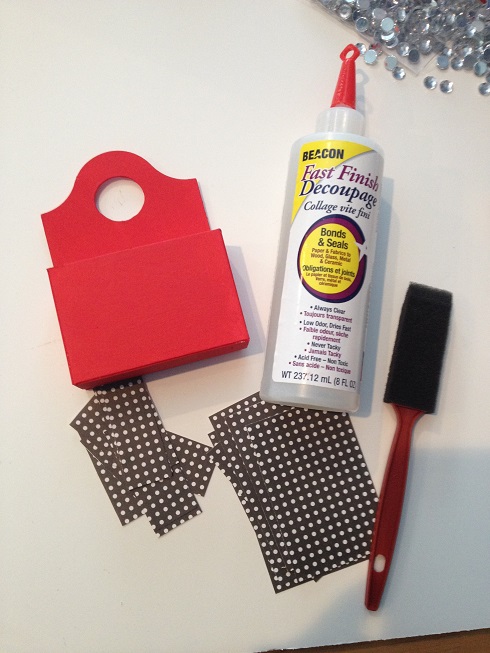
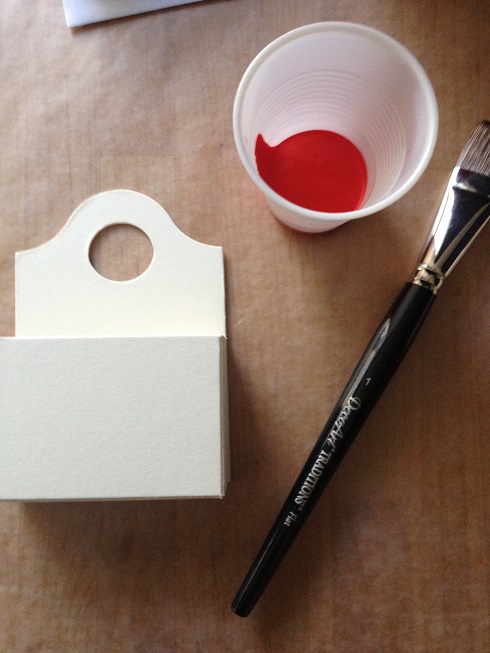 Paint the box, inside and out Tuscan Red. Measure the front and sides of the box and cut patterned paper using the paper trimmer. Use the foam brush and decoupage medium to apply the paper to the box.
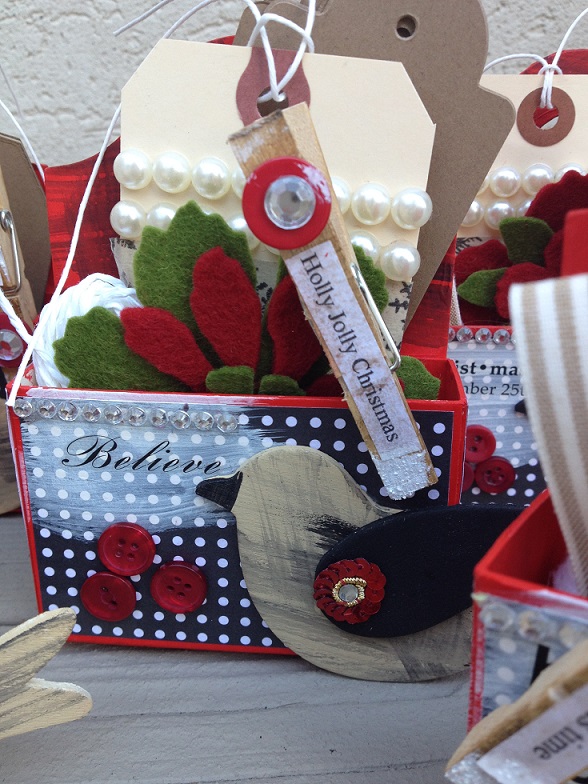
 Dry brush snow white on front of box. Paint the bird shape Antique White. Paint the teardrop for wing and bird beak Lamp Black.

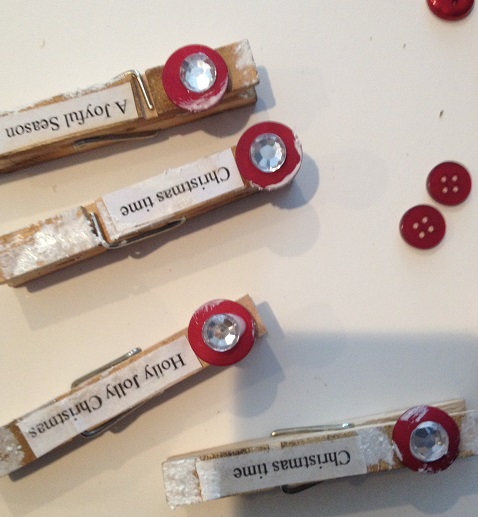
 Using the brown chalk ink, ink the clothes pin. Print out holiday sentiments using plain computer paper and a printer.

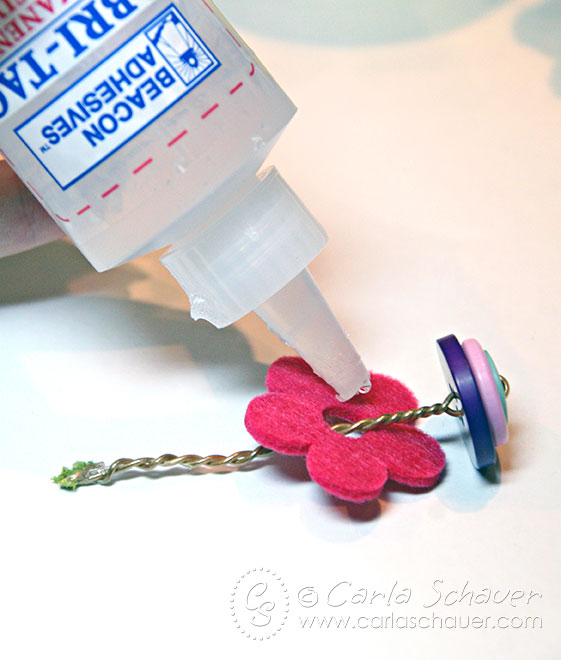
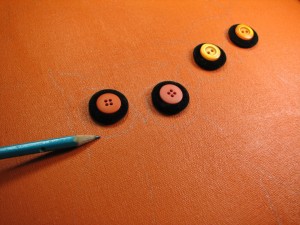
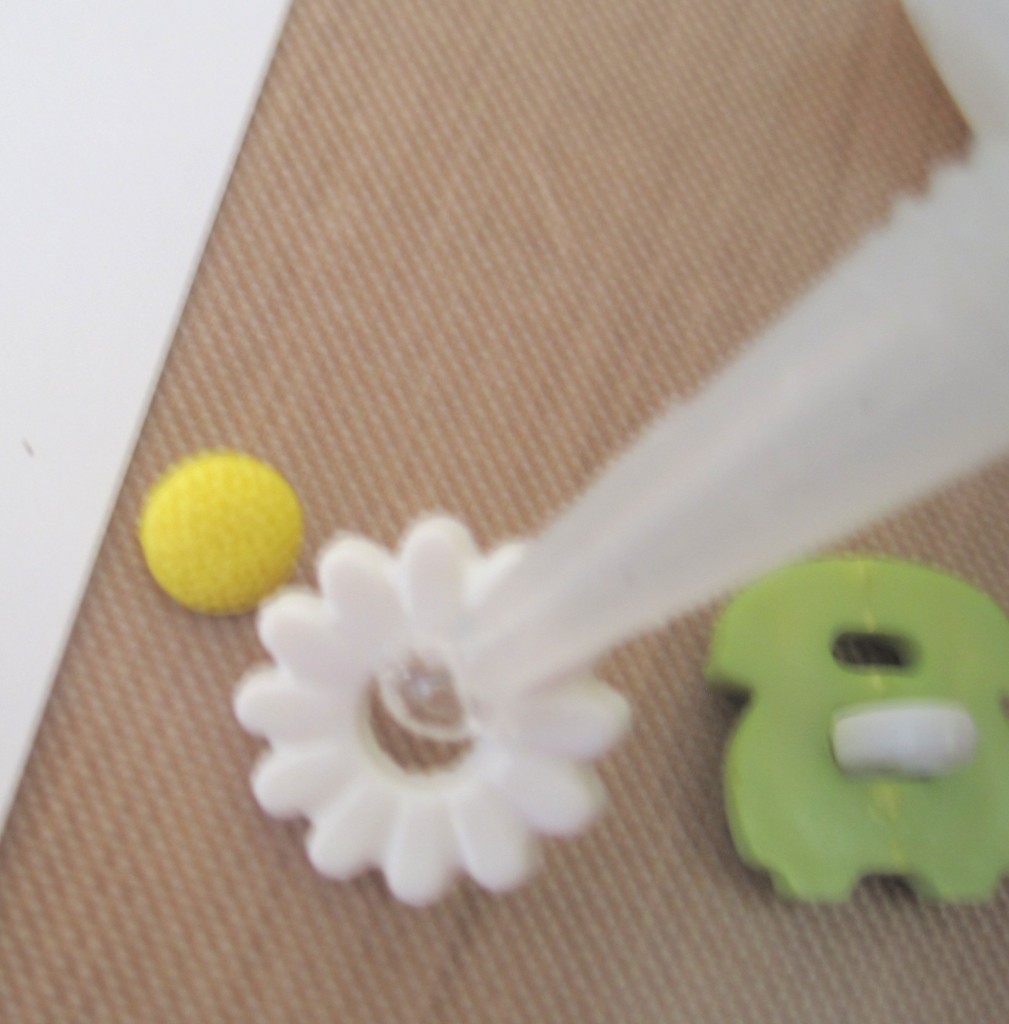
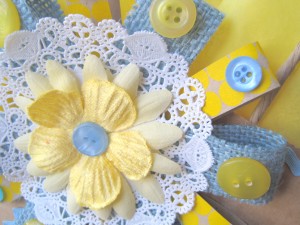
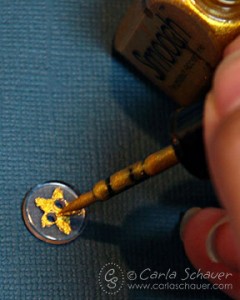
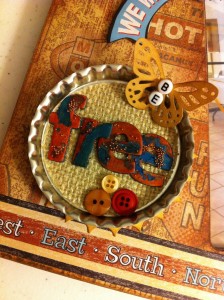
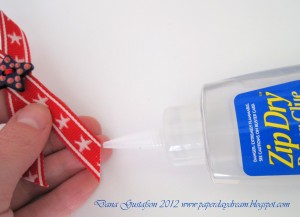
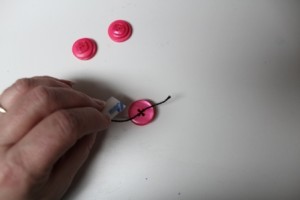
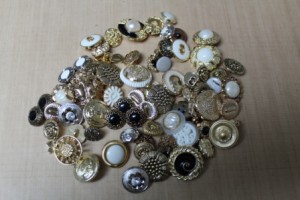
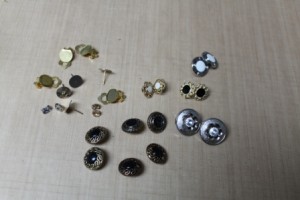
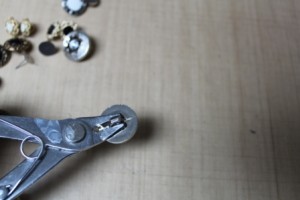
Cut the sentiments out with the scissors. Use the decoupage medium to apply them to the clothes pin. Glue button on one end of clothes pin with the Gem-Tac. If desired, glue a flat backed acrylic stone to the center of the button.
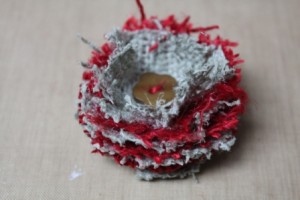
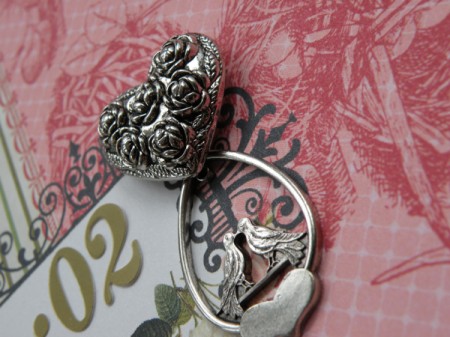
 Glue the bird shape, wing and flower center to the box.
 Stamp sentiment over white swatch of paint on box front.
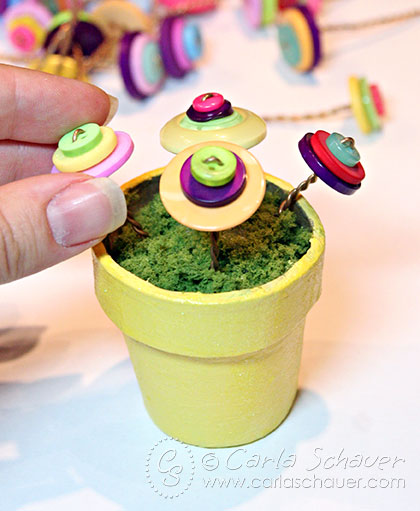
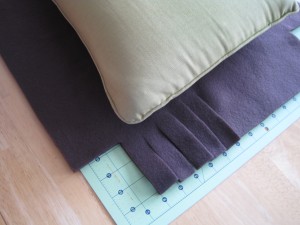
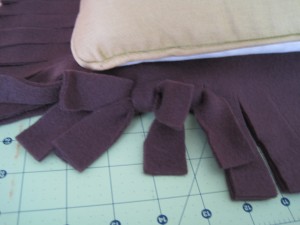
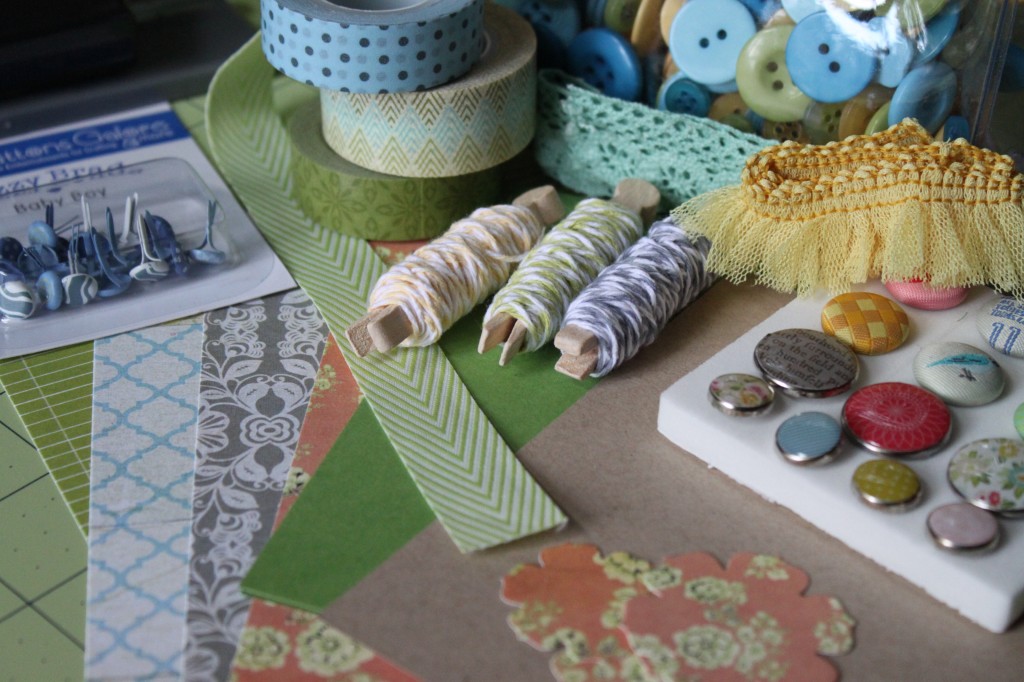
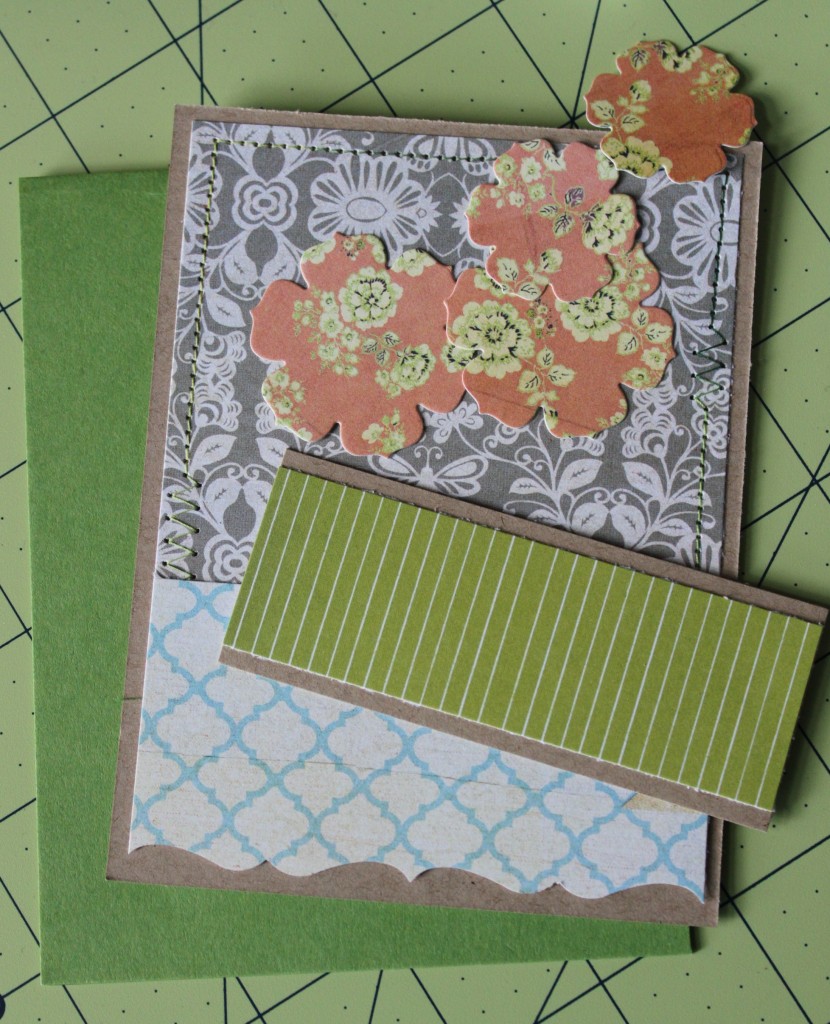
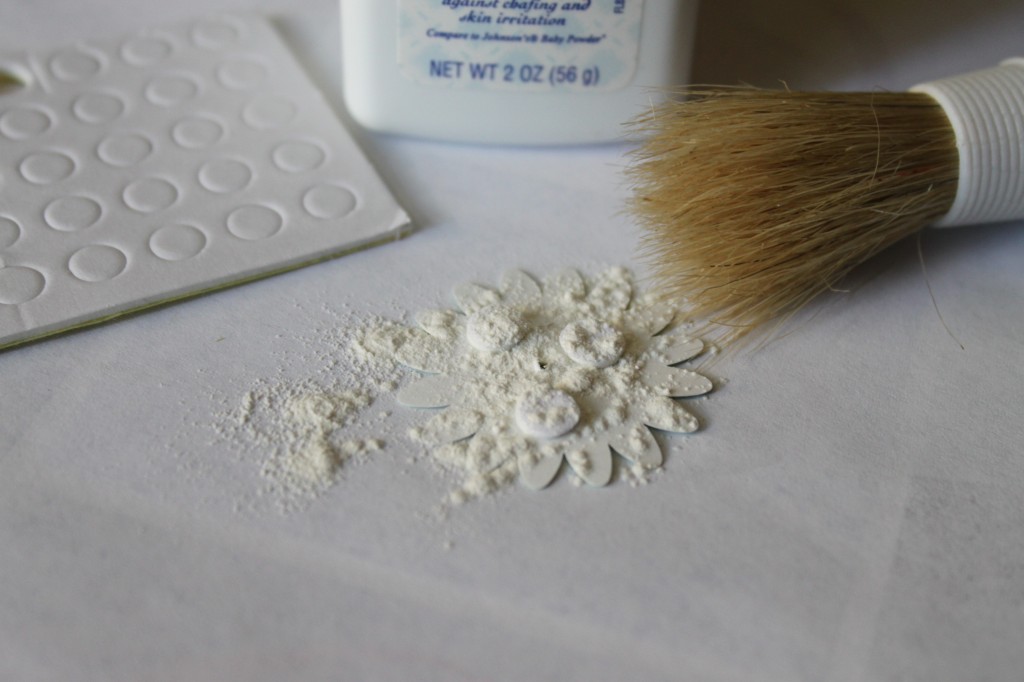
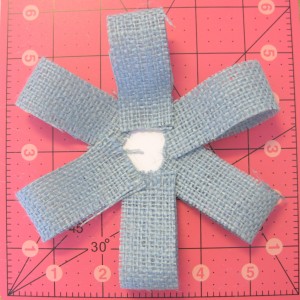
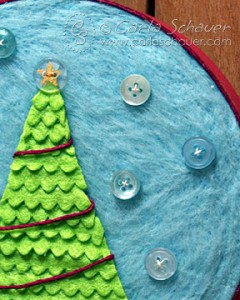
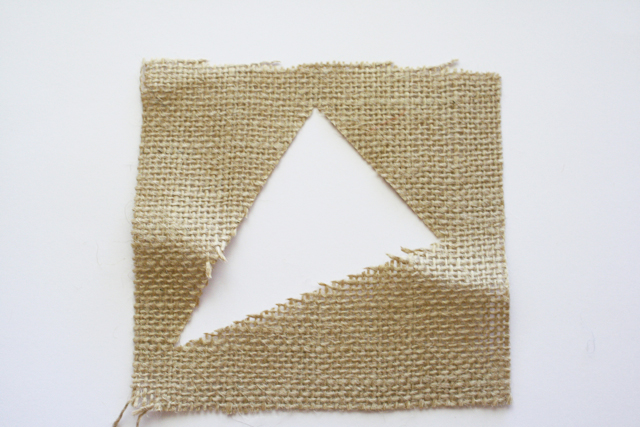
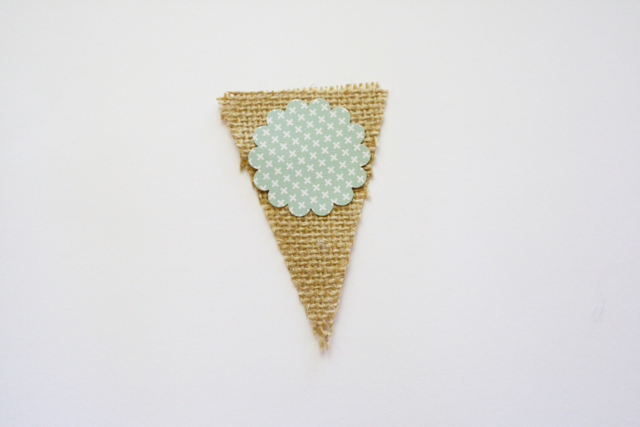
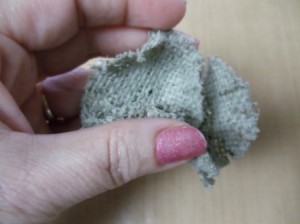
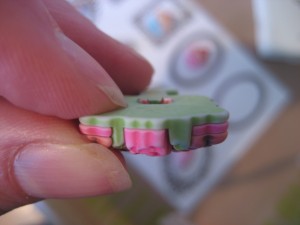
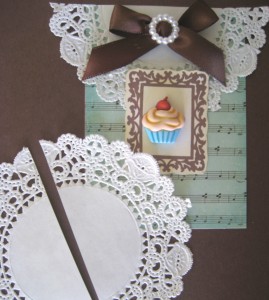
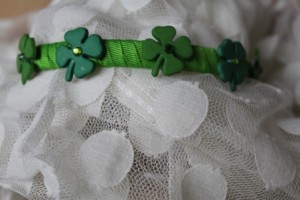
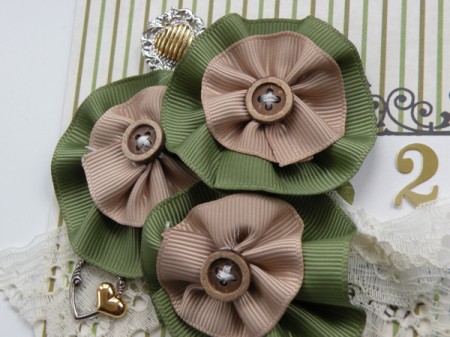
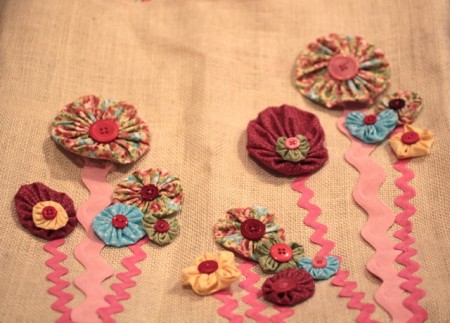
Here is the super fun part… die cut flowers, tags, etc. to fill your Christmas Inspiration Gift Kits. Die cut the cardstock and the wool felt.
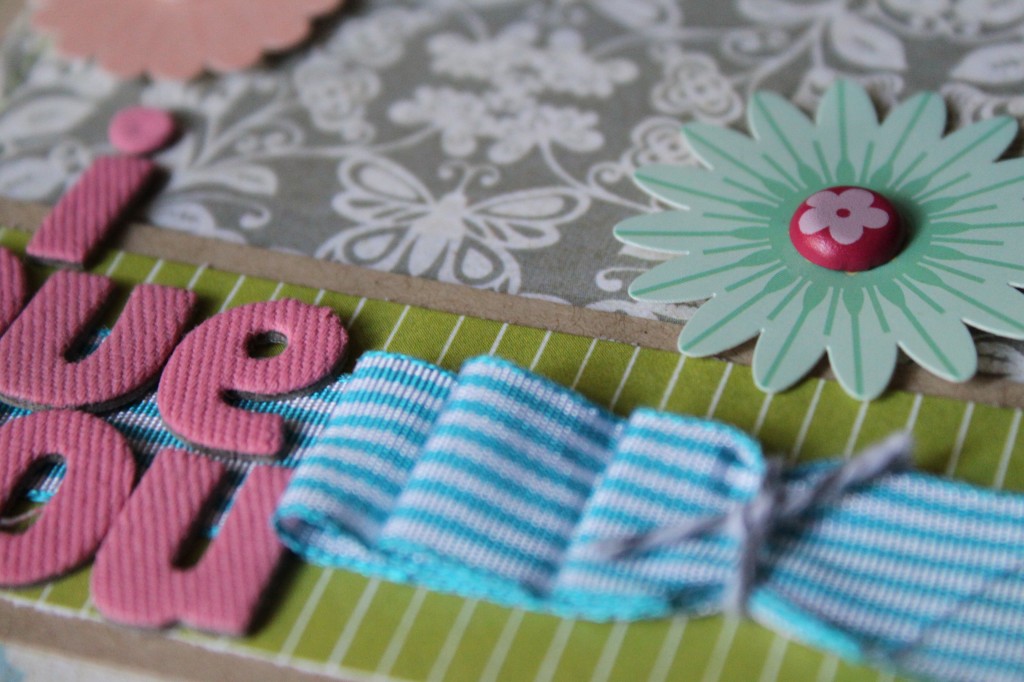
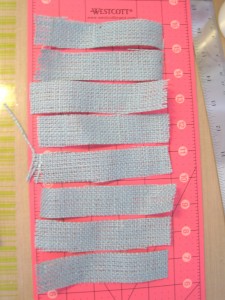
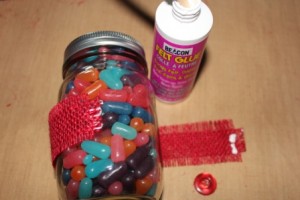
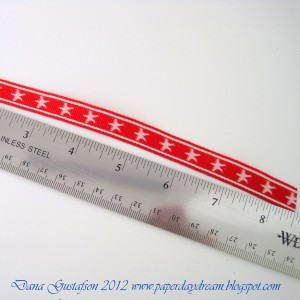
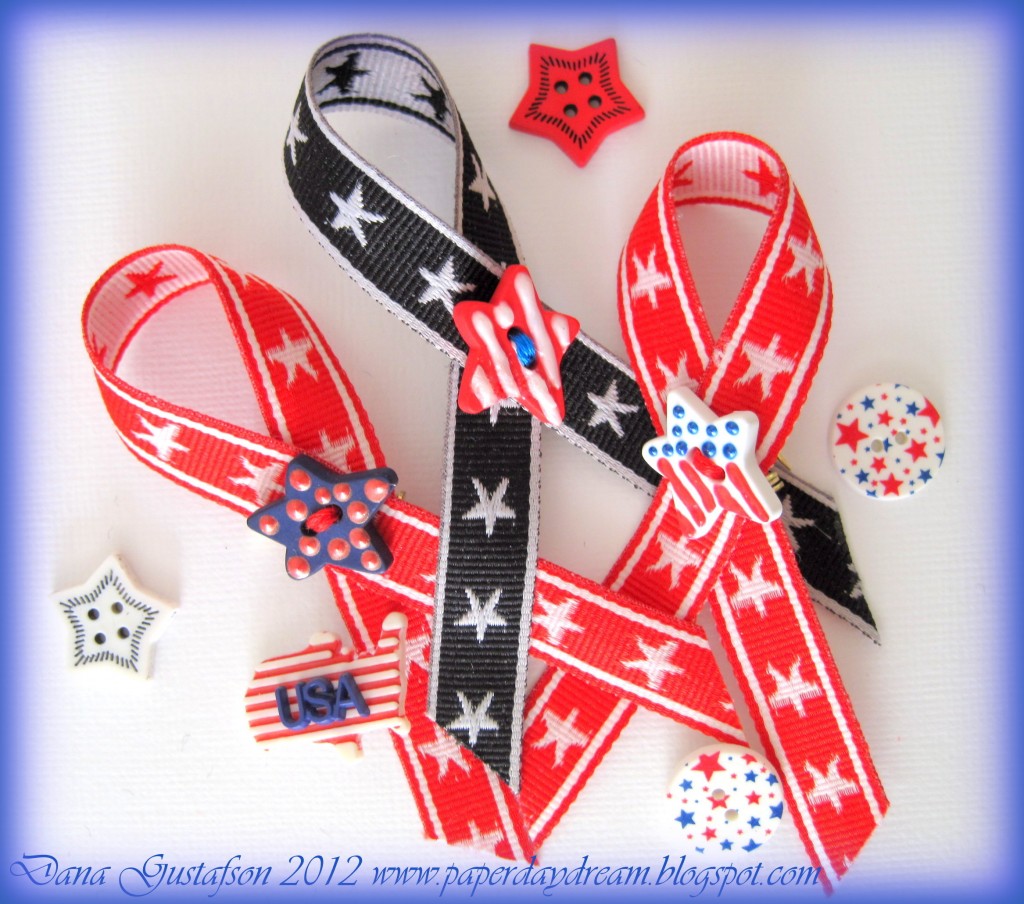
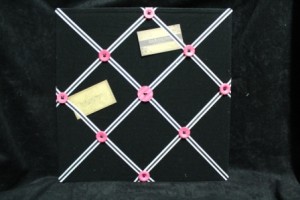
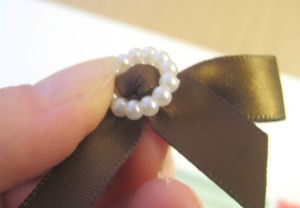
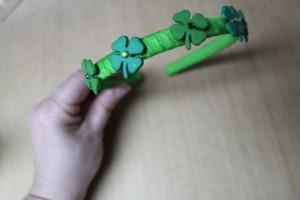
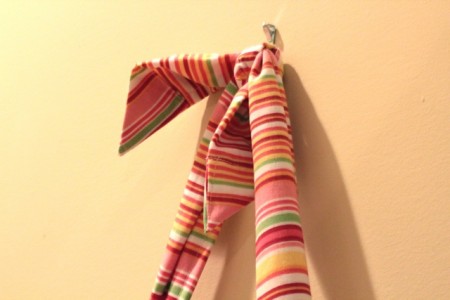
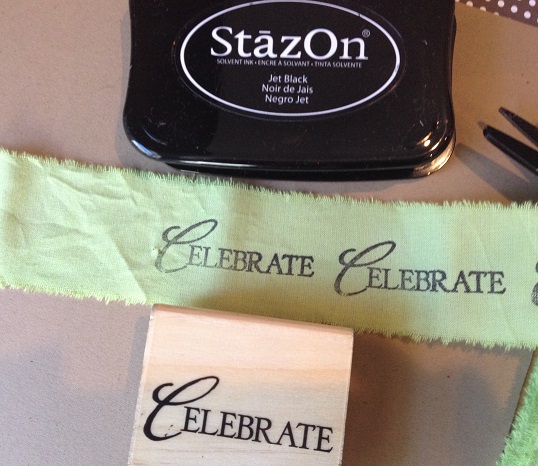
 I also included some hand dyed stamped ribbon in my Inspiration Gift Kits.
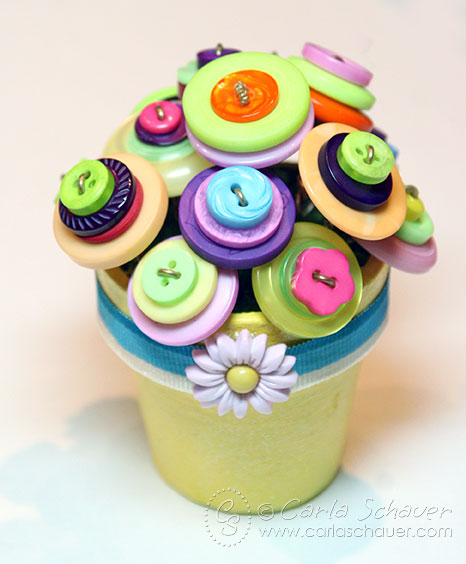
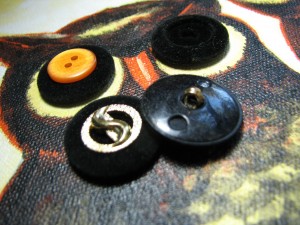
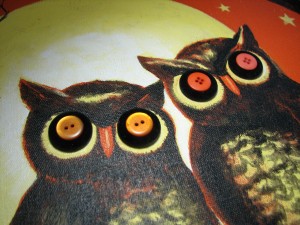
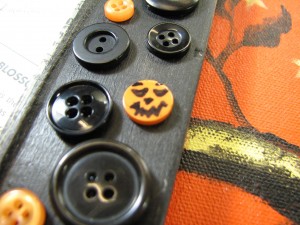
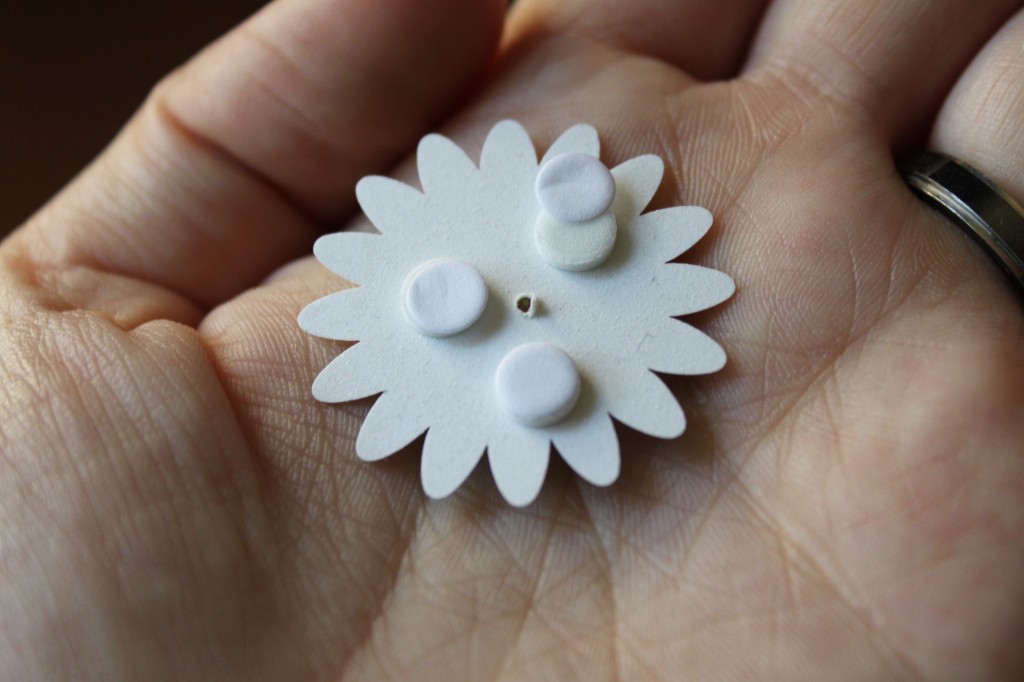
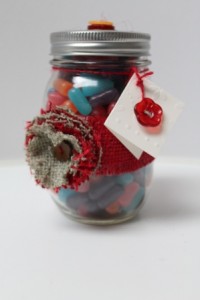
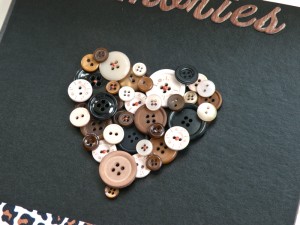
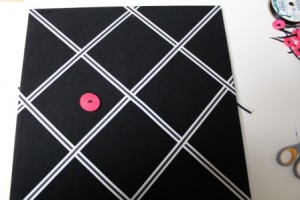
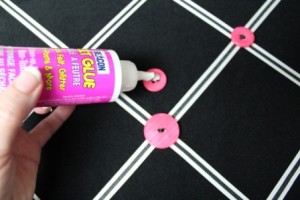
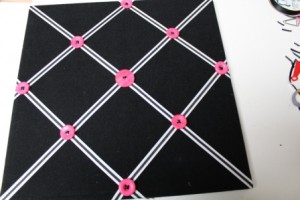
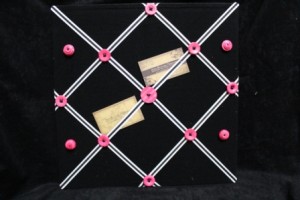
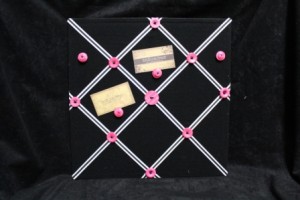
 Glue some buttons to the front of the box.
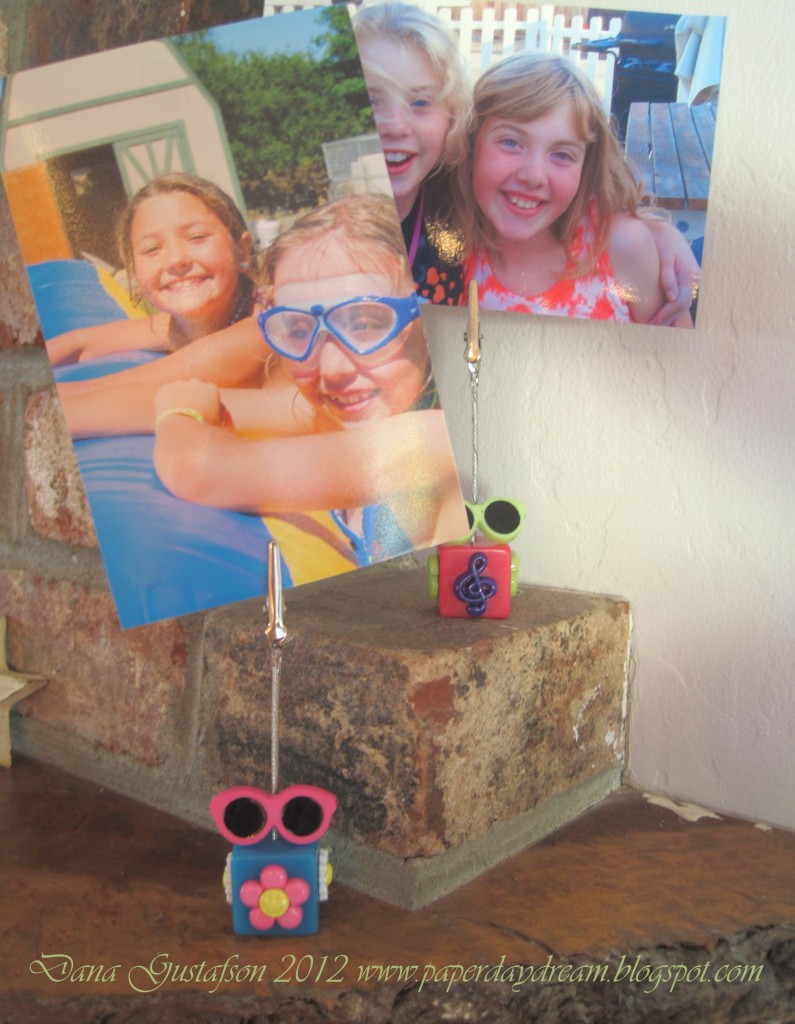
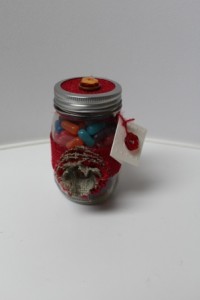
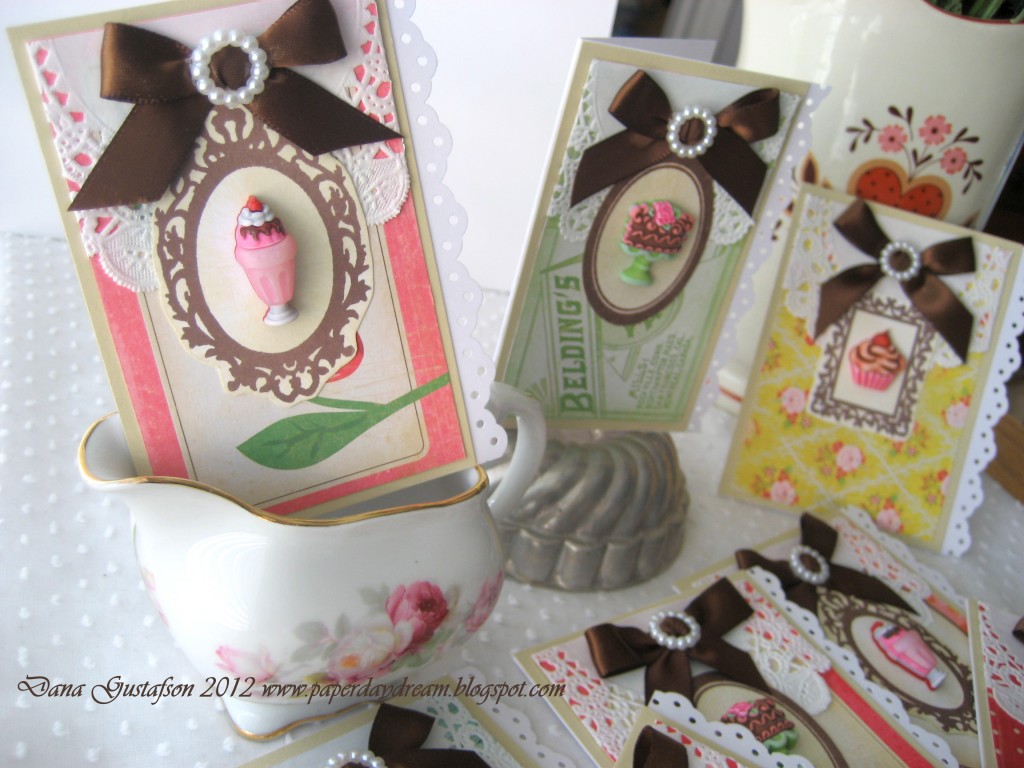
These Inspiration Kit Gifts are great gifts for teachers, hostesses, neighbors, gift exchanges, etc. Make several at once so they will be on hand if an unexpected guest drops by. Instead of art supplies, fill the boxes with homemade edible goodies.
Thanks for letting me share my Inspiration Kits with you.
Live Life Creatively,