
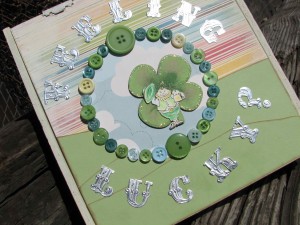
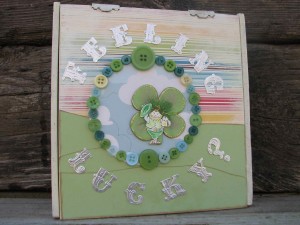
St. Patrick's Day button wall decor
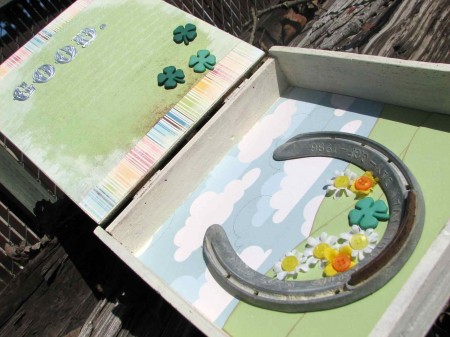
Hello, and happy thoughts of Spring, Shamrocks and Button Crafts!
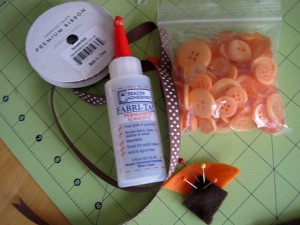
I have a well buttoned, St. Patty’s Day themed project, and some cool instructions for creating packing tape transfer to use with Button’s Galore & More, wonderful Start Up’s line. Get ready to do a jig, sip a pint and get crafty!
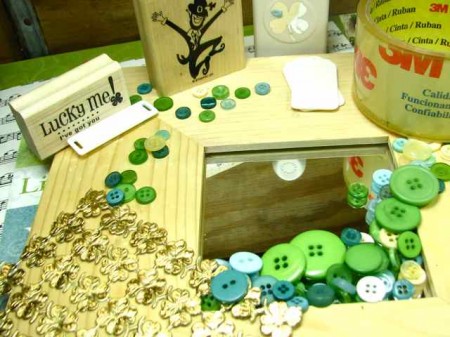
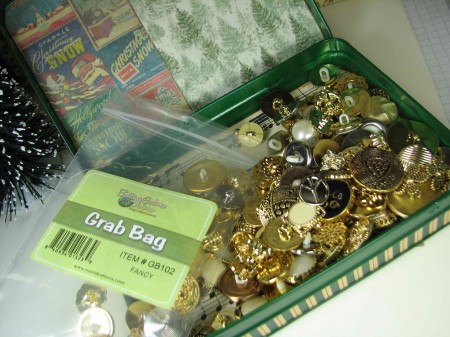
Armed with a fine, spring-like bounty of buttons, start up shapes, printed designer paper and good old packing tape, this simple wooden mirror can easily become the canvas for some festive button craft that will have your friends and family green with delight!
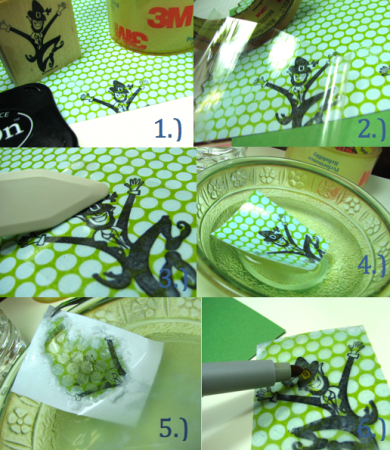
In order to complete a simple packing tape transfer, suitable for enticing even the shyest of Leprechauns, you will only need to follow these simple steps:
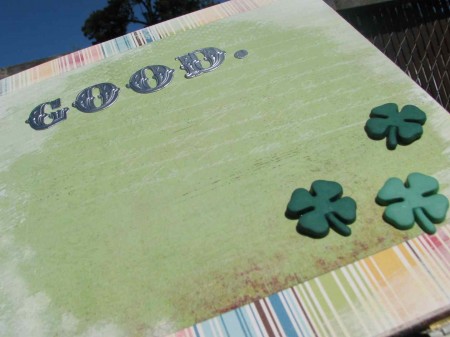
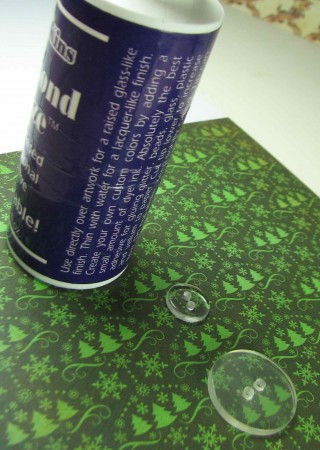
1.) Select some printed paper (ink jet prints will not work) with designs appealing to your project and tag, or in this case, designer paper plus stamped image.
2.) Cover desired image with packing tape.
3.) Burnish the image.
4.) Cut out the selection and soak in a bowl of warm water. Soak for several minutes, or until paper becomes soft.
5.) Gently roll off the paper, by rubbing with your fingers, exposing the tape with the image embedded in the transfer material.
6.) Let dry, and then add color, if desired, with a permanent marker.
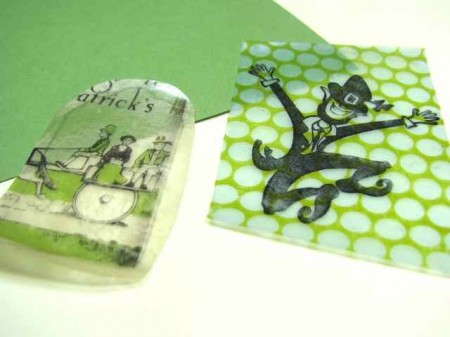
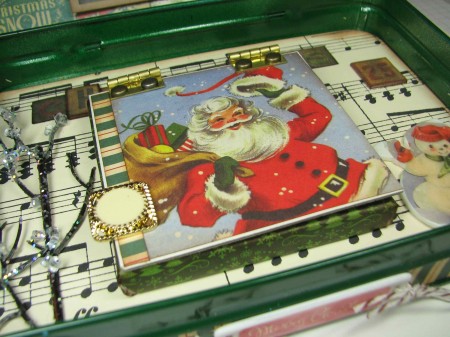
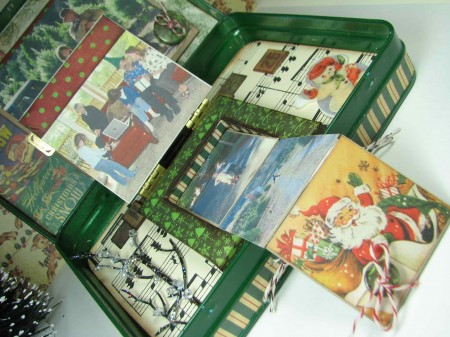
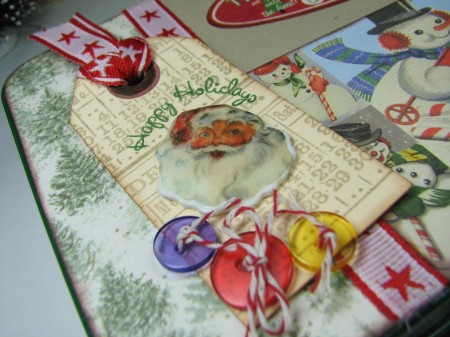
Here’s a shot comparing the printed paper, plus the Leprechaun that I stamped in solvent based ink and let dry, prior to adding the tape for the transfer. To the left is a transfer I made using just printed designer paper. I just love the magic of the transparency created by this simple technique. Below is a photo from a Christmas project I made, here, where I used images from designer paper to match up with some of our wonderful Christmas designs in the Start Ups line:

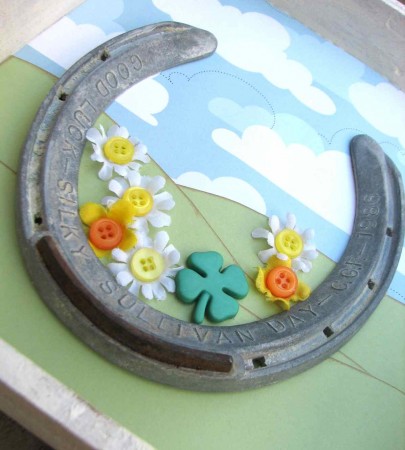
There’s SO much possibility in these fabulous shaped platforms for custom created embellishments. I could have a truck load and never run out of ways to use them!

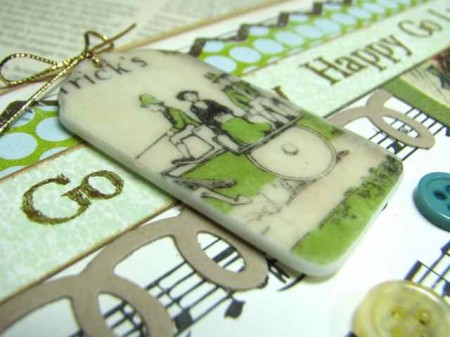
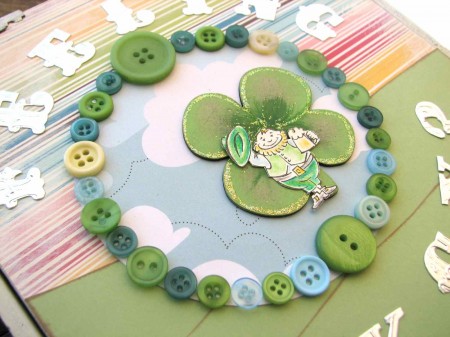
Meanwhile, back at the jumpin’ shamrock, here’s my stamped, transferred, glued and completed Start Up piece, in it’s sparkly home – kinda makes ME want to do a jig…
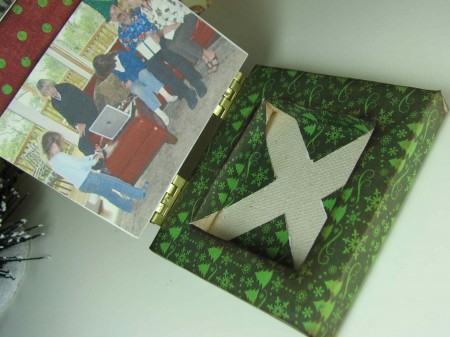
Also, here’s a shot of the way-simple, fun and darling Start Up tag I made directly from a scrap of paper! I sanded the edges a bit, after it was glued with clear adhesive, to give this gem a true vintage treasure feel. This is NO blarney – Start Ups are bushels of fun!
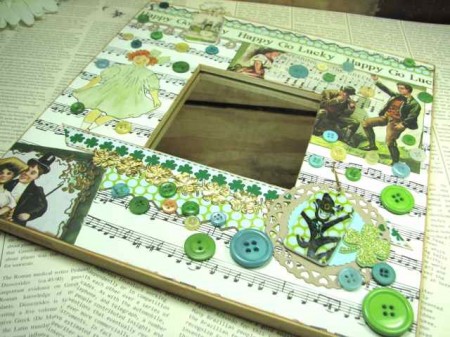
I know I’ll be grinnin’ mighty wide when I look upon this button-embellished frame – I’ll certainly be feelin’ the luck of the Irish! But don’t you be green with envy – you can make one TOO! Here’s hopin’ that you do, and that the wind is always at your back! Happy buttoning!


