
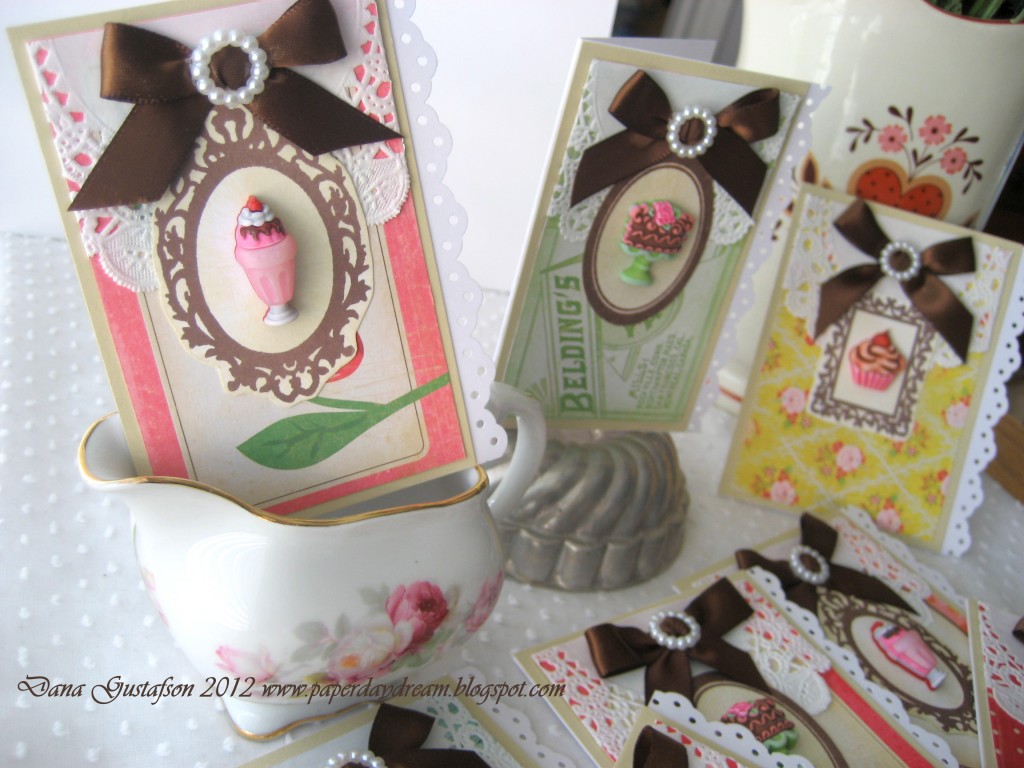
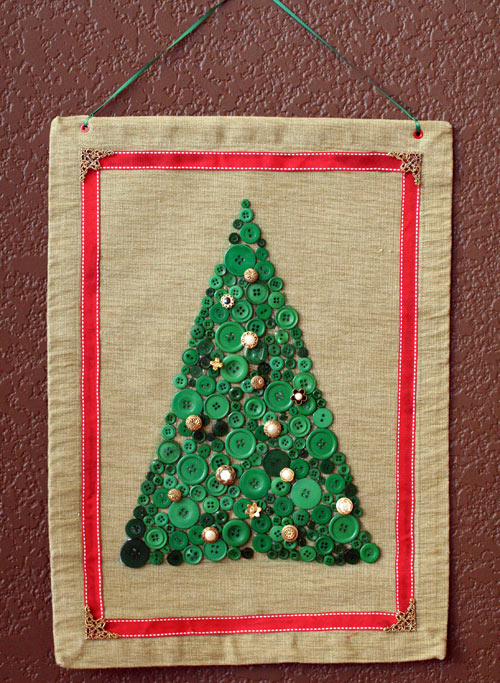
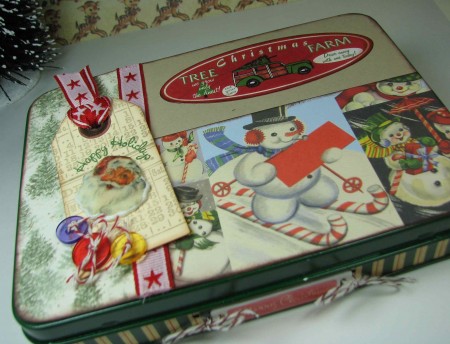
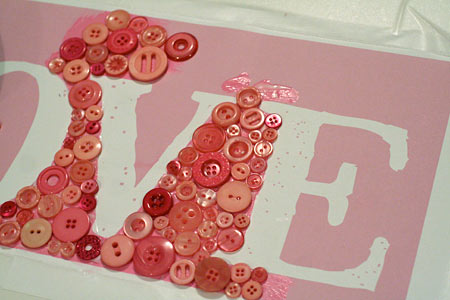
It has long been established that nobody likes a skinny Santa, so make him regal and utterly unforgettable with some festive button embellishing!
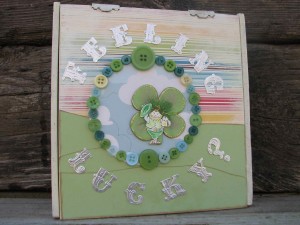
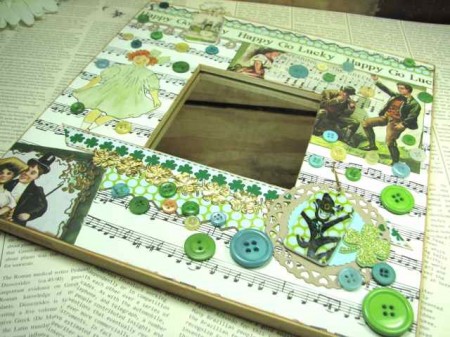
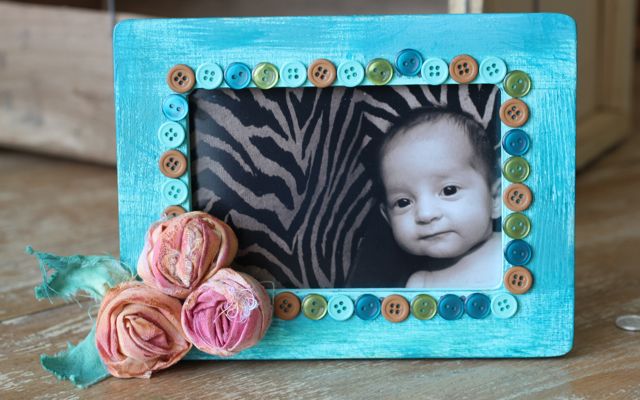
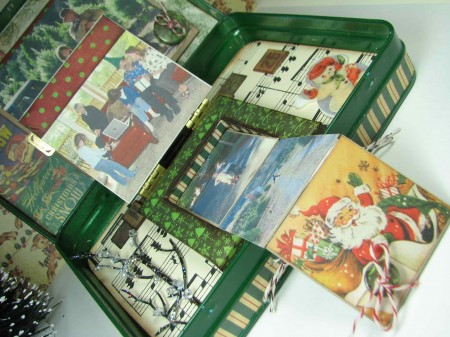
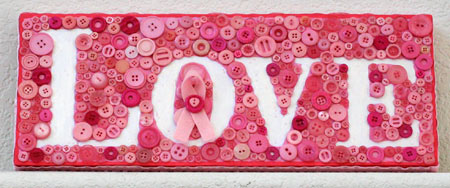
Suitable for framing – I’m so excited to share with you a super craftilicious project, beckoning for buttons and a place of importance in your seasonal decor!

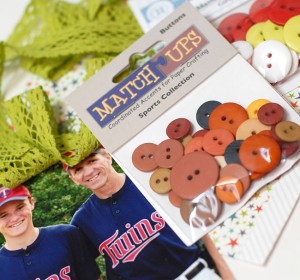
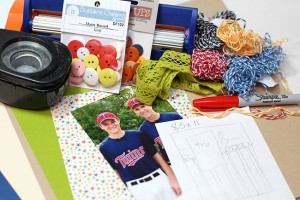
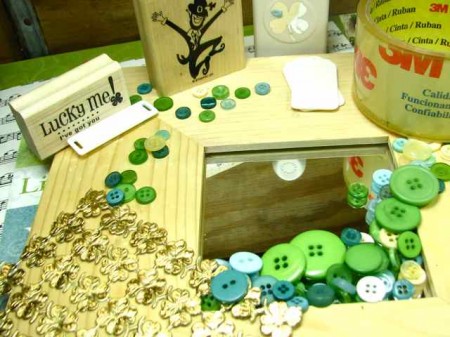
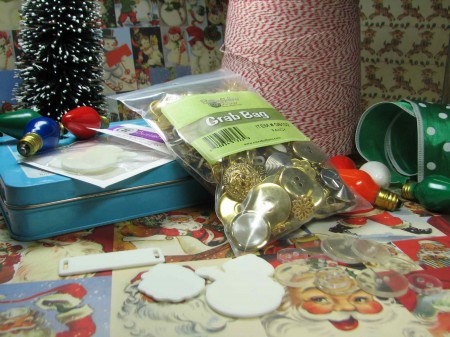
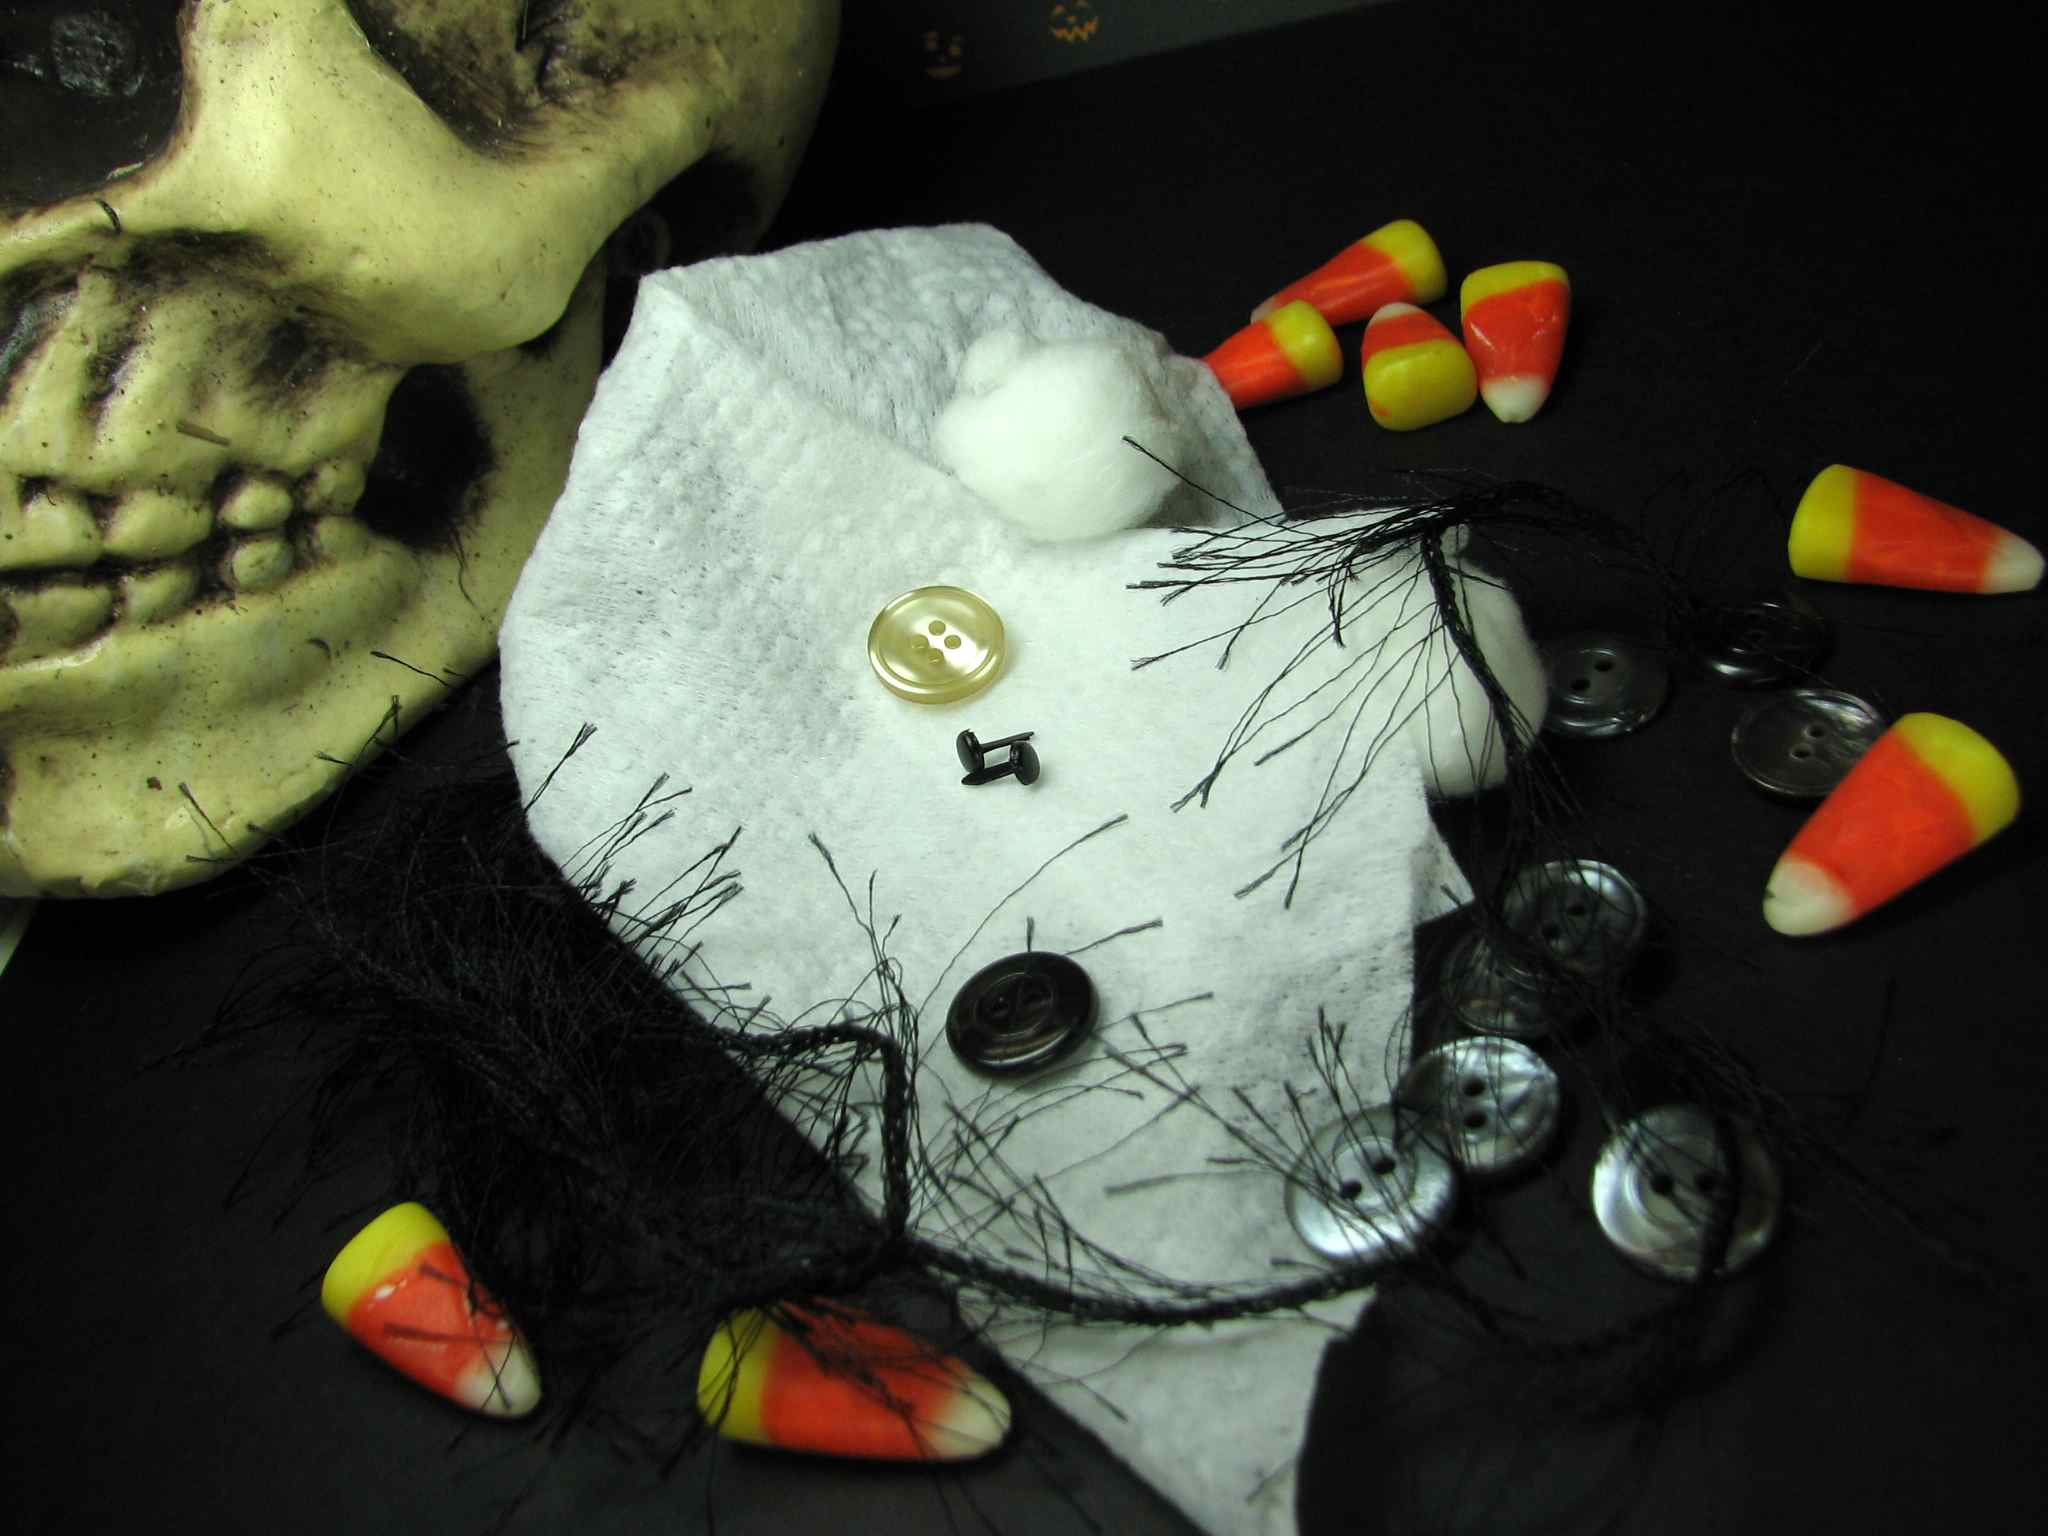
Armed with some of my favorite Buttons Galore & More products, and a smattering of extras, then this project is READY for fun…

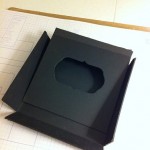
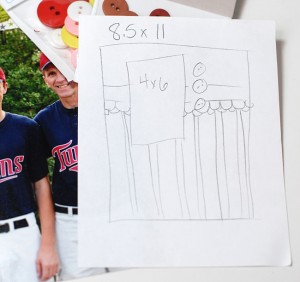
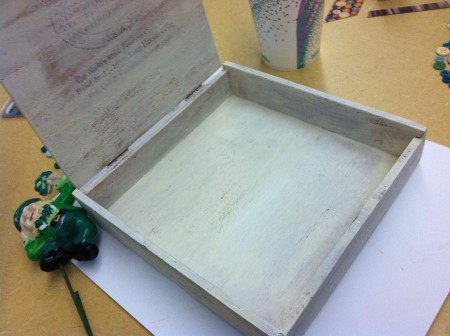
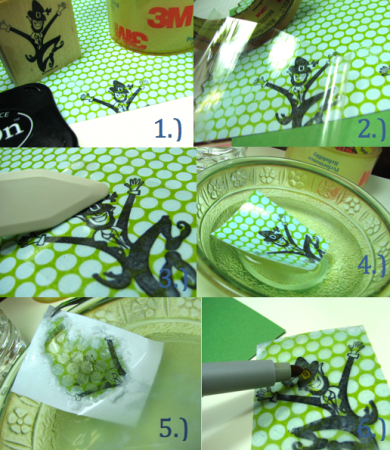
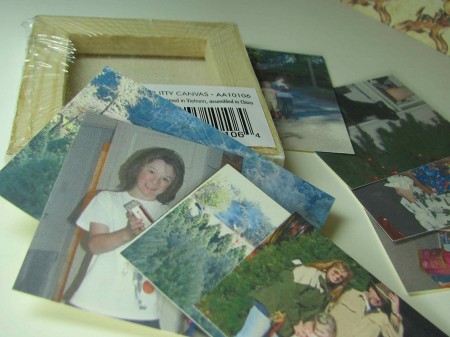
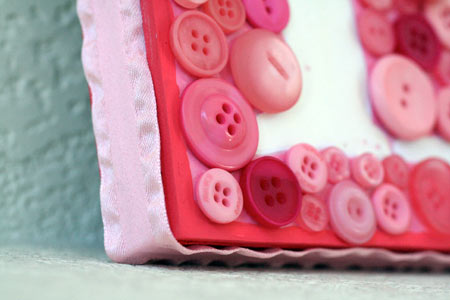
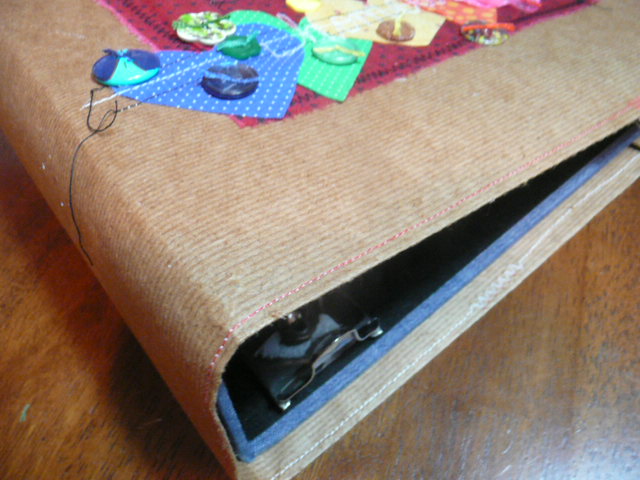
In case you’ve never par taken in the mini canvas WRAP – {OMG! So FUN!} Here’s a quick breakdown of how to do, exactly that:
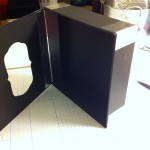
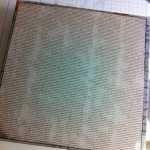
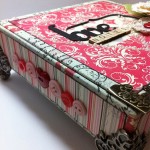
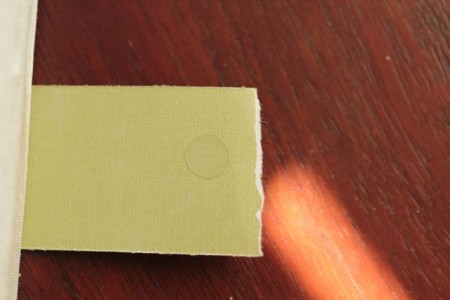
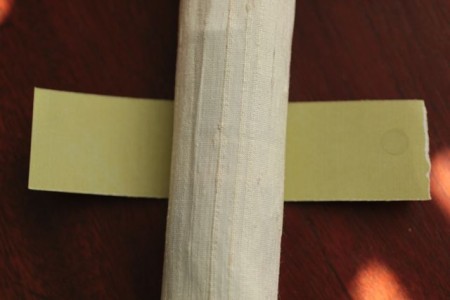
1.) Prepare to wrap a mini canvas by facing the “opening” or backside of the canvas, to the blank, or backside, of desired decorative paper.
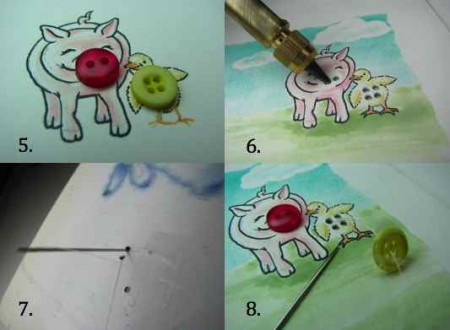
2.) Score fold lines around the edge of canvas and cut flaps, so that the ends can be glued onto the “traditional” front surface of the canvas.
3.) Glue flaps down so that paper fits snug and clean around the edges. (The desired printed side should be exposed)
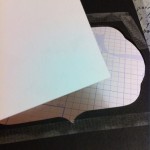
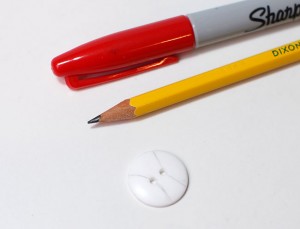
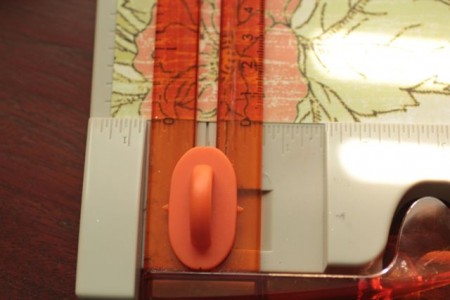
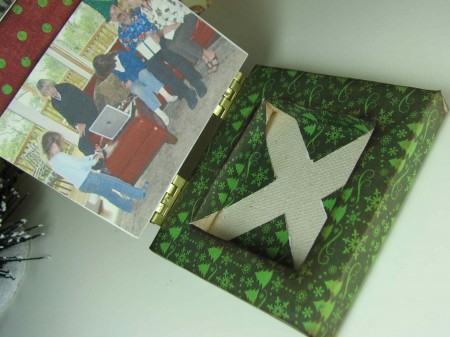
4.) Using a ruler guide, make a small “x” opening across the solid paper, exposing the recession from the original back of canvas.
5.) Crease and work edges so that paper will wrap snugly. Glue flaps to exposed wood and canvas.
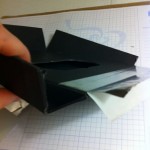
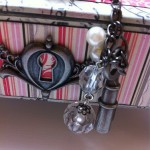
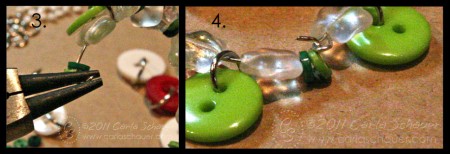
6.) Using two sewing pins at opposing points, push from the inside of opening, so that the pin tip comes through at the two opposing corners.
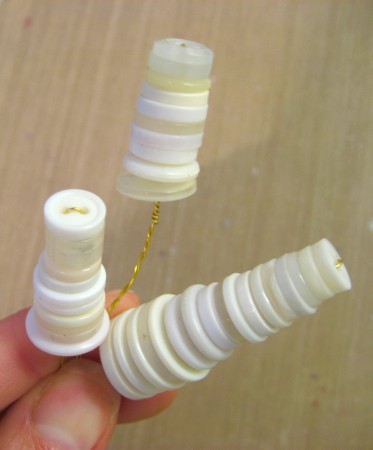
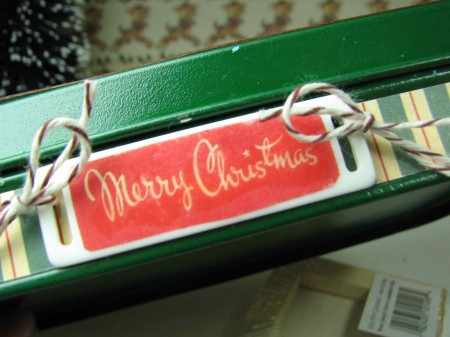
7.) Cut 1.5′ length of embellishing wire and thread through, following the pin holes, from the inside of canvas “box”, out. This will be the spine of the ornament.
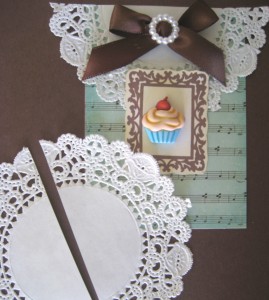
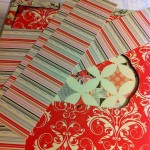
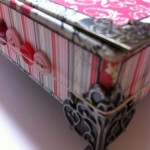
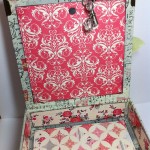
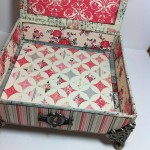
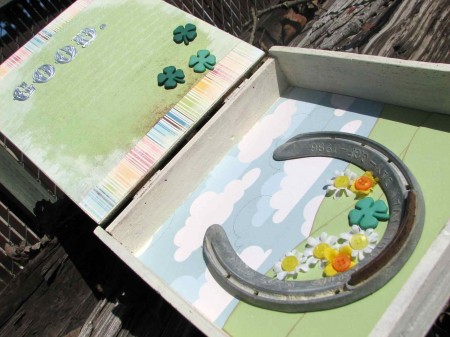
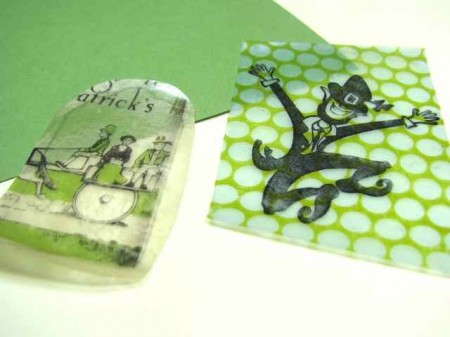
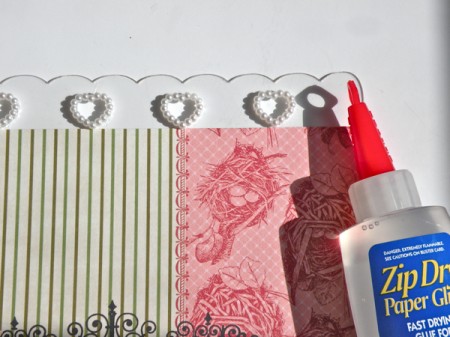
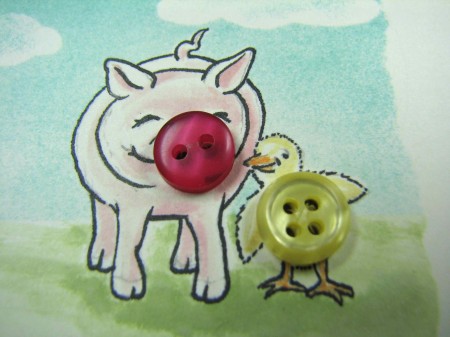
8.) Cut a small square of coordinating paper to fit inside opening and glue. Finish the inside lip of the box with decorative tape or paper. Fill with snowflakes, etc.
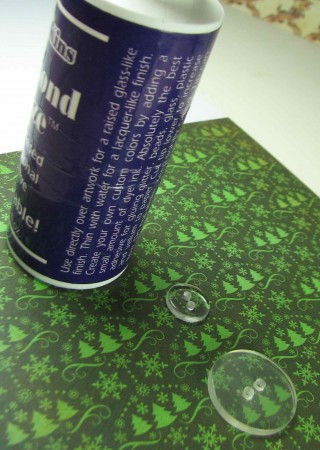
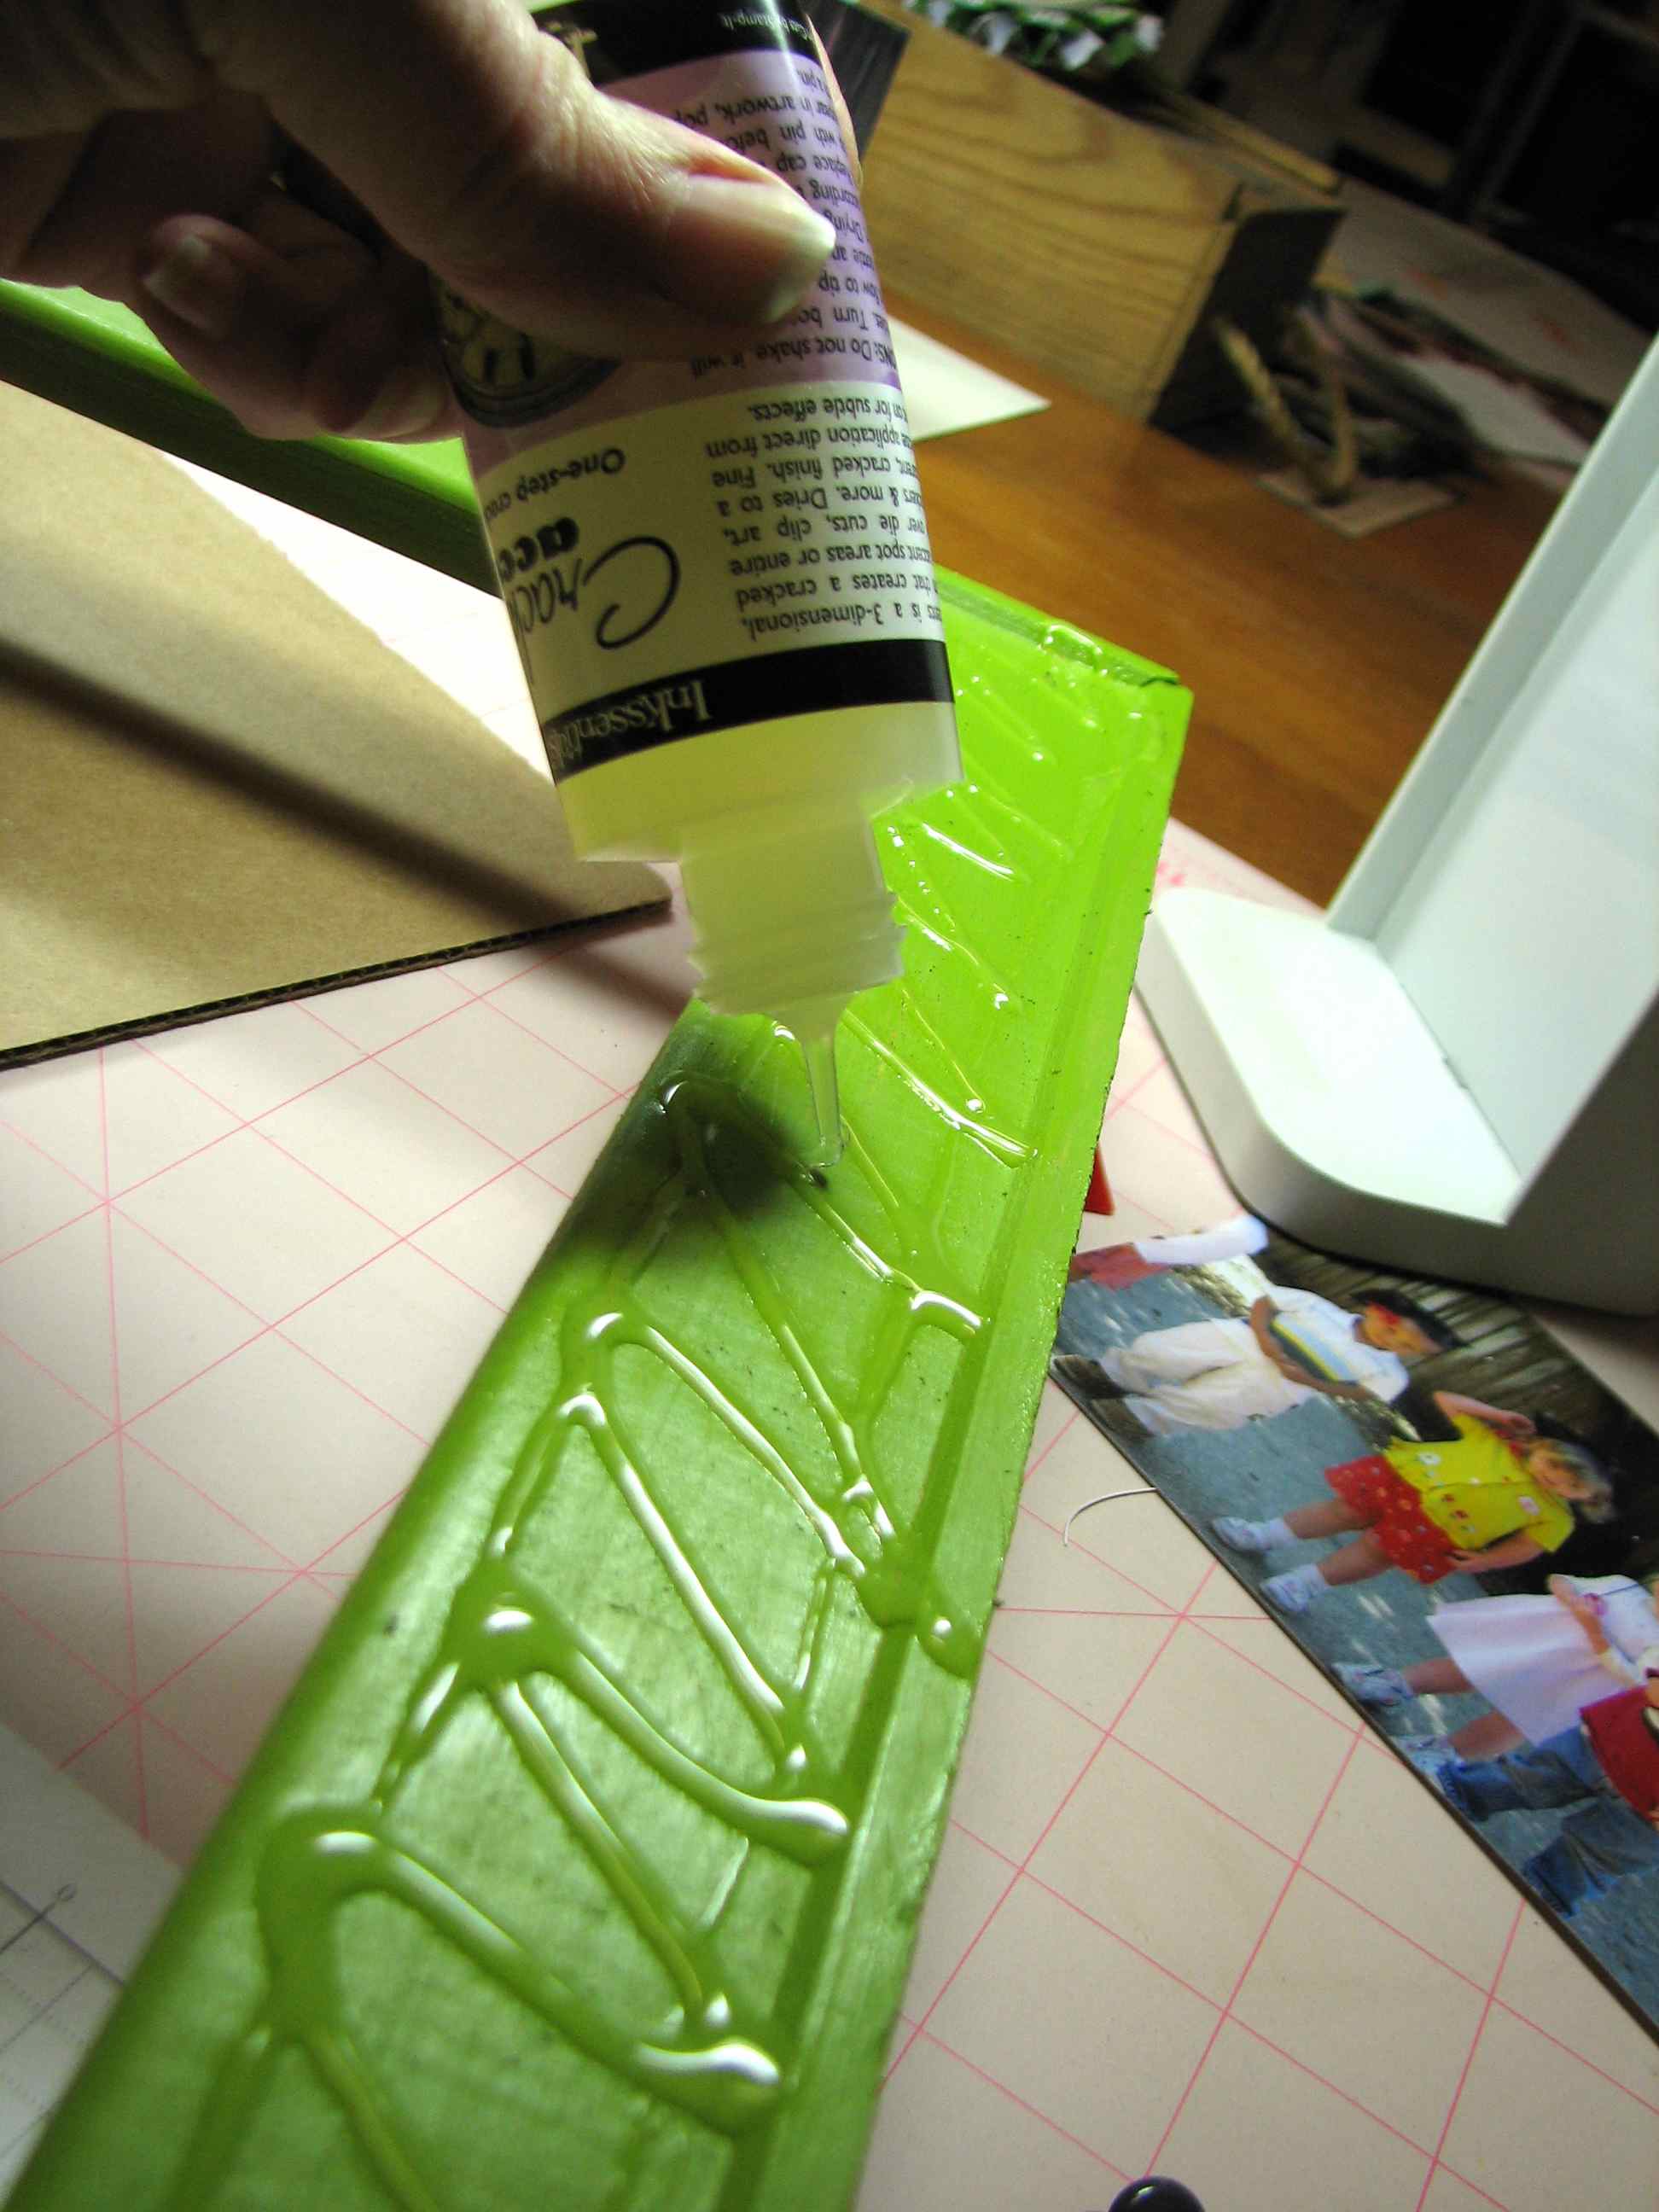
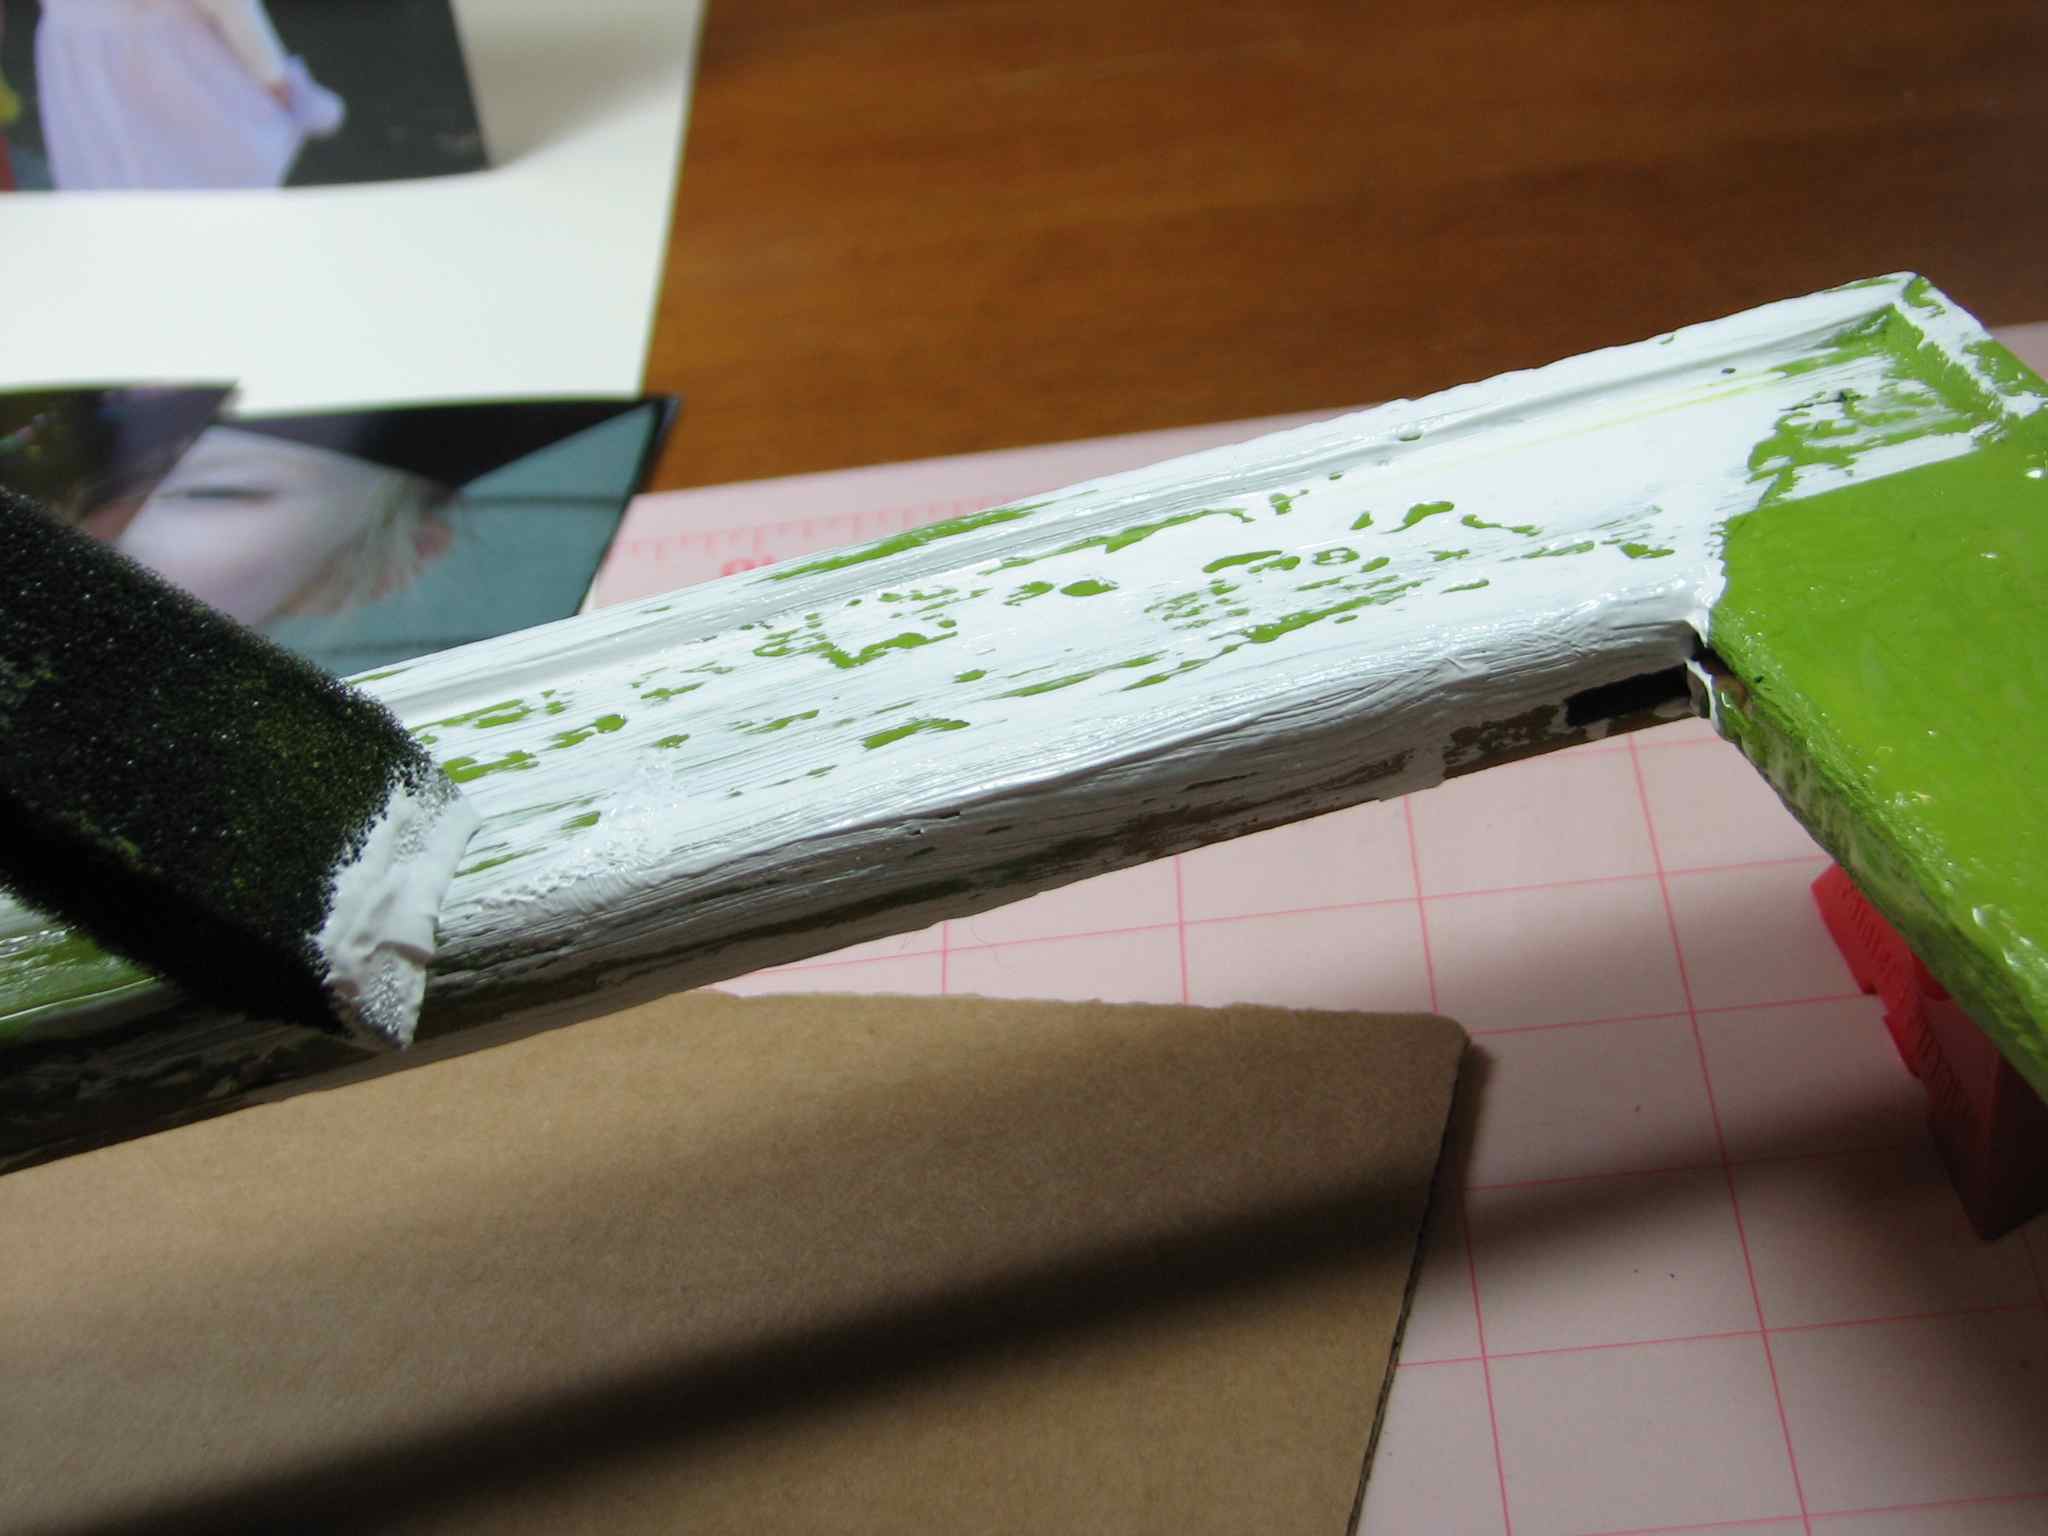
9.) Cut a matching acrylic square to fit on top of the entire front of the ornament. Using clear glue, adhere. Use clamps, if desired, to make a secure seal.

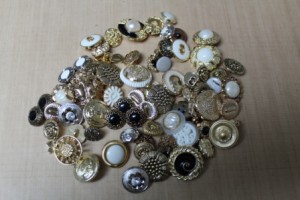
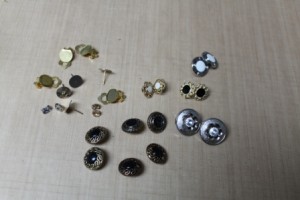
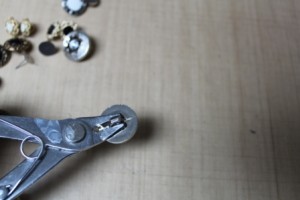
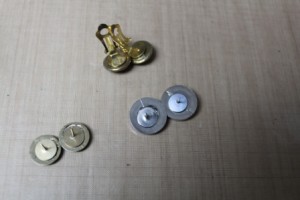
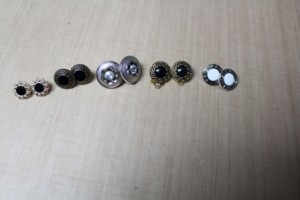
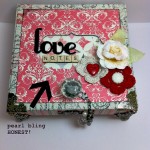
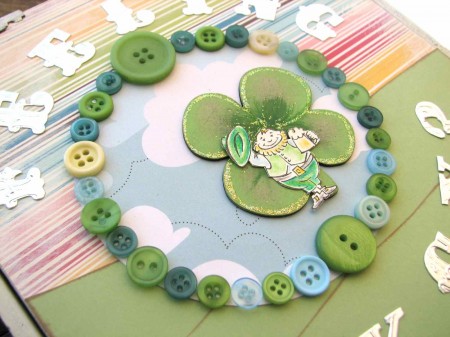
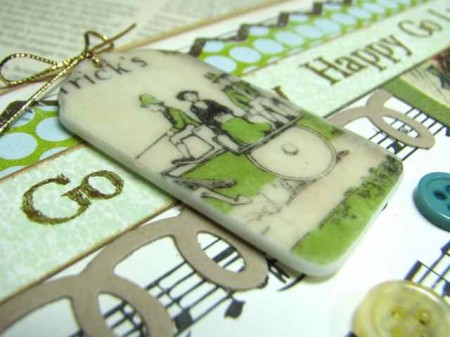
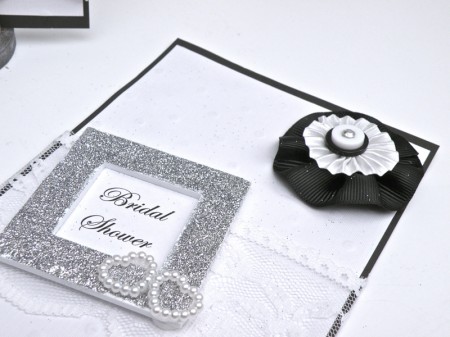
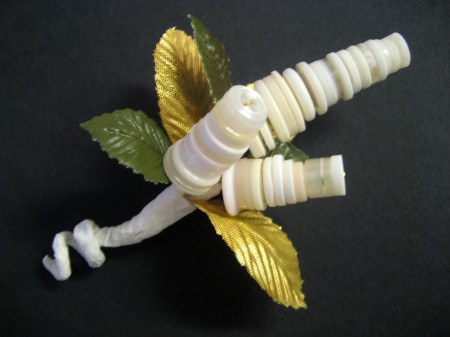
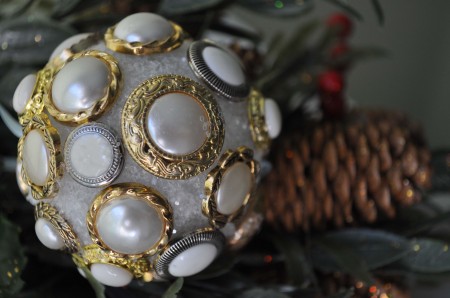
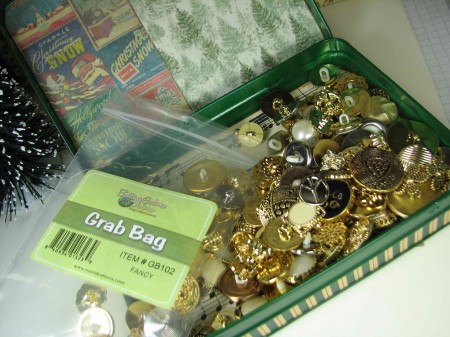
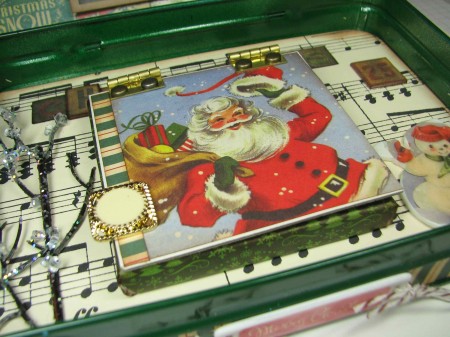
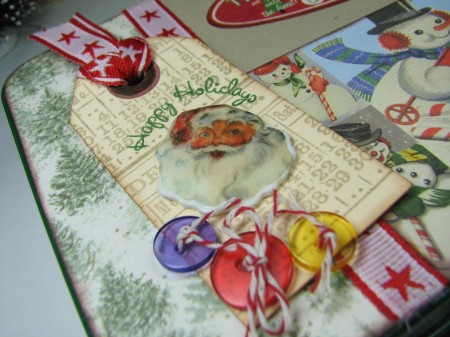
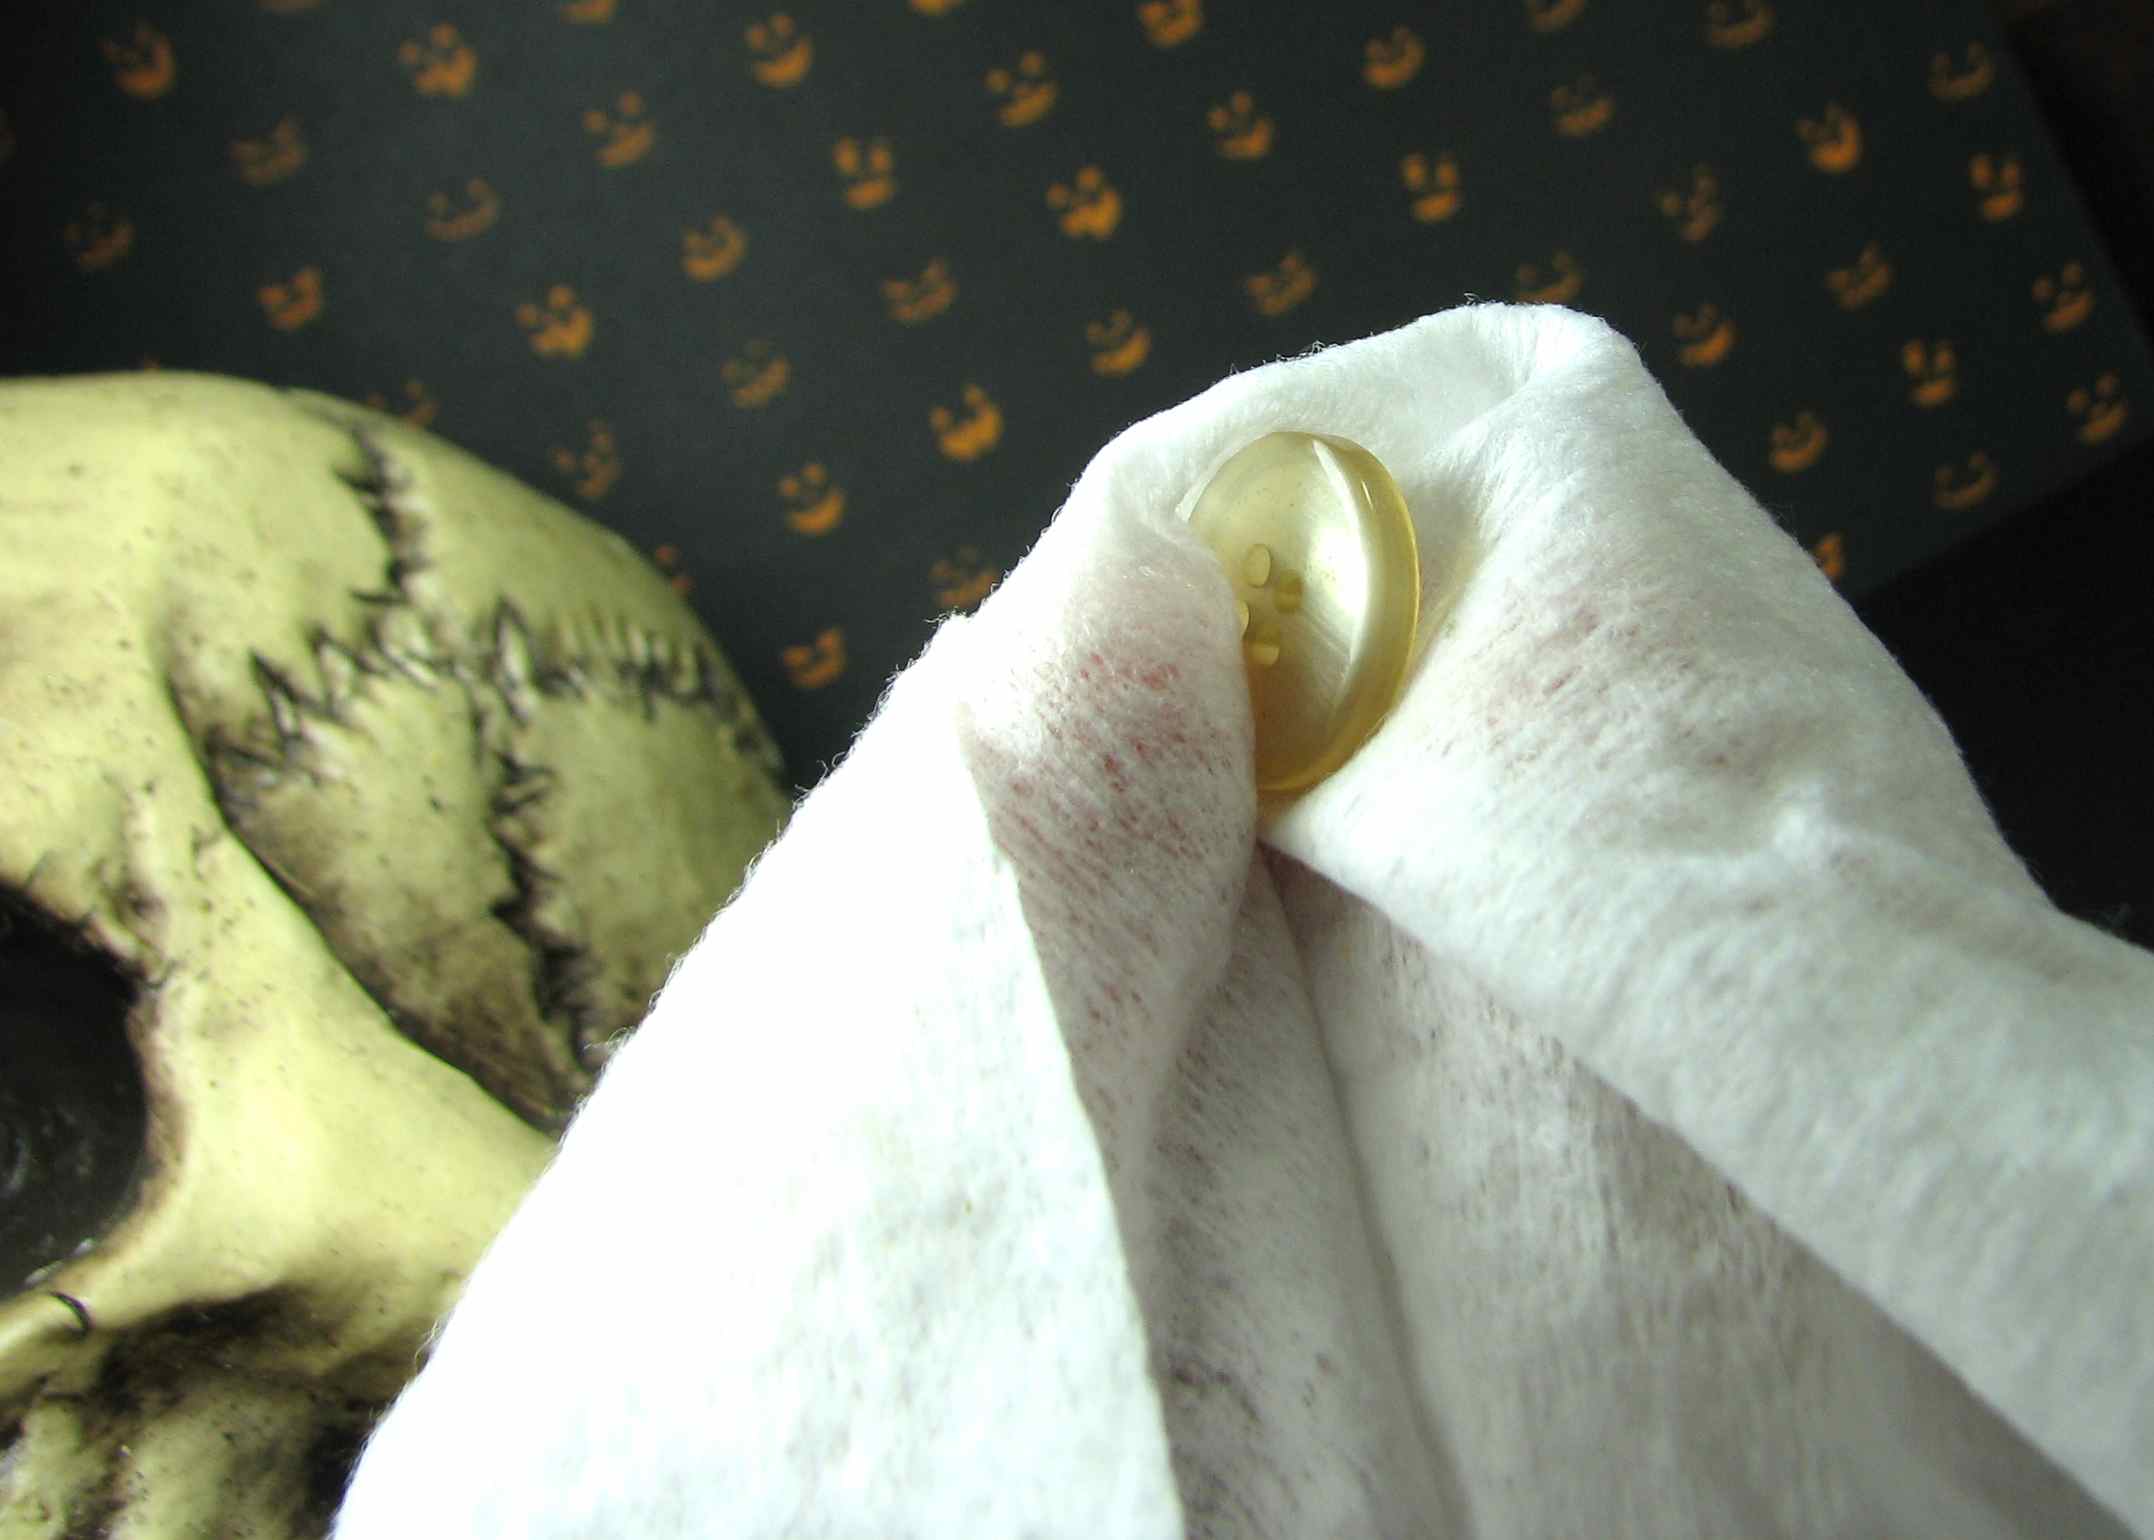
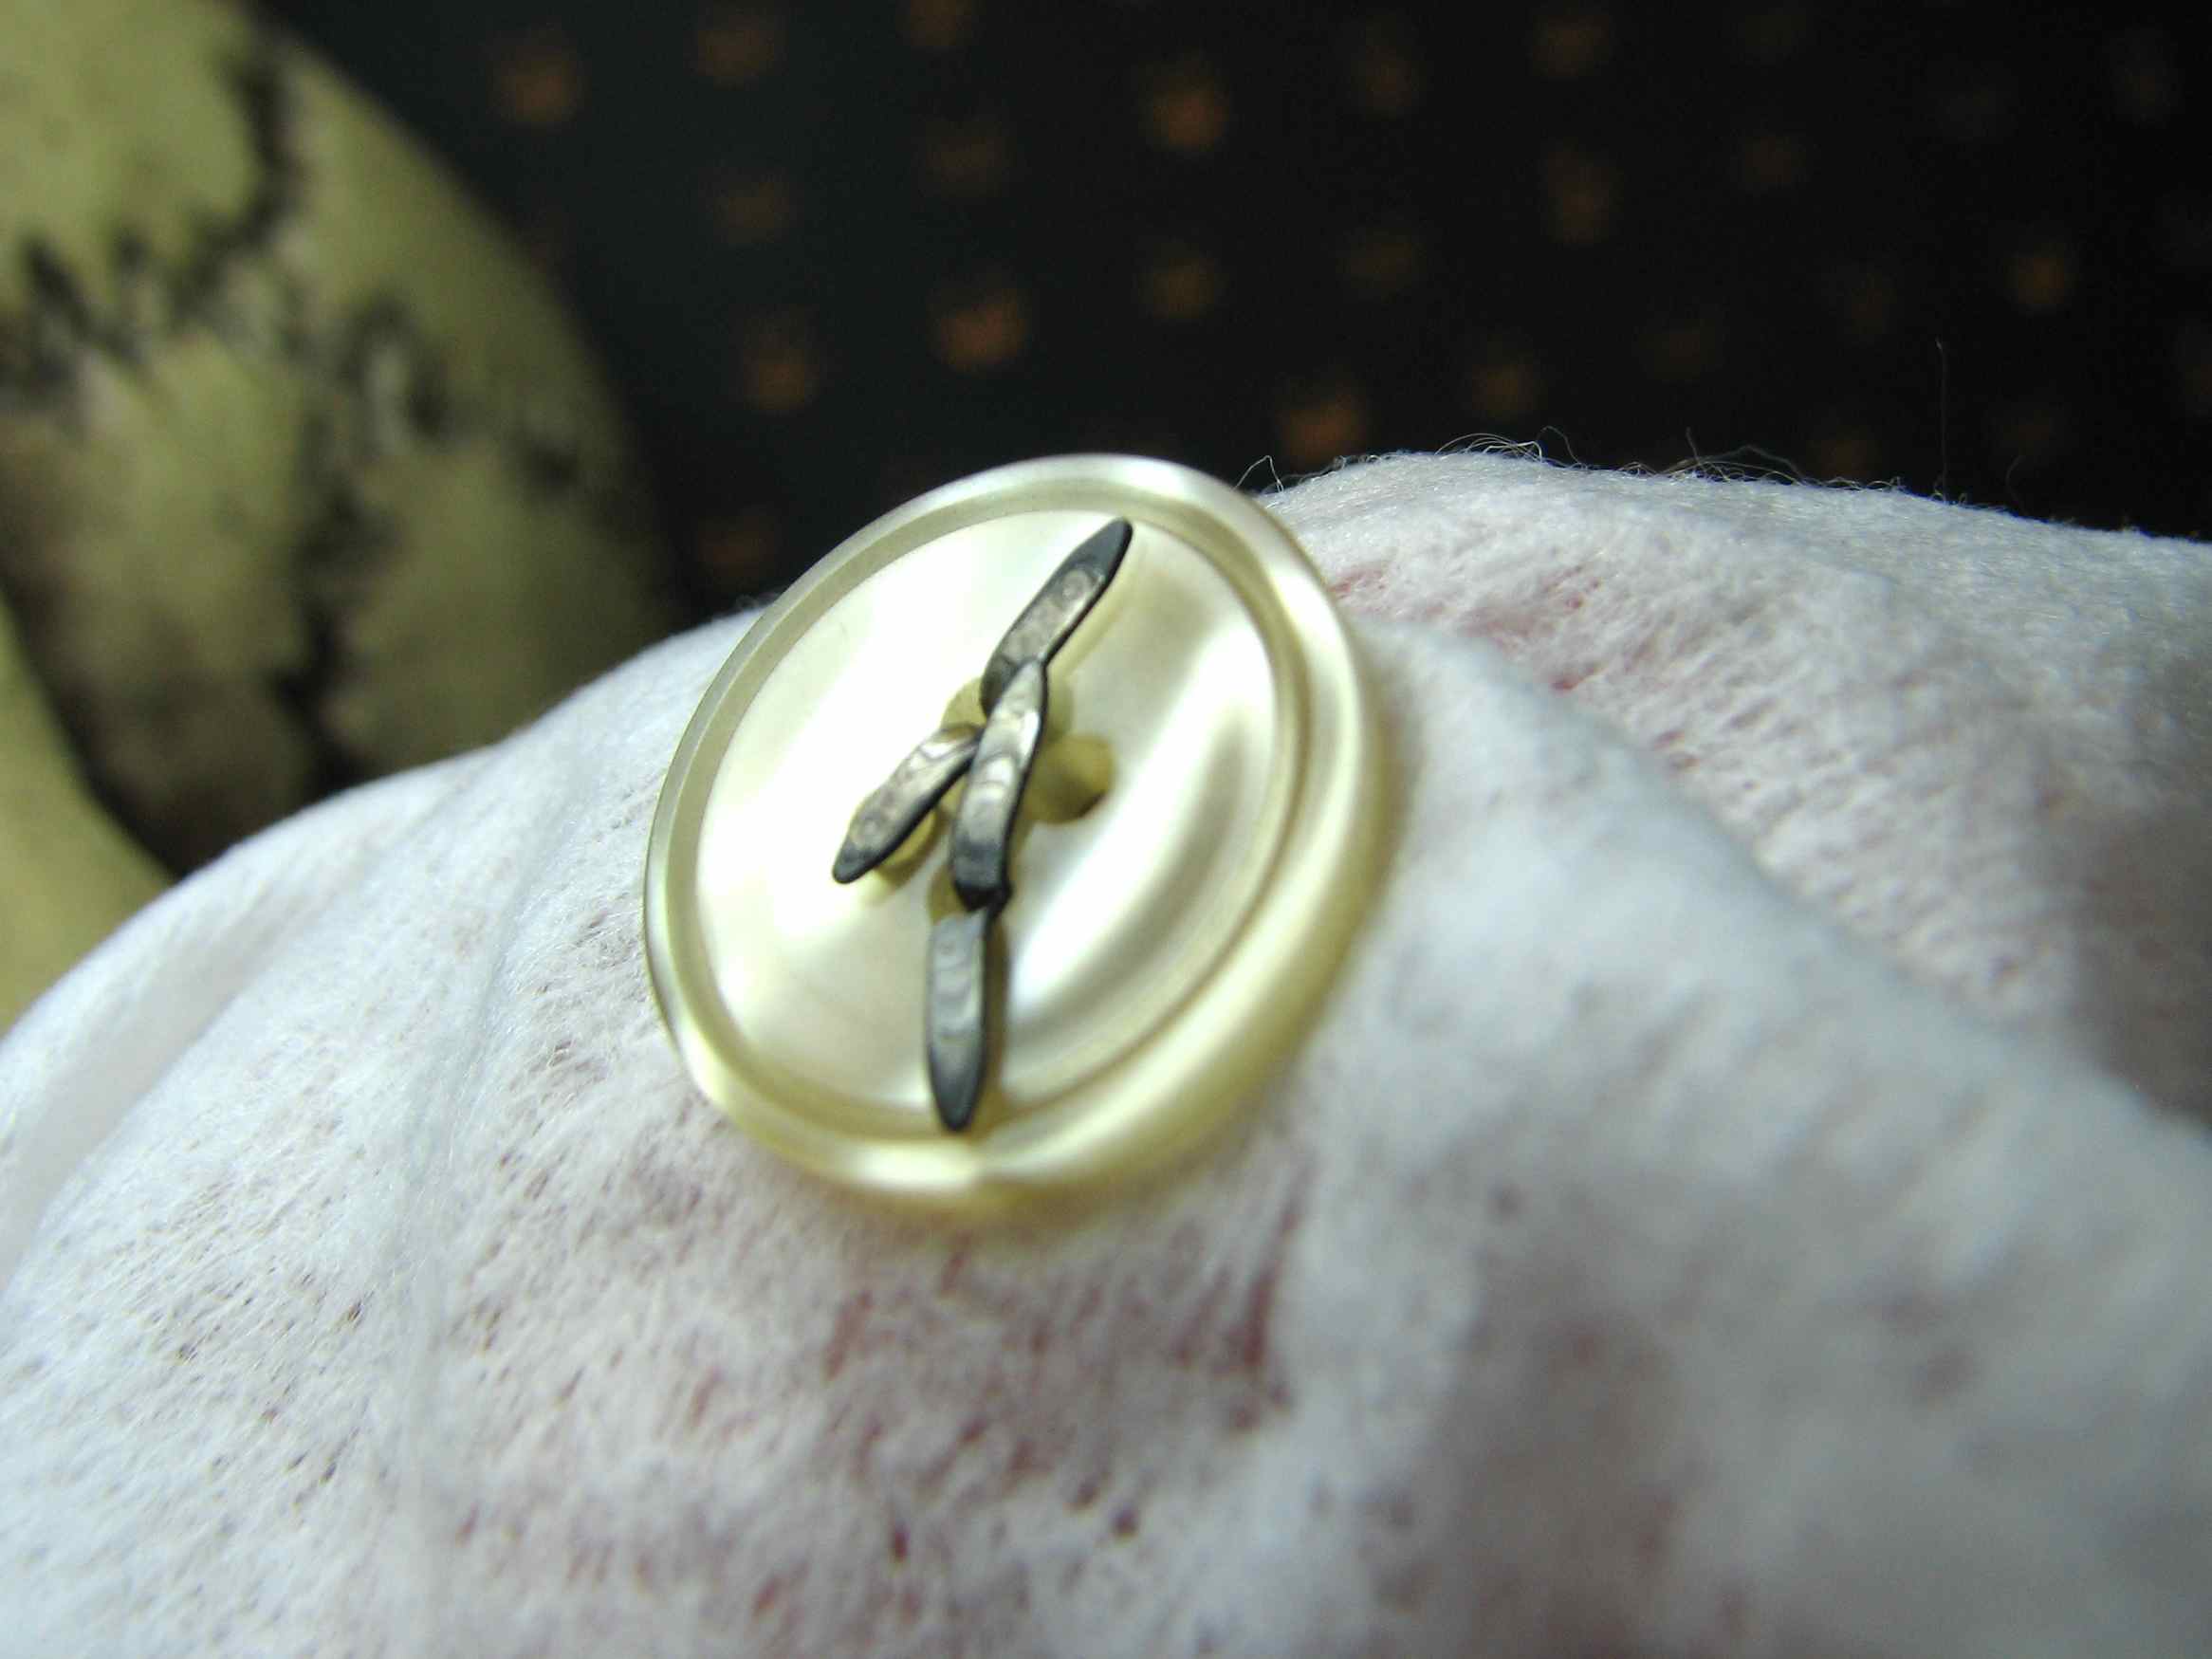
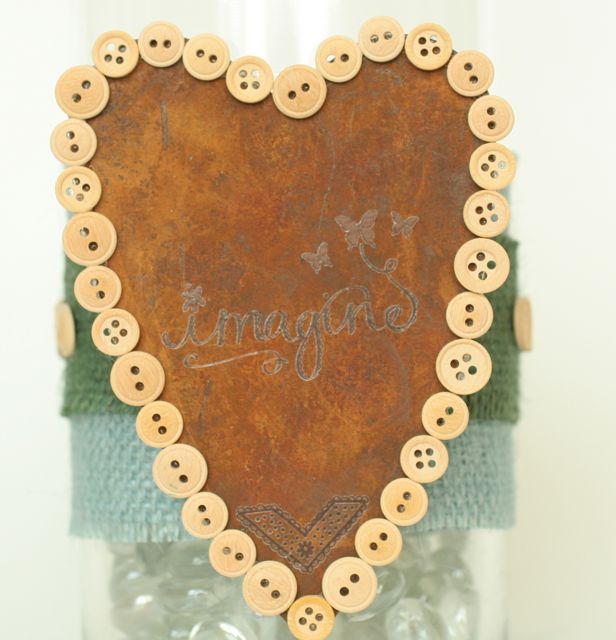
Glue Santa image to the top of the acrylic and embellish edges with buttons, shanks removed, from Buttons Galore & More, Gold and Silver Grab Bag.

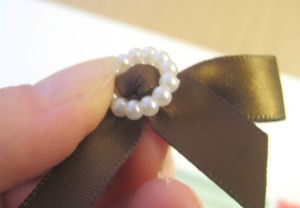
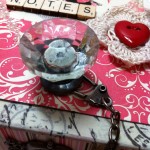
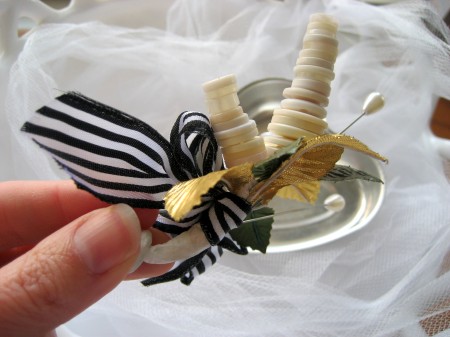
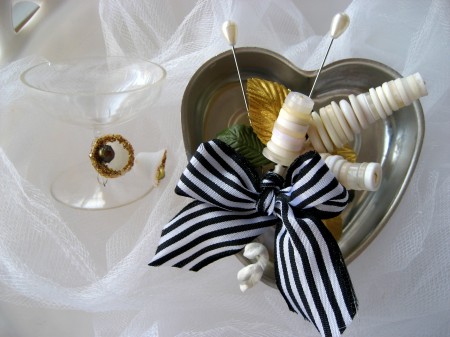
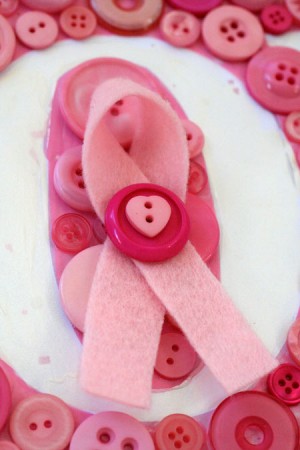
Create a ribbon flower to embellish ornament:
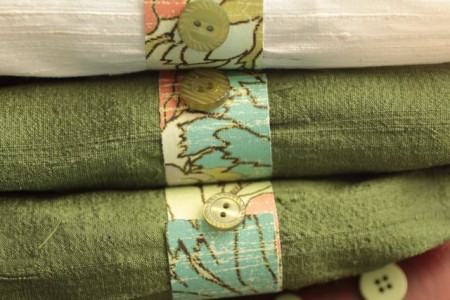
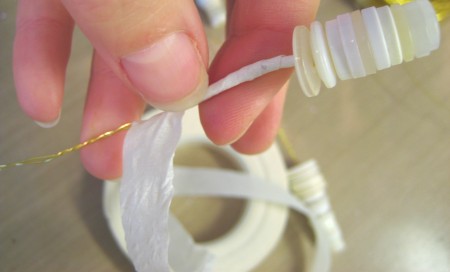
1.) Cut a length of red and white gingham ribbon, sew the ends together to create a cuff.
2.) Sew a running stitch around one end of the cuff. Tie off and cut excess.
3.) Tighten ribbon to create bloom. Tie not and cut excess.
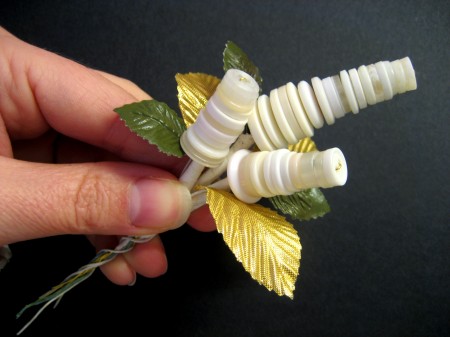
4.) Embellish with transparent button and bakers twine.
Enjoy! {But WAIT – there’s more!}

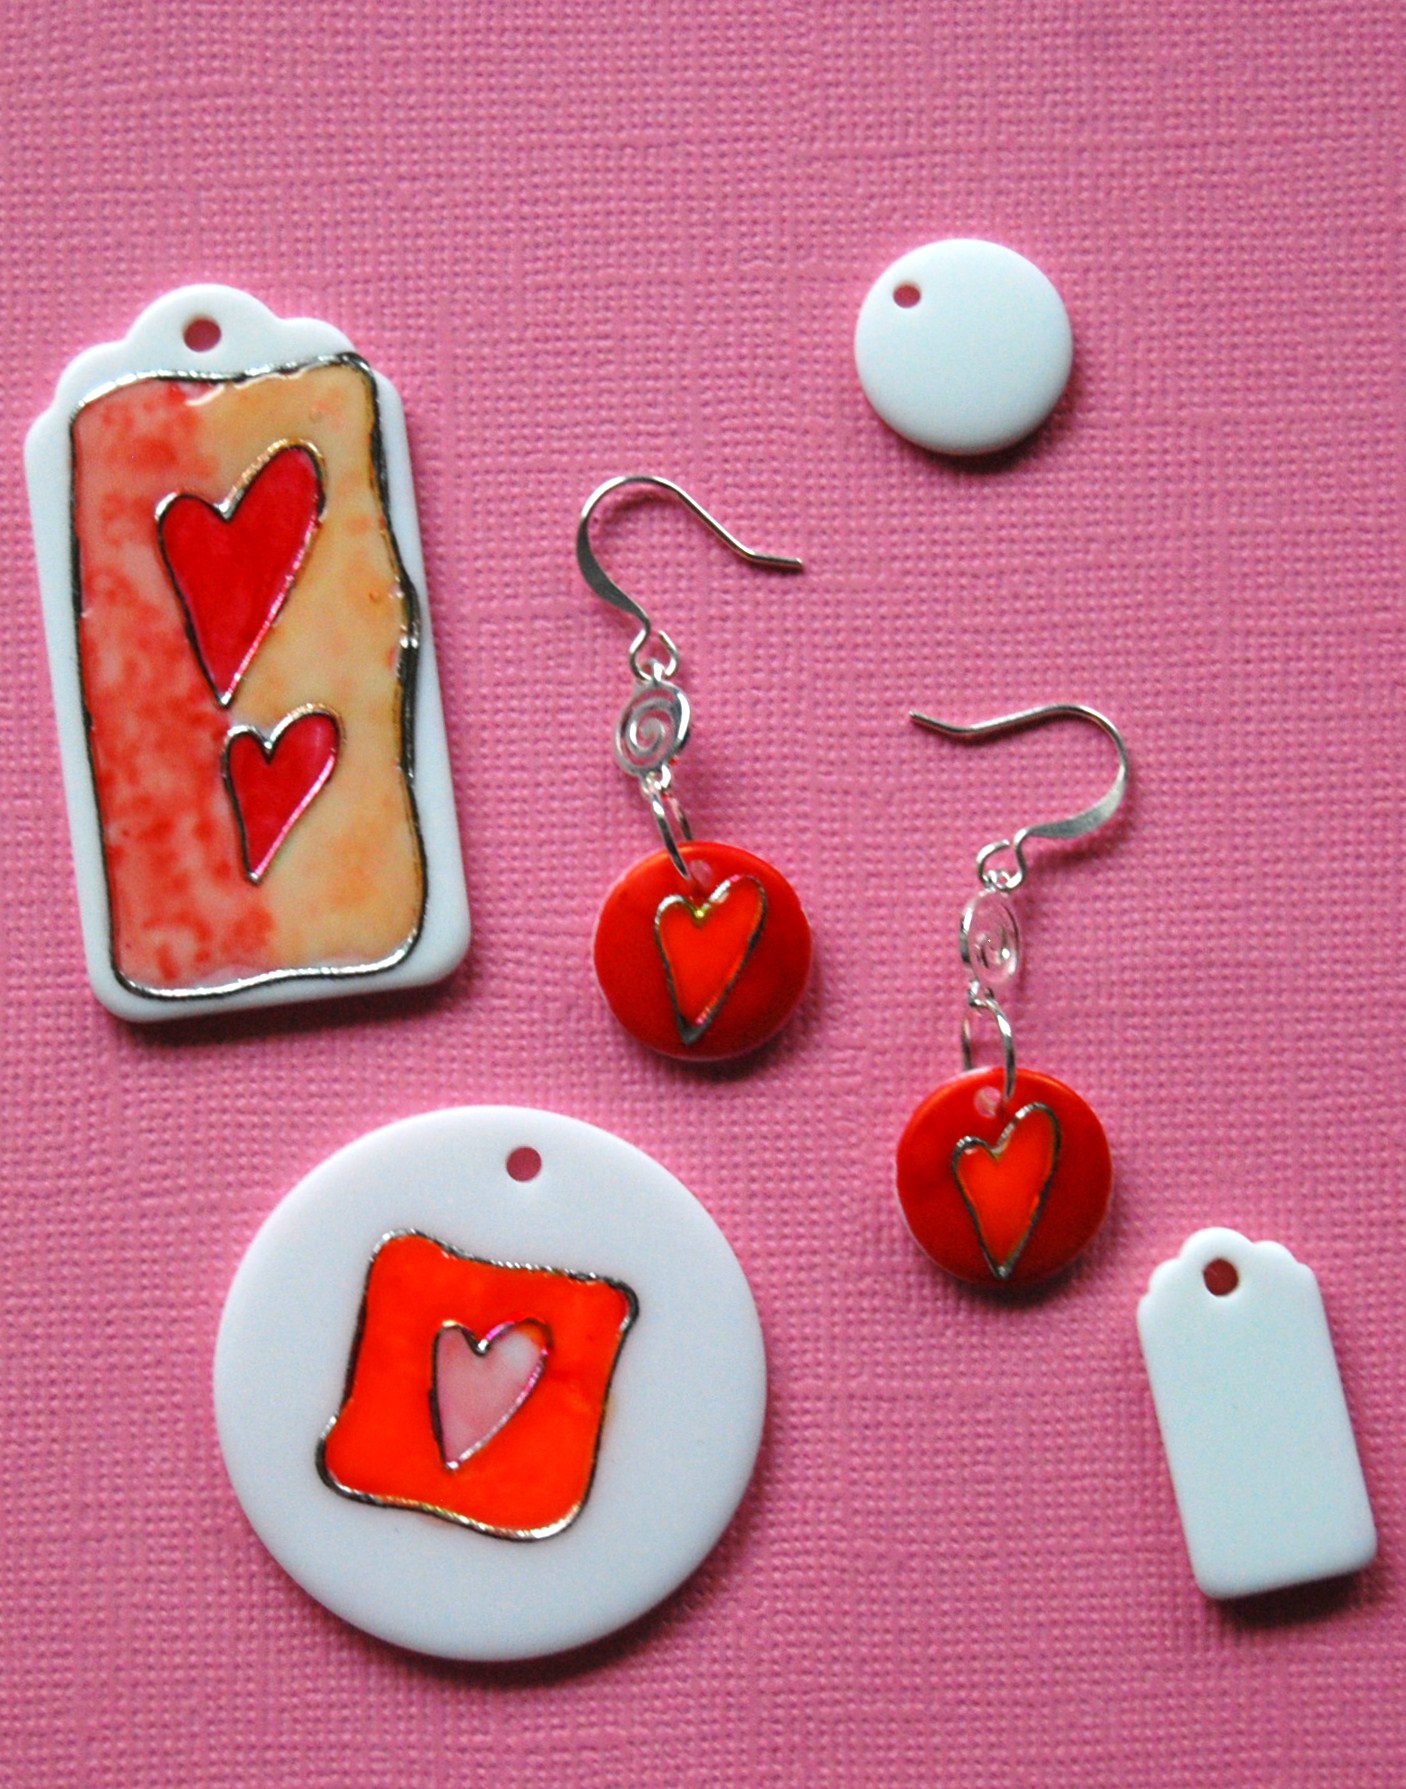
1.) Make a pretty angel “dangly” for ornament using two Start Up – Angels.
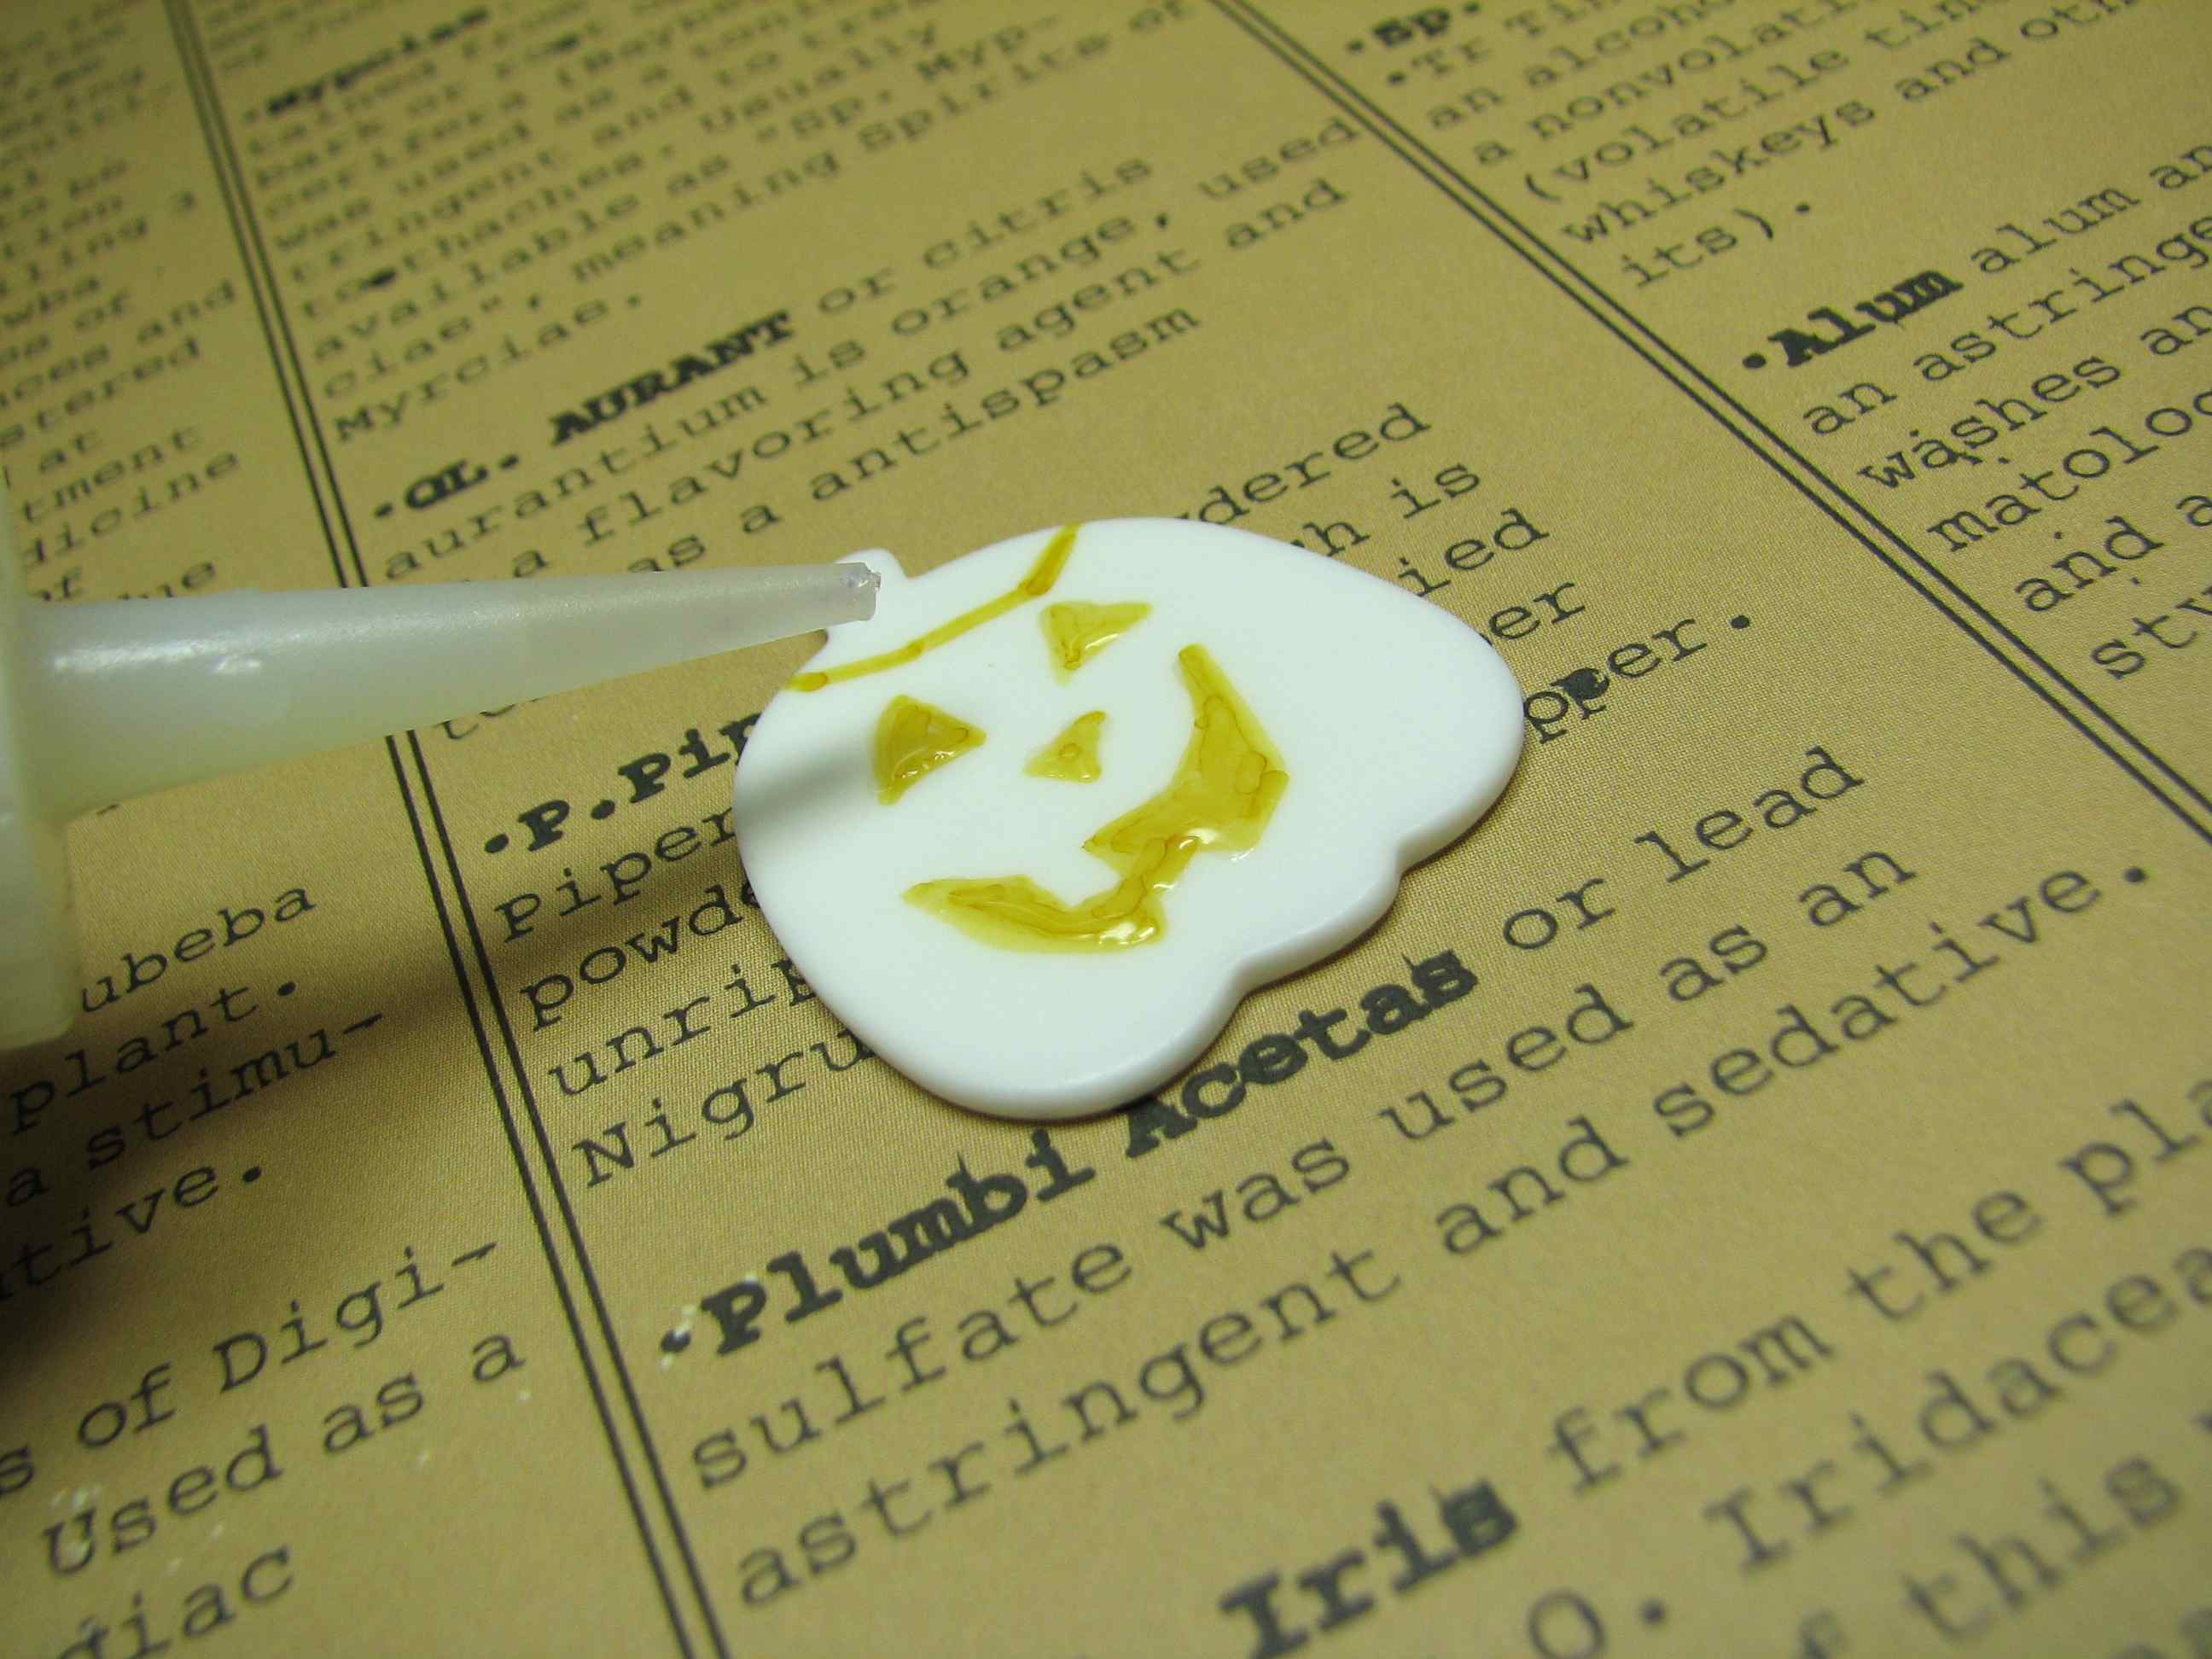
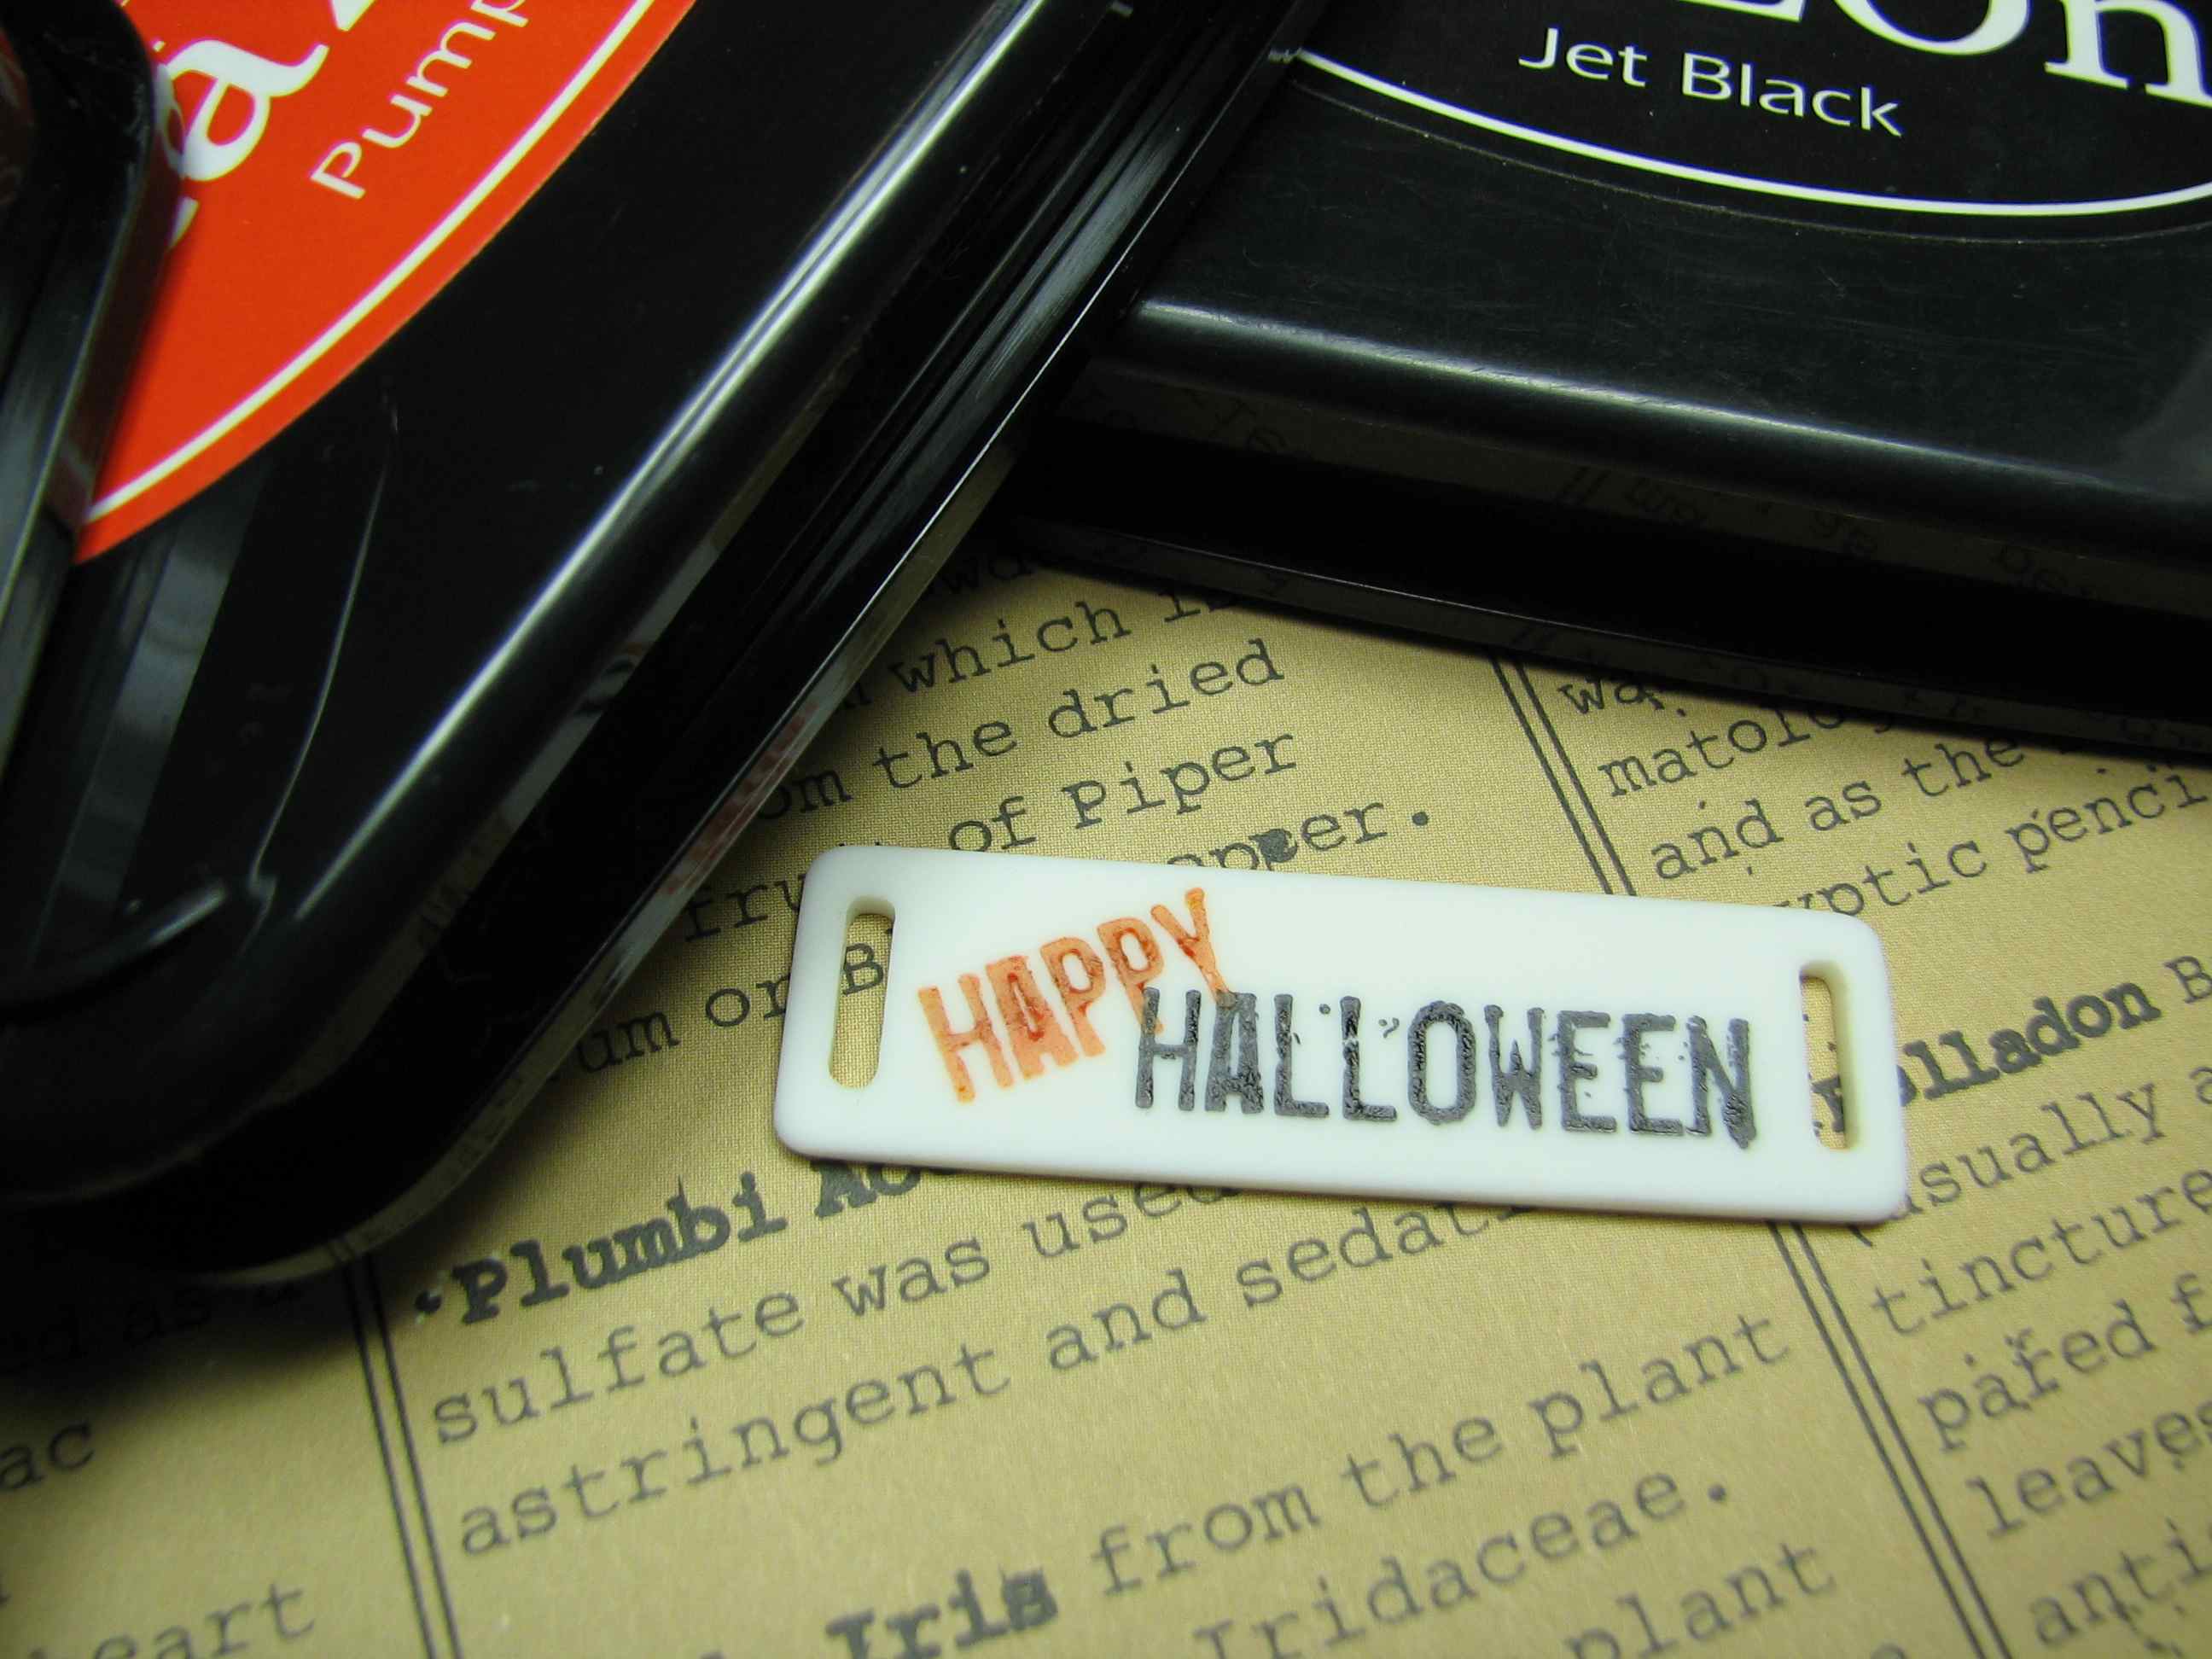
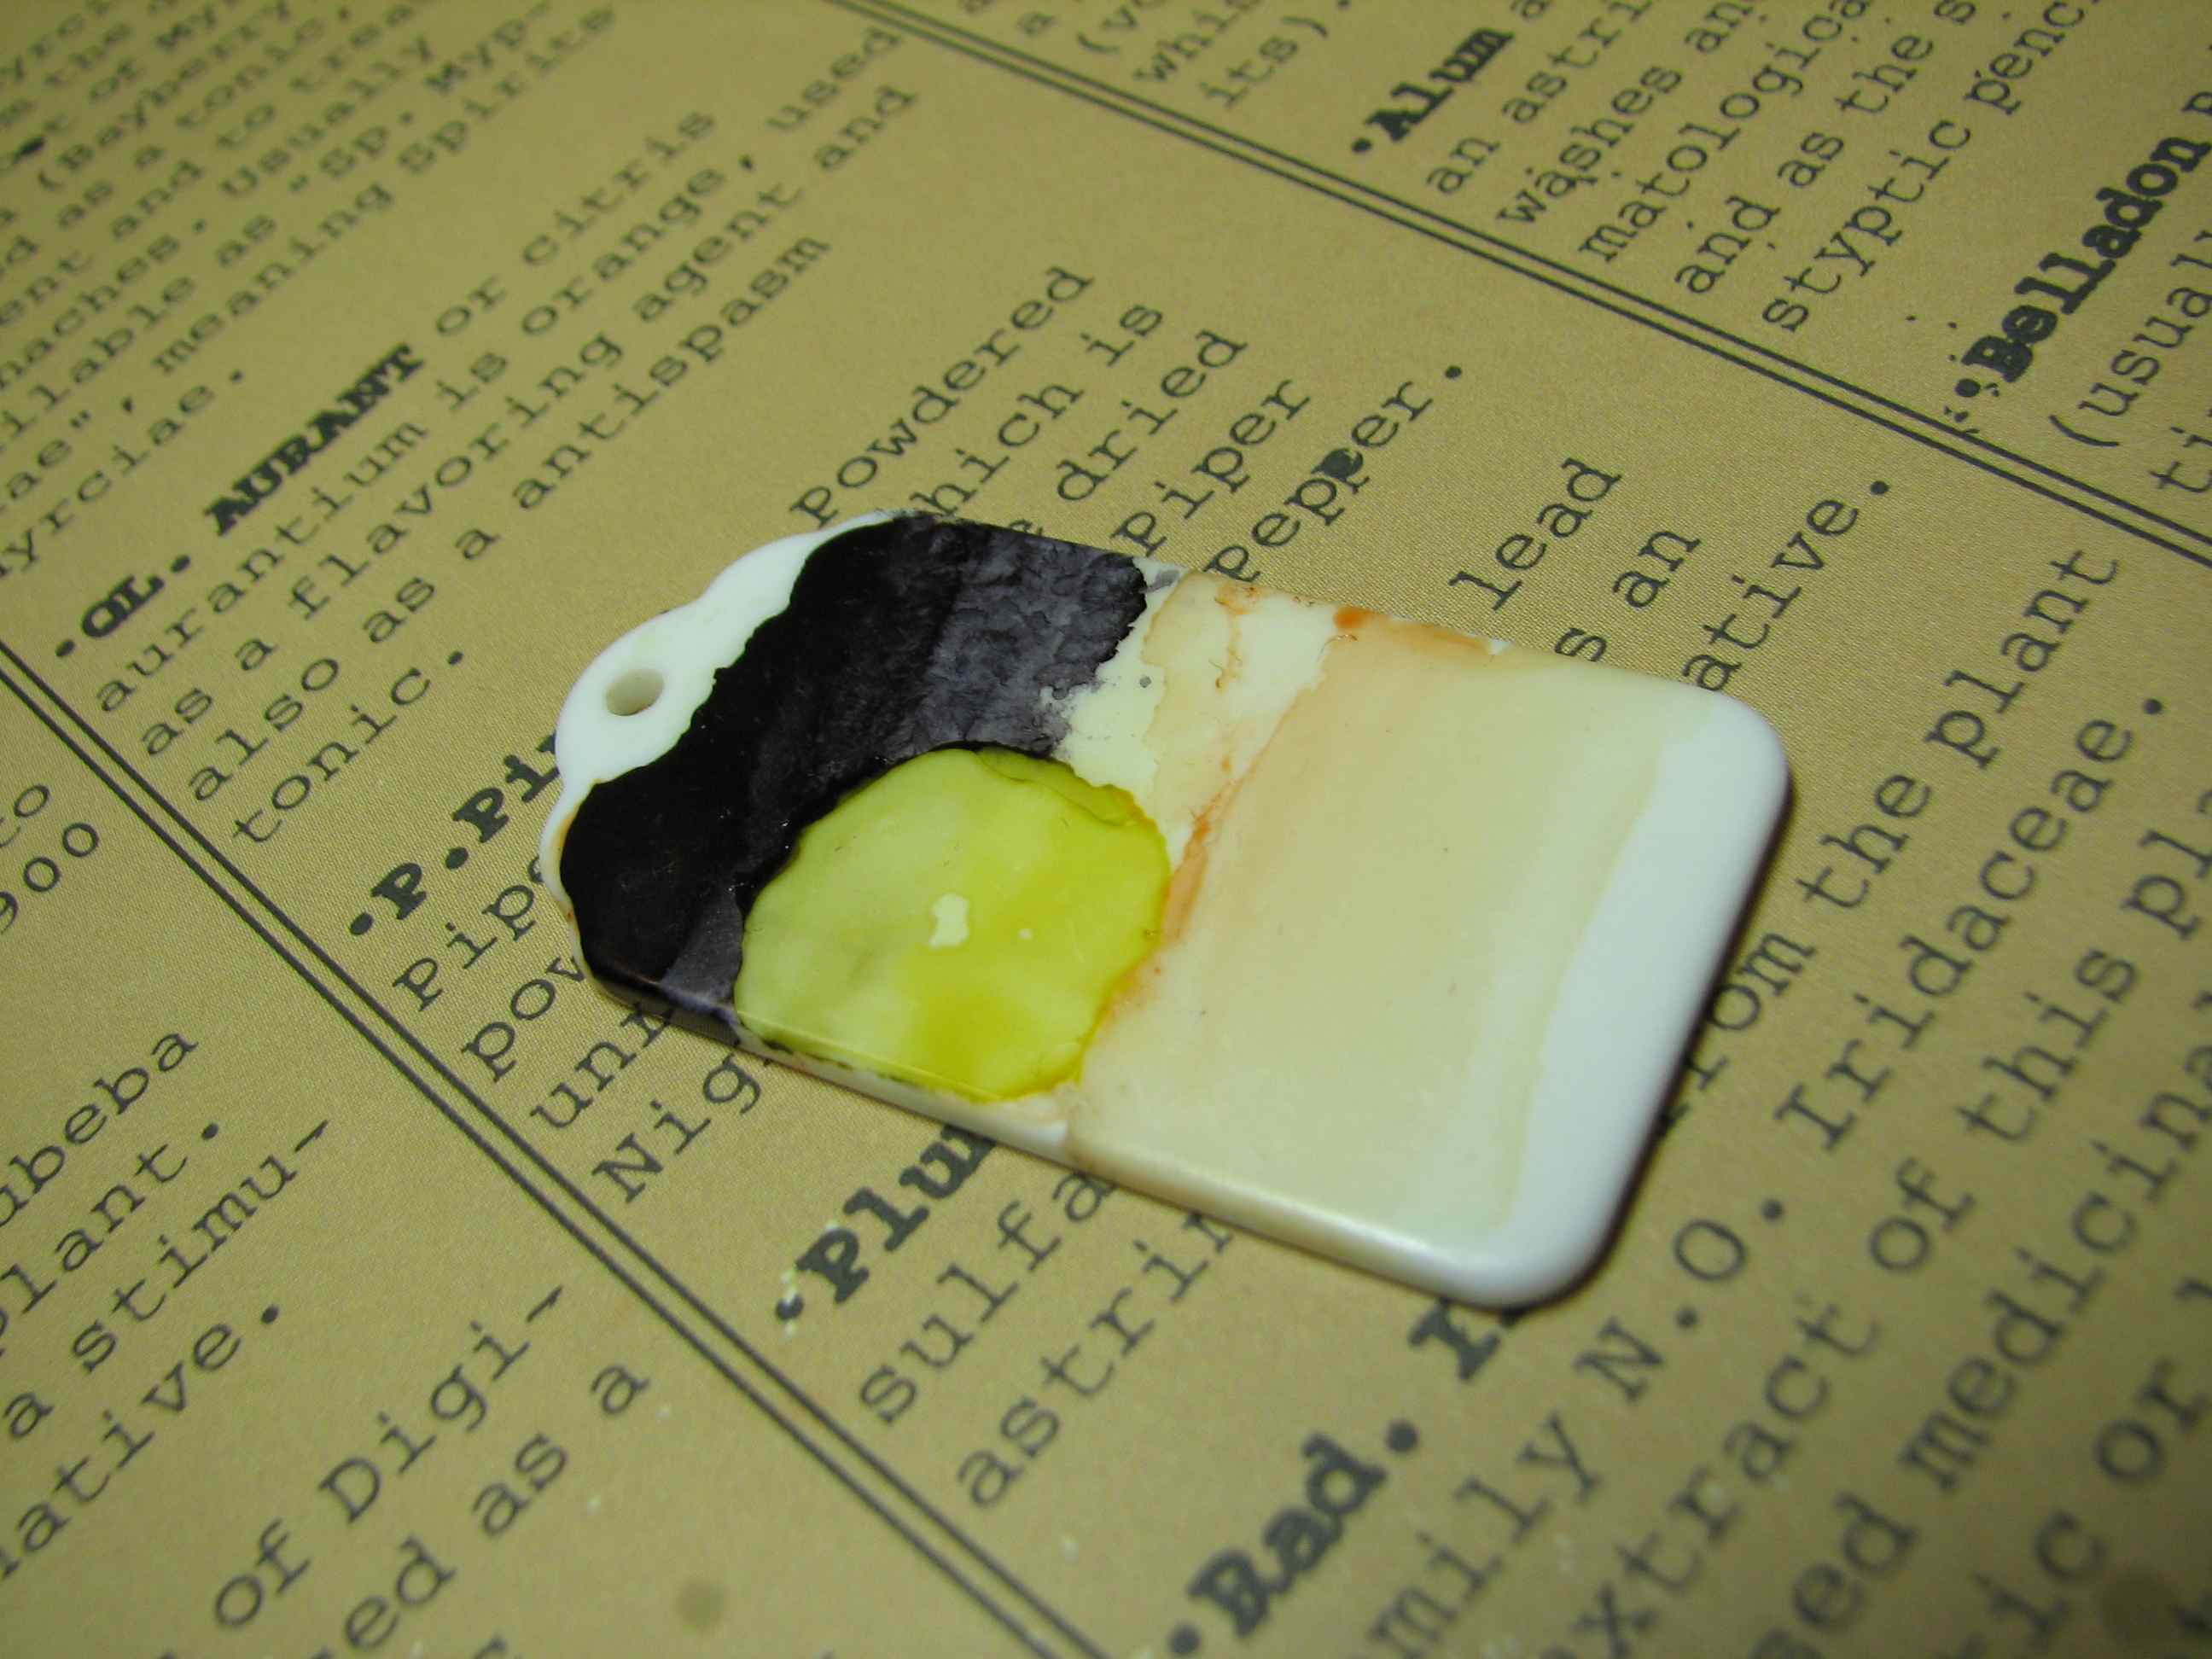
2.) Add color using alcohol ink and a blank alcohol ink pen, to add color directly to Start Up material. {No sanding required!}
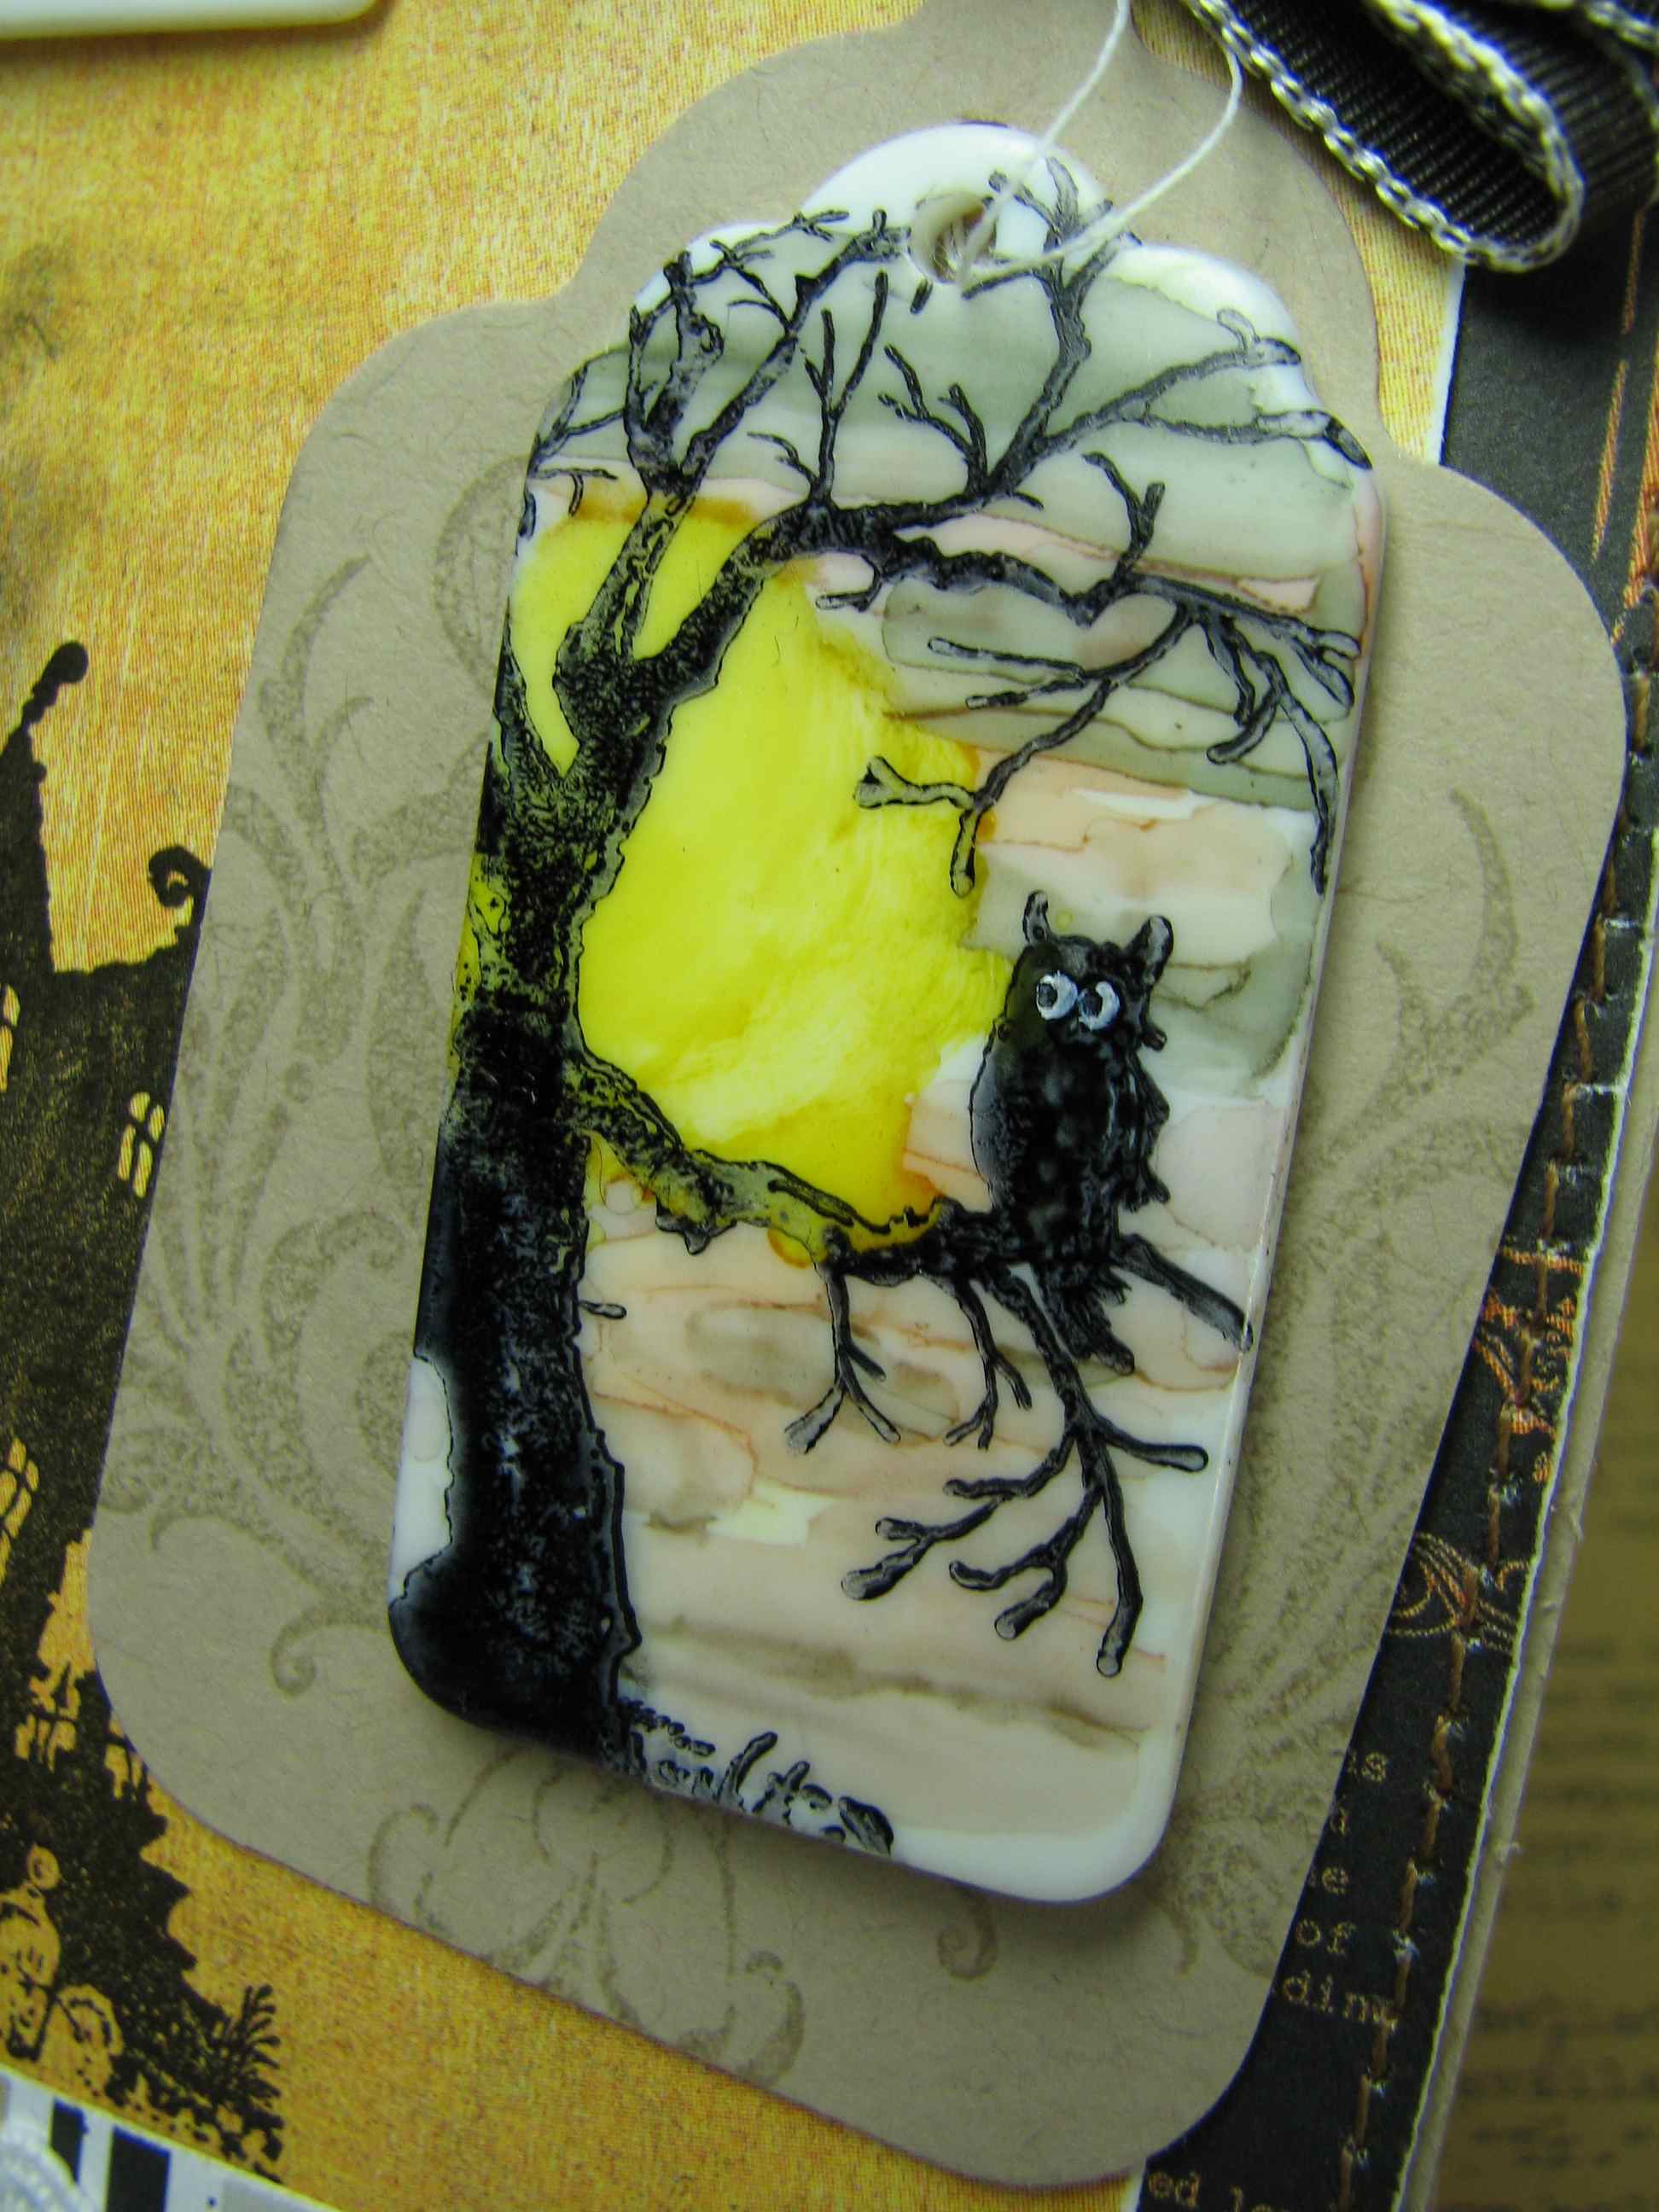
3.) Sketch out angel robe in color of choosing.
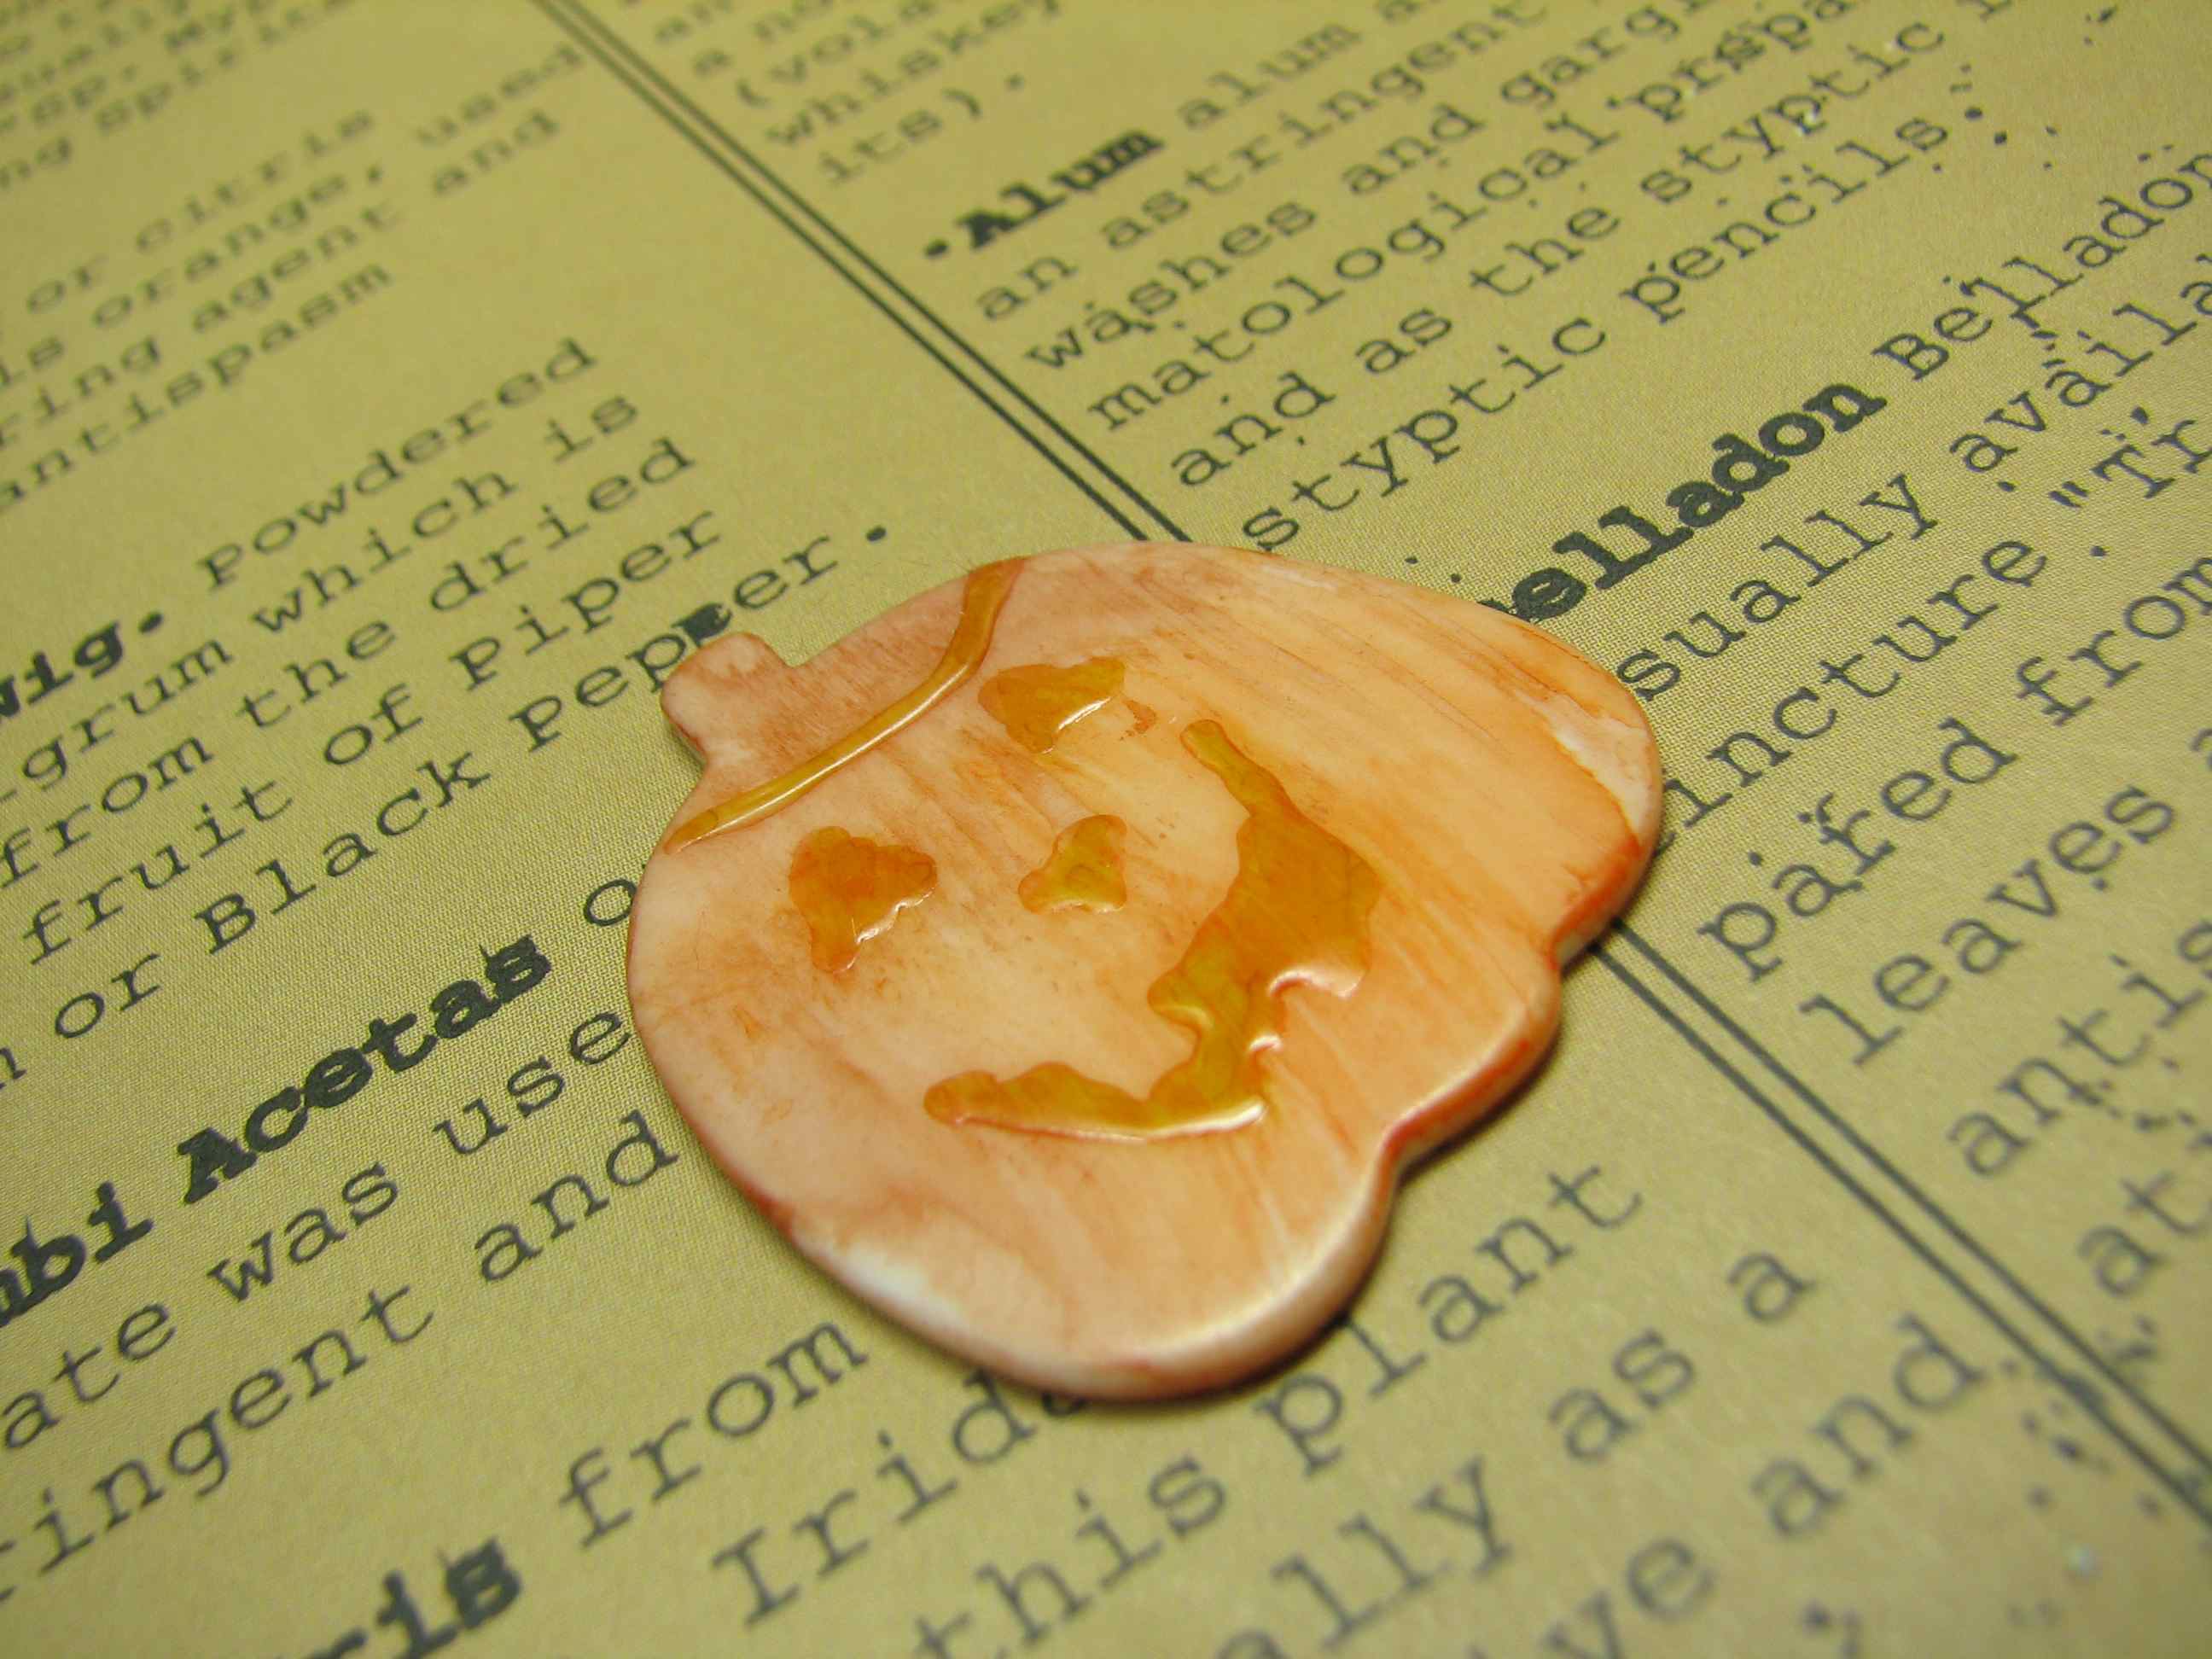
4.) Add accent values, but allow ink to “do it’s thing”, making sure each color is dry before adding more ink.
5.) Change color by merely wiping pen onto scratch paper, until color doesn’t transfer, then change color.
6.) Build face, hair and suggestion of song book and wing definition. If results don’t please you, simply wipe surface with alcohol blending solution and let dry.
7.) Don’t overwork – just let the angle appear!
8.) Repeat steps for second angel and sandwich over wire with glue and glue dots, so that painted angels will be visible from both sides of ornament.

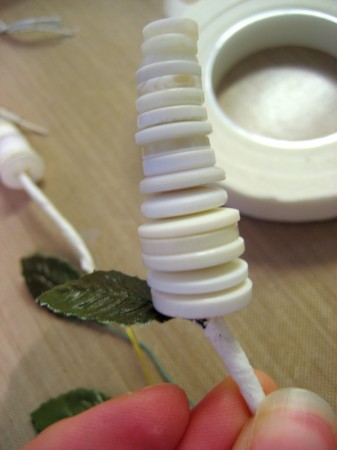
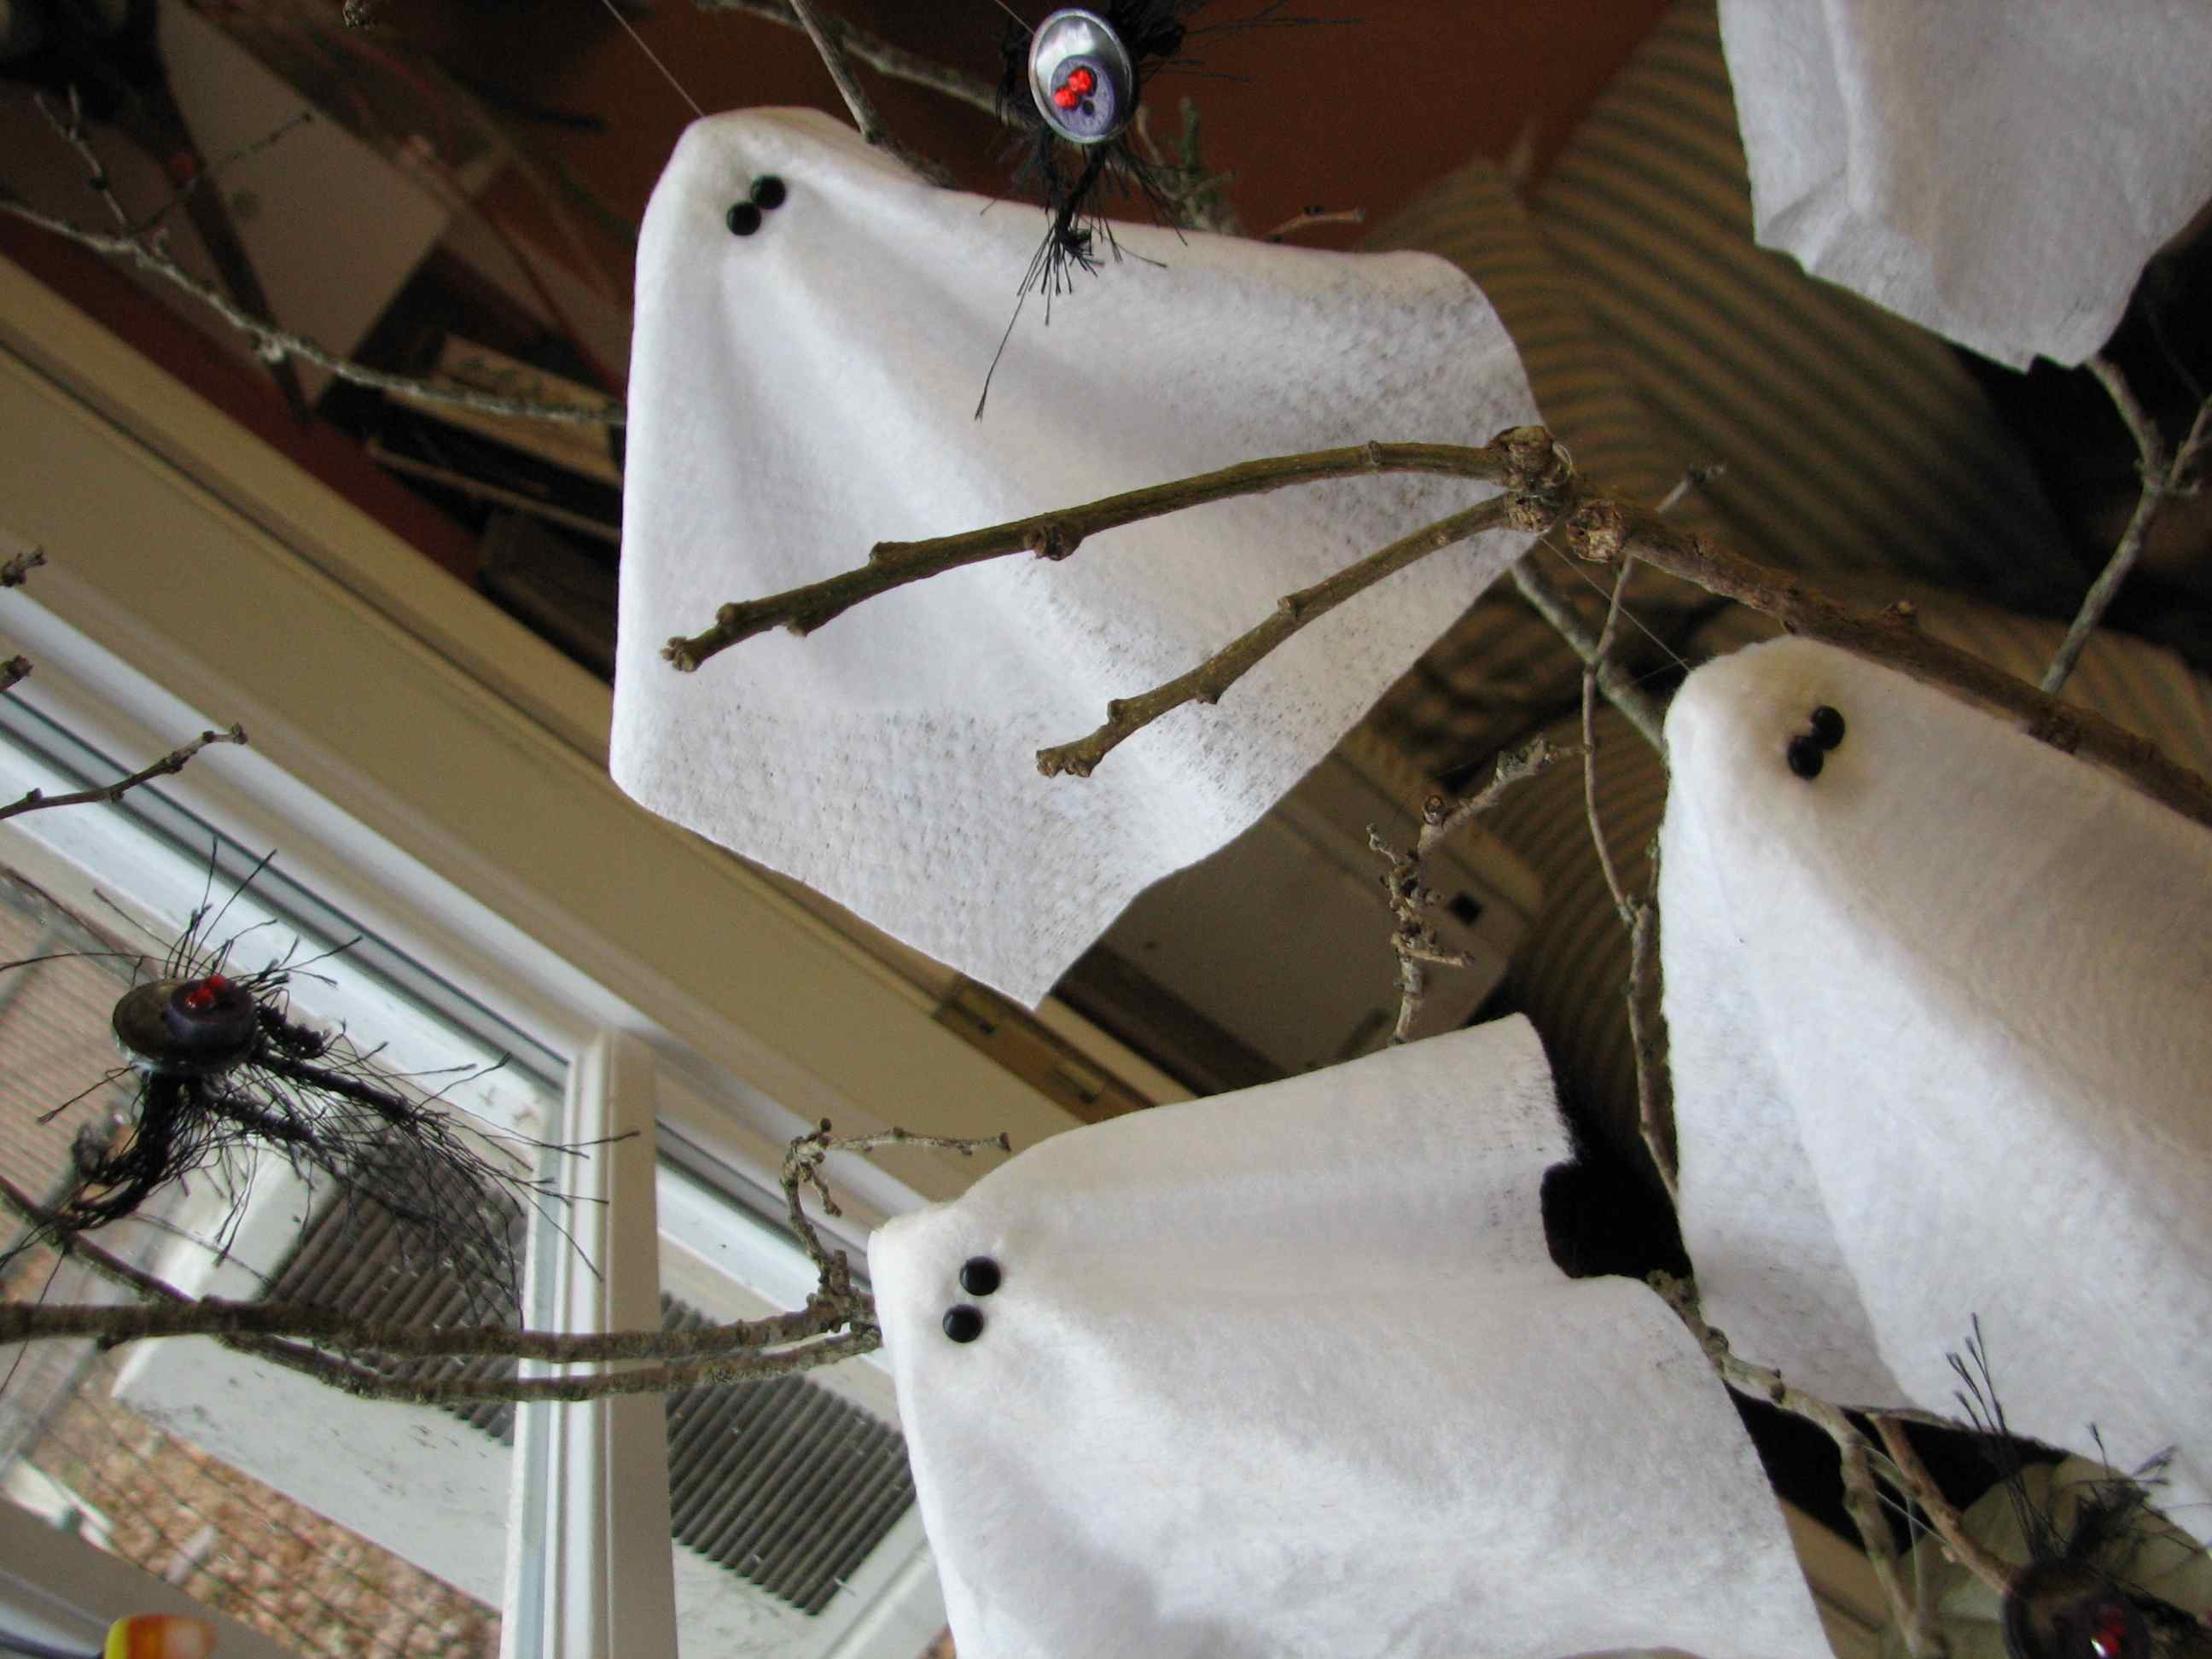
Embellish wire with beads of your choosing. Tie a festive ribbon from Buttons Galore & More Red and White Gingham Ribbon and thread through wire, so that it sits on top of the ornament. Add more beads or desired accents to the top of the ornament.

When complete, add ornament to your tree or use in window display to let the big man you’ve been VERY good this year!
Happy Holidays!
Buttons Galore & More products used:
Gold and Silver Buttons – Grab bag
Red and White Gingham Ribbon – 1″
Start Ups – Angels
MU – Clear Round Celebration Buttons
Mini Glue Dots
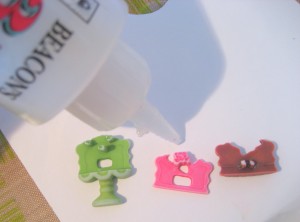
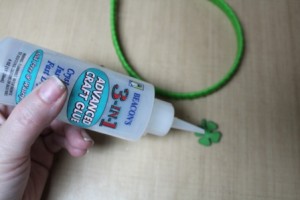
3 in 1 Craft Glue


