
Do you remember how much you loved to sift through your mom, aunt, or grandmother’s button boxes? I still play with my buttons all the time, and I know I can always keep my five year old daughter busy with buttons. I recently came up with a project that takes button play beyond just looking at buttons, but also uses them as a creative tool. The end result is a darling little sampler of all my daughter’s favorite buttons and artwork. It’s truly an heirloom piece that will be cherished for years to come. Here’s how to make a button embroidery sampler with your child.
Supplies:
- Muslin or other plain fabric
- Masking tape
- Buttons! I used the Girl Value Pack: #VP311. It had tons of inspiration for my sweet little girl.
- Fabric Makers. I love Tee Juice (TM) Fabric Art Markers.
- Camera
- Sewing needle
- Embroidery thread
Instructions:
1. Cut a piece of fabric to the size you want. I knew I wanted to have a panel, measuring 13″ x 5.5″ so that I could use it in a tote bag project. If you are going to frame the piece or use it in a sewing project, make sure that you cut a little extra fabric for seam allowances etc.
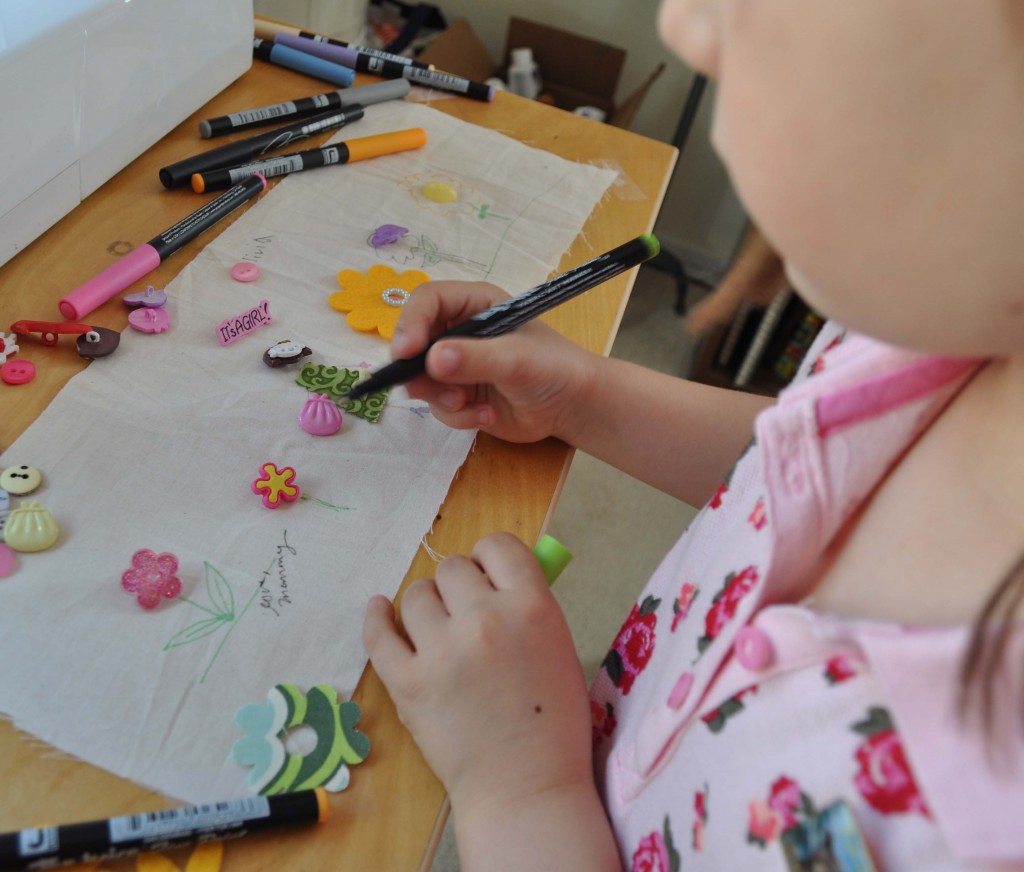
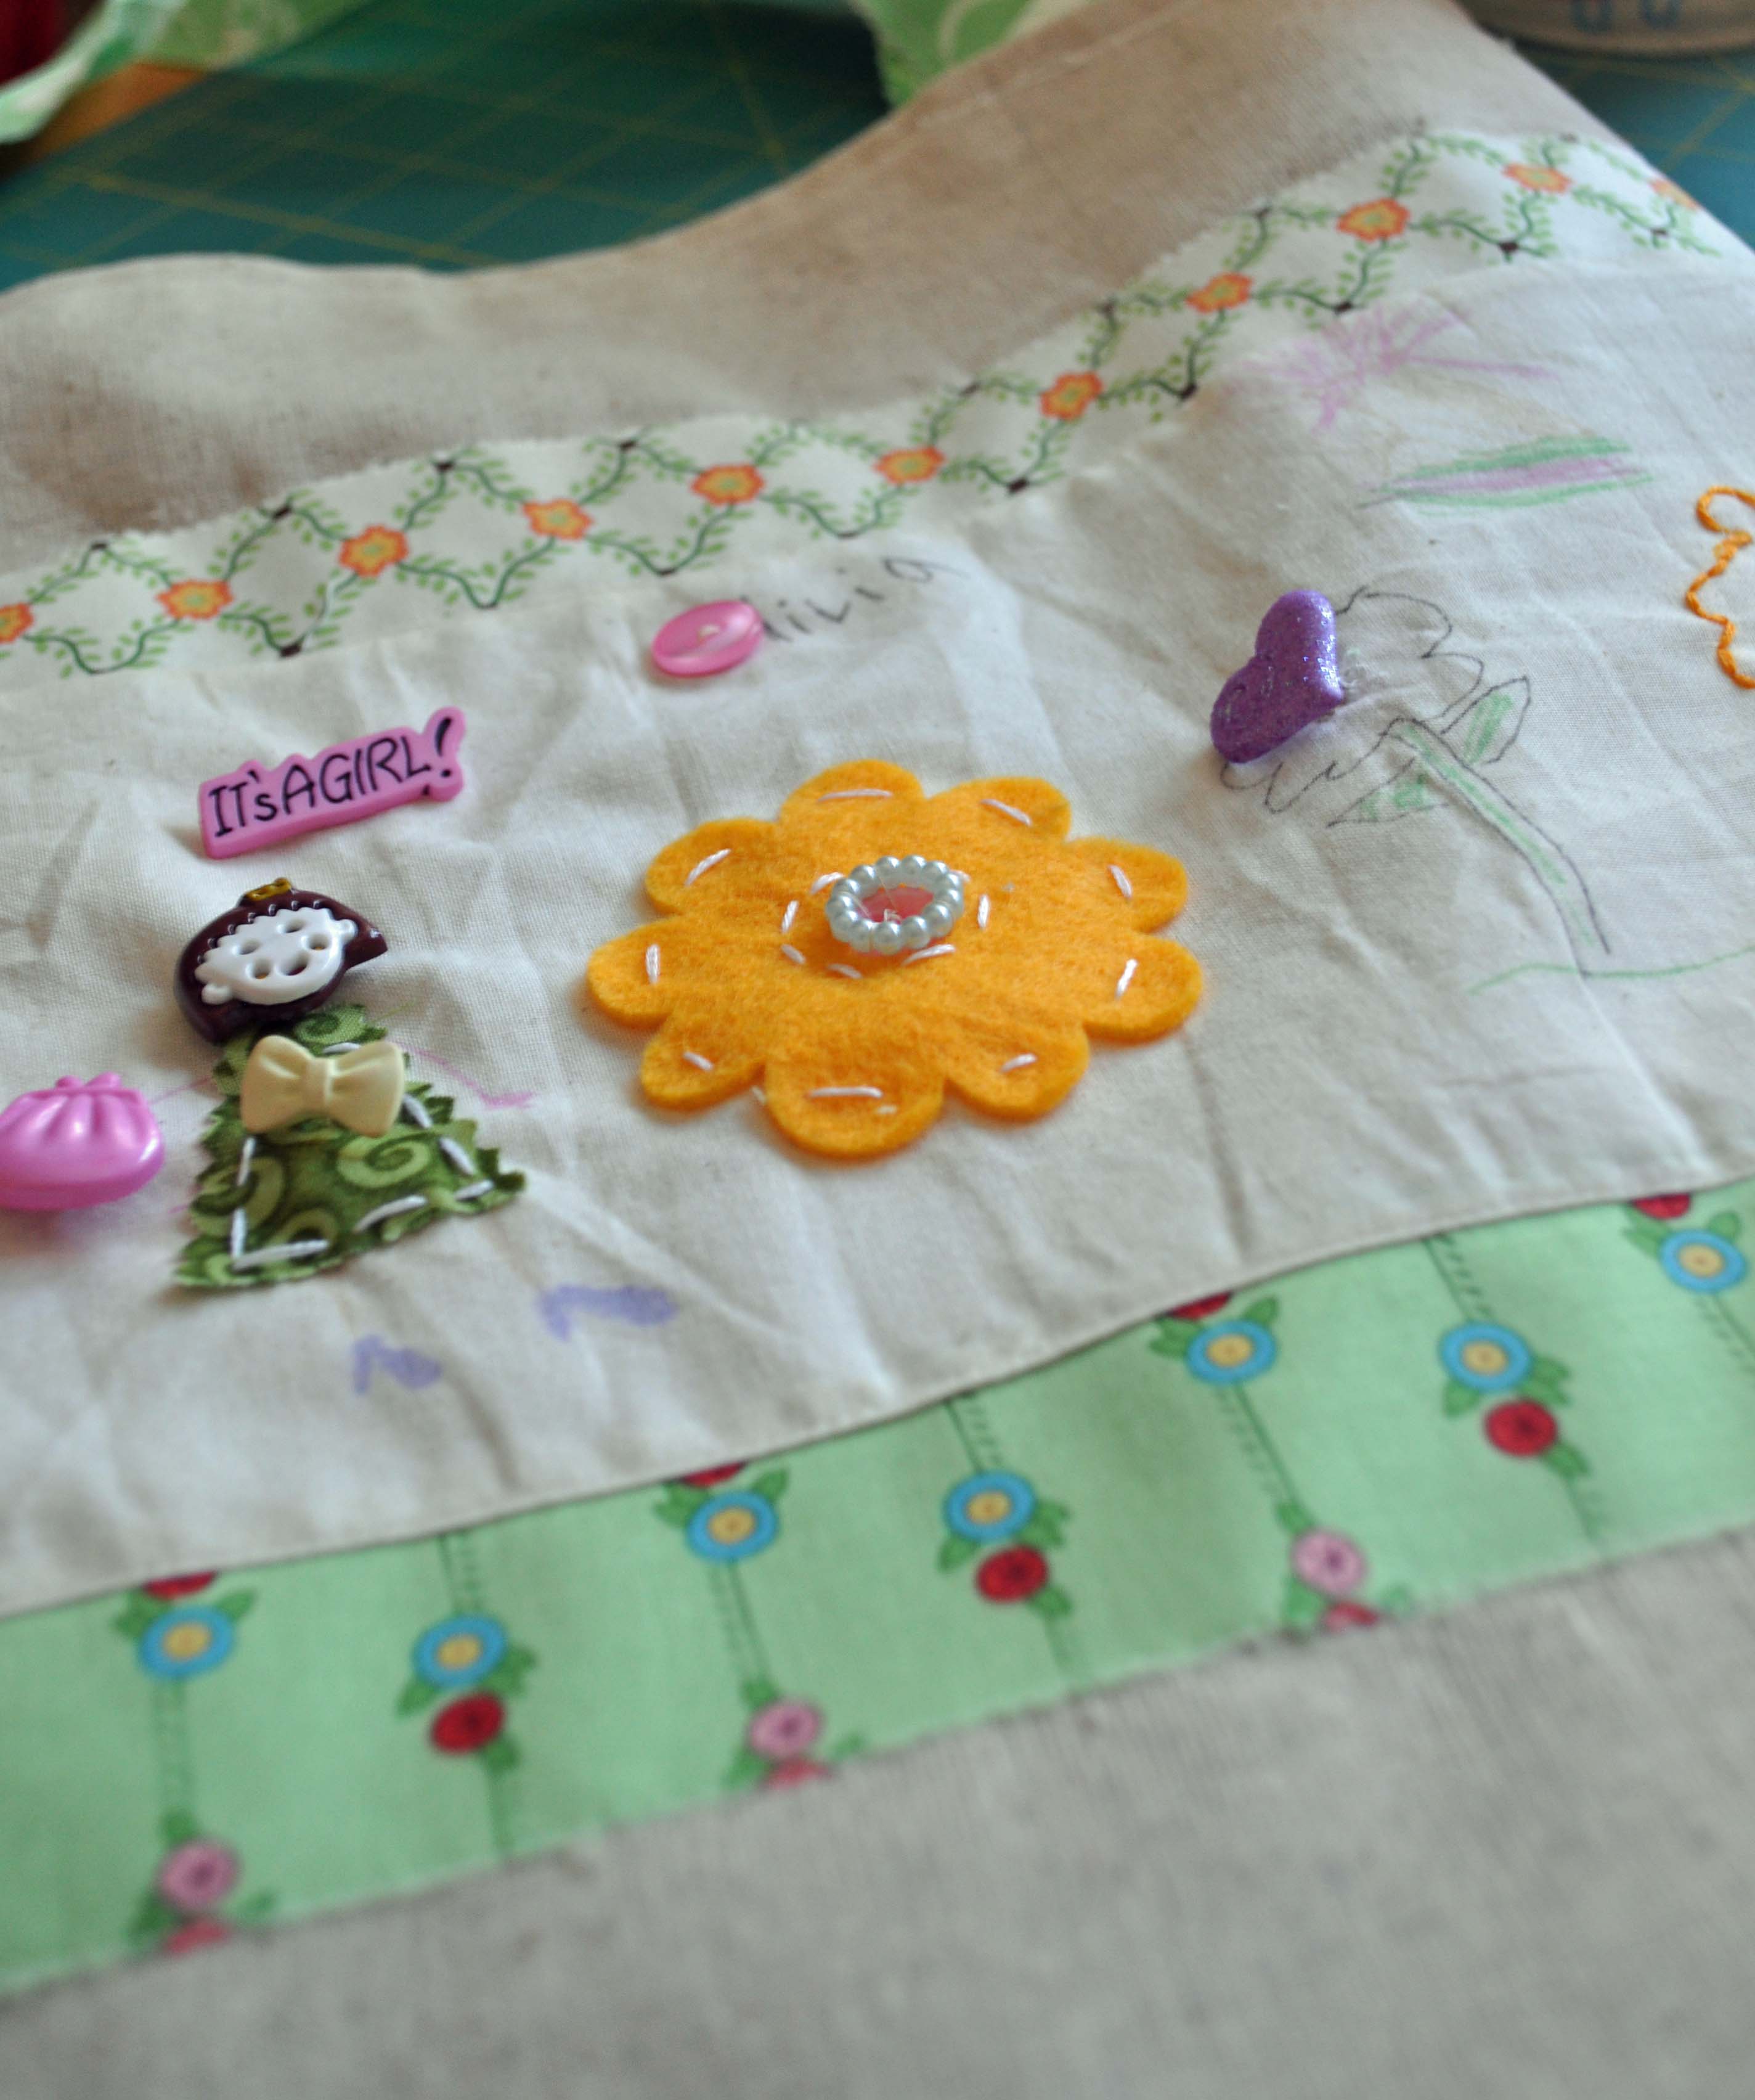
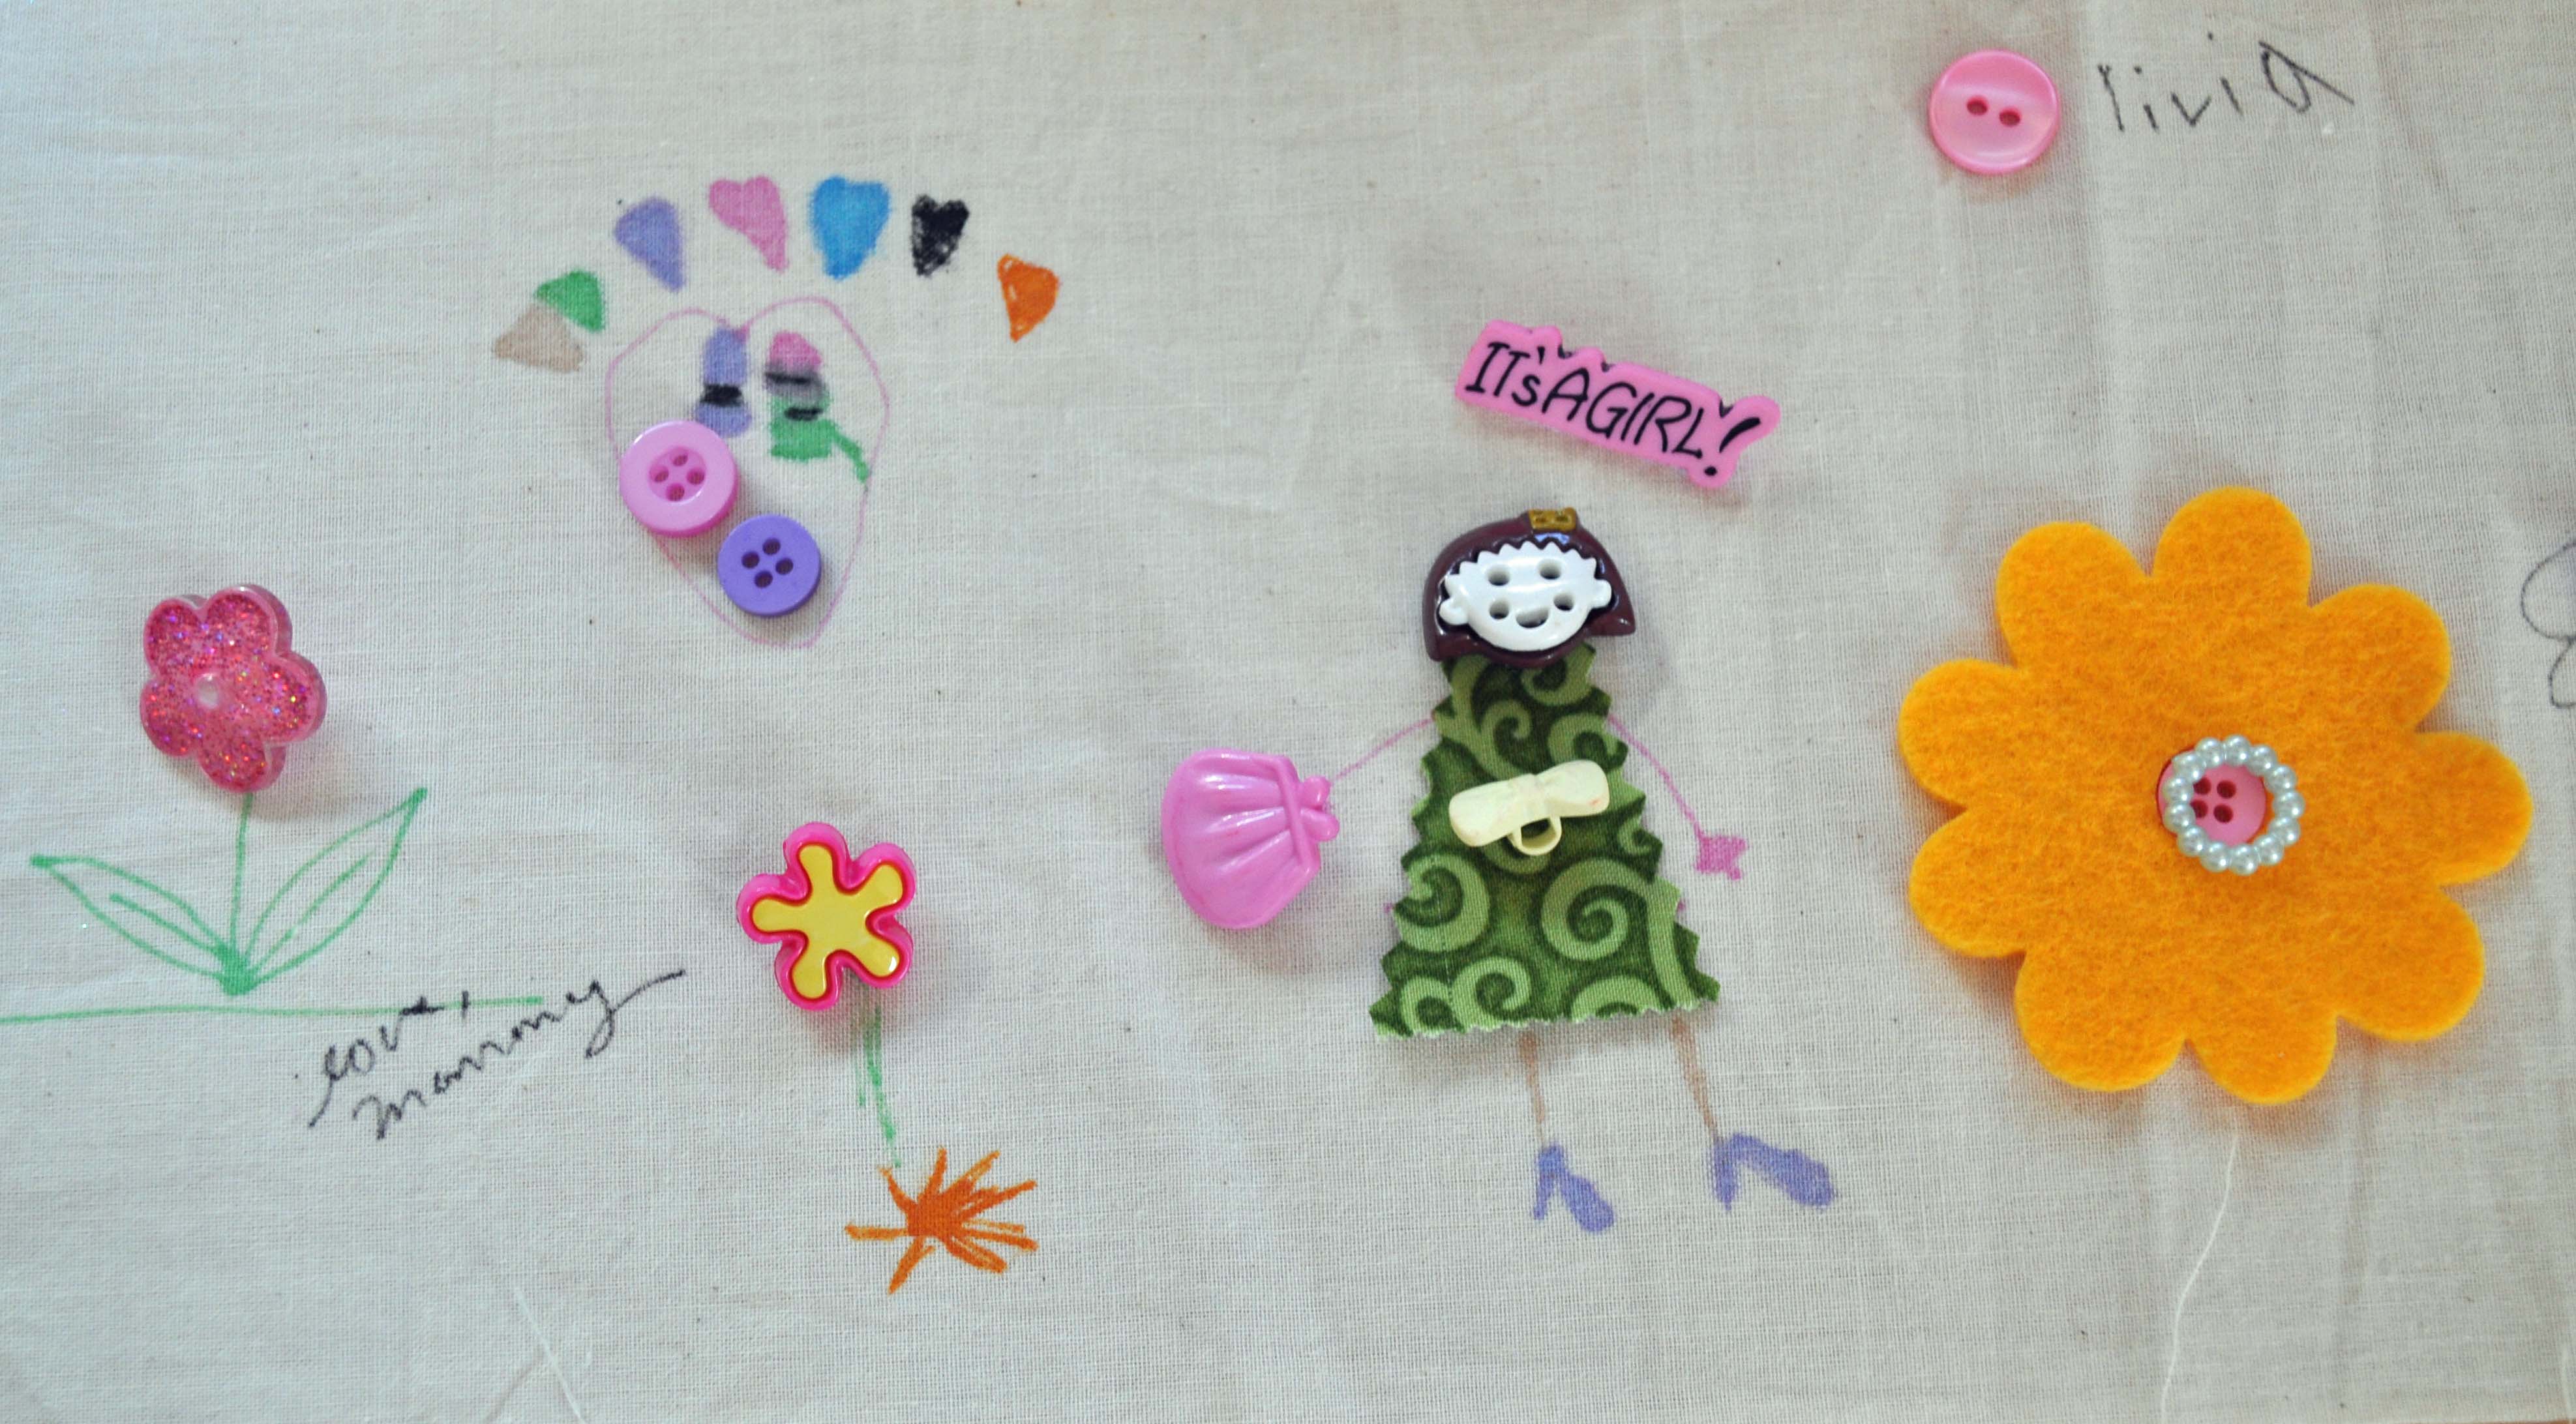
2. Using masking tape, tape the fabric onto a work table surface. This keeps the fabric from sliding around while your child works. I recommend setting up the work space in a place where you can leave it for a few days. My daughter enjoys having the freedom to work over the course a few days, occasionally walking by the work in progress and adding to it. Once the piece is secured, give your child a big pile of buttons and the fabric markers. Show them where on the fabric they should work. Make sure they understand that they need to leave some blank space around the edges for those seam allowances! Ask them to use the buttons in their artwork and encourage them to think of how the buttons can be part of their drawings. To start my daughter off, I showed her how I could lay a flower button down on the fabric and then draw a stem and leaves with fabric markers. That’s all it took for my daughter to be inspired. She made a plain button the “O” in her name, created little girls with button heads and purses and much more. She was so quiet and happy as she sifted through the buttons and drew.
3. My daughter is too young to sew with a needle and thread, so I only asked her to lay the buttons on the fabric. When the piece was complete, I took a photograph of her lay-out so that I would remember where to sew everything on for her. I also asked her to sit with me as I sewed the buttons onto the fabric so that I could get her input about exactly where the buttons should go, which colors of embroidery thread to use etc. If your child is old enough to work a needle and thread, encourage them to sew on their own buttons. It’s a great way for them practice the necessary of skill of knowing how to sew a button!
4. Once the buttons are attached, you may want to iron the piece. I found a small quilting iron is perfect for getting between buttons.
5. Be sure to encourage your child to sign the piece with a fabric marker. I love having samples of my daughter’s handwriting at different ages.
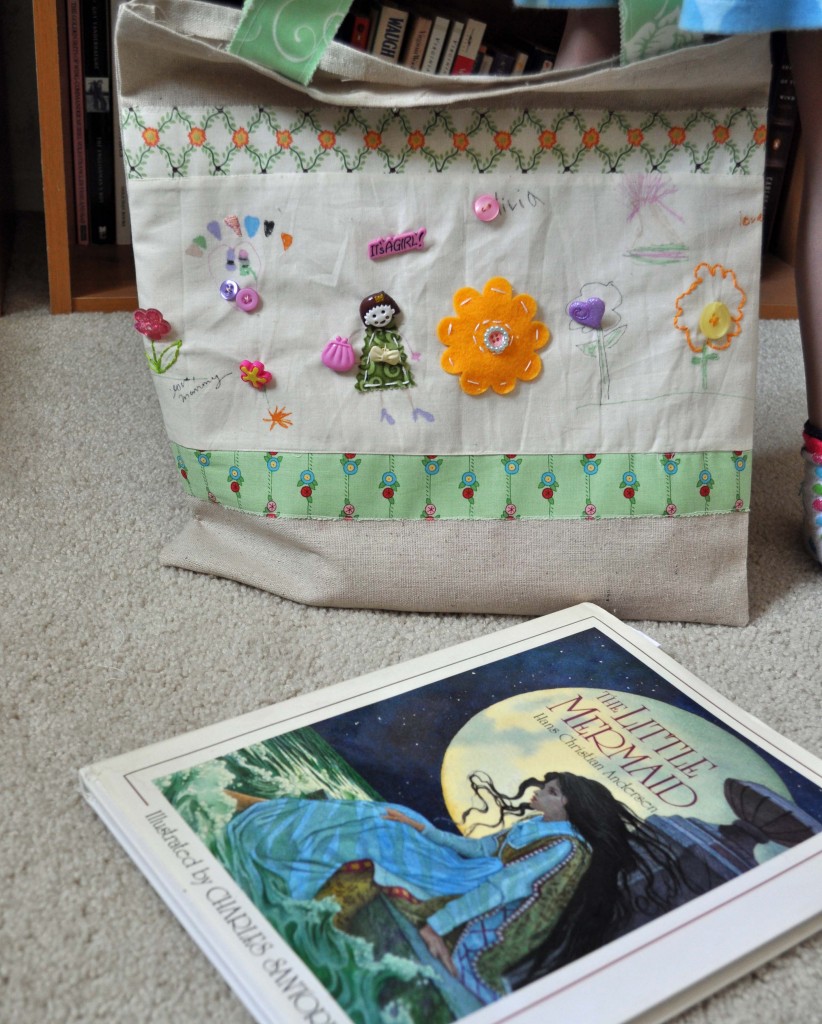
6. Once the sampler is completed, discuss how you will display it with your child. My daughter and I decided on a tote bag for her library books, but pillows, fabric wall hangings, or even simply framing the piece are all good options.
Disclaimer: This project involves buttons, which can be a choking hazard to small children. This project is best for older children with adult supervision.
Admin1
Latest posts by Admin1 (see all)
- Magical Wall Art for Kids Room - July 19, 2019
- Little Firecracker Layout - June 28, 2019
- Patriotic Rosettes - June 27, 2019
Laura, you totally rock! I’ve been working with my son on sewing – he loves to put the bobbins in the machine, hand crank it, push the pedal, iron, and use the embroidery thread. He’s almost 5, but just as creative as can be! This is a wonderful idea – I’m going to do it with him TOMORROW!!! He’ll be totally jazzed – he loves coloring on fabric! Thanks for posting a link to this on your blog :)