Header

Tag Archives | spring

DIY Flower Button Brooches for Fall Fashion Cheer!

DIY Flower Button Brooch

Hello button lovers! This is Katie from the Buttons Galore & More Design Team, and today I have a fun DIY flower button brooches project if you are someone who is just not ready to make that transition into the fall season!

Now, as a fall season girl at heart, I know making flower button brooches sounds a bit weird in September. However, there are those folks who just love spring and summer. If this is you, then these flower button brooches should make the fall season a bit more bearable and make those warm cardigans a bit cuter! Continue Reading →

0

Easy DIY Flower Placemat for Easter & Mother’s Day

Spring means lots of special occasions! This flower placemat design is great for Easter, Mother’s Day, or for making a birthday girl feel extra special – and it’s super quick and easy to make!

Easy DIY Flower Placemat

This flower placemat uses supplies from the popular 28 Lilac Lane “Tropical Twist” kit. You can tell that it’s definitely one of my favorites since many of the supplies are used from it! Although the name of this kit, and its themed charms, are definitely summer themed, this project is a great reminder to look at your kits not just as themes but as color palettes as well.

Easy Floral Placemat color palette

Supplies Needed:

To start making this flower placemat, get out a large needle. Thread it with the baker’s twine from the Tropical Twist kit, and stitch around the outside edge of the placemat. (I recommend doing this is several short lengths to avoid abusing your twine and for efficiency.) To make more than one placemat, use embroidery floss for this step as the kit only contains enough twine for one.

Next, use a flower die to cut flowers out of felt (or hand cut your own). Use scissors to hand cut the leaves.

Easy Floral Placemat close-up

Position your flowers, and select buttons from the Tropical Twist kit to create their centers. Stitch through both the buttons and the flowers with a needle and embroidery floss to attach the flowers to the placemat. Use a needle and thread that matches the felt to stitch the leaves in place under the edges of the flowers as well.

Easy Floral Placemat close-up

Whether the occasion is Easter, Mother’s Day, or something else…this flower placemat will definitely brighten your spring table!

Flower Placemat graphic

0

Spring & Easter Project Round-Up

Springtime is a great time for crafting! There’s so many occasions to craft for, and spring flowers are so inspiring. Here’s a sampling of some of our favorite past spring and Easter crafts from the blog to get you inspired!

Spring Crafts Round-Up

Flower Embellished Tote

This mixed media tote by designer Melony Bradley uses dyed cotton strips to make flowers and then finishes them off with buttons! There’s no mistakes, or right or wrong way to create this beautiful spring garden that will earn compliments wherever you take it.

Button Flowers Wall Decor

Pretty little blooms button flower picture by Jen Goode

If you are looking for a way to bring some bright spring flowers inside without bringing sneezy pollen with them, try some buttons! These pretty little blooms by designer Jen Goode are easy to make and oh-so-springy!

Spring Zip Pouch

You can travel in style with your essentials in the button embellished zip tote that I made from bright spring colors using a simple pattern. It also makes for a wonderful gift for mom or a new graduate!

Vintage Garden Card

Spring flowers don’t have to mean bright colors…designer Keri Lee Sereika used gold buttons to create flowers for a beautiful vintage look on this handmade card! Send this card for a touch of more formal cheer on any occasion.

Easter Table Display

Bunny in a Button Jar

Speaking of vintage, do you have vintage (or vintage looking) Easter figurines that you would like to keep little fingers off of? Designer Dana Gustafson’s mason jar displays filled with buttons in the bottom are the perfect way to display them beautifully and safely!

Easter Egg Treat Pouches

Mini felt Easter Egg treat pouches

Designer Jen Goode has a fun way to decorate those special Easter treats – and these felt Easter treat pouches are so easy to make that the kids can help, too. Use them year after year and make a new family tradition!

Whatever spring craft that you choose, don’t forget to stock up on all of your favorite colors of buttons before you start!

0

Embellish Some Watercolor Spring Flowers with 28 Lilac Lane!

Spring has sprung. Watercolor spring flowers embellished with beautiful touches of 28 Lilac Lane are a perfect home decor project.

Watercolor Spring Flowers Frame

Supplies:

  • 28 Lilac Lane Tropical Twist Kit
  • PPA Matte Adhesive
  • 5×7 watercolor paper
  • Stampendous “Cling Daisy Mix” stamps
  • Tim Holtz “Flower Garden” stamps
  • embossing ink
  • clear embossing powder
  • waterbrushes
  • watercolors

This watercolor spring flowers project uses tangerine colored flat back pearls and sequins from the 28 Lilac Lane “Tropical Twist” embellishment kit. Tropical Twist is a summery blend of yellow, orange and green citrus shades, with some delightful flamingo pink accents! With all of the seed beads, pearls, sequins, buttons, trim and charms, Tropical Twist is sure to have the perfect touch to make your project hot, hot, hot!

28 Lilac Lane Tropical Twist Kit

This project looks complex but is super easy to make thanks to a shortcut: stamps. To create this design, simply use flower stamp sets to stamp your desired design in clear embossing ink on watercolor paper. Then heat emboss the design with clear embossing powder.

Once the design is embossed, you have a virtually foolproof way of making your own watercolor painting! Simply use a fine detail water brush to color in the design with your watercolors, following the embossed lines as a guide. Any color that gets on the embossed lines can be simply wiped away to keep them clean!

After filling in the design of your watercolor spring flowers, switch to a large water brush to fill in the background with some watery color.

watercolor spring flowers

For the finishing touch on your watercolor spring flowers, add some 28 Lilac Lane embellishments to the center of them with a clear drying glue like PPA Matte adhesive. Using flat back pearls or sequins as “tiles” to fill a small area of a design is a great way to get some extra pop on a project. Our kits and embellishment bottles come with plenty of sequins and pearls, so there’s no worry about running out mid-project, either!

This winter has dragged on too long. Get out those watercolors, stamps and embellishments and craft it away with some watercolor spring flowers! (And don’t forget the Tropical Twist, too!)

0

Top 7 Button Projects for Spring – and a Giveaway!

Top Spring Button Projects

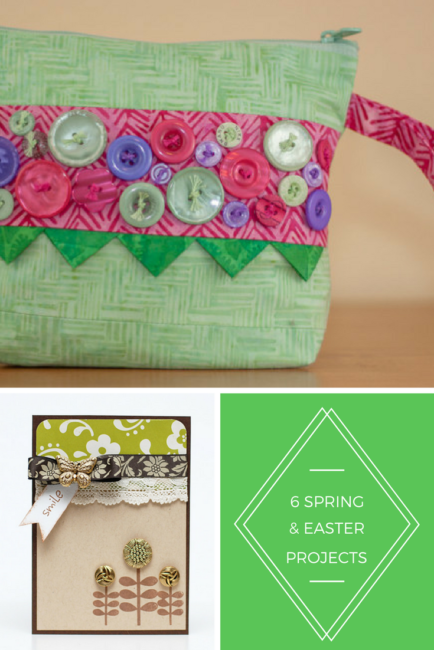
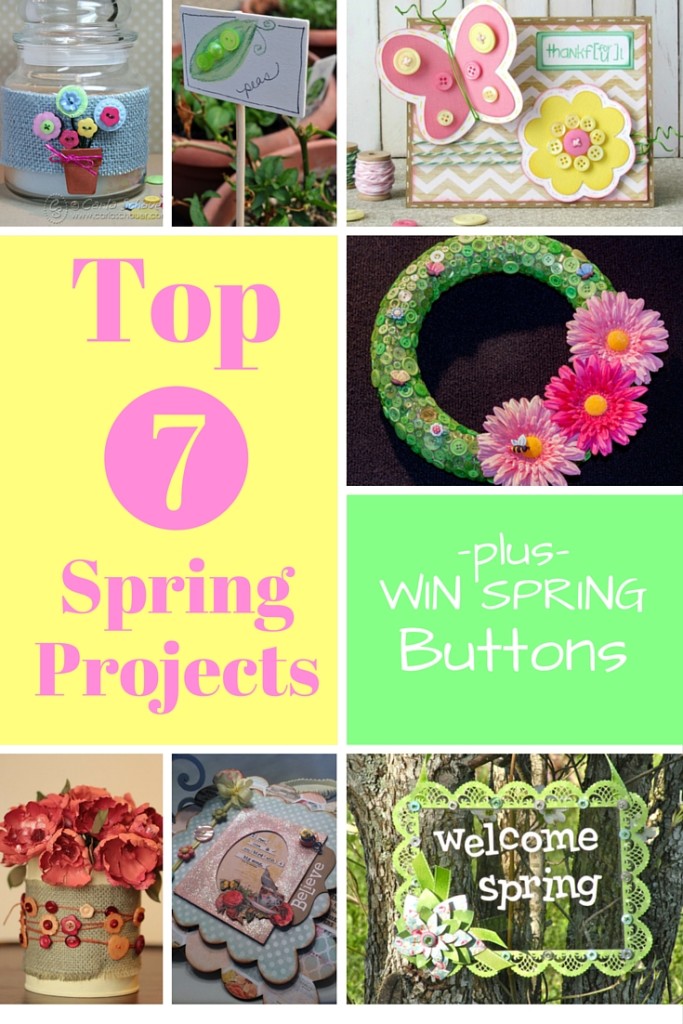
Old man winter has been really reluctant in some parts of the country (including at the Buttons Galore warehouse) to pack it up and head back to the arctic where he belongs! So today we thought we’d share on the blog a round-up of some of our favorite spring projects to remind everyone that spring is coming after all!

Spring Button Wreath

Spring Button wreath with flowers

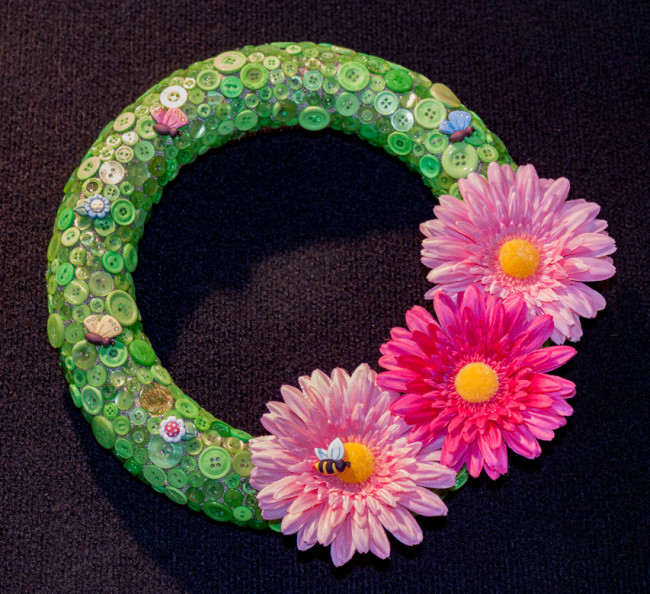
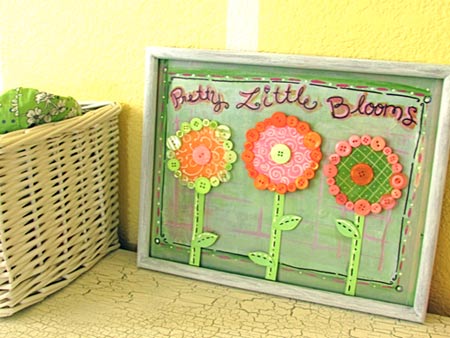
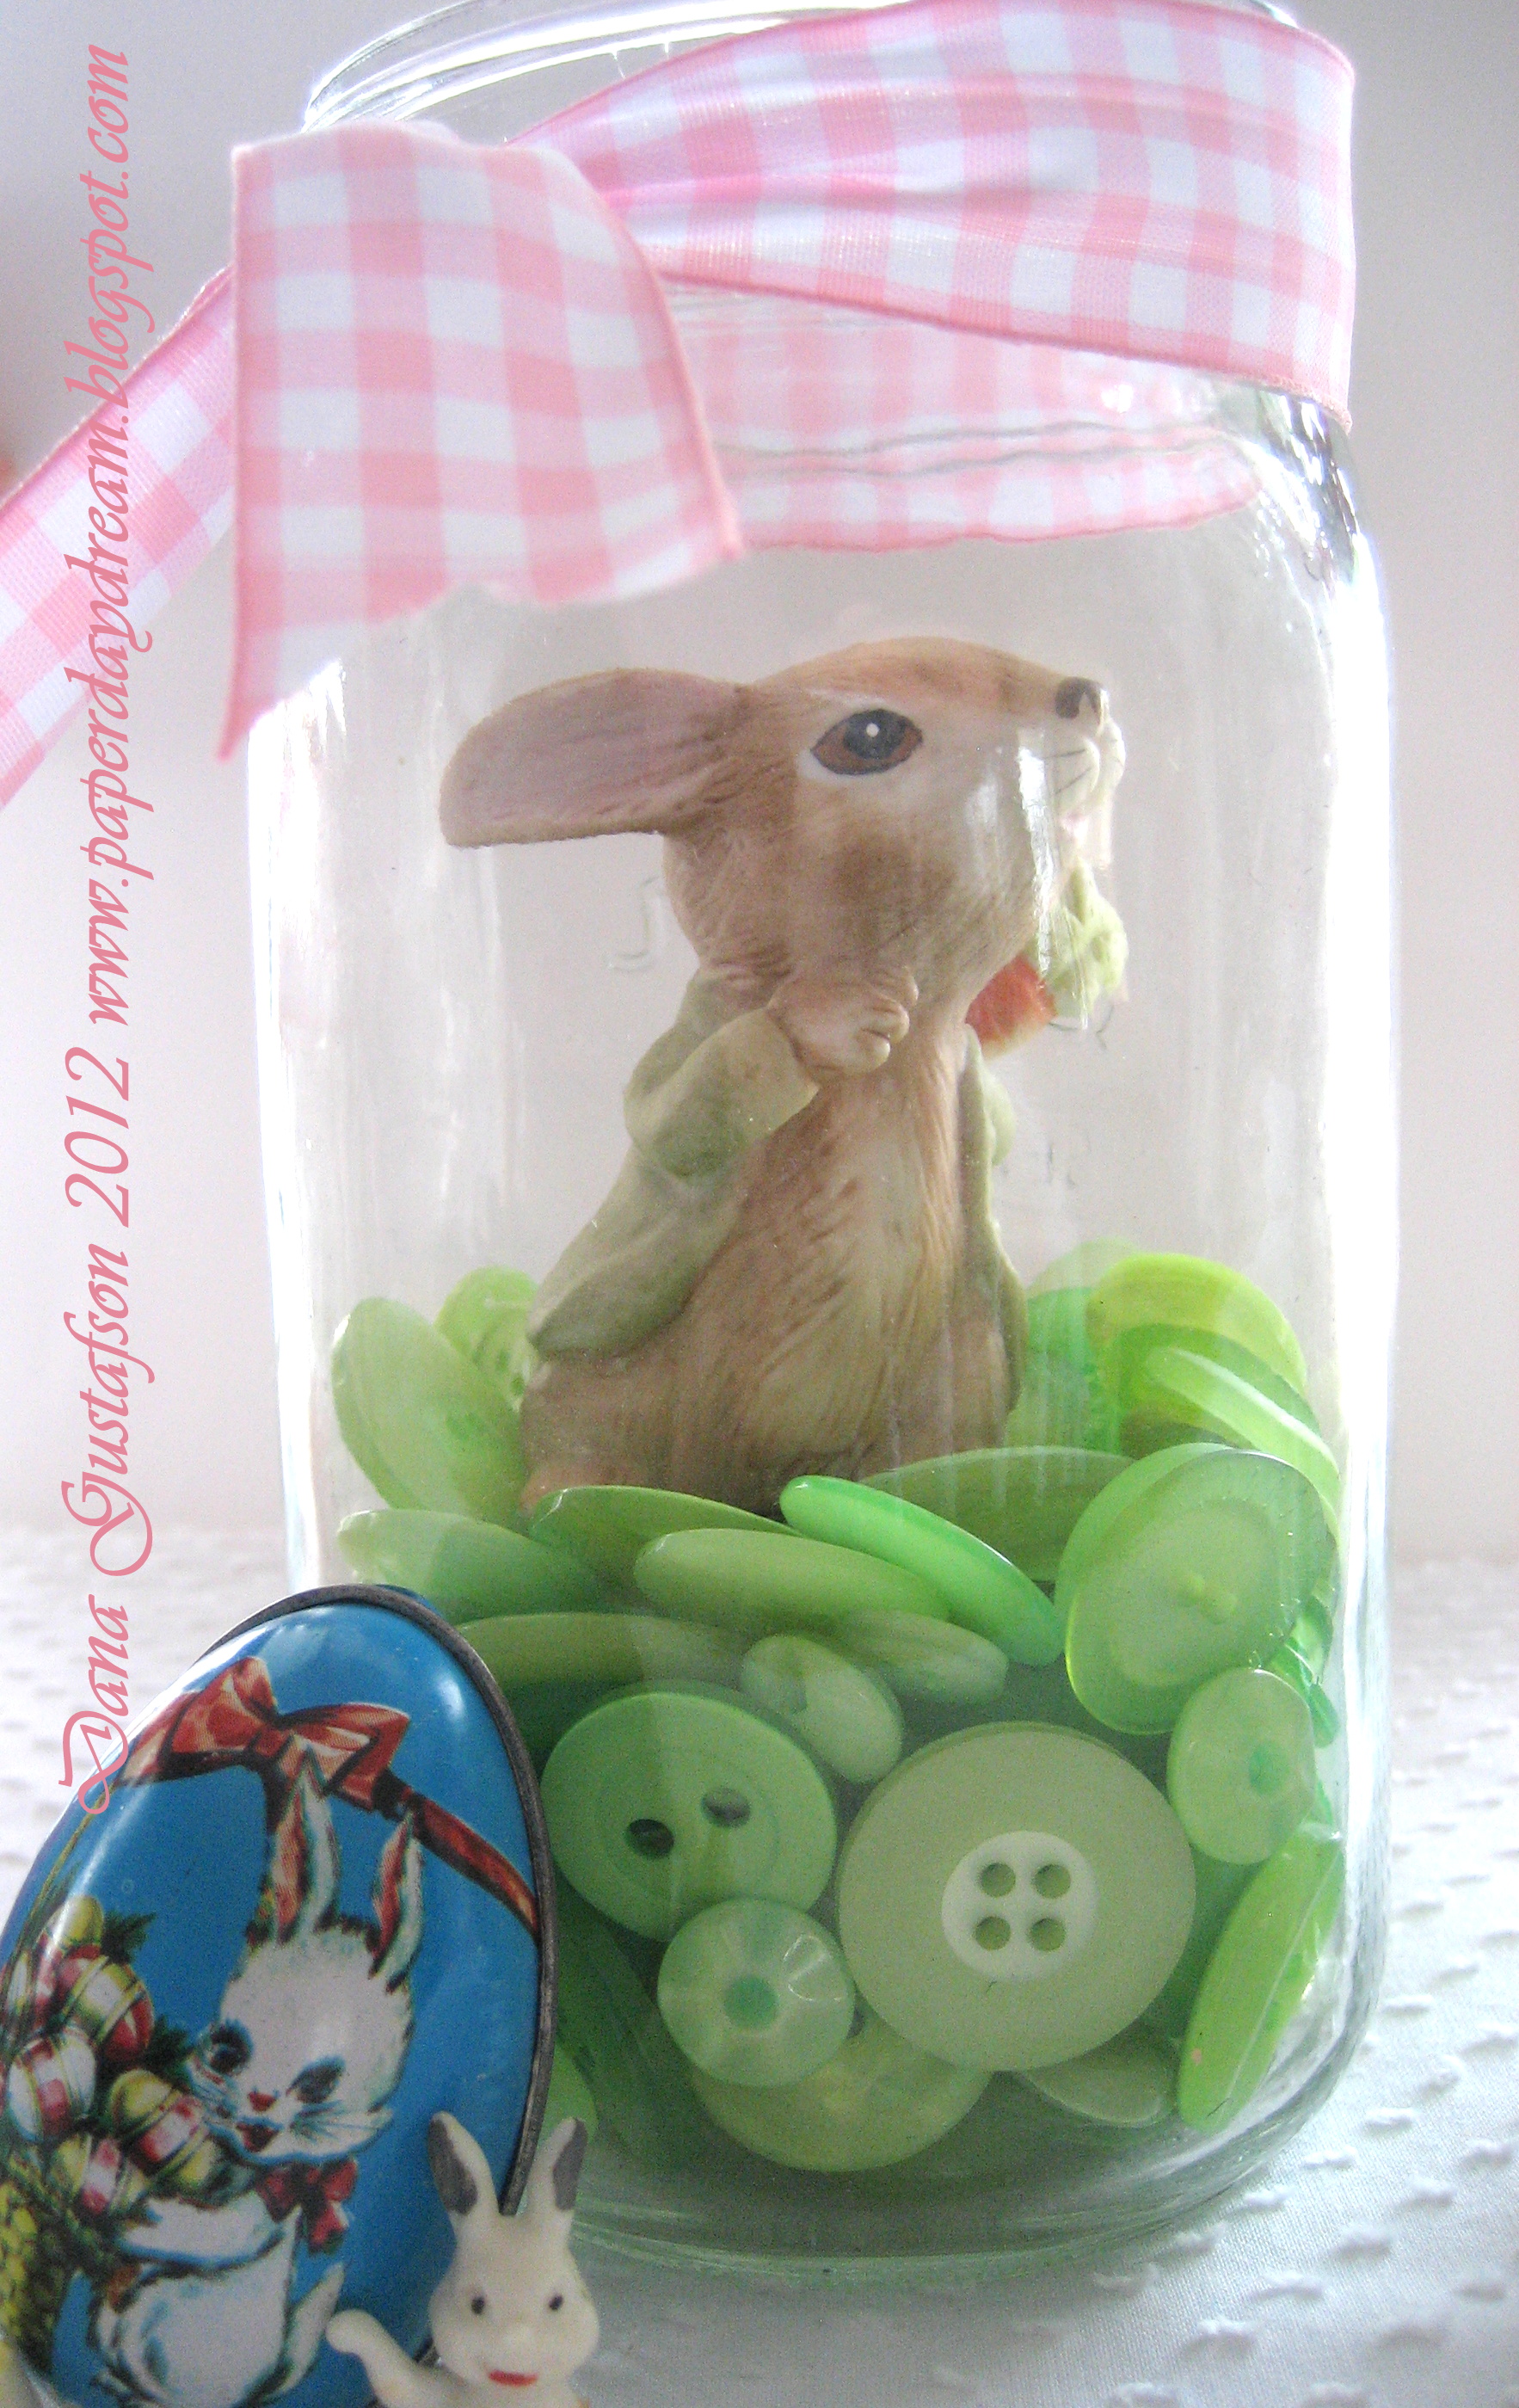
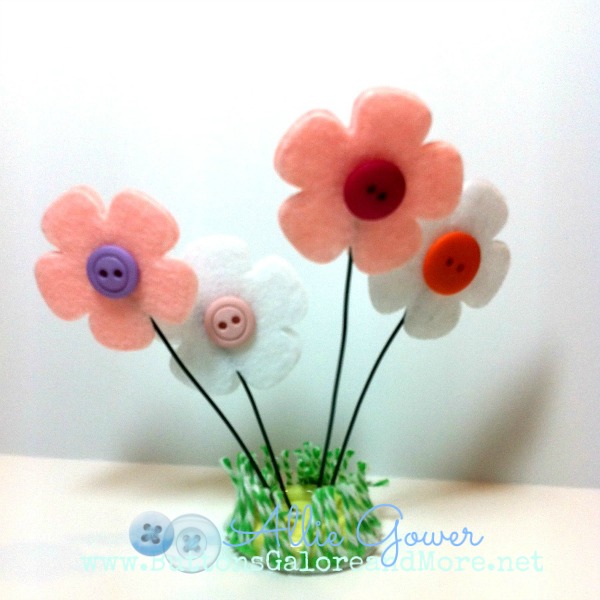
This fun project will brighten up any decor and bring the cheer of spring inside – even if Mother Nature isn’t cooperating outside. And the only tool required is a glue gun!

Springtime Flutterbug Medley Wall Plaque

Spring Flutterbug Medley Wall Plaque

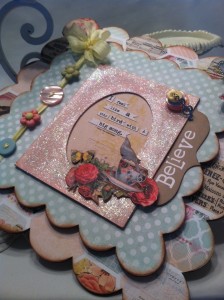
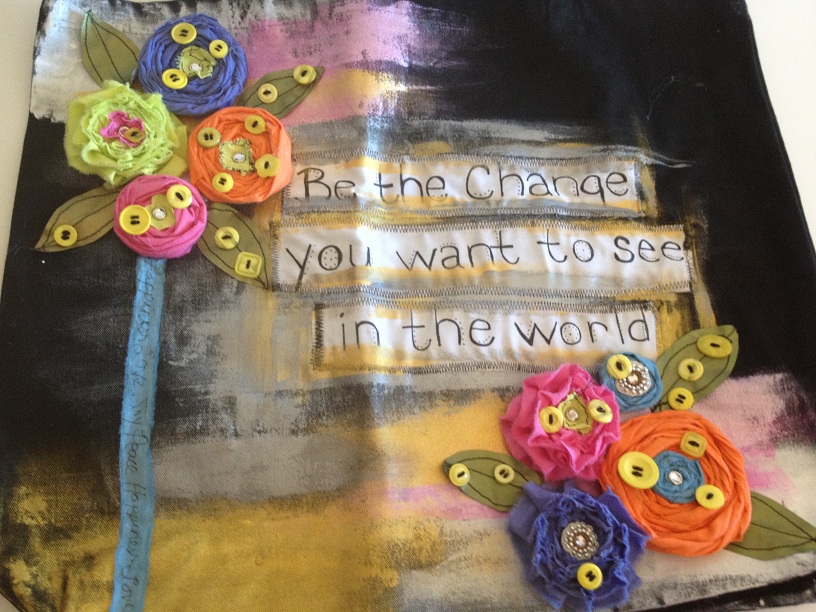
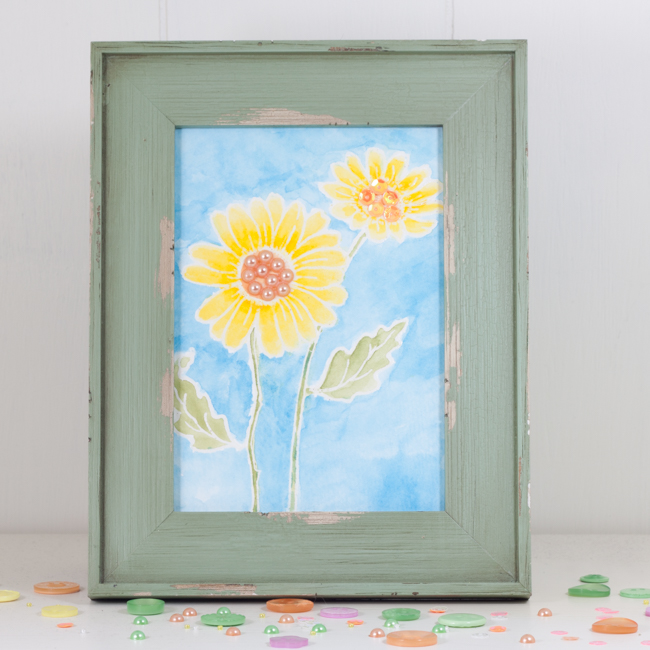
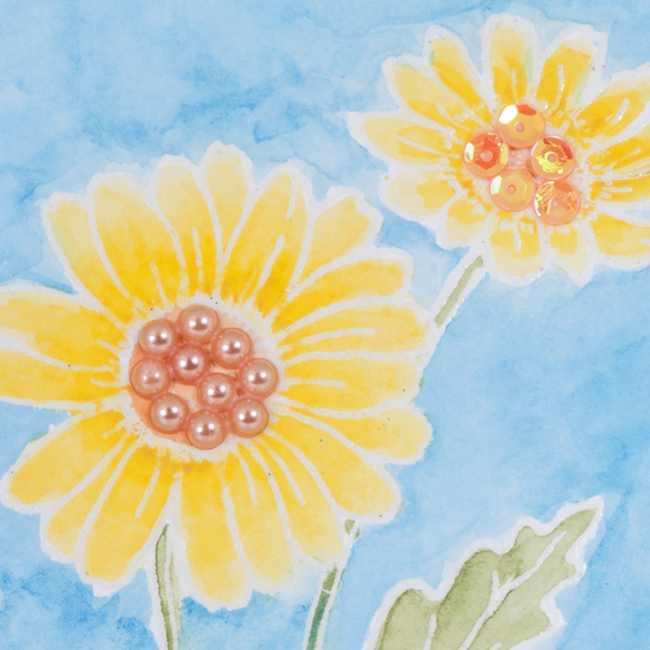
This gorgeous frame project could be used to house a favorite picture, or a favorite seasonal quote. It’s perfect for nursery decor, or a craft room!

Welcome Spring Sign

Welcome Spring hanging sign

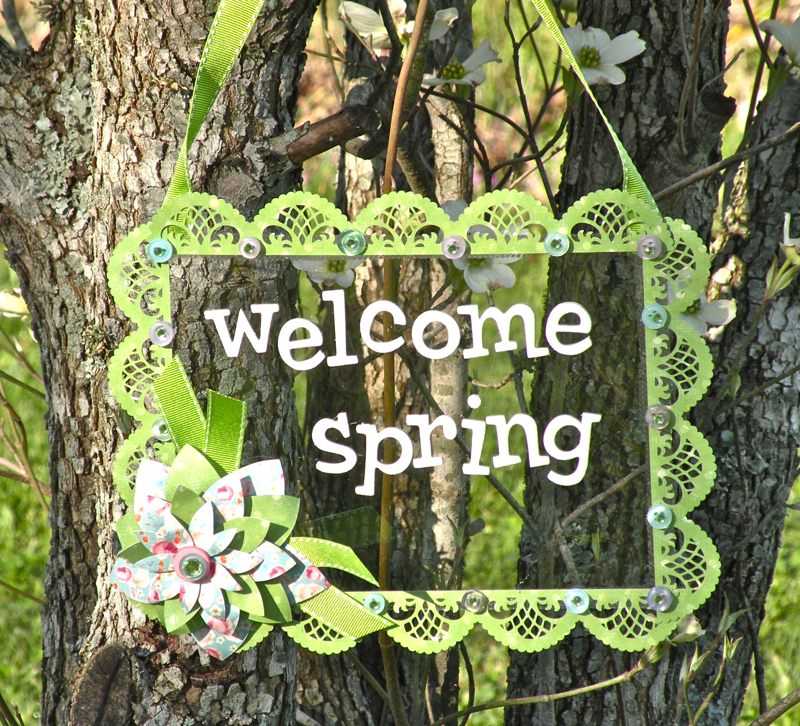
This sign says it all for those who are ready to be done with winter…”welcome spring”. This light and airy look can be made in a variety of spring colors, or the text could be changed out with a child’s name for nursery decor too!

Upcycled Spring Floral Bouquet

Upcycled Spring Floral Bouquet

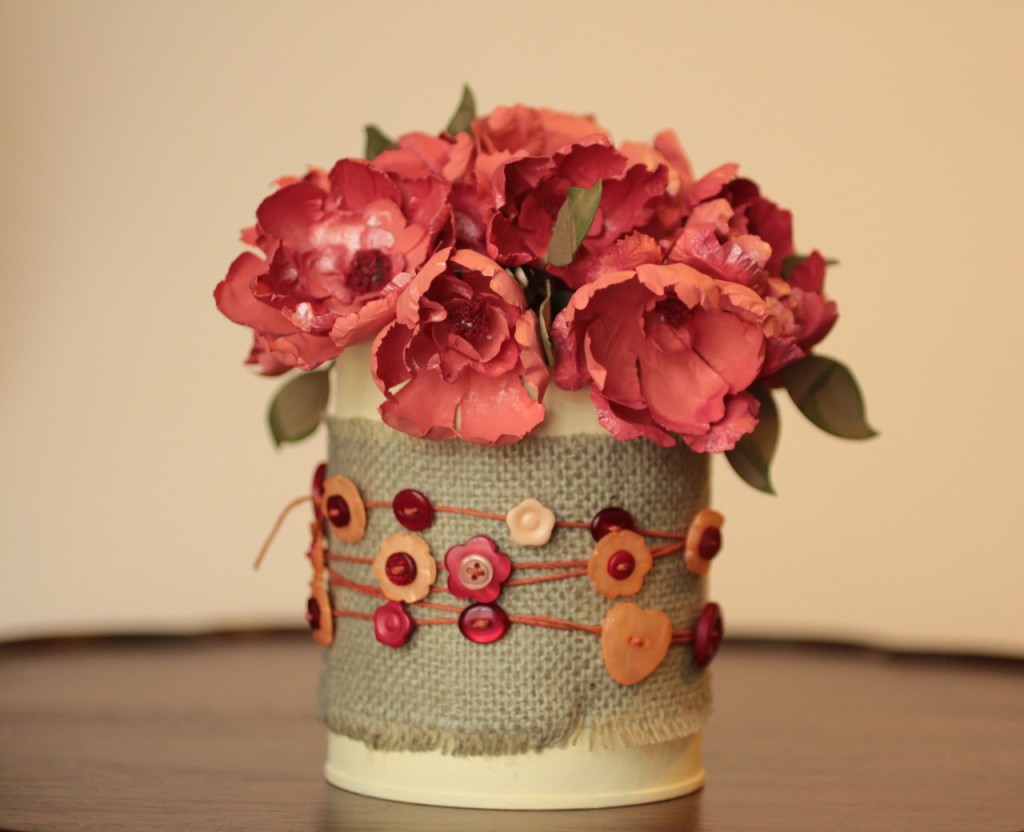
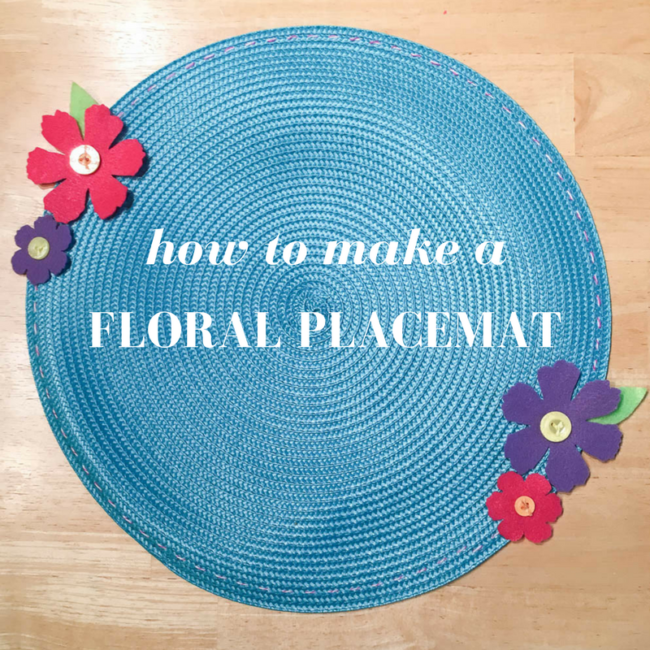
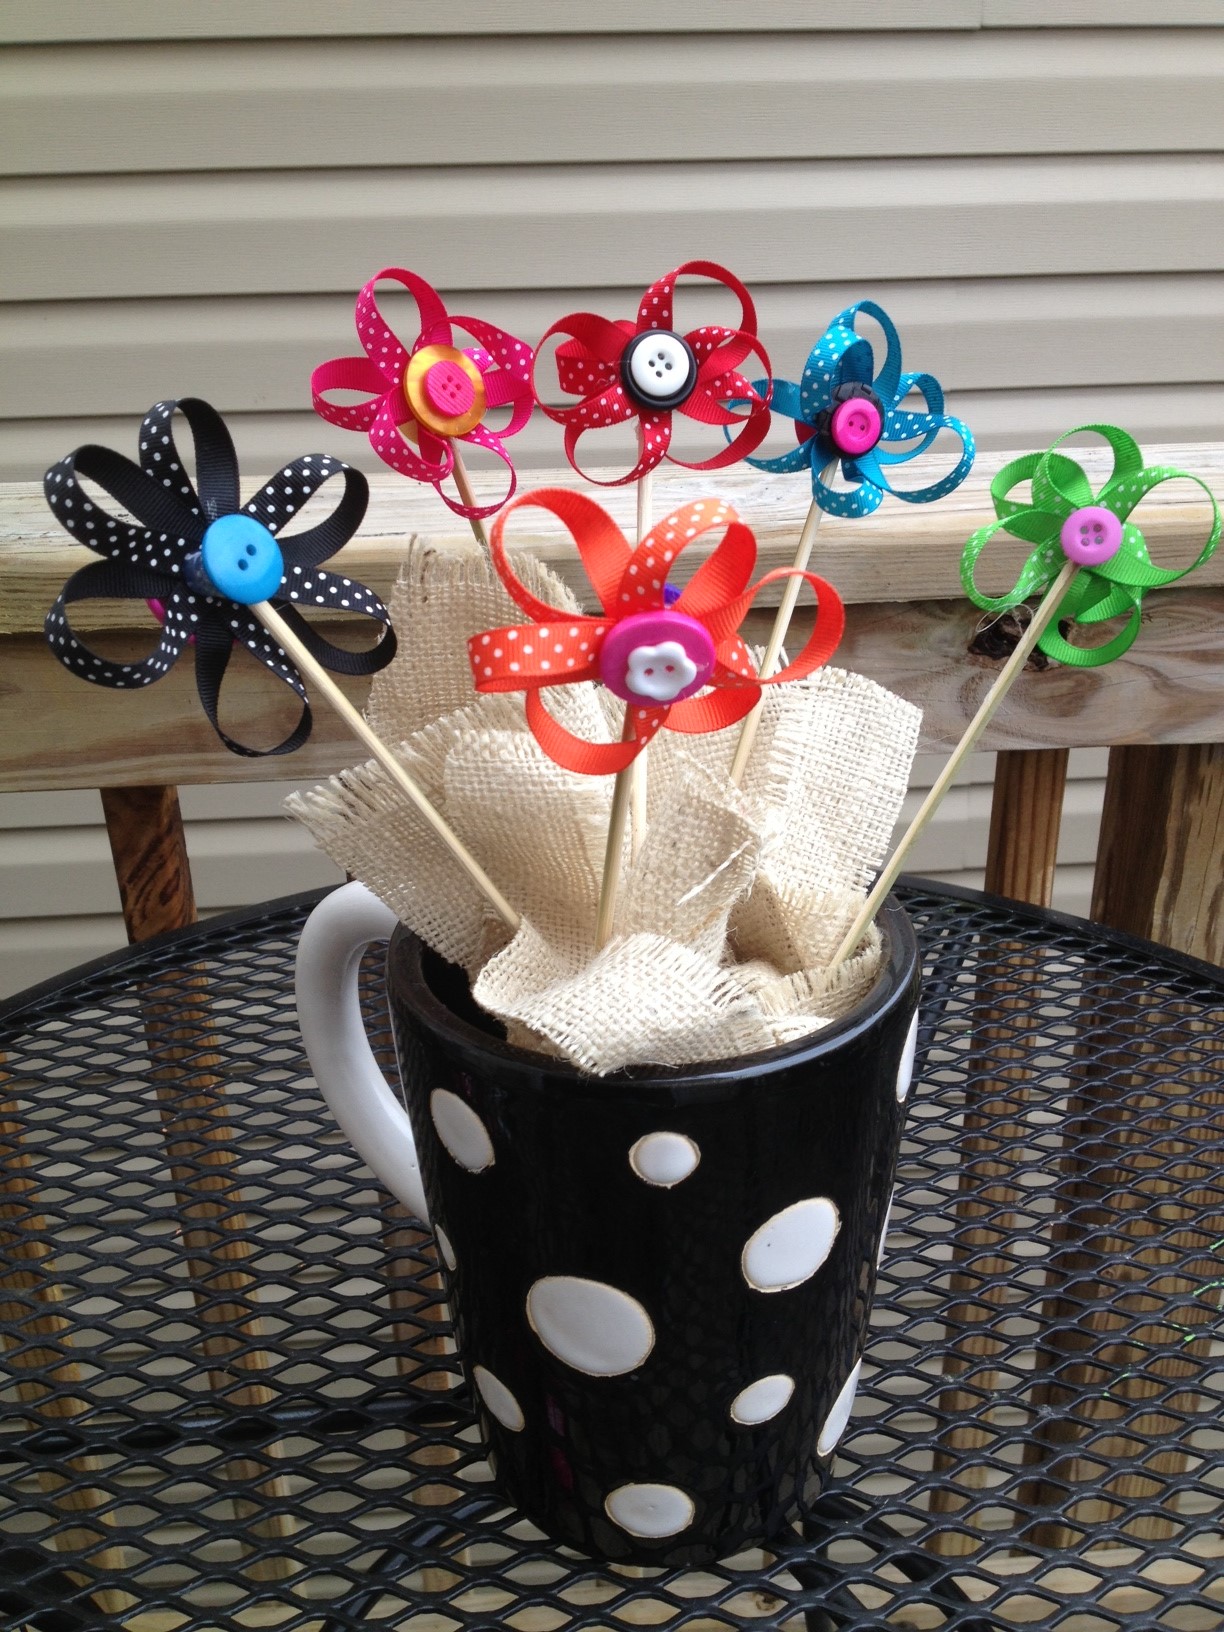
When there is no flowers outside yet, just make your own! This spring project brings the spring cheer and is environmental too, as it upcycles a tin can for the beautiful container the holds the handmade flowers.

Homemade Button Garden Markers

HomemadeGarden Markers, Pea Marker

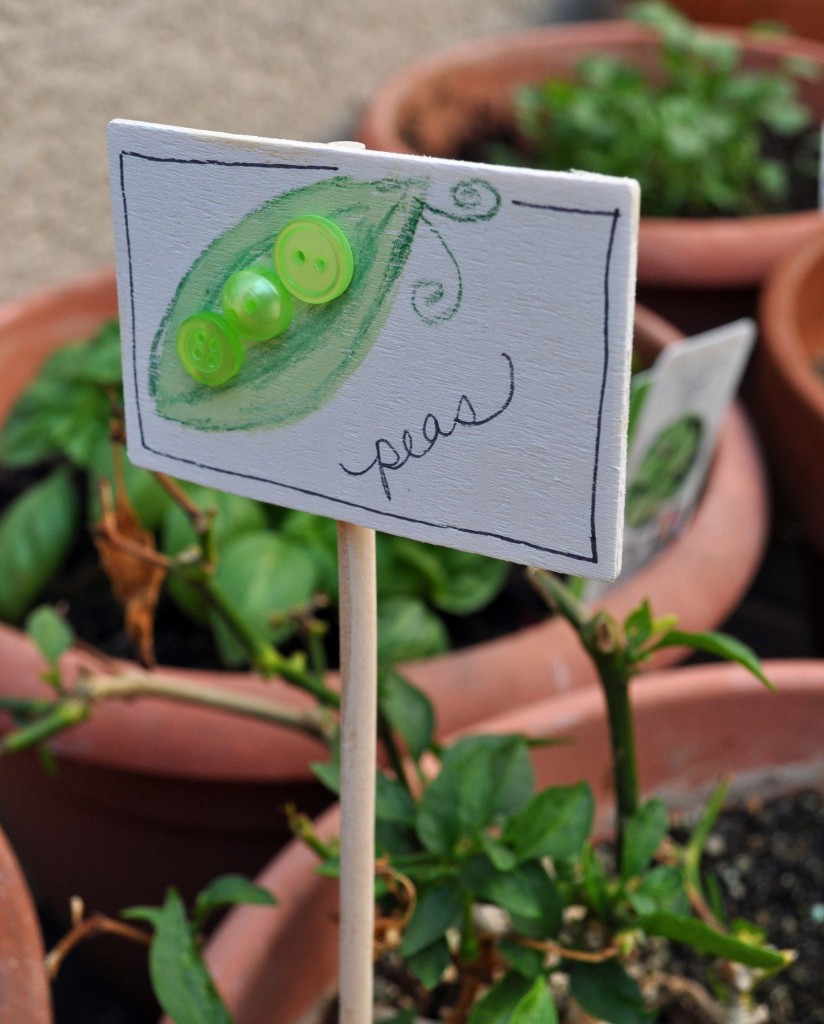
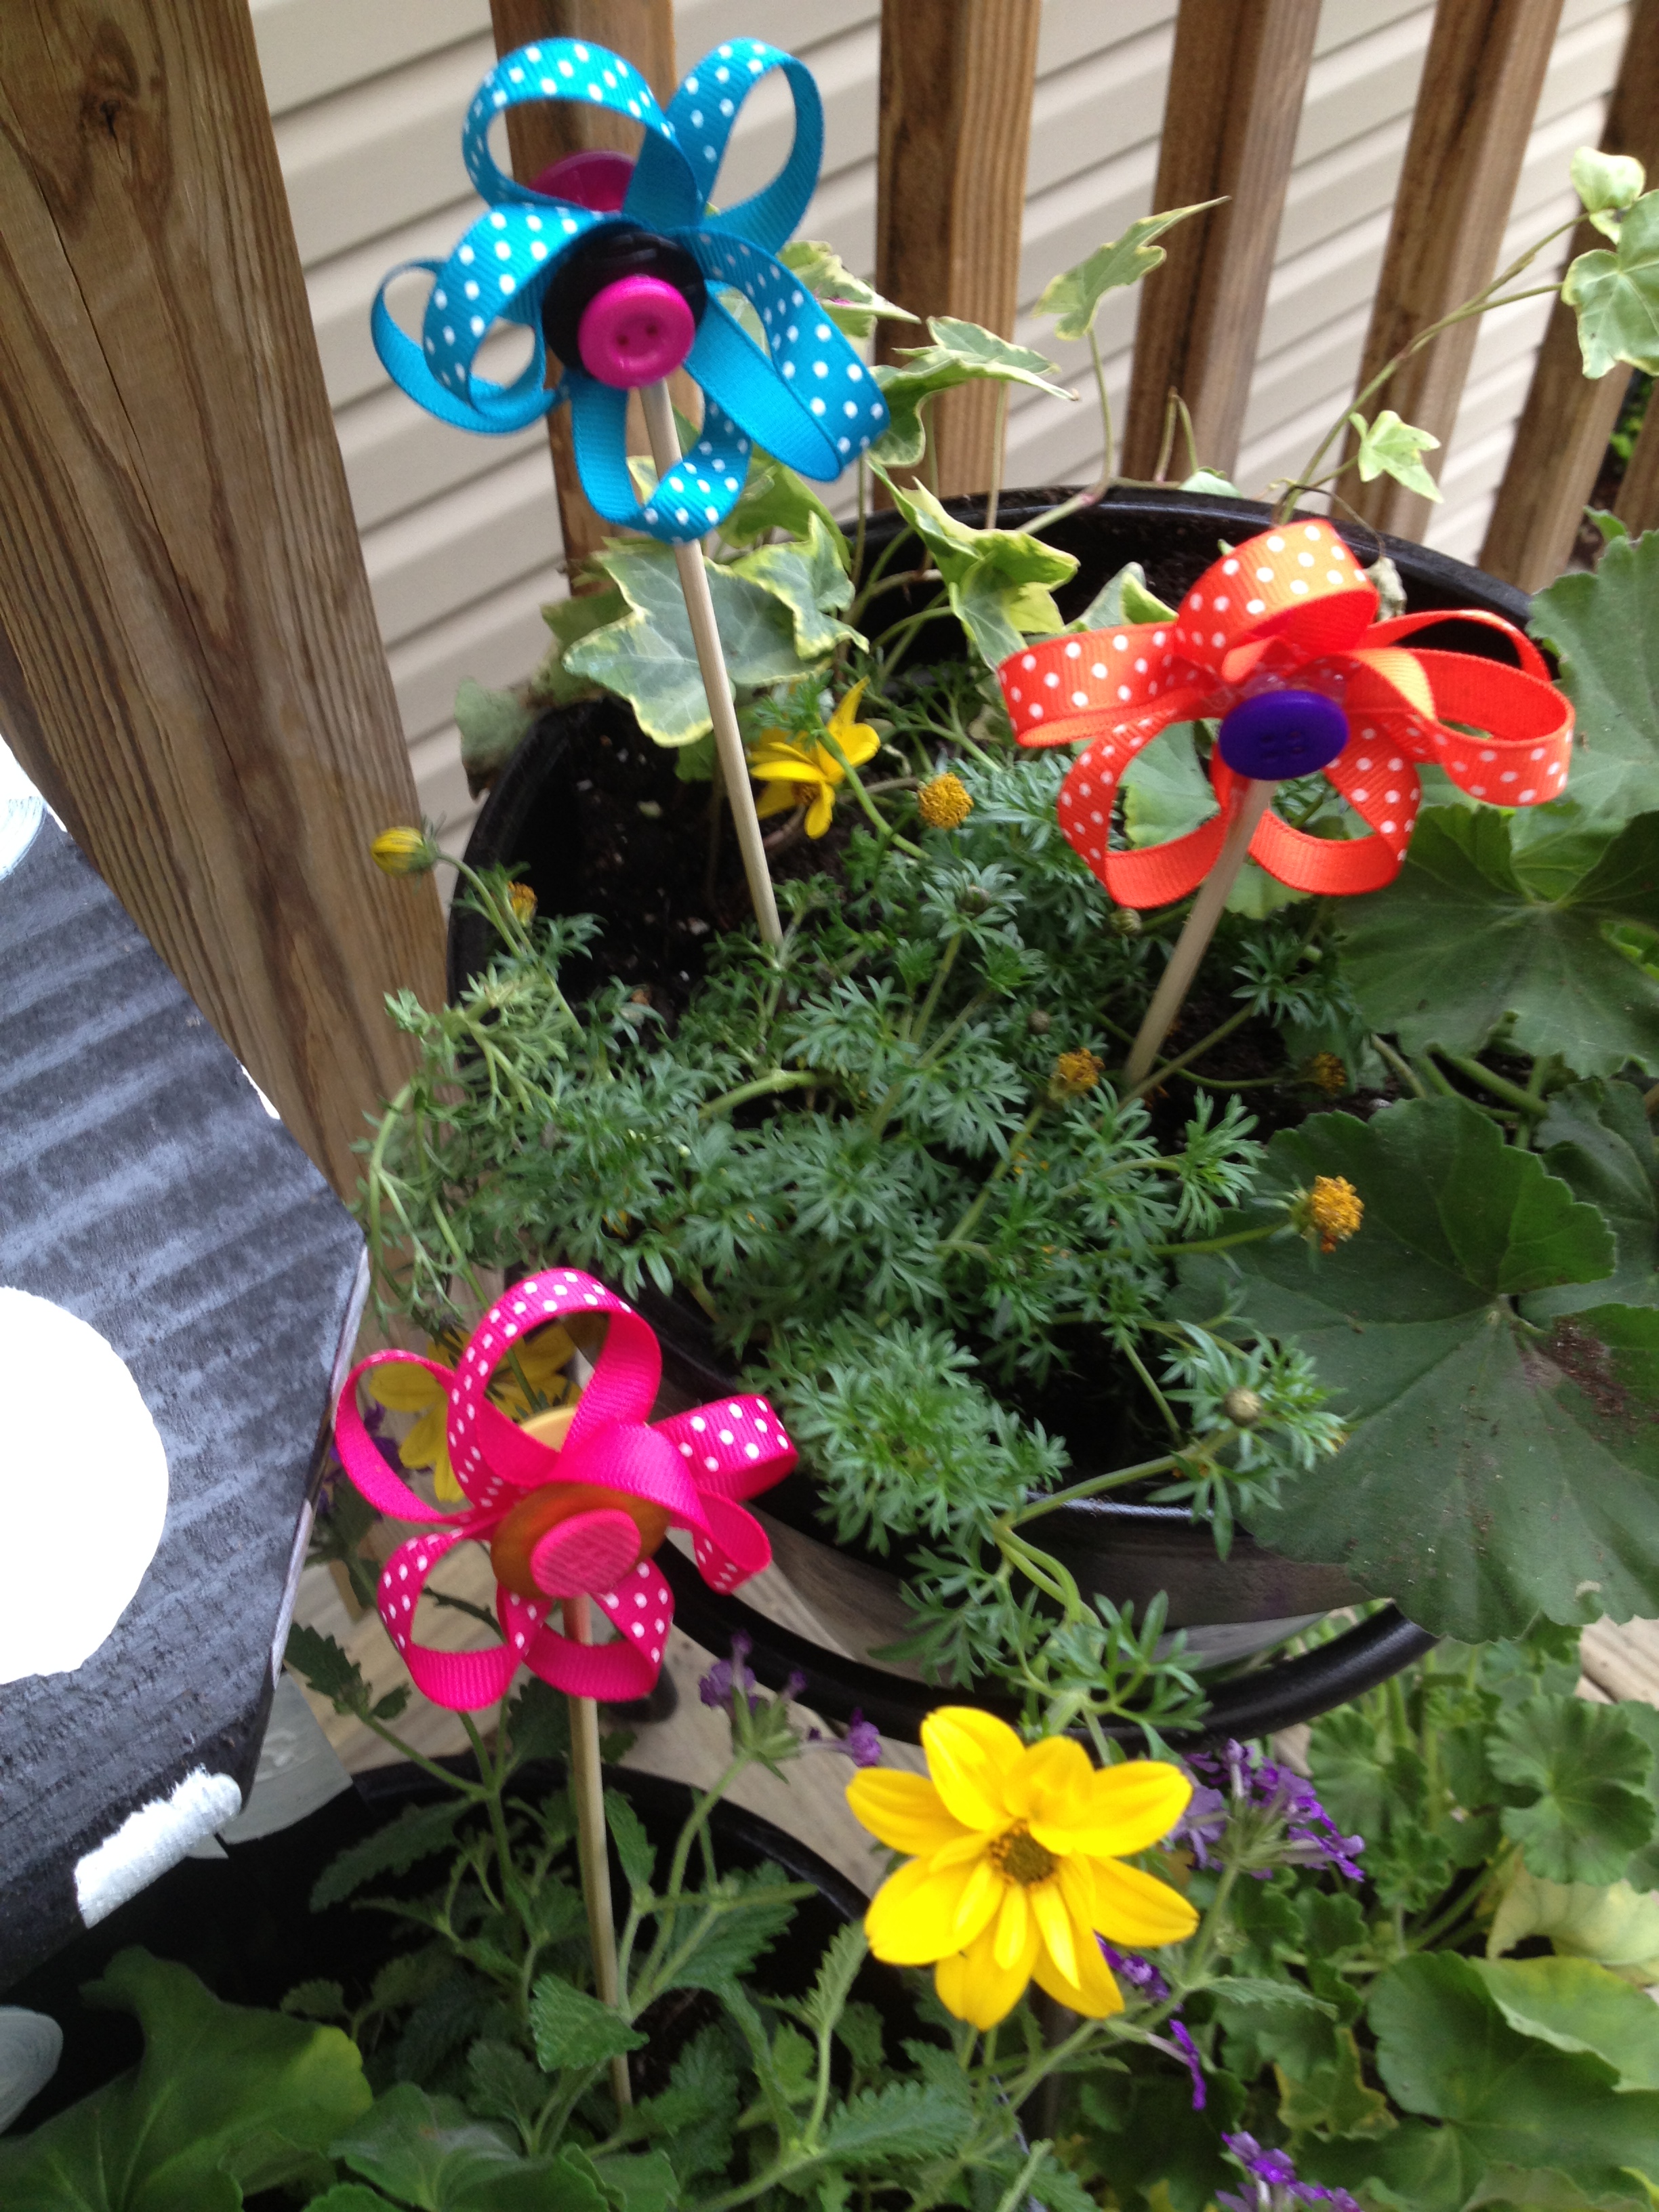
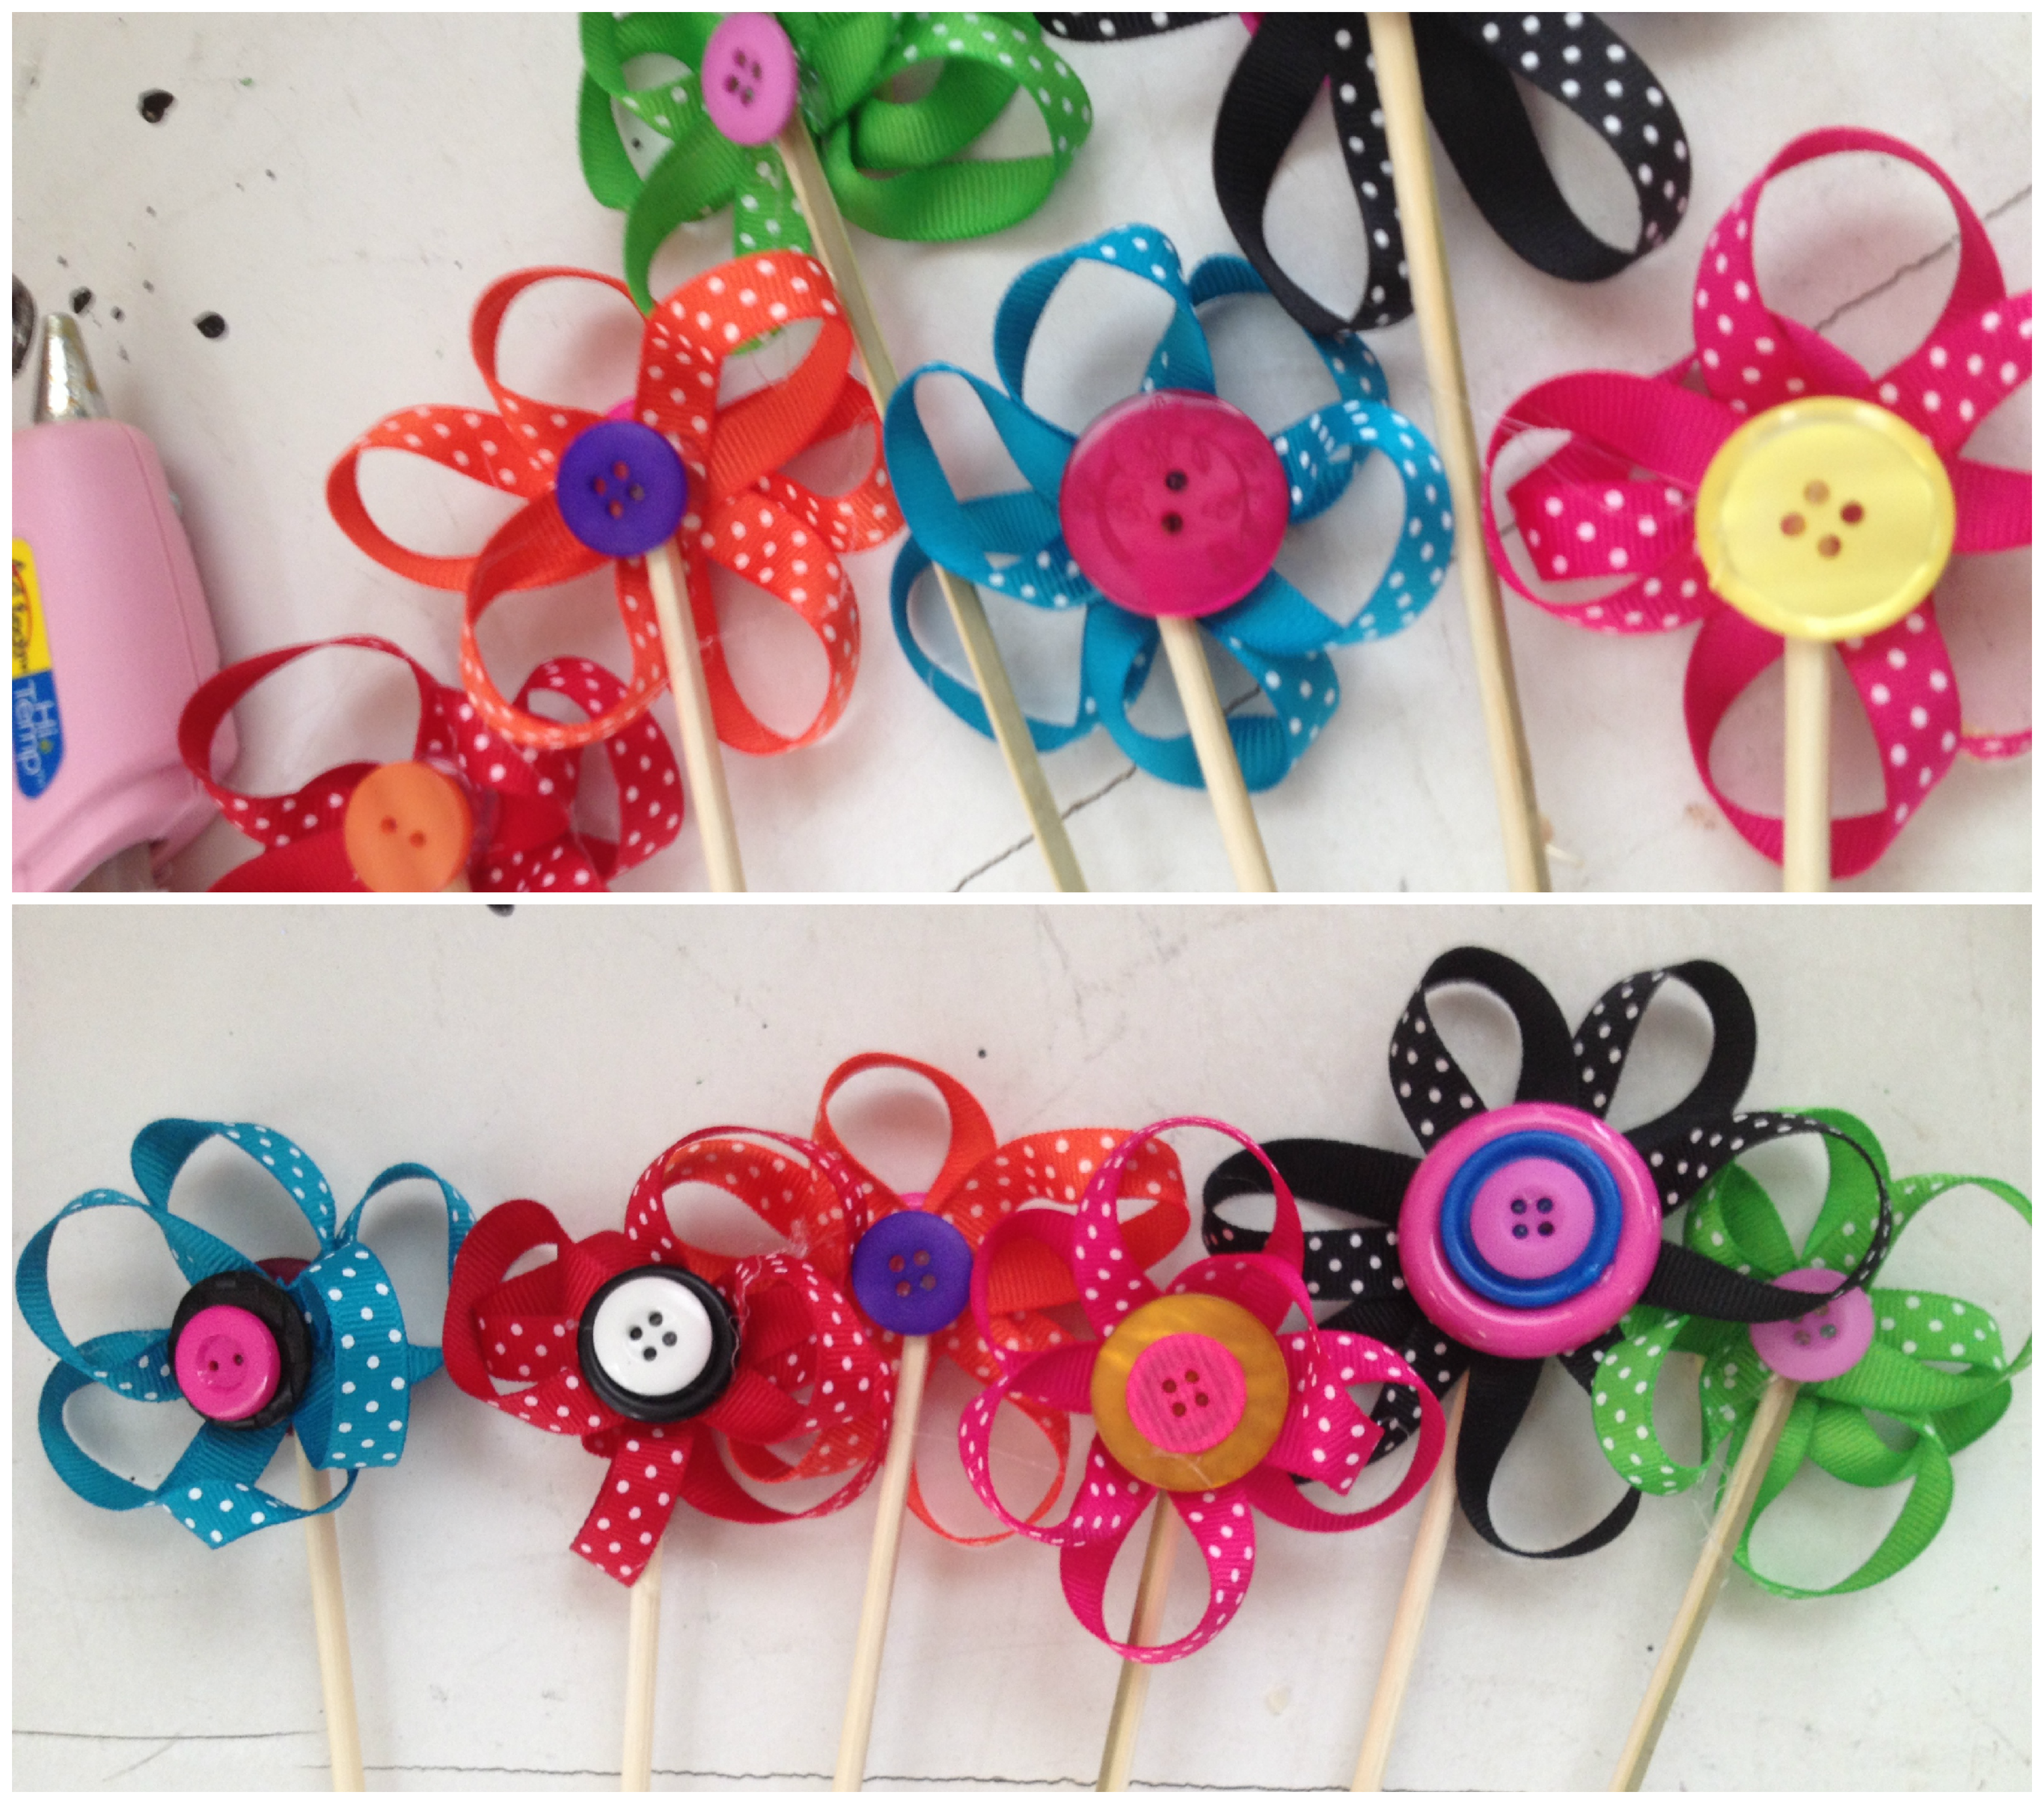
Spring time means gardeners everywhere are dreaming of abundant summer garden harvests, and planting pots of seeds to get a head start on the growing season. These adorable garden markers will help you remember what that little green sprout in that pot is – peas? corn? beans? – before it makes its way out to be planted in the garden.

Spring Butterfly and Flower Card

Spring Butterfly and Flower Card

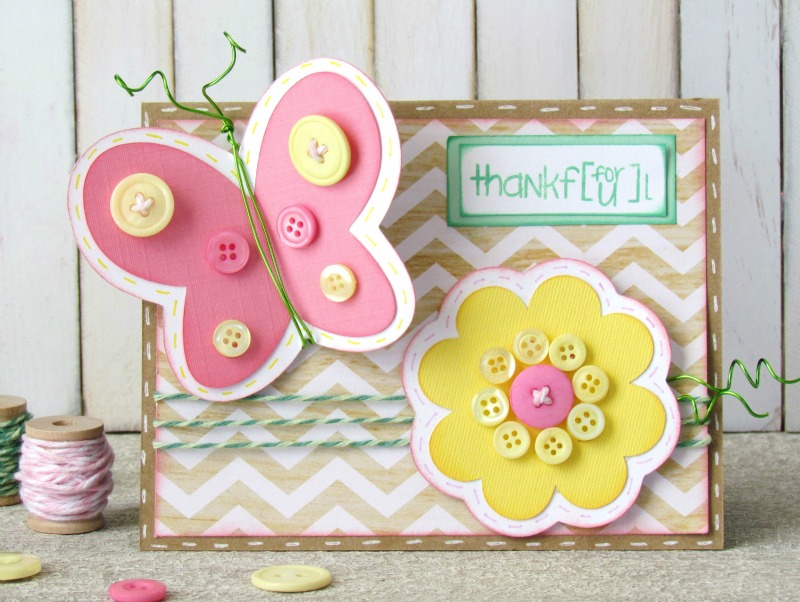
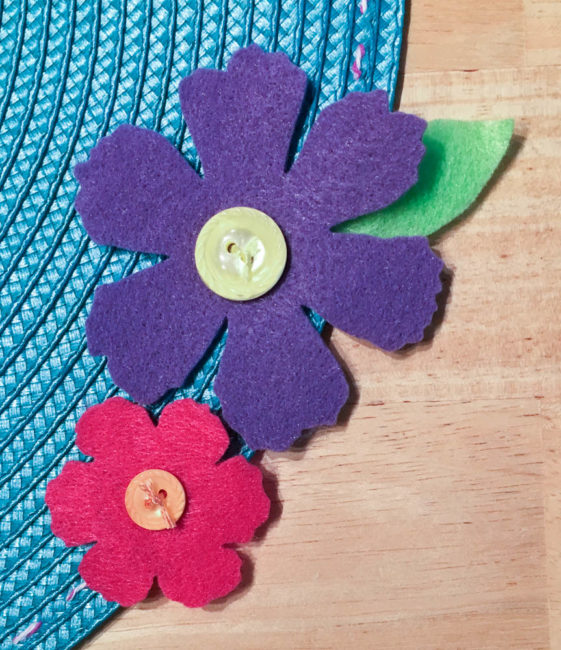
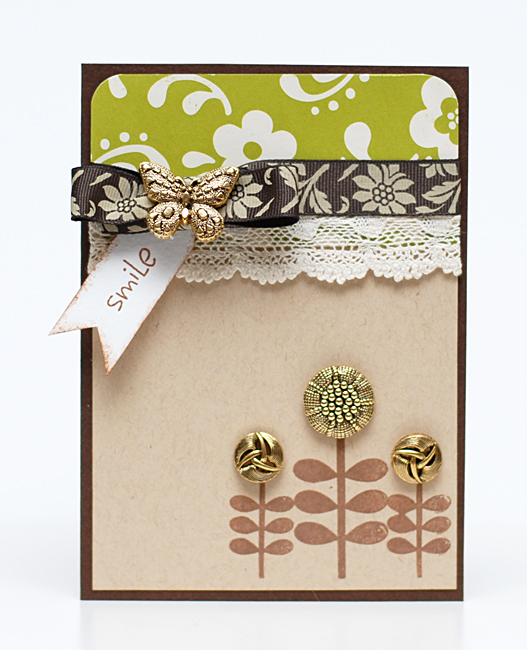
If spring has you feeling in the mind to spread some good cheer, some button embellished flowers and butterflies may be just the way to do it! This quick and easy card will put a smile on someone’s face for sure!
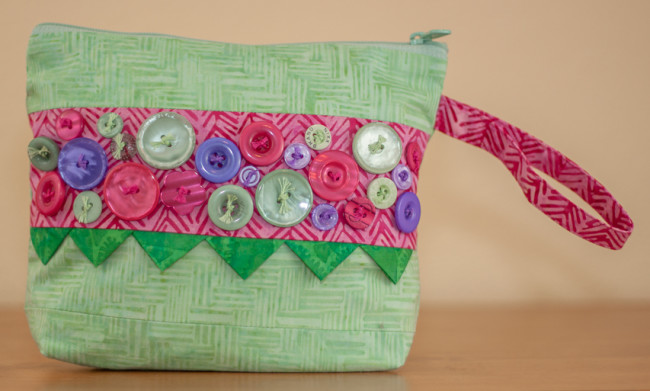
Button & Burlap Jar

Button flowerpot Candle hostess gift

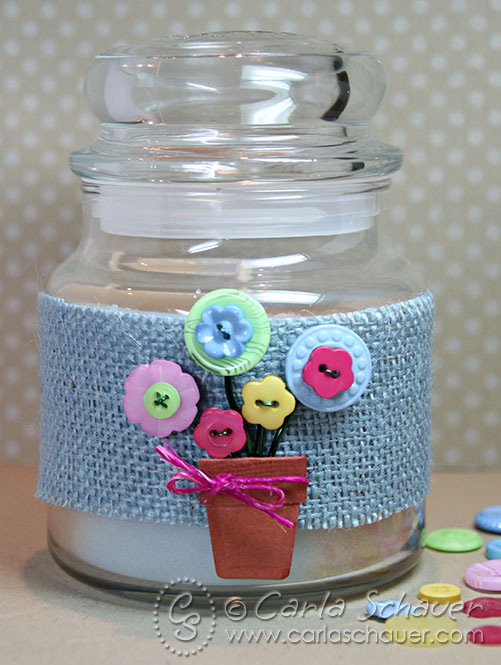
Although it is shown on a candle jar, this spring floral mason jar project could be used for a variety of uses – even storing your buttons in your craft room! With a few color changes (such as natural burlap) it could work with any decor, too. Your creativity is the limit!

And now for the giveaway!

File Apr 11, 5 07 42 PM

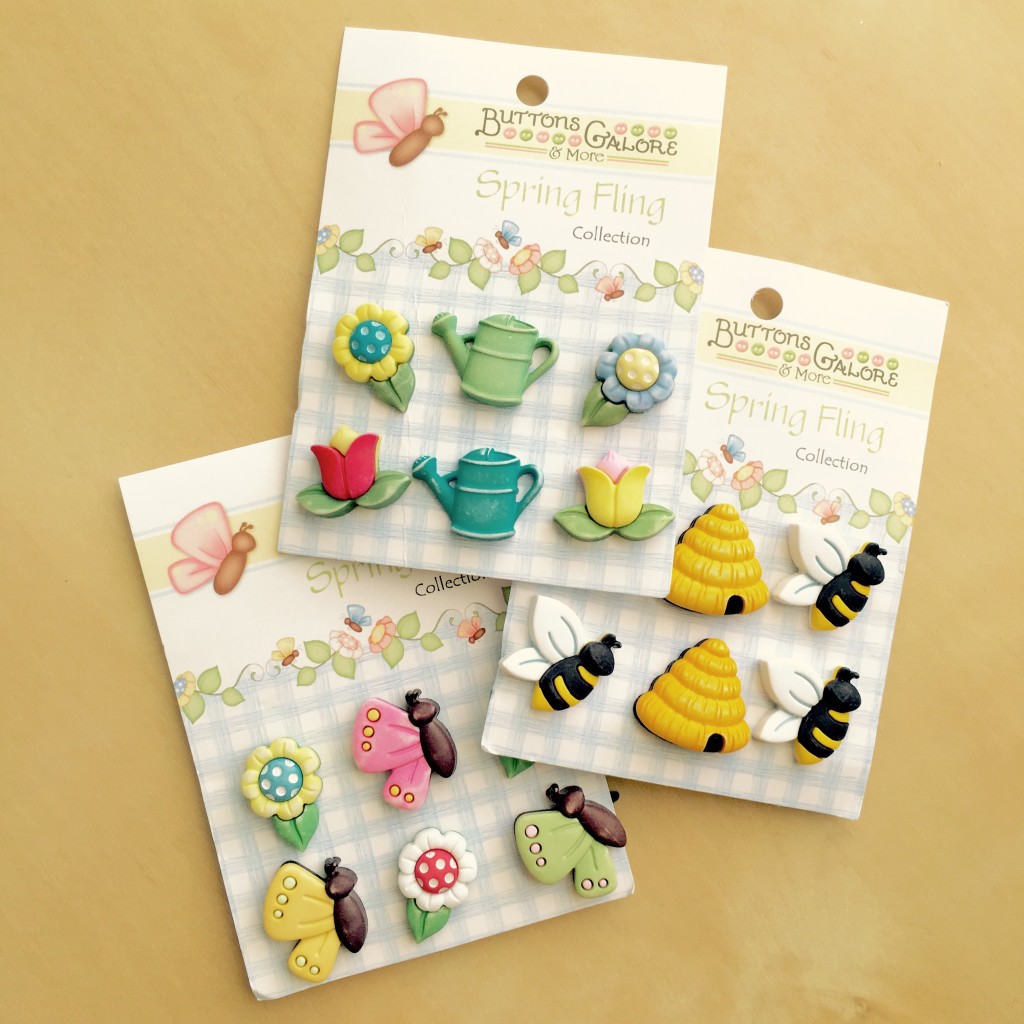
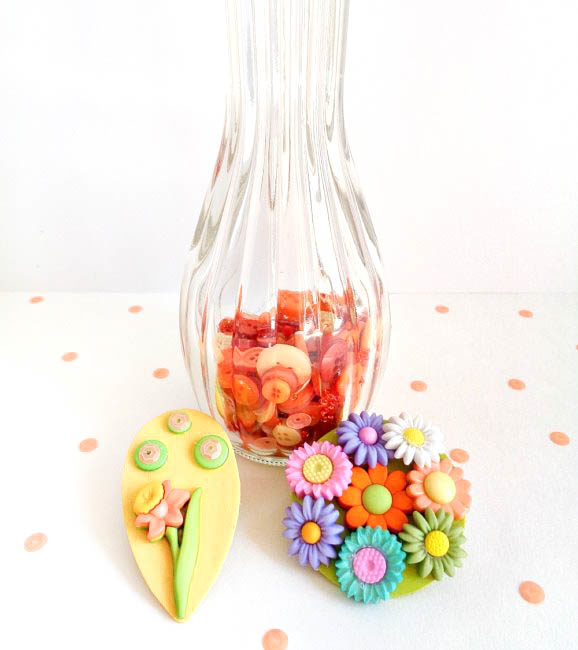
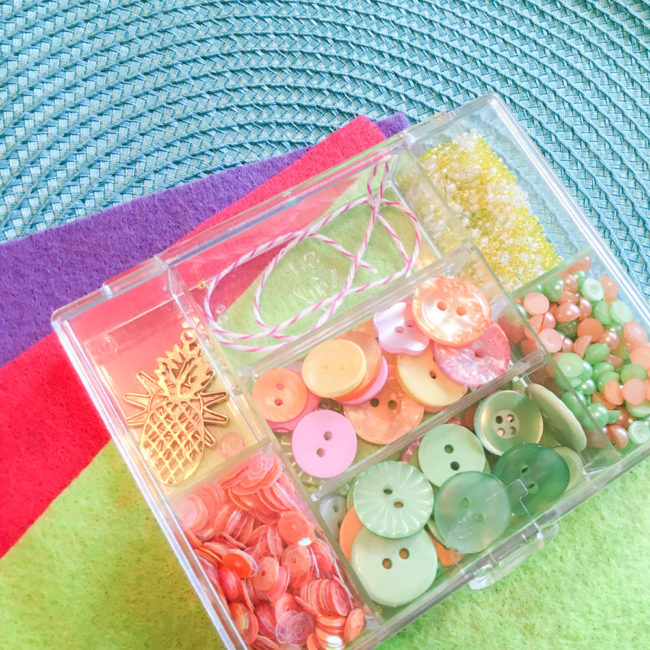
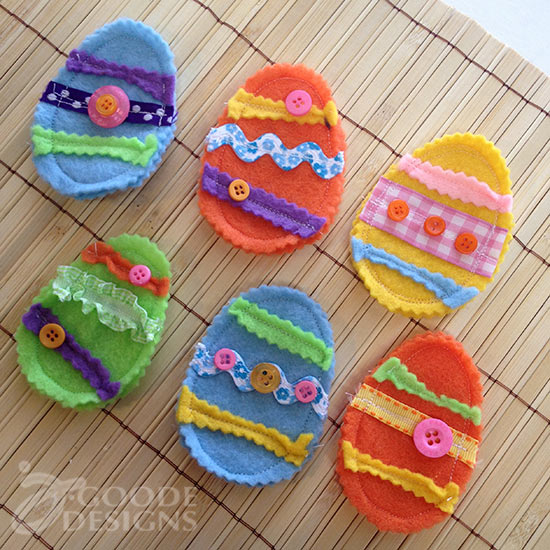
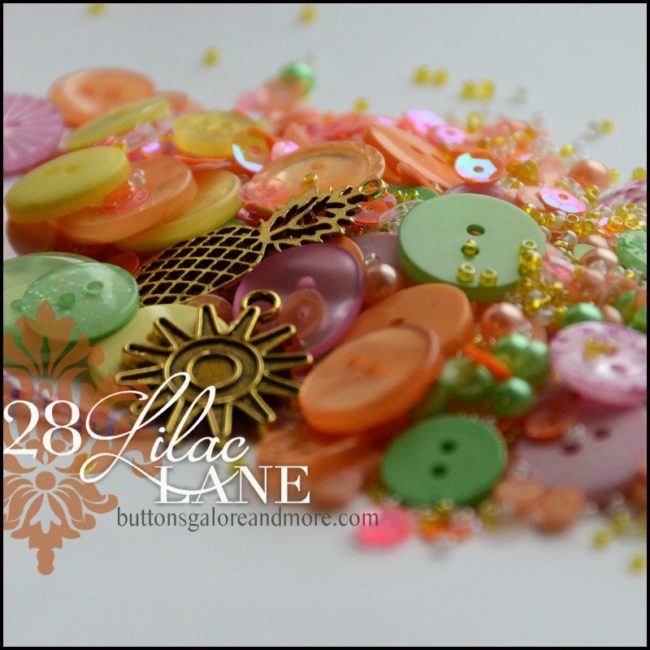
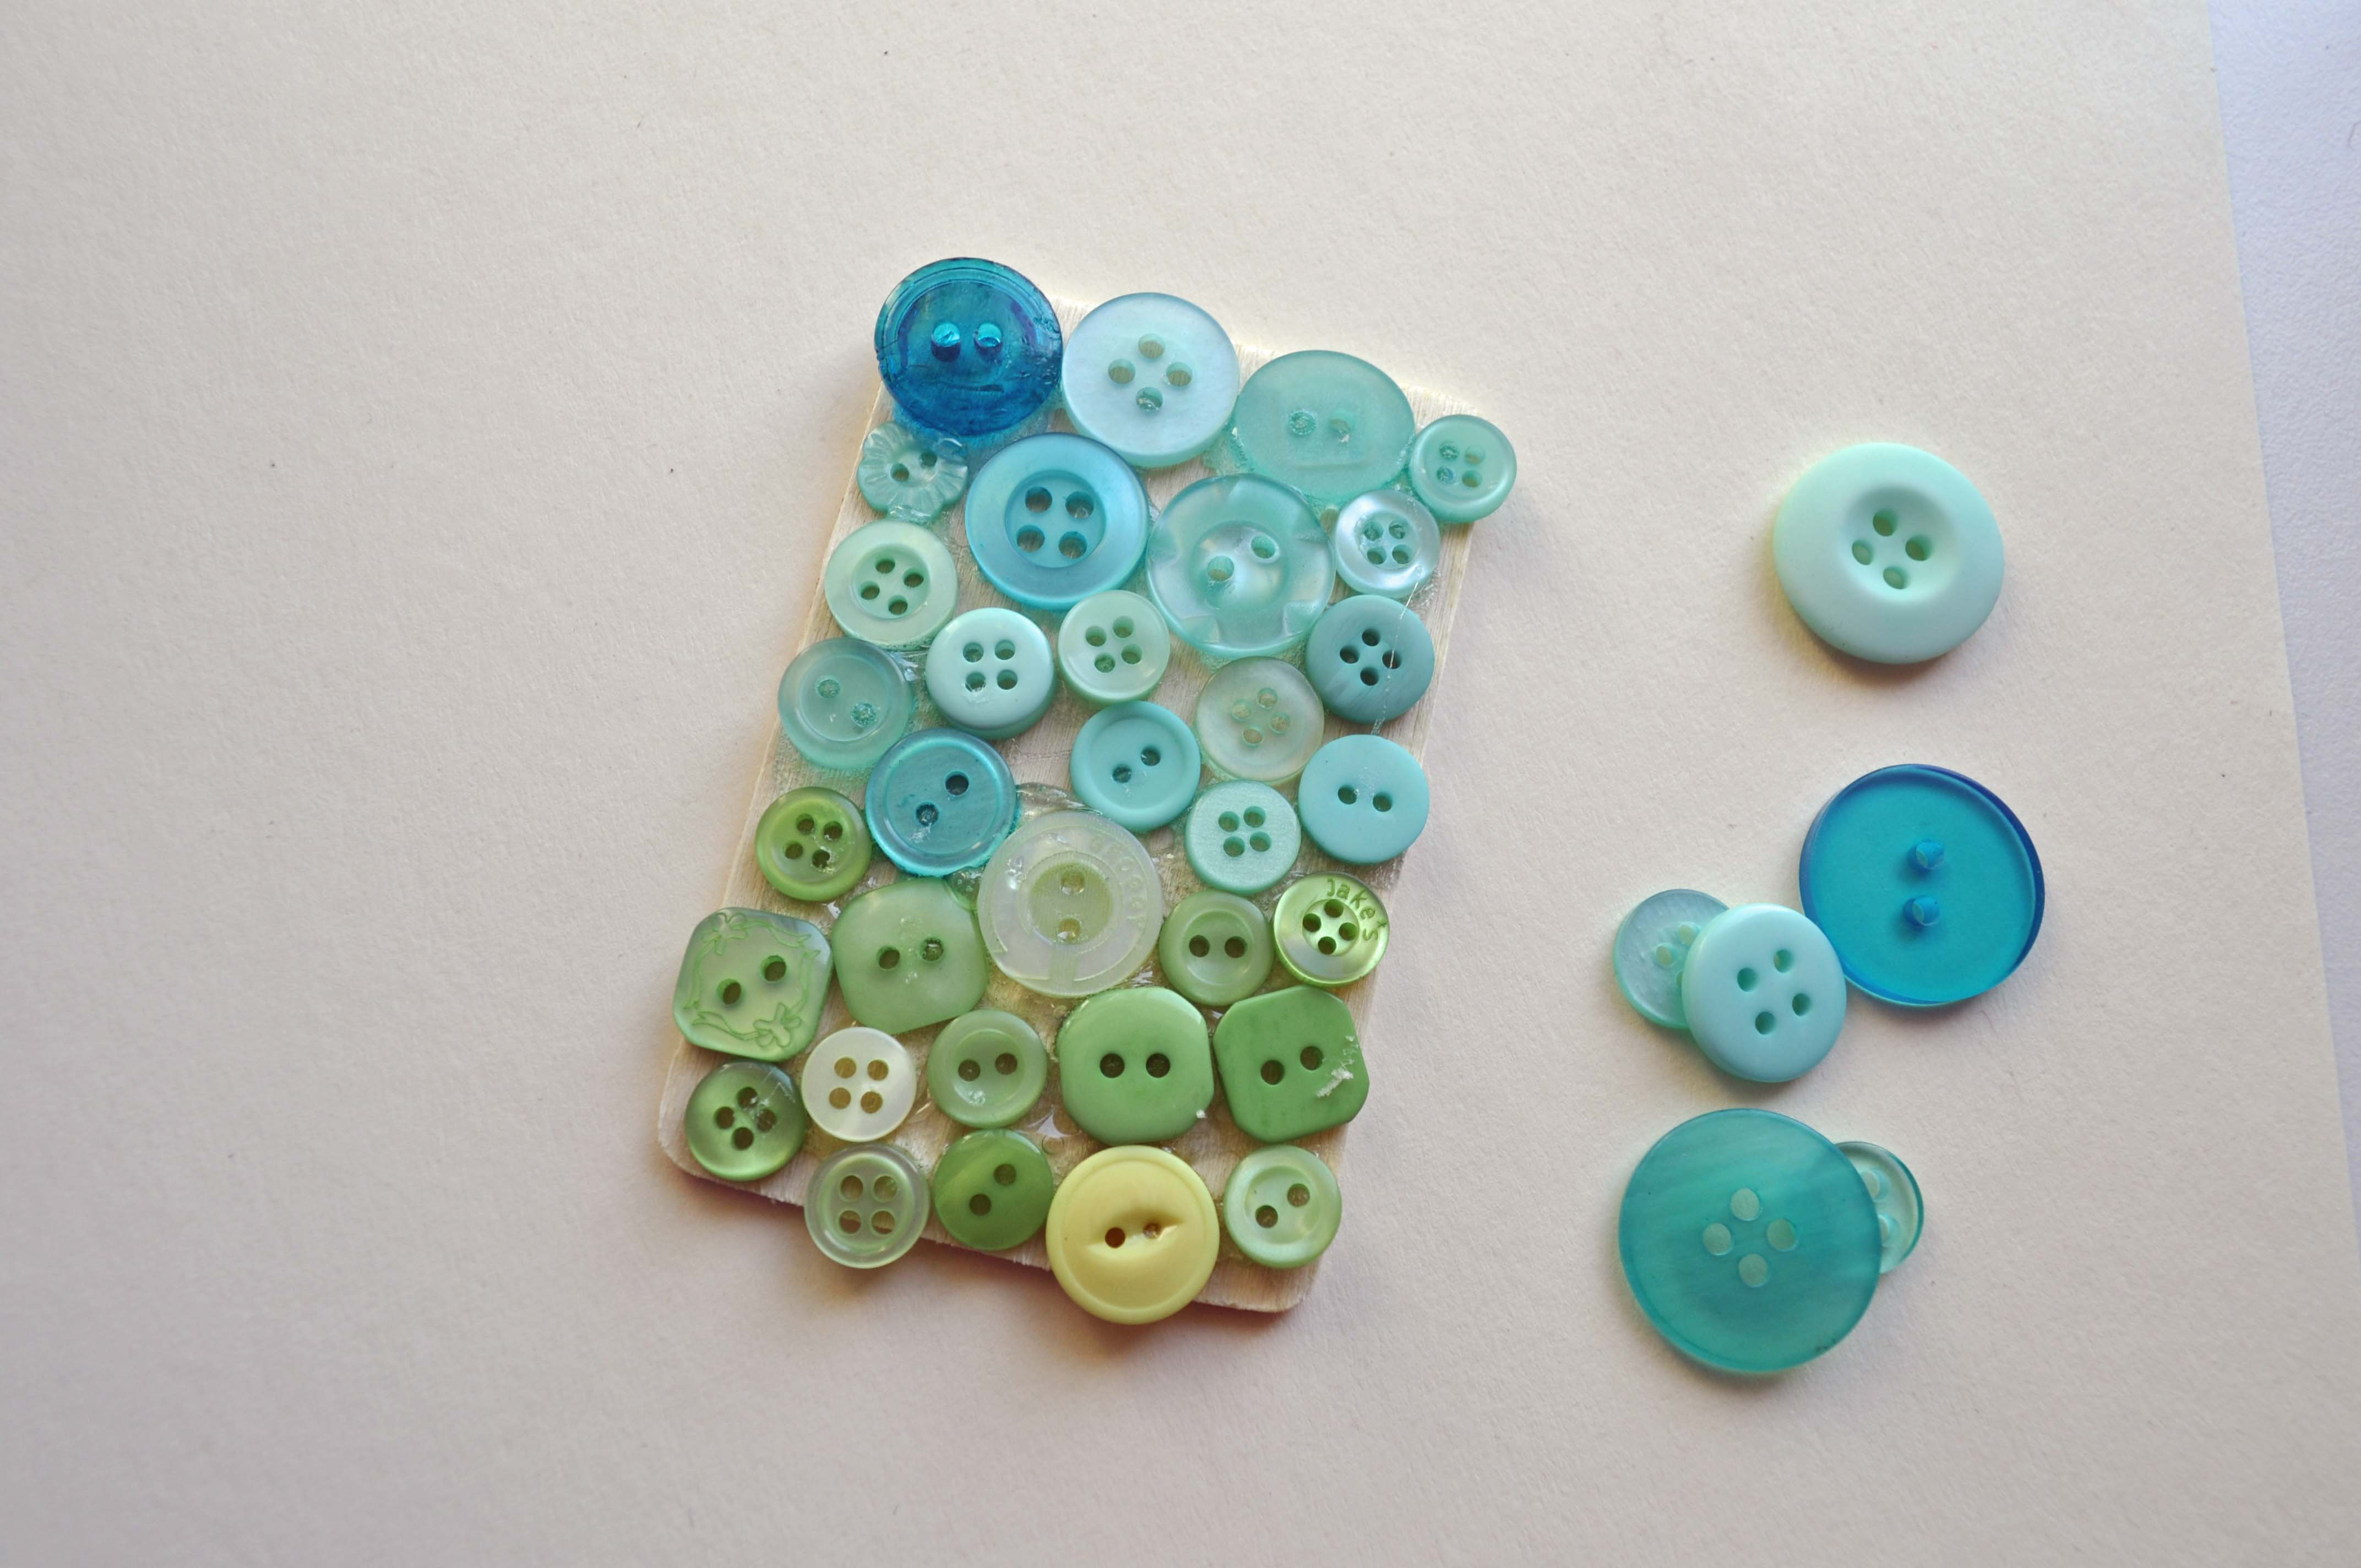
One lucky blog reader is going to win a spring button prize package of a random assortment of our Buttons Galore Spring Fling 3D buttons (a sampling of the collection is shown above) that is worth $20 retail! That will make plenty of great spring projects for the lucky winner!

How To Enter The Giveaway: Leave a comment below telling us which one of the spring projects that we shared here you liked the best! A random winner will be chosen from all comments left before midnight U.S. pacific time on Sunday, April 17th. One entry per person. Giveaway open to U.S. residents only.

7

Flower pot Flowers

It is springtime and that means gardening, planting, flowers and sunshine.

Polkadot Flower pot Flowers

If you are working towards creating a colorful flowerpot garden, here is a fabulous QUICK and easy way to add bright colors.

IMG_4378

To make the Flower pot Flowers :

grosgrain ribbon, bright Laura Kelly colored buttons, hot glue (I use ad-tech high temp) and wooden skewers!

Use grosgrain ribbon loops to create petals and then hot glue gun buttons to the centers to add color and hold them together then hot glue the to the non pointed end of the skewer.  Flip them over and hot glue a button to the backside so that if they turn around in your garden they will still look cute.

RibbonButtonFlowers

What a fabulous way to create color in fifteen minutes.  These flowers withstand the weather and last all season long.  Of course they are pretty indoors too.  You could even make a whole pot of just these and never have to water.

RibbonFlowers

If you want to know where the polka dotted flower pots came from, hop over to my blog and find out.

Happy Fifteen Minute Friday with Flowerpot Flowers!

1

3D Button Flowers

3D Button Flowers

It’s spring. These 3D Button Flowers would be so cute for Mom, or any Spring birthdays, or just as a pick me up.

Go 3D with flowers and buttons


These are SO simple to make.

You need the following supplies:

Buttons, Twine, Sturdy Wire, Felt,

Yes, that’s IT!

I die cut some flowers using a Spellbinders Paper Arts die called Blossoms. You could also just cut out flowers, or use ready made flowers.

I chose a large button with four holes. I thread two wires through the holes. I sandwich flowers on the “stems” and add buttons.

I put a circle of felt on the button of the button to help keep the sculpture upright. I added some twine around the edge of the button to create grass.

SUPPLIES USED:

TOOLS USED:

Thanks for stopping by today. Hope you’re inspired to make something 3D!

4

Butterfly and Flower Die Cuts Embellished with Spring Buttons

When you think of spring what comes to mind?  Butterflies, flowers, beautiful weather, allergies?   Well, here in southern Nevada,  spring doesn’t seem to stay very long ’cause it jumps from like cold to hot in a snap…Ack!

Despite the limited spring weather here in the desert,  I can always resort to creating cards using spring die cut shapes that are embellished with Spring Buttons.

 Butterflies and Flowers Embellished with Spring Buttons

To make this spring card I resorted to my trusty old kraft paper as the base {I heart Kraft}, matted it with some American Crafts chevron paper and used my Silhouette to cut out the butterfly and flower die cuts from a Lori Whitlock file.

butterfly die cut embellished with spring buttons

I embellished the card with green & pink twine, green wire, a stamped sentiment, faux stitching and used some cheery Spring Color Blend buttons to make my butterfly and flower die cuts pop. I can’t forget to mention the whole Glue Dots family was basically included too. Ultra Thin, Mini, Glue Lines and Pop Up Glue Dots were all used as adhesive on this Spring card.

Supplies Used:

  • BGM Spring Buttons
  • Butterfly and Flower Die Cuts
  • Pastel Cardstock and American Crafts Paper
  • 20 gauge Green Wire
  • Twine
  • White, Pink and Yellow Fine Tip Markers

Cross Promotional Products Used:


Hollysignature

1

Hand Stitched Birds – Button Embellished

You can create these adorable hand stitched little birds using a wide array of materials. Use your mixed-media mojo to create birdies with your own unique look and then embellish with pretty buttons to add color, sparkle and dimension. I absolutely love the new wedding buttons, so I had to use these little glittery hearts for my bird ornaments. Today I’ll share with you how you can make them too.

Button Embellished hand stitched birdies

Materials to make the hand stitched birdies:

From the Buttons Galore and More Store:

Other materials used:

  • Neutral colored fabric
  • Coordinating brightly colored fabric
  • Scissors
  • Needle and thread (white and black)
  • Polyfil
  • DecoArt SoSoft® Fine Glitter fabric paint (Ice Crystal) and paint brush
  • Twine or ribbon

Colorful buttons

How to make button embellished hand stitched birds

  1. Cut 2 identical bird shaped pieces of fabric
  2. Stitch both pieces of fabric together, 1/4″ from the edge leaving a 1″ opening. Do not cut thread. Stuff with polyfil. Stitch closed and tie off.
  3. Cut 1 wing shape from colored fabric. Adhere in place (stitch or glue).
  4. Cut a small triangle for the beak and glue in place.
  5. Paint accents using sparkly fabric paint. Allow to dry.
  6. Stitch buttons in place as desired. For buttons that do not lay flat, snip off the button hole ring and glue button in place.
  7. Using black thread, stitch a small eye.
  8. If you’d like your bird to be able to hang to display, stitch a small twine or ribbon loop at the top.
Sparkly wedding buttons

Sparkly wedding buttons


Cut off button back before gluing

Cut off button back before gluing


Pretty button embellished birds by Jen Goode

Pretty button embellished hand stitched birds by Jen Goode

These hand stitched birdies make a great decoration you can add to any centerpiece, accent other key piece or even include as a gift tag accessory. Mix and match the colors of fabric and buttons to create pretty handmade pieces you can include in any occasion.


0

Create Unique Easter Jewelry

When I lived in Ohio, I remember all too well covering up my beautiful Easter outfit with a heavy winter coat.  The way the weather has been going lately, I’m thinking this Easter might be the same so I created a piece of unique Easter Jewelry to pin to your coat.

Easter Pin Beauty Shot

If the weather clears up (let’s hope it does) you can pin it onto an Easter basket or tote bag, or you can even hang it on the wall.

Easter Pin Supplies

Supplies for unique Easter Jewelry:

Instructions for unique Easter Jewelry:

1. Using the Quick Grip glue, attach buttons to the wood rectangle.  I visually split the wood in half and filled the top in with the blue, Mint Cooler buttons and the bottom with the green, Candy Apple buttons to represent the sky and grass.Easter Pin Glue the Buttons

2. Glue the lamb onto the center of the piece, on top of the buttons.

Easter Pin Glue the Lamb

3.  To add some dimension, glue more buttons on top of your original button layer.  Don’t completely fill it in this time.  You want to have different levels of buttons in the background.

Easter Pin Layers

4.  Glue the flower embellishments on to the piece.

Easter Pin Glue Pin Back

5. Turn the piece over and glue the pin back on.

It’s actually a very easy project, that gives you really impressive results.  I hope you’ll wear your pin proudly on Easter Sunday-no matter what the weather may bring!

Easter Pin Close-Up

www.laurabraydesigns.com


1

Easter Basket Ideas for Crafters

I’m always on the look-out for unique Easter basket ideas.  I have found that the easiest way to put together an Easter basket is to start with a theme and a basket with a button theme is sure make a sewer, or even a paper crafter,  hop up and down for joy. It’s also a great way to use up all those plastic eggs you’ve been saving!

Easter Basket Ideas for Crafters www.buttonsgaloreandmore.net

Supplies for Easter basket ideas:

Instructions for Easter basket ideas:

1. Glue buttons onto basket.  Add a fabric yo-yo, bird and other embellishments.  Fill the basket with grass

2. Glue ribbon bows and buttons onto plastic eggs.

Easter Basket Ideas for Crafters www.buttonsgaloreandmore.net

3. Fill eggs with buttons. I coordinated the color of the eggs with the buttons inside.  Tuck the eggs into the basket.

Easter Basket Ideas for Crafters www.buttonsgaloreandmore.net

Laura Bray www.laurabraydesigns.com


2

Powered by WordPress. Designed by WooThemes