Header

Tag Archives | Button Craft

Pretty Pedestal Egg Cups Made With Stacked Buttons

Here is a fun and easy way to display your Easter eggs? Colorful pedestal egg holders made with buttons are a pretty and unique way to showcase Easter eggs! For these egg cups I used a variety of sew through buttons from our several of our  button collections to make the pedestal and flowers and a bee button from the Spring Fling 3D Button Collection for the finishing touch.

Continue Reading →

0

Button Up a Teacher Gift in a Flash

Earlier this week I shared this project on my blog for Craft Lightning.  It shows you how to button up a teacher gift in a flash which makes it perfect for Fifteen MINUTE Friday!  Score!!!

I used the buttons from the Laura Kelly BRIGHTS collection.  You can get them HERE!

Jar_Wire_Buttons

Just think of all the things you could put in a jar that a teacher would love.  Here are my top ten ideas!

  1. Candy or Gum
  2. Desk Supplies
  3. Gift Cards
  4. Markers
  5. Lotions and Body Spray
  6. Sprinkles for Cookies
  7. Homemade Drink Mix
  8. Colored Pencils
  9. Sharpies
  10. BUTTONS!!!

Isn’t is adorable with all the other fun jars?

CraftLightning_RecycledTeacherJars

Teacher appreciation is coming up soon.  Are you ready?  I think you should recycle some jars and add a few buttons to create some handmade awesomeness for those who care for your kids all day every day!

Cheers,

Laura


0

A Noteworthy St. Patrick’s Day Card

Sending cards for the little holidays is not only fun but also very special.  I mean come on, who doesn’t LOVE to get a note in the mailbox these days.  This hand made card is not only adorbale but sure to spread luck and friendship for St. Patrick’s Day.  Three cheers for Fifteen MINUTE Friday!

Label Card

You will need the following:

Supplies

Cut a fold over card to fit your envelope.  This one is 8.5 x 4.25 to fit in an A2 sized envelope.  Cut your other decorative papers to add color to your card front.  Stitch your buttons to a piece of pre-cut card stock to form a shamrock.  Knot it in the back.

Stitch

Adhere your pieces to the front of the card with Aleene’s Always Ready.  Add a sticker message if you would like.  You can also write your message with a marker or a pen.

Message

I hand-stamped the back of my card too with my self-inking stamp from Expressionery.Com.  I think this makes it a little more special.

Stamp

And now you are ready to write a for real, noteworthy, hand written letter to a friend!

SHamrock Button Card Final

Happy Creating,

Laura

0

Button Up a Decorative Pinwheel

Pinwheels are so much fun for adding pizzazz and energy to decorating for parties and events.  Here are the directions to make them using just a few simple materials.  You will need the following:

  • Decorative Paper Squares (6 inches)
  • Scissors
  • Brads
  • Paper Straws
  • Aleene’s Always Ready Fast Grab Tacky Glue
  • Laura Kelly BUTTONS for Buttons Galore and More

Pinwheel_Supplies

The first step is to cut from the four corners in towards the centers, stopping to leave a one inch square center that is uncut.  Then using your brad fold the first point of each corner in poking a hole through them as you go then through the center and securing with the brad in the back.

PinwheelOne_Two

Add your straw to the back and buttons to the front with the tacky glue.  The Fast Grab is great because is holds them right away.  Then allow time to dry before using them.

PinwheelThree_Four

They are so bright and cheery and simply fun.

Pinwheel_Single

Cheers,

Laura

0

Don’t Get Pinched! Guest Blogger DIY Shamrock Accessory

We are excited to have a guest blogger sharing this fun project.  Kadie from the fabulous blog 7 Alive is here to share her creativity.  Kadie is a DIY junkie like many of us as well as a fantastic crochet designer and mother to five kiddos.

Kadie

This easy project only takes minutes to create, and only a little longer to dry. You can easily create a fun shamrock for your kiddos or yourself to wear on St.Patrick’s Day.

Button Clover WT

You only need a few materials to create your own button shamrock.  These buttons are from the Bright Mix by Laura Kelly.  They are Forest Green and Candy Apple Green.

Button Clover Materials


To make your button shamrock ~

  1. Freehand or stencil a shamrock shape onto green craft felt.  We love the felt best from Kunin Group.
  2. Outline shamrock in fabric paint.
  3. Use craft glue to add buttons stacked large to small on top of shamrock.
  4. Make small bow out of ribbon using craft glue. Glue bow to steam of shamrock. (set aside till all glue dries)
  5. Optional ~ add a pin or hair clip to back of shamrock to make it easy to wear.

This is perfect for boys or girls and will insure no one in your family will get pinched on St. Patrick’s Day. :)

You can find more inspiration on Kadie’s blog HERE or by clicking on the picture below!

7 Alove

If you would like to enter to win a craft stash of products (and a gift card to Starbucks), go for it.

a Rafflecopter giveaway

Happy Creating St. Patrick’s Day Fun!


2

Mini Shamrock Garland

This little garland is super festive and so easy to create.  The mini shamrock garland can be used to decorate in lots of fantastic ways and is perfect for a fifteen MINUTE Friday project.

Button Shamrock Garland

You will need scissors, green decorative paper, Candy Apple Green Buttons, Ribbon or Ric Rac and Aleene’s Always Ready Fast Grab Glue.

Creating Wreath Garland

  1. Cut your shamrocks out free hand so they are all a little different.  You can make a little pattern if that makes you more comfortable.
  2. Glue them from the backs to your ribbon using the Fast Grab and let dry.
  3. Flip over and add buttons with the Fast Grab.

Wreath with Garland

Ta Da!  It looks so fun on this wreath on the front door.

Wreath Front Door

Cheers,

Laura

0

Whip up a Valentines Day Pillow

I made these pillow and they literally took less than fifteen minutes each.  The buttons stitched on to the hearts really make them adorable and special.

Valentines_Day_Pillow_Sizzix

The radical red buttons are one of my favorite colors in my line of buttons with Buttons Galore.

LK116-2T

I love the way that they come in so many sizes and shapes within each pack.

c68cb45792c177f4b04e915613de45b7


Ta Da!

ButtonsGalore_Sizzix_Heart_Pillow

To find out how I made this, hop over to my blog and check it out.  You can do that here!

Happy Friday,

Laura


0

Button Up Some Christmas Ornaments with Laura from Pet Scribbles!

Christmas Ornaments with Buttons

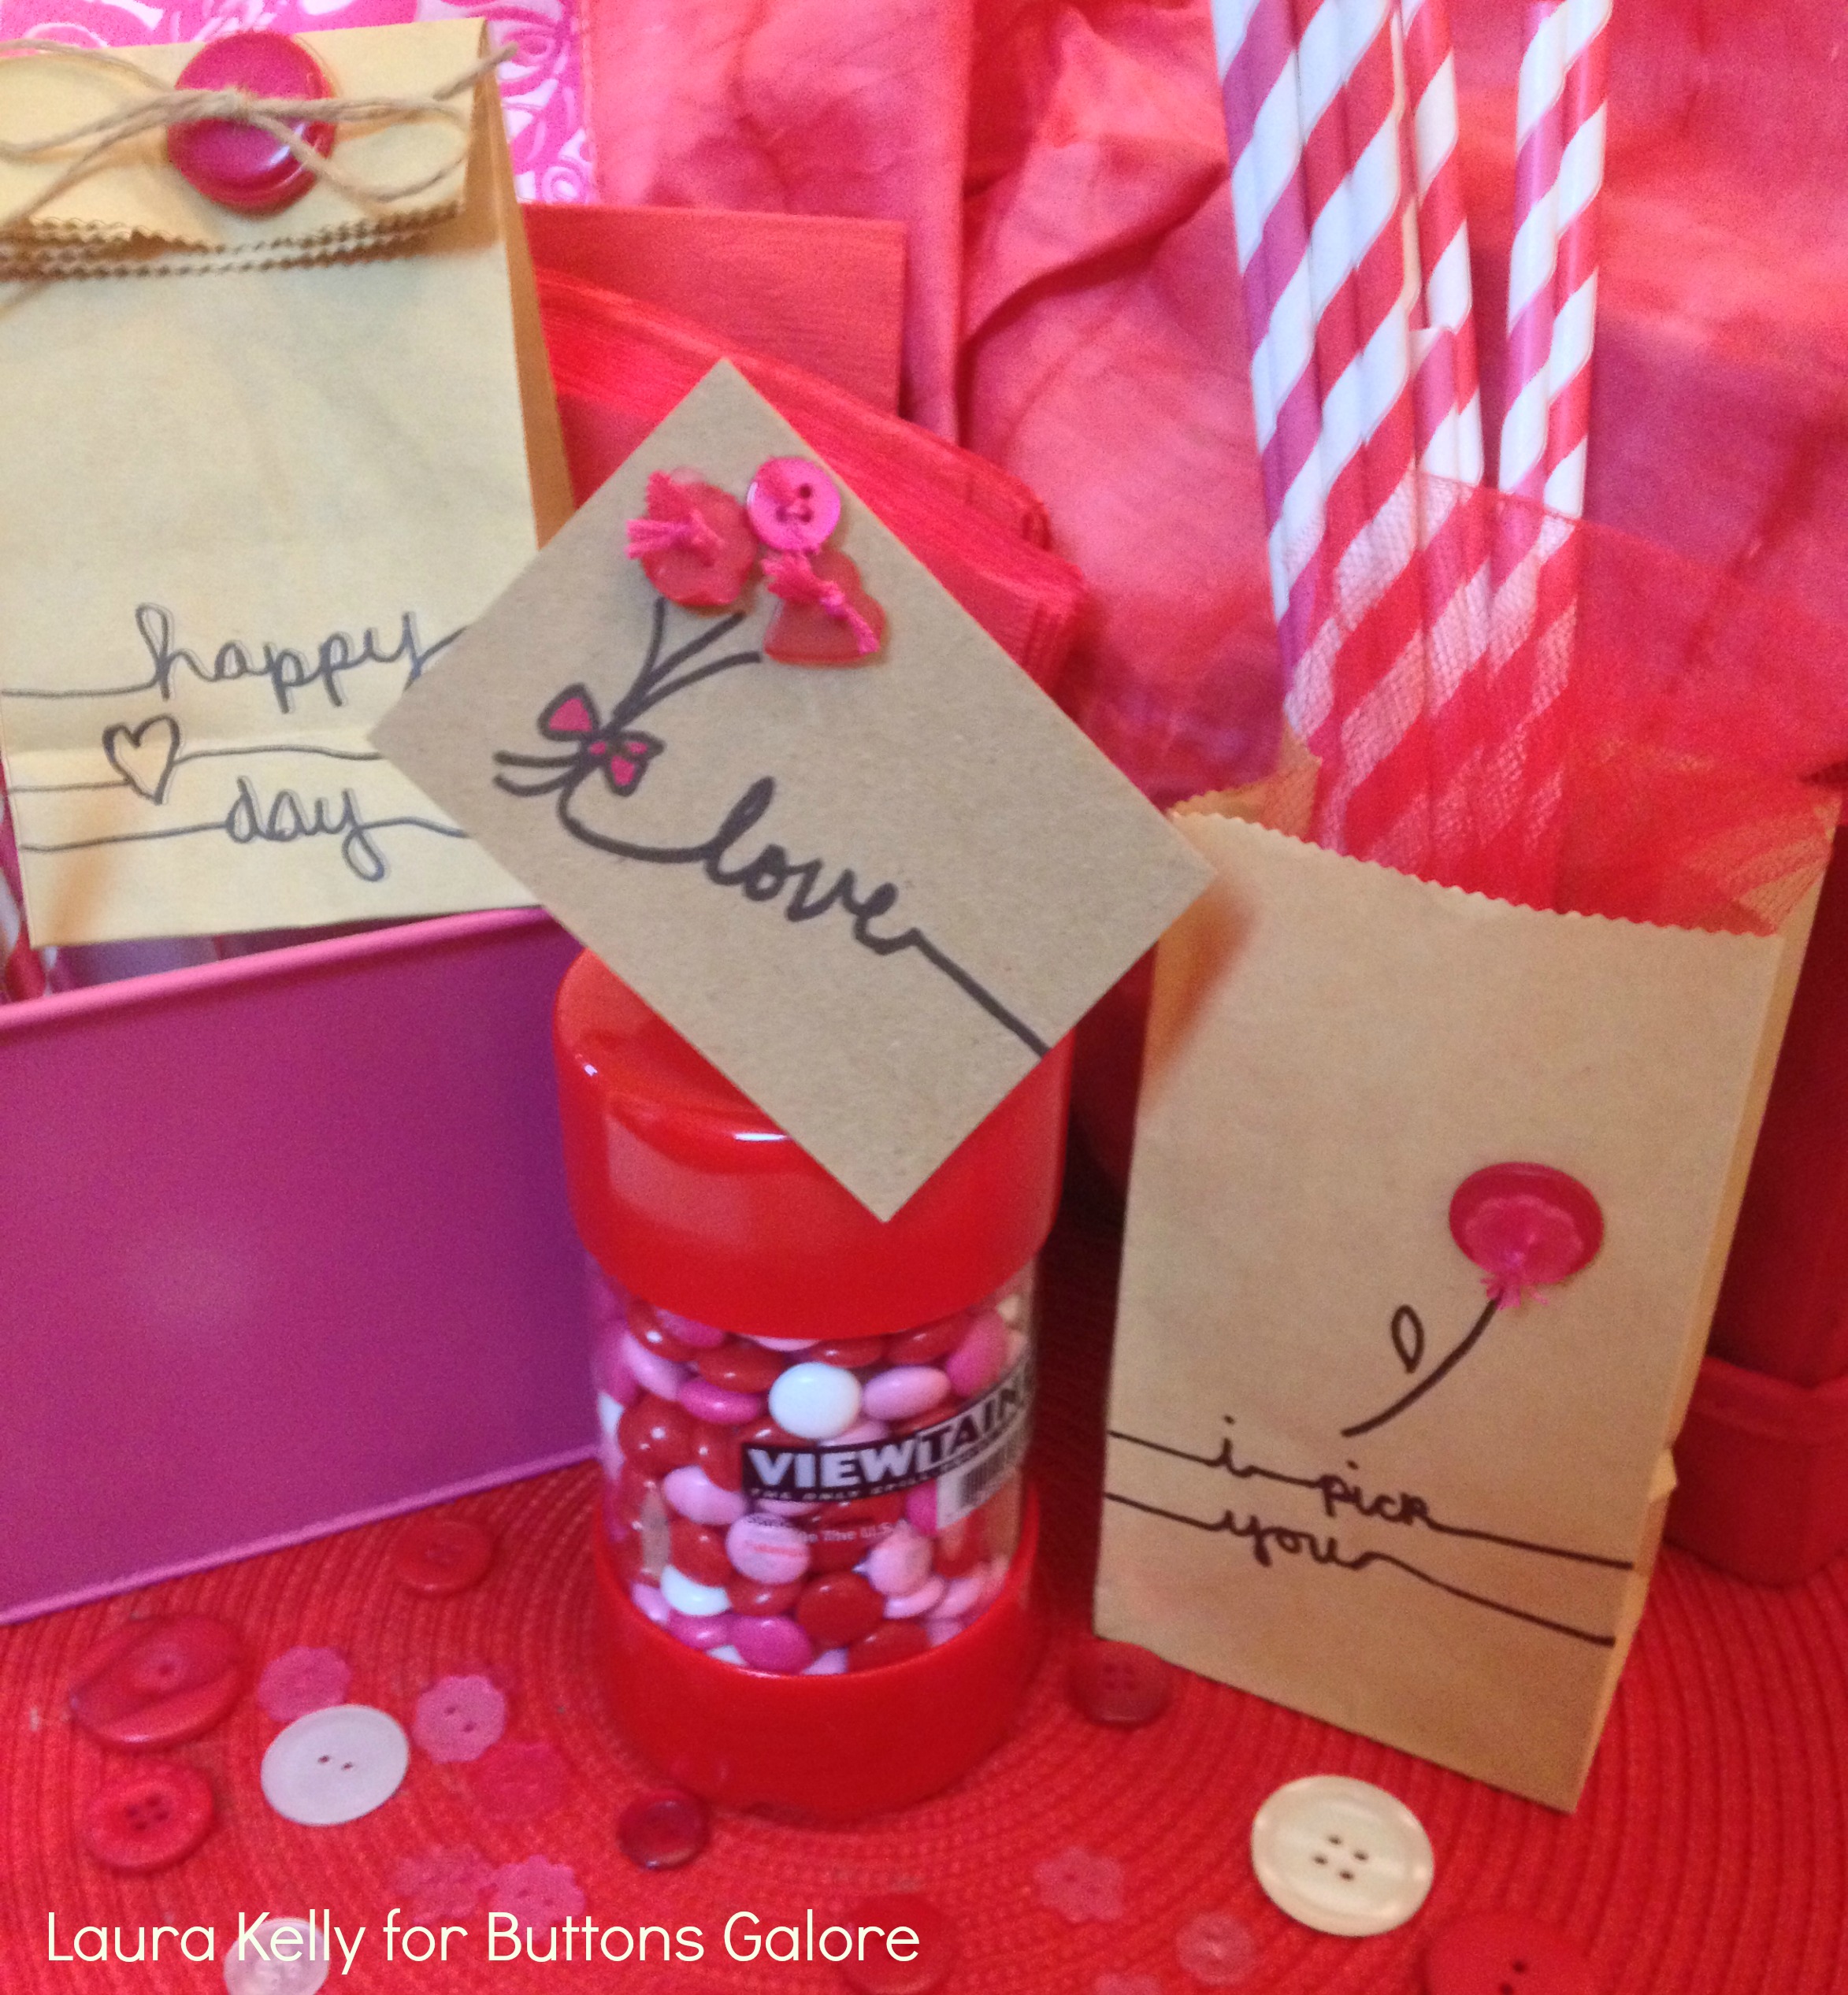
Laura here from Pet Scribbles, sharing an easy way to dress up those wood cutouts you see at all the craft stores:

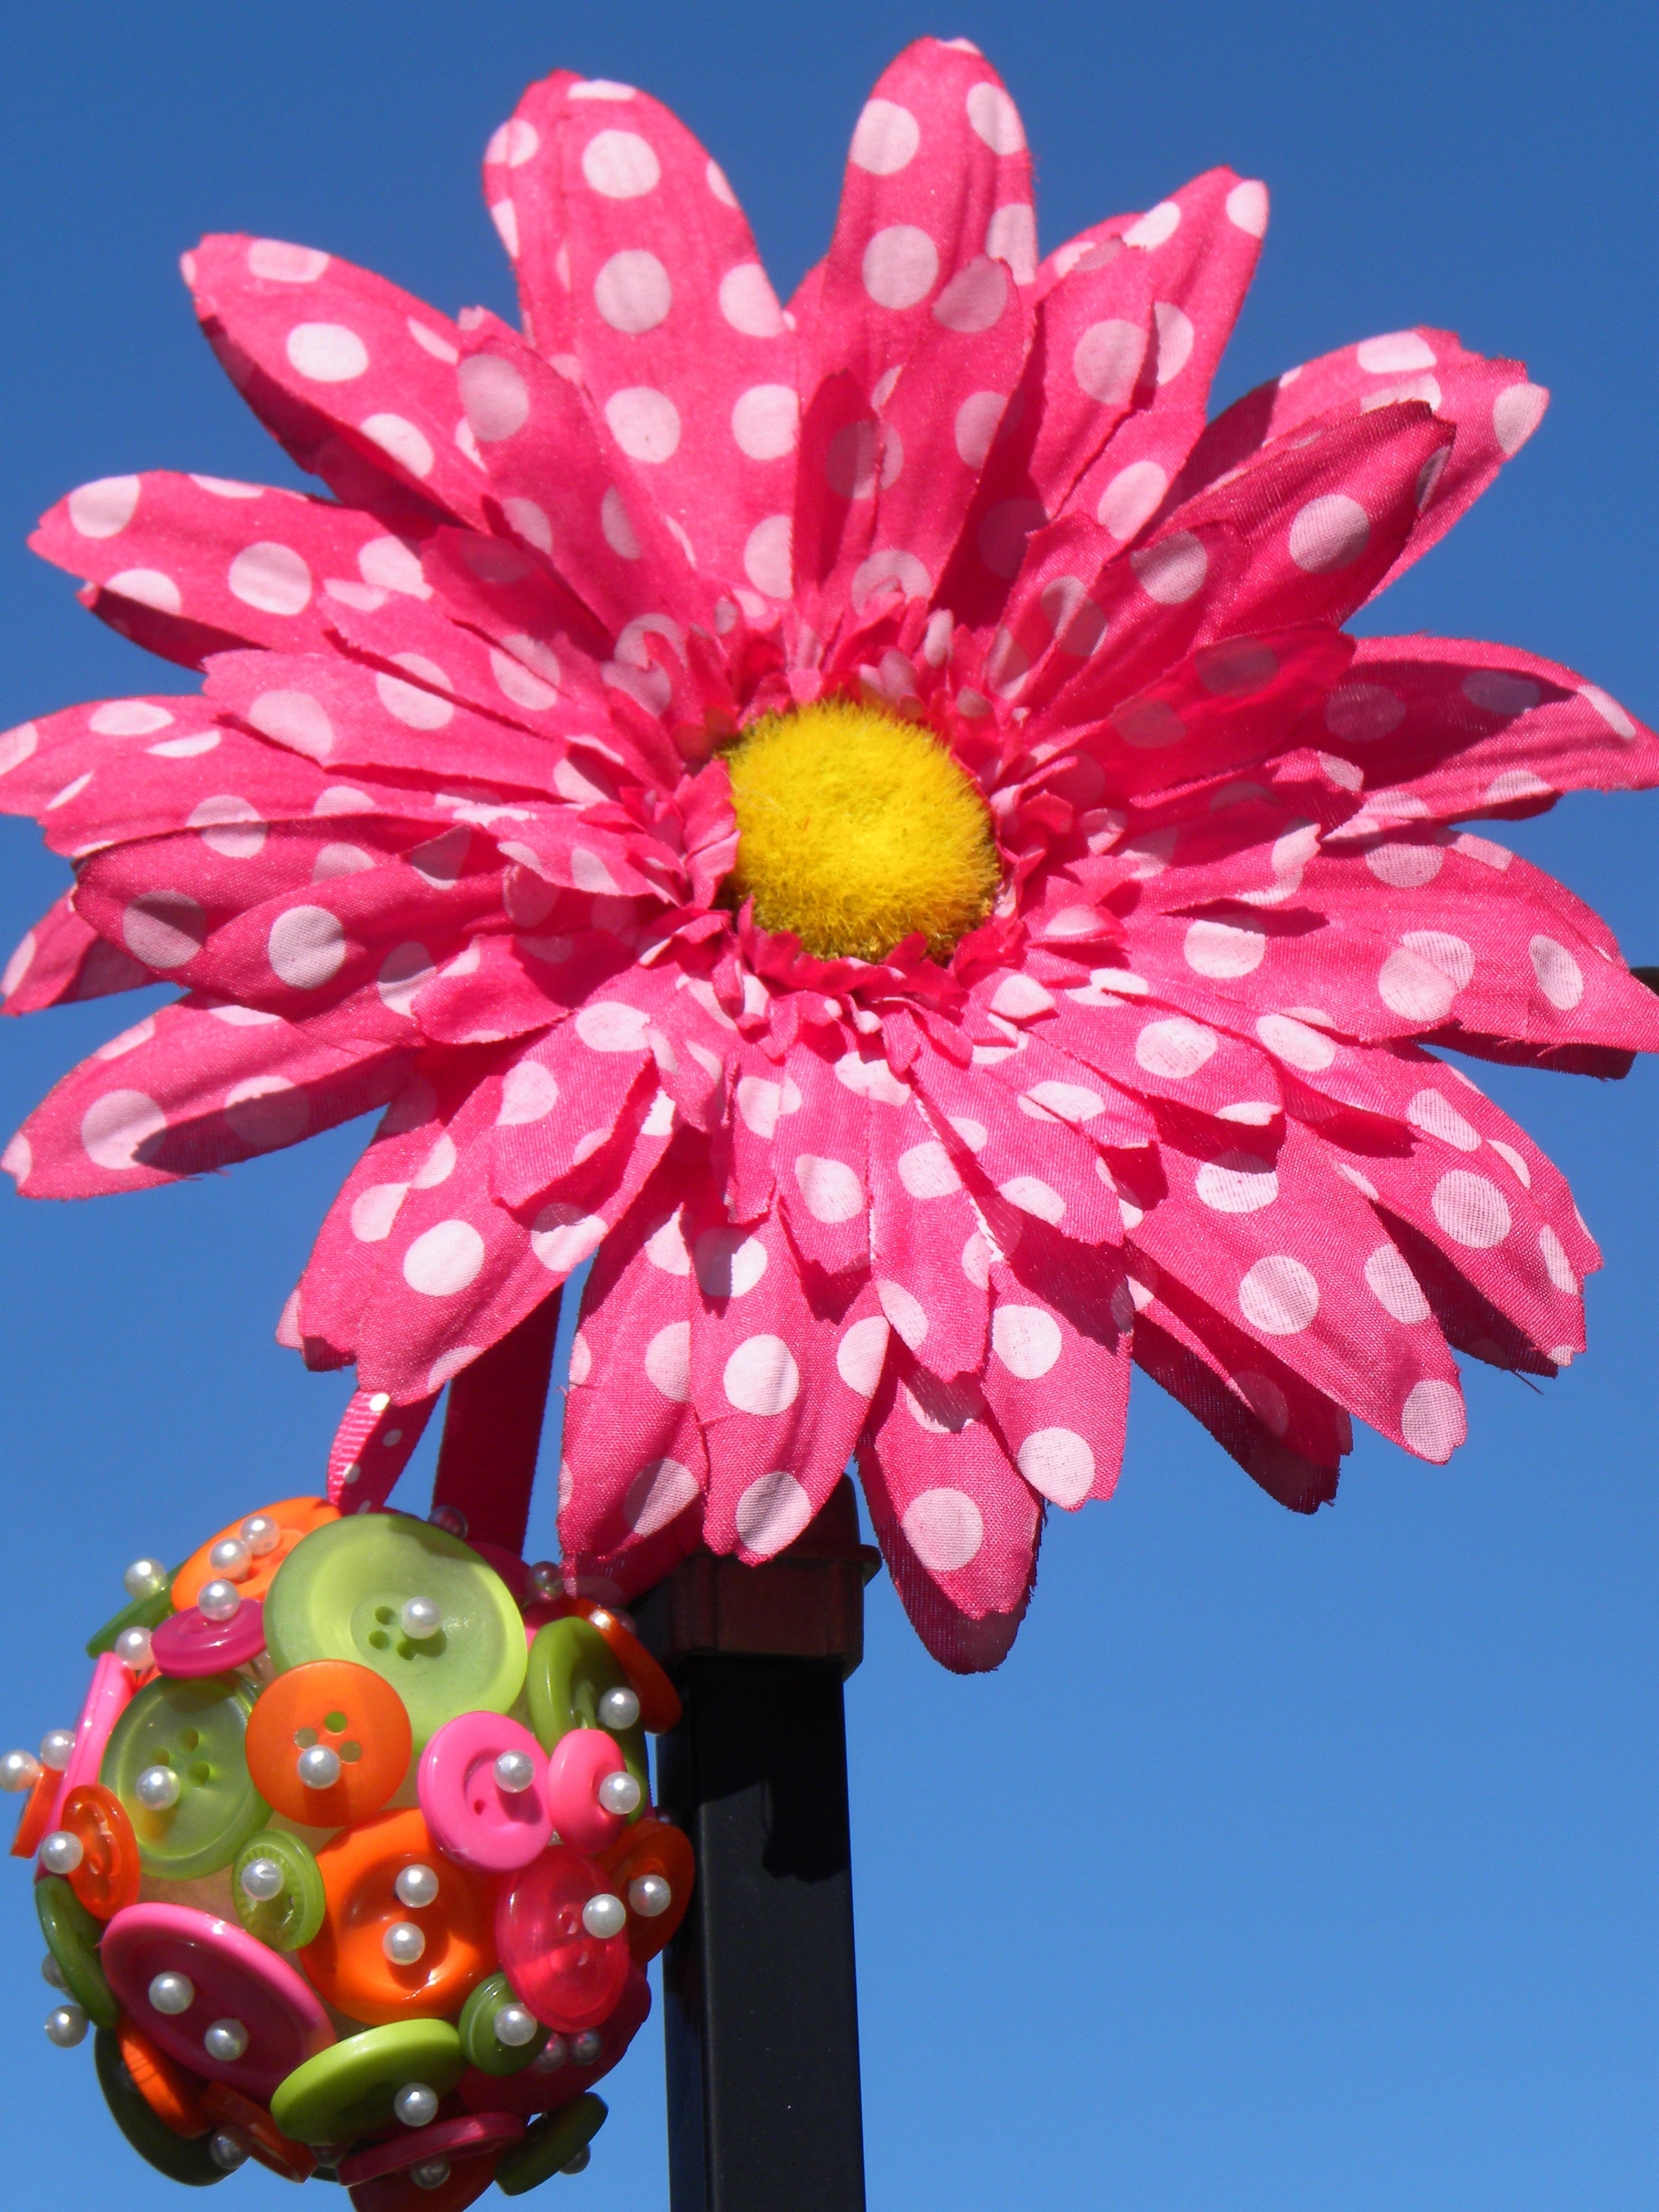
Use some fabulous buttons! (Of course, right?)

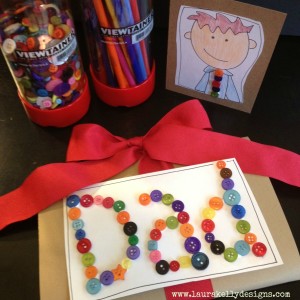
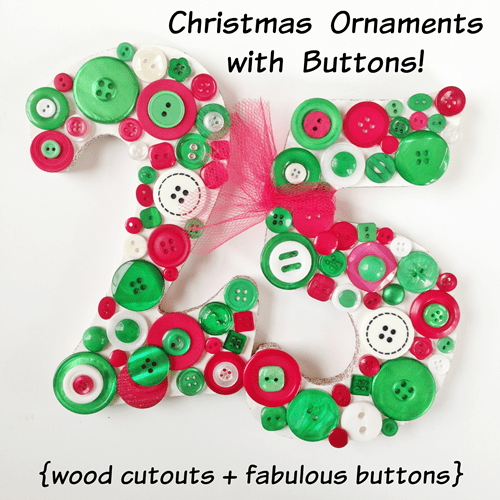
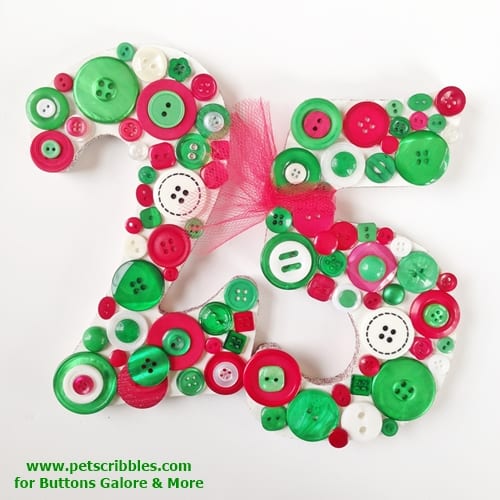
I made this large 25 in honor of December the 25th, and I’ll show you just how easy it is to make your own!

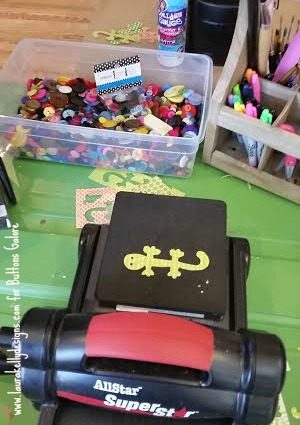
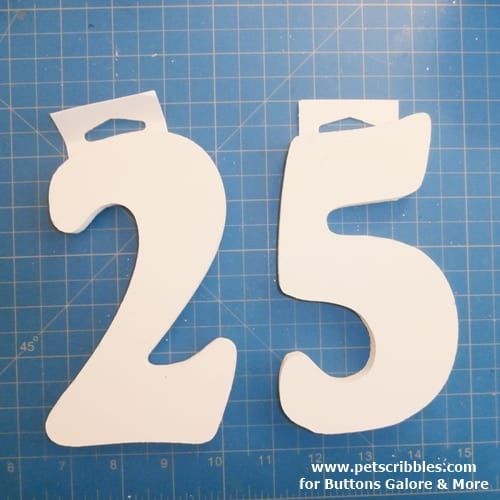
It all starts with wood cutouts of your choice. I picked up these, which were already painted white:

Christmas Ornaments with Buttons

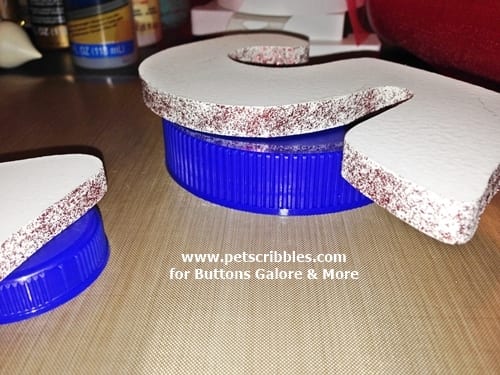
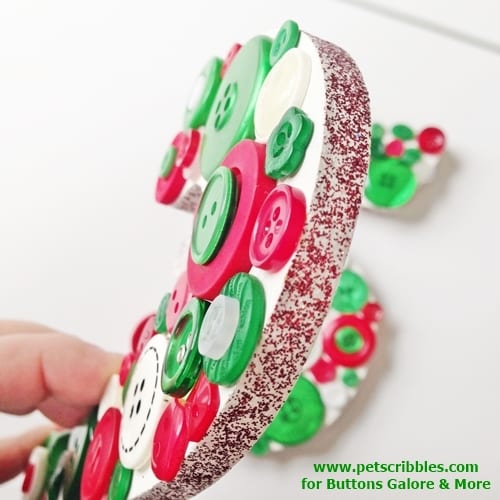
I painted the edges of each number with red glitter paint, and set them to dry on some recycled jar lids overnight.

Christmas Ornaments with Buttons

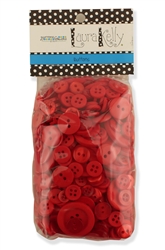
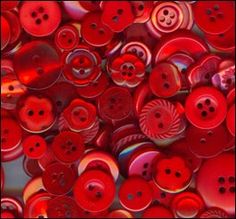
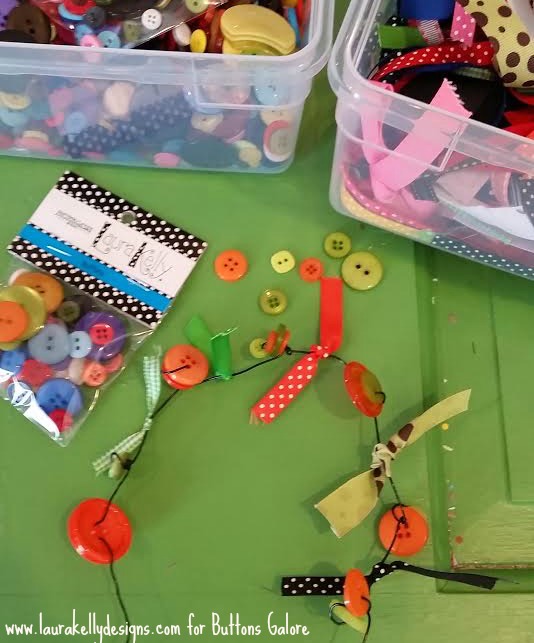
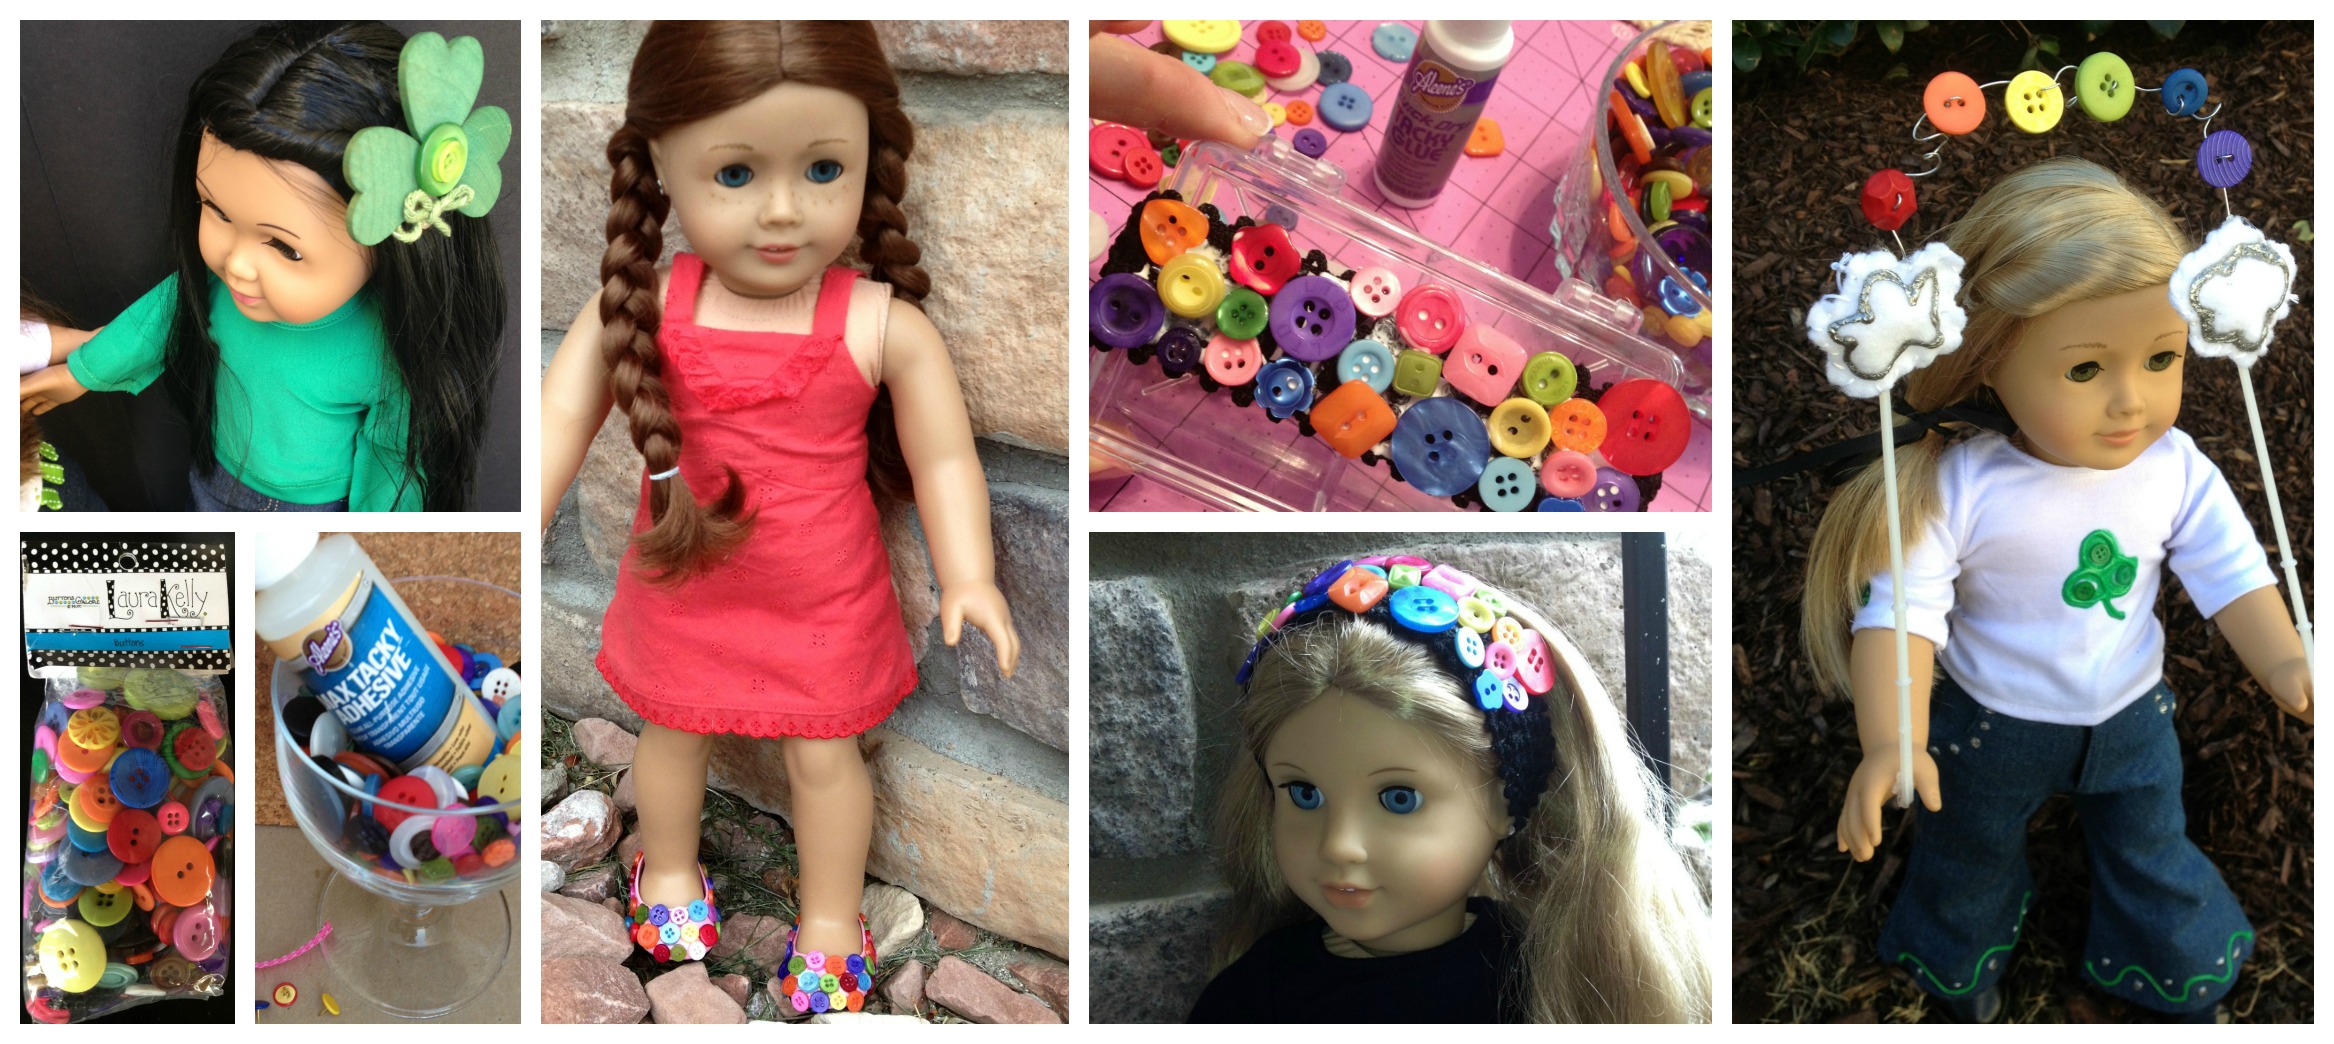
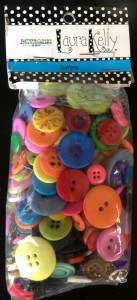
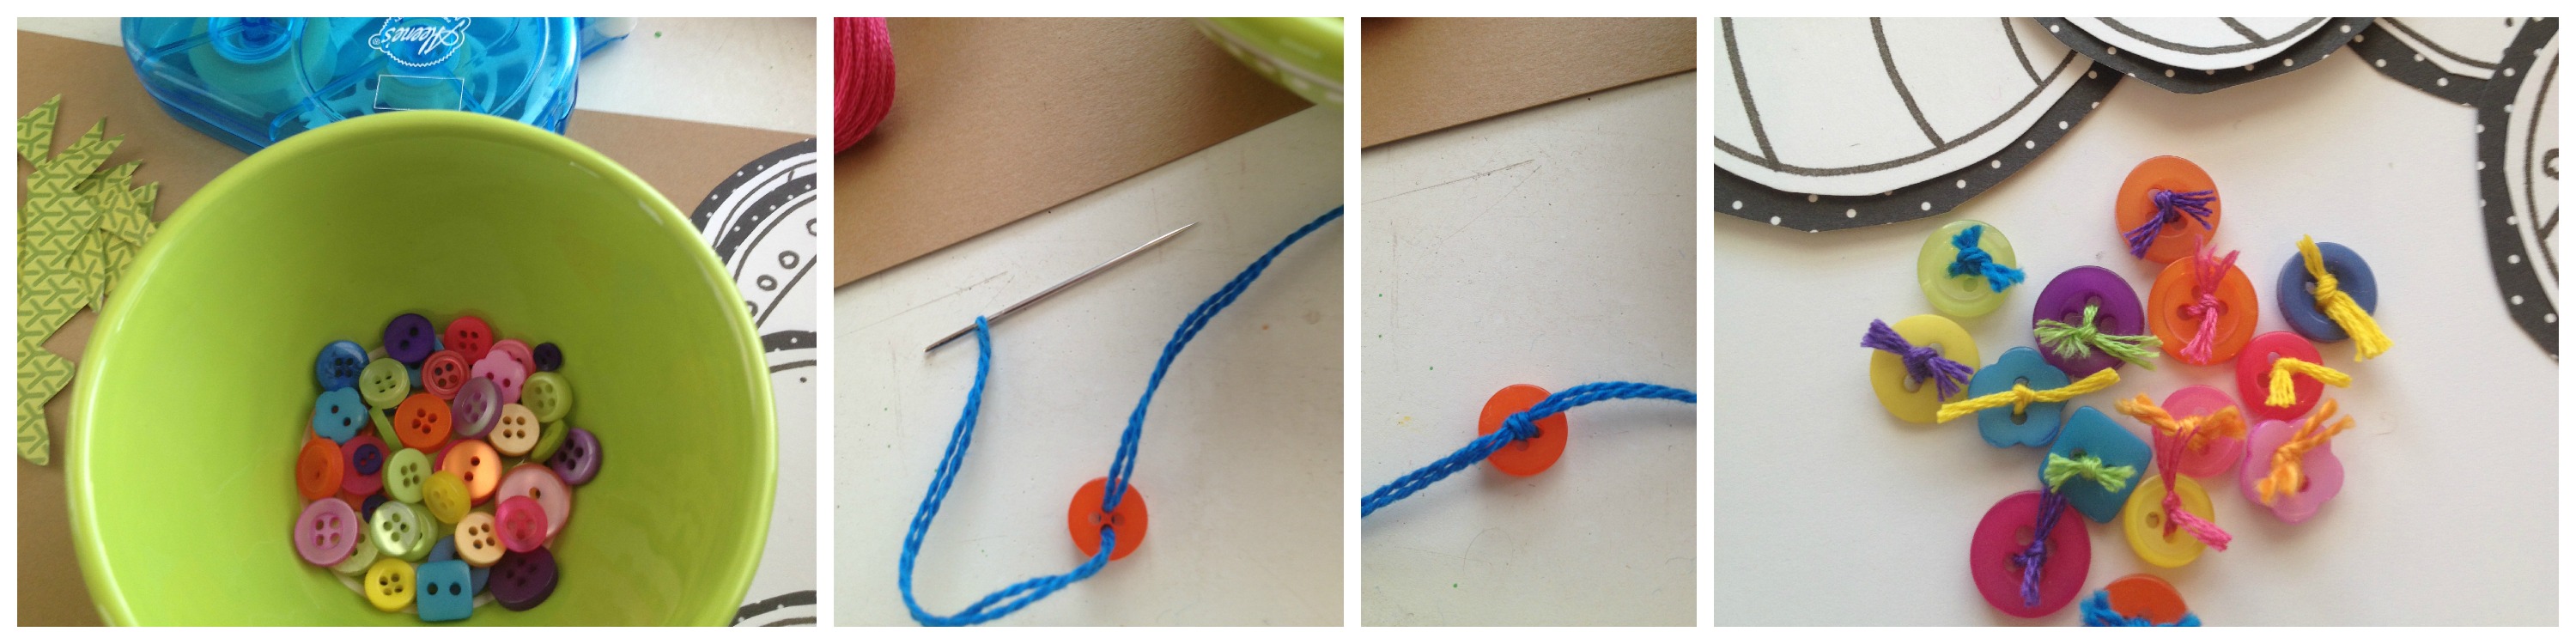
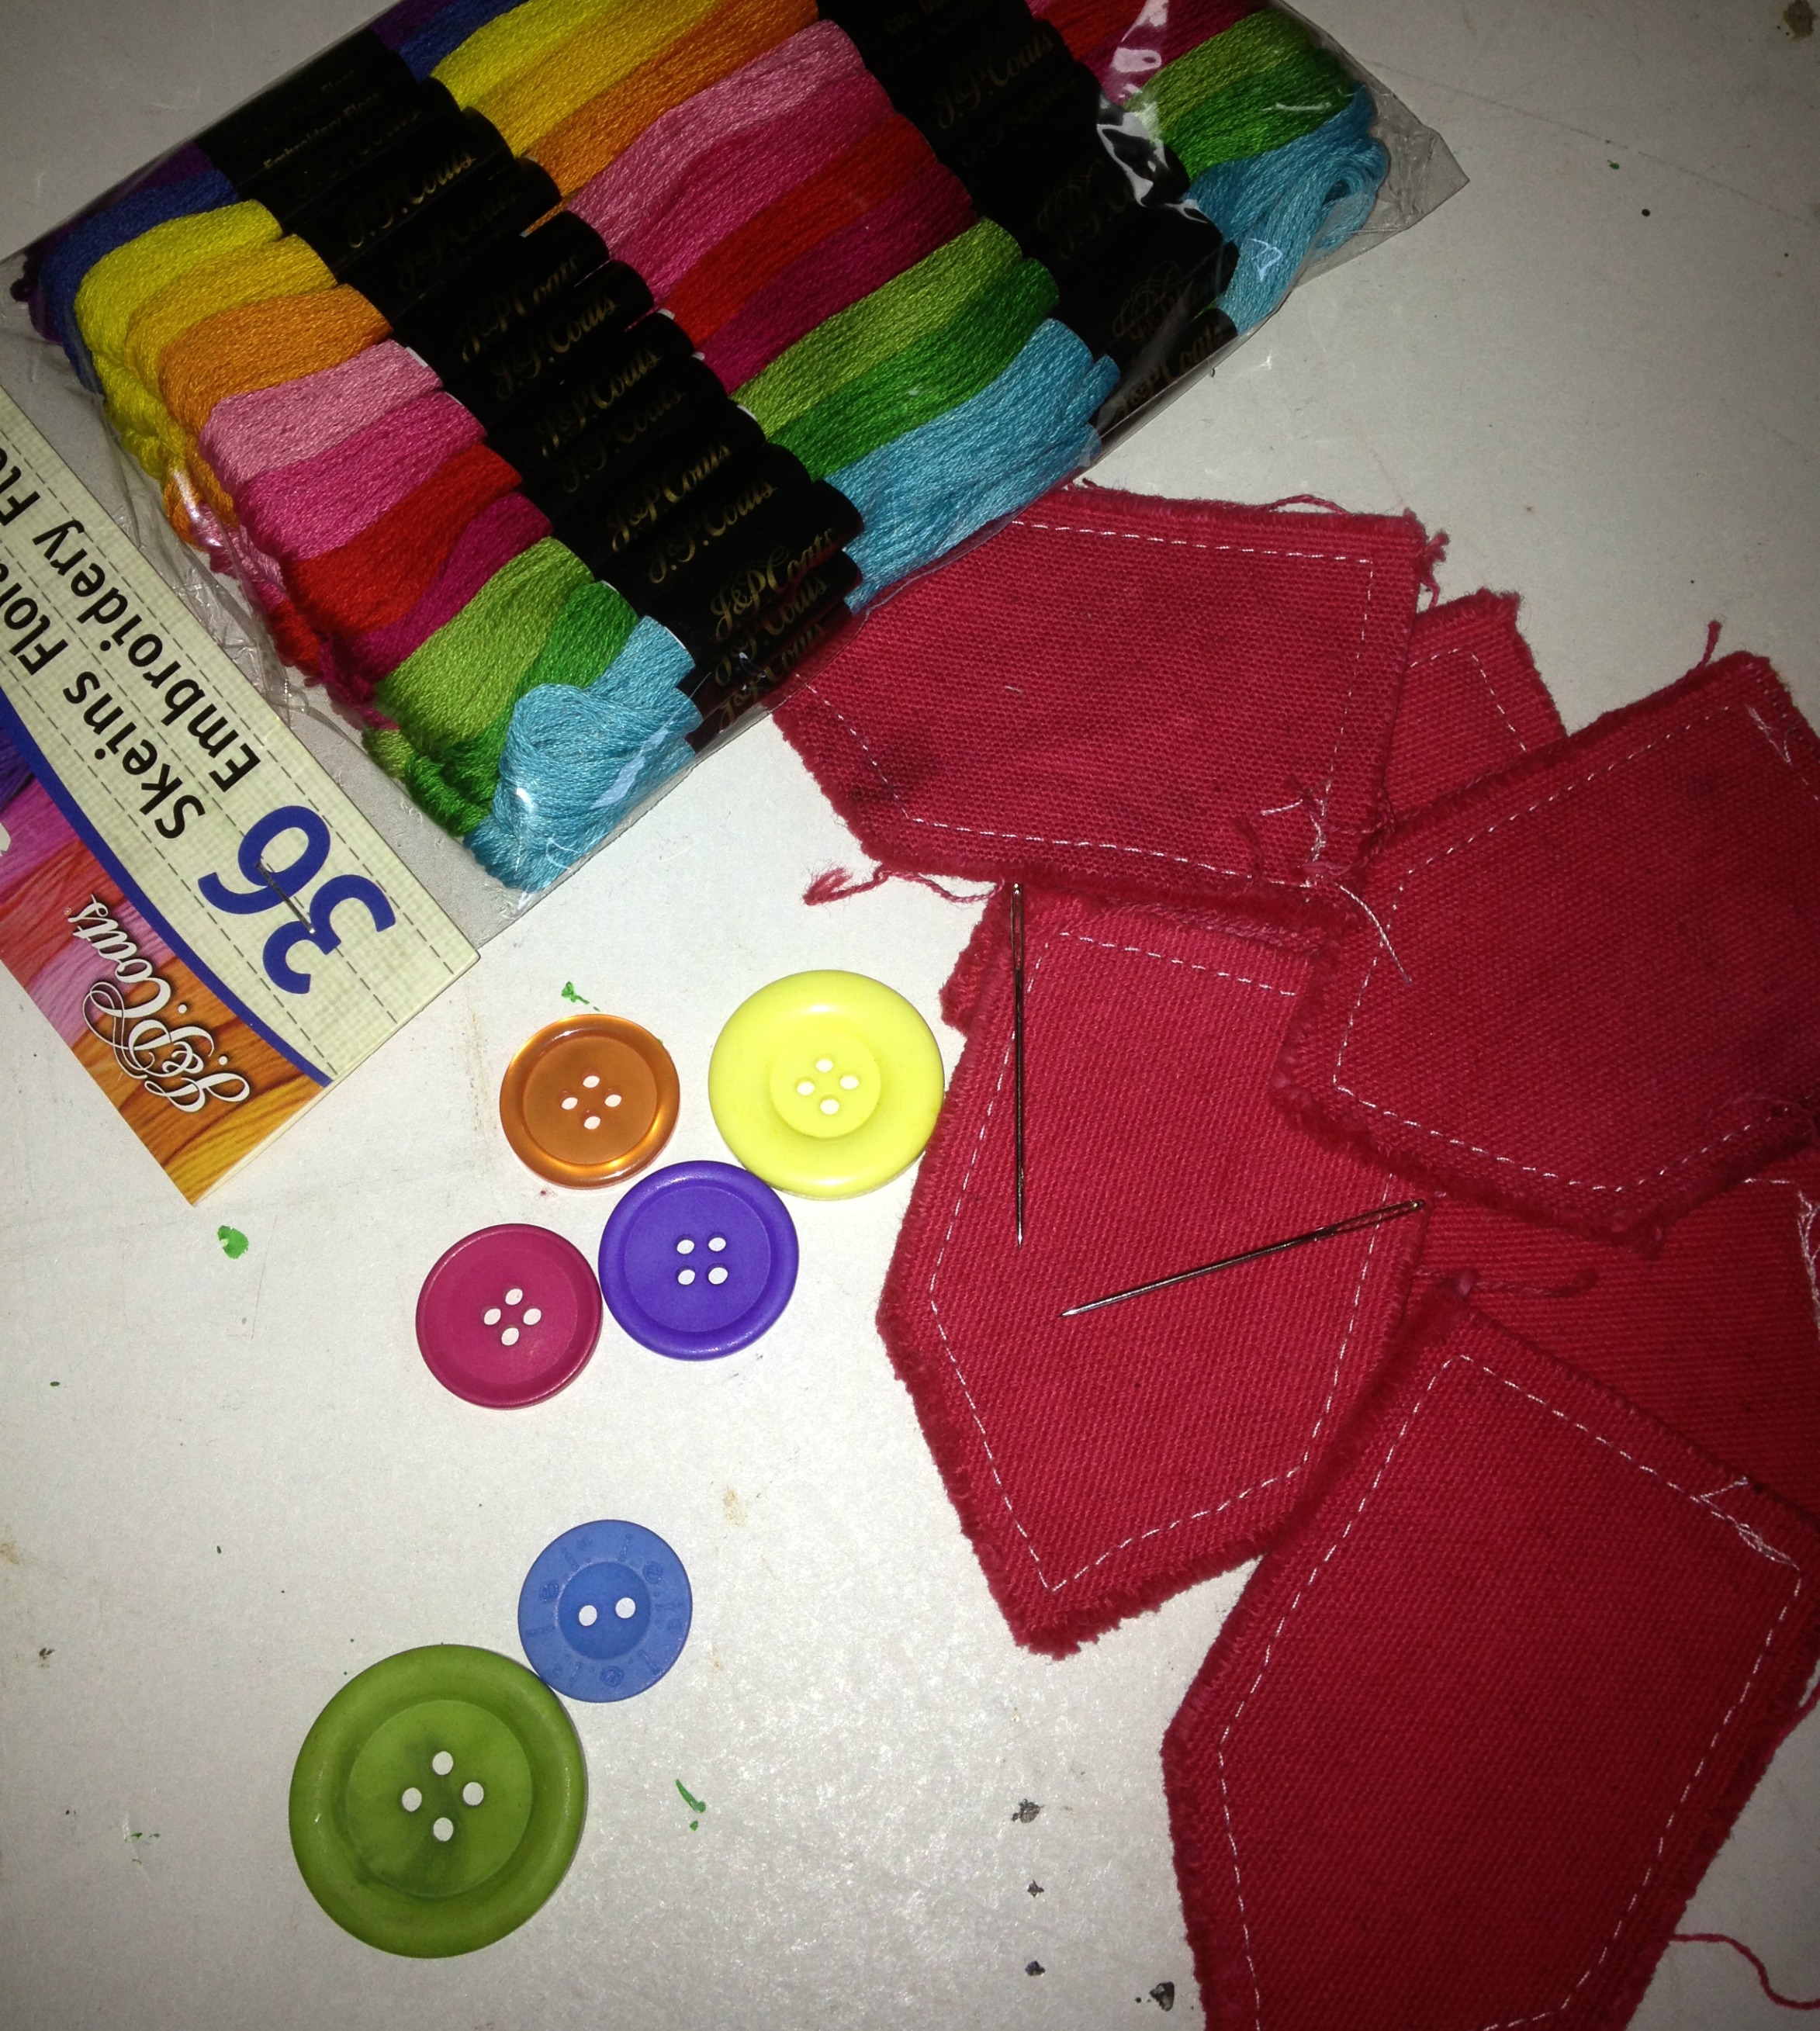
The next morning was the super-fun part: playing with the gorgeous buttons in the Laura Kelly Traditional Christmas Mix from Buttons Galore & More!

Christmas Ornaments with Buttons

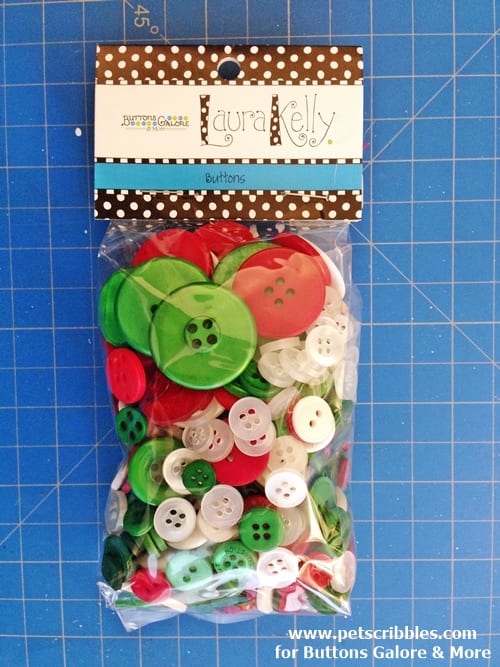
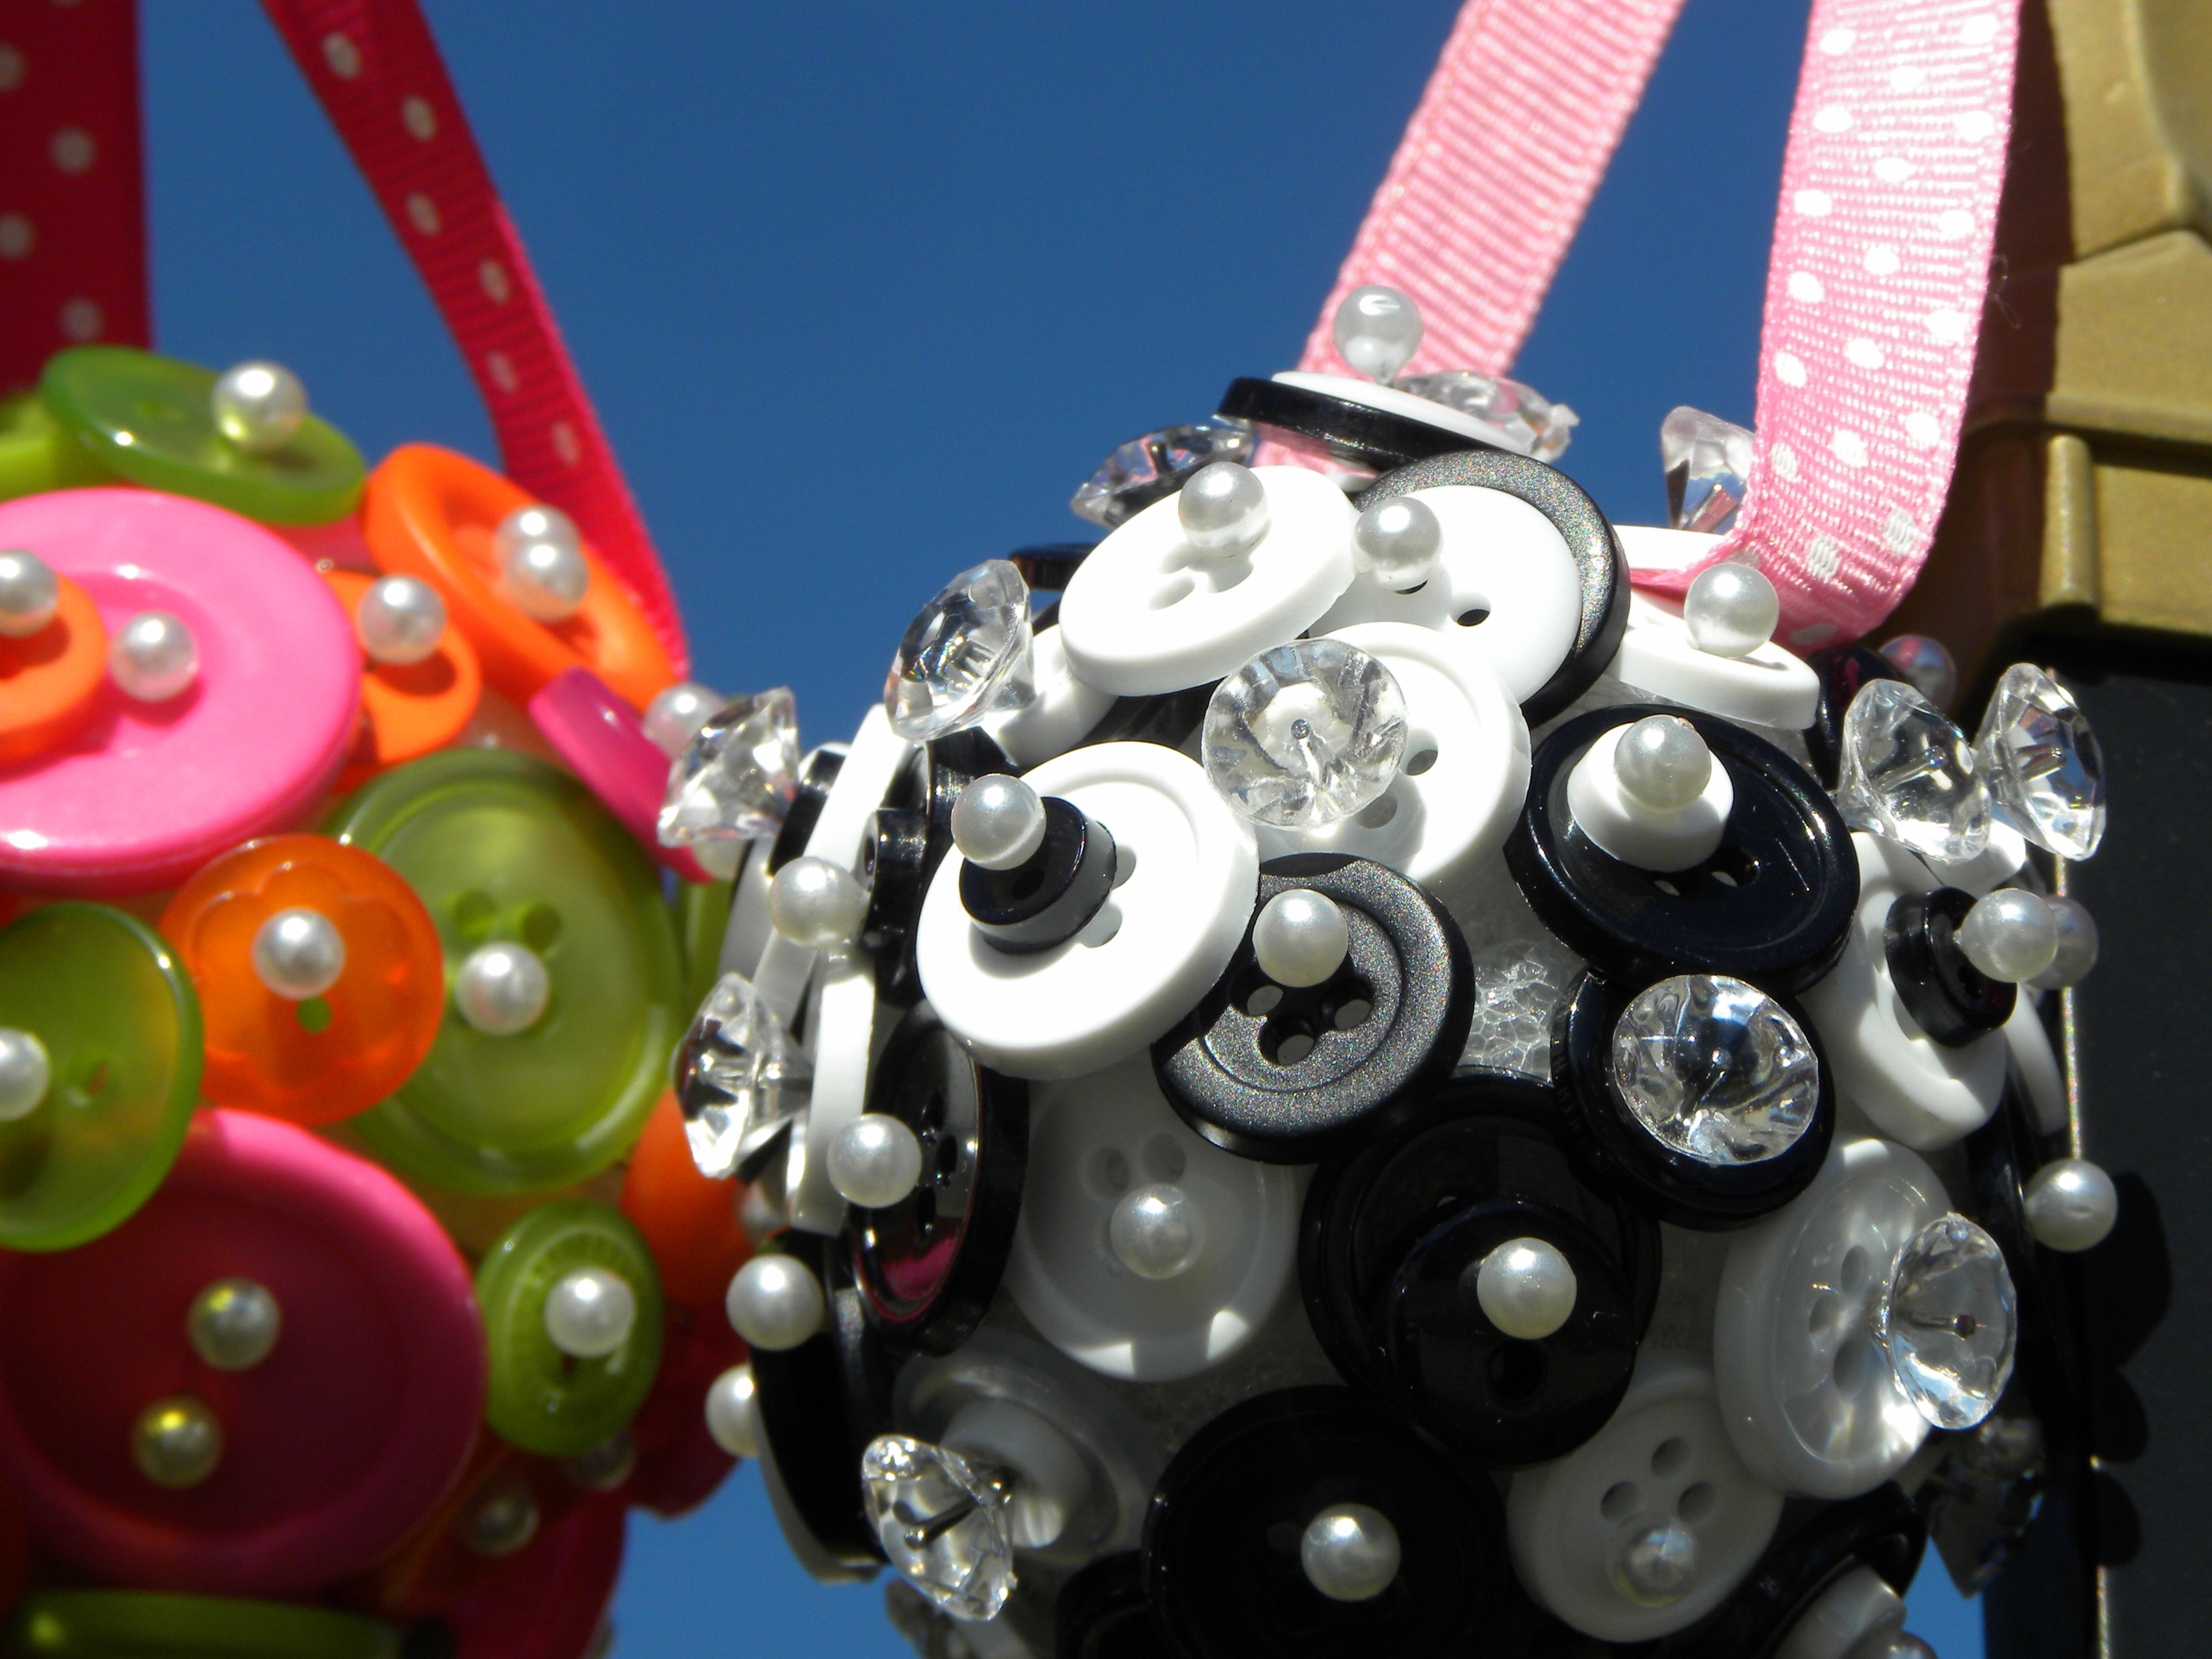
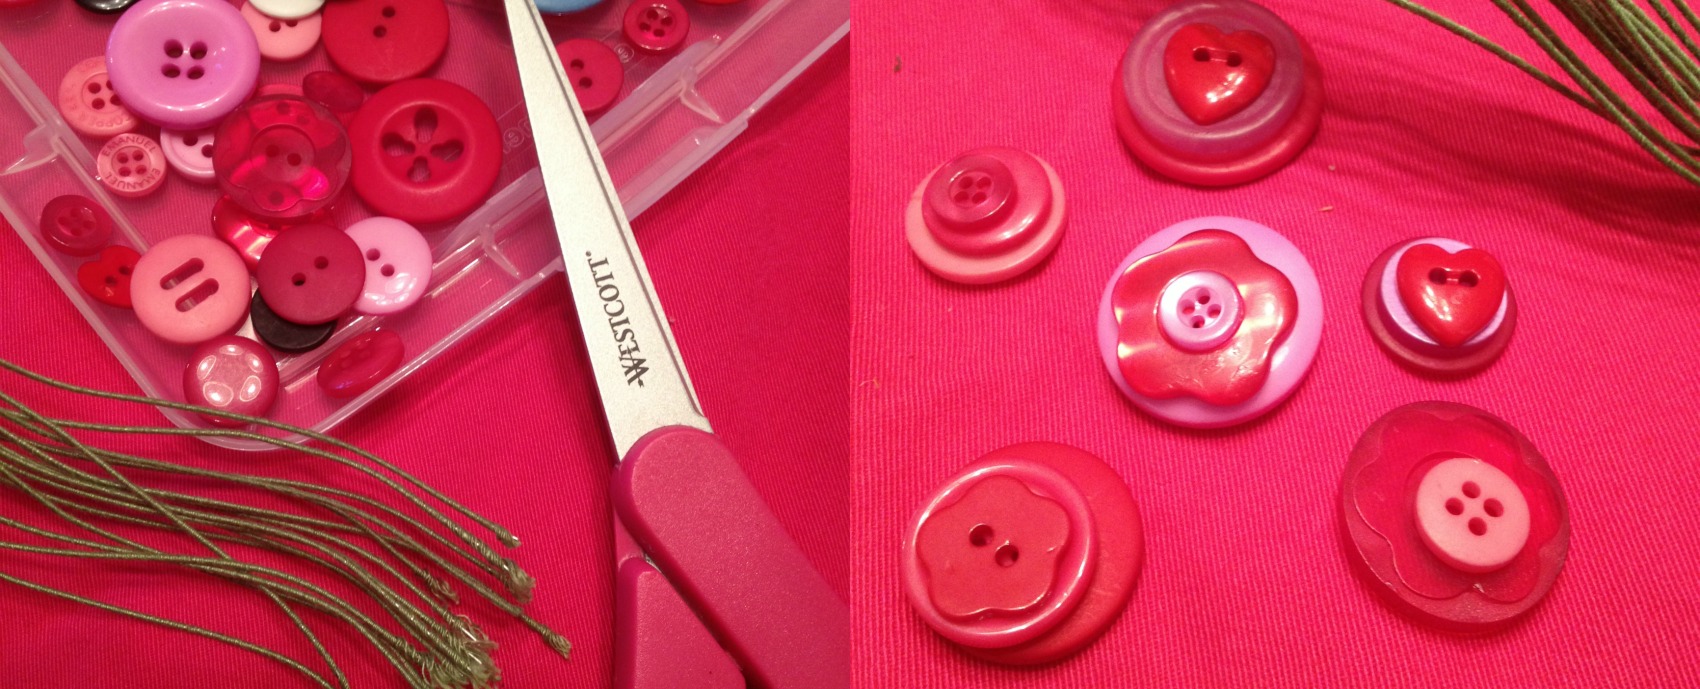
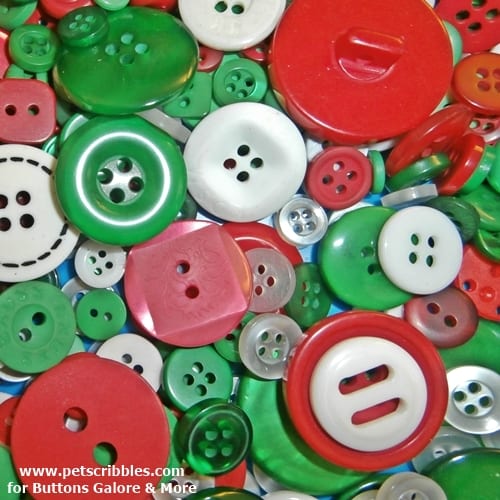
Check out these beauties up close!

Christmas Ornaments with Buttons

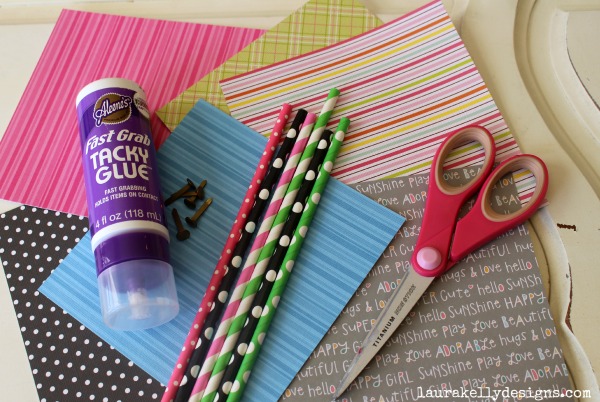
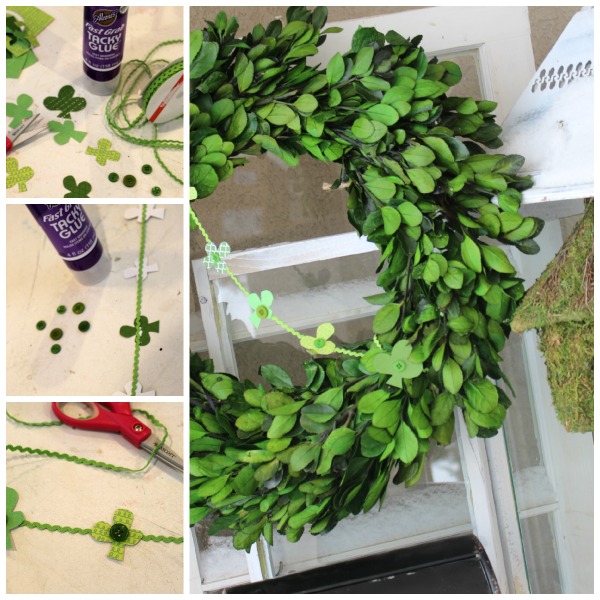
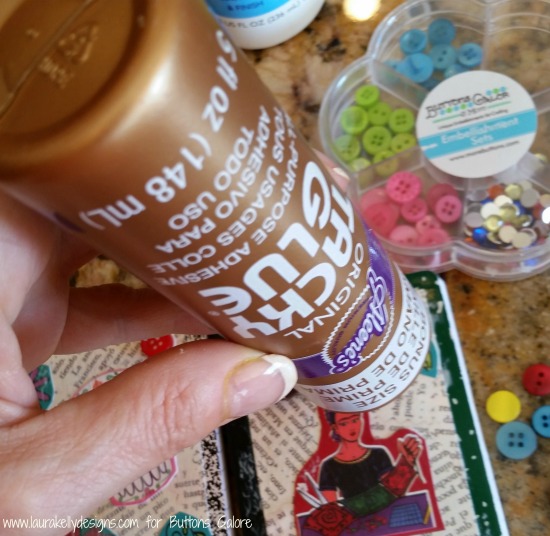
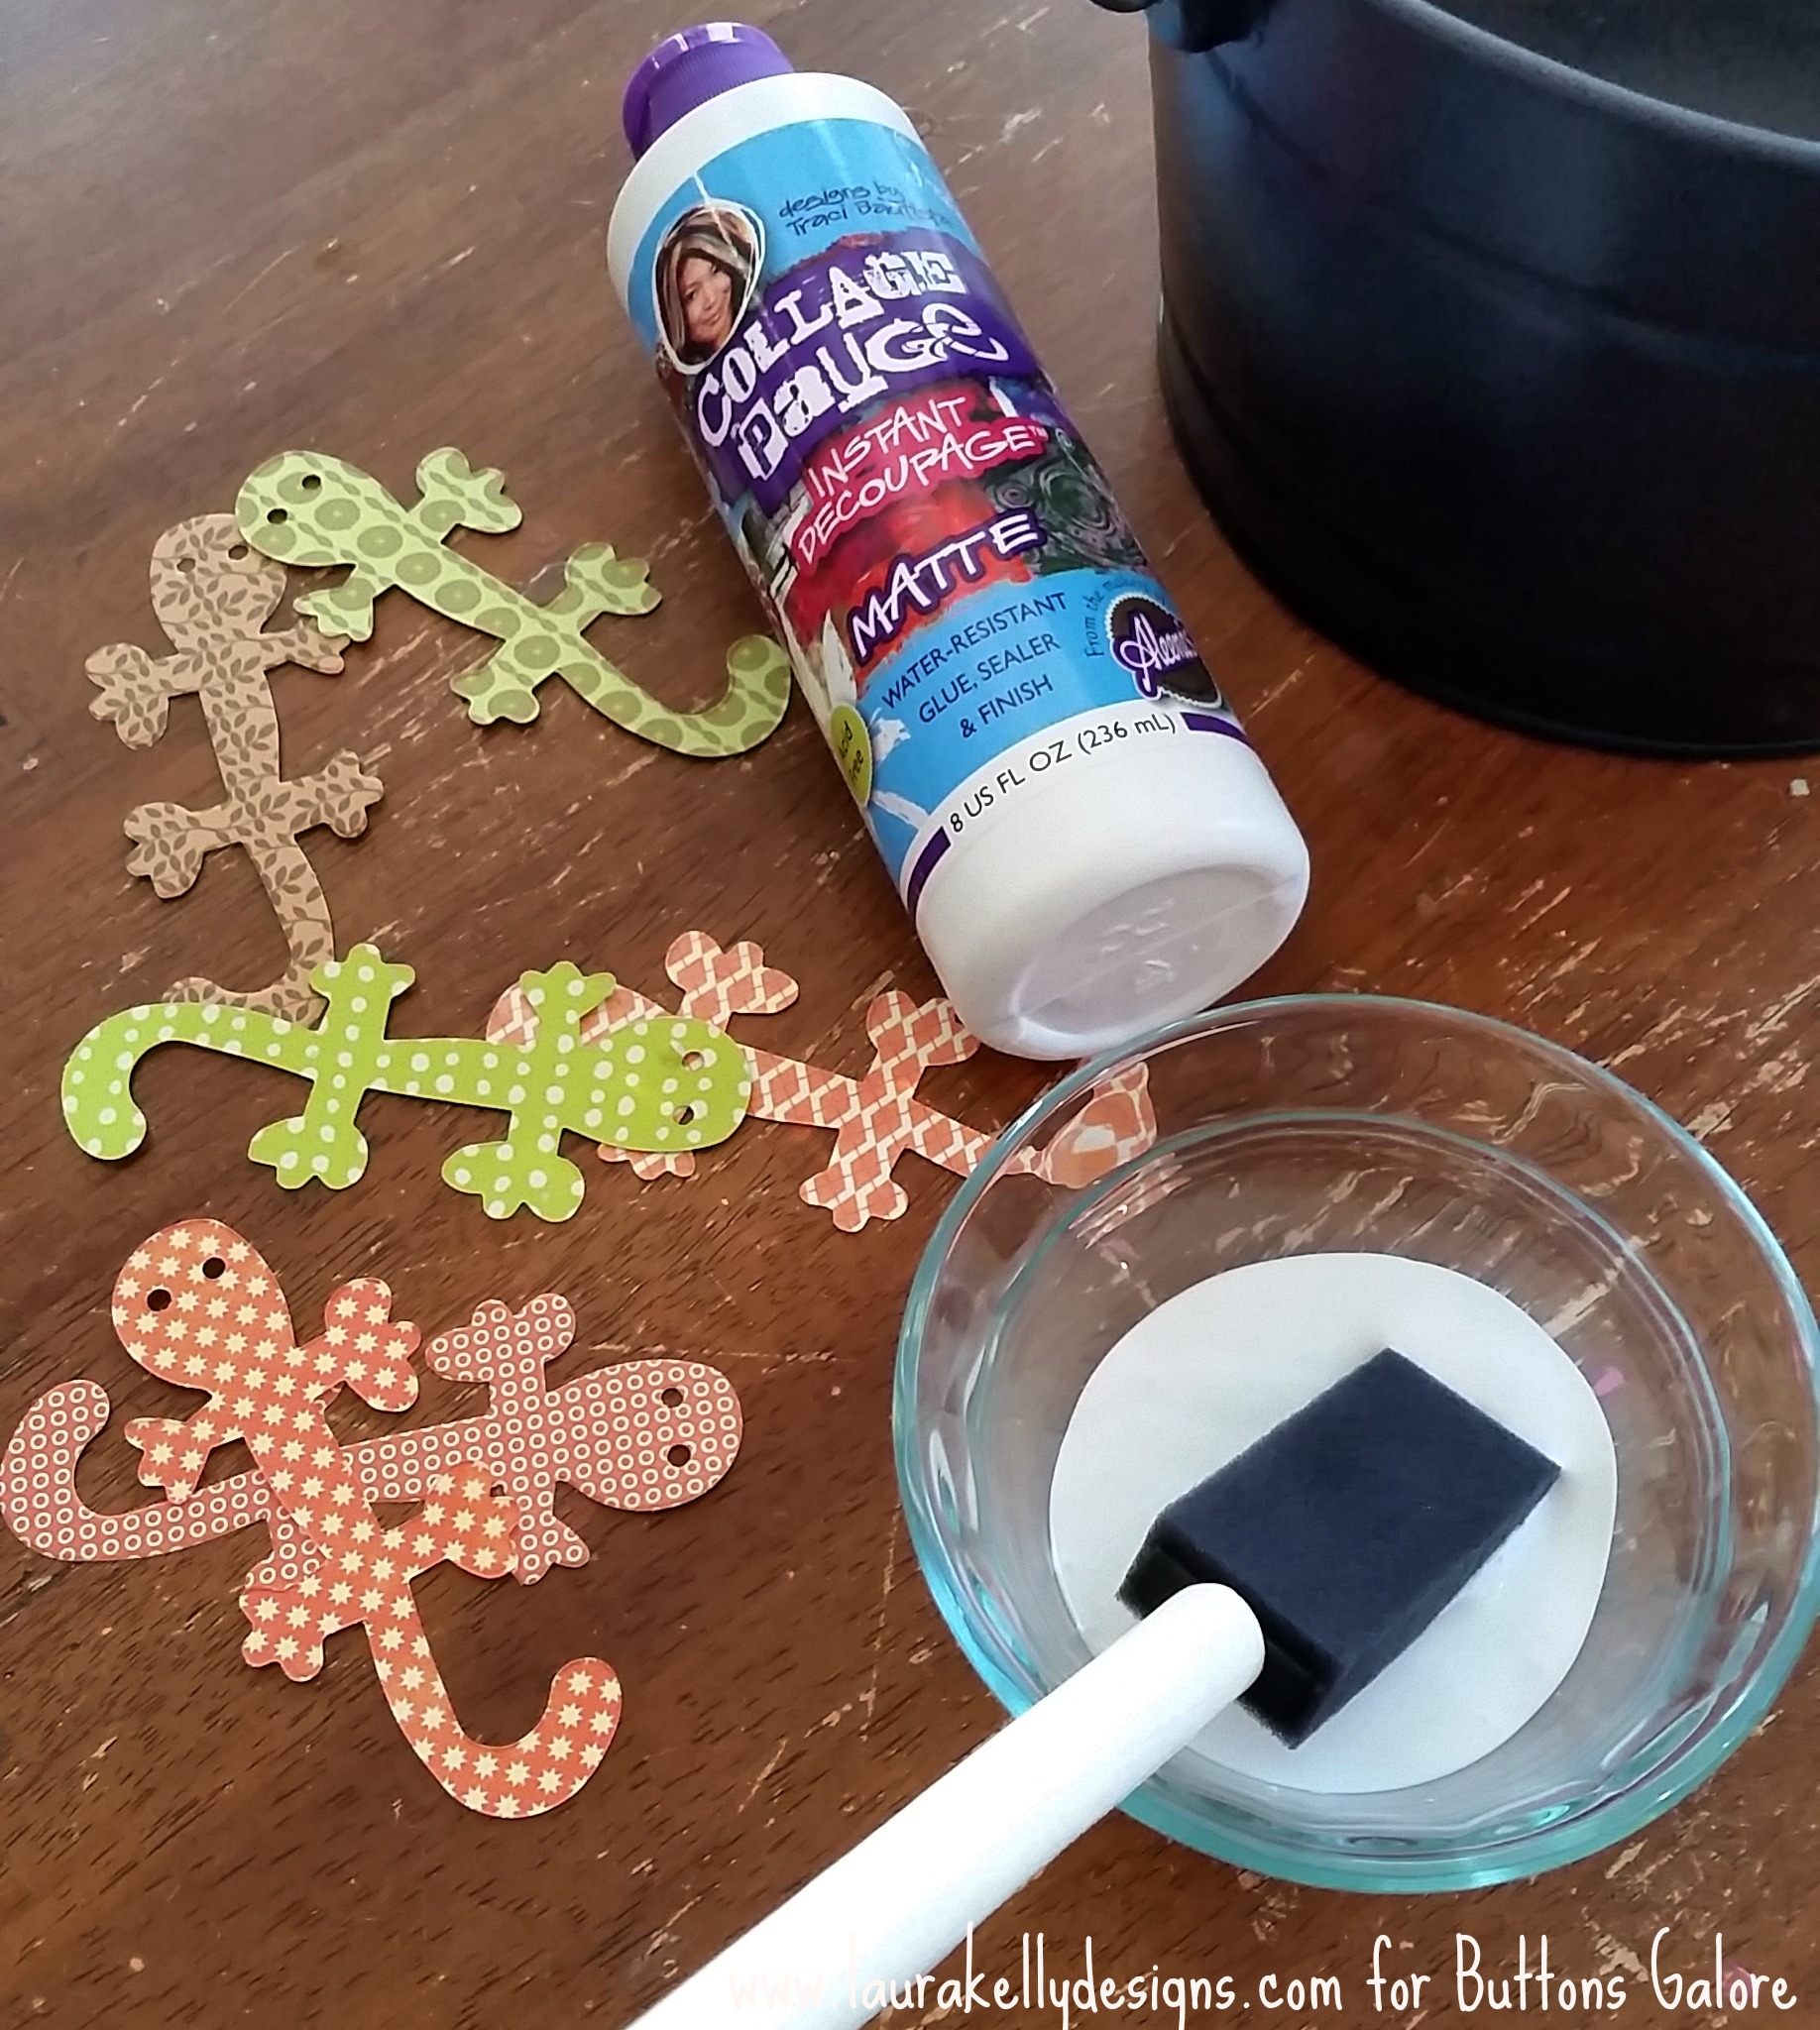
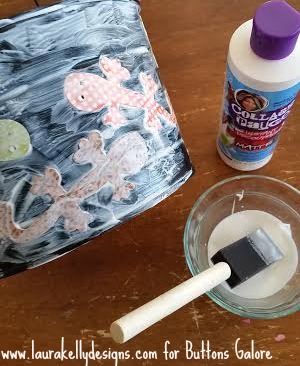
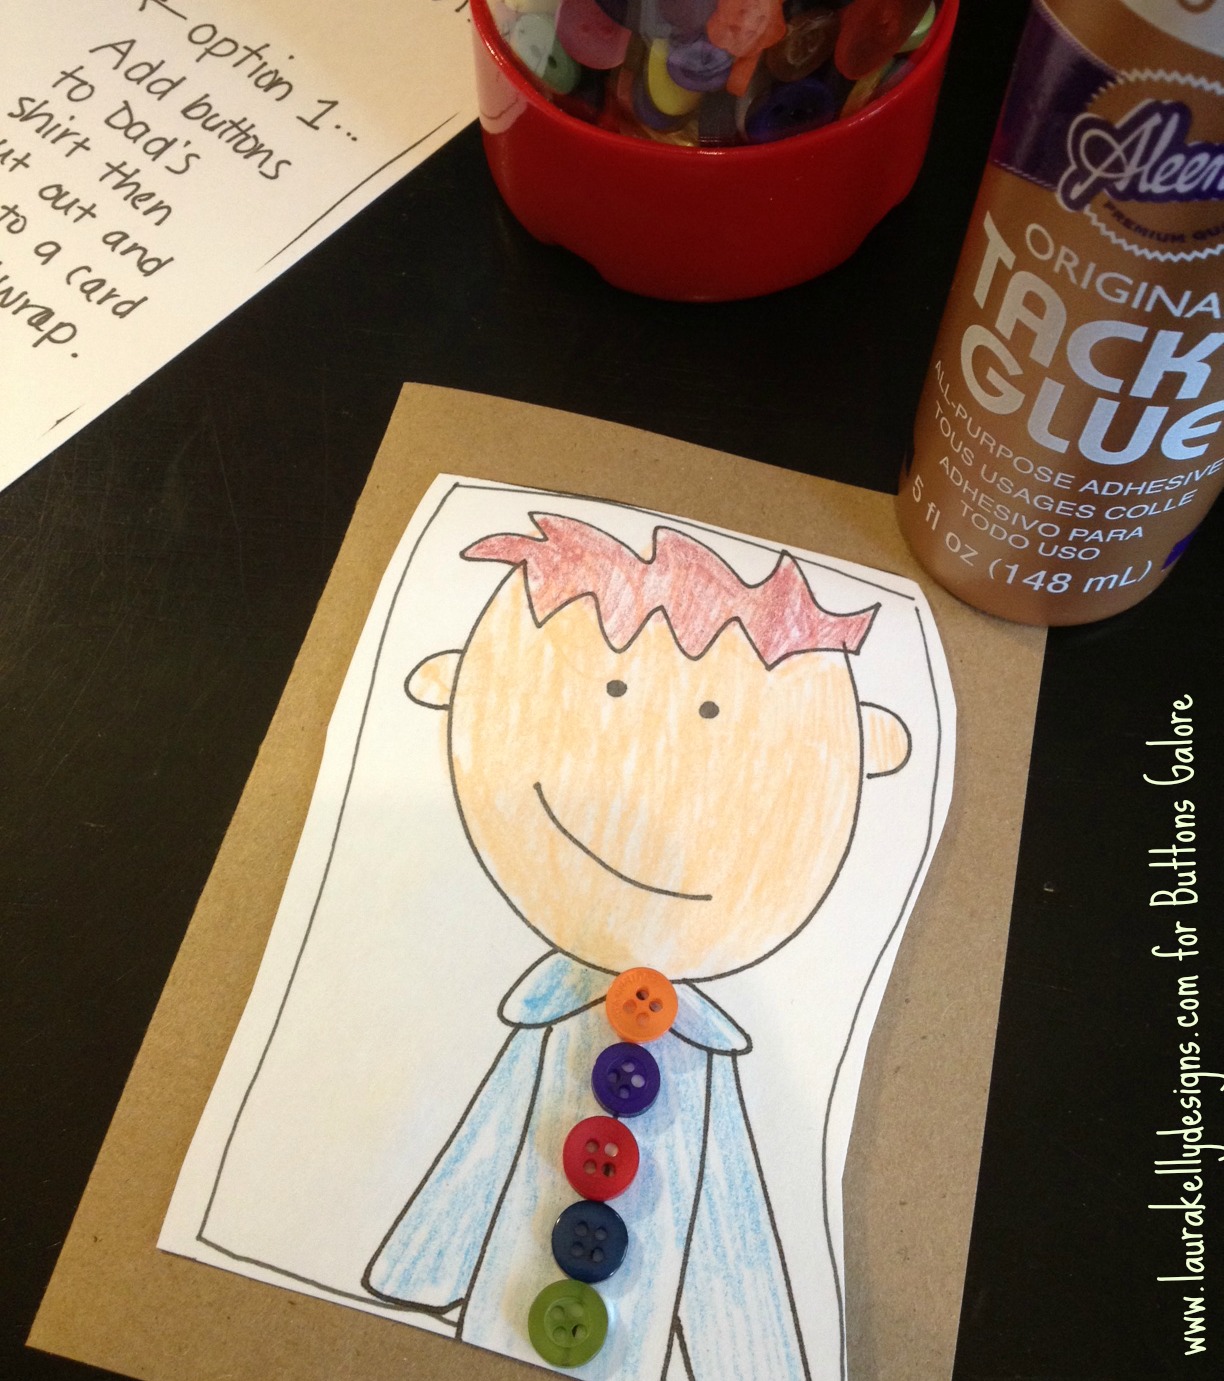
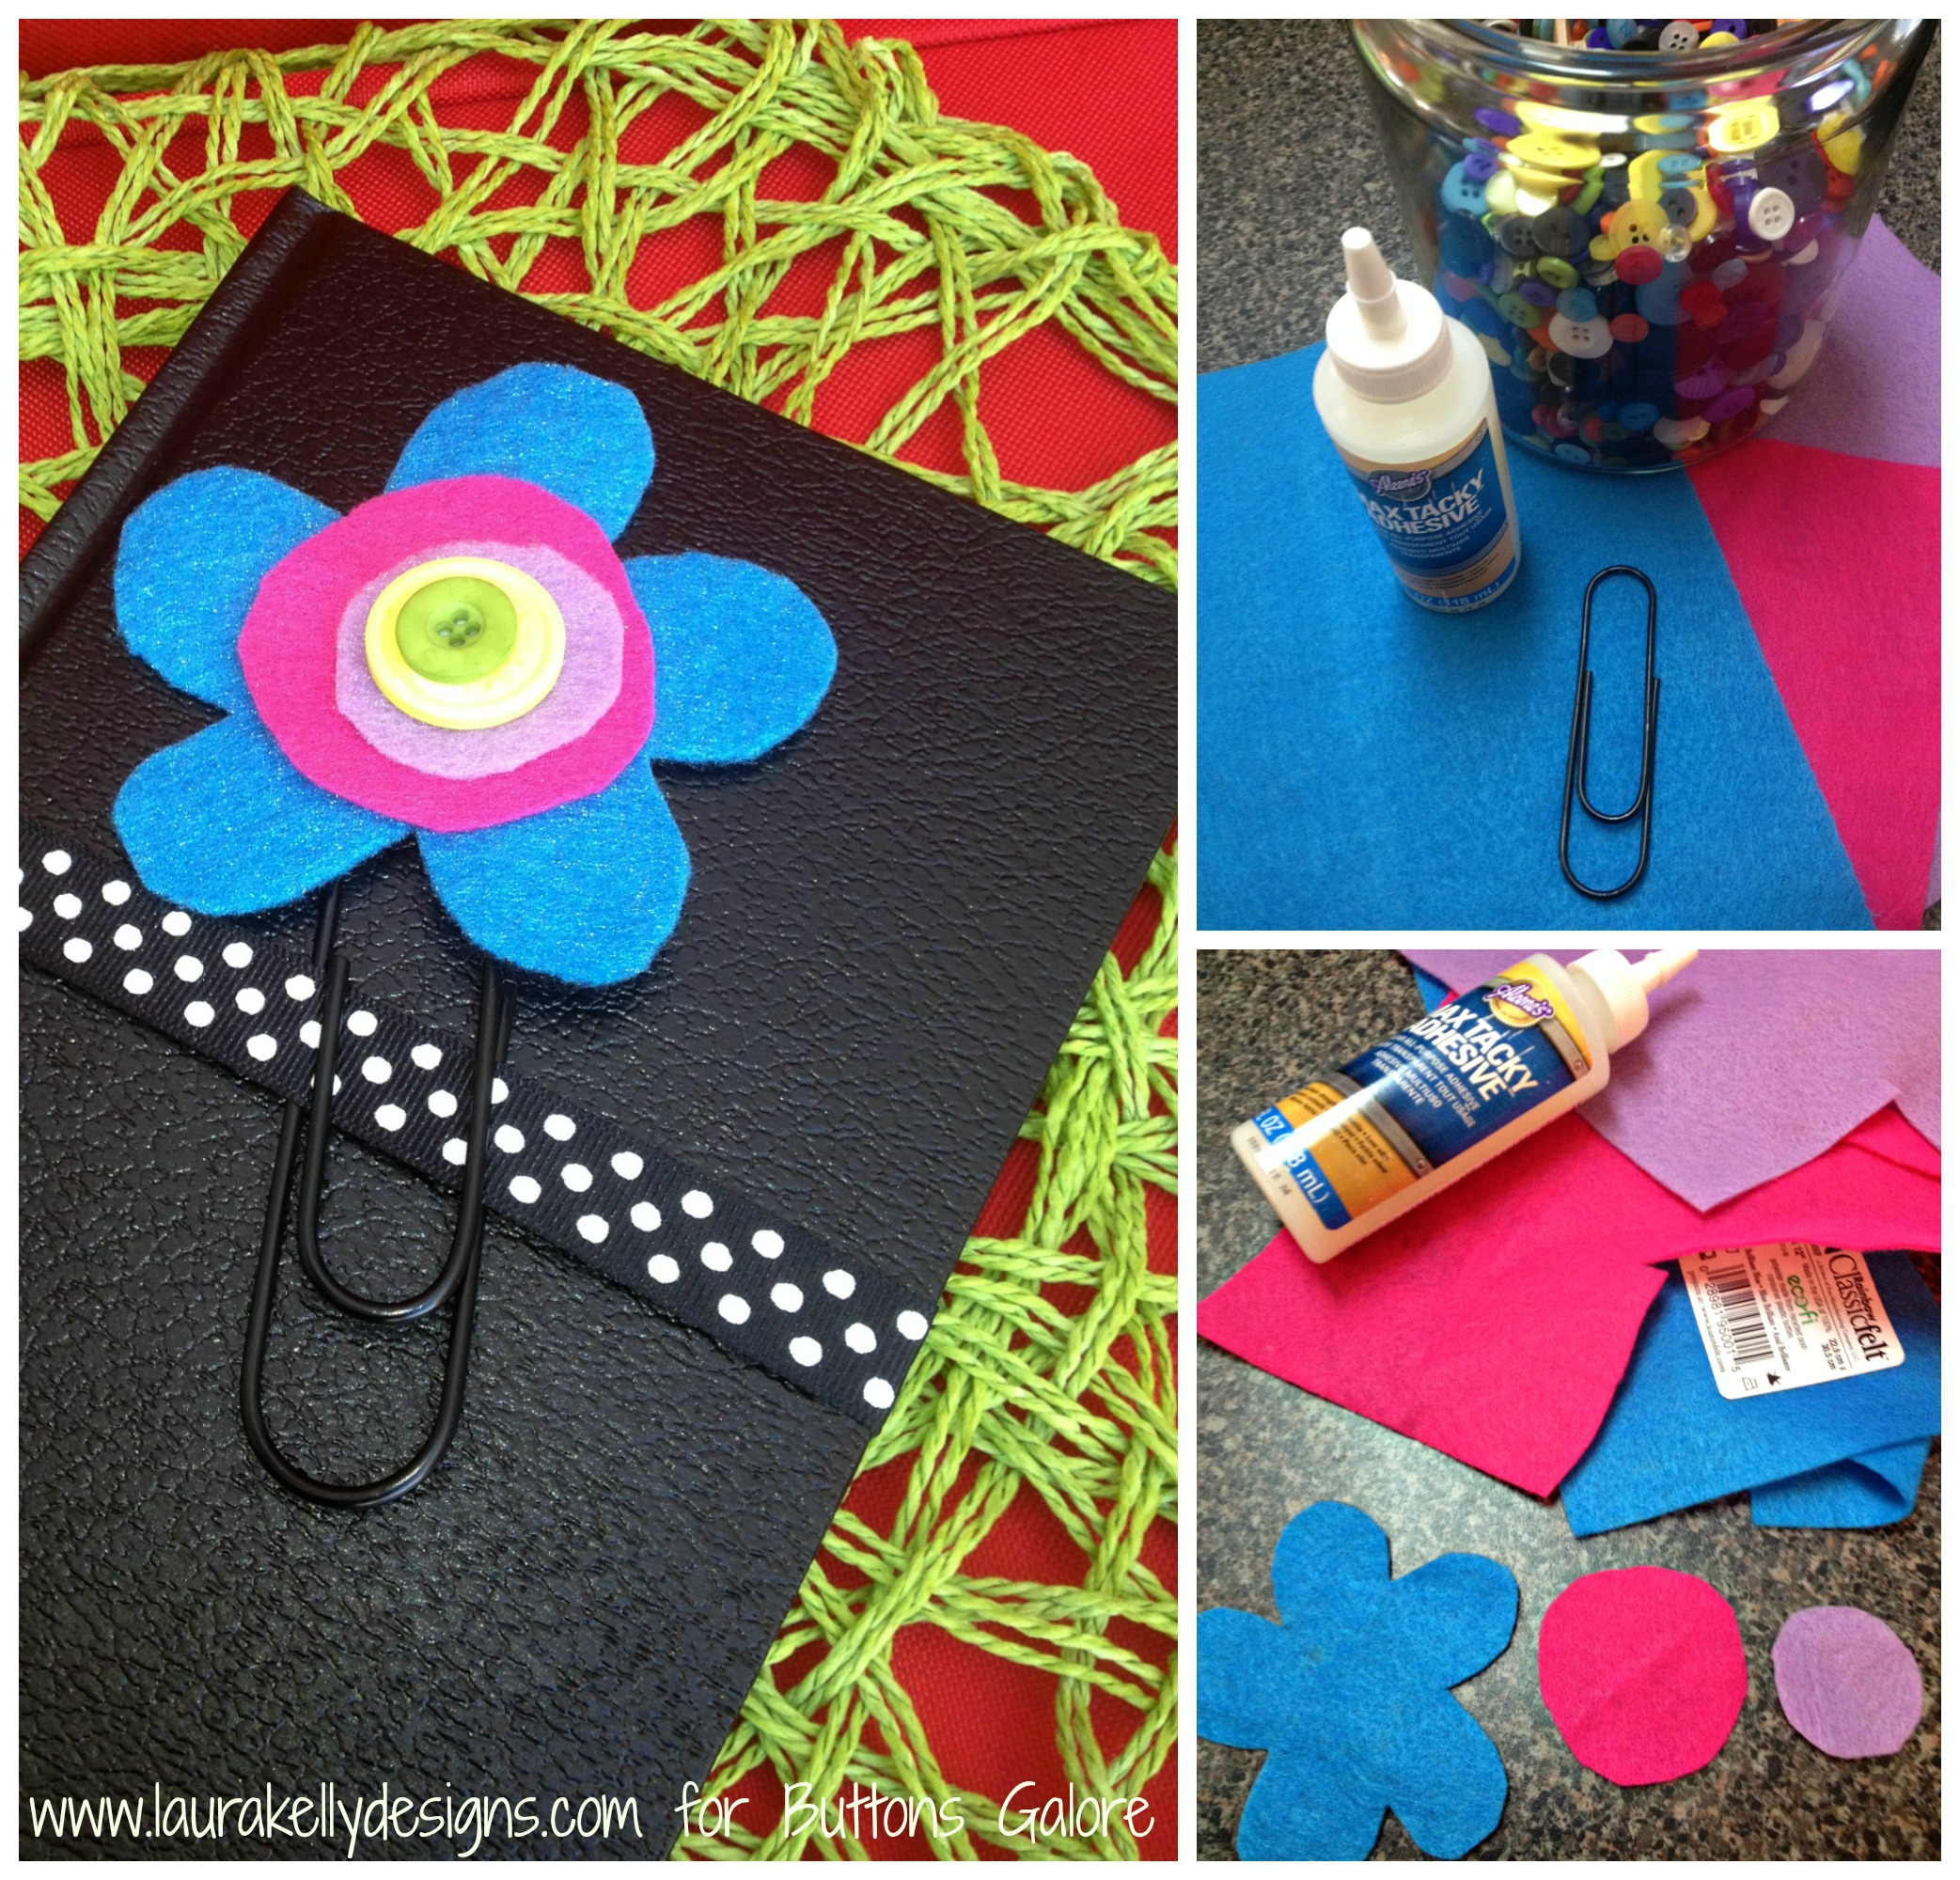
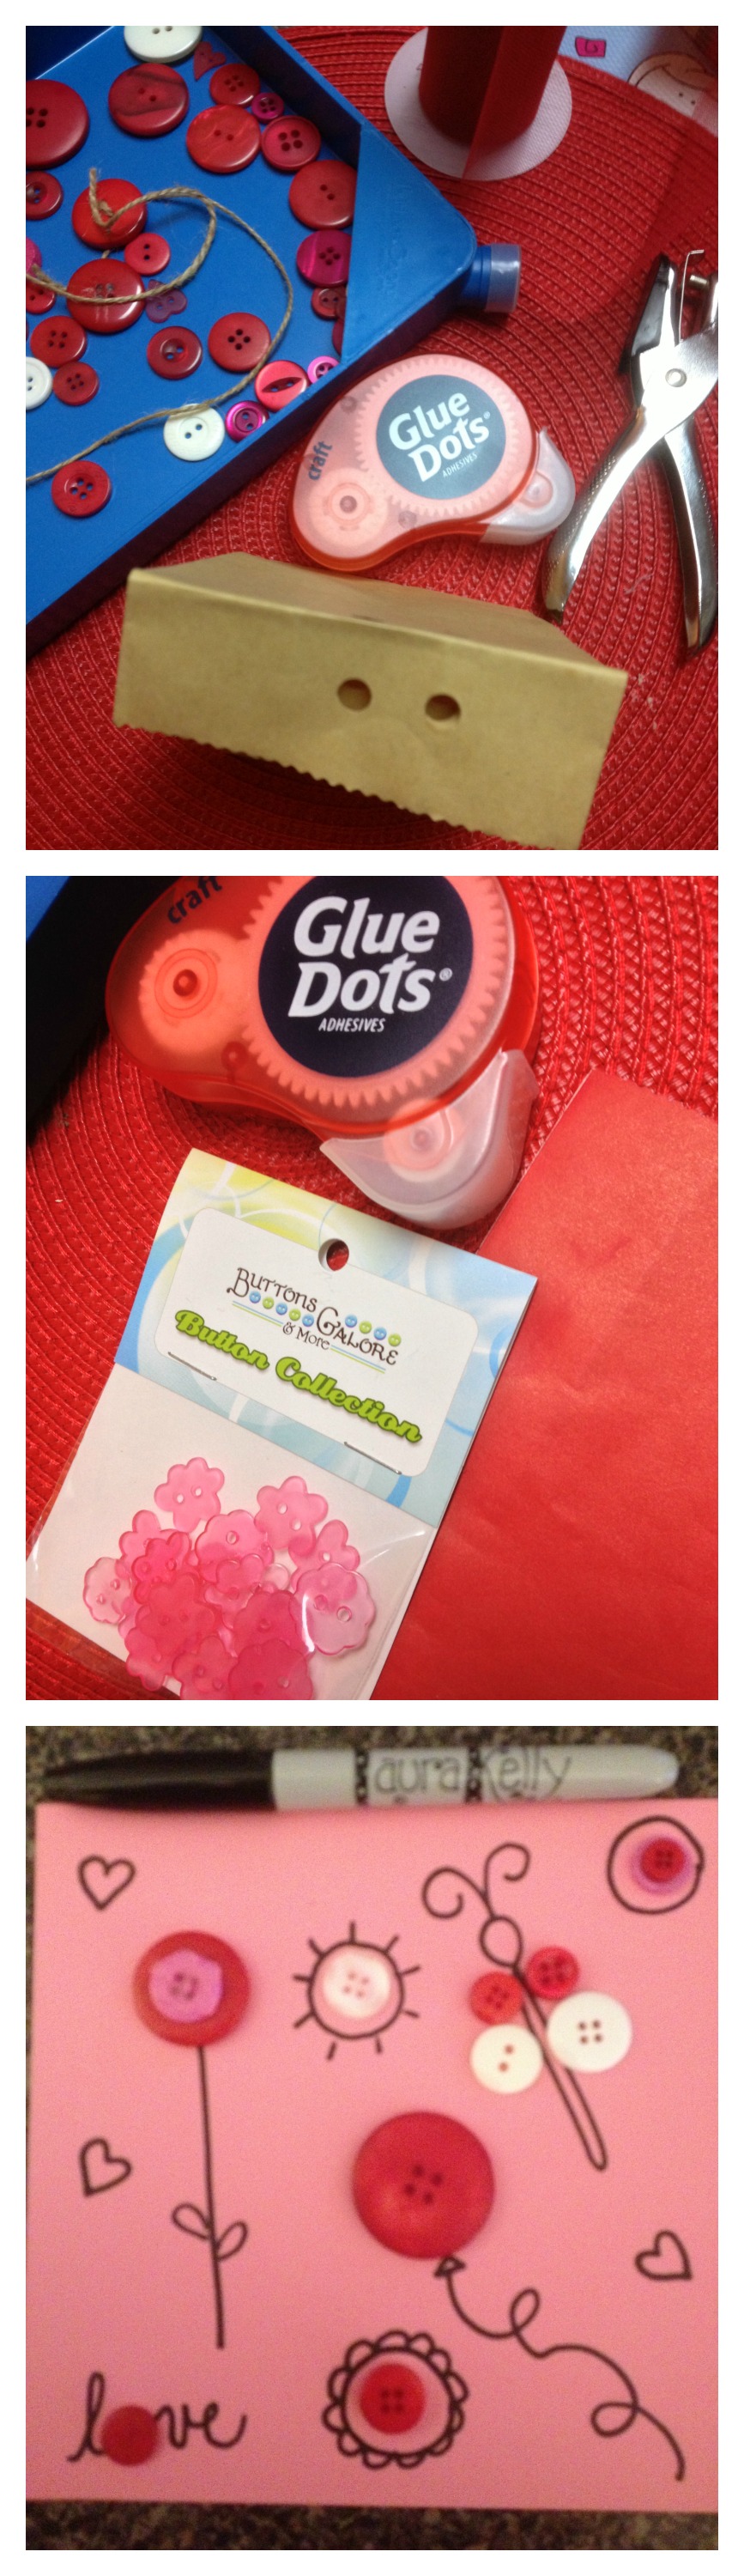
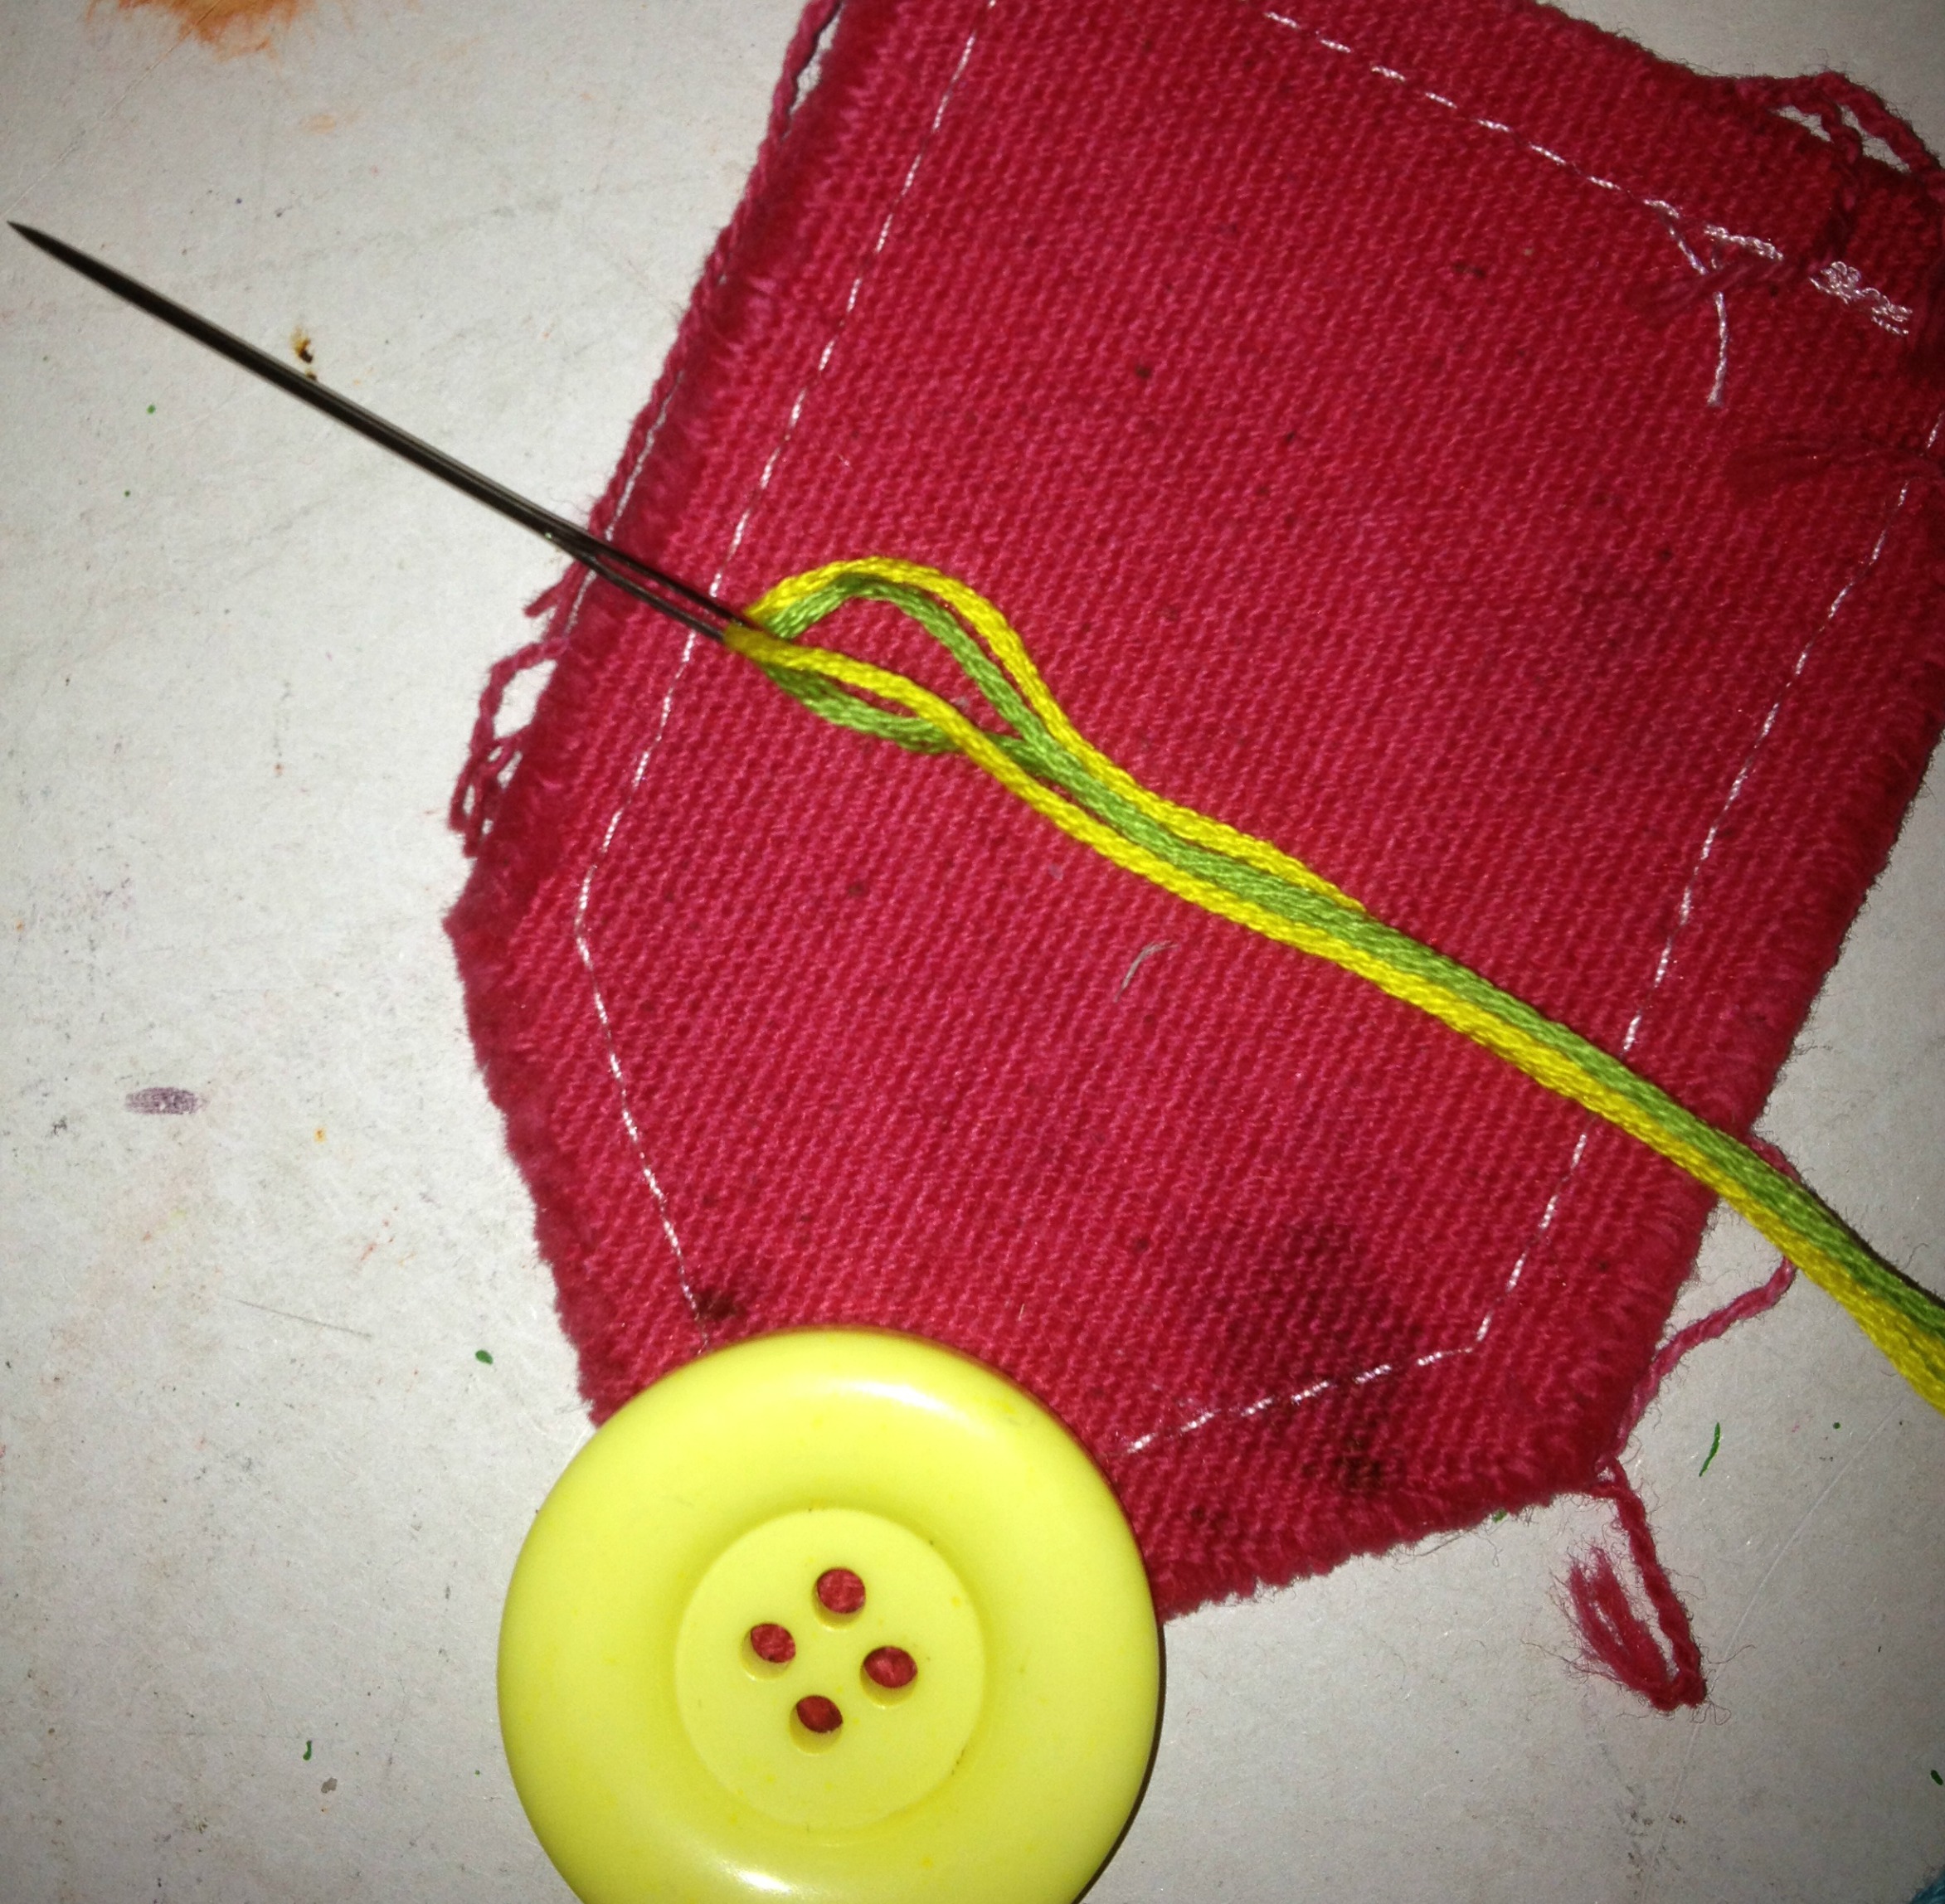
To make easy work of attaching many buttons to wood (and to each other), I use Aleene’s Fast Grab Tacky Glue.

Christmas Ornaments with Buttons

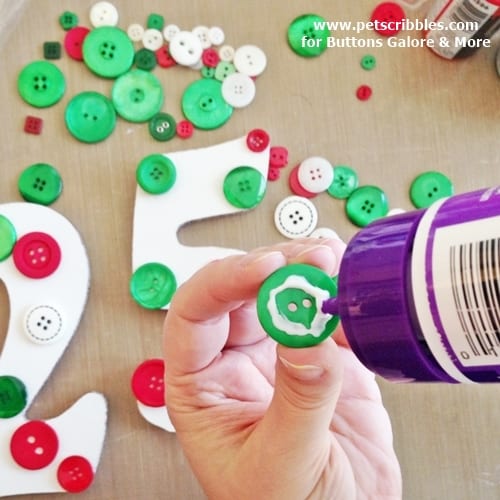
After applying the glue to the back of each button, just set in place and hold it there for a few seconds to set.

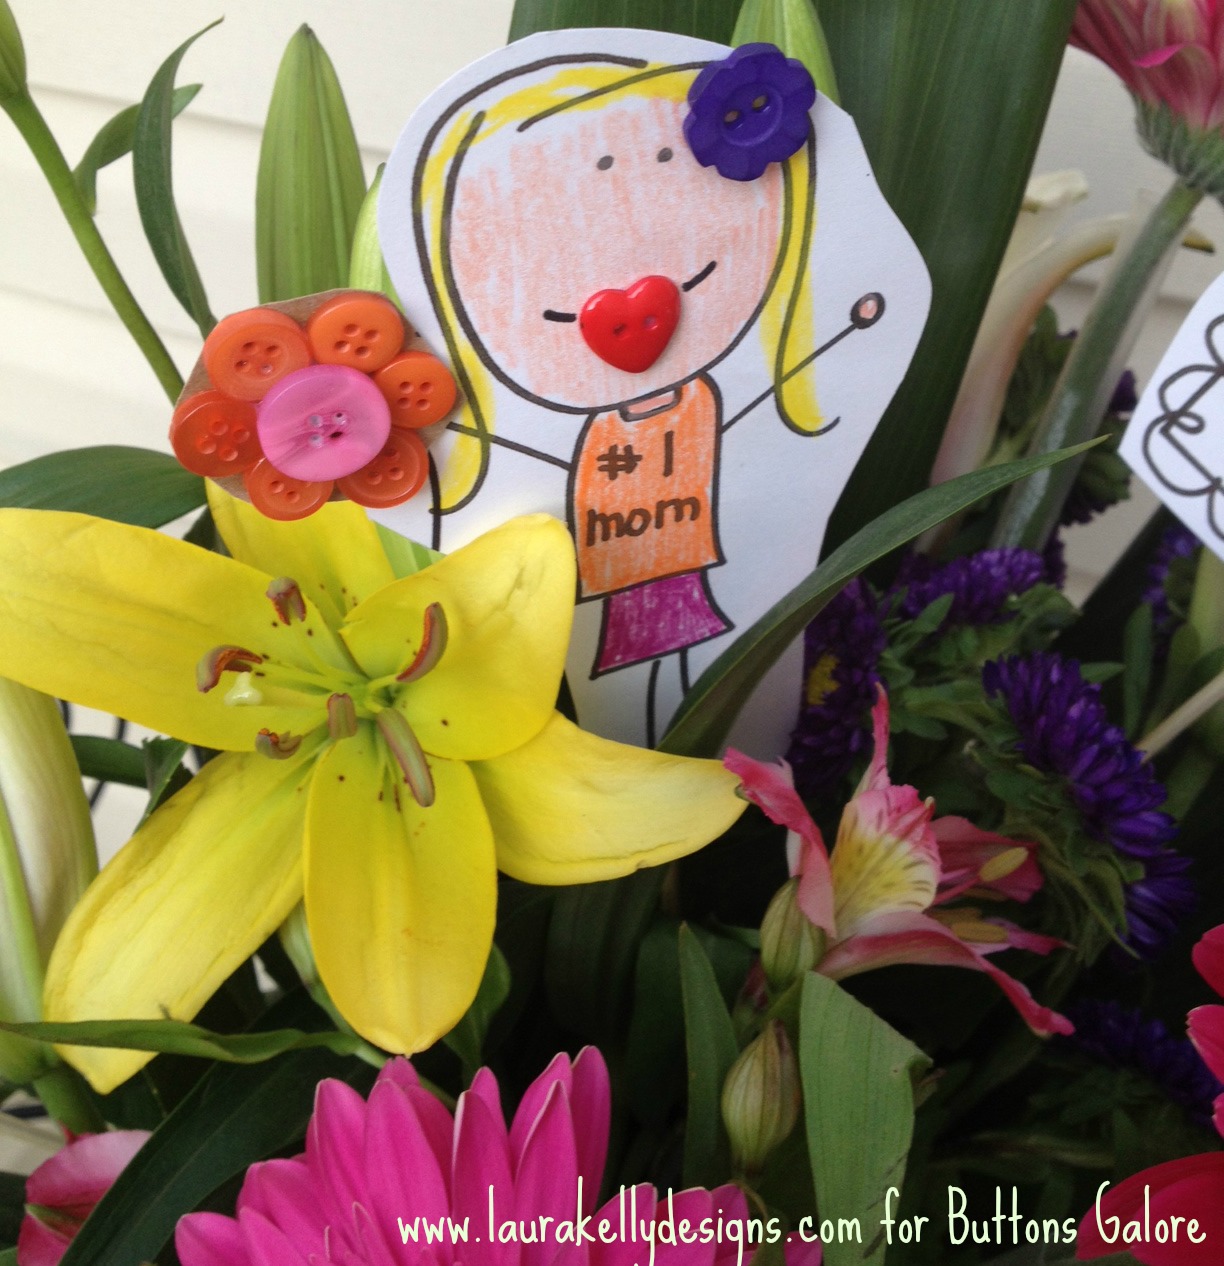
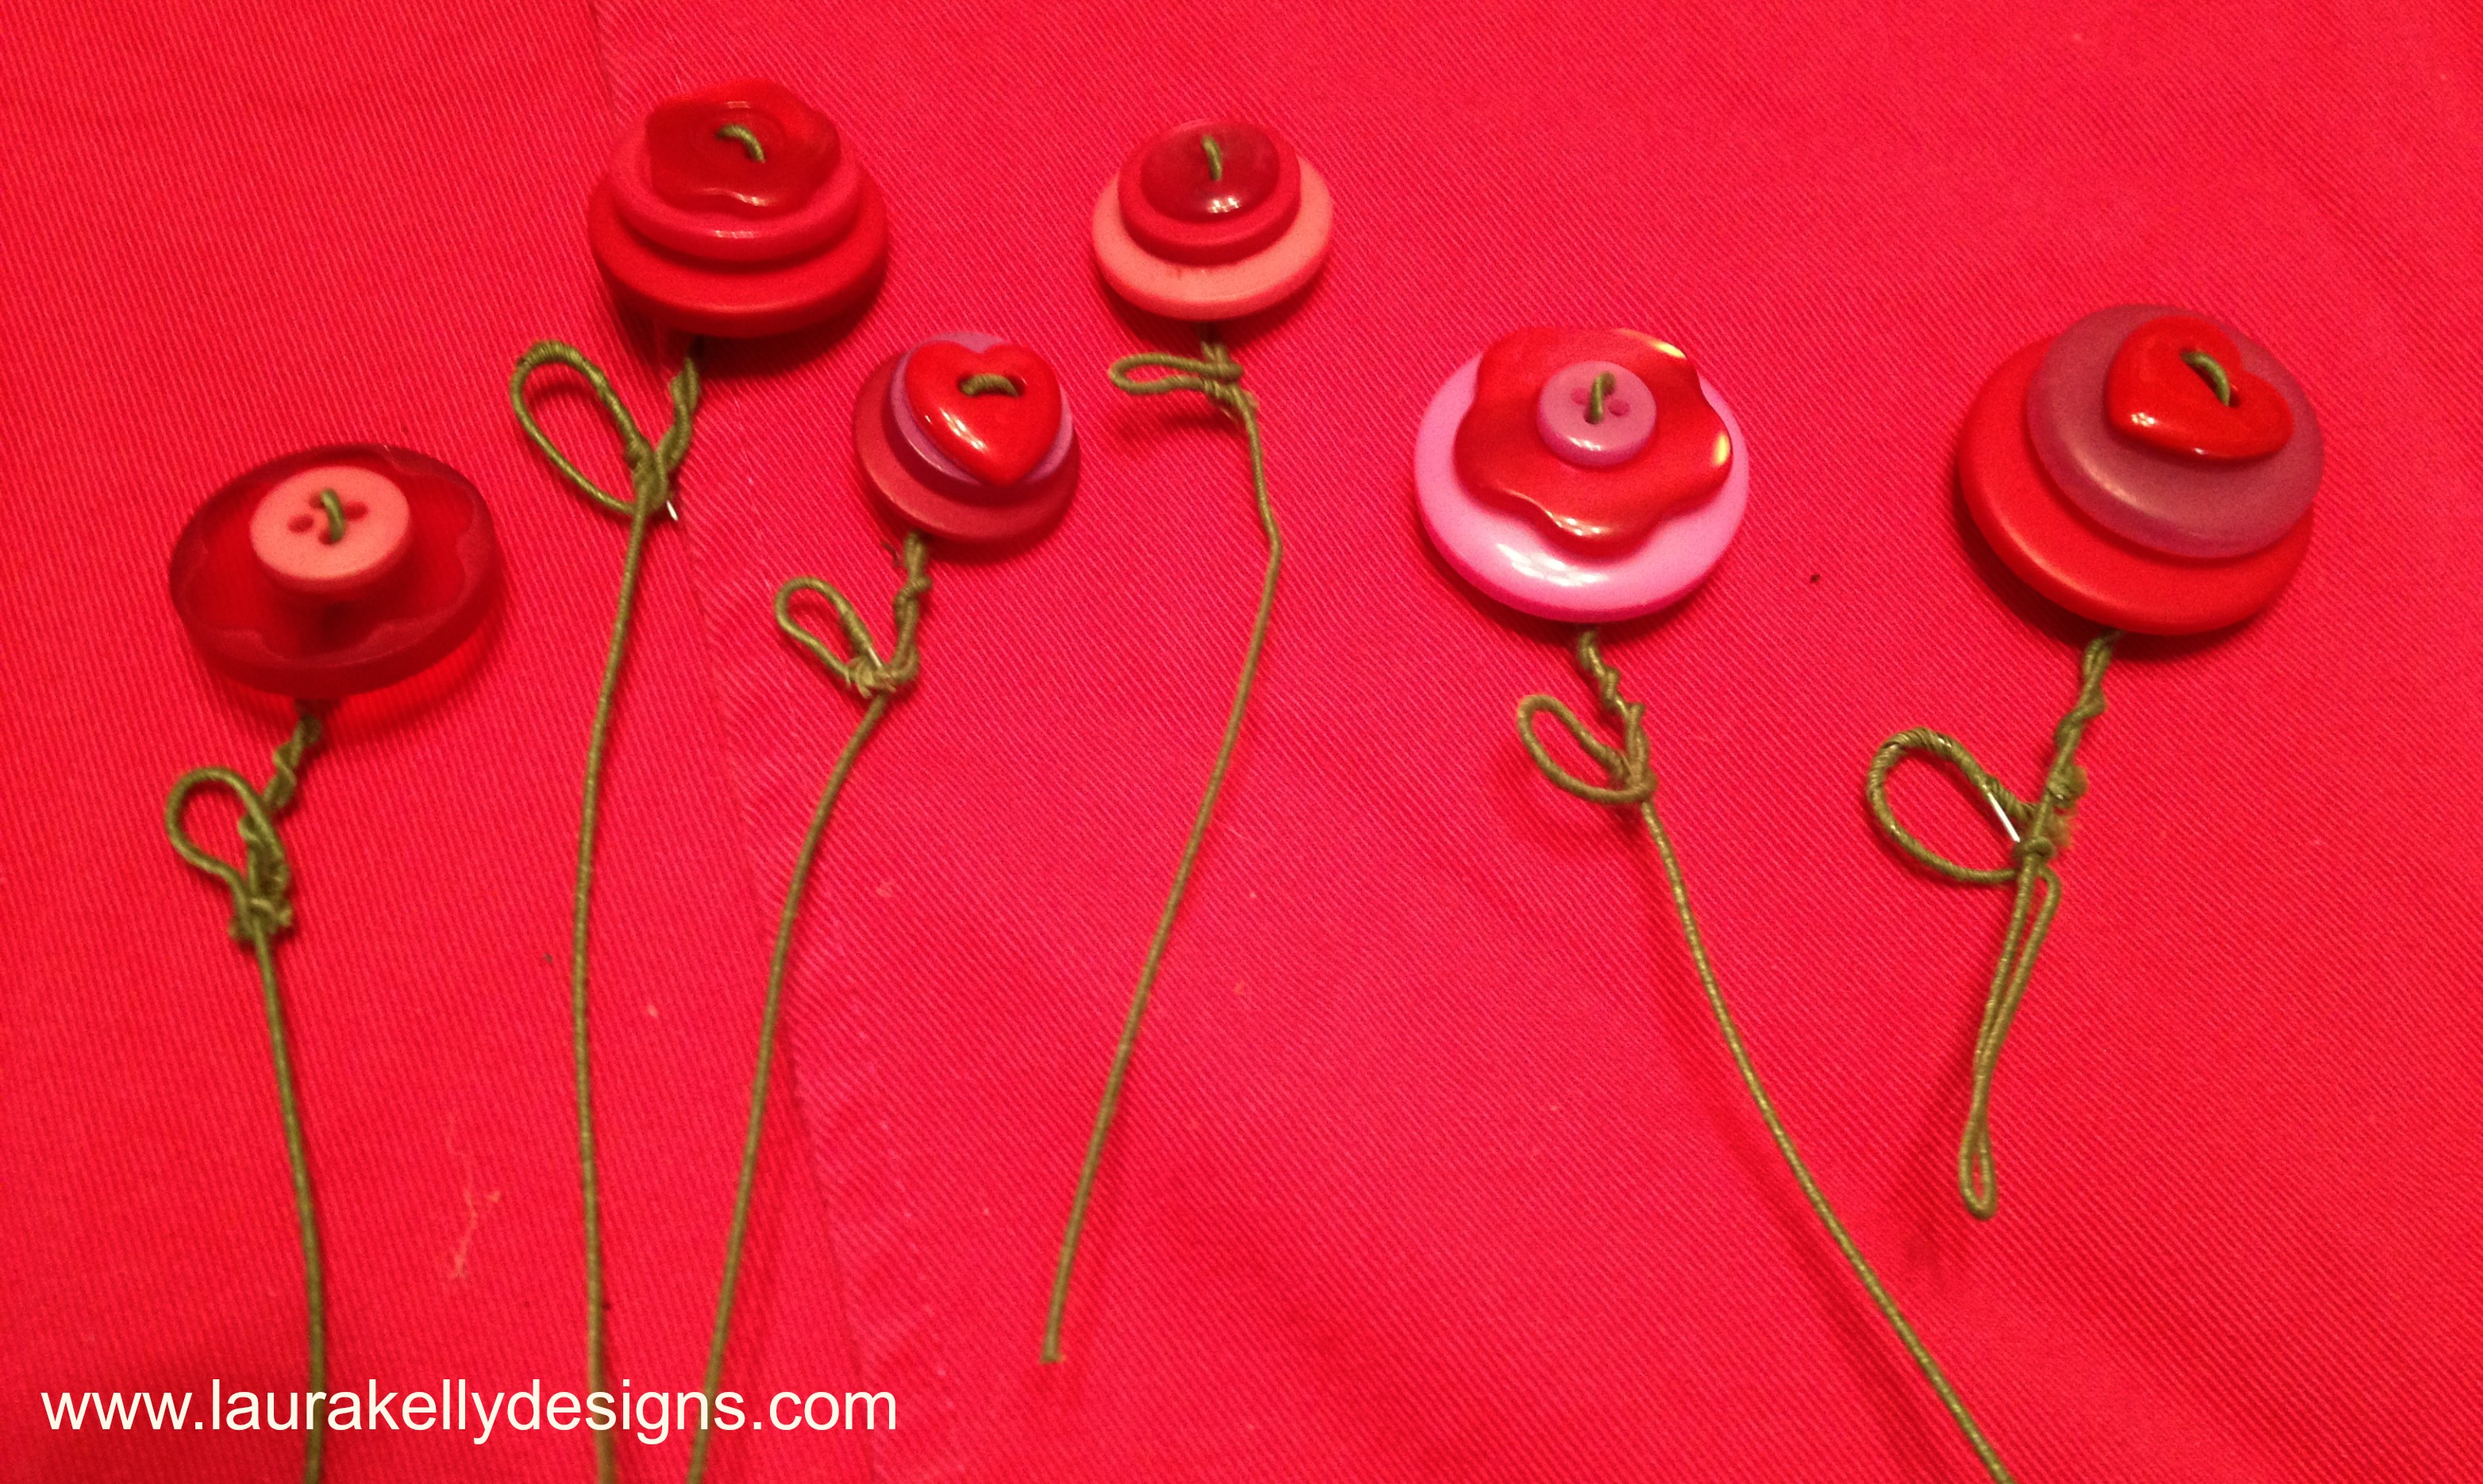
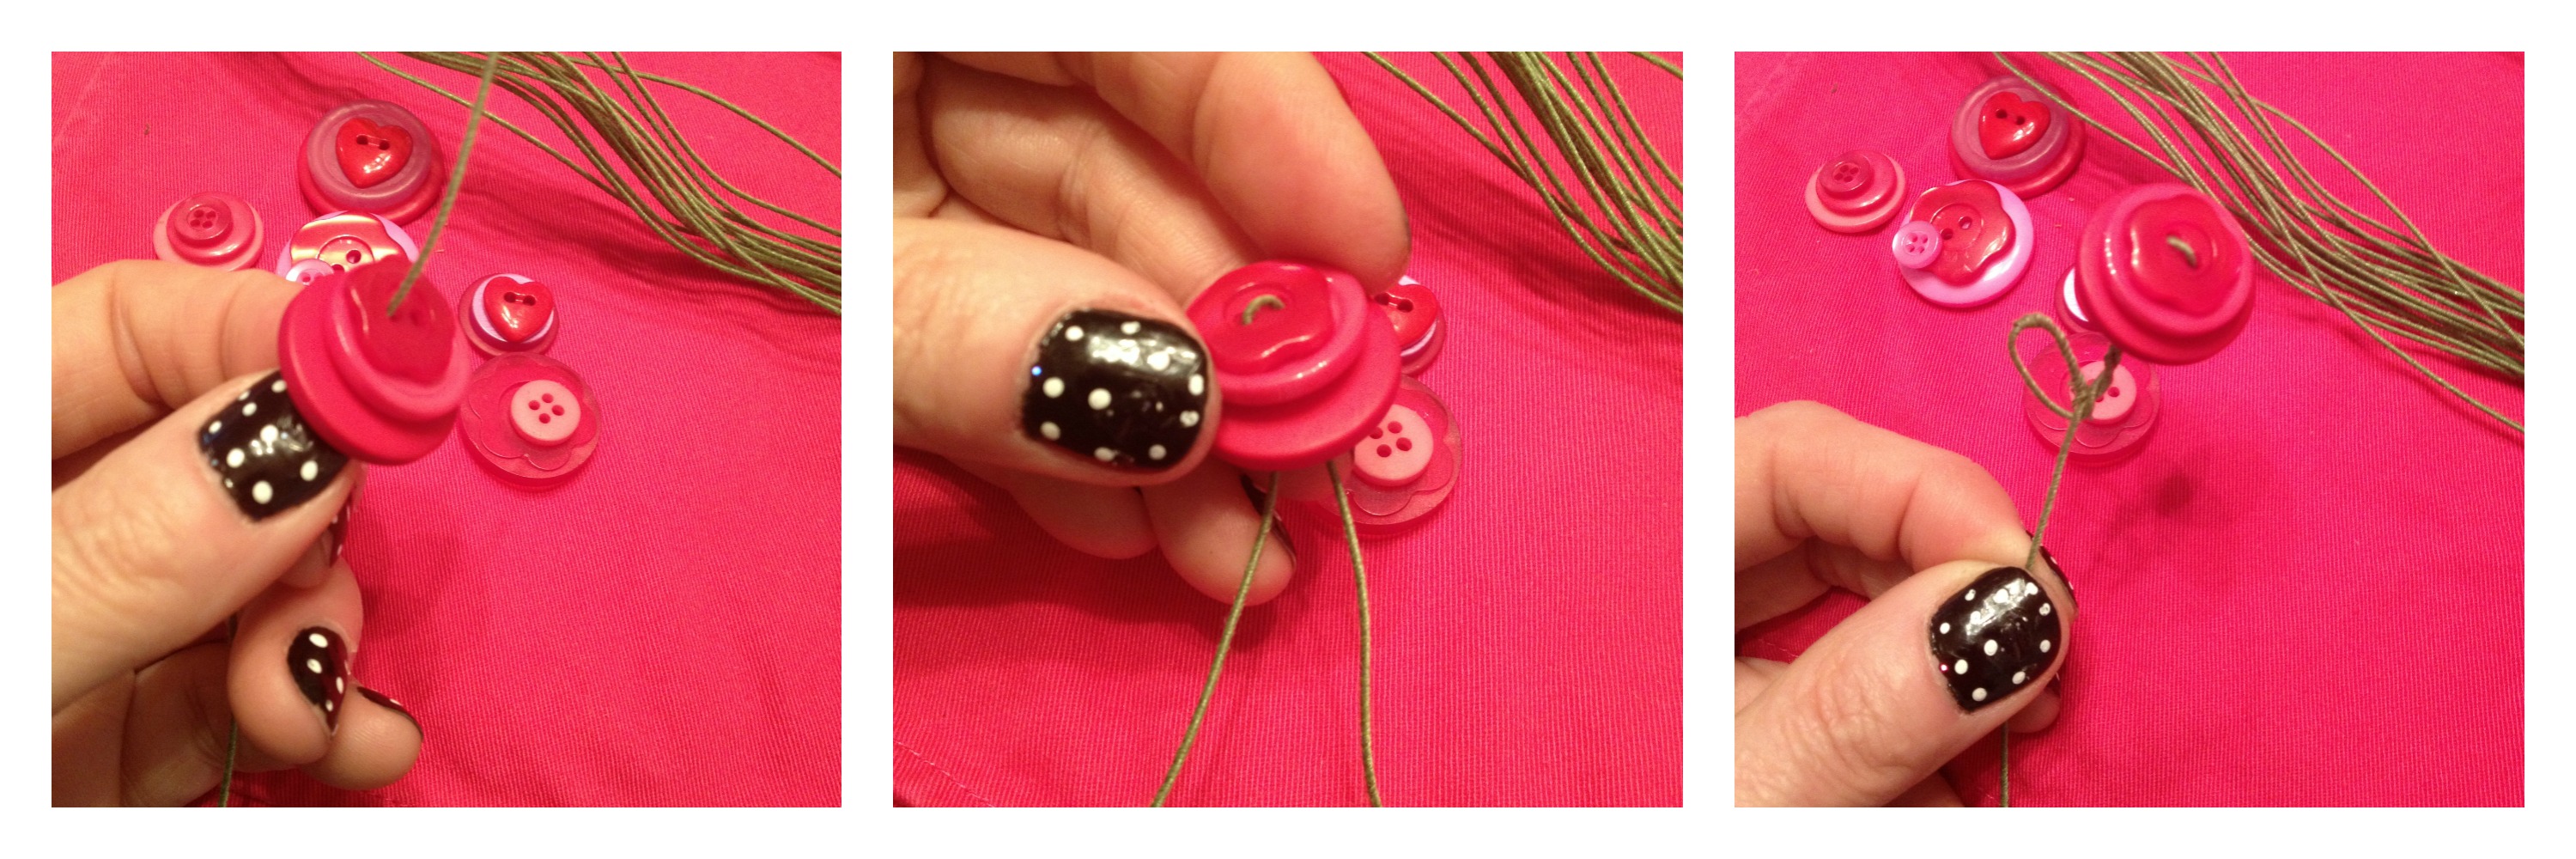
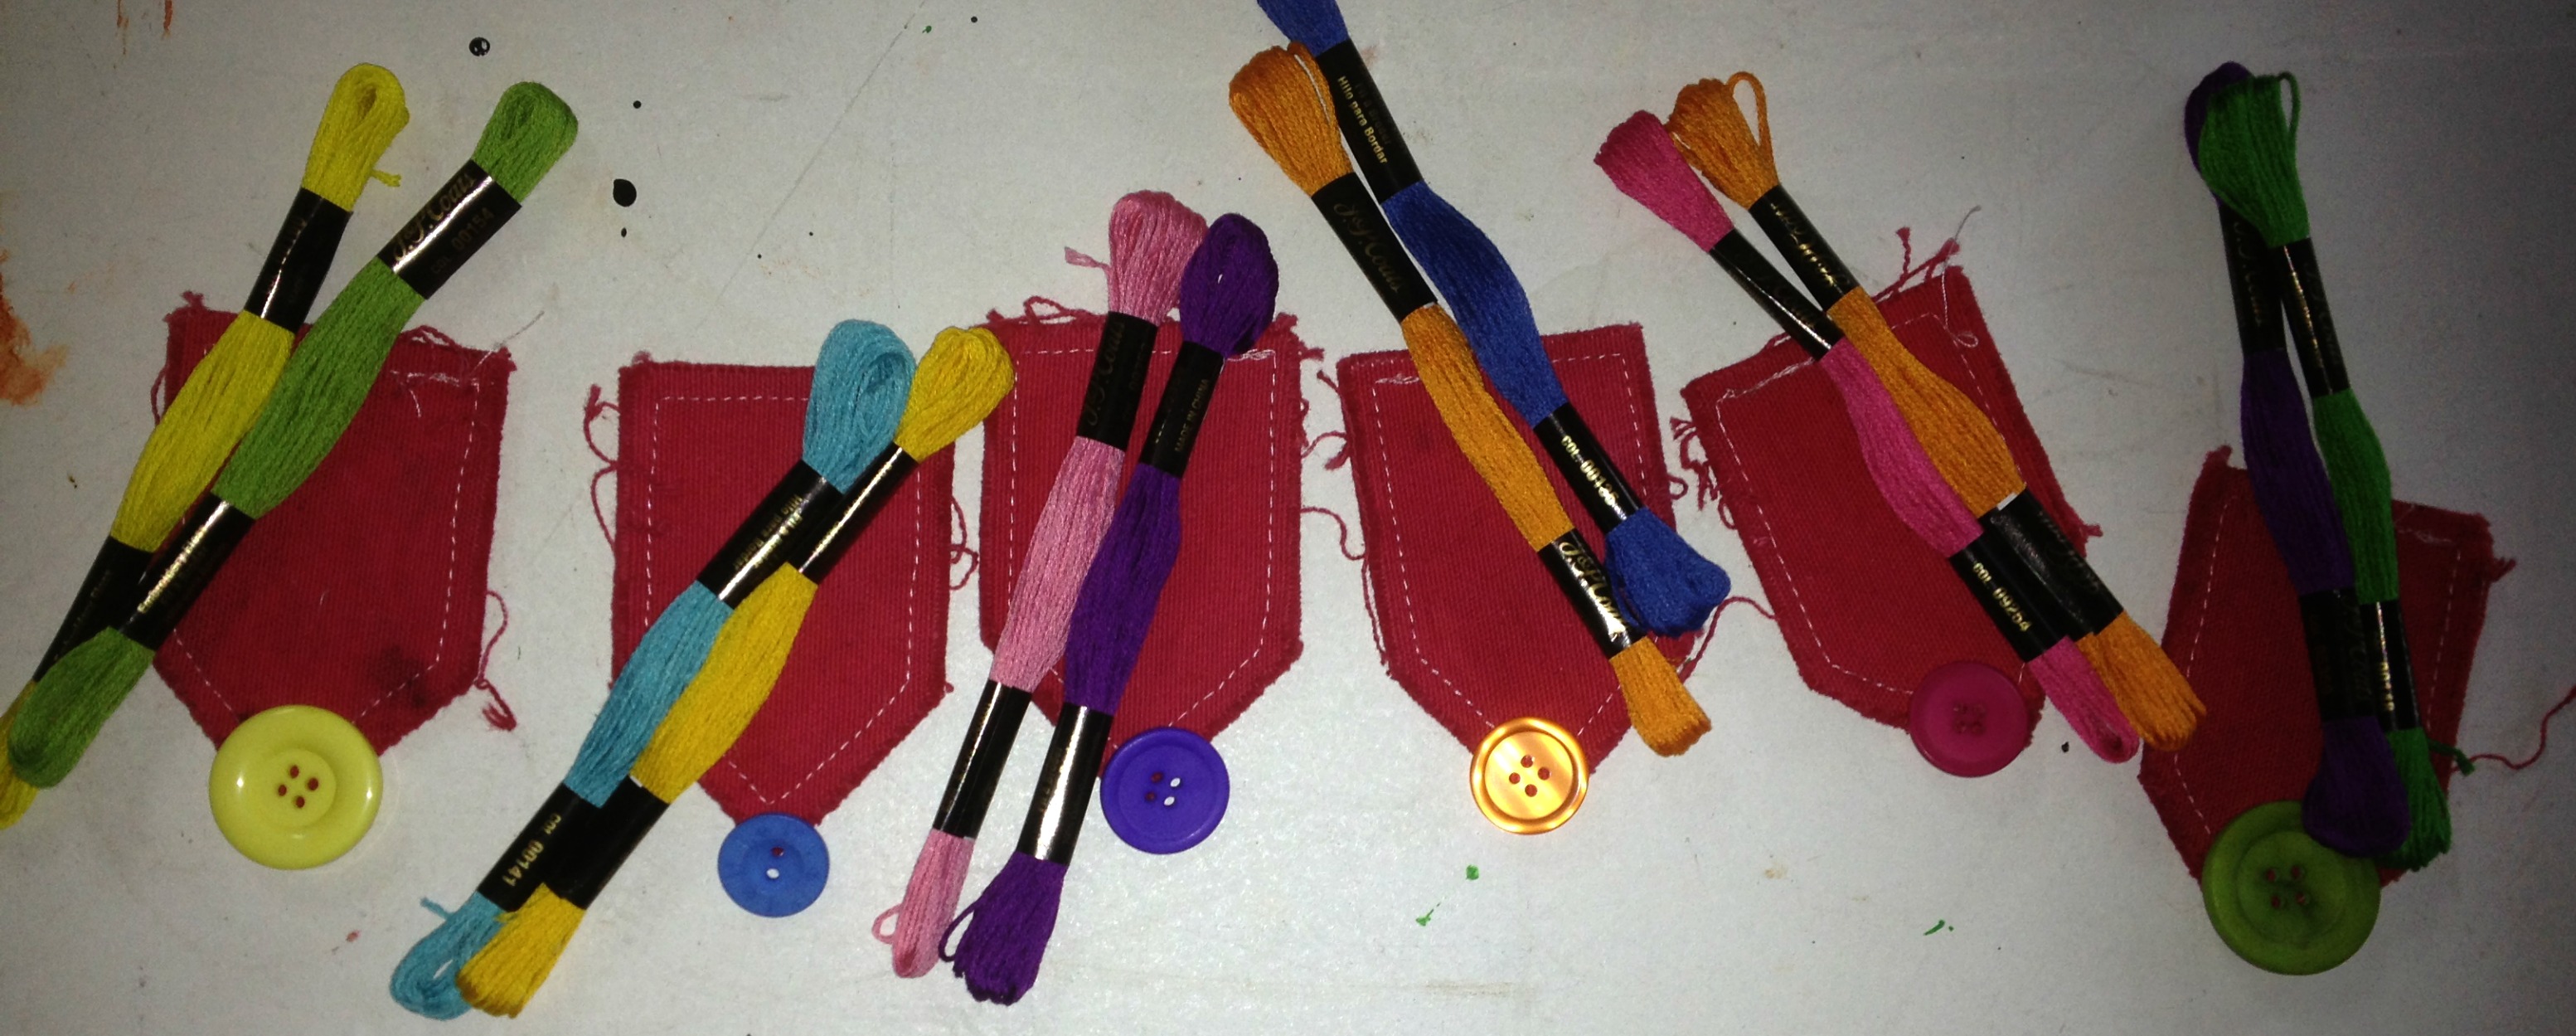
I began with some of the largest buttons first, then filled in with smaller buttons down to the tiniest (and totally adorable) sizes. And in some cases, I layered buttons on top of each other, for more texture and interest.

Christmas Ornaments with Buttons

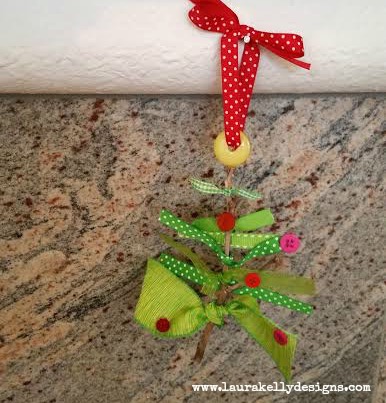
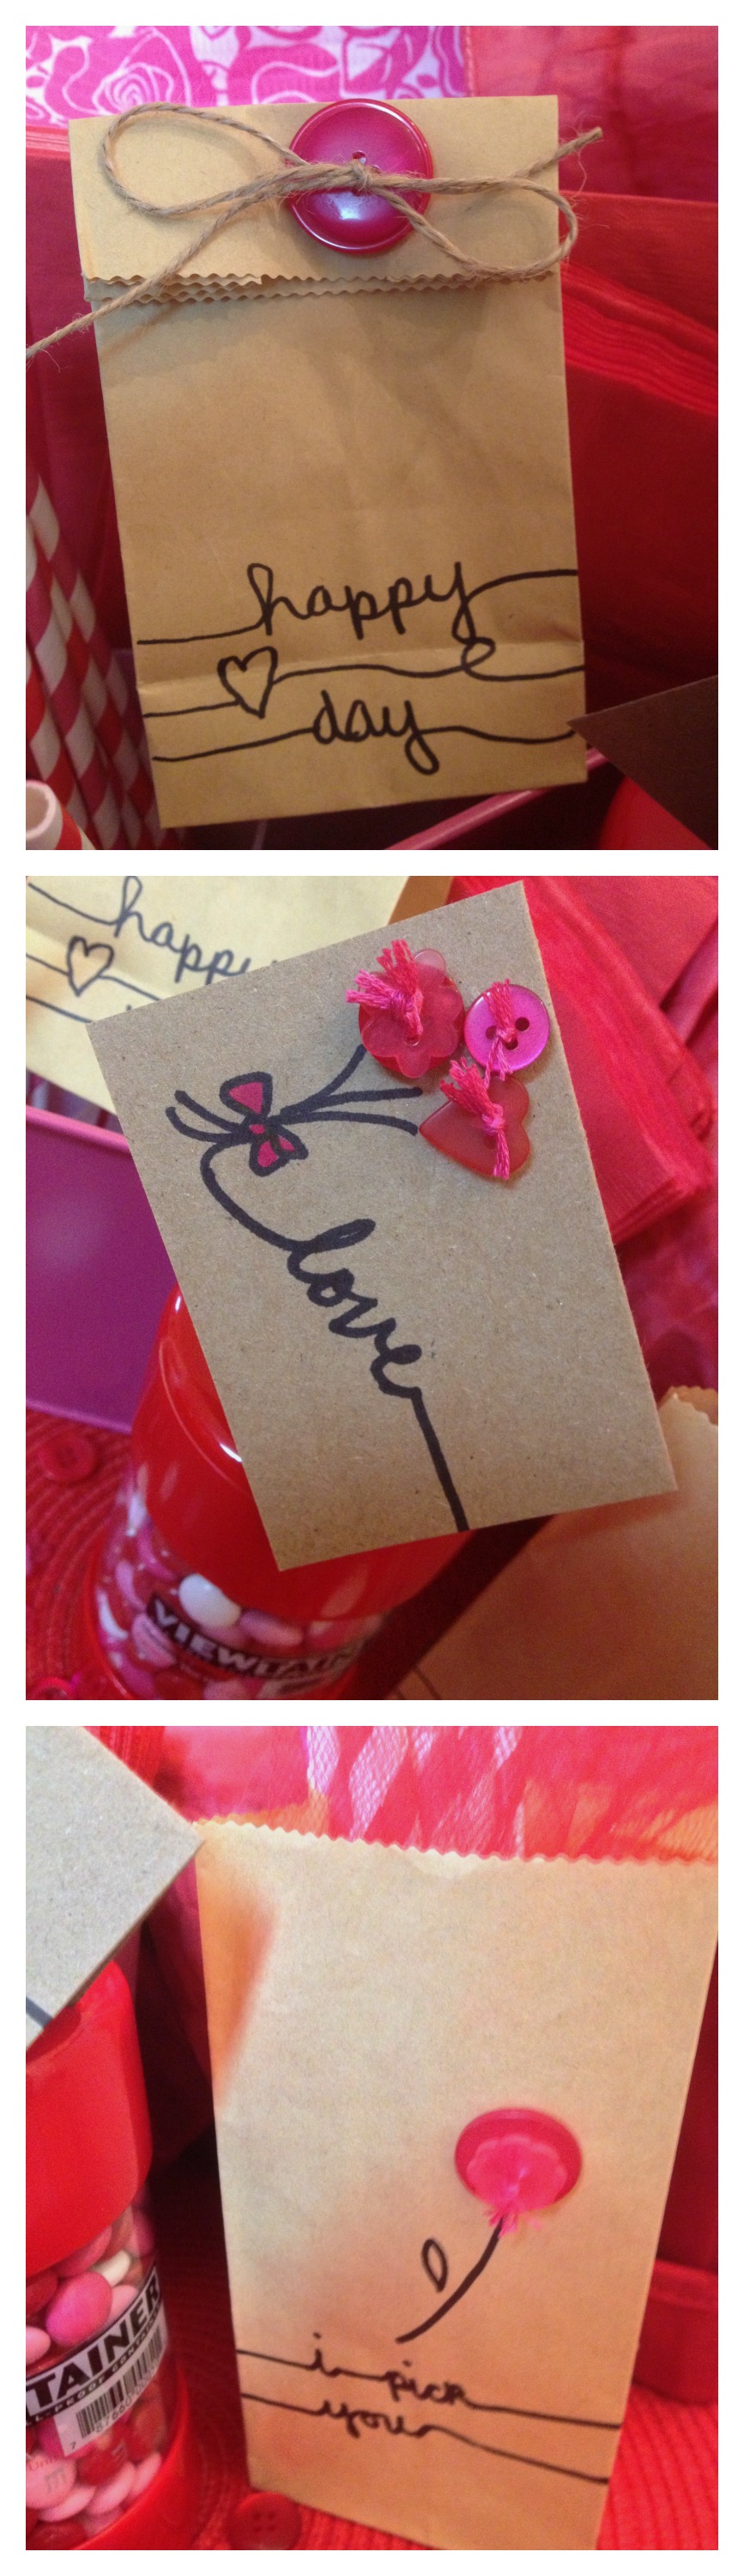
Once finished, I added some red tulle around the number 5 as a scarf, keeping with the cozy idea of Christmas Day.

Christmas Ornaments with Buttons

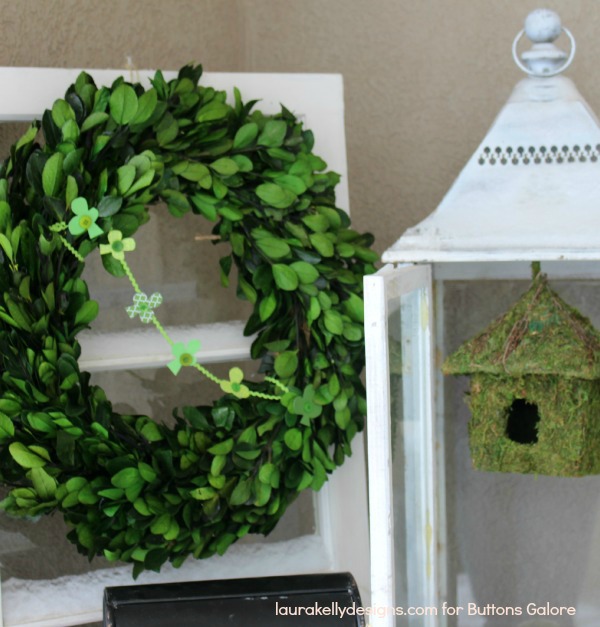
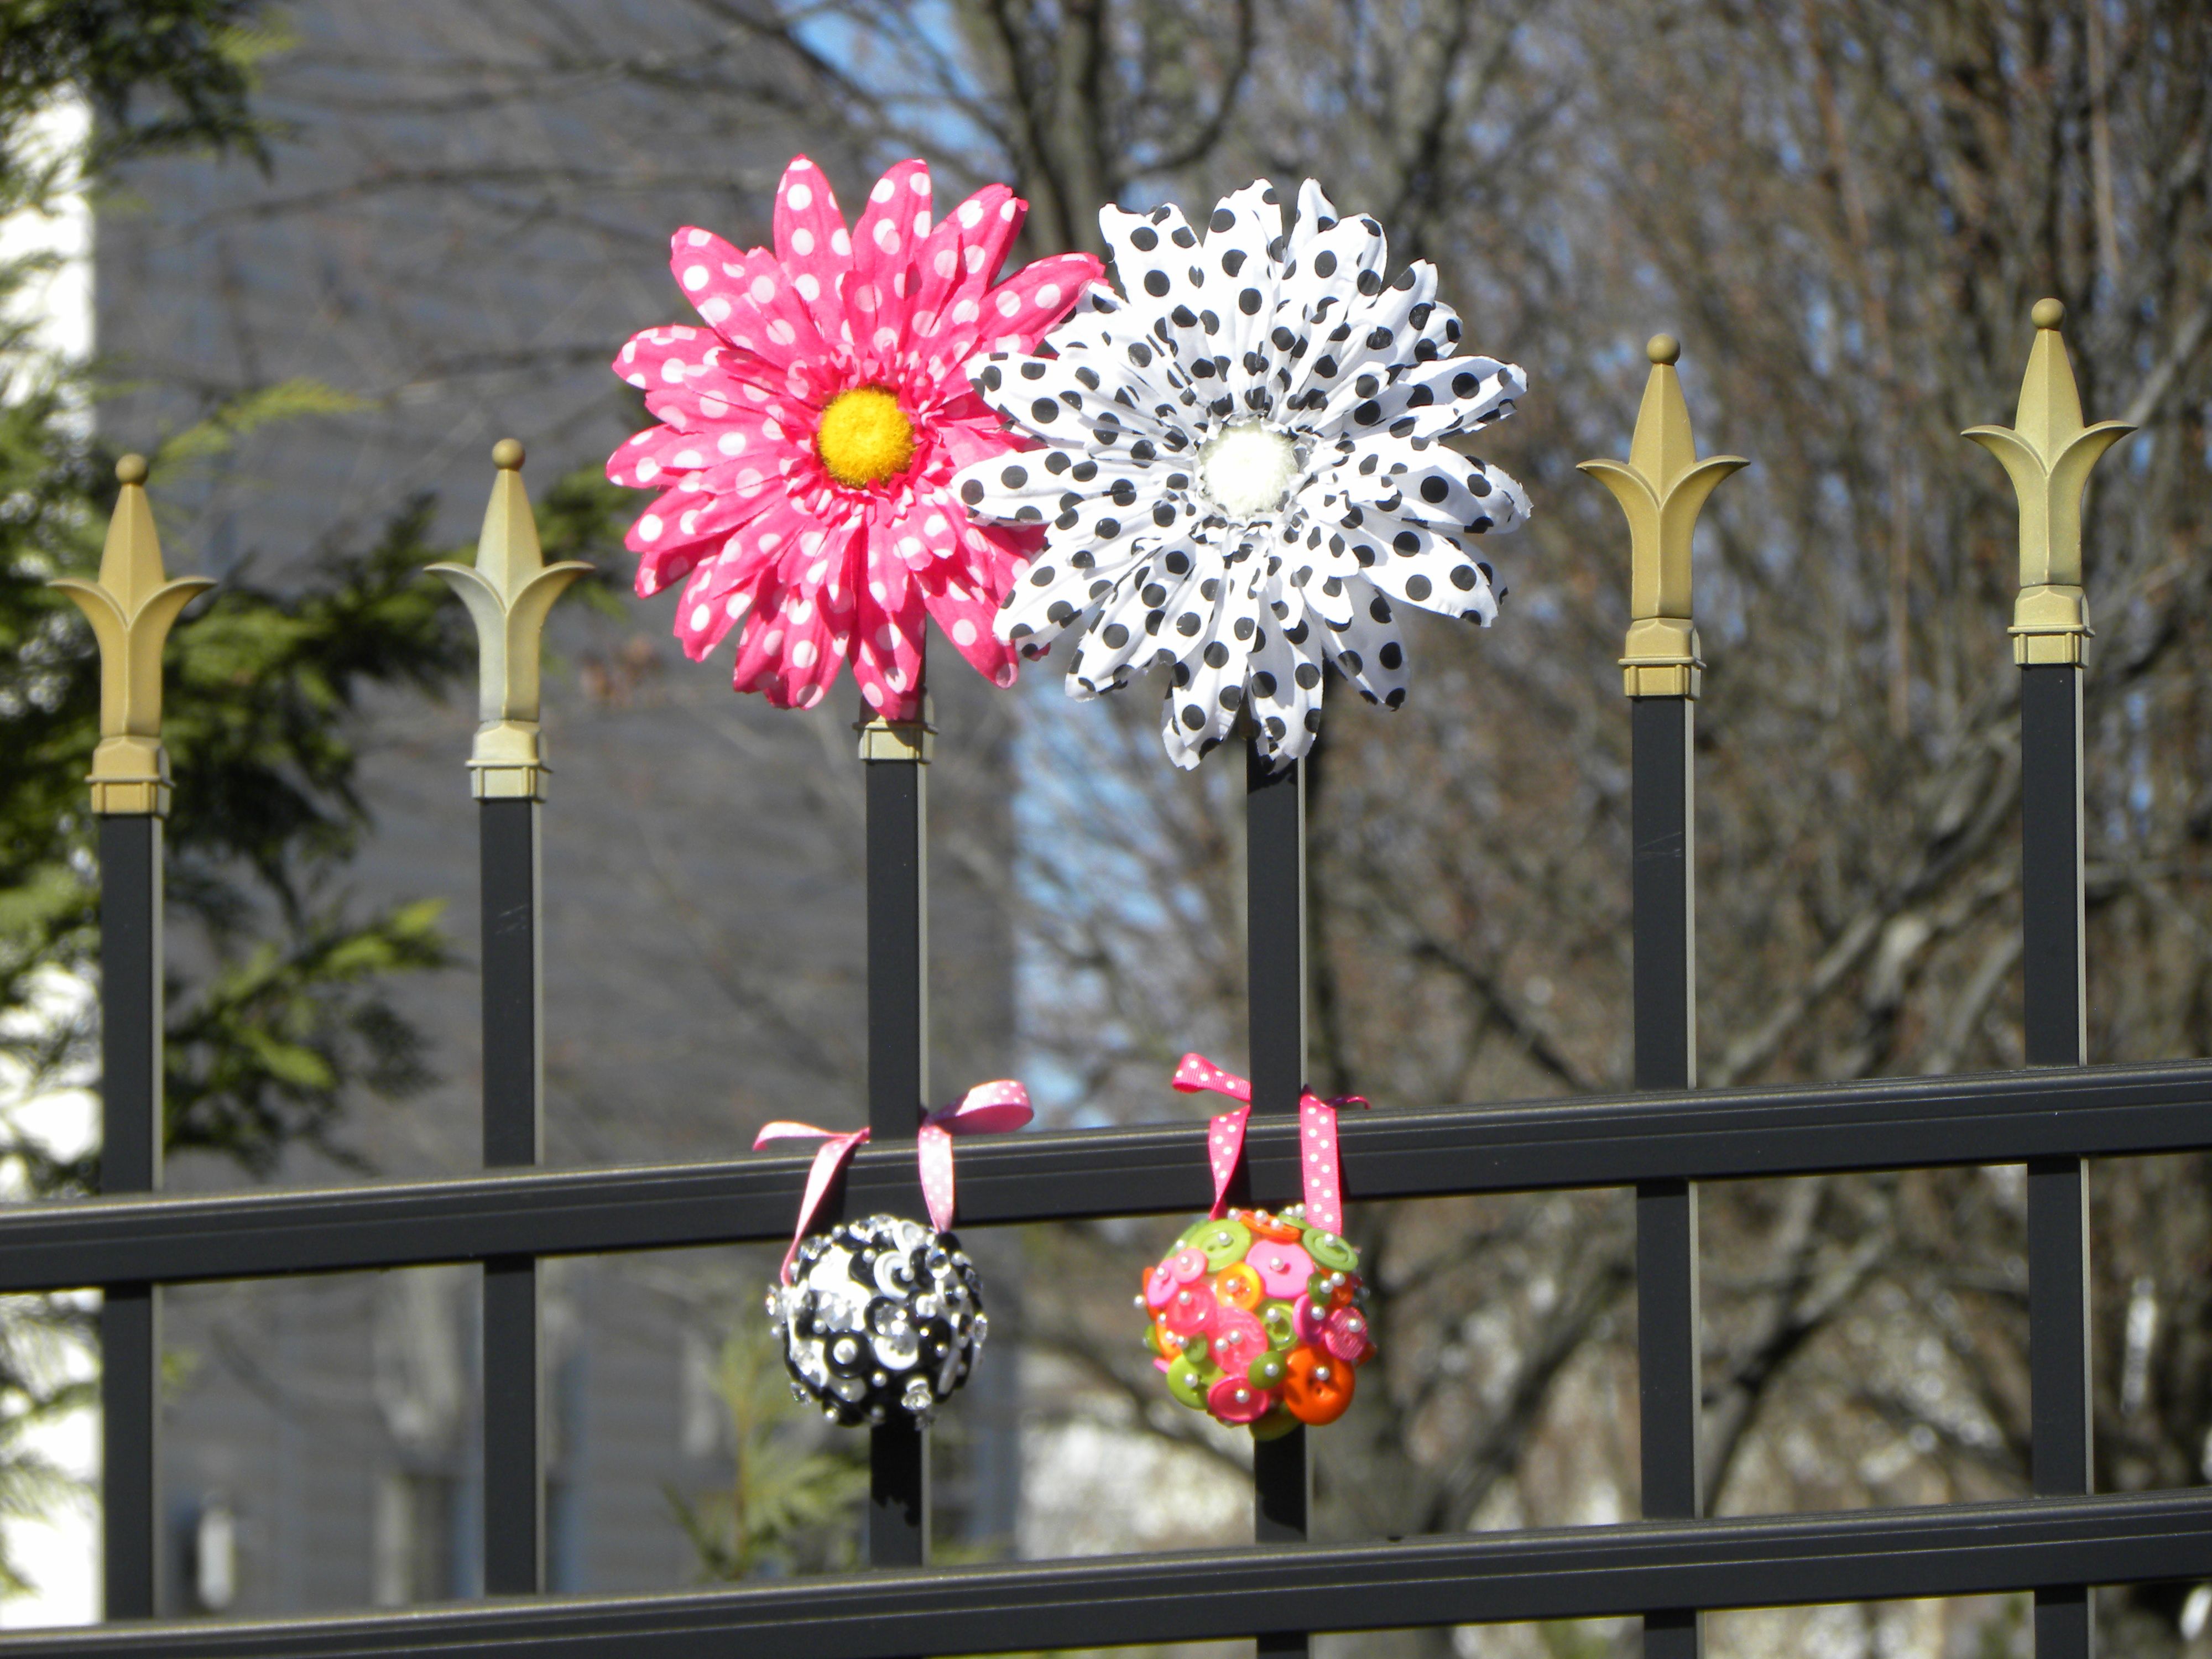
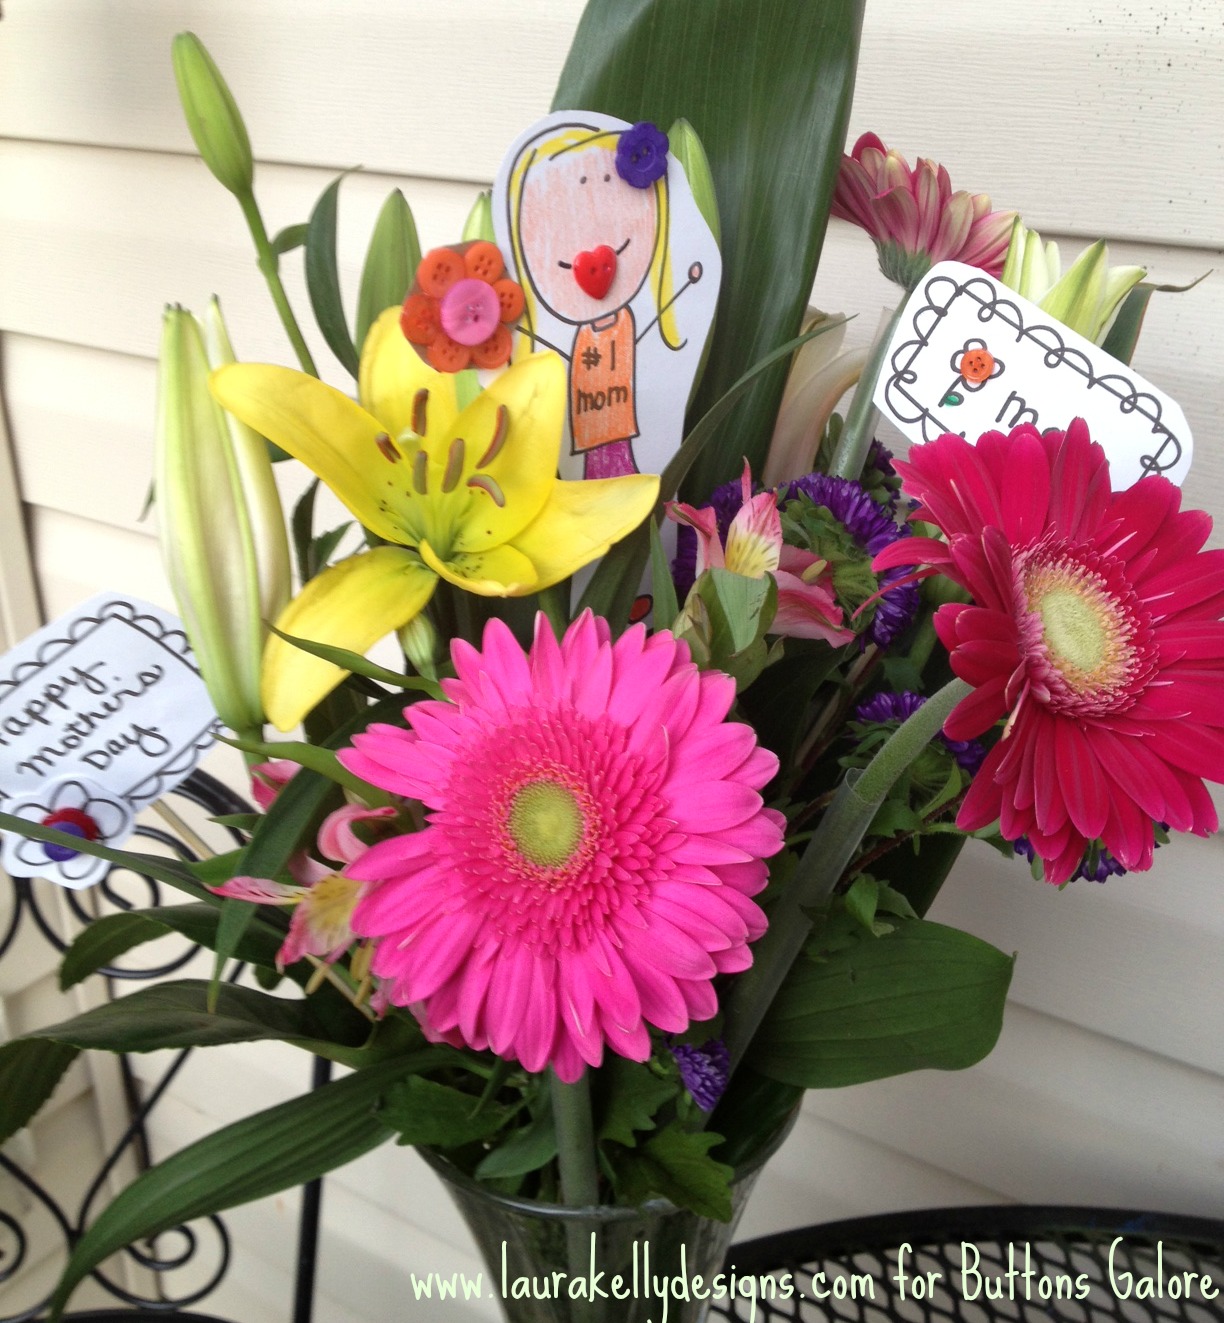
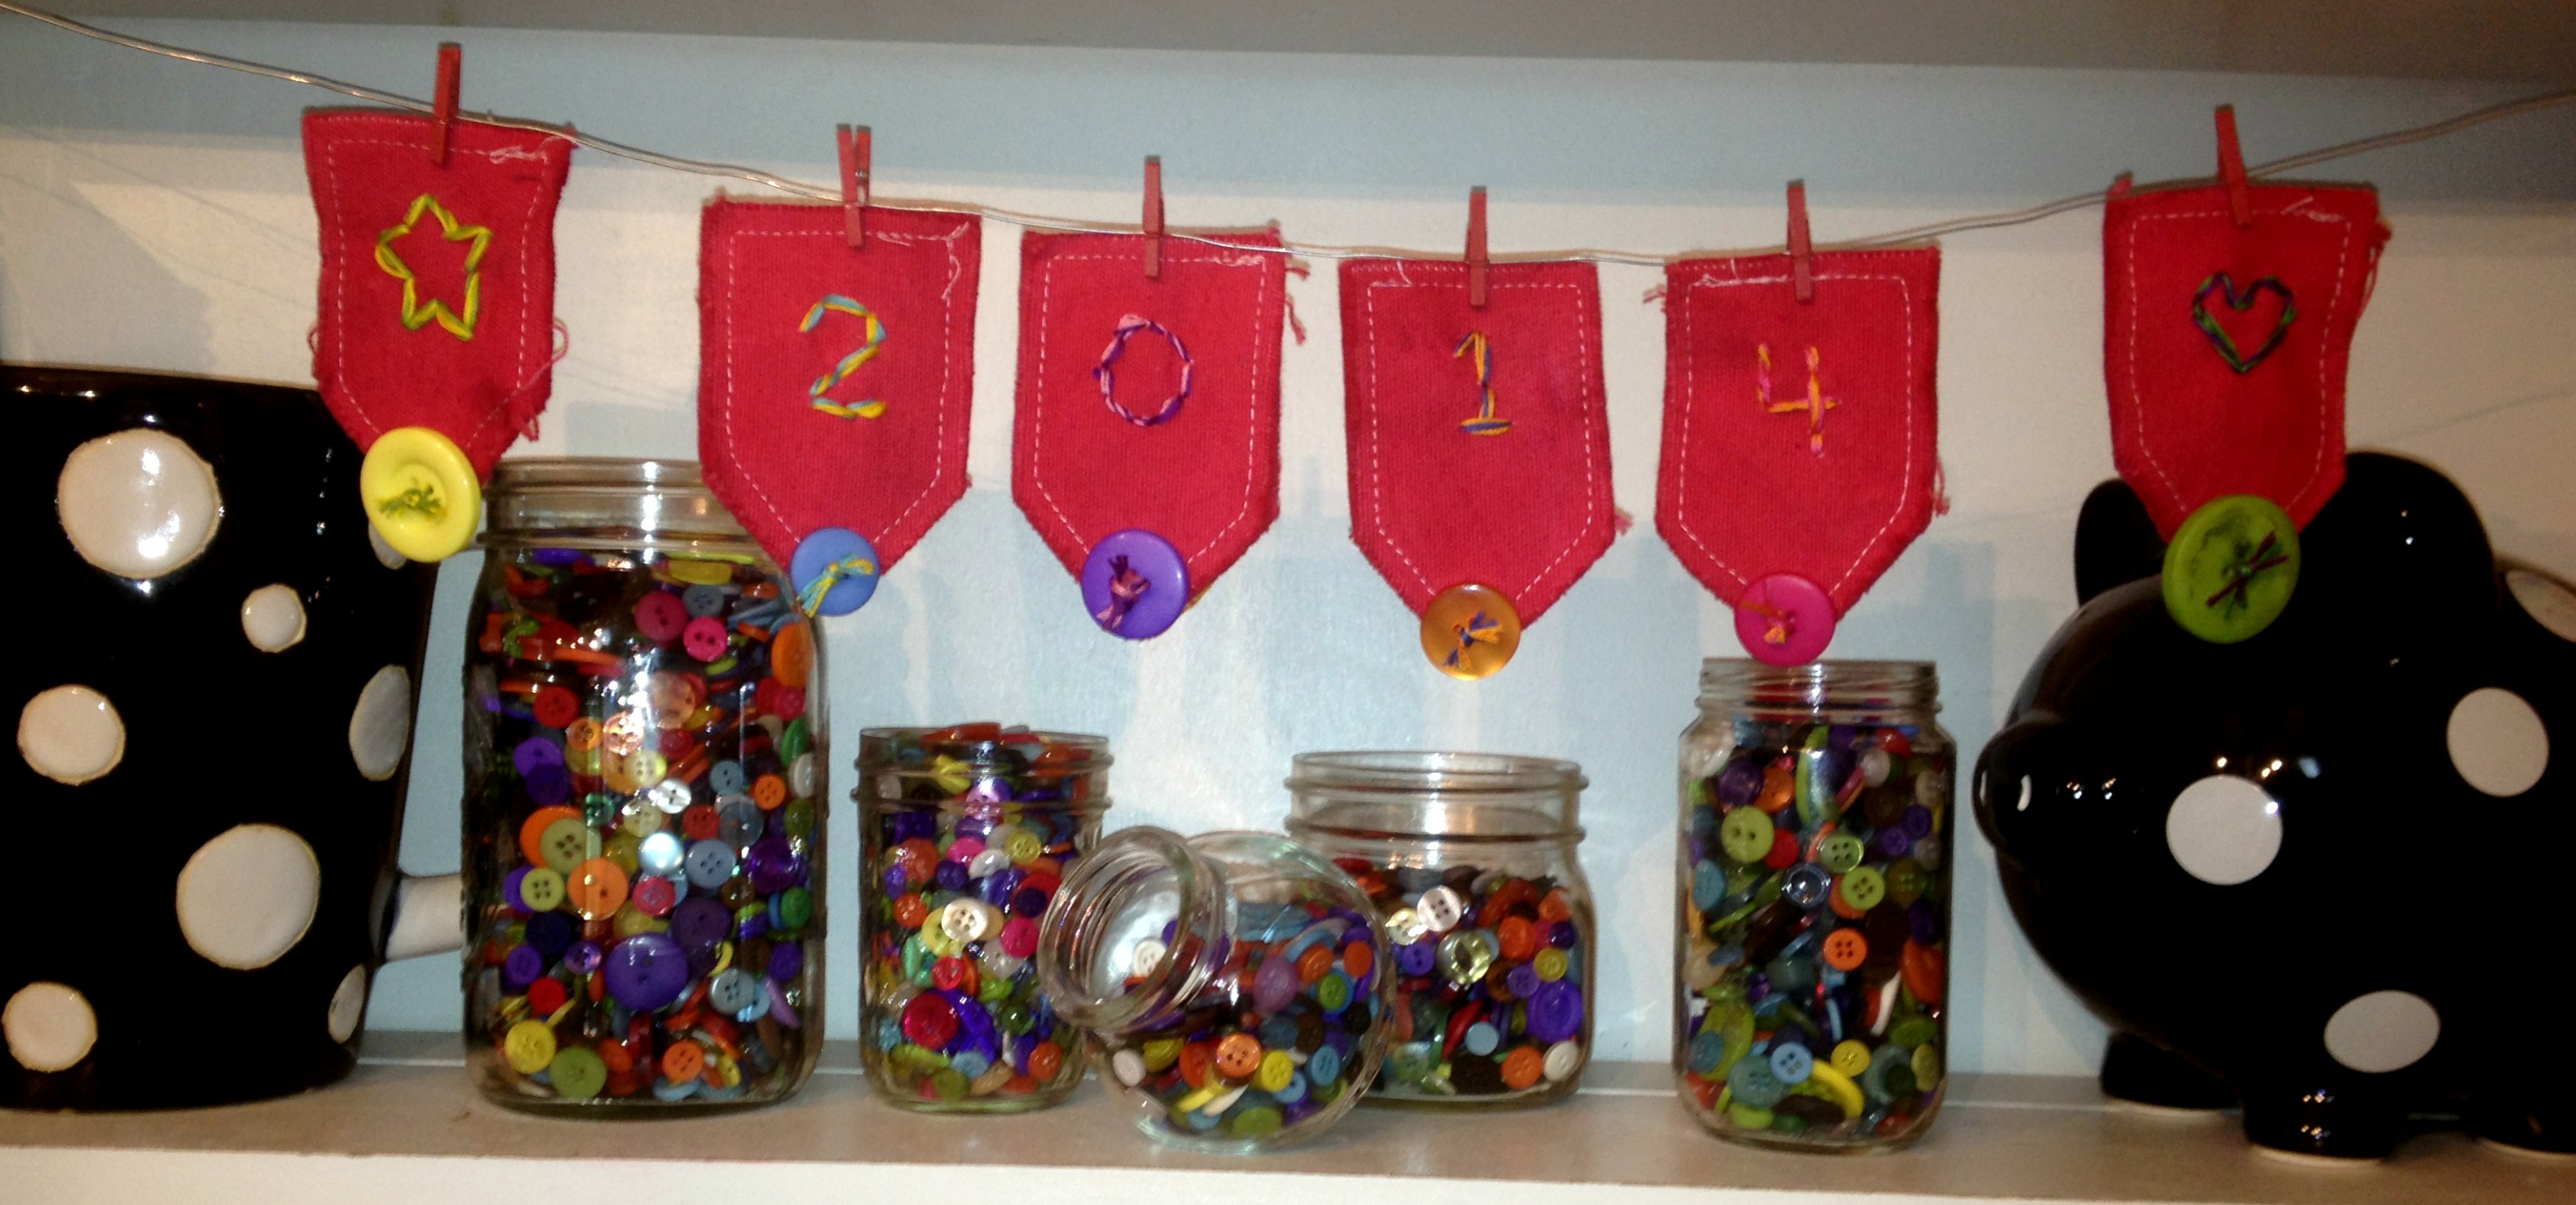
These wood cutouts are great to have on your Christmas tree, on a wreath, or maybe as shelf sitters.

Christmas Ornaments with Buttons

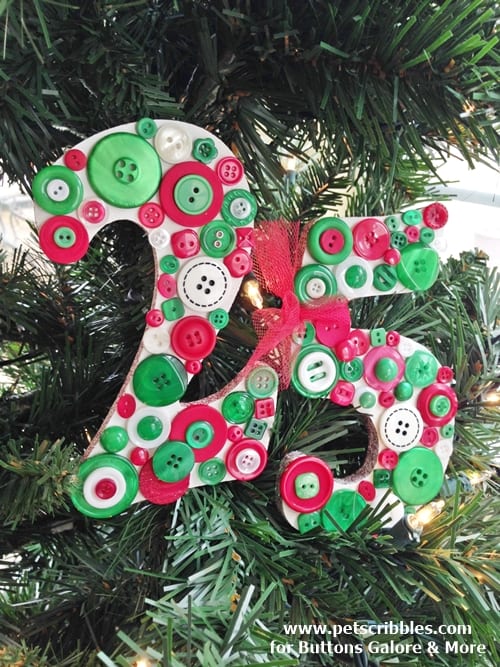
I think what makes these ornaments look so fun is the different styles, colors, shapes, sizes and textures of the buttons in the Laura Kelly Traditional Mix. There are buttons that are shiny, metallic, pearl, flat (no sheen), square, round, solid, and I could go on describing them for days. I even found buttons that had some glitter-like dazzle on them!
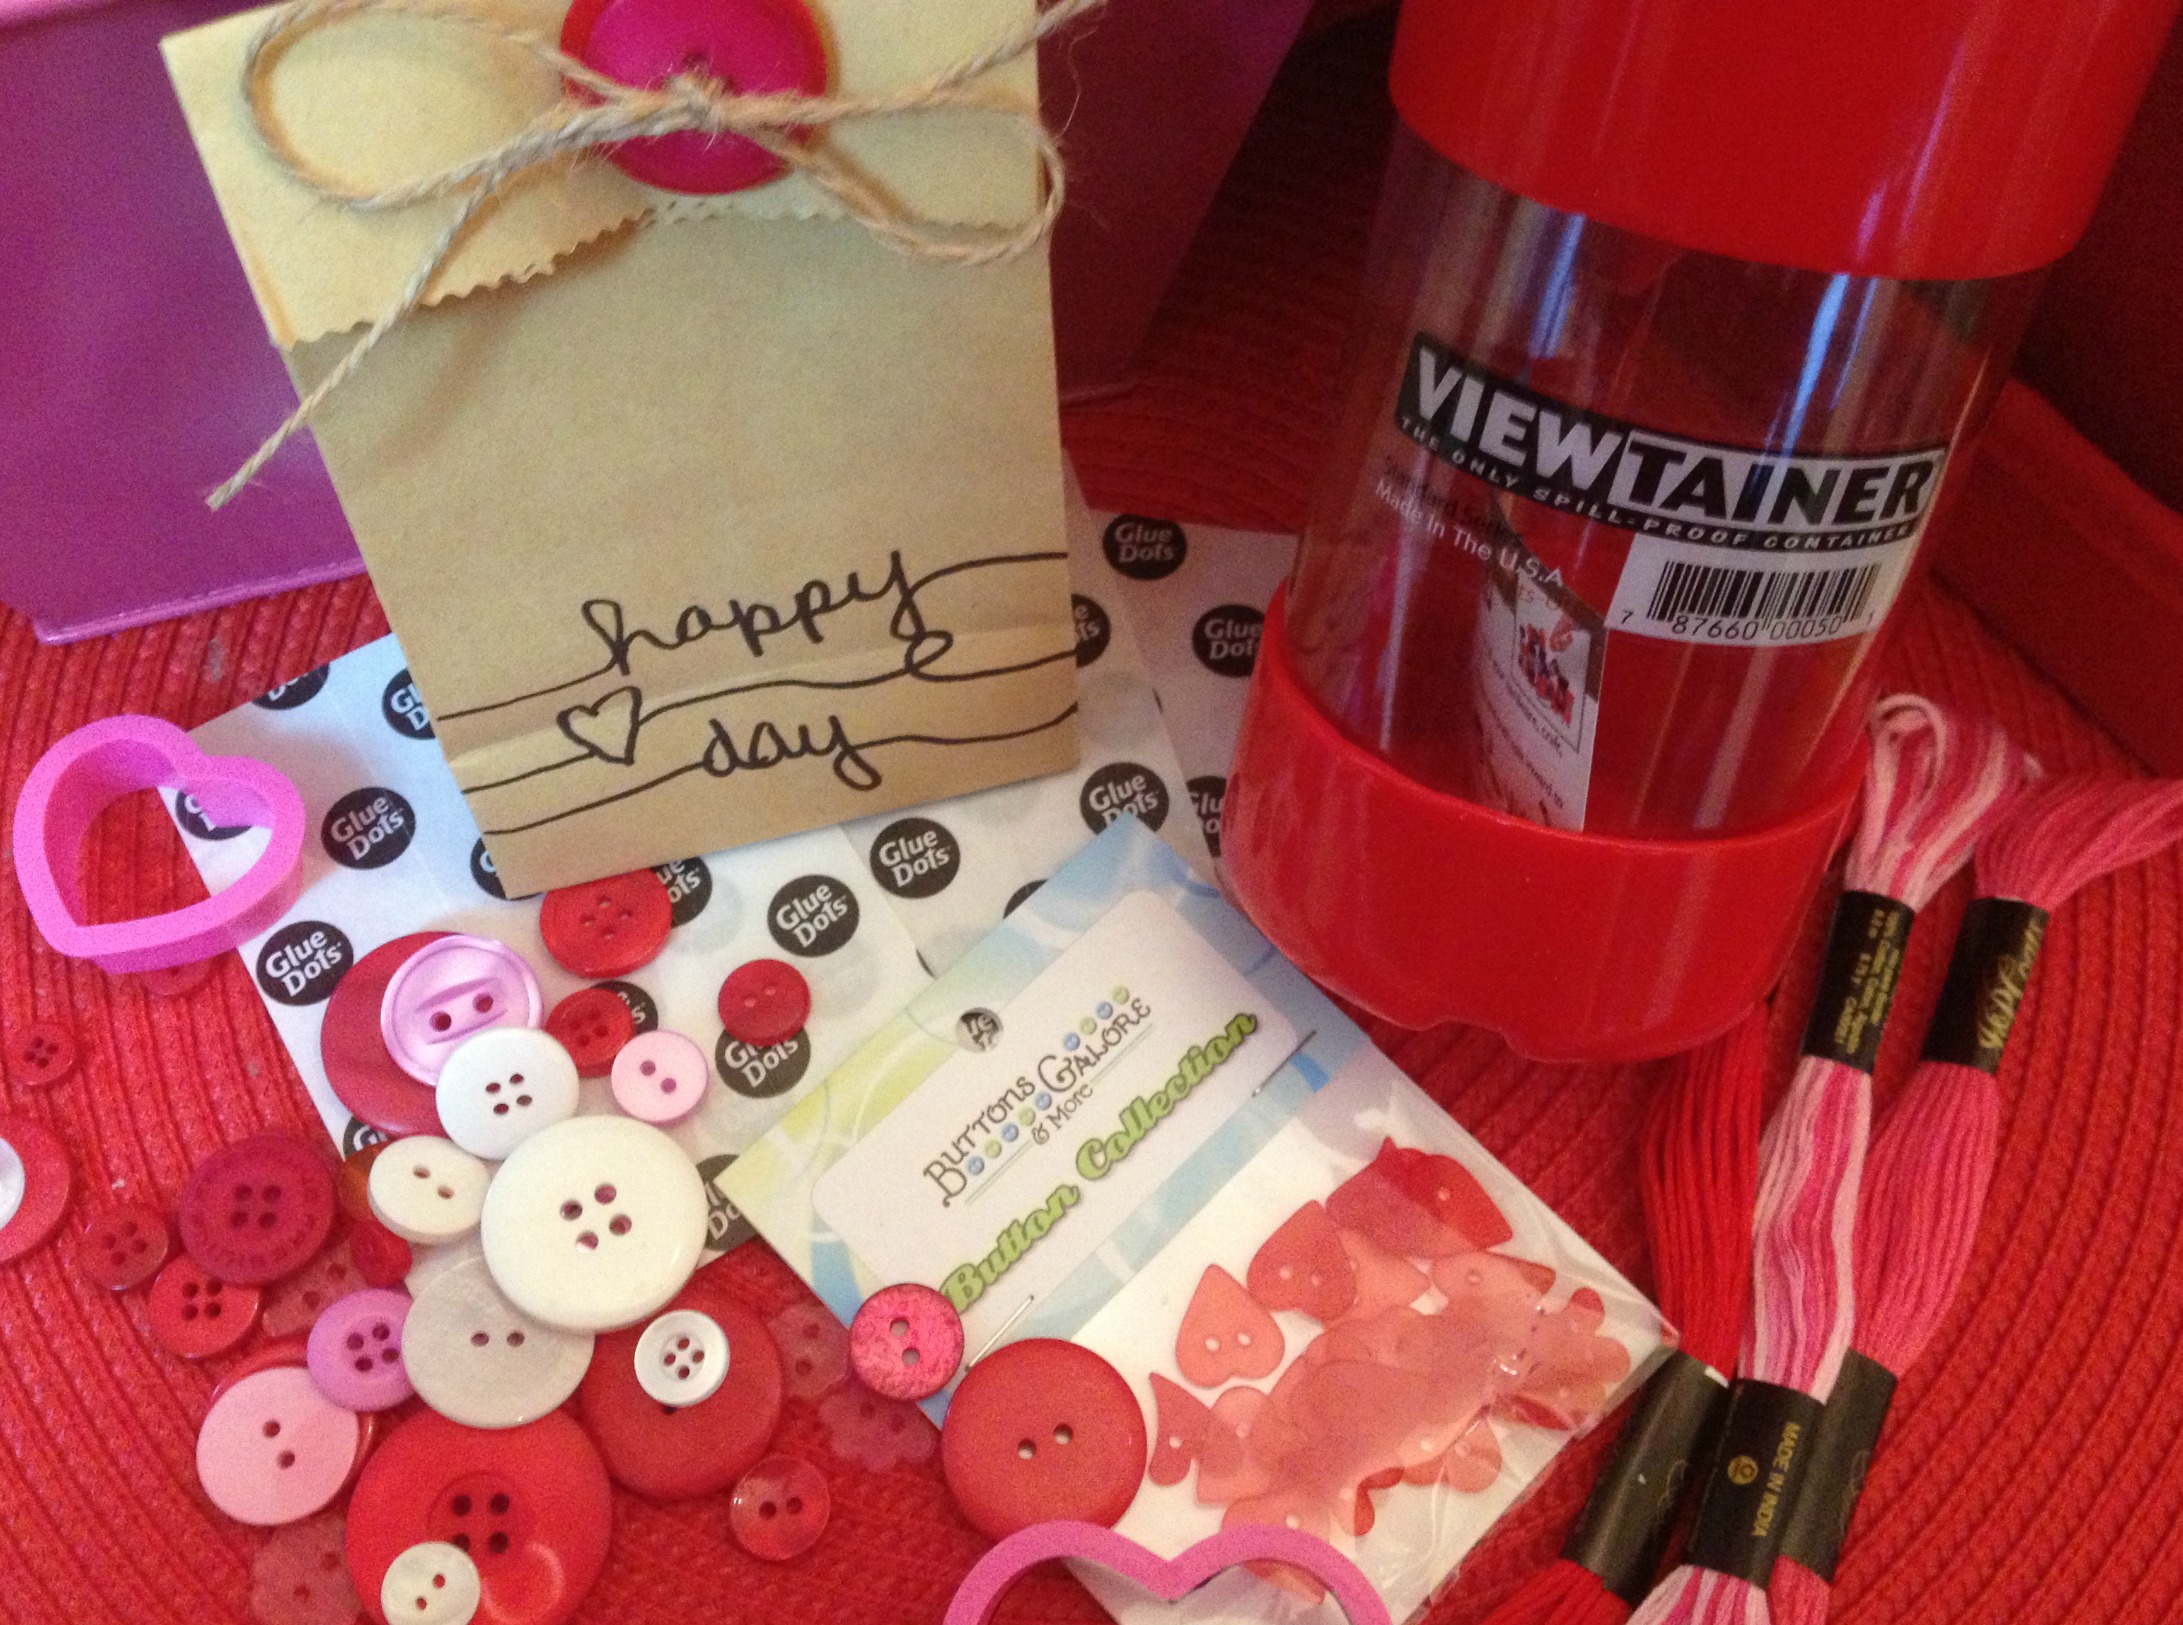
Supplies used:
Wood numbers
Red glitter paint
Aleene’s Fast Grab Tacky Glue
Laura Kelly Traditional Christmas Mix buttons

Thanks so much to Buttons Galore & More for inviting me to guest post here today!

Stop by my blog Pet Scribbles to see more button crafts and holiday inspiration!

~Laura

1

Fifteen MINUTE Friday – Scrap Ribbon Trees

Check out these adorable Christmas tree ornaments made from scraps of green ribbon and Laura Kelly buttons in Radical Red and Passionate Pinks (and one yellow)!

Ribbon Scrap Tree

So cute, so easy and so much fun!  The Aleene’s Quick Dry formula in the Always Ready bottle (available at Joanne’s) makes crafting things like this easy peasy.  I am in love with the stuff!

Here are the simple directions:

  1. Tie green ribbon scraps around a stick from a tree.
  2. Trim the ribbon to shape a tree.
  3. Add buttons and a hanger with Aleene’s Quick Dry Adhesive.
  4. Ta Da!

This is a great craft for kids. Here are lots of other DIY ideas for celebrating the season with kids too!

And you can enter to win a fabulous contest too!

a Rafflecopter giveaway

Happy Creating for the Holidays,

Laura

1

Little Pink Ribbon Pins

October is the month that we as women remind each other that we love, care and honor ourselves.   The sisterhood of women strengthens this month as we stand together to bring awareness to breast cancer and what it means in our lives.  I don’t think there is a life untouched by breast cancer.  This little ribbon is a crafty project that you can make and wear to participate in not only the awareness aspect but also the celebration of the sisterhood of women.  I glued it together with Aleene’s Max Tacky Adhesive.  I used pink buttons of course.  I attached it to a pillow for the Hands-on-Heart pillow drive.

Pillow

Here are a few other crafty breast cancer awareness projects that you might like.  This button ribbon was created with buttons and glue!

Button Pink Ribbon

This tie dyed pillowcase fits perfectly in the tote bag that was created with the pink ribbon stamp from ClearSnap by Jen Goode.  You can see lots of great things that were made with her stamp on 100 Directions.

BCA_DyedPillow


Pink buttons can make a difference I think!  What do you think?

Cheers,

Laura

0

Dia De Los Muertos Party Favors

I am so excited to share these Dia De Los Muertos party favors with purpose.  My friend, Kathy aka Crafty Chica, designs fabulous Day of the Dead themed products for iLoveToCreate and I used them to make these in less than FIFTEEN minutes.  Yes, it is Fifteen MINUTE Friday again and this project is fabulously fun!

Day of the Dead Bools

You will need  Day of the Dead papers, mini composition books, Collage Pauge, Aleene’s Tacky Glue and Laura Kelly Bright BUTTONS!

Supplies

Cover your mini composition books with paper layers using the Collage Pauge and let it dry.

Collage Pauge

Add buttons with Aleene’s Tacky Glue to embellish and make your designs POP.

Aleenes

This is an awesome craft project to do at a Dia De Los Muertos party with grown ups or kids.  It is fun and quick and the result are amazing (and useable!)

Happy Creating,

Laura

0

Button Stack Keychain

I am always losing my keys so they need to be on a chunky key ring!  This button stack key ring is bright, fun and so easy to make.  YAY, it’s Fifteen MINUTE Friday!!!

Button Stack Keyring Final

You will need buttons, wire, a big bead (optional) and a key ring.  I used buttons from the Laura Kelly BRIGHTS mix because they are my favorite colors!

ButtonsLK


Here’s what to do…

  • Thread your buttons through one hole on the wire.
  • Add the bead and a button at the base then thread back through the other way to the top.
  •  Twist the wire into a loop and then twist it around in a coil until secure.
  • Add it to the key ring!  I added a little piece of ribbon to mine too.

TaDa!

Button Stack Keyring Twist

Have a great weekend,

Laura

0

Leapin Lizards Toy Bucket with Laura Kelly Pet Shop Dies from Sizzix

Boys will be boys and that means the little ones will probably collect “stuff”.  This pail has been transformed to an adorable “catch all” with a leapin lizards theme to match the cutest of little boy personalities.

Lizard Bucket Buttons Galore

It is easy to make.  I used the lizard from my newest collection of Sizzix dies – the Pet Shop collection.  I cut eight lizards out of fun decorative papers in greens and oranges.

Ellison Pet Shop

Then I used Collage Pauge from iLoveToCreate to adhere them to the pail.

Collage Pauge

I added a complete coat of the Collage Pauge over the whole bucket to add strength to the paper.

Lizard Pet Shop Collage Pauge

To finish it off, I added a wire twisted with buttons in Outrageous Orange and Candy Apple Green from my Laura Kelly collection and tied some ribbons on it.  I added it to the pail handle with a few twists.

Buttons Galore Wire Trip

And now to fill it up with all of these goodies.

Boy Stuff

Ta Da!

Lizard Bucket Collage Pauge

Check out other projects with the Pet Shop collection!

Enter to win this awesome prize pack!

a Rafflecopter giveaway

Happy Creating,

Laura

0

Drink Charm Gift Idea for Father’s Day

Today I am exited to share this awesome drink charm gift idea from Laura Bray.  These adorable and simple drink charms are a fabulous idea for Father’s Day for those of you who want to create something magnificent in a short amount of time.

Best-Dad-Drink-Charm-1024x680

To get the tutorial and learn more about the amazing Laura Bray, visit her blog post here.

Happy Father’s Day Weekend,

Laura

0

Fathers Day with Buttons and Glue

Create dear old DADDY an adorable card or even gift wrap to celebrate his special day. This Father’s Day, get out your buttons and glue and make him a card he will want to keep forever.

BGM Fathers Day Card

To make this, you will need a few things:

Download the free printable of the ‘Me and My Peeps’ Daddy or draw your own then color it to match your daddy’s skin tone and hair color.

Dad Color

Use Aleene’s Tacky Glue to add buttons to the daddy shirt.  The cut it out and add it to a card.

Dad Card Buttons Aleenes

Write a message inside and you are all done!

Dad Card Buttons

For another great  buttons and glue Daddy Card, visit my blog!

DAD Wrap Buttons

Happy Glueing and Celebrating Daddies, Step Daddies, Grand Daddies and Special Men,

Laura


1

Button Up Some Doll Sized Fun

Girls love to make things for their dolls.  Some of these girls are little as in young.  Some of these girls are bigger as in not so young.  The magic of doll play never grows old.  There are lots of things that can be made for doll using Laura Kelly’s collection of bright colored buttons.

Buttons Projects

If you are interested in making any of these projects, I encourage you to give them a try.

Happy Creating,

Laura

0

Button Up Some Springtime Ornaments

How beautiful are these ornaments for springtime?

DSCN4077

To create them you simply need a foam ball in the size you would like, buttons and ball-end pins.  The longer pins can go through multiple buttons which is something to keep in mind when choosing materials.  Attach the buttons to the ball by pushing the pins through the button holes into the ball.  Cover the ball entirely then attach a ribbon for a hanger either with the pins or your favorite adhesive.

They are fun to put together for decorating.

DSCN4071

They look great outdoors for a breath of fresh brightness.

DSCN4068

Happy Springtime,

Laura

1

DIY Mothers’s Day Flower Picks

Here is a quick and fun way to embellish a bouquet of flowers for Mother’s Day with DIY picks.  You can download the free printable of the ‘Me and My Peeps’ mom and color her to look like a mom that you love then embellish her to create this fun arrangement.

Flower Picks

If you want to download the doodles, click here or on the photo below.

Mom Peep Printable

Have fun embellishing with lots of buttons.  I used the ones from my BRIGHT collection.  Isn’t she cute hiding in the flowers?

Flower Pick Mom

For more fun ways to use the printable, hop over and visit my blog here.

Have a great weekend,

Laura

0

You are the Bee’s Knees!

It it that busy springtime season of gift giving again…Teacher Appreciation, Mothers Day, Graduation!!!  Here is a cute bee that you can make out of buttons to decorate any gift and and let someone know that you think they are the bee’s knees!

Button Bee

To make the bee, you will need to use hot glue to hold all of the pieces together.  I added ribbon for wings and wire for antennas.  Super cute, really easy and lots of fun!

Button Bee 2

I chose my Sunshine Yellow and Black Beauty buttons from the Laura Kelly mix offered as a Bright Mix of Colors.  You can buy them individually bagged by colors too.

ButtonsLK

Happy Gift Giving,

Laura

0

Felt Flower Clips

These cute little felt flower clips are great to create and make for Teacher Appreciation and Mothers Day gifts.  They are easy and fun!

Felt Flower Clips BGM

You only need  BUTTONS (I used my Laura Kelly Brights Mix) giant paper clips (could use little ones too of course), felt (I used Kunin Group) and Aleene’s Max Tacky Glue.  Cut out your felt flower layers then glue them together.  Add a few buttons and wa-lah, you have super cute clips that can be used to hold paper together.

Steps

They make great bookmarks too and would be fun packaged with a journal or a cookbook or a gift card to a book store.  I love this one packaged with a writing journal to give to a teacher.

Journal

What other ways can you think of to use these giant clips.   I wonder how they would work to hold bags of chips closed.

Happy Creating,

Laura


1

Doodle Button Easter Eggs – Fifteen MINUTE Friday

These little  Doodle Button Easter Egg are quick and fun to create.  You can use them to decorate cards, place cards, wreaths and so many other fun holiday things.  You will only need a few materials…Laura Kelly Buttons, Paper, Embroidery Floss and Aleene’s Tacky Tape Runner Adhesive.

SharpieDoodleEgg

The first step is to doodle your eggs and cut them out, mount them on decorative paper and then cut again.

EggSharpieDoodles

Next, tie embroidery floss through buttons to create little color stacks.

DoodleEggButtons

Add the color stacks to your eggs with a strong adhesive.  I used hot glue.

DoodleEggHotGlue

Then add them to card to create a fun way to send a holiday message!  Ta Da.  That is it.  You can do this in fifteen minutes and create some Easter fun.

Happy Creating,

Laura


0

Button Flowers For Valentines Day

Sometimes the simple little cute things make the best gifts.  Here is a way to use buttons to create flowers that are fabulous for Valentines Day and only take a few minutes.


#fifteenminutefriday

To make the flowers, you will need buttons (Radical Red and Heart Shaped Ones are my faves for this) and green floral wire.  I used floral wire with a green fabric-like coating.  The first step is to lay out your flowers ahead of time, layering 2-3 buttons in stacks.

ButtonSteps

Feed the floral wire up from the bottom of the stack then back down through the other holes in the buttons then bend the wire to create stems/leaves.

ButtonsSteps2

Once your flowers are complete, there are lots of ways you can use them for Valentines Day.  Here is a fun way.  Twist the wire around a bag of kisses and add a little Valentine message.

Kisses

If you want to see the ways that I used the other flowers made from buttons, you can visit my blog and get some more fabulous ideas.  Click here to hop over there.

Happy Creating Button Valentines Day Flowers,

Laura

0

Buttons and Doodles For Valentines Day

It’s a new year, 2014!   That means we are that much closer to Valentines Day which I love, as in love.  Here are a few quick and easy ways to doodle up some button Valentine art that can be used on gift cards, Valentines or gift bags (or anything else you might dream up).

BGM_DoodleBags

To create these masterpieces, you will need a marker ( I used a Sharpie of course) to do your doodling and Glue Dots to stick your buttons to your creations.  The button colors that I used are all from my Laura Kelly collection, out of the assorted color mix.  I did the doodling first (suggested are included here) and then attached the buttons and added tulle and twine and other ways make them each unique.

SuppliesIdeas

My favorite of these three is the one with the flowers, so much so that I created a variation of it for my blog too.  I love the Viewtainer filled with candy for Valentines Day a lot too.  After the candy is gobbled up, the container is the perfect storage place for BUTTONS!

DoodleValentineStrip

Which one do you like best?  Do you want to create some of these fun doodle and button Valentines?

PrizeViewtainerValentine

If so, then this prize might just be perfect for you.  Enter to win a bright red Viewtainer filled with these goodies.

a Rafflecopter giveaway

Happy Creating Love,

Laura

PS: To follow me on Facebook, click here.

1

Stitch Up an Adorable 2014 Banner

I dyed these adorable little pennant pieces from Canvas Corp with Rit Dye…with intentions of making a holiday banner. Little did I know that they would end up being for the holiday of New Year’s when I dyed them Cherry Red.  I am so glad I “forgot” to complete that project because they were perfect for this week’s blog post showing you how to stitch up an adorable banner to bring in 2014.

Banner2014BGM

I sorted from my Laura Kelly collection of assorted buttons and found 6 large ones in different colors from the red.

BannerMaterials

Then I matched up double colors of embroidery floss from Coats and Clark to do the stitching for each of the 6 pennant pieces.  I set it all out to make sure it was going to be “just right” and balanced.

BannerColorPlanning

To stitch on the numbers and add the buttons (stitched through the front and tied in knots), I used two colors, doubled up.

DoubleFLoss

Then I set it all out to decide where it should be hung.  I love my Westcott brand scissors almost enough to hang them too.

Stitched

I decided that the perfect place was on my craft shelves.  I think it looks great there and love the way the little pieces all hang with the mini clothespins (also from Canvas Corp).  And now…to create new projects with all of the Laura Kelly bright, bold and amazing colors of buttons for 2014!  It is going to be great!

Happy New Year,

Laura


1

Powered by WordPress. Designed by WooThemes