Hello everyone! This is Katie from the Buttons Galore & More Design Team, and today I have a super fun DIY Sequin Coaster Set that you can make with your kids!
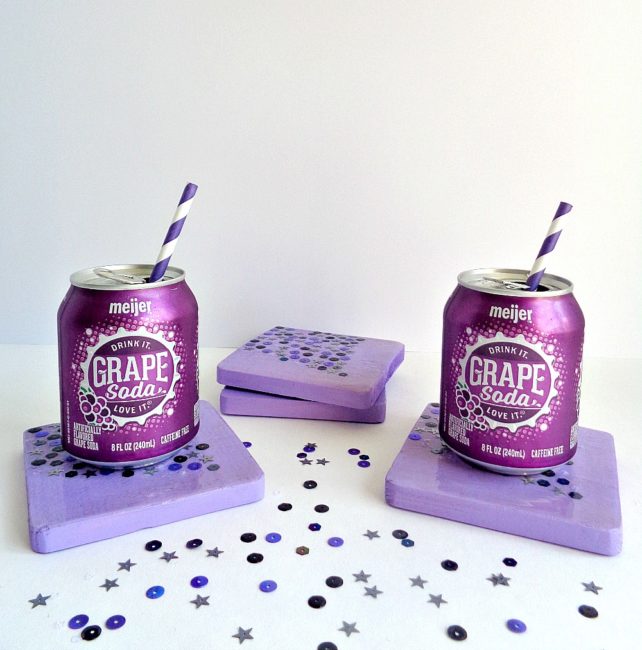
The project I will be showing you how to make today is a DIY Sequin Coaster Set! Now, you may be thinking that sequins and coasters don’t belong together. However, this DIY Sequin Coaster Set has a protective coating on top which seals in all the sequins and creates a barrier between your drinks and the actual coasters. In addition, this project is kid friendly and can be completed in just 3 easy steps!
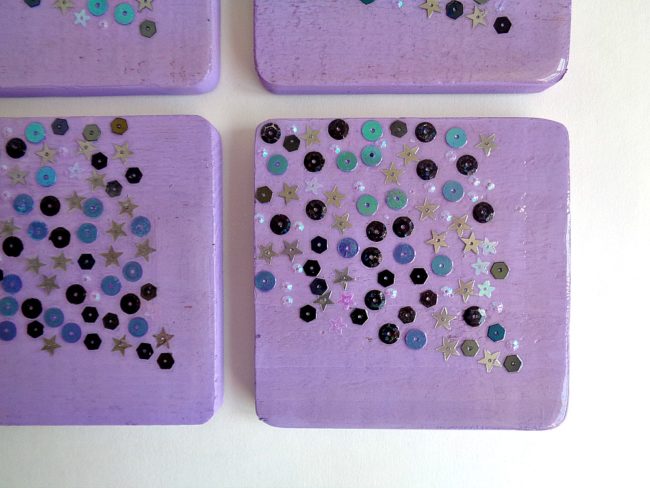
To decorate my sequin coasters, I decided to use the brand new 28 Lilac Lane Sequin Tin in Haunted House. Now, even though the haunted house name sounds like it’s made for Halloween, these sequins have a more holographic look to them. For example, the tin contains silver, purple, black, white, and hologram colored sequins. In addition, the sequins are round, hexagon, and star shaped. For this particular project, I paired the sequins up with some purple paint. However, I think with the holographic look that they have could be paired with a variety of paint colors.
So, to find out how to make your own Sequin Coaster Set, keep reading below!
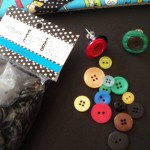
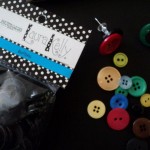
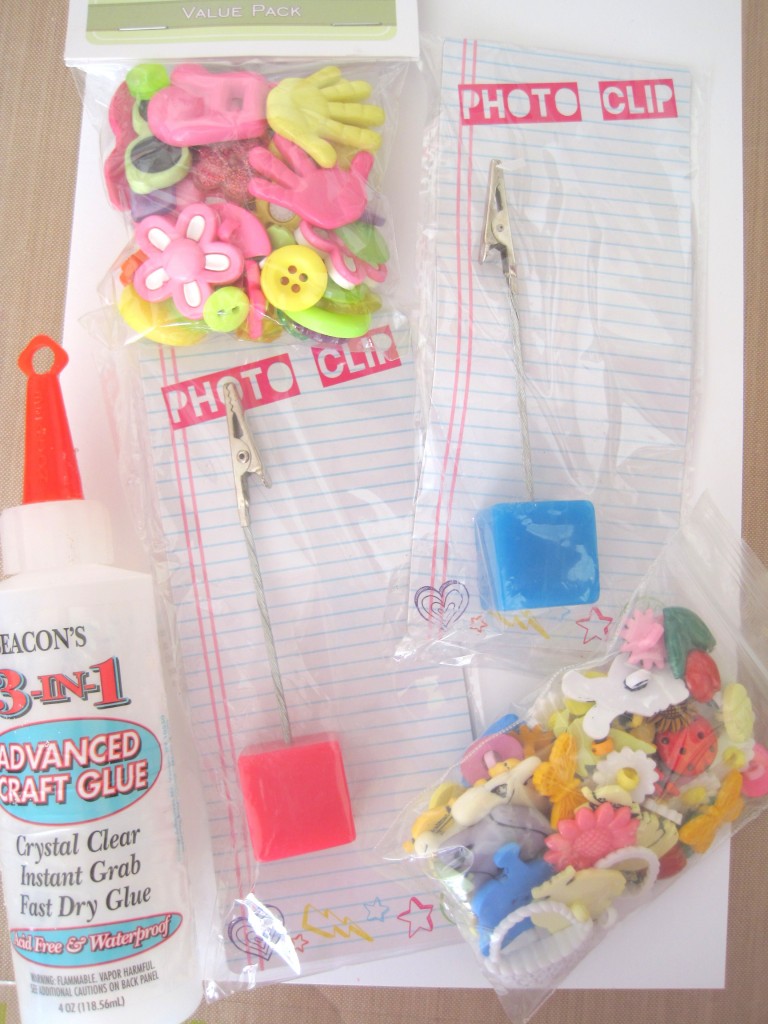
Supplies Needed:
- 28 Lilac Lane ”Haunted House” Sequin Tin
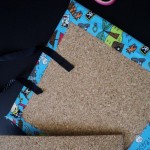
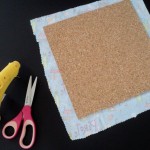
- wooden coasters
- DecoArt Americana Acrylic Paint: Purple Cow
- foam brushes
- Mod Podge Glossy Decoupage Glue
- Mod Podge Dimensional Magic
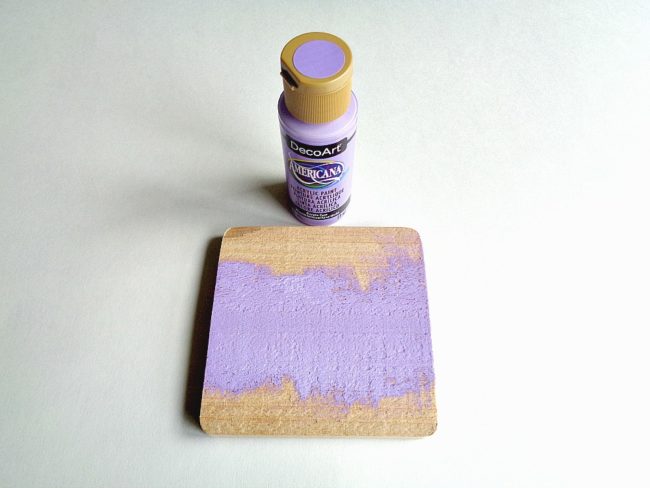
Step 1: Paint your wooden coasters on the front and back. Then set each one aside to dry.
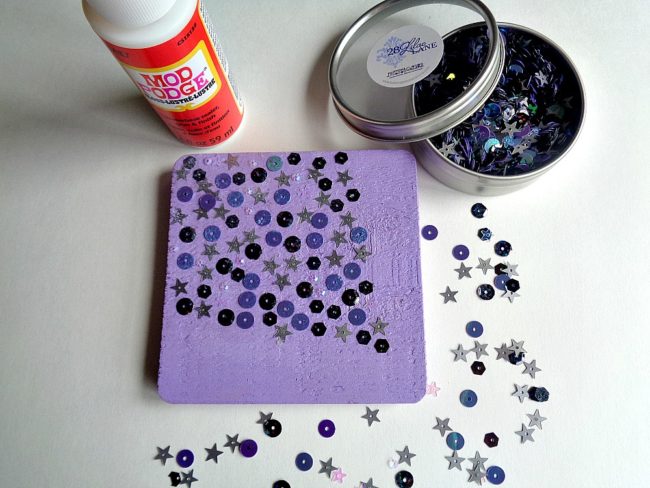
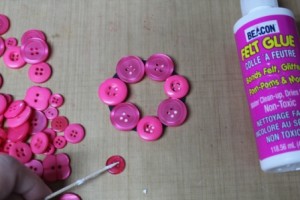
Step 2: Apply a layer of Mod Podge onto your coaster then begin adding sequins from the 28 Lilac Lane Haunted House Sequin Tin. While doing this step, you could add your sequins to your coasters in one of two ways. The first way would be to sprinkle the sequins onto the coaster and then spread the sequins out with a toothpick. The second way would be to add each sequin on by hand.
With that being said, no matter what method you use, you want to make sure that your sequins are lying flat on your coaster. This means that sequins should not be glued on top of each other and that each sequin should be lying flat by itself. Also, when making these coasters, I felt that that less was more. For example, I found that using a smaller amount of sequins (in a particular pattern) really gave the coaster a finished look. However, you can do whatever floats your crafty boat.
Once you are done adding your sequins, apply another thin layer of Mod Podge and set the coasters aside to dry.
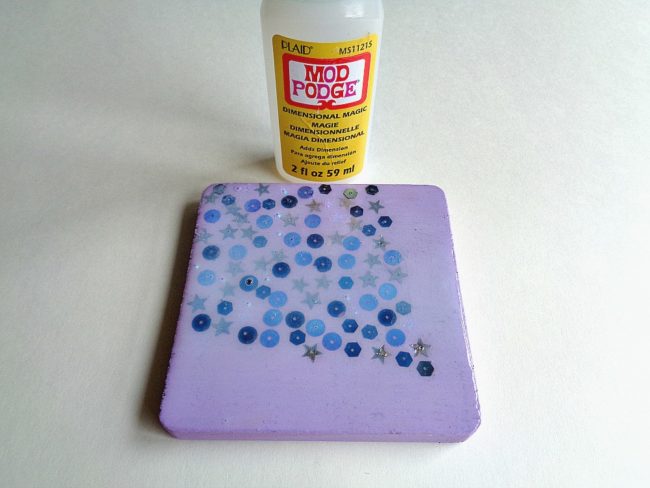
Step 3: Now apply a thin coat of Dimensional Magic to the top of your coaster. When applying the Dimensional Magic you may want to have a tooth pick handy so you can pop any air bubbles. At first the top of your coaster may look ”cloudy” but that’s ok because it will dry completely clear. After you finish applying the Dimensional Magic set your coaster aside to dry for 24 hours.
Keep repeating this process with your other coasters.
When the Dimensional Magic is completely dry, you are ready to start using your new coaster set!
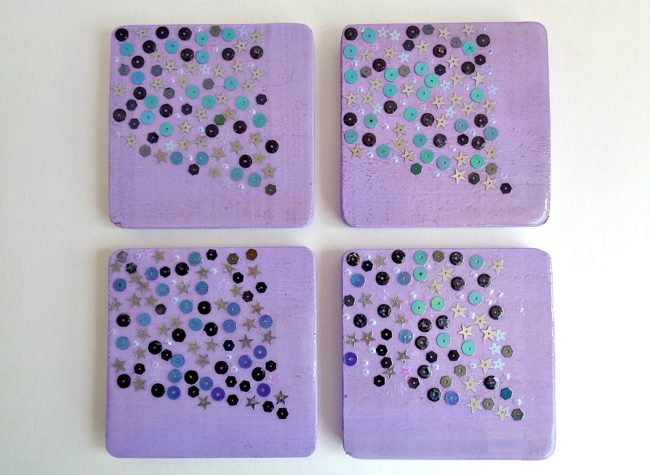
I loved how this DIY Sequin Coaster Set turned out! Now, I want to make a bunch of different coaster sets in different patterns and colors.
With that being said, this sequin coaster set would be a great summer project to make over the weekend with your kids. Personally, I made these coasters in the afternoon and was able to use them (after the Dimensional Magic had dried) the next day. Also, as coasters, they have held up really nicely with both hot and cold drinks.
This project could be customized with any color scheme that you’d like, of course. If you made this DIY Sequin Coaster Set, what new 28 Lilac Lane Premium Sequin Tin would you use?


 The pin it to Win It Contest ends on Friday and we would not want you to miss out on great inspiration, and a chance at being a GUEST DESIGNER or winning a prize.