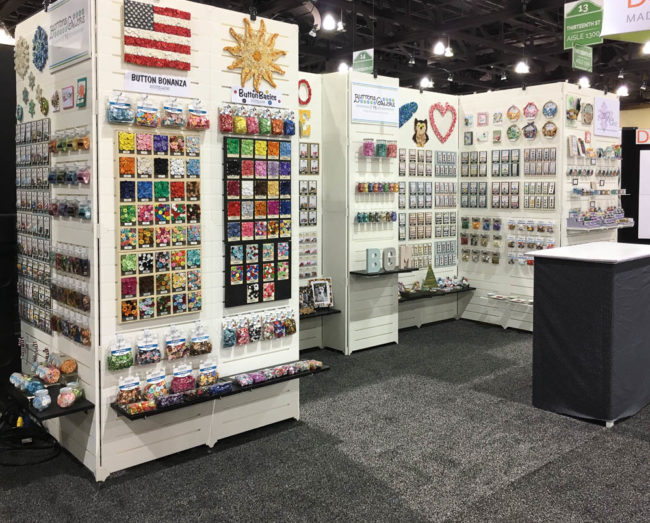
One of our favorite things about attending shows is the chance for our staff and some talented craft designers to show off in our booth the beautiful range of possibility that can be created with Buttons Galore products. So today, for those who weren’t at Creativation, we’re going to give you a peek into our booth at the show to see all of the gorgeous inspiration we shared!
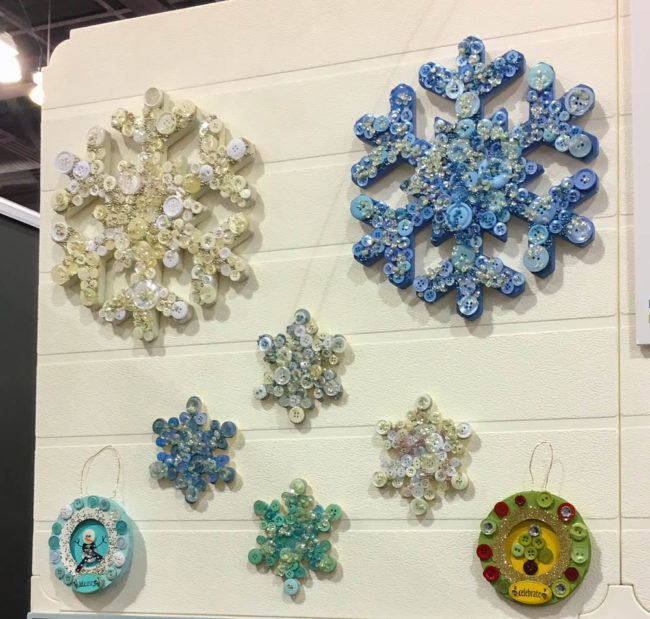
It may have been warm in Arizona, but inside the convention center it was snowing a blizzard in our booth! These snowflakes, created by Buttons Galore staff, show that buttons make gorgeous snowflakes of all sizes from tree ornaments to wall art.
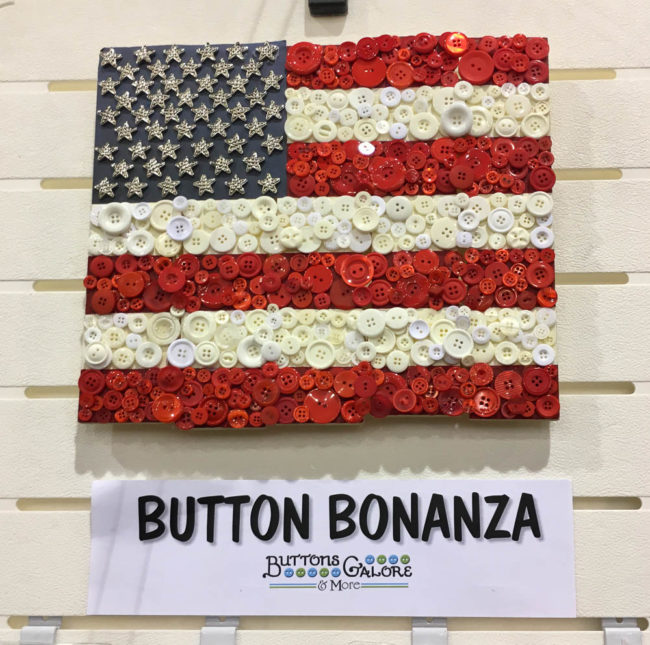
This American flag wall art piece, also created by Buttons Galore staff, combines our bulk buttons with our 3D decorative star buttons. It’s perfect for holiday decor for occasions like July 4th, or leave it up all year round for a patriotic touch of homespun decor.
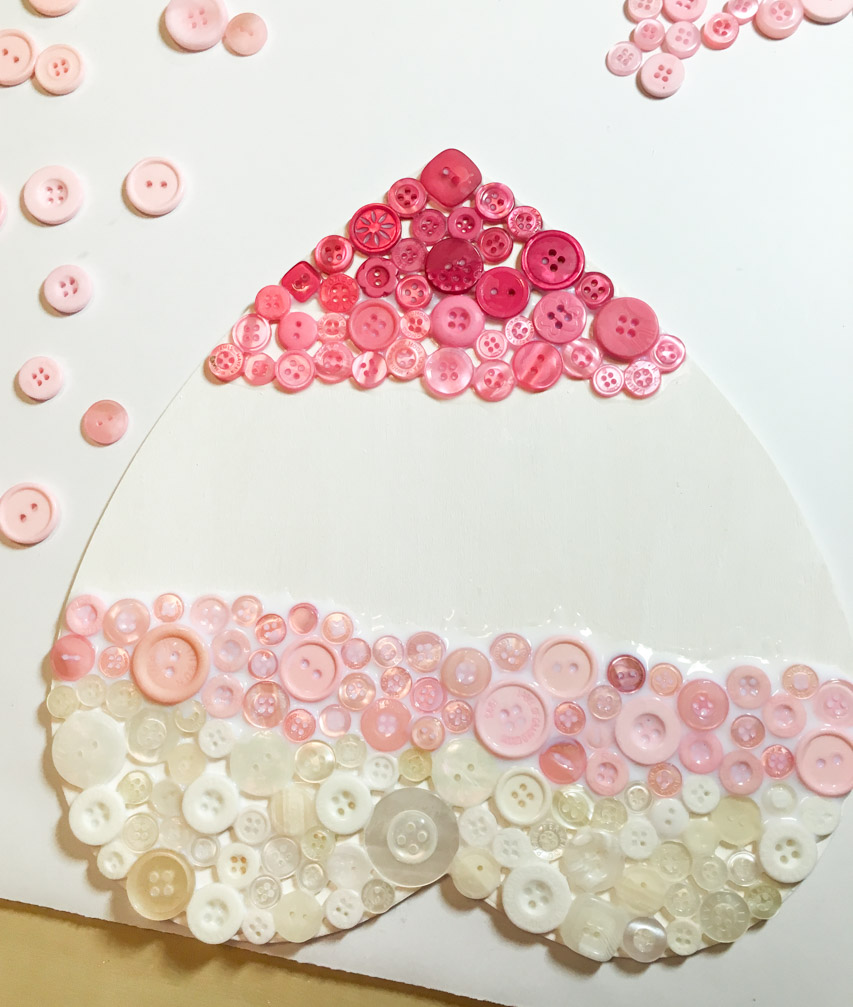
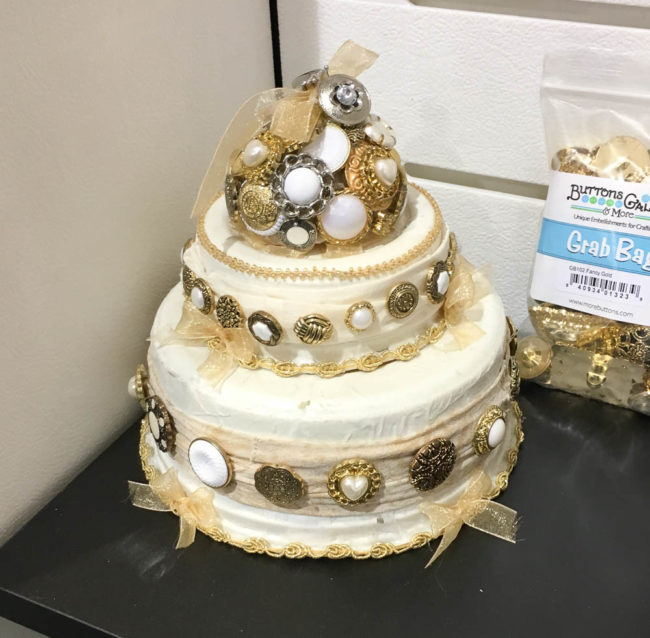
Speaking of special occasions, our decorative button grab bags are a beautiful and affordable option for creating decor for events like showers and weddings! This button cake, created by designer Jen Goode, is perfect for decorating a buffet table.
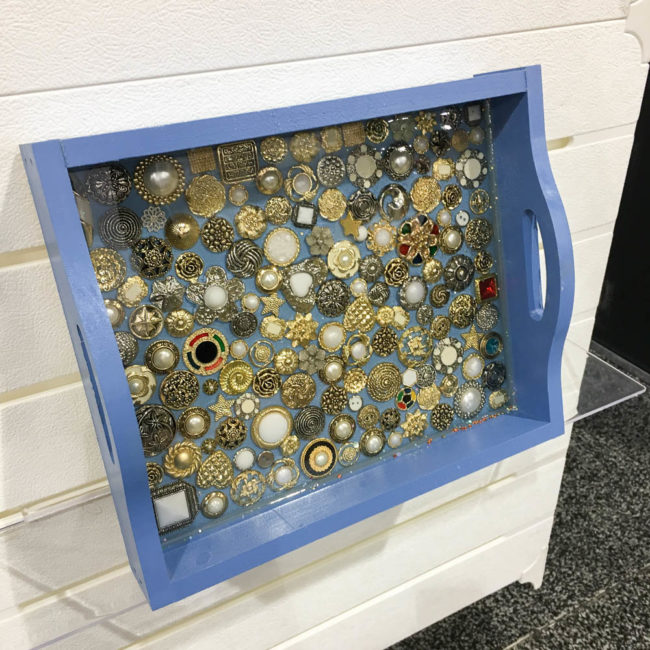
Love to entertain? Our decorative 3D buttons will make your tea time, cocktail hour, or coffee break oh so elegant! This tray project, by Buttons Galore staff, is quick and easy, too!
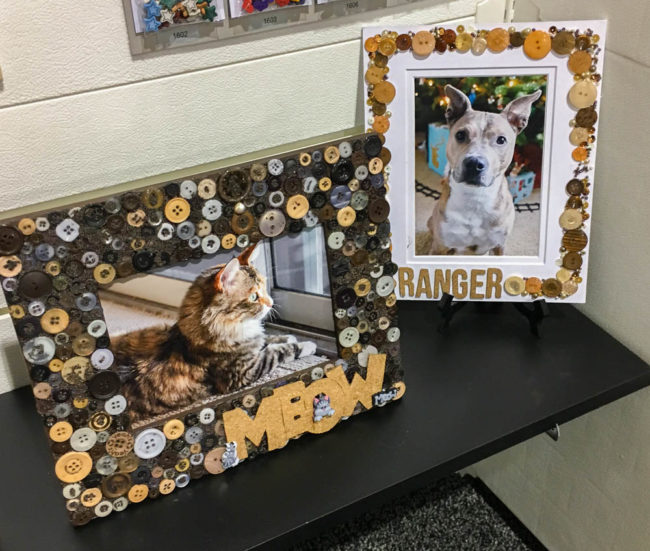
And let’s not forget our furry family members! Our booth went to the cats and dogs with these fun frames to display your favorite picture of your pet cat (by me) or dog (by 28 Lilac Lane designer May Flaum). For the instructions for the cat frame, click here.
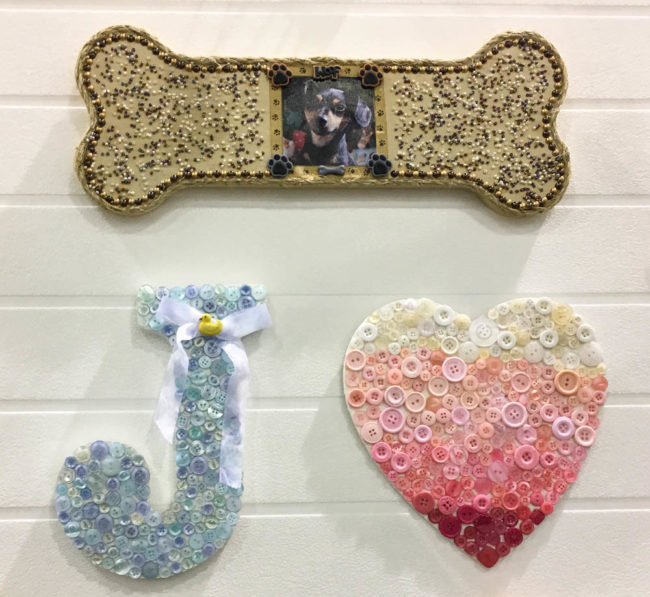
If you’d rather hang your pet photo on the wall, try out this dog bone wall art project by Buttons Galore staff!
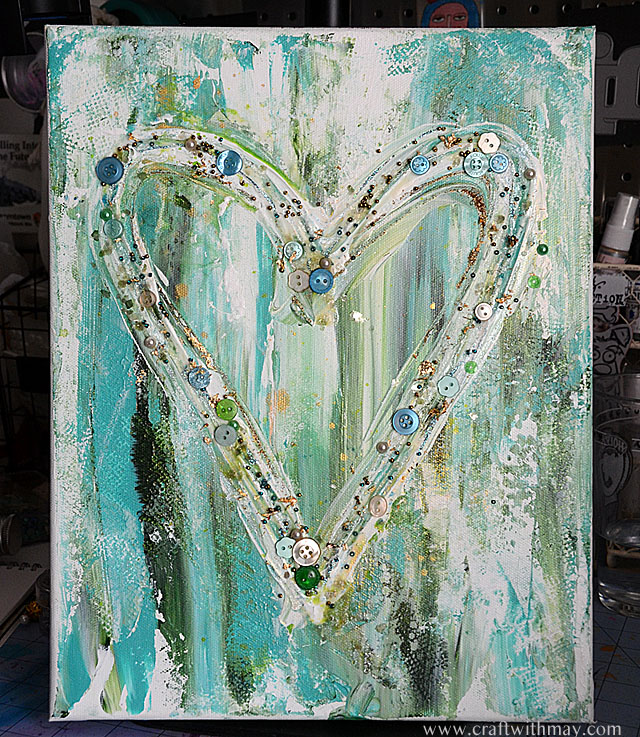
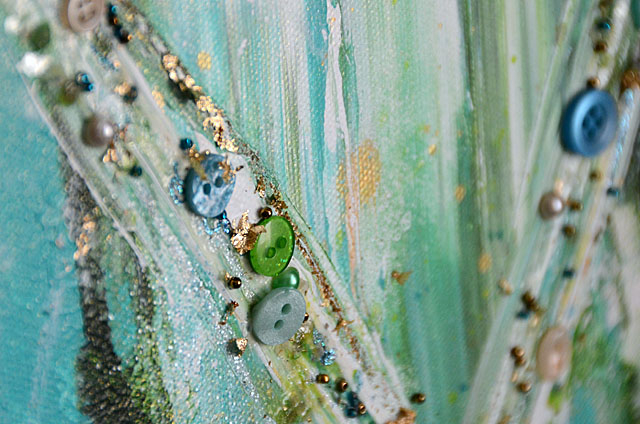
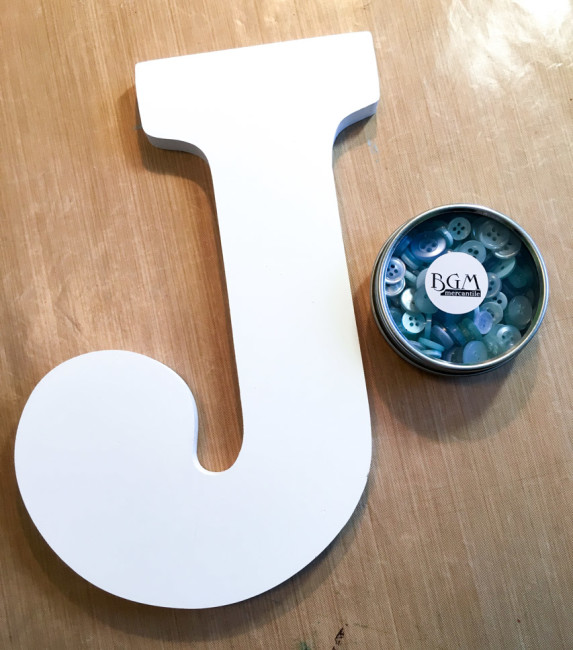
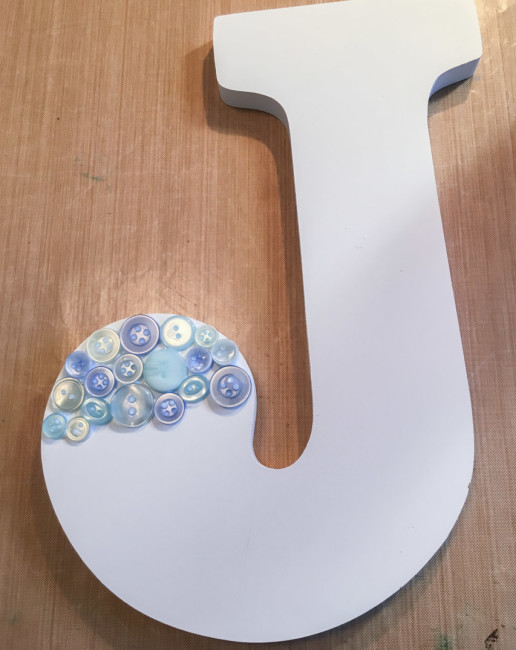
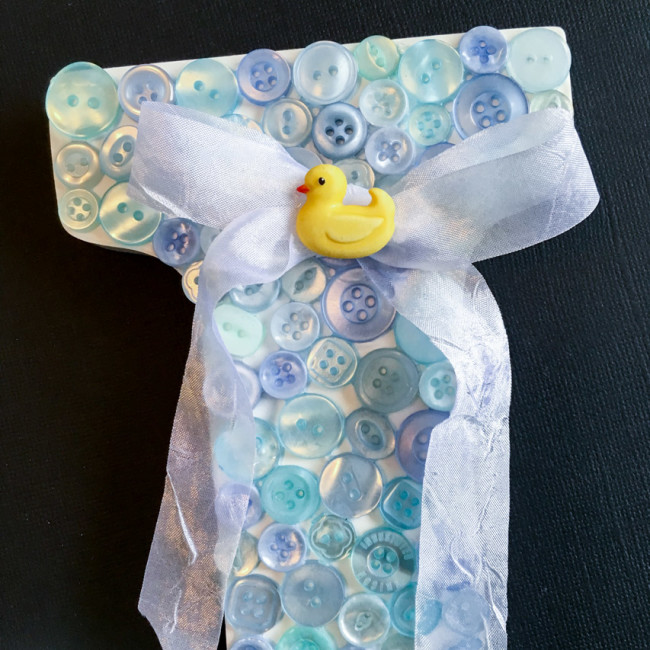
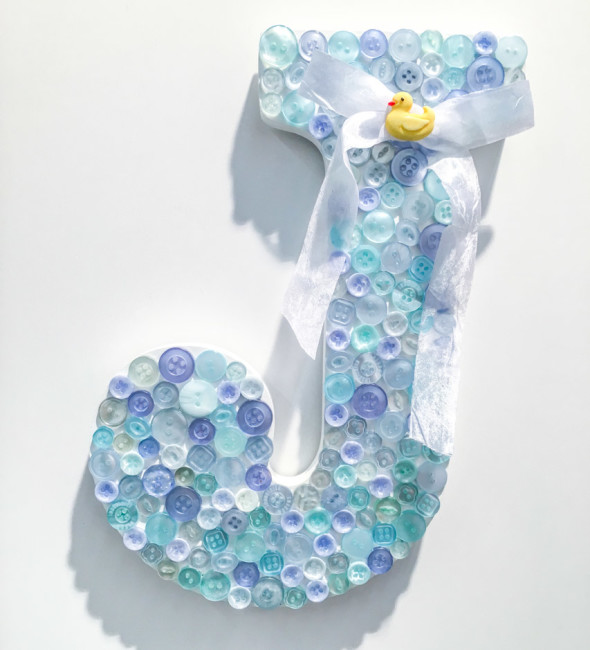
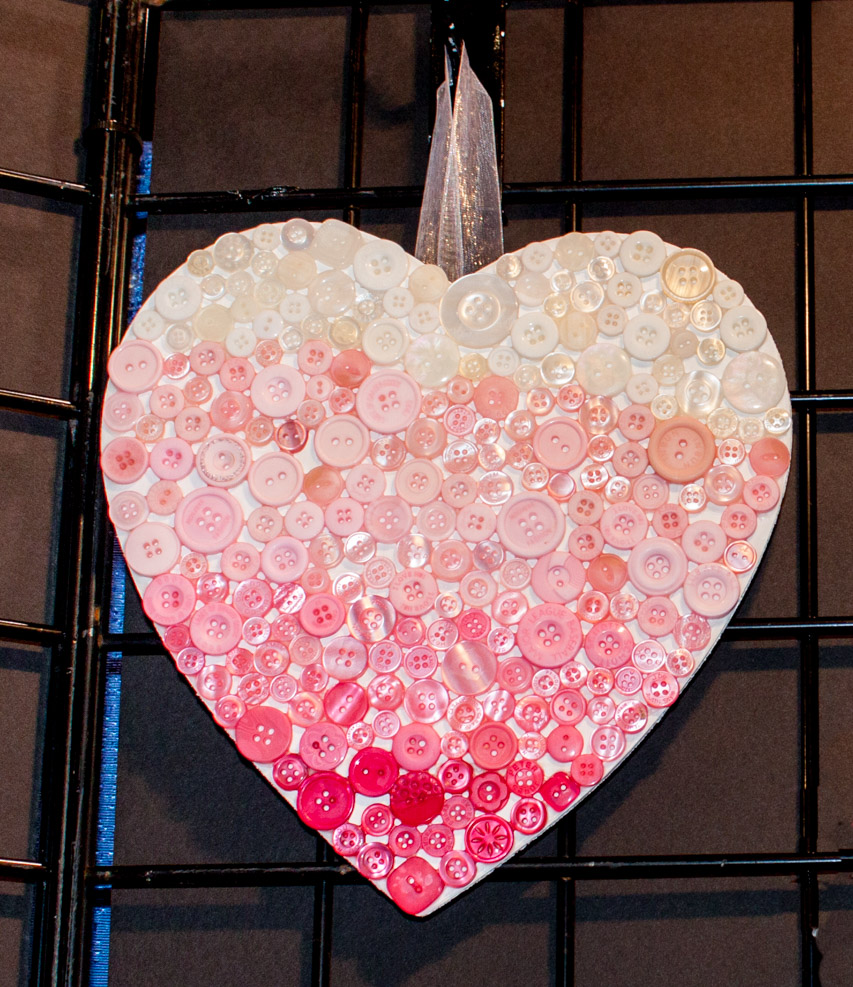
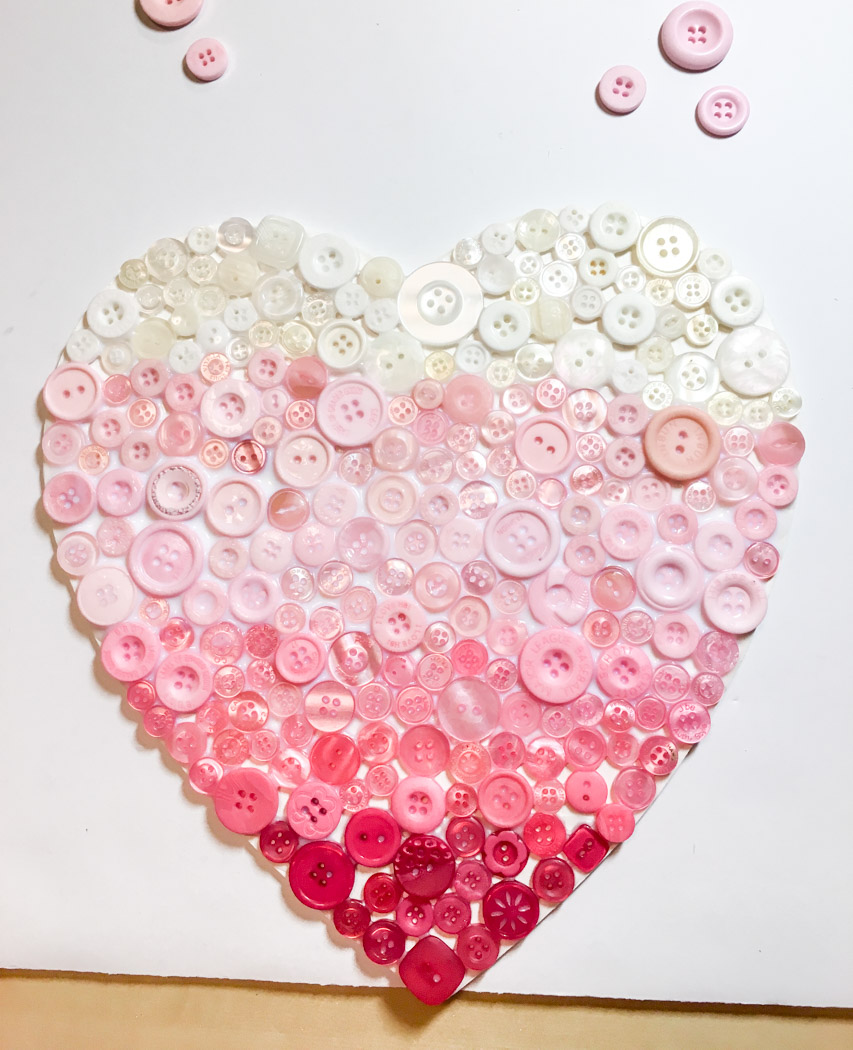
This button monogram is easy to make and perfect for a nursery or kids room! (Click here for instructions.) Or create an ombre heart wall art piece for someone special to remember you by. (Click here for instructions.)
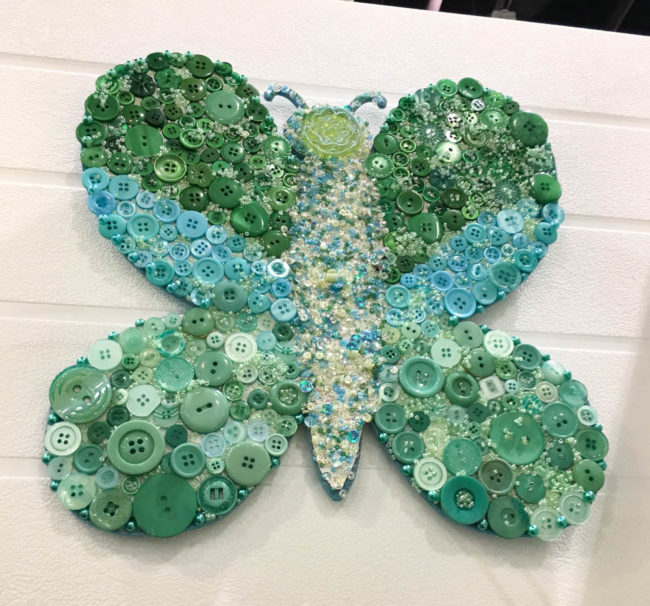
It seems everyone is in love with butterflies this season, and we agree! Our wall art butterfly, made by Buttons Galore staff, is great decor for a kid’s or teen’s room.
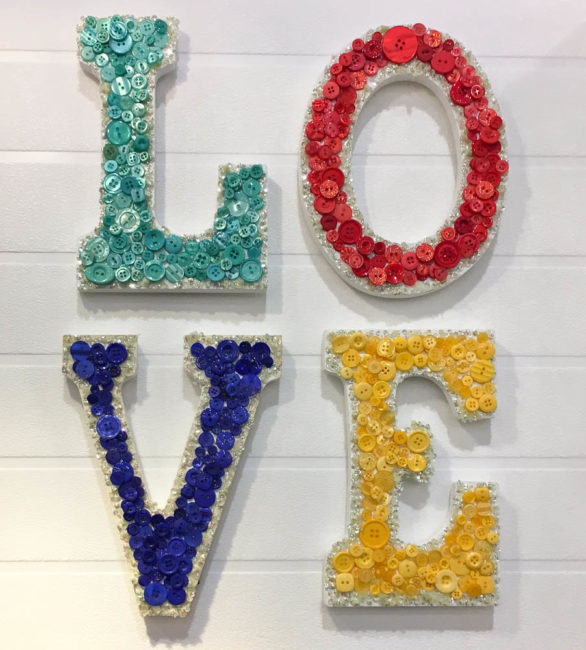
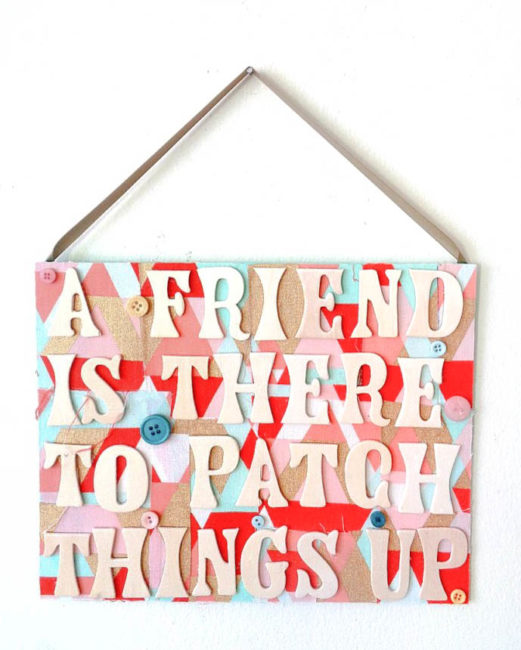
Text as wall art is very hot in home decor, and our staff decided to pay tribute to the greatest sentiment of all: love! These easy to make letters could be made in any colors to coordinate with the decor of a nursery or a shabby chic home decor.
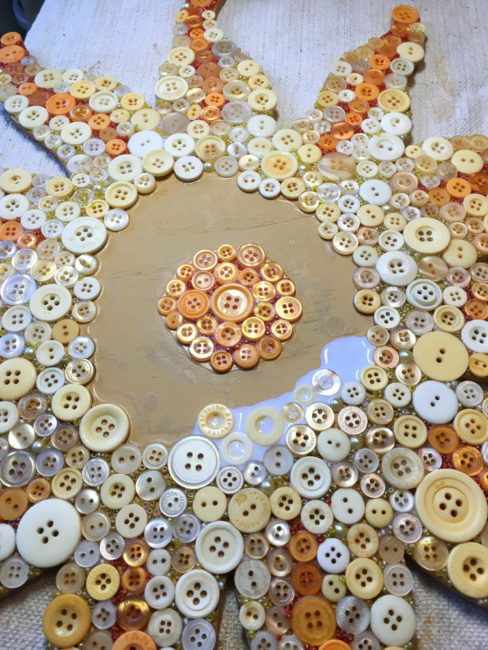
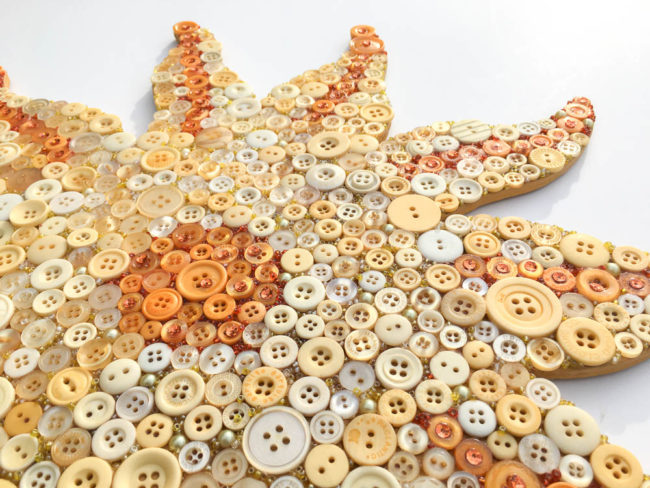
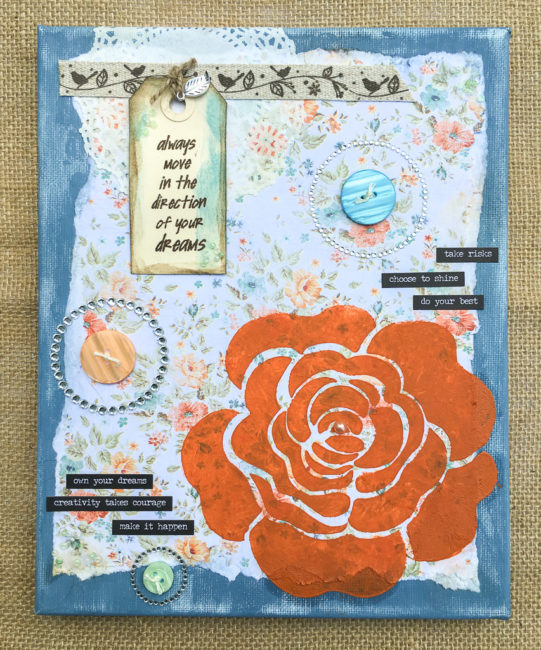
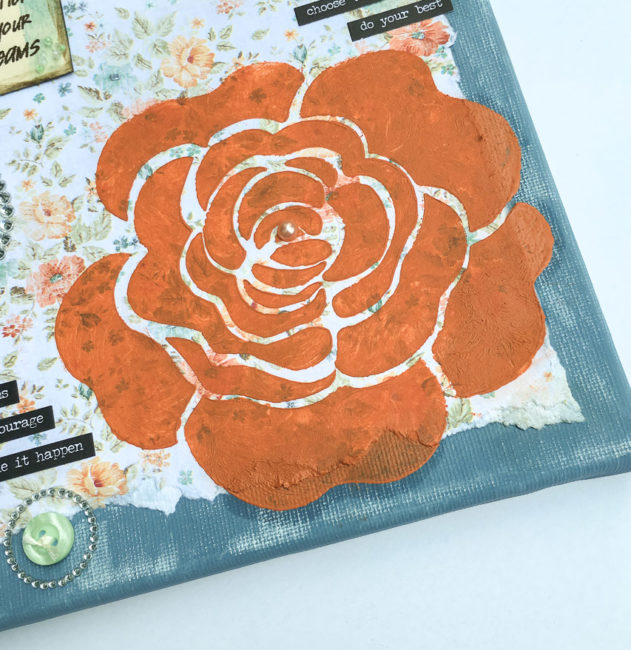
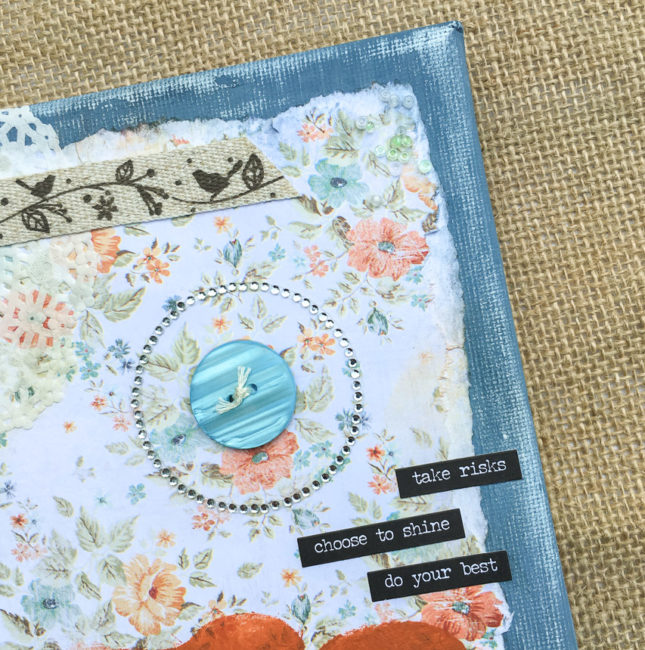
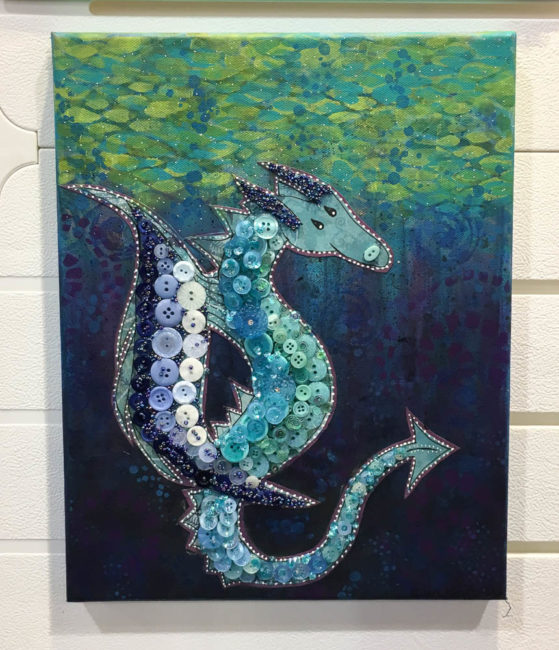
Our buttons are fabulous for working in mixed media, and designer Maura Hibbitts took them to canvas for us! This whimsical sea monster is full of texture and color!
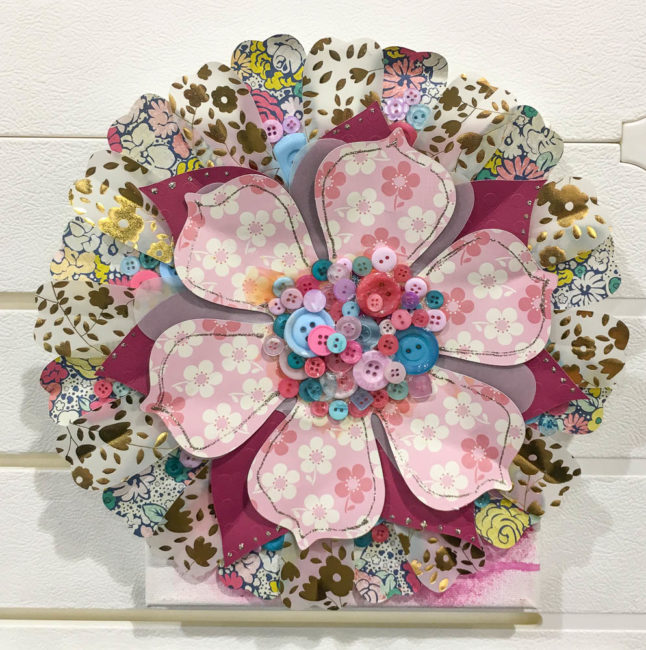
Last but not least, 28 Lilac Lane designer May Flaum shared her take on the 3D paper flower trend in our booth. Accented with a center of buttons, this flower will bring color and pattern to your walls or your party decor!
We hope that you enjoyed this peek at some of our booth projects from Creativation! Thanks to all of you who visited to see them in person!

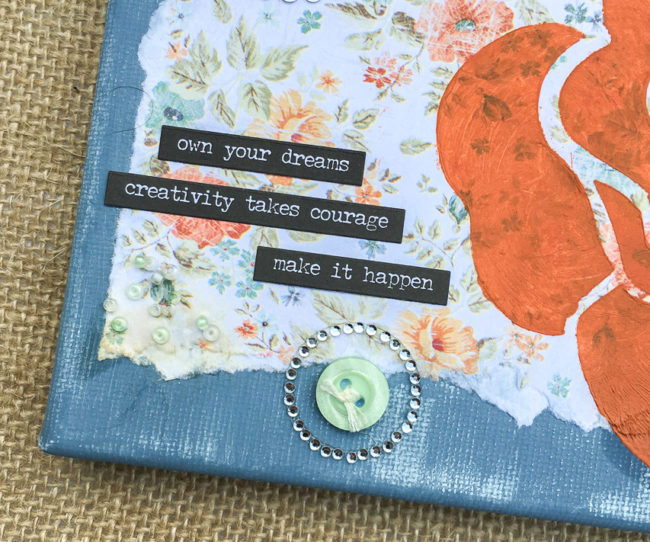
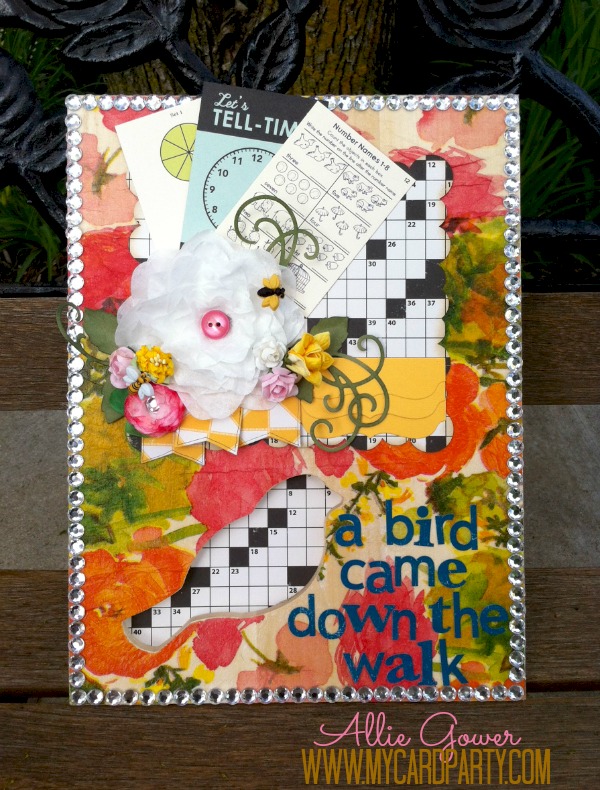
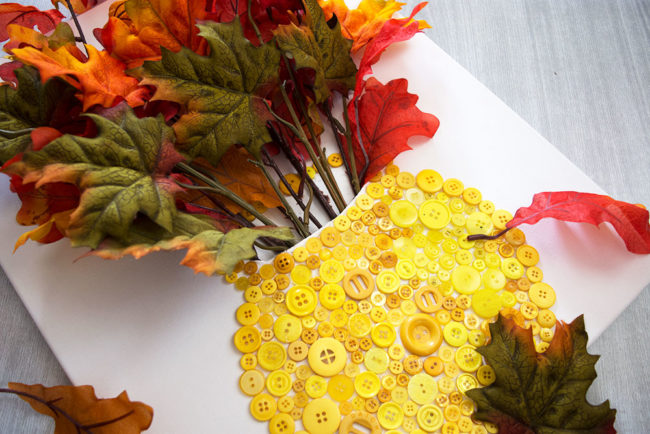
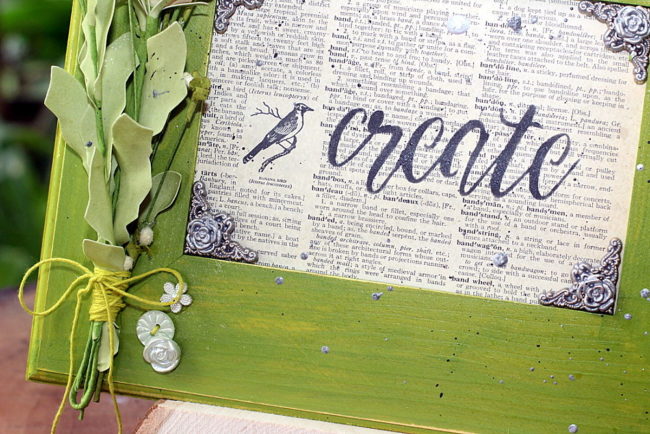 The Heirloom Keepsakes buttons were glued to the side of the flower cluster. They come in several different colors. I used the light green ones for this project.
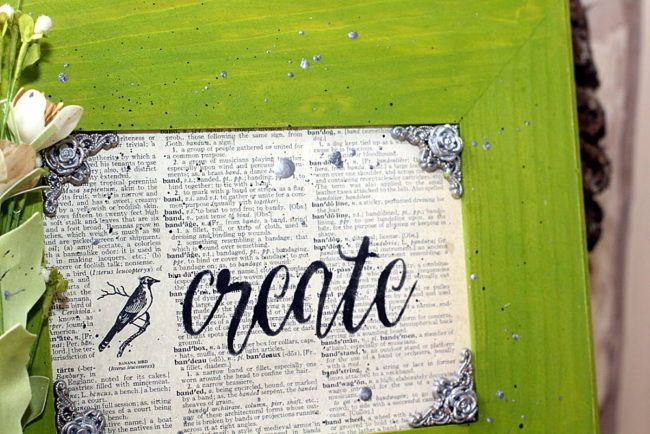
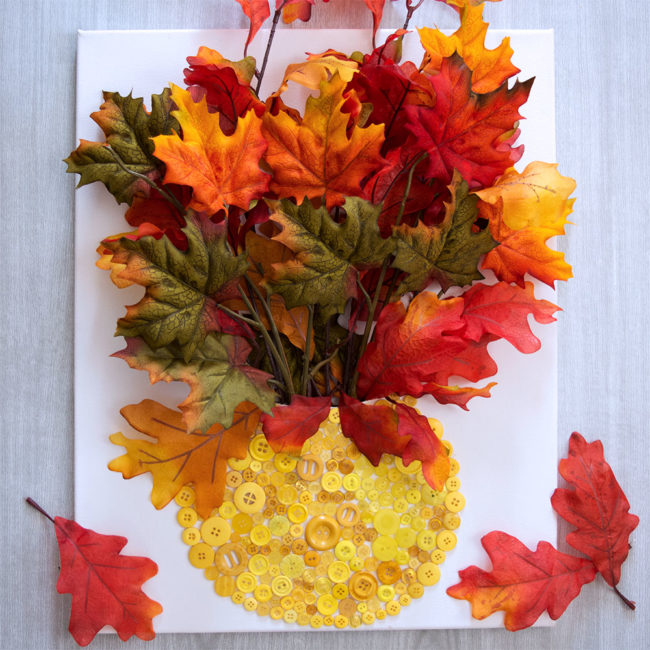
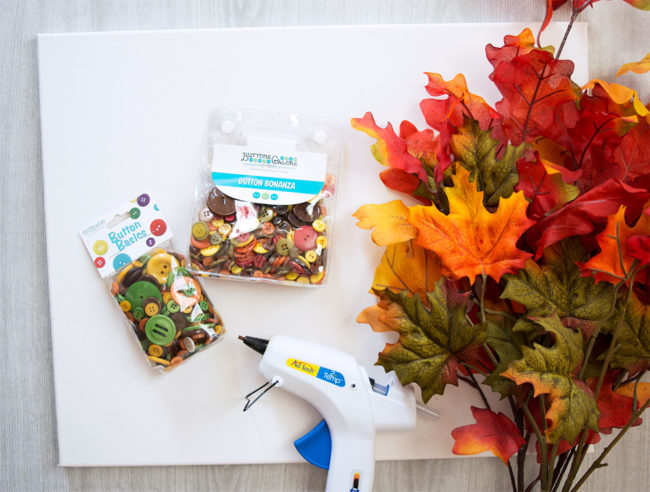
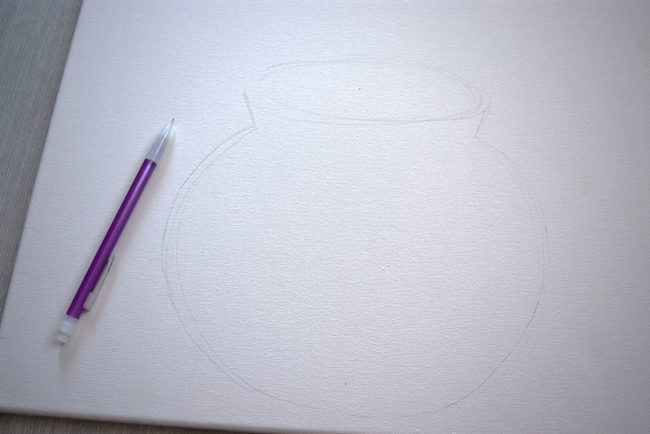
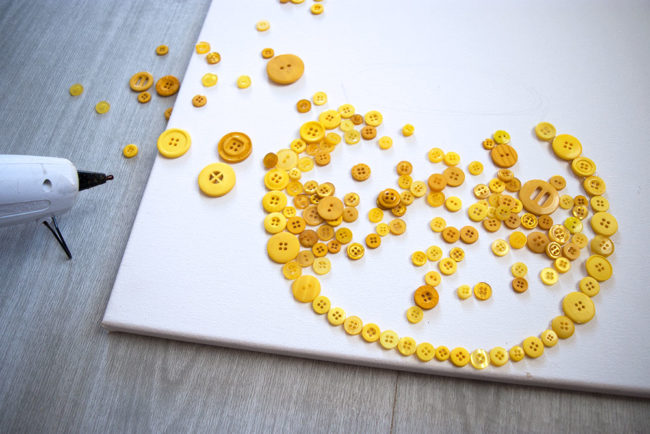
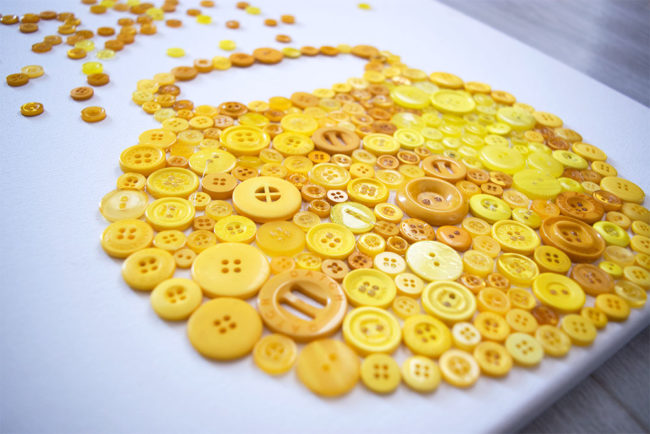
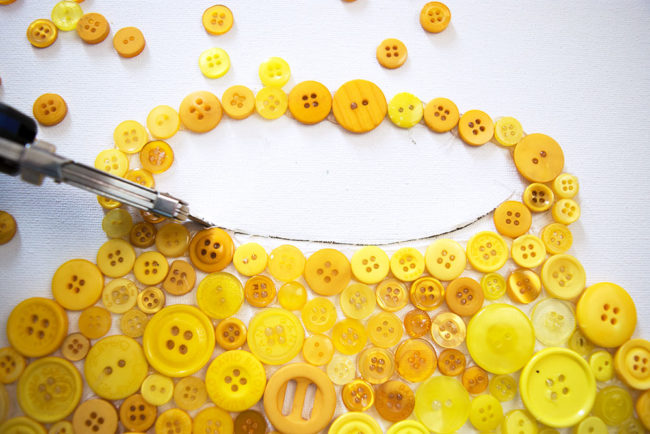
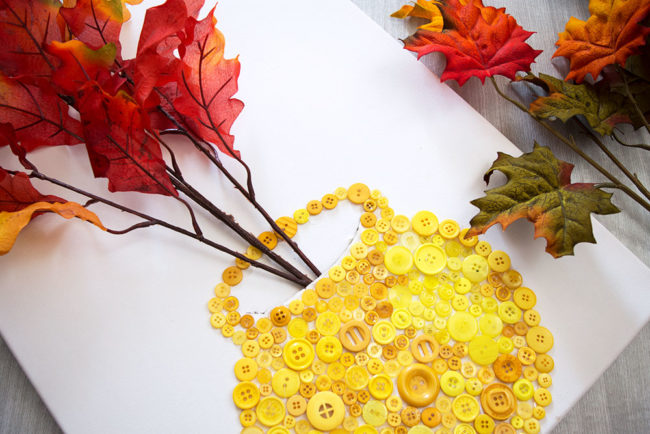
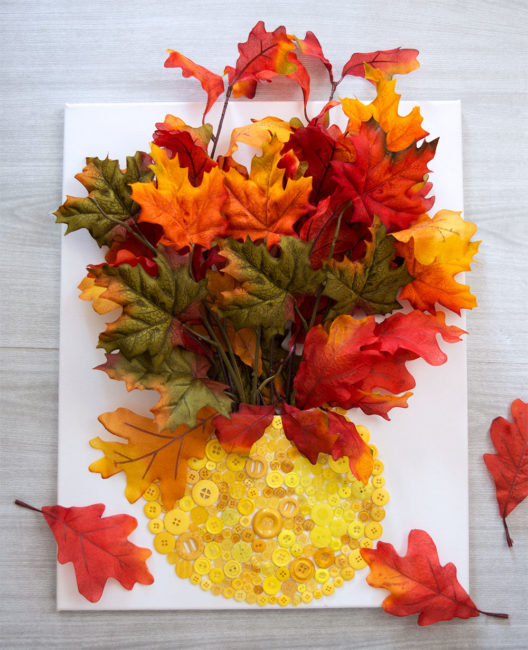

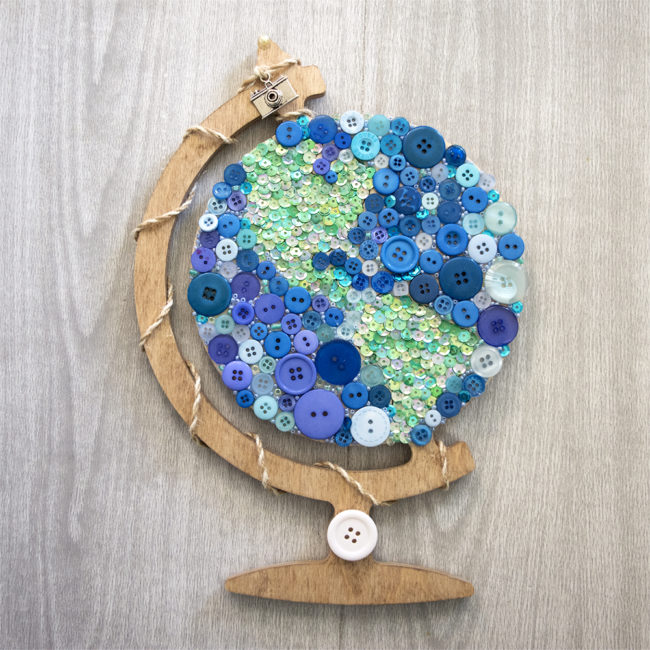

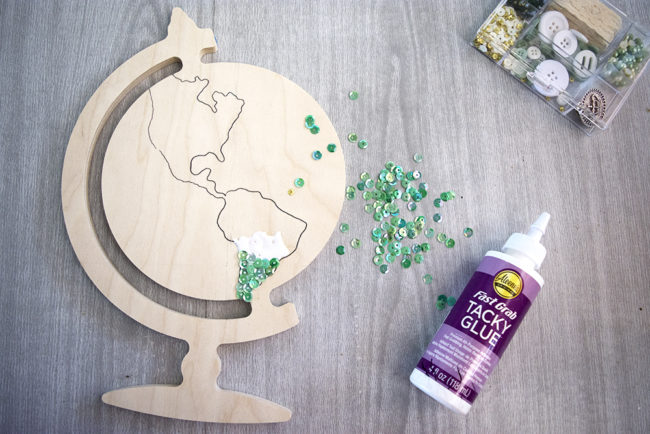
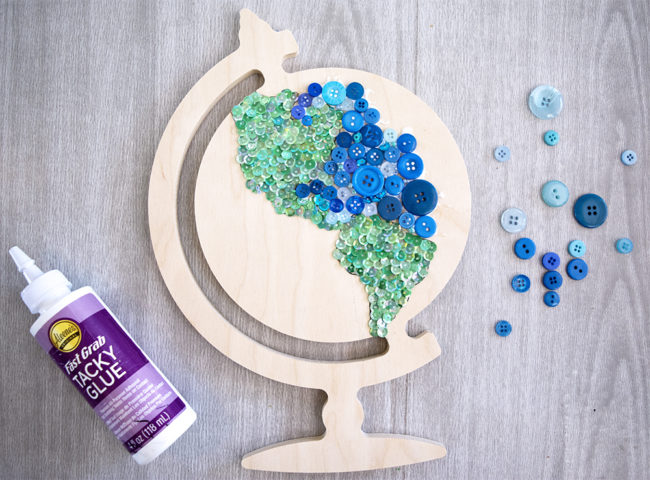

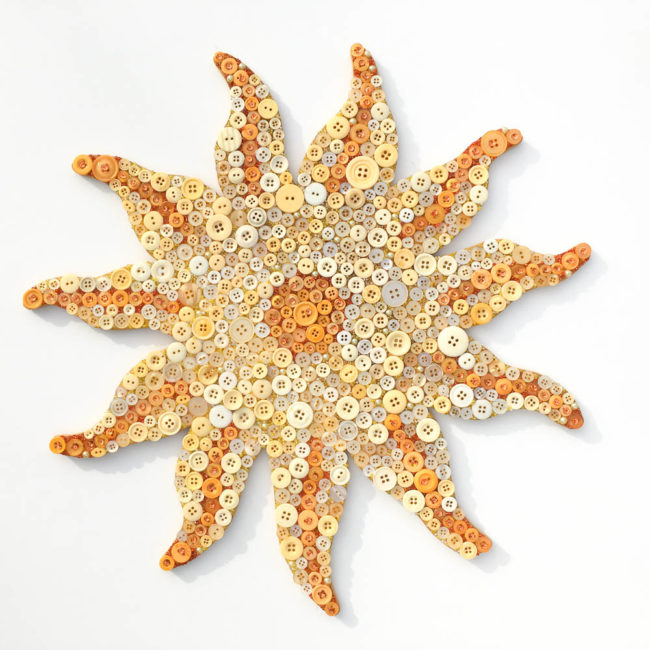
 Button mosaics (or collages) are such a fun way to use buttons, and this one creates a beautiful piece of wall art home decor when you are done!