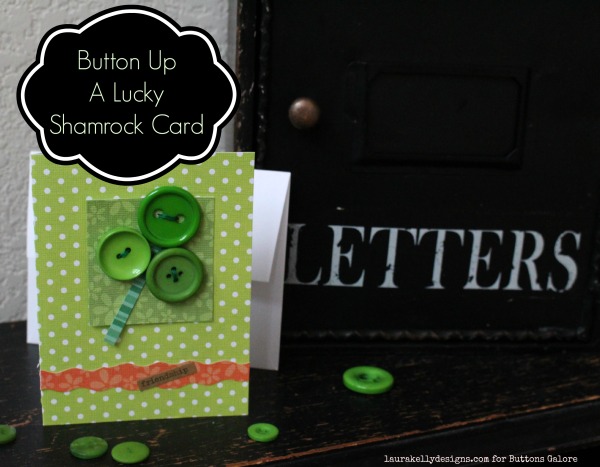
Make your own hand stitch shamrock button pin with scrap fabric and some green buttons. I used 3 different buttons from the Luck button tote for my pin project, you can mix and match however you’d like. Using some fabric glue and stitching with embroidery floss, you can make a whole variety of shamrock button pins to decorate or give away for St. Patrick’s Day.
For this piece I used denim, felt and linen. I pulled out threads on both the denim and linen to give more of a rough, frayed edge. However, you can finish the edges of your pins however you like. Coordinate your embroidery thread colors or create a contrasting look. You can make so many different variation of this simple pin with just a few different supplies.

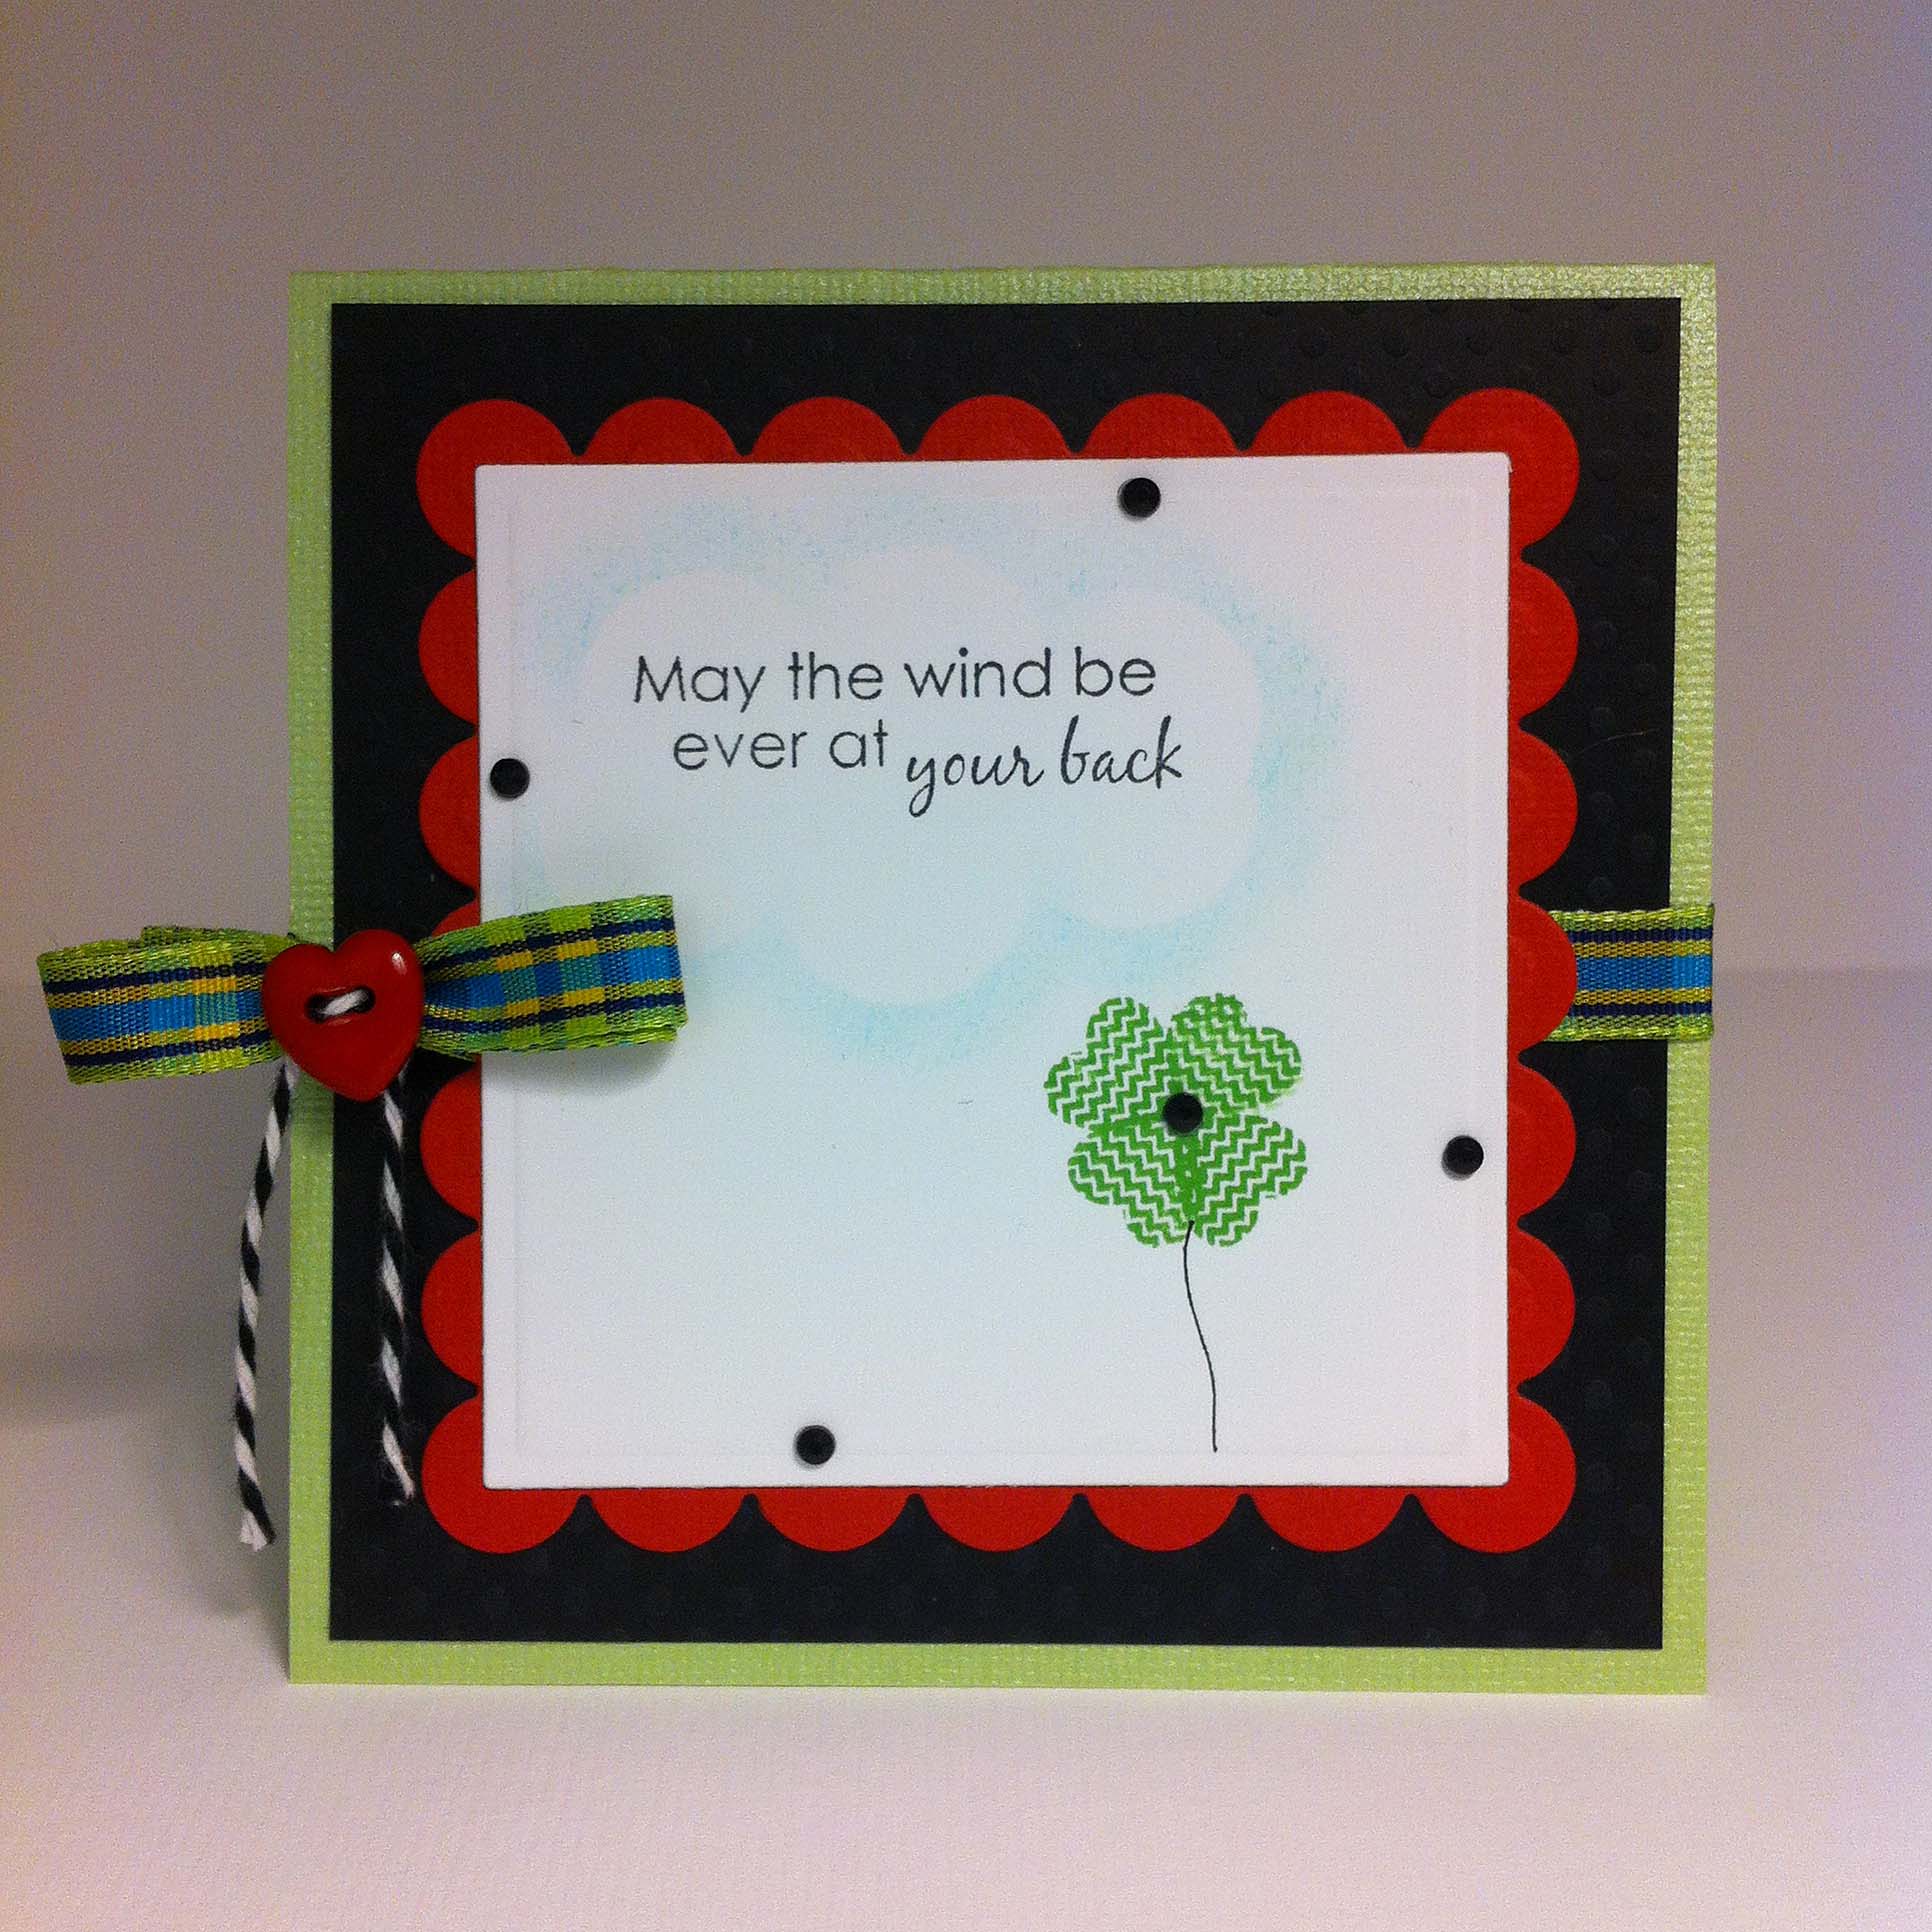
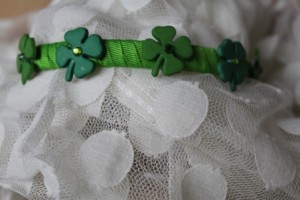
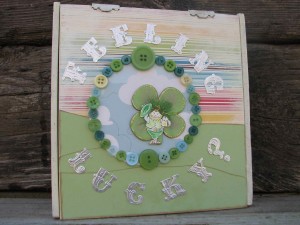
Shamrock Button Pin by Jen Goode
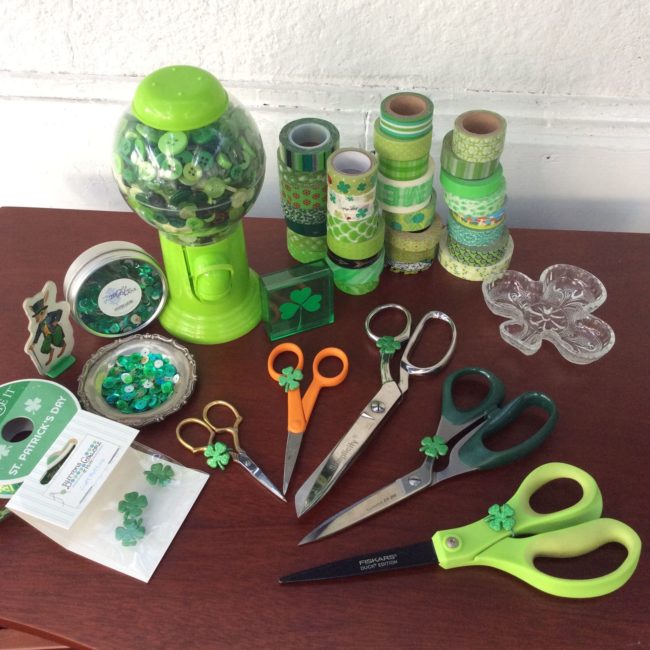
Materials needed to make a shamrock button pin:
- 3 green buttons
- Scrap fabric in different colors and textures
- Embroidery floss
- Fabric glue
- Pin back
How to make your own shamrock button pin:
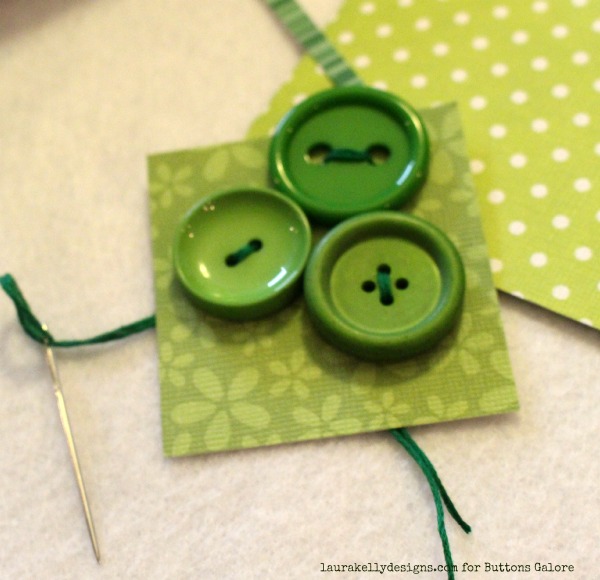
You can either glue your buttons on to the piece or stitch, these instructions I’m going to use the stitch method.
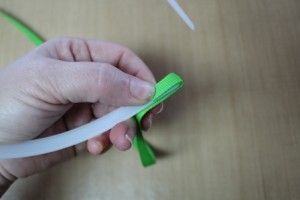
- Cut 2-3 piece of fabric ranging in size for stacking.
- Using embroidery thread and top fabric piece, stitch buttons in place, tie off.
- Stitch additional embellishment and accents.
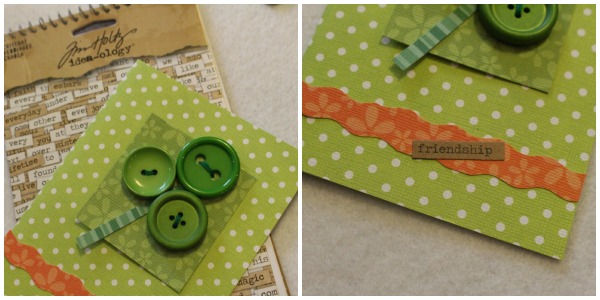
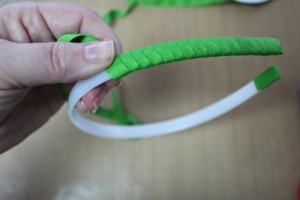
- Stack and glue fabric together letting each layer dry separately.
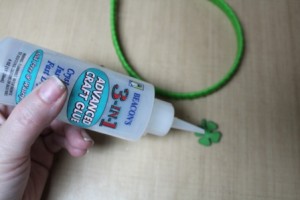
- Using a piece of fabric, glue pin back in place and let dry.

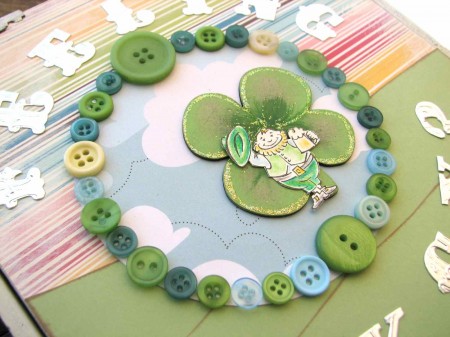
Make a fun shamrock button pin

Shamrock button pin back

Make your own shamrock button pin with green buttons
Making your own shamrock button pin is a fun and quick craft you can also make with kids. If you’d rather just glue the whole thing together, try using fabric markers to draw your thread marks. Use embroidery thread to create the tied look to the buttons before you glue the buttons to the fabric. Mix up the button sizes, embroidery thread colors and fabric you use for extra looks.
I’d love to see what fun you have with this St. Patrick’s Day button project!
Jen