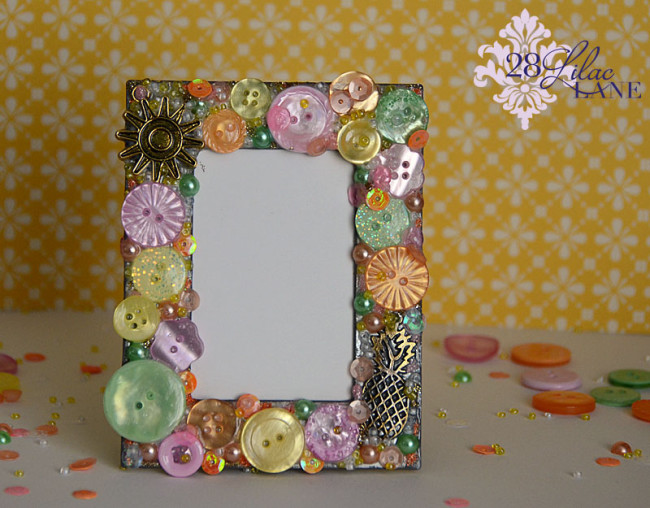
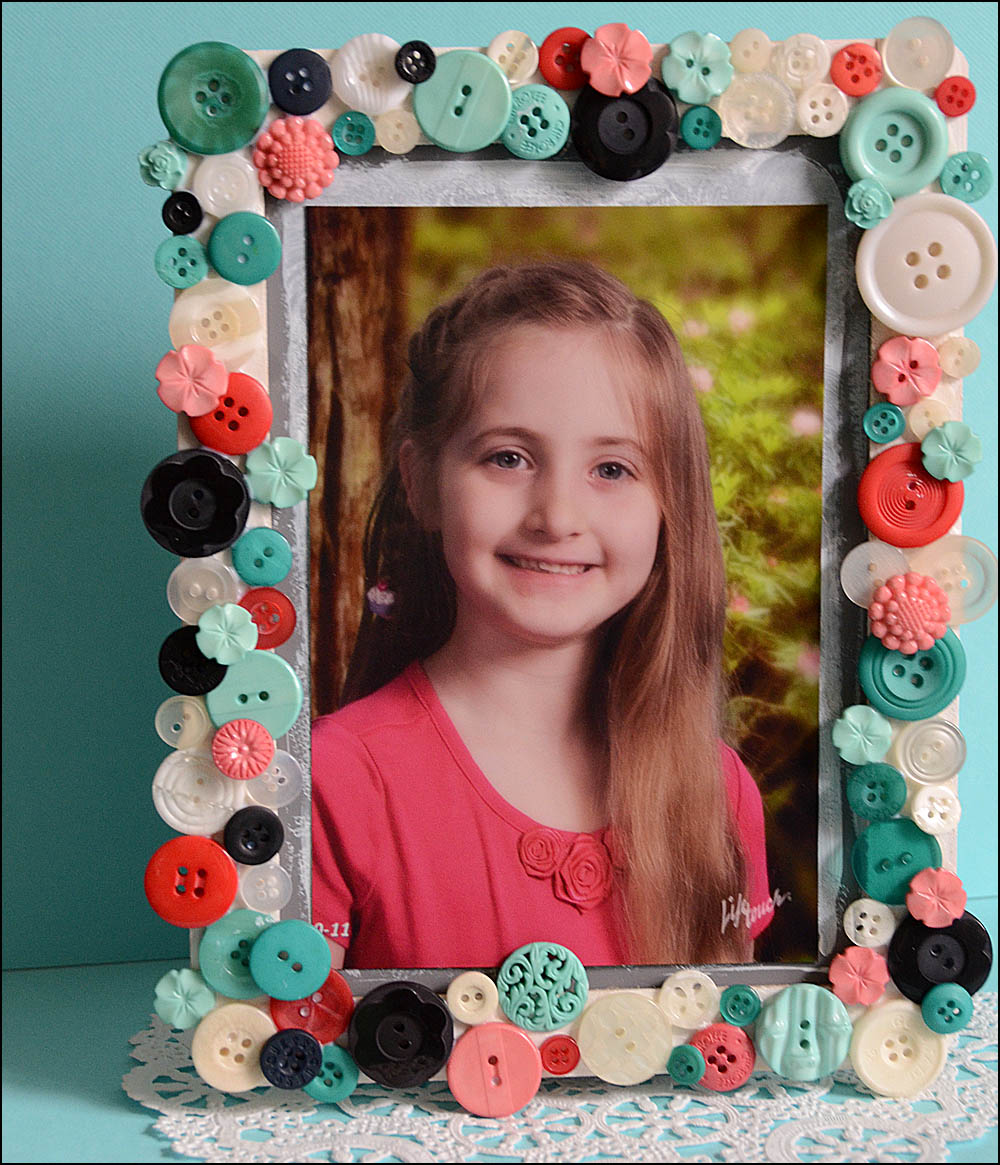
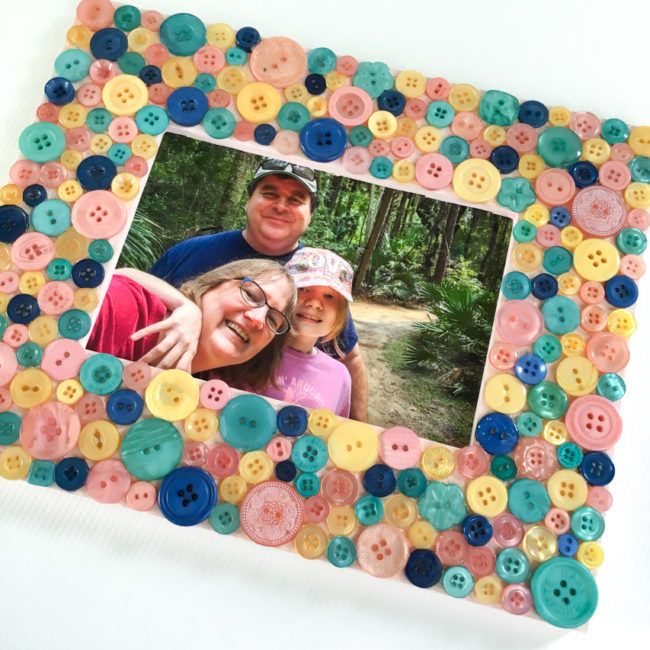
We recently announced six new Button Bonanza assortments for fall – great mixes of colors that are seasonal and trendy. Today I’m here to show you a beautiful button frame project with what is probably my absolute favorite of the new mixes: Glam Girl!
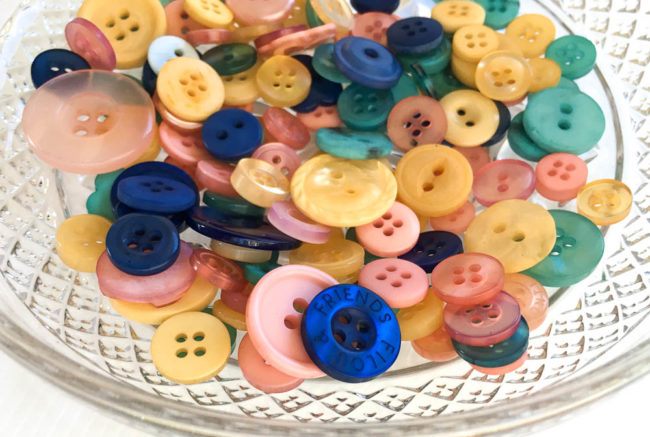
This lovely assortment of pink, turquoise, butter yellow, and dark blue is oh-so-trendy and so versatile for a variety of projects!
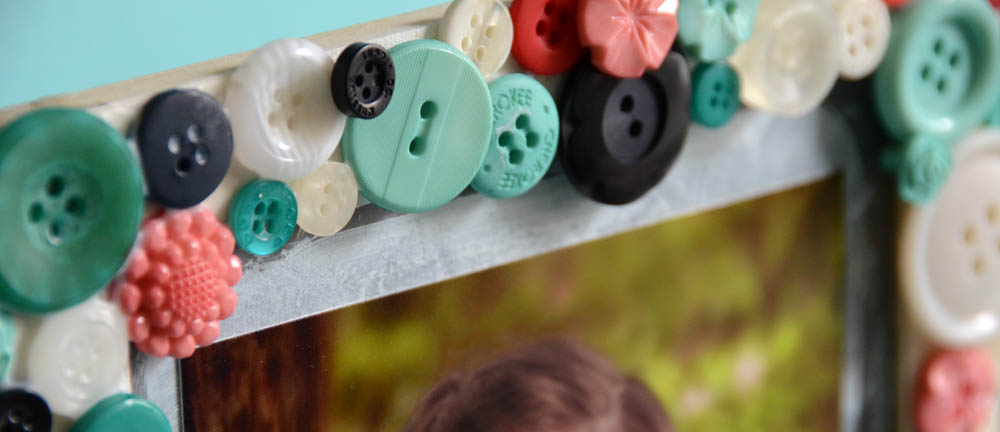
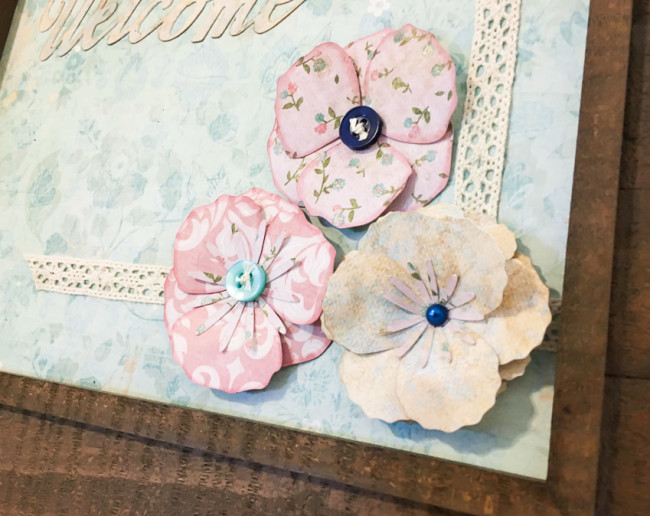
This button frame project would make a gorgeous addition to the decor in a teen/tween’s room (and it’s easy enough for them to make themselves). Or it could add a pop of color to a flea market decor in a living room or bedroom!
The steps to completing this project are super simple.
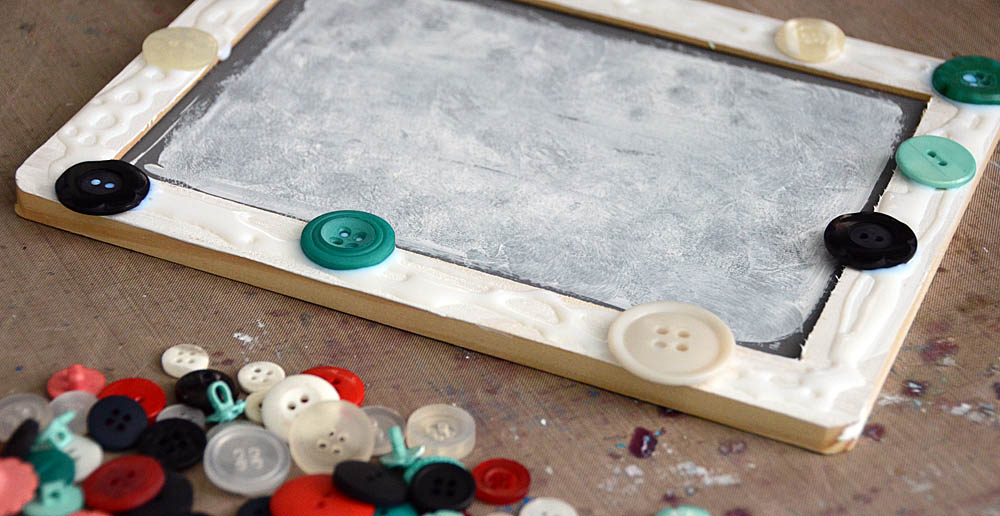
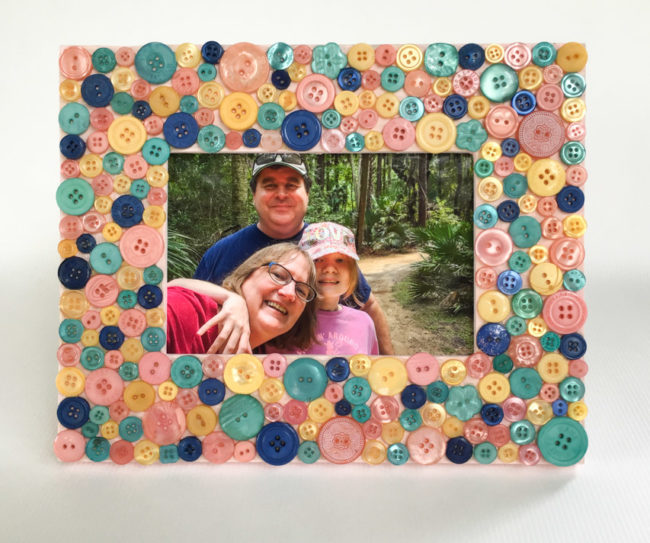
To begin this project, paint the unfinished wood frame with the Pink Dogwood paint. The soft pink color provides a delicate background to fill in between the buttons in the collage, and coordinates beautifully with the shades of the Glam Girl buttons.
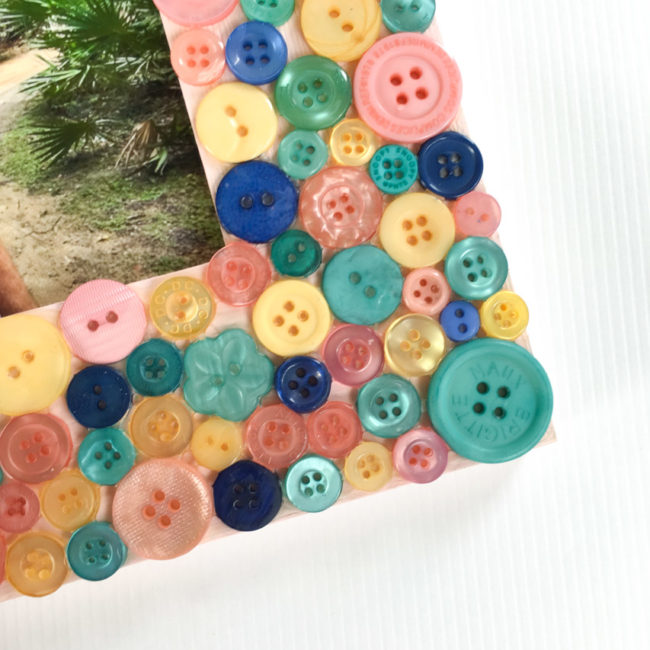
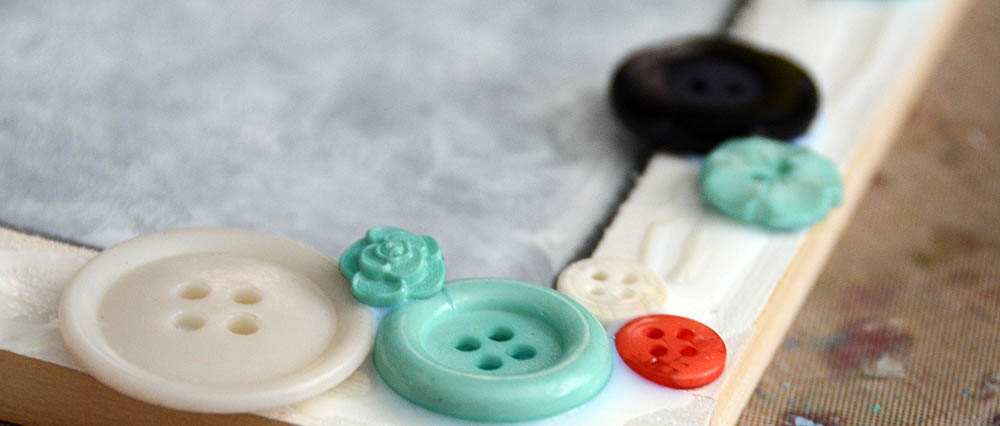
Once the paint is dry, then it is time to start the button collage! My tip for doing this is to work in sections laying down an inch or two long section of the white glue and filling it in with buttons. Once it is dry, then start the next section. This technique prevents a huge mass of buttons that are sitting in still-wet glue from accidentally being shifted as you work your button collage into place.
The key to a nice balanced button collage is to spread out the larger buttons, and to try to avoid placing the same colors next to each other too much. With only four colors, it’s not possible to avoid it entirely, but I mostly managed to avoid more than two that were connected to each other of the same color.
Creating a button frame collage like this can be a bit time-consuming, but also a relaxing and fun project! And the end result is a button frame that will be enjoyed for years to come!
Supplies:
- 4″ x 6″ Plaid Unfinished Wood Frame
- Plaid Milk Paint in Pink Dogwood
- PPA Matte Adhesive
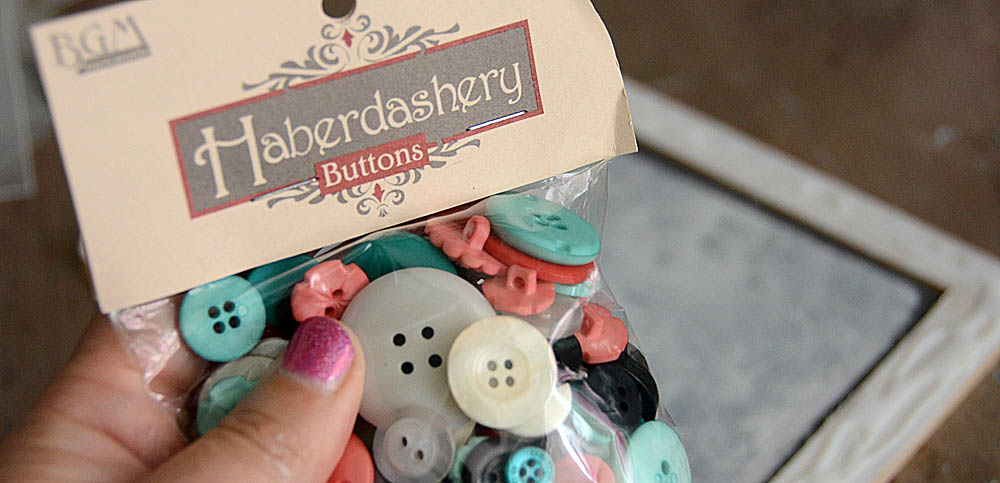
- Buttons Galore “Glam Girl” Button Bonanza
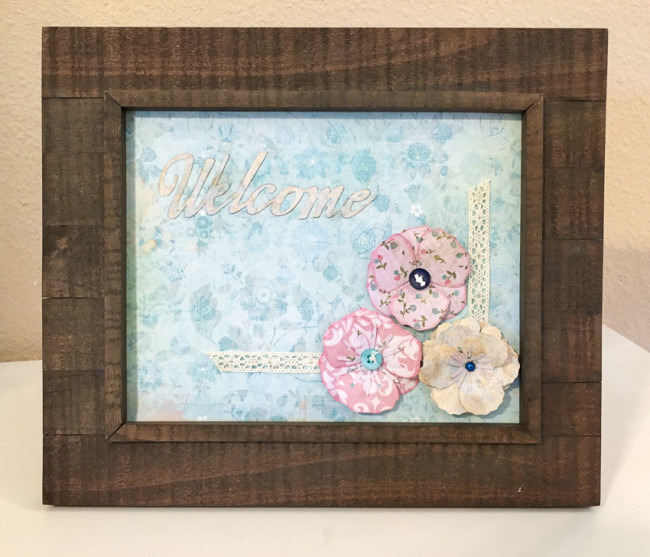
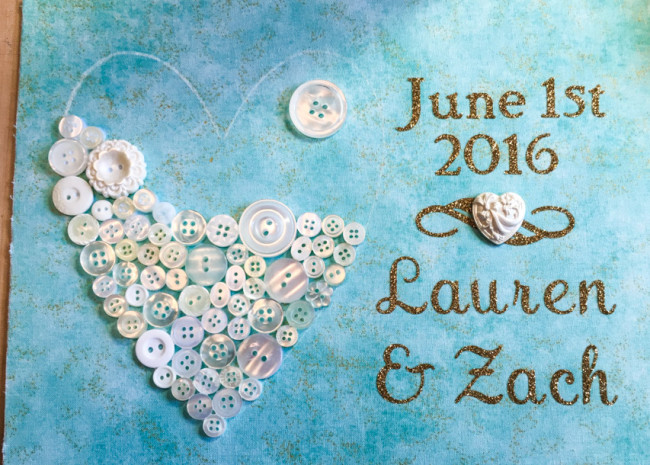
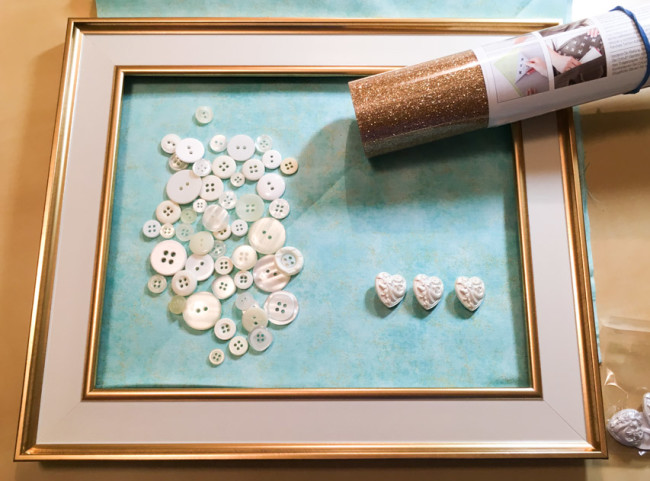 The first step in this project is to select a color scheme. This project is built around a fabric background, which can really be any color. I’ve chosen a beautiful aqua, but the wedding’s theme color or a color from the bride’s home decor might both be excellent choices.