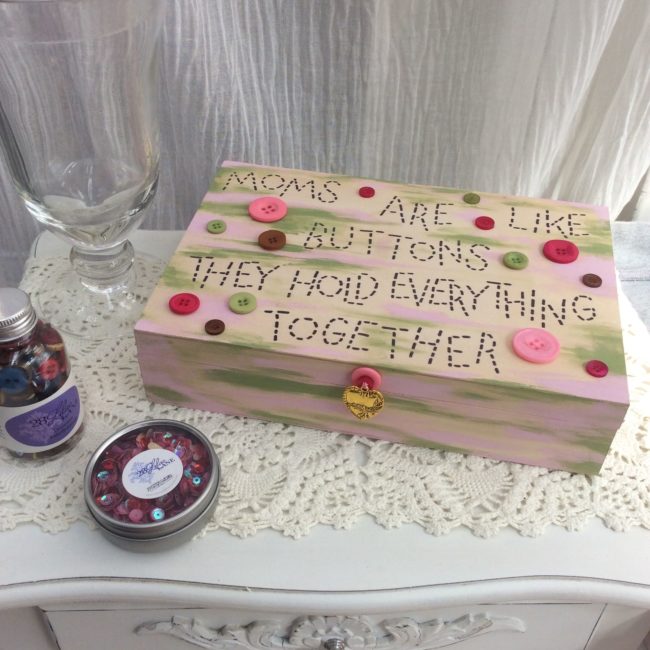
Here is an idea to keep Mom’s craft supplies organized. It’s both thoughtful and practical.

Here is an idea to keep Mom’s craft supplies organized. It’s both thoughtful and practical.
Hello Everyone! This is Katie from the Buttons Galore & More Design Team, and today I will be showing you how to make a fun handmade gift that can be given during the holiday season!
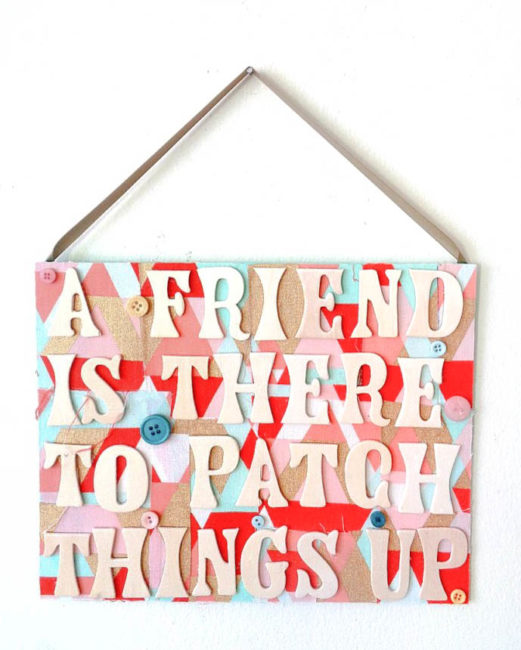
As a gift-giver, I have always loved making handmade signs for my friends and family. This is because handmade signs are super easy to make and are so fun to personalize. Also, from a gift-giving perspective, handmade signs can be very inexpensive to make if you are on a tight budget. With all that in mind and with the holidays fast approaching, today I am going to show you how to make a DIY Friendship Sign. Continue Reading →
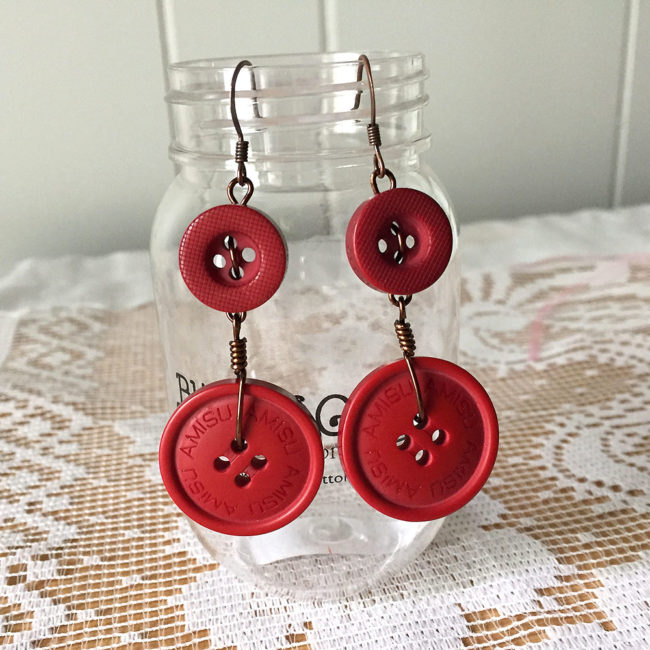
Hi! It’s Anaya from the Buttons Galore & More Design Team. With the holidays fast approaching, you’ll surely want to dress to impress for all of the upcoming parties and celebrations. If you’re like me, you get tired of showing up in the same old boring earrings. Well, today I’ve got the perfect project for you – DIY Dangle Earrings! Continue Reading →
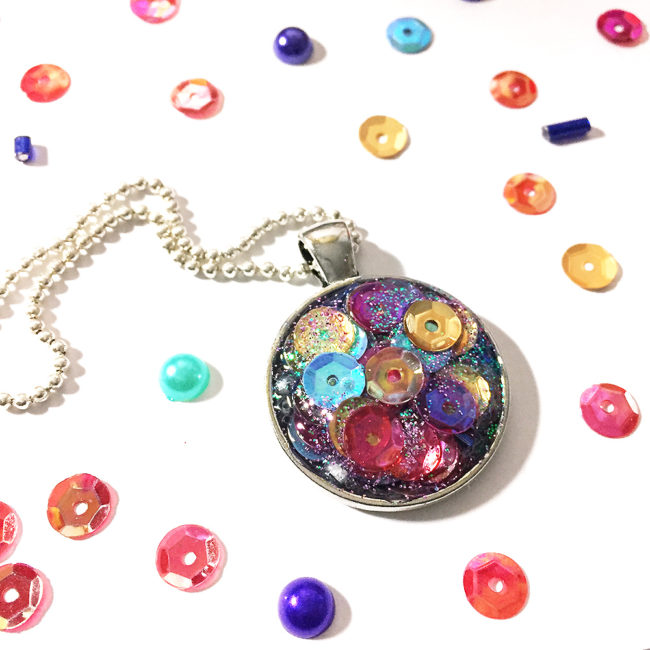
Who doesn’t love an invite to good party? I know I do! When you walk through the door (fashionably late, of course) you can be the center of attention in this quick, easy to make sequin pendant necklace! Continue Reading →
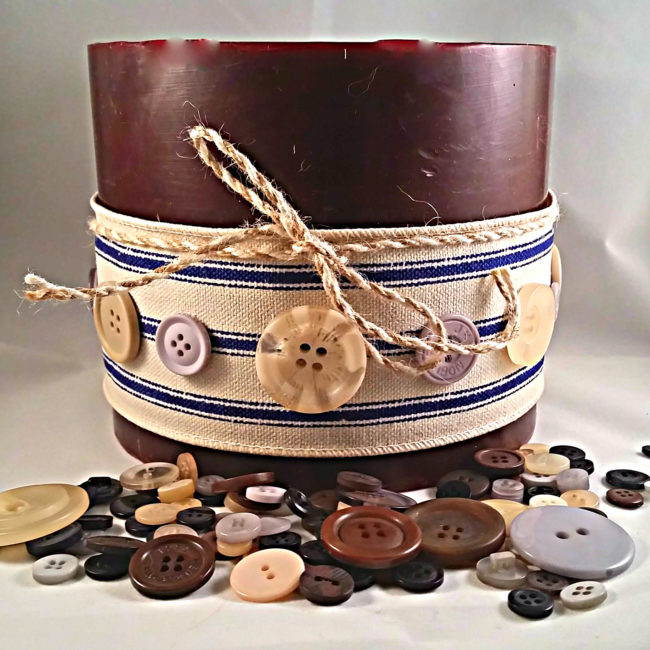
Hey, y’all! Lorrie here with a fun new DIY decorated candle project that is super easy but makes a great gift!
I’ll admit it – I am a candle addict! I have a ton of them in my own home, plus they are my go-to gift for lots of different people: teachers, co-workers, friends, in-laws. You name them, and they have probably gotten a candle from me! Since I do love giving them, I am always on the lookout for deals on candles, because as much as I love them the one downside is that sometimes they are a little expensive. I have found that after the holidays, lots of stores have great prices on candles. I usually buy several to give throughout the year. But sometimes, those candles can be a little boring. They may be just a plain jar candle, or like I used for this project, just a 3-wick pillar candle. But with a little ribbon and some Pet Shop Button Basics buttons from Buttons Galore & More, these plain candles can go from “meh” to “wow” very quickly! Continue Reading →
My project today is a sweet little pendant necklace that comes together pretty quickly and makes a great gift.

Don’t be daunted by the idea of sewing on the beads! It’s true that sewing beads can be a little fiddly because of their tiny size, but once you get the hang of it, it’s a great beginner project for jewelry making.
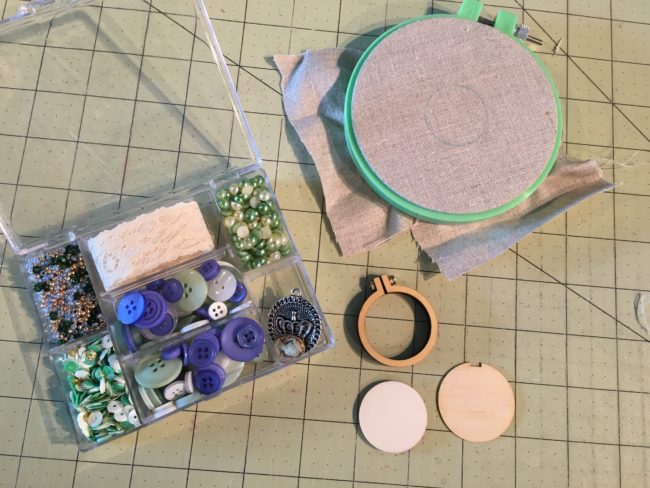
Here’s what you need to make this little beaded pendant necklace:
Put your scrap of fabric inside your embroidery hoop for sewing and outline the inside circle of the mini embroidery hoop with a pencil onto your fabric. Using the little cameo from the 28 Lilac Lane set, use craft glue to glue this to the center of the circle you just outlined. Let dry completely before moving on.
After your cameo is completely dry and securely attached to your beaded pendant, take a small plate (or use the lid of the Tea Time set) to pull out the beads. From your divisible embroidery floss, pull out one thread strand and thread your needle, making sure to leave a knot in the end. Sew a row of the larger green beads around the edge of the little cameo. Then repeat with the gold beads and then the blue beads.

To finish your beaded pendant, position the mini hoop on your design and draw a cutting line approximately 1/2 inch around the hoop. Cut it out. Place the cut design on the center plate. Then place the mini hoop on top and push it down to secure it. Flip it over and using a hot glue gun, place the glue around the inner edge. Push the fabric down in a circular motion. Add glue to the backing piece on the inner edge. Position it on the back of the hoop with the notch top and center.
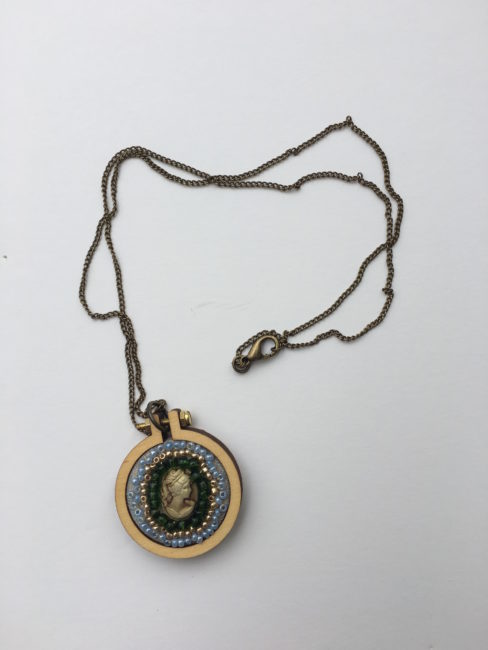
You can either add a jump ring to your beaded pendant for your necklace chain to go through or thread the chain through the bolt in the center of the hoop.
Voila! You have a sweet little beaded pendant necklace ready to wear on a fun night out or to gift to a friend!
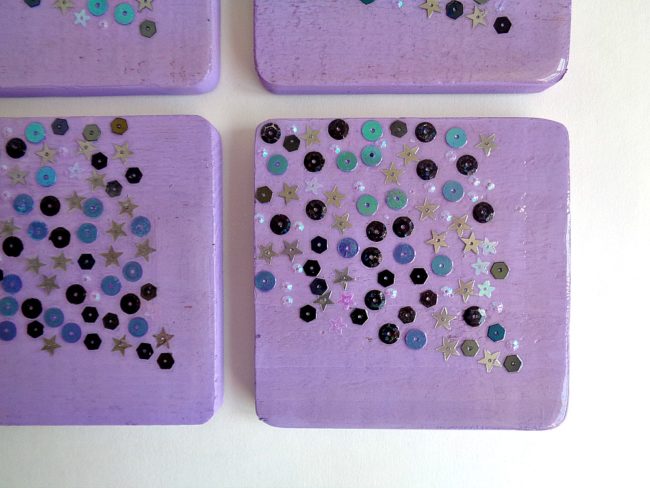
Hello everyone! This is Katie from the Buttons Galore & More Design Team, and today I have a super fun DIY Sequin Coaster Set that you can make with your kids!
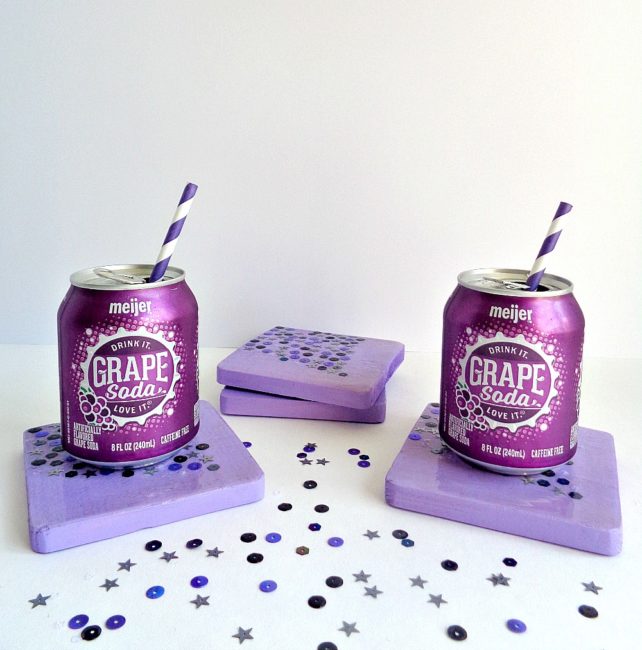
The project I will be showing you how to make today is a DIY Sequin Coaster Set! Now, you may be thinking that sequins and coasters don’t belong together. However, this DIY Sequin Coaster Set has a protective coating on top which seals in all the sequins and creates a barrier between your drinks and the actual coasters. In addition, this project is kid friendly and can be completed in just 3 easy steps!
To decorate my sequin coasters, I decided to use the brand new 28 Lilac Lane Sequin Tin in Haunted House. Now, even though the haunted house name sounds like it’s made for Halloween, these sequins have a more holographic look to them. For example, the tin contains silver, purple, black, white, and hologram colored sequins. In addition, the sequins are round, hexagon, and star shaped. For this particular project, I paired the sequins up with some purple paint. However, I think with the holographic look that they have could be paired with a variety of paint colors.
So, to find out how to make your own Sequin Coaster Set, keep reading below!
Supplies Needed:
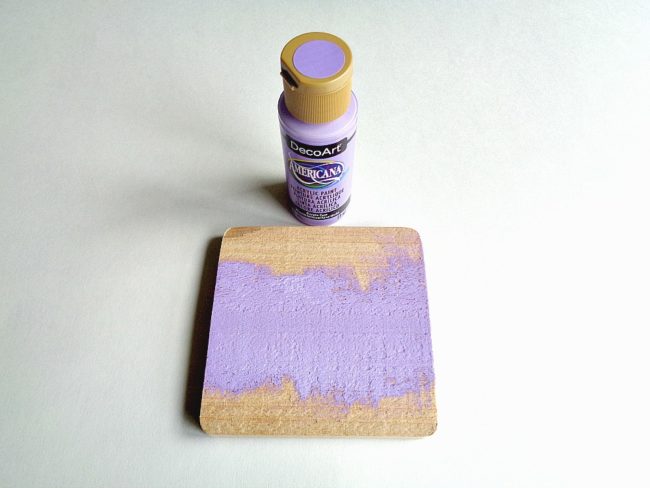
Step 1: Paint your wooden coasters on the front and back. Then set each one aside to dry.
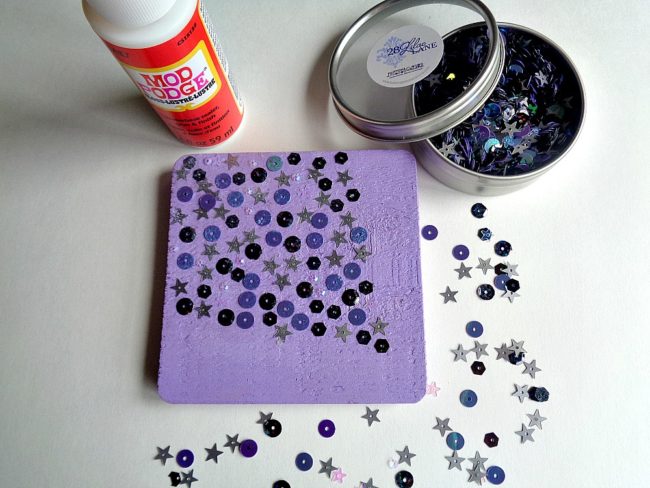
Step 2: Apply a layer of Mod Podge onto your coaster then begin adding sequins from the 28 Lilac Lane Haunted House Sequin Tin. While doing this step, you could add your sequins to your coasters in one of two ways. The first way would be to sprinkle the sequins onto the coaster and then spread the sequins out with a toothpick. The second way would be to add each sequin on by hand.
With that being said, no matter what method you use, you want to make sure that your sequins are lying flat on your coaster. This means that sequins should not be glued on top of each other and that each sequin should be lying flat by itself. Also, when making these coasters, I felt that that less was more. For example, I found that using a smaller amount of sequins (in a particular pattern) really gave the coaster a finished look. However, you can do whatever floats your crafty boat.
Once you are done adding your sequins, apply another thin layer of Mod Podge and set the coasters aside to dry.
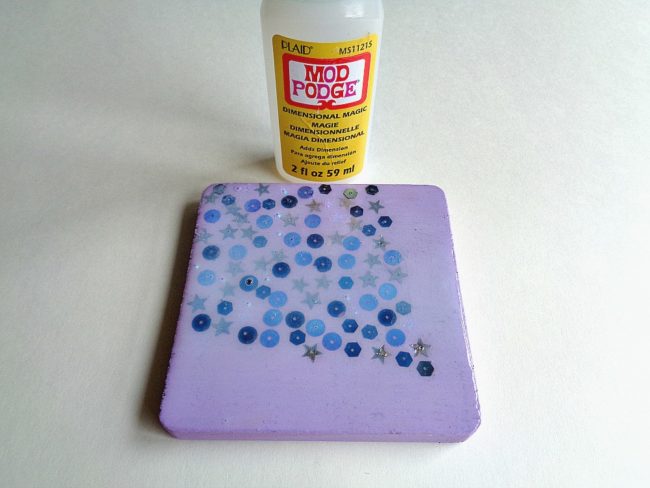
Step 3: Now apply a thin coat of Dimensional Magic to the top of your coaster. When applying the Dimensional Magic you may want to have a tooth pick handy so you can pop any air bubbles. At first the top of your coaster may look ”cloudy” but that’s ok because it will dry completely clear. After you finish applying the Dimensional Magic set your coaster aside to dry for 24 hours.
Keep repeating this process with your other coasters.
When the Dimensional Magic is completely dry, you are ready to start using your new coaster set!
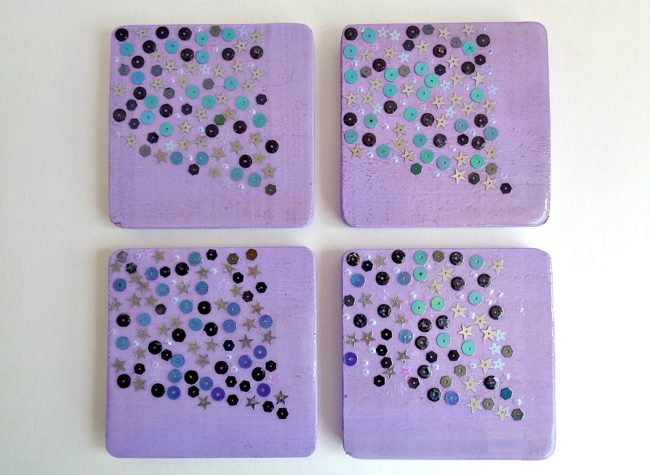
I loved how this DIY Sequin Coaster Set turned out! Now, I want to make a bunch of different coaster sets in different patterns and colors.
With that being said, this sequin coaster set would be a great summer project to make over the weekend with your kids. Personally, I made these coasters in the afternoon and was able to use them (after the Dimensional Magic had dried) the next day. Also, as coasters, they have held up really nicely with both hot and cold drinks.
This project could be customized with any color scheme that you’d like, of course. If you made this DIY Sequin Coaster Set, what new 28 Lilac Lane Premium Sequin Tin would you use?
Nothing says you care at the holidays like a handmade gift! These DIY Holiday Gift Ideas with buttons will help you create a gift that matches everyone on your list.
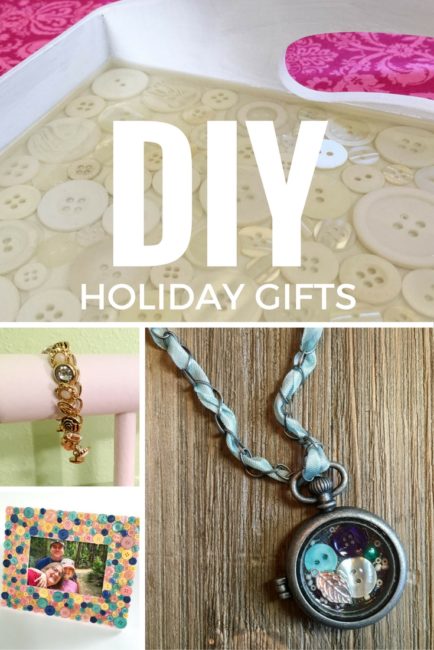
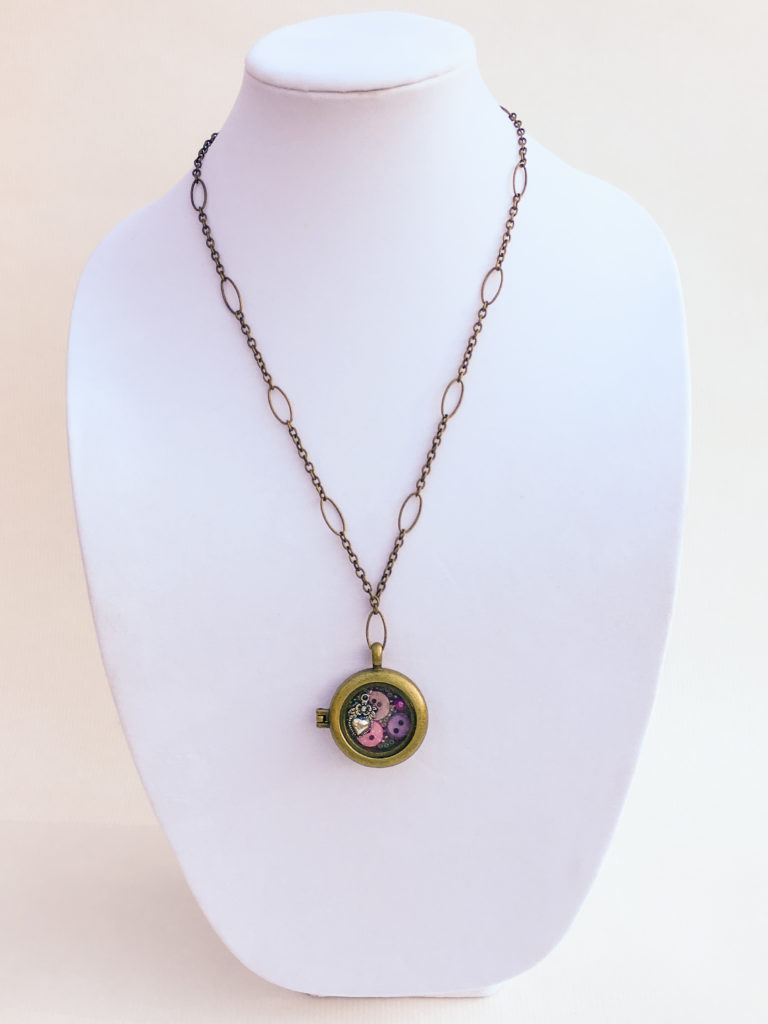
With a few jewelry findings and one of our 28 Lilac Lane embellishment kits, you can make a one-of-a-kind locket for a special woman (or girl) in your life. Make it sweet, or make it dramatic…you decide and choose the embellishments!
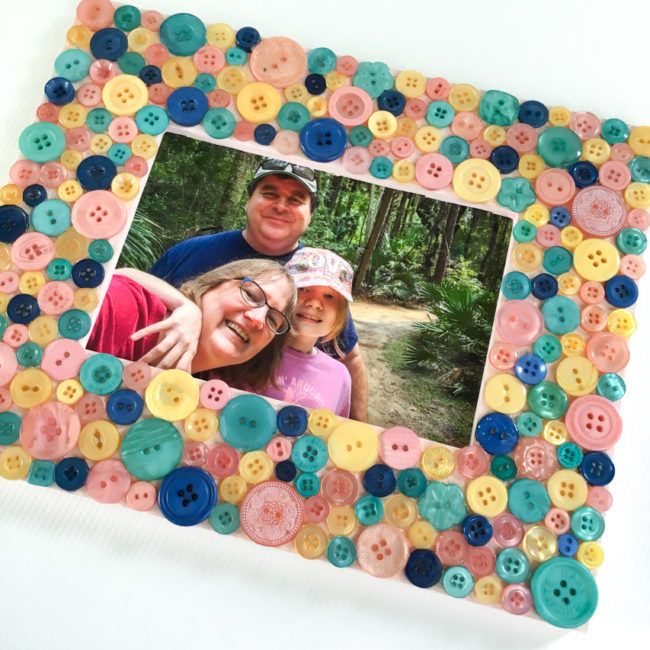
A button collage frame is so easy to make the kids can do it…but with the right color choices, it can be perfect for any decor from farmhouse to graphic. This one, made with our Glam Girl Button Bonanza, will fit in a tween room or a country decor. An all white version (like the tray below) could go shabby chic, or try shades of pink for a cute girl’s room accessory!
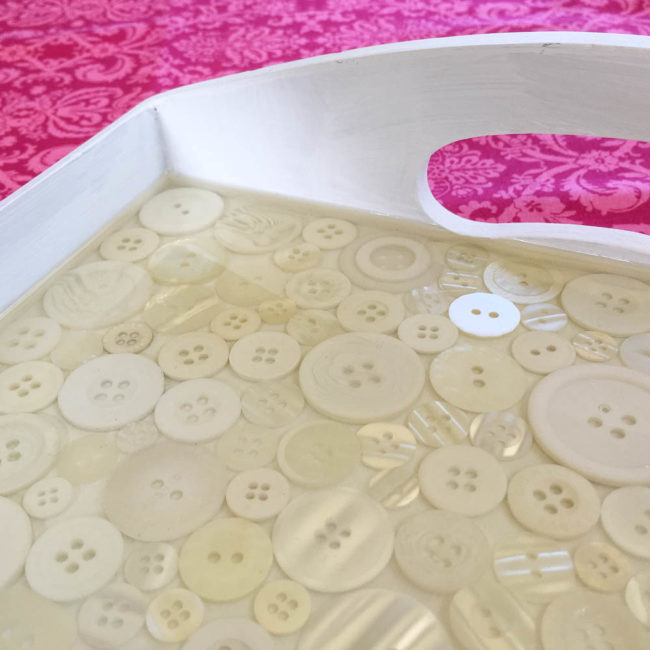
A simple wood tray becomes a beautiful accessory for decor or entertaining with a button collage and some resin. For a shabby chic look, choose the Ivory/Pearl Haberdashery buttons, or for a more rustic or beachy feel for poolside entertaining, try the Natural Haberdashery.
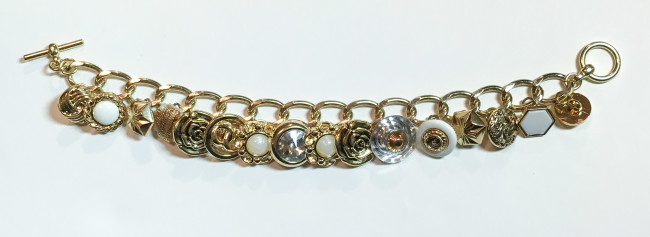
How about a little button bling? Pair some of our Gold/Silver Haberdashery buttons with a chain link bracelet and you’ve got a retro Button Charm Bracelet. It’s a great piece to accessorize all of those trendy 70’s looks with!
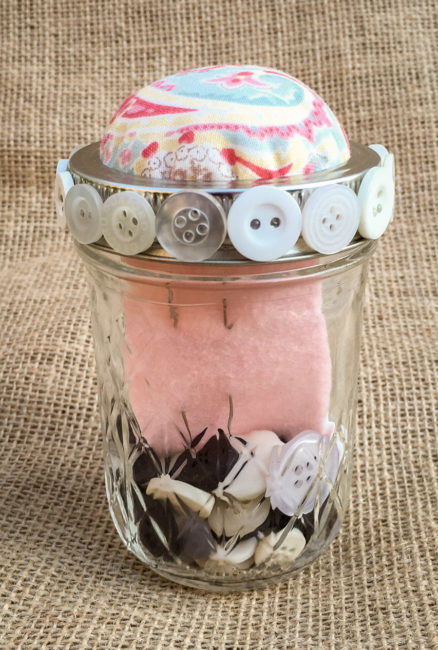
Looking for something pretty and practical too? This mason jar sewing kit will make it easy and fun for your college student or newlywed to replace that missing button. And it is decorative while it is waiting to be used!
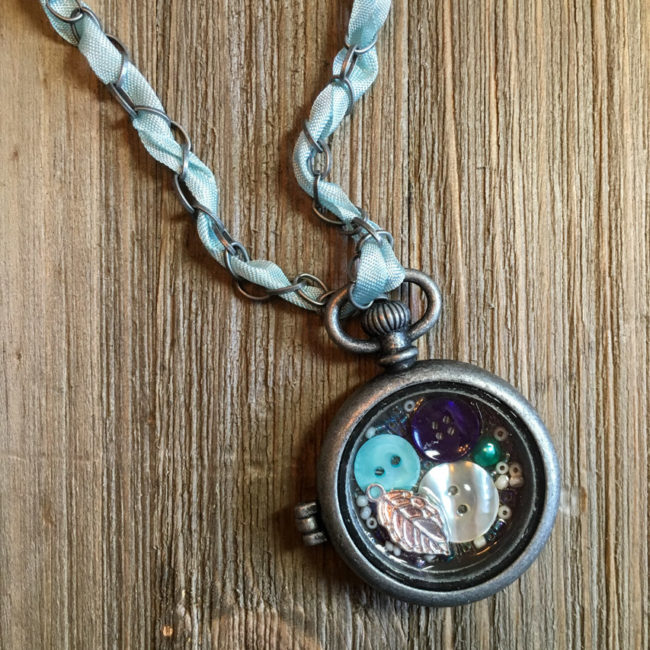
Christmas shopping time has arrived…and so has Christmas gift crafting time! A custom piece of jewelry is the perfect DIY holiday gift for a friend or family member…and with 28 Lilac Lane embellishments, a surprisingly easy one!

Supplies:
This locket is built using a very simple process. Fill the bottom of the locket with a single layer embellishments. Start with the large items (the buttons) and then fill in around them with the small items like the beads and pearls. Vary the color and placement of the items. Select a charm but don’t place it in the locket just yet!
Once you are satisfied with the placement of your bottom layer of embellishments, get out your Ice Resin. Following the directions on the package, use the Ice Resin to fill in a layer of epoxy on top of the layer of embellishments. Stop filling when the layer is just slightly covered. Before the resin dries, press the charm that you saved earlier into the top of the epoxy. It should just be slightly embedded, protruding out the top of the epoxy layer.
To create the ribbon embellished chain, thread a large needle (or a knitting darning needle) with the ribbon. Then weave it in and out of every other link the chain so that it is threaded into it. Tie the ribbon off to the chain at each end.
The fun thing about these DIY holiday gift lockets is that they can be created for any theme or color scheme, to perfectly match the recipient it is intended for! To see a different interpretation of this project in a pink color scheme, check out our previous mixed media locket article.
Think our 28 Lilac Lane buttons are too beautiful to hide at home in your craft room? We do too! That’s why I made this this beautiful locket that showcases some of my favorite elements from the collection. This mixed media locket is a fun and eclectic piece of button jewelry that will let me show off my love of crafts in a fashionable way.
Supplies needed:
This mixed media locket is created by encasing 28 Lilac Lane embellishments in Ice Resin, a clear drying epoxy that is available in single use syringe dispensers. It’s a fast and easy project that can easily be completed in an hour or so, except for allowing dry time for the epoxy.
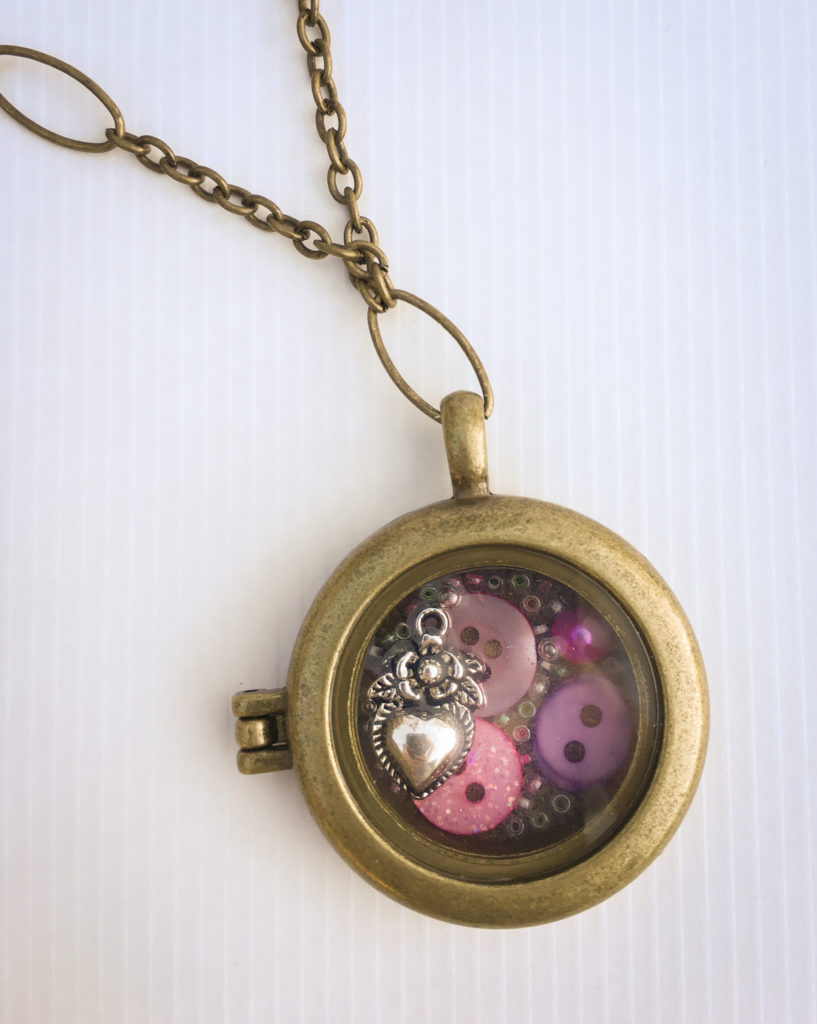
To make my design, I started by arranging the large colored items – the buttons and the flat back pearl – inside the locket. Once I was happy with how they looked, I gently filled in around them with the seed beads. This part of the process requires patience, as sometimes it means placing the beads one at a time.
Once the bottom layer of embellishments is placed, I selected a charm to place on top and set it aside.
Working with the epoxy was something I’d wanted to do for awhile but I was, I admit, a bit intimidated to try it. It turned out to be very easy – just push the plunger down to get the amount that you want, and stir! Once the epoxy was mixed well, I poured it over the bottom layer of embellishments to cover and hold them in place in the locket. Then I quickly pressed the charm down on top of the epoxy, so that it was just barely embedded and stuck out from the top. (Be very careful to not get your fingers in the epoxy! I suggest dropping the charm in and then using a toothpick or other tool to nudge it into place.)
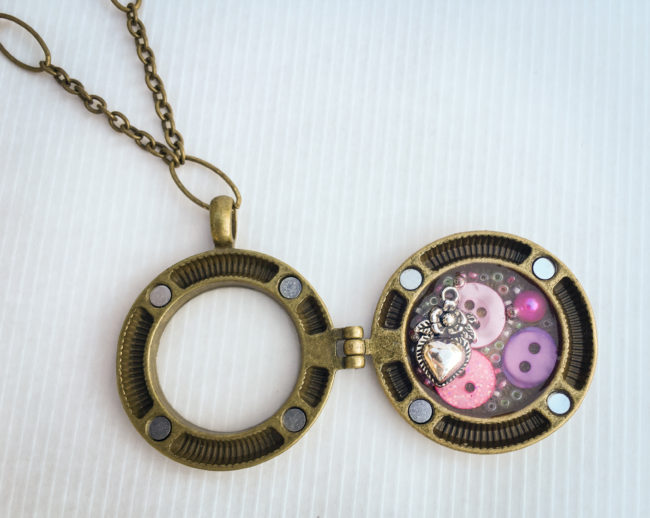
Once the resin is dry, you can add a chain to your locket. Then you can wear and enjoy your mixed media locket masterpiece to share your love of crafts – and 28 Lilac Lane – through fashion!