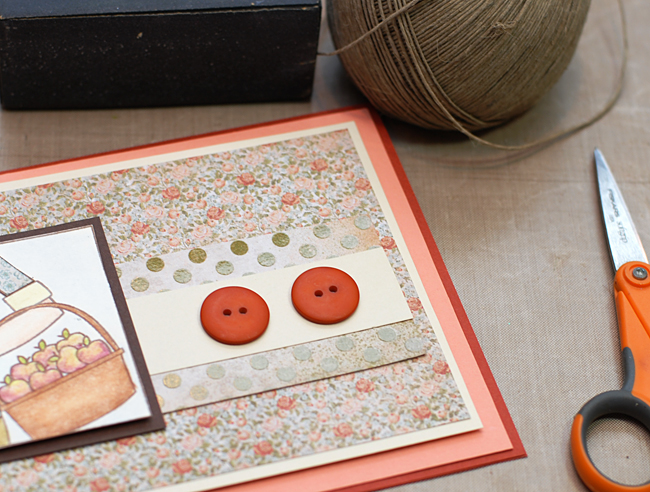
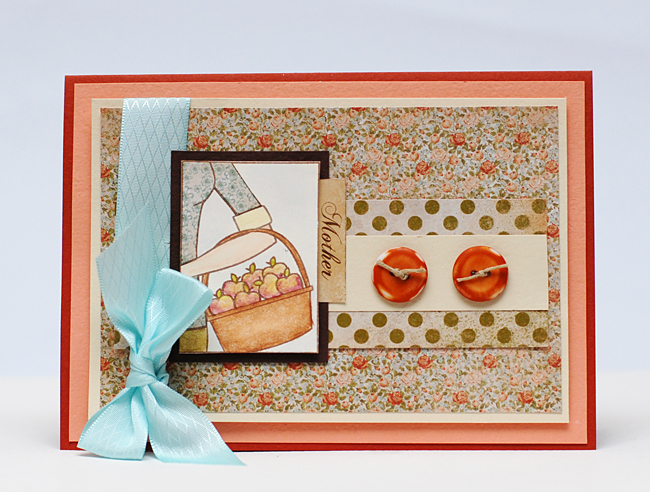
Today I thought I would bring you an Autumn themed card and share a few tips on how to alter buttons for embellishments. I know it is hard to believe Summer is passing and we are moving into the Autumn season? Creating distressed or altered buttons is not a new concept, that I know. But sometimes being reminded that creating handmade embellishments isn’t feasible and that altering embellishments is the next best thing! Here I will share with you one way I like to alter my button embellishments that takes just a few quick strokes of sandpaper in two different grits and you have an entirely new and interesting look to your buttons! I started with two buttons of the same size and color from the Gingerbread Assortment and then went to town!
The buttons I chose to use from the Gingerbread Assortment matched perfectly with my color palette however,
I thought they’d look good with a little “character”.
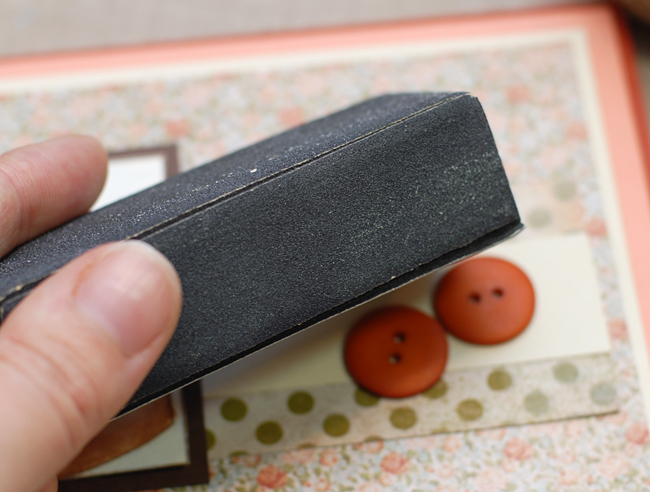
Starting with a rough grit side of the sanding block, sand the edges.
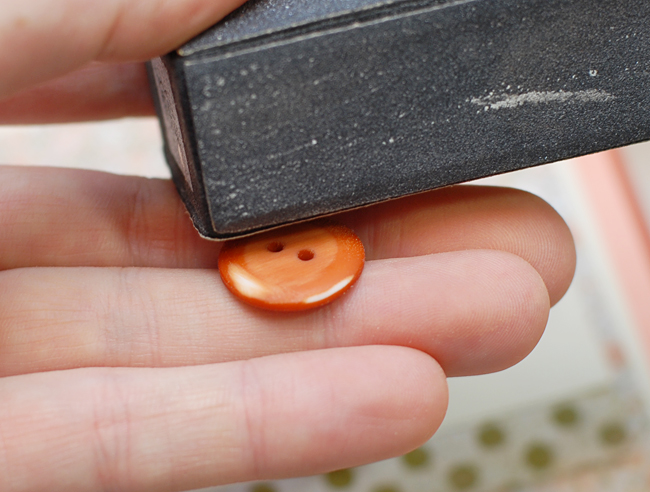
Next using a less rough grit, sand the surface of the face of the button to lightly distress it.
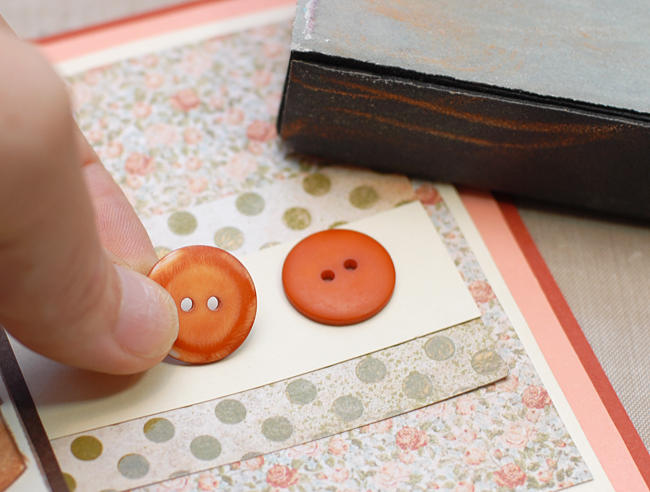
Notice the difference? It’s just a few simple steps to really personalize your button embellishments.
And the finished result!
Latest posts by Keri Lee Sereika (see all)
- Quick and Easy Gifts – Make a handmade note card set - November 2, 2012
- A DIY on How to Make a No Sew Tutu Tutorial Embellished With Felt Leaves & Buttons - October 1, 2012
- altered buttons make great embellishments! - September 3, 2012


No comments yet.