Header

Tag Archives | My Favorite Things Stamps

DIY recipe book – holiday favorite Recipes

Holiday Album


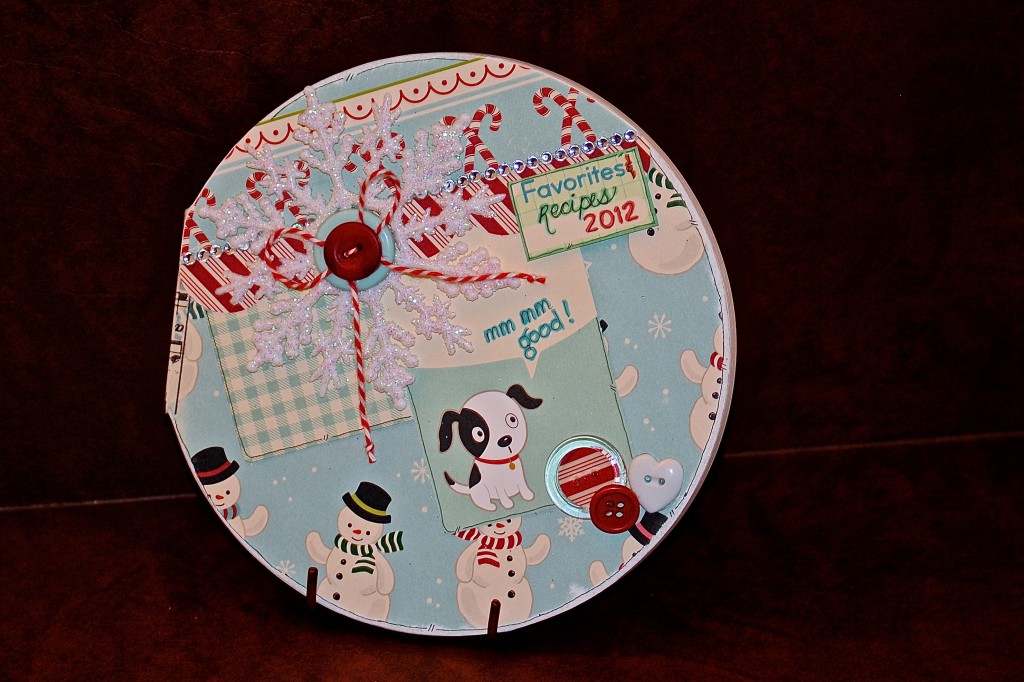
Recipe books make great gifts.  They are fun to create and pass down to younger generations.  I created a fun Holiday recipe book using a Blank Board 7″ Circle Book from the Altered Arts Section at C&T Publishing.

Every year, we try new recipes or crafty tricks, or a new tradition. This year, we’ll be keeping track by making notes and taking clippings to add to this fun book. C&T Publishing was kind enough to provide us with a sample of their products, and I had a lot of fun playing.

Materials used in the DIY recipe book:

This book is covered with paper from October Afternoon, then embellished with matching journaling cards, a die cut scalloped border from My Favorite Things and a bling border from Want2Scrap. A glittered snowflake ornament was adorned with some buttons from Laura Kelly tied together with some Baker’s Twine.  When height doesn’t matter, I love to layer buttons! In the bottom right corner, there is a cluster of buttons from the Clear Button Grab Bag, a bulk package of Ivory Buttons, and Valentine Hearts. A small circle was punched from matching patterned paper and placed behind the clear button. It’s fun to match clear buttons to your project!

I found that Beacon’s 3-1 Adhesive worked best to hold on the elements. I also used some Glue Dots.

Thanks for looking, I hope your holidays are filled with lots of favorites and yummy goodness you’ll also want to cherish.  Make your own holiday recipe book


2

altered buttons make great embellishments!

Today I thought I would bring you an Autumn themed card and share a few tips on how to alter buttons for embellishments. I know it is hard to  believe Summer is passing and we are moving into the Autumn season?  Creating distressed or altered buttons is not a new concept, that I know. But sometimes being reminded that creating handmade embellishments isn’t feasible and that altering embellishments is the next best thing! Here I will share with you one way I like to alter my button embellishments that takes just a few quick strokes of sandpaper in two different grits and you have an entirely new and interesting look to your buttons! I started with two buttons of the same size and color from the Gingerbread Assortment and then went to town!


 The buttons I chose to use from the Gingerbread Assortment matched perfectly with my color palette however,

I thought they’d look good with a little “character”.


 Starting with a rough grit side of the sanding block, sand the edges.


 Next using a less rough grit, sand the surface of the face of the button to lightly distress it.


 Notice the difference? It’s just a few simple steps to really personalize your button embellishments.


And the finished result!

0

Powered by WordPress. Designed by WooThemes