Header

Tag Archives | Summer

Hit the Beach with Summer Fun Crafty Sunglasses

Hi! It’s Lorrie here, visiting the Buttons Galore blog today! Buttons are a fun and easy way to embellish your summer fashion, but have you thought of adding them to your accessories? Who cares if you can’t make it to the beach this summer? Bring the beach to you every single day with these super cute crafty sunglasses (that look and feel like they are covered in sand) featuring summer-themed buttons from Buttons Galore!
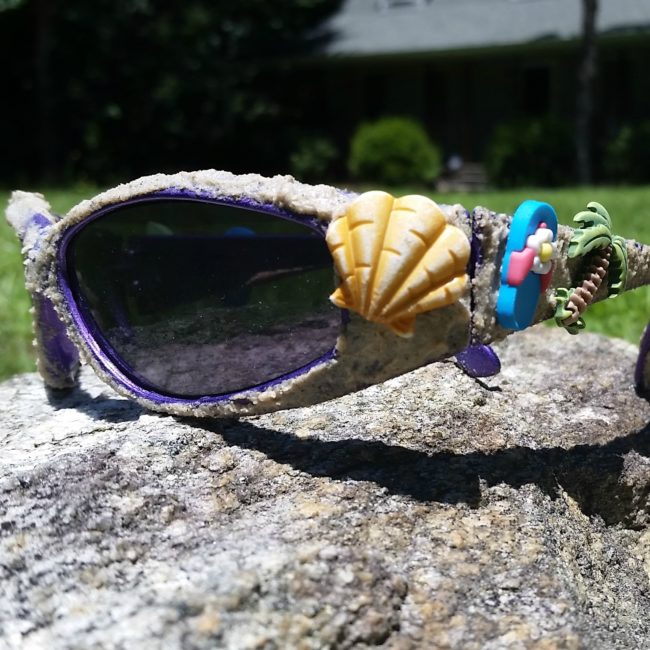
beach crafty sunglasses

Materials Needed:

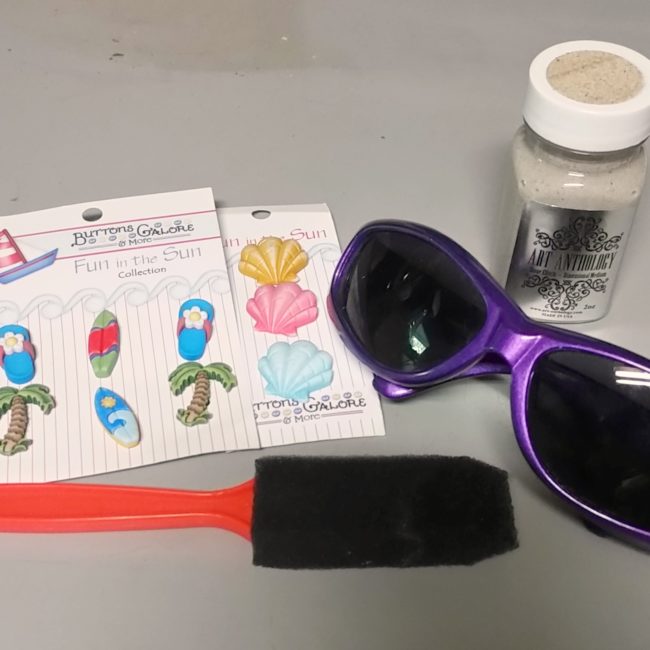
  • sunglasses
  • Paradise Found and Fan Shells buttons from Buttons Galore
  • Stone Effects Dimensional Paint from Art Anthology in “Sandstone”
  • foam brush or palette tool
  • hot glue gun
  • button shank remover

beach crafty sunglasses supplies

How to:

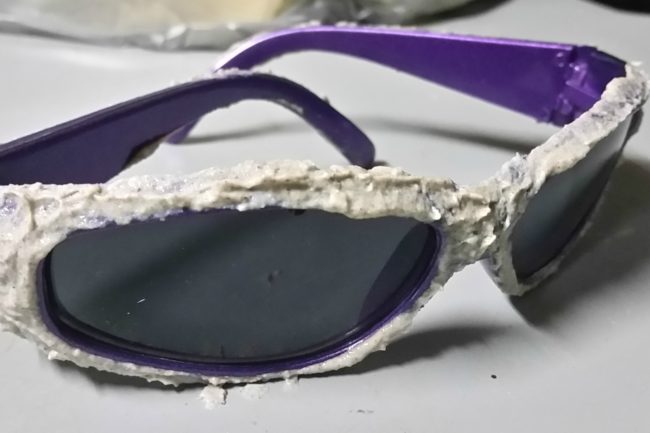
  1. Apply Stone Effects paint to the sunglasses with a foam brush or palette tool. If you are using a foam brush, apply the paint with a tapping motion to get better coverage and to add even more dimension.beach crafty sunglasses in progress
  2. While the paint on your sunglasses is drying, remove the shanks from the buttons using a button shank remover.
  3. Once the dimensional paint is dry, place the buttons onto the sunglass frames and the ear pieces by attaching them with hot glue.
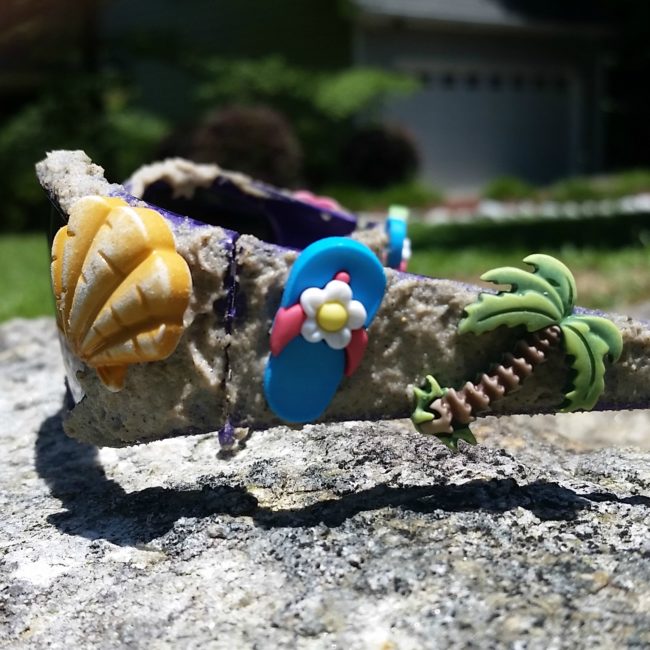
beach crafty sunglasses

Now you are ready to hit the beach with your summer fun crafty sunglasses – whether the “beach” is your local pool or an expanse of tropical sand!

0

Decorate Flip Flops with Buttons for Fashionable Summer Fun

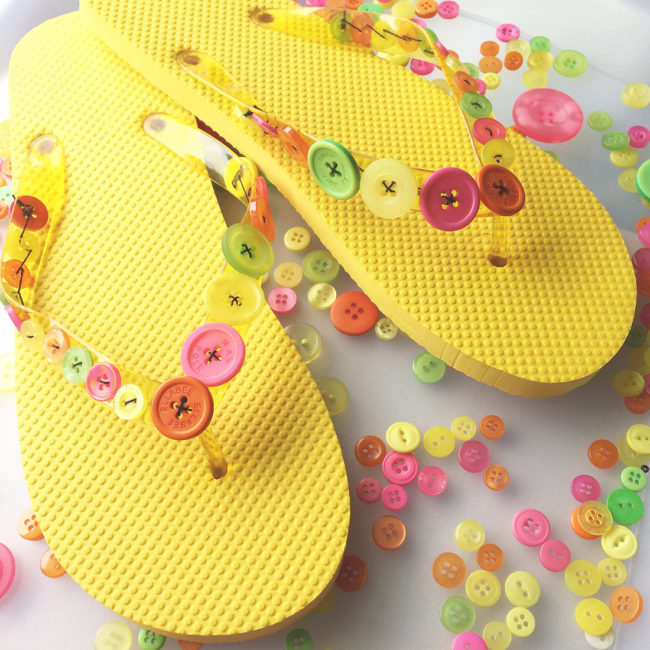
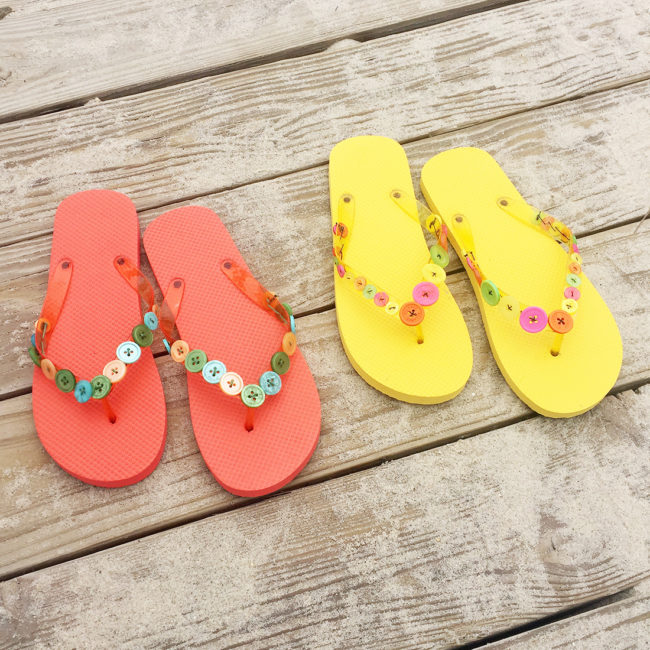
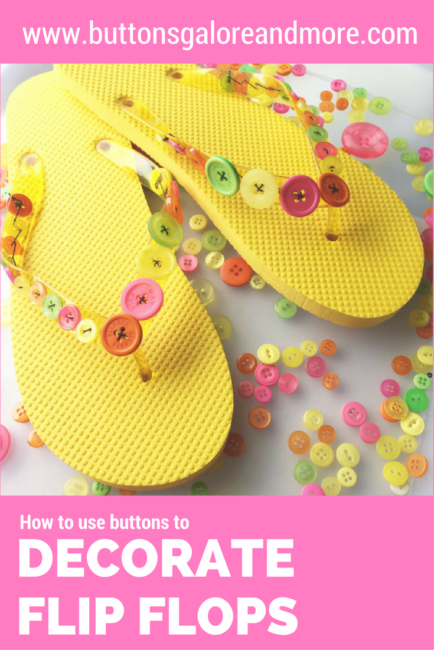
Summer is almost officially here! I’ve got a super easy project to decorate flip flops with buttons to keep you looking fashionable on the hot days ahead.decorate flip flops with buttons

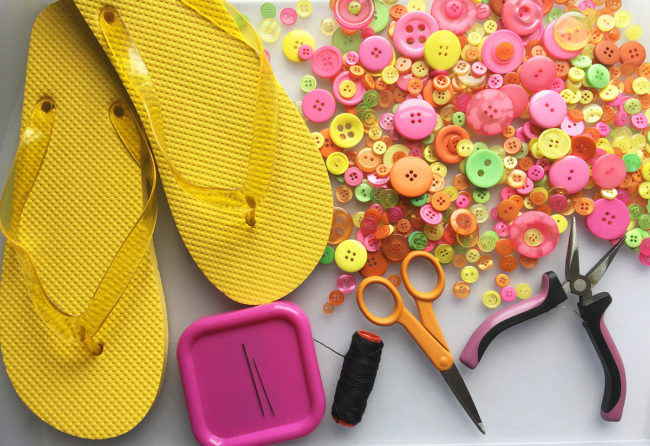
Supplies Needed:

decorate flip flops with buttons

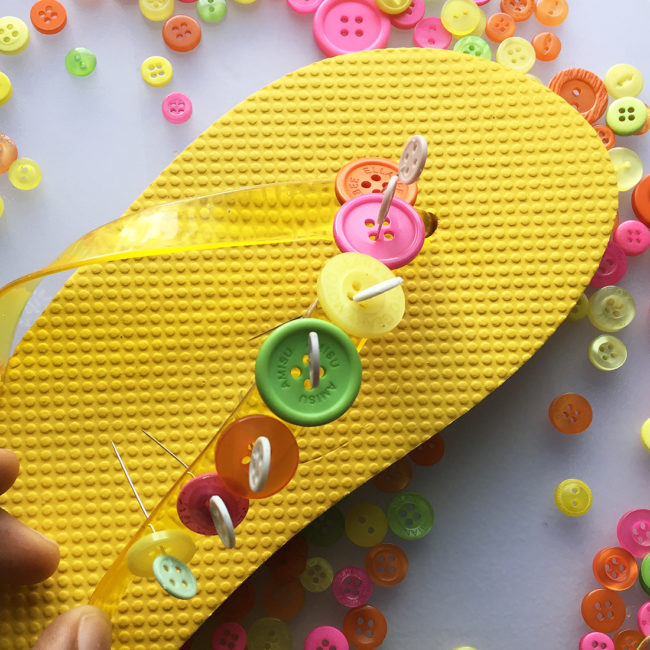
It’s surprisingly easy to decorate flip flops with buttons! Before you get started, make sure you have a thick strong thread. To begin, select buttons from the pack you want to use and line them up on the flip flop strap using pins. This step is optional, but it will provide you with a preview of way the shoe will look and give you the opportunity to work out the placement of the buttons prior to sewing them into place.

decorate flip flops with buttons

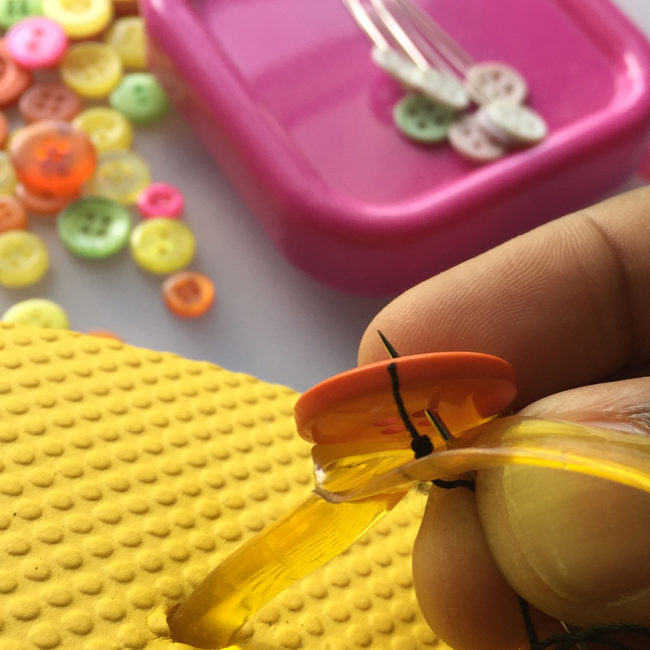
Thread the needle and start attaching the buttons starting at the center of the strap. The first stitch goes into the strap from the top. If you are using a very thick thread or clear plastic thread this will ensure the knot is not rubbing against your foot. After all, you want your shoes to be comfortable!

Be sure to tie all of your knots tightly. Don’t worry about the knot showing, as it will be hidden once you start adding your buttons. Depending on the thickness of your flip flops’ strap and the bulkiness of the thread, you may find it easier to push and pull the needle using pliers. I didn’t have any issues doing it by hand, but I would suggest you have a pair handy just in case you run into any issues.

decorate flip flops with buttons

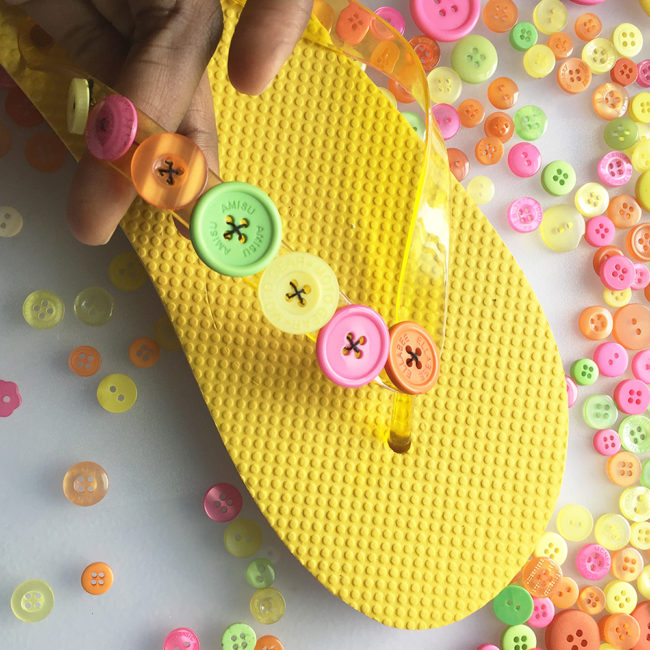
Continue adding buttons until you get to within an inch or two of the end of the strap. After you have secured the last button, push the thread through so you can again tie the knot on the top of the strap.

decorate flip flops with buttons

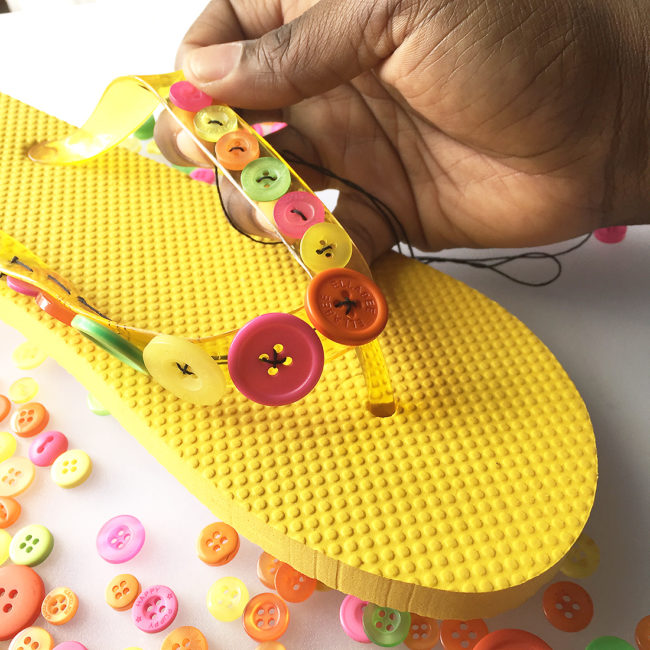
Beginning at the center again, add the next set of buttons to the other half of the strap.

decorate flip flops with buttons

Now you just repeat the process for the other shoe and your flip flops are ready to wear! This time of year it’s easy to find inexpensive flip flops just about everywhere in every color you could need. It’s such an easy affordable project to decorate flip flops with buttons and you can make several a pairs in festive colors to coordinate with every outfit for your summer events. I had so much fun with this project I’ve already got two pairs ready for a stroll on the boardwalk!

decorate flip flops with buttons

Don’t waste any time…the beach is waiting! Grab a Button Bonanza bag and a pair of flip flops to start creating your summer wardrobe today!

Decorate Flip Flops with Buttons by Anaya Whye for Buttons Galore & More - Easy project that is a great way to create a custom summer wardrobe!

0

Make a Button Mosaic Sun for Your Walls!

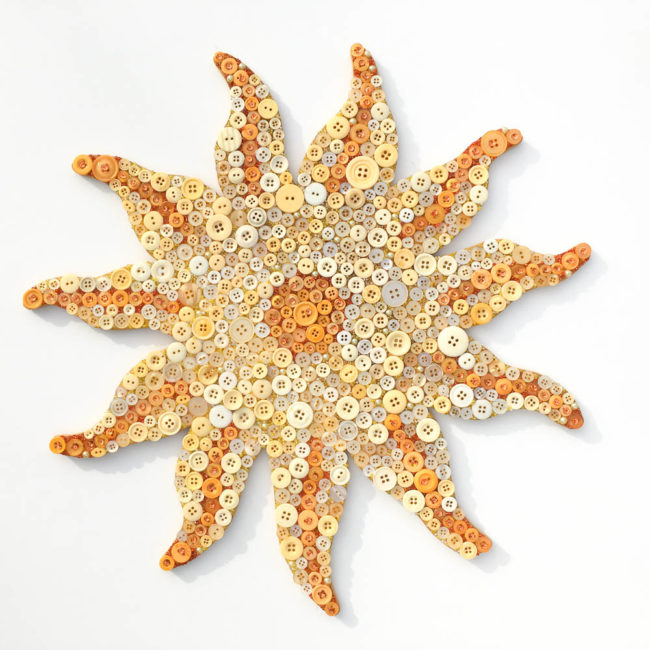
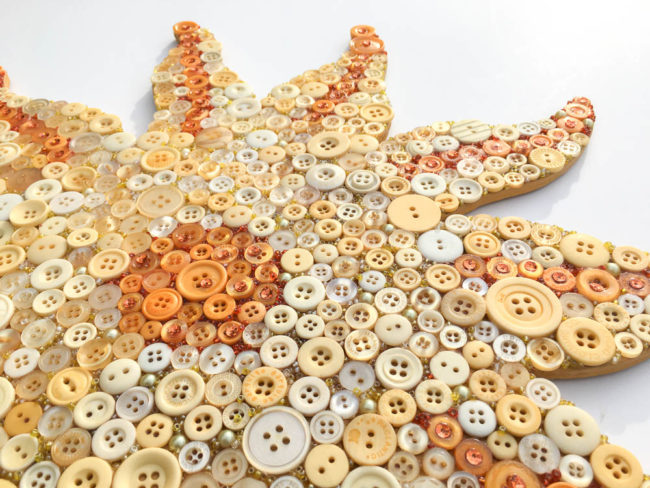
Today we’re sharing another project from our booth at Creativation. This button mosaic sun that I created brought a little bit of my home in the sunshine state to the show floor in rainy Phoenix!

Button Mosaic Sun

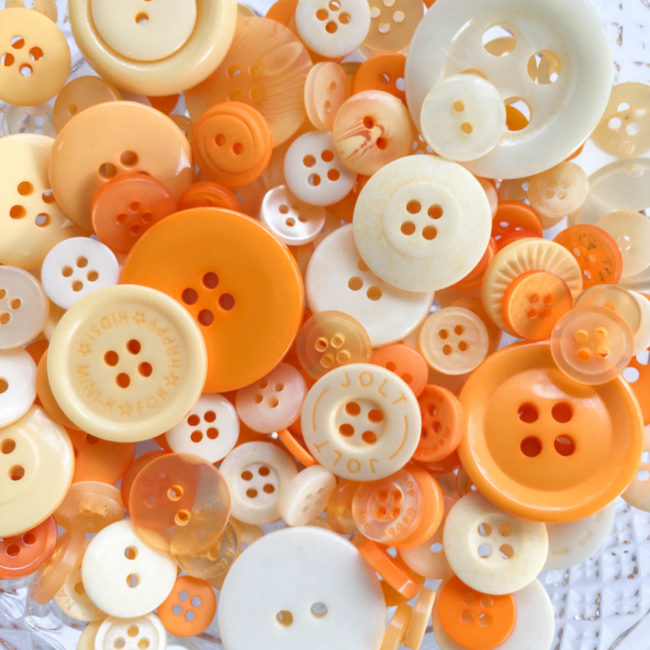
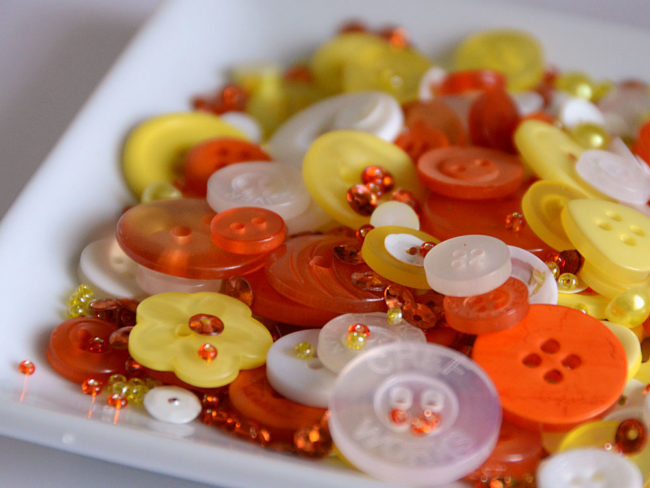
This sun looks yellow, but we call it….mango! It’s made with our “Mango Madness” color blend of buttons. This blend of delightful shades of orange and yellow is perfect for sunshine-y projects of all kinds.

Mango Madness Color Blend

Although they don’t look at first like they are at all the same color palette, I combined the Mango Madness color blend with a 28 Lilac Lane embellishment bottle called “Candy Corn“. I only used seed beads. flat back pearls, and sequins from the Candy Corn bottle. Used in small doses with these tiny items, the colors work well together.

candy corn embellishment bottleButton mosaics (or collages) are such a fun way to use buttons, and this one creates a beautiful piece of wall art home decor when you are done!
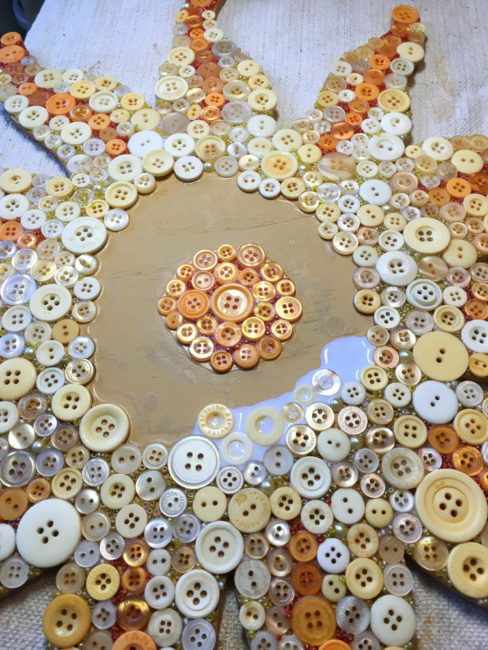
Button Sun Mosaic Construction

To get the full tutorial on how to make this piece of sunny wall art (or learn how to adapt this technique to make your own design), visit my website Craft Critique.

Sun Button Mosaic

This project can be adapted to a lot of different shapes…how about an apple for teacher? Or a heart or flower for a tween room? The possibilities are endless! What will you make?

1

Burlap and Buttons Cuff

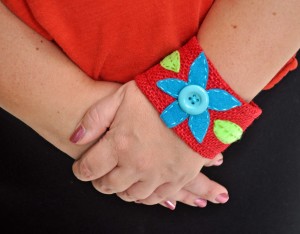
Short-sleeved, summer tops demand a good burlap and buttons cuff, don’t you think?  Create this simple and rustic burlap cuff for your next walk on the beach.  It’s hip and cool and so easy to make!

Cuff Beauty Shot

Supplies:

  • Burlap cut to 10″ by 6″
  • Assorted colors of felt scraps
  • Buttons
  • Embroidery floss & thread

Instructions to make a burlap and buttons cuff:

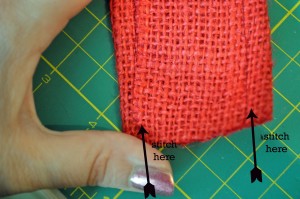
1. Fold the burlap into thirds to create a long strip measuring 10″ x 2″.  Pin in place and stitch along the edges.

Putting Cuff together

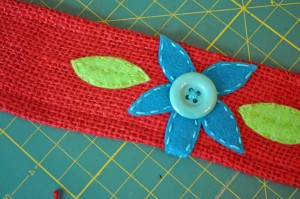
2. Using felt scraps, cut out petals and leaves to form a flower.  Arrange in the center of the burlap rectangle and using embroidery thread, stitch them into place.

3. Stitch buttons into place.  Use them for the center of the flower.  You can really go crazy and add more into the design. (I strongly believe you can never have too many buttons on a project!)

Sew on felt pieces and buttons

4.  Once the design is stitched in place, use embroidery thread to attach the two short ends of the cuff together.

Note: I measured my wrist at the beginning of the project and made sure that I could slip the cuff on and off.  If you prefer a tighter fitting cuff, measure your wrist size and then use a hook & loop, snap, or BUTTON closure to secure the cuff on your wrist.

Thanks for getting crafty with me today!  For more button crafts, stitching and lifestyle ideas visit me on my blog at www.laurabraydesigns.com.

www.laurabraydesigns.com

1

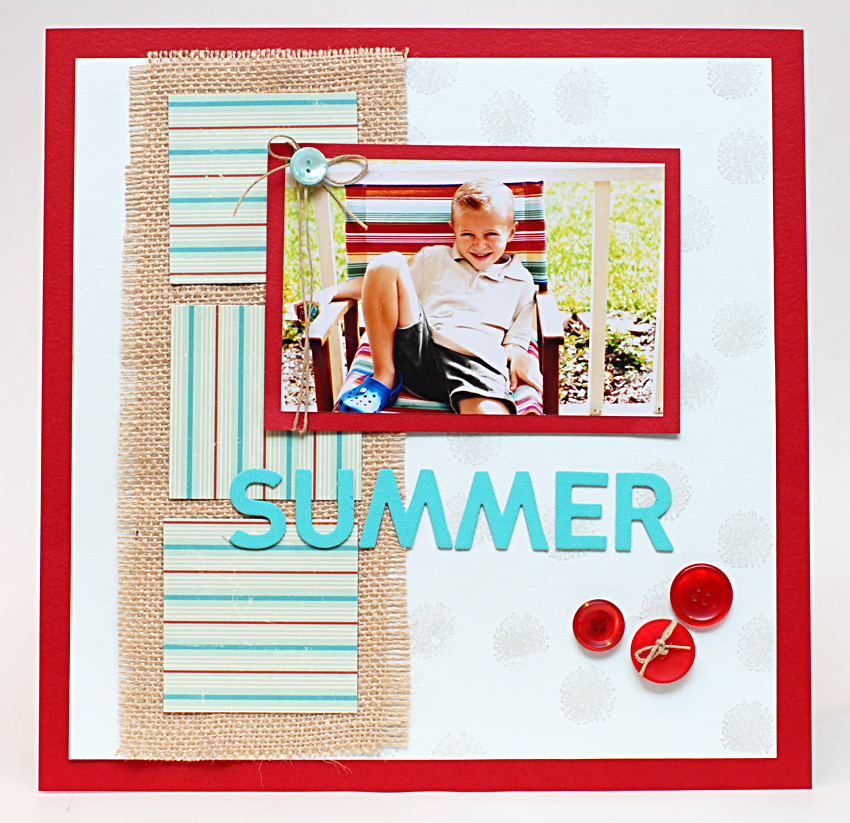
Buttons & Burlap Summer Scrapbook Page Idea

Summer, when you hear that word what images does it conjure up in your mind? For me I think of the heat, the BRIGHT colors and RELAXING! I love Summer. I know a ton of people who just hate the heat, but being a gal who’s always got cold fingers and toes, I love that during the summer month’s my body feels WARM all over, all day long! Bright colors, well I love those too! Wearing them, creating with them, you name it, I love it! And relaxing…well let’s just say there’s a well loved, well worn hammock in my backyard that my kids and I all enjoy piling into and having a good snuggle time in. I can relax with the best of them, and in STYLE to boot! LOL

For my project today you can see each of these elements we are talking about have been captured perfectly! From the bright sunshine, the bright colors of the porch chair and the slouchy posture of my sweet Elliott, this scrapbook layout just screams SUMMER. Pairing up bright buttons & bright papers with a nice wide swath of burlap helps to give this layout rest amongst the busyness. Now, while I was creating I got to the point where everything was on the layout EXCEPT the title. And I was STUCK…I mean the page was cute, but needed something…but what….that was when I emailed a photo of the layout and then called our DT Lead Niki Meiners and said “What’s wrong with this page..I am stuck” As if on cue she replied “Oh just add a title to the page – SUMMER” “Where??? Where would I even put a title??” I replied. “Ummm right there under the photo overlapping the patterned paper, burlap and above the cluster of red big buttons…” And you know, she hit the nail on the head!!! It was JUST what this layout needed. Talk about a friend being a help just when you need it!!!  So now you tell me…who do you call if you get stuck or just can’t seem to “make it all workout” in your creative process??

0

Powered by WordPress. Designed by WooThemes