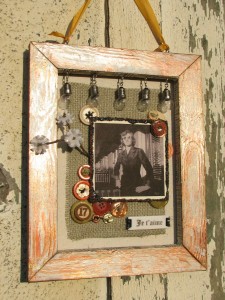
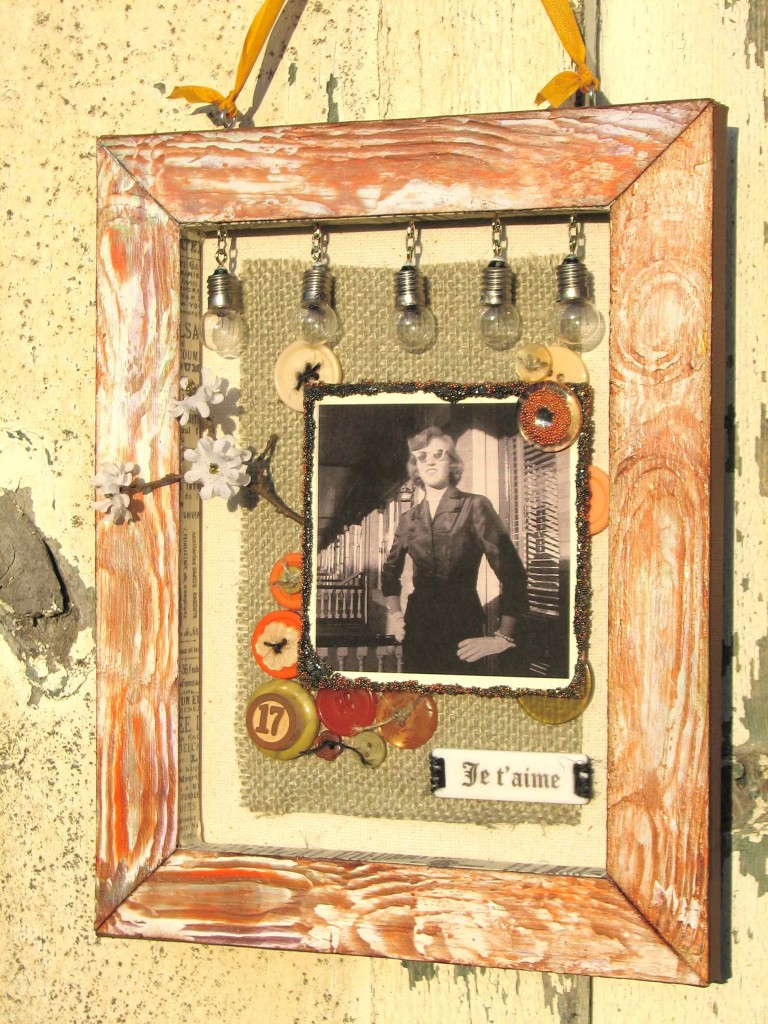
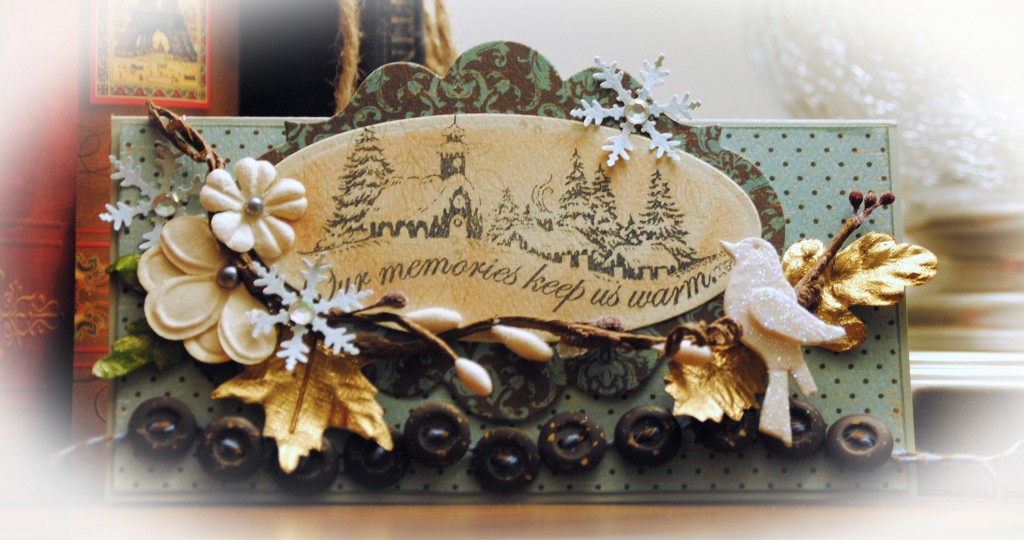
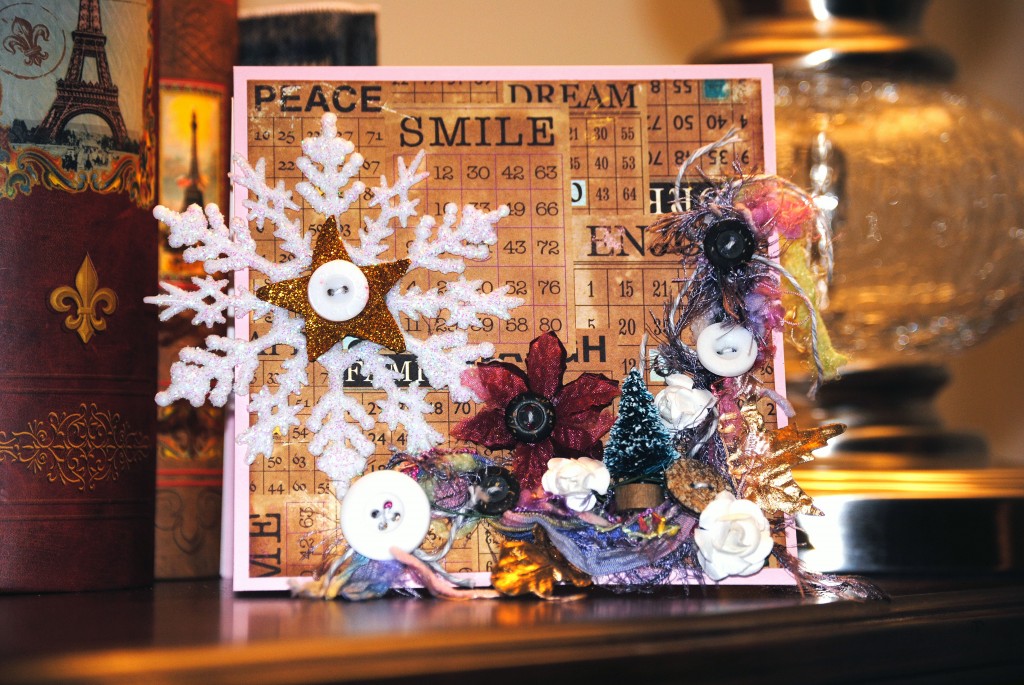
Taking a little break from our “Christmas in July” theme we have a delightful project of Mixed Media Art in this great Keepsake Frame by Elise! :)
Glamor, art and intrigue – a perfect recipe to play with buttons!
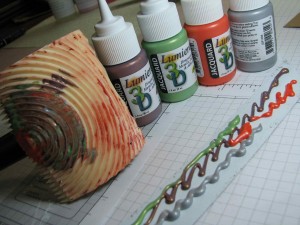
Teaming up with some HEAVENLY materials, including burlap, Lumiere Dimensional Paint by Jacquard, Glitter, Ink and Smooch Accent ink by Clearsnap, MICRO PEARLS {Yes! Micro pearls!} and a whole lot of GORGEOUS buttons form Buttons Galore and More, I was COMPLETELY inspired to alter this simple “value” artist canvas to become “priceless” in no time!
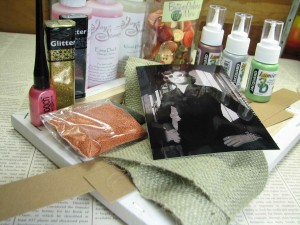
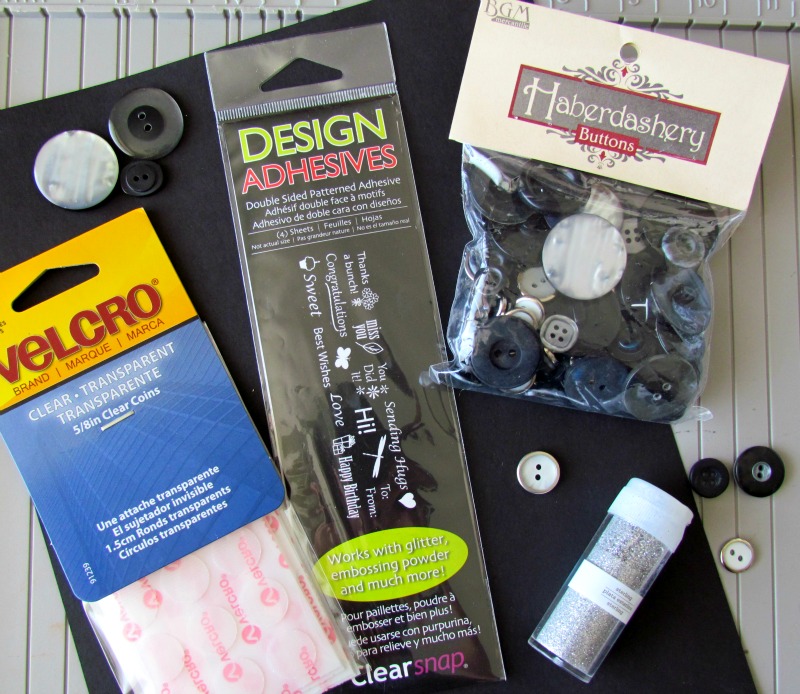
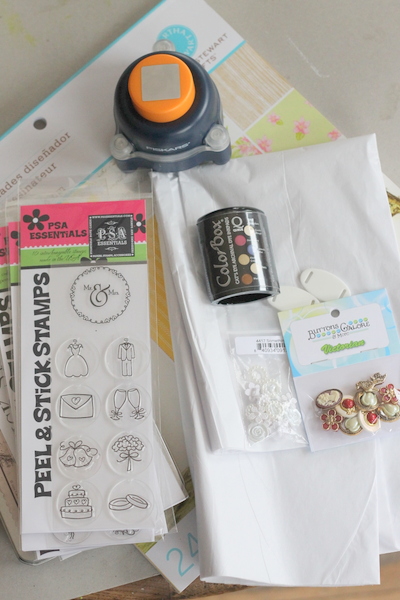
Supplies:
Button Tote Bag Assortment – Cornucopia
Mixed Rectangular Sliders
Lumiere 3D Metallic Paint and Adhesive
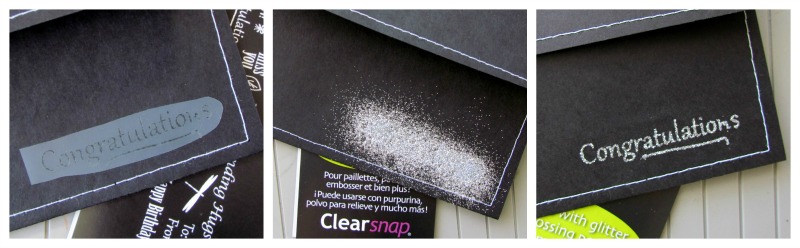
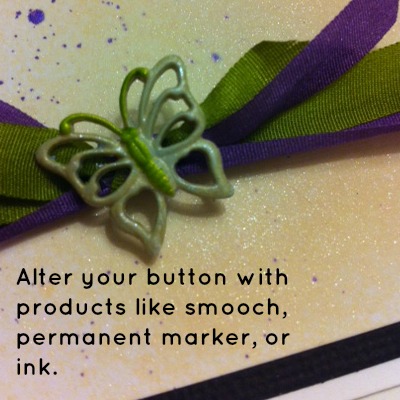
Glitter, Smooch and Ink – Clearsnap
Trimmer, Knife, Ruler & Mat – Westcott
Adhesive – Beacon via Buttons Galore and More
Acrylic Paint – Eco Green Crafts
Burlap
Micro pearls
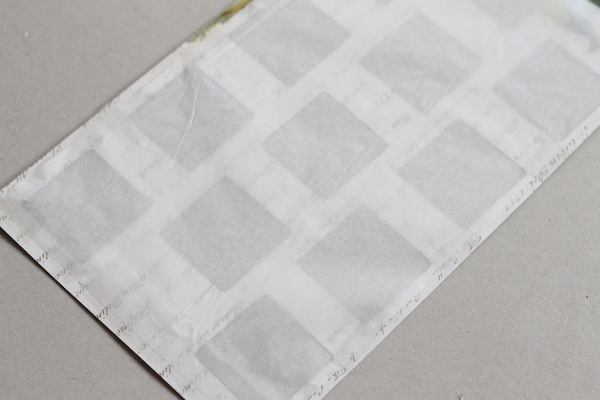
Tissue Tape
Faux Wood Grain tool (Local Hardware supply)
Other – Vintage light bulbs, twigs and fabric flowers (Misc. stash)
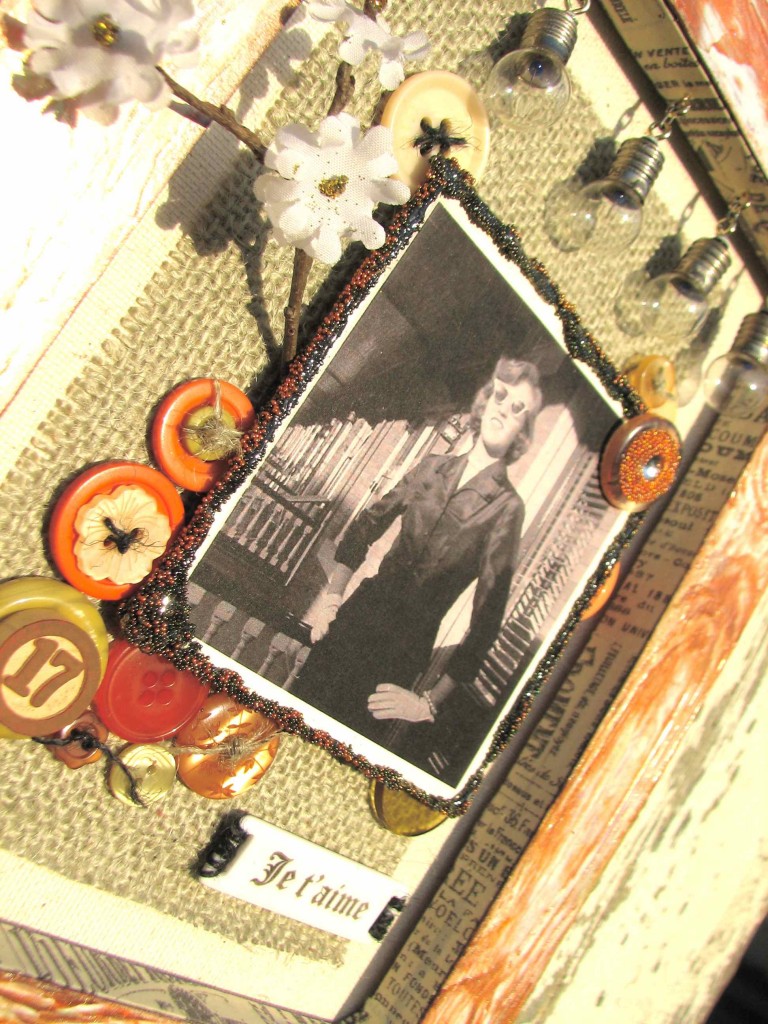
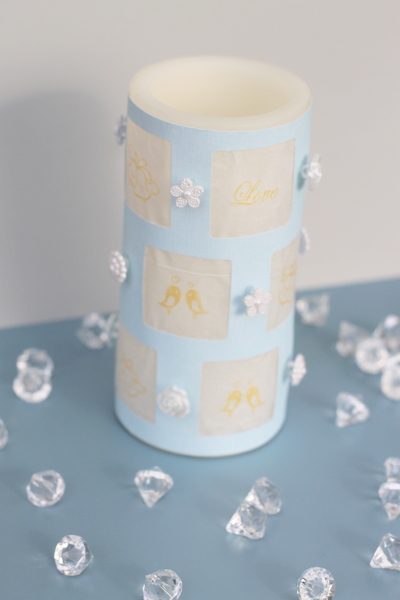
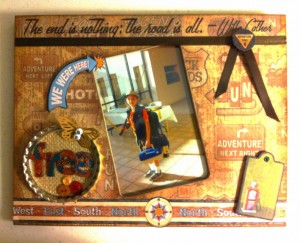
To begin, select a glamor shot of your choosing, to feature in finished frame. {I chose a cool, black and white shot of my sweet Mama at the wee-age of 17! Wasn’t SHE a dish!}
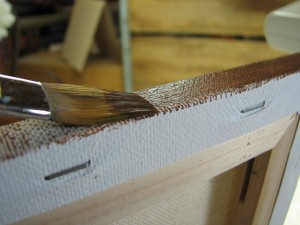
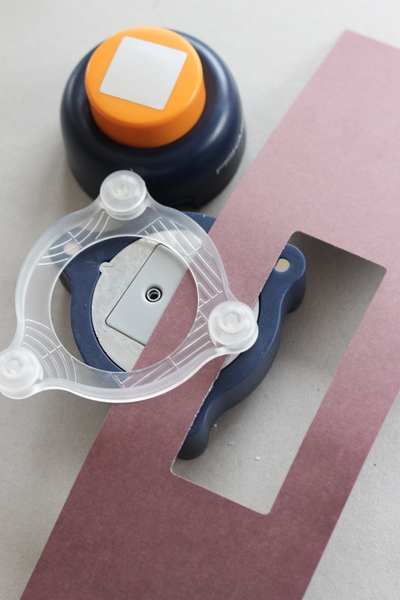
By accessing the back side of a traditional canvas, there is a whole wealth of crafty potential to play with. To customize the “frame” of this look, I created faux wood grain with a simple wood grain tool (available at most hardware stores!), Lumiere 3D paint, as well as regular acrylic paint and some strips of chipboard, cut and sized to metier together to match the stretcher bar framework of the canvas. Start by applying an acrylic base to the chipboard.
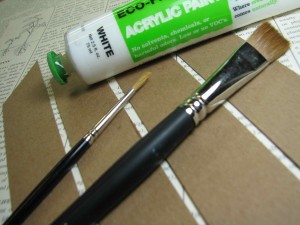
For rich wood grain effect, the MORE color, the better… I used FOUR different Lumiere colors for this look! In case you’ve never dabbled in faux wood grain – it’s TOTALLY easy and addicting… Apply Lumiere on top of dried, painted (with regular acrylic paint) chipboard strips, then pull and rock the tool to create the MOST amazing effects! If you don’t like how it looks, keep working! The 3D quality of the Lumiere gives you some decent working time – you’ll see! (G’head – TRY it!) Once you get all four strips done, set to the side to dry.
Paint the outside edge of canvas with color of your choosing.
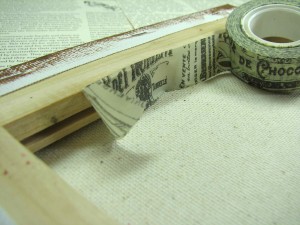
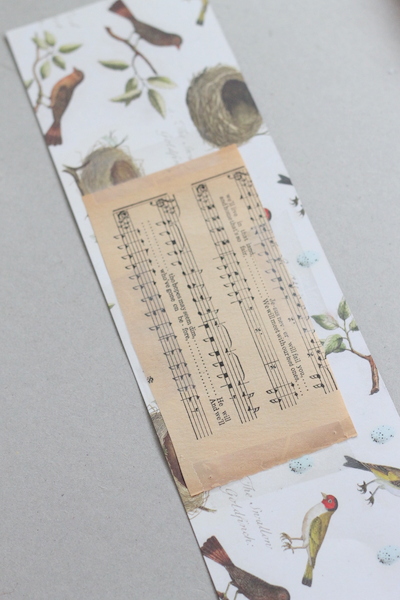
Line the INSIDE of the frame edge with printed tissue tape.
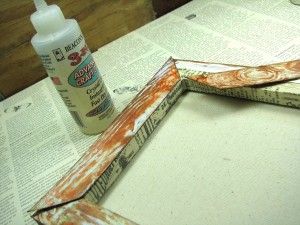
Glue faux wood grain strips to frame. I love, love, LOVE how beautifully Beacon 3 in 1 works for an assignment like this!
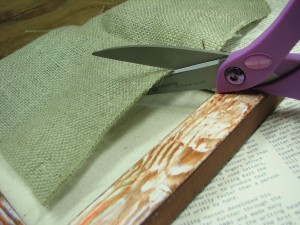
Westcott fabric scissors cut burlap, flawlessly! Cut burlap to size of your choosing. I decided to let some canvas frame the edge of the burlap, just because it looked YUMMY! So many textures! What’s a girl to DO!?!
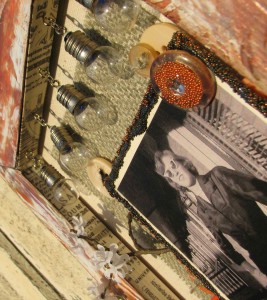
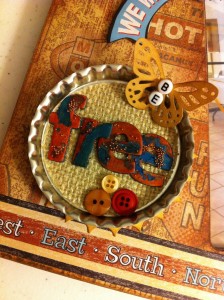
Arrange picture and embellishments to your liking. For this project, I mounted the photograph on chipboard, mixed micropearls and glitter and then adhered with Beacon 3 in 1 adhesive for a luscious, tactile effect. Having TOO much fun to stop there, I added micro pearls to button centers, as well… OMG! {My middle name is DANGER!}
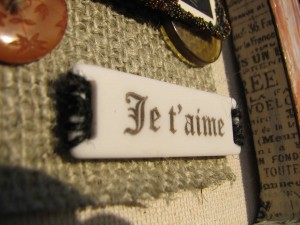
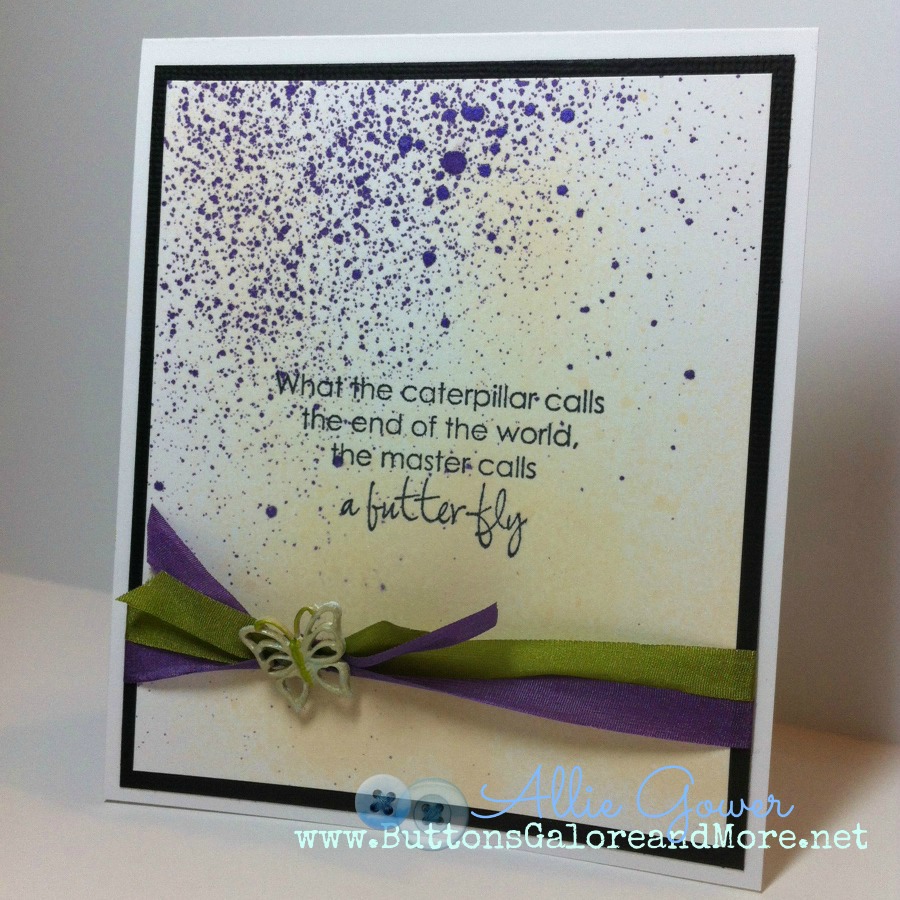
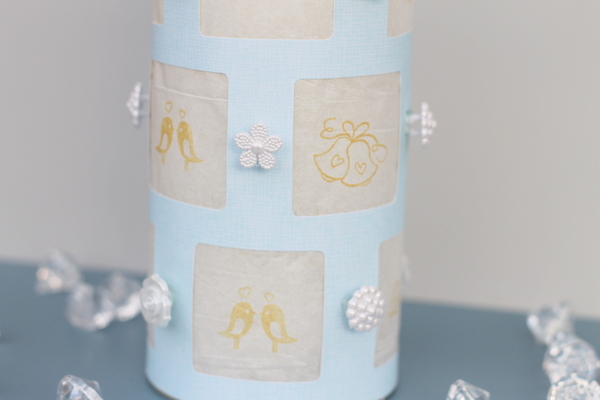
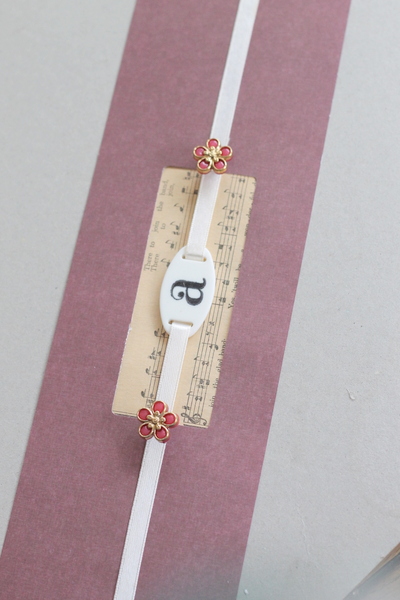
If you’ve never ventured, I can’t recommend HOARDING, uh, I mean, collecting some of our Blank Craft Shapes, in every size! Love the mood that can be created with theses! Easy to stamp and beautiful to behold – Je t’aime! {See what I’m sayin’!}
YOU can get your glamor on, too! Just pick up a selection (or TWO/FIFTEEN!) of some lovely button assortments from Buttons Galore and More, toss in some HEAVENLY crafty supplies, a canvas and old picture or two… I guarantee you’ll beat the heat if you spend a few hours crafting away on a cool keepsake, like this! I hope so!
Thanks for visiting! Here’s to a glorious, button-craft filled day! Keep CALM and BUTTON onnnnnnn!


