Header

Tag Archives | Christmas cards

Fill an Easy Christmas Shaker Card with Buttons!

easy Christmas shaker card

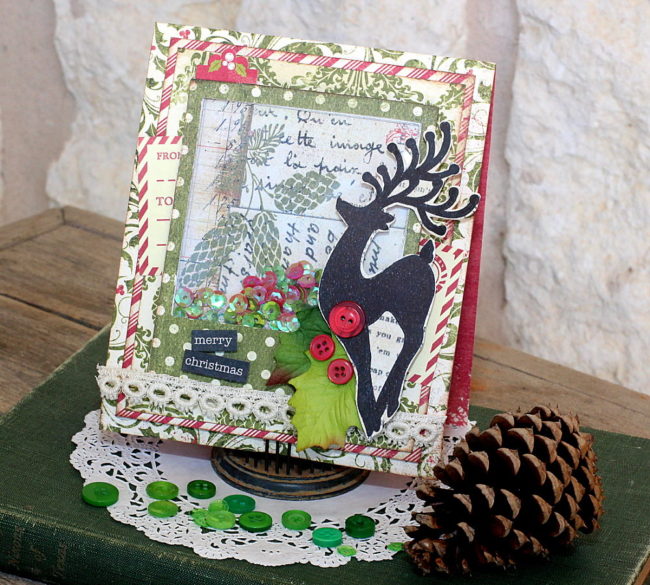
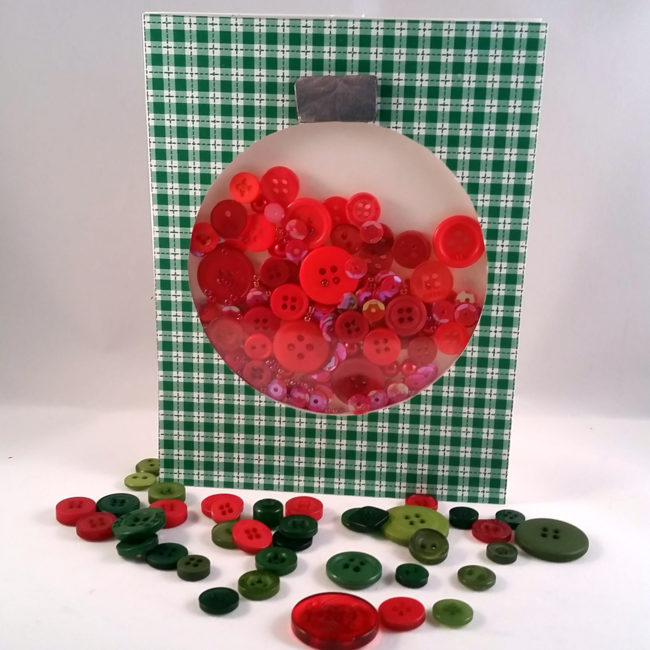
There are few card styles out there that are more impressive or fun than the shaker card. The 28 Lilac Lane Embellishment Bottles made this easy Christmas shaker card beautiful!

I made this easy Christmas shaker card using the 28 Lilac Lane Embellishment Bottle in “Dragon Fire”. The gorgeous red tones of the buttons, sequins, beads, and pearls are perfect for Christmas cards, and they all come together in one adorable little bottle! Continue Reading →

0

Send Holiday Love with a Christmas Shaker Card!

Hi, it’s Connie here with the Buttons Galore & More design team! Today I’m sharing a handmade Christmas shaker card, using the Deck The Halls Shaker Mix by 28 Lilac Lane. The 28 Lilac Lane Shaker mixes are full of beautiful colors of sequins, beads and buttons, mixed perfectly together to get you into the Christmas spirit or at least in the mood to start your Chrismas shaker cards! Continue Reading →

1

Holly Jolly Snow Globe Christmas Card

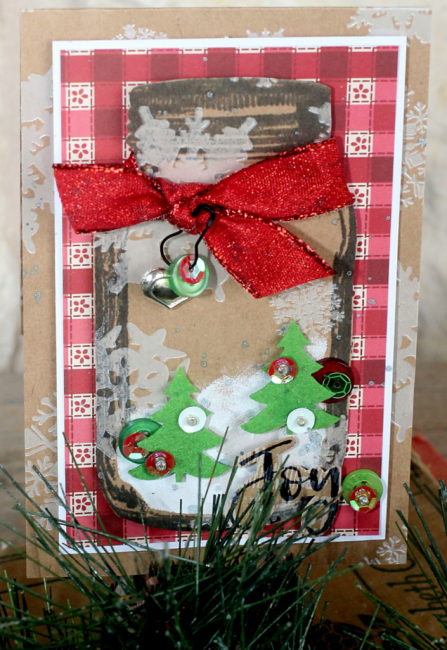
Hi, Connie here with Buttons Galore & More design team sharing a Snow Globe Christmas card using the Holly Jolly embellishment kit by 28 Lilac Lane. It is never too early to start thinking of creating special, one-of-a-kind Christmas cards for those special people you love. Our 28 Lilac Lane collection has put together embellishments kits that take the guess work out of creating special cards. Holly Jolly is the Christmas embellishment kit that is full of festive embellishments that will make beautiful cards – the cards people will want to keep and display! Continue Reading →

1

Get Extra Life from your Stamps with Embellishments!

Stamps are a great investment because they are a tool that can be used over and over again. However, using them over and over again can quickly get boring…so how do you spice things up and put the fun back in your stamps again? 28 Lilac Lane has the answer!

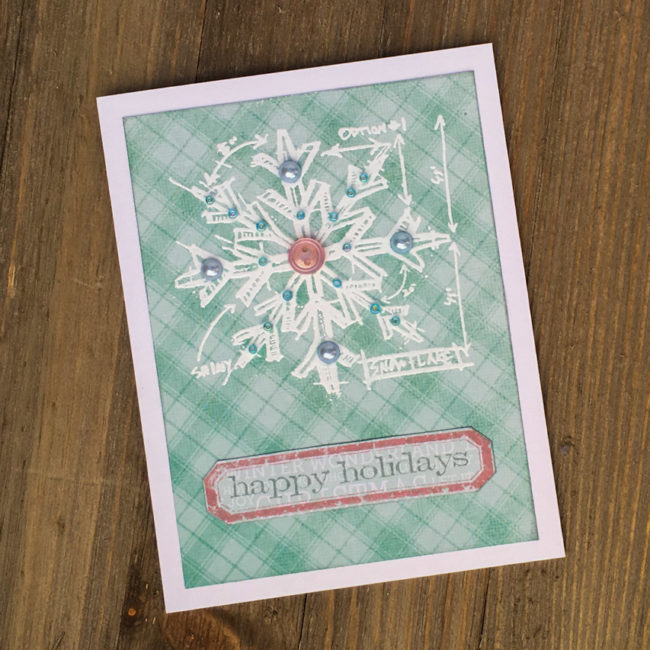
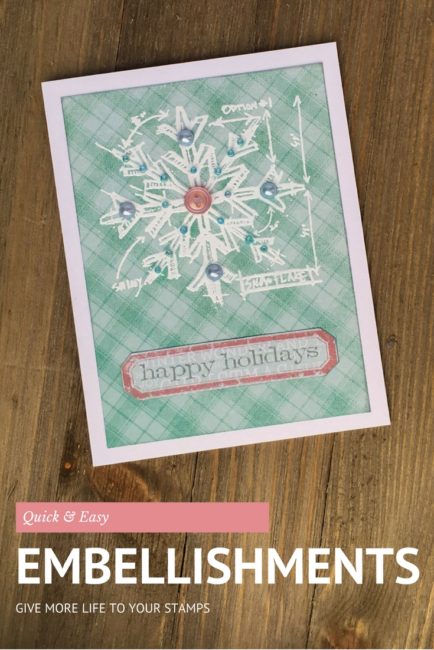
Snowflake Happy Holidays Card

Supplies Needed:

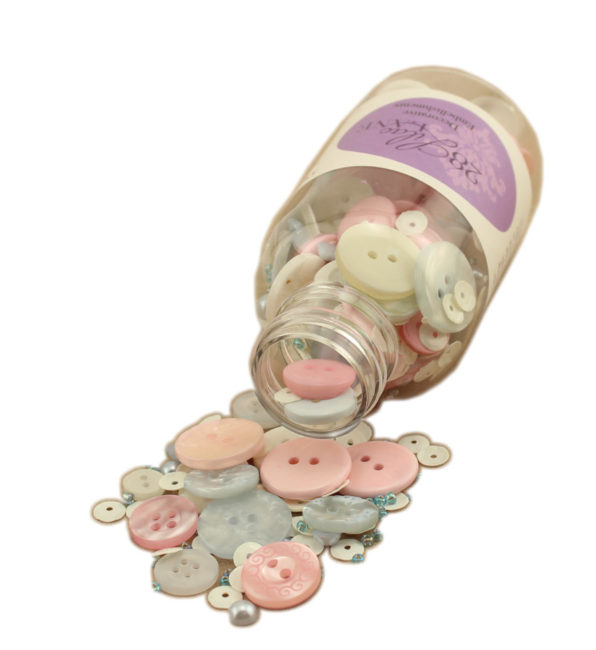
  • 28 Lilac Lane Cotton Candy Embellishment Bottle
  • PPA Matte Adhesive
  • My Mind’s Eye “Sugar Plum” 6″ x 6″ paper pad
  • White cardstock
  • Ranger Tim Holtz Distress Ink in Iced Spruce, Victorian Velvet, and Embossing
  • Ranger White Embossing Powder
  • Stamper’s Anonymous by Tim Holtz “Simple Sayings” stamps
  • Stamper’s Anonymous by Tim Holtz “Christmas Blueprint” stamps

One of my favorite ways to make my old stamps look new again is to embellish them! And with the 28 Lilac Lane embellishment bottles, I have the choice of seed beads, sequins, flat back pearls, and buttons to embellish my stamps.

Cotton Candy Embellishment Bottle

I chose the Cotton Candy bottle because it matched my paper pad. [The 28 Lilac Lane “Cotton Candy” embellishment bottle is available at the our online store, Scrapbook.com, A Cherry On Top, Ellen Hutson, Simon Says Stamp, Create for Less, and others, or check your local retailer].

To create this card, I first made a card base by folding a half sheet of letter sized cardstock. Then I cut a 3.75″ by 5″ piece of the blue plaid paper, and inked the edges in Iced Spruce before adhering it in the center of the card front.

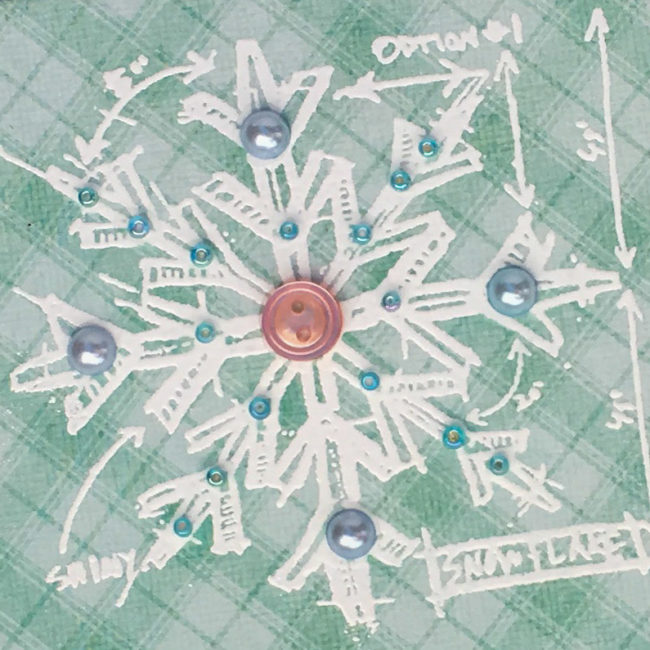
Next I used embossing ink to stamp the snowflake design on the top of the card front, and heat embossed it with white embossing powder. Once the heat embossing was cool, I selected embellishments from the Cotton Candy bottle and adhered them with small dots of clear drying white glue.

Embellishments on stamped image

The sentiment on the bottom of the card front was created by first stamping the label outline in Victorian Velvet on the pale turquoise patterned paper. Then I cut out the label using scissors, close to the edge of the stamped label. I stamped the sentiment in Iced Spruce, and adhered the label to the card front.

get-more-life-from-your-stamps-with

What stamps do have that could be given new life with embellishments?

0

Button Up an Ugly Christmas Sweater Card!

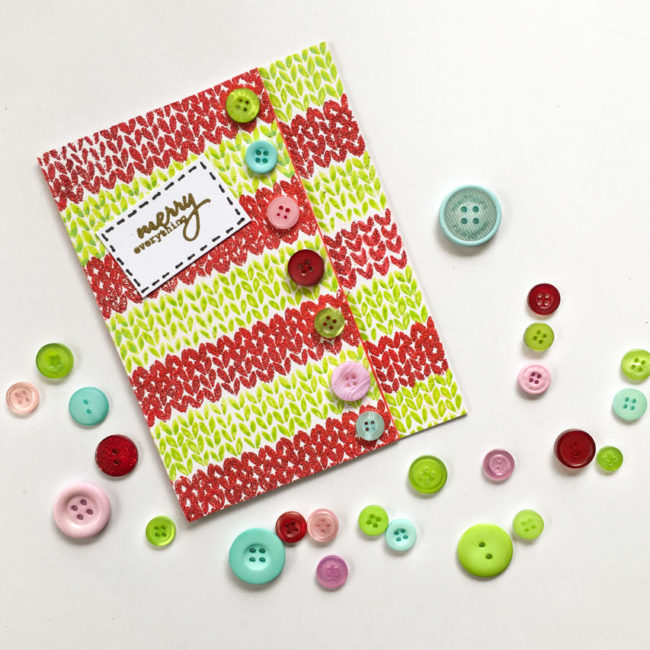
Nothing’s more fun at Christmas than an ugly Christmas sweater. So why not send one to a friend in the form of an ugly Christmas sweater card for the holidays?

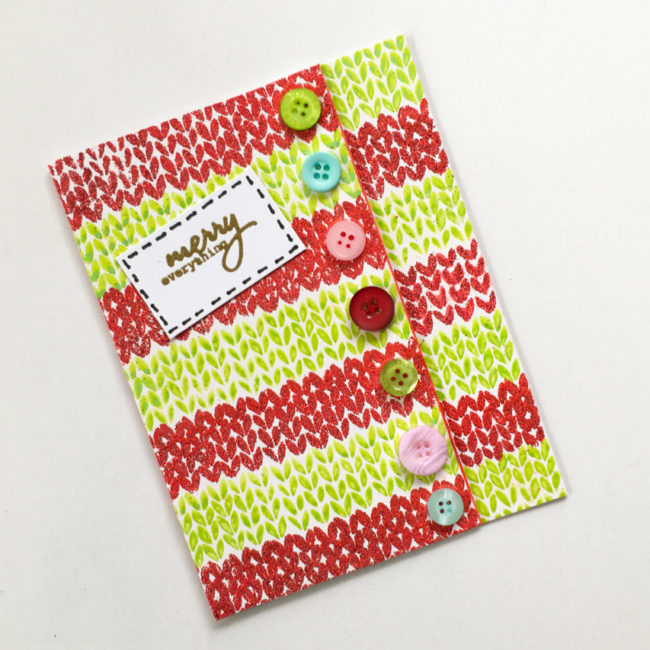
Ugly Christmas Sweater Card by Nancy Nally for Buttons Galore

Supplies Needed:

  • Buttons Galore “The Merriest” Button Bonanza
  • PPA Matte Adhesive
  • White cardstock
  • Pinkfresh “Oh Joy” Stamp Set
  • Ranger Tim Holtz Distress Embossing Ink
  • Ranger Tim Holtz Distress Ink in Twisted Citron
  • Ranger Embossing Powder in Clear Super Fine Detail, Gold, & Red Tinsel
  • Black pen
  • Ranger Tim Holtz Distress Marker in Candied Apple (optional)

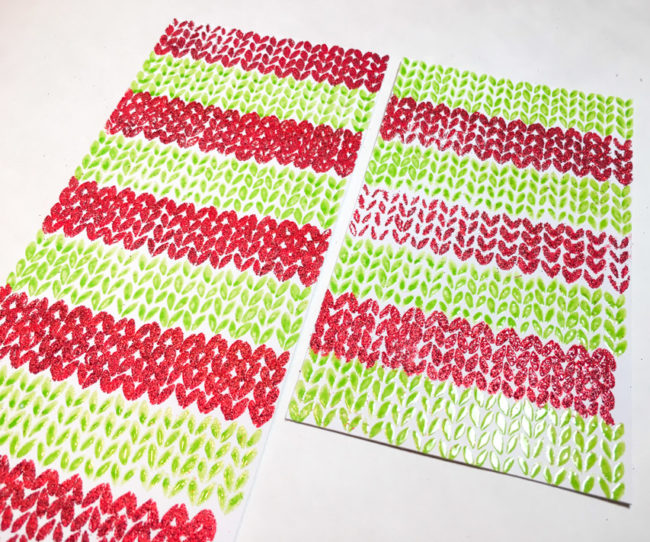
This card’s technique is simple – just creating two strips of paper by stamping the sweater knit stamp over and over, alternating the color and embossing it. The Twisted Citron ink is embossed with clear embossing powder, and the red is clear embossing ink that is heat embossed with Red Tinsel powder. The strips need to alternate to create the effect on the front of the card.

Ugly Christmas Sweater Card construction

Doing all that stamping and embossing while changing colors takes a bit of time, but the result is a great effect!

Once strips are made, they can be adhered to a card base. Start by attaching the one on the right side of the front. Position it, glue it down, and then trim off any excess. The front is layered, with the left side overlapping the right panel, so there’s no need to worry about how wide the panel is on the card front.

To emphasize the layered effect and create bulk in it as if it really is a sweater placket, adhere two inch wide strips of paper underneath the right edge of the left panel before attaching it to the card front. This will slightly raise the area under the buttons up, creating depth and shadow that look like a true sweater! For a little extra shadow, run a dark red pen or inkpad along the paper edge where the pieces overlap as well.

Ugly Christmas Sweater Card by Nancy Nally for Buttons Galore

Now that your sweater has a placket, it needs buttons to fasten it! “The Merriest” Button Bonanza has red and green shades that match the card base. Adding in the the pink and blue shades that are also in the assortment looks a bit random on top of all of that red and green, and is the perfect way to “ugly” up your ugly Christmas sweater card. Glue your buttons down with a clear drying adhesive like PPA Matte Adhesive.

The finishing touch is the “patch” that has the sentiment on it. Just stamp and emboss the sentiment, and then draw stitching lines around it with a pen. Adhere it at a jaunty angle to your sweater’s “front” and you are done!

Who do you know that needs an ugly Christmas sweater card? Send them one today!

0

Pretty Pastel Christmas Tree Card with Buttons & Stamps!

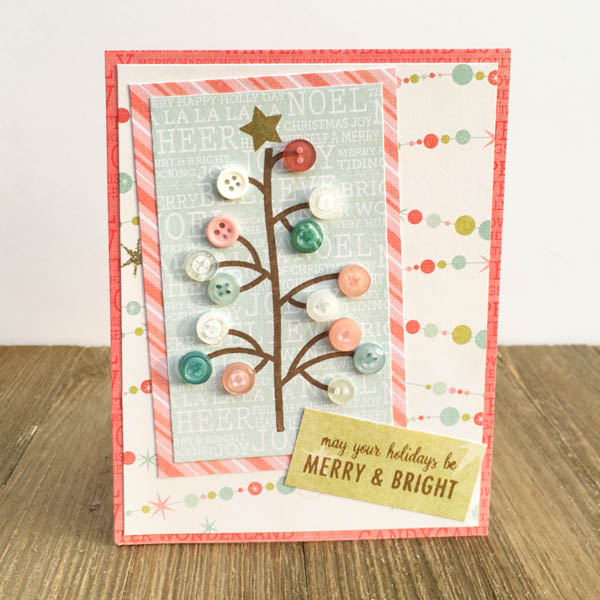
Christmas isn’t just green and red anymore…pink and blue are also becoming more part of the palette. Today, I’m going to show you how to create a beautiful pastel Christmas tree card with our versatile new “Coral Reef” Button Bonanza bag!

Pretty Pastel Christmas Tree Card

Supplies Needed: 

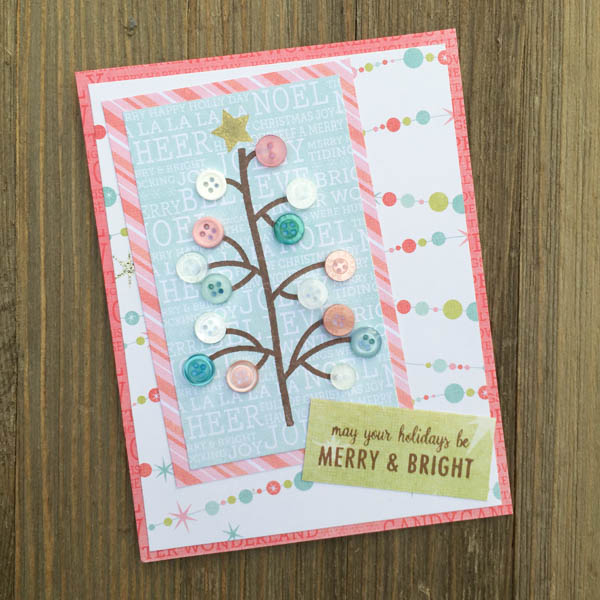
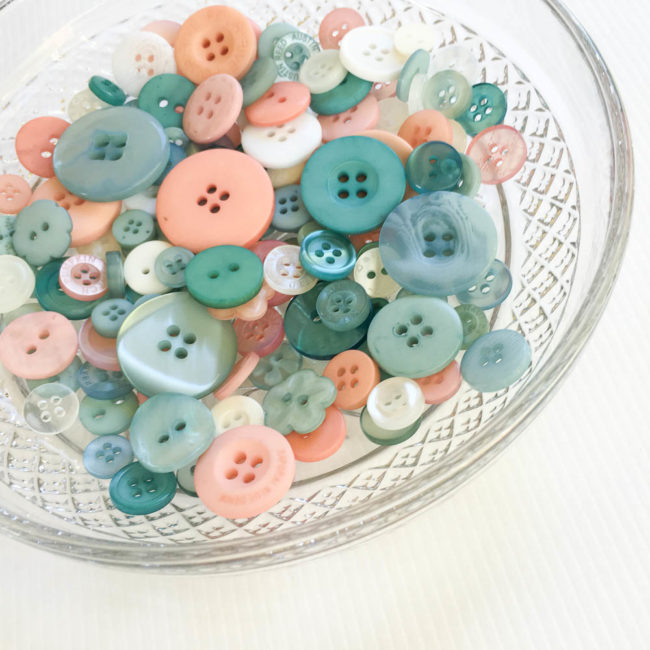
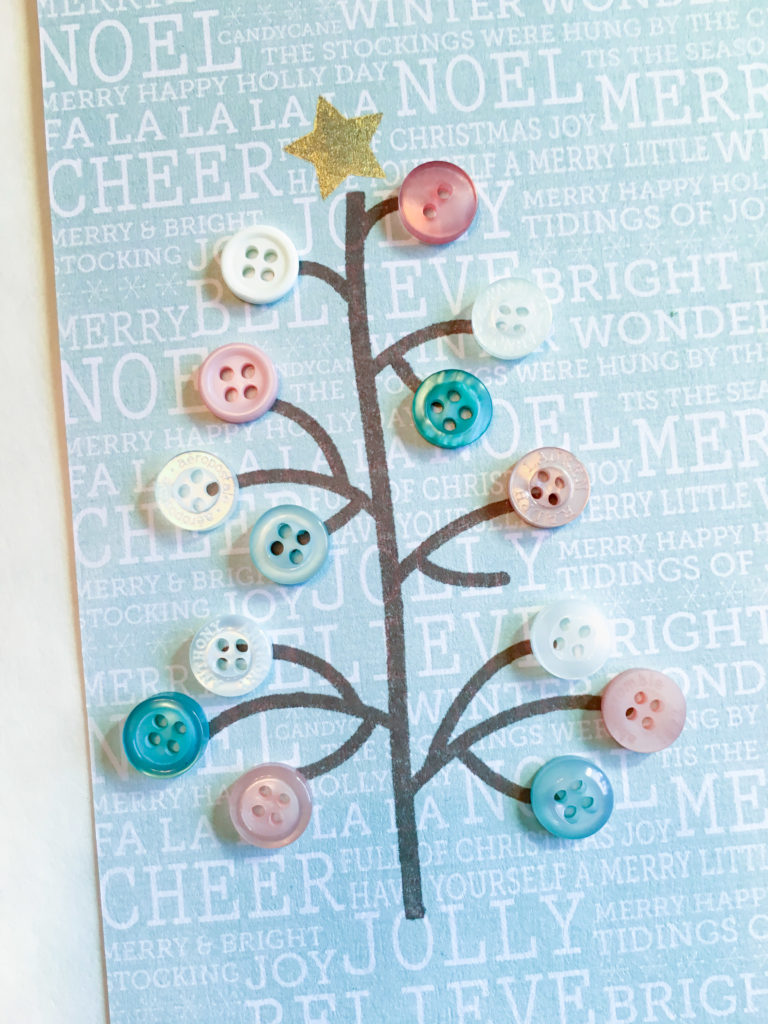
This card uses our new “Coral Reef” Button Bonanza to create a fun pastel blue and pink Christmas look that is super trendy and oh-so-pretty! The shades of pale blue, soft rose pink, and white are perfect for a retro pastel Christmas tree card look.

Coral Reef Button Bonanza by Buttons Galore

Making this card is fast and easy, but with the gorgeous patterned papers and the pearly button accents, it looks anything but plain!

To begin your card, cut the pink background for your card base to 4.25″ by 5.5″. Then cut the garland paper to 4″ by 5.25″, and adhere it on top of the pink base. Next, get out a blank card base and adhere the layered background to the front of it.

Stamp the Christmas tree in brown ink on blue text pattern paper, and then add the star in gold at the top. Trim closely to the tree in a rectangle shape. Adhere the tree block on top of the pink striped paper, and trim it to leave a small border around the edges of the tree.

Pastel Button Christmas tree Close-up

Select buttons from the Coral Reef collection, and use PPA Matte Adhesive (or other clear glue) to adhere them to the tree. Once the glue is dry, attach the tree block to the card base, angled in the upper left corner.

Stamp sentiment on green patterned paper, and trim to size. Adhere in lower right corner.
Pretty Pastel Christmas Tree Card

This pastel Christmas tree card design could be used to create seasonal trees all year round – pretty spring blossom colors mixed with bright green, fall colors, or all white for a snow covered winter tree! What season’s tree will you button up?

1

Tis the Season to make a Christmas Cat Card!

We’re cat owners at our house, and as anyone who owns a cat knows…it makes Christmas decorating extra, well, interesting. We decorate, the cat un-decorates. So today, my project is a Merry Christmas cat card that celebrates that annual feline-human war of December!
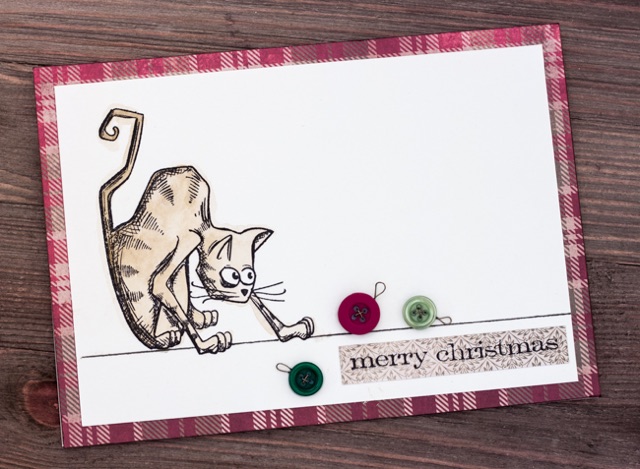
Christmas Cat Card by Nancy Nally for Buttons Galore

Supplies:

  • Buttons Galore “Tis the Season” Button Bonanza
  • PPA Matte Adhesive
  • watercolor paper
  • Tim Holtz for Stamper’s Anonymous “Crazy Cats” stamps
  • Tim Holtz for Stamper’s Anonymous “Simple Sayings” stamps
  • Ranger Archival Ink in Jet Black
  • Ranger Tim Holtz Distress Crayon in Vintage Photo
  • Ranger Tim Holtz Distress Ink in Vintage Photo
  • Water brush
  • Black Pen
  • Tim Holtz idea-ology “Yuletide” paper
  • 26 gauge German style wire (antique brass)
  • Cream colored cardstock

This Christmas cat card has a very simple design. It’s featured embellishments are Christmas ornaments made from buttons from the “Tis the Season” Button Bonanza that is brand new for this holiday season. Featuring deep red and green tones that are accented by a light sage green shade, “Tis the Season” is a versatile button mix for almost any holiday craft project.
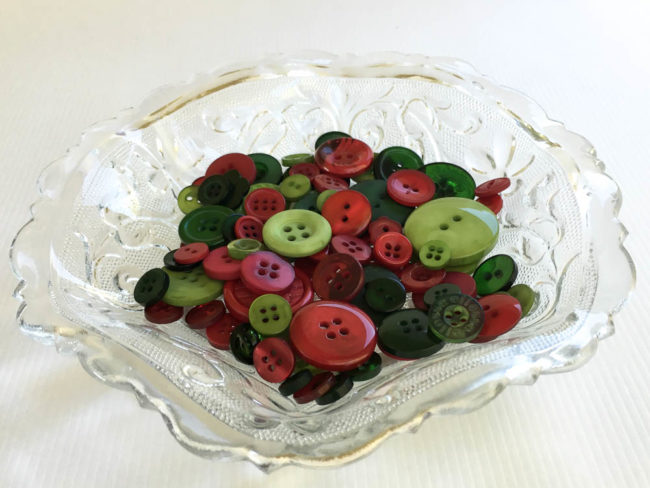
Tis the Season Button Bonanza by Buttons Galore

Instructions: 

Cut a piece of watercolor paper to 4.5″ by 6.5″. Use Archival ink to stamp the Crazy Cat.

Use a ruler and the black pen to draw the line across the bottom underneath the cat. Don’t draw through the cat’s paws!

Scribble on a scrap piece of watercolor paper with the Distress Crayon. Using your waterbrush, pick up some of the color and use it to watercolor the cat.

Cut a piece of patterned paper to 5″ by 7″ and ink the edges. Adhere the watercolor paper centered on it. Cut a piece of cardstock to 7″ by 10″. Fold in half to make a 5″ by 7″ card, and adhere card front to it.

Cut a strip of patterned paper 1/2″ wide. Stamp the sentiment on it, and trim the ends. Adhere to bottom right of card.

Select three buttons to serve as your “ornaments”. Thread the holes on the buttons with German style wire. Use the tail of the wire to create a loop for the ornament’s “hanger” before snipping off the excess wire.

Use liquid glue like PPA Matte Adhesive to glue the button ornaments in place.

Since it mostly relies on bulk supplies like buttons and tools like stamps to make, this Christmas cat card could easily be made in quantity. Simply substitute cardstock or a variety of patterned paper for the paper used for the matted background and the sentiment strip. and you can make this card over and over with a Button Bonanza and your stamp! And since it is fast and easy to make, your cards will be done in no time!
0

Send a Retro Merry Christmas Card Wish!

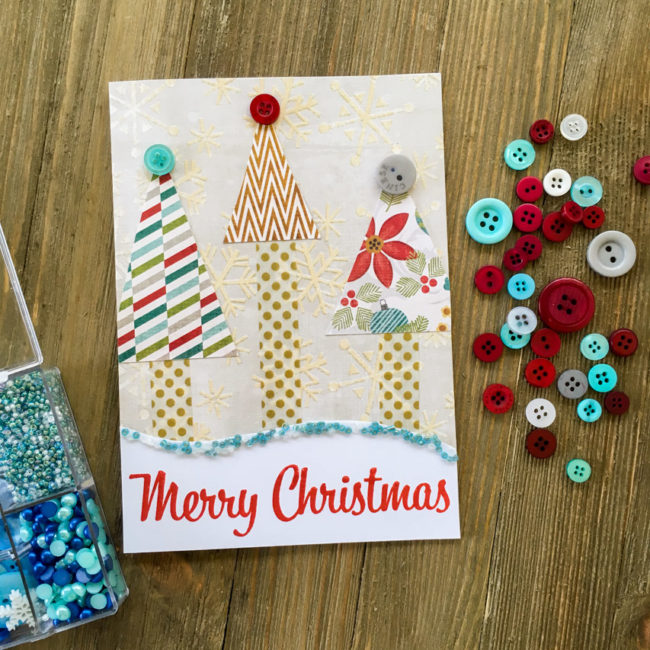
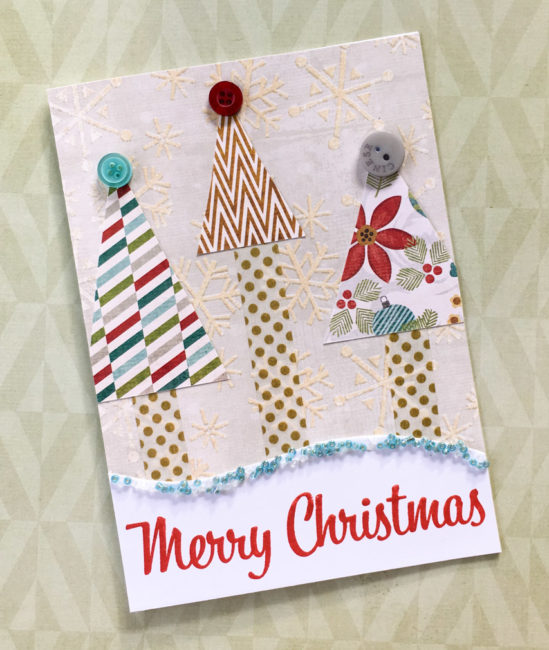
Tis the season to be jolly! Today I’m here to show you how to combine two of our holiday products that have a turquoise toned blue in their palette to make a fun retro Merry Christmas card!

Retro Merry Christmas Card by Nancy Nally for Buttons Galore

Supplies Needed:

  • patterned paper
  • washi tape (or patterned paper)
  • red ink
  • Merry Christmas stamp
  • white cardstock
  • clear drying glue (such as PPA Matte Adhesive)

This project pairs seed beads from our beloved 28 Lilac Lane “Let It Snow” embellishment kit with buttons from our new “Cool Winters” Button Basics. With similar tones of blue, these two coordinate together beautifully to add a pop of trendy color to holiday projects of all kinds.

Winter Flurries Button Basics

This card is 5″ by 7″, so to start my retro Merry Christmas card I cut the snowflake background paper to that size.

Next, I cut a 5″ wide strip of white cardstock that was a few inches tall. I stamped “Merry Christmas” on it with red ink, centering the image near the bottom. Then I used scissors to cut the top of the sentiment block into a wavy design.

To create the beaded edge, I started by spreading a bead a white glue along the edge. Then I sprinkled seed beads over the glue until it was covered, and set the sentiment block aside to dry.

Cutting the trees is easy! I simply used three scraps of paper and cut them into various sizes of triangles. The tree “trunks” are made from washi tape (but could also be made from strips of paper). Some of the tree triangles hung over the edge, so I just snipped them off. Once those elements were adhered in place, then I used liquid glue to adhere three buttons as toppers for the trees.

Once the glue holding the seed beads was dry, then I adhered the sentiment block across the bottom.

To finish my card, I used white cardstock to make a blank card and then adhered the finished card front onto it.

Retro Merry Christmas Card by Nancy Nally for Buttons Galore

I hope this cheery little retro Merry Christmas card greeting will help you brighten the holidays of someone special!

0

Tis the Season to Embellish Some Christmas Cards!

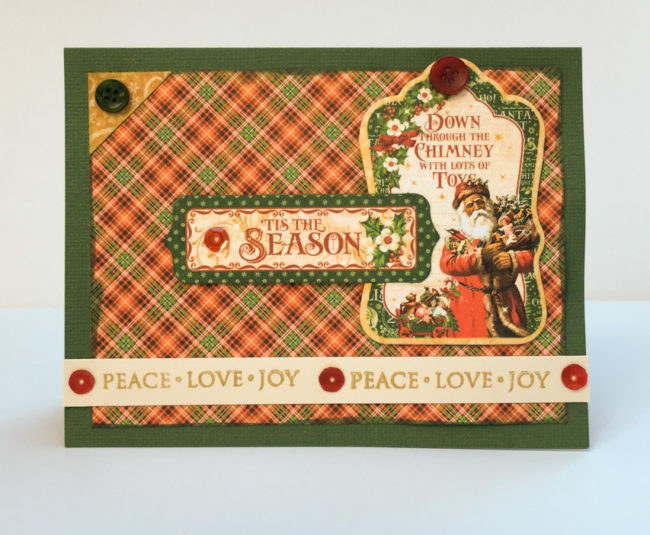
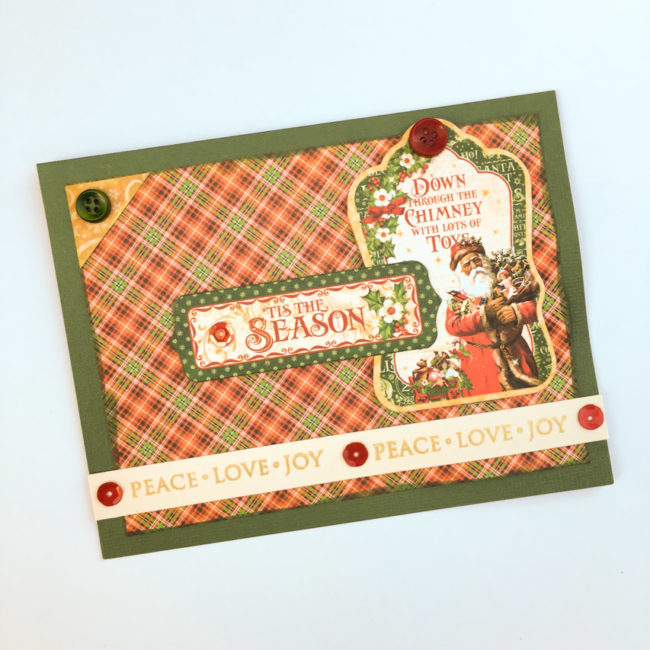
We’ve got Christmas cards on the brain here at Buttons Galore! Since World Cardmaking Day the first weekend of October is the unofficial launch of the holiday card making season, we’re sharing another card idea today to help your Christmas card planning. Our buttons, sequins, and beads are the perfect easy and affordable embellishment to use for making loads of Christmas cards.

Christmas cards with buttons

Supplies:

Creating this Christmas card is quick and easy with buttons, and pre-coordinated paper and embellishments.

Start by cutting a piece of plaid paper that is 5″ by 3.75″. Ink the edges with the green Fluid Chalk and adhere it in the center of the front of the card base.

Cut a triangle from the gold paper, and adhere it in the upper left corner of the plaid paper block.

Adhere the large chipboard piece in the upper right corner of the card. Adhere the “Tis the Season” tag layered on top of it, using foam adhesive dots for the end not on top of the chipboard.

To create the bottom text strip, cut a 1/2″ strip of cream cardstock. Use the Shimmer ink to stamp the sentiment twice across it, leaving room in the middle for a button. Adhere across the bottom of the card.

Christmas cards with buttons

Using the PPA Matte Adhesive, place small dots of adhesive on the stamped strip and the sentiment tag. Press sequins into them and allow to dry. Also use the Matte Adhesive to adhere the buttons on the corner frame and the chipboard embellishment, and allow to dry.

Tis The Season Button Bonanza by Buttons Galore - Perfect for vintage Christmas Cards!

Tis the Season” Button Bonanza is perfect for vintage color schemes, and if brighter is more your style, don’t miss “The Merriest” Button Bonanza, with bright green, bright red, and pastel pink & blue! We’ve got your Christmas cards buttoned up!

0

Button Christmas Card

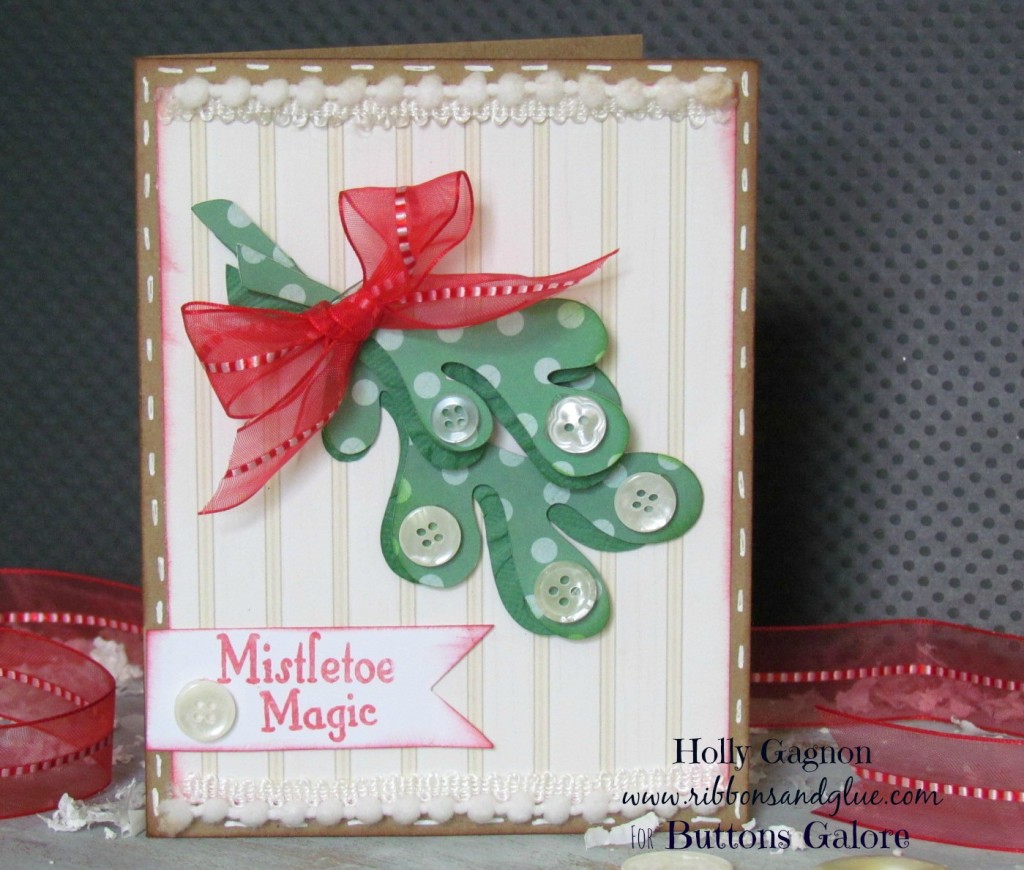
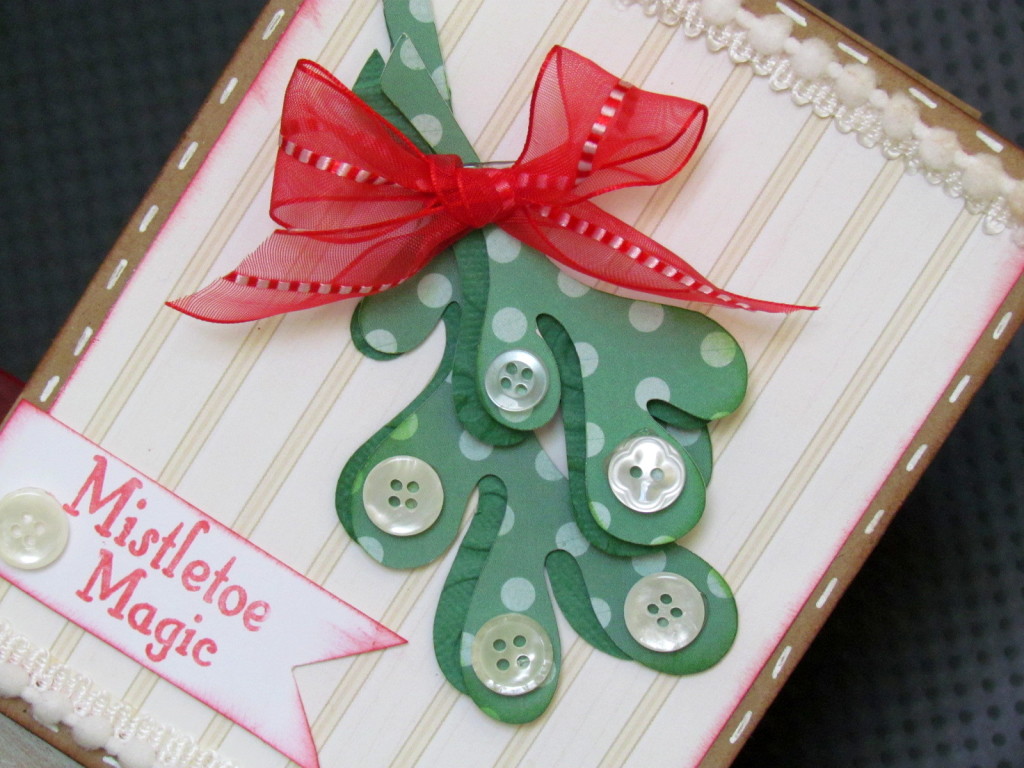
Holly here from Ribbons & Glue sharing a Button Christmas Card with you today to show you how easy it is to embellish your Christmas cards this year with Buttons Galore buttons.

Mistletoe Card

To make this Button Christmas Card,  I used a Pebbles in My Pocket Mistletoe cut file, Pearl Buttons for berries and gorgeous May Arts Ribbons.

button card2

It really is easy to a add dimension on to your cards with simple buttons.

Supplies Used to Make Button Christmas Card:

  • Buttons Galore Pearl Buttons
  • Kraft Paper
  • Pebbles From Me to You
  • May Arts Stitched Ribbon
  • May Arts Ribbon Pom Poms
  • Mistletoe Stamp
  • White Gel Pen
  • Memento Ink

For more Christmas Inspiration, check out  my blog Ribbons & Glue.

newsignature

Like Me on Facebook!

0

Simple Christmas Cards with Buttons

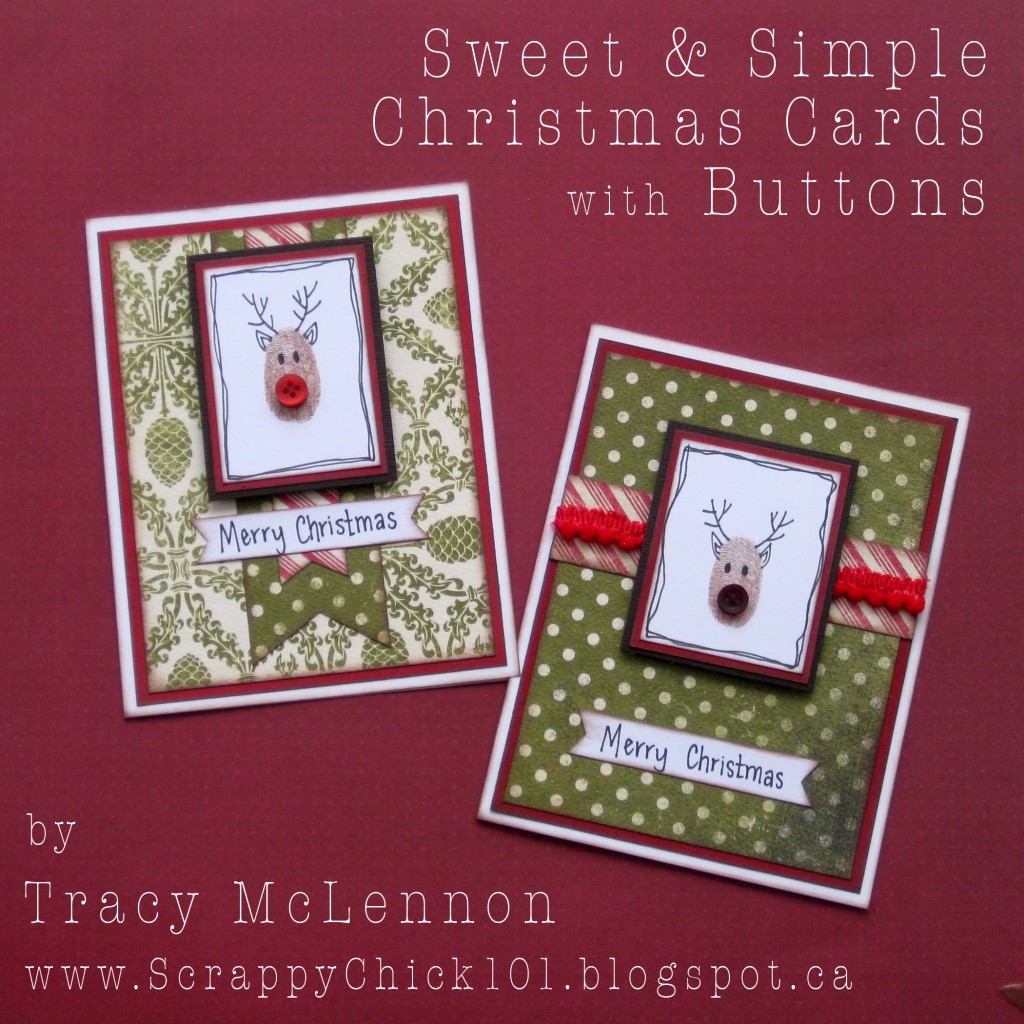
Do you need some Quick and Simple Christmas Cards to finish your Holiday To Do List? Well as luck has it, I am sharing some Quick and Simple Christmas Cards with Buttons.
IMG_8033

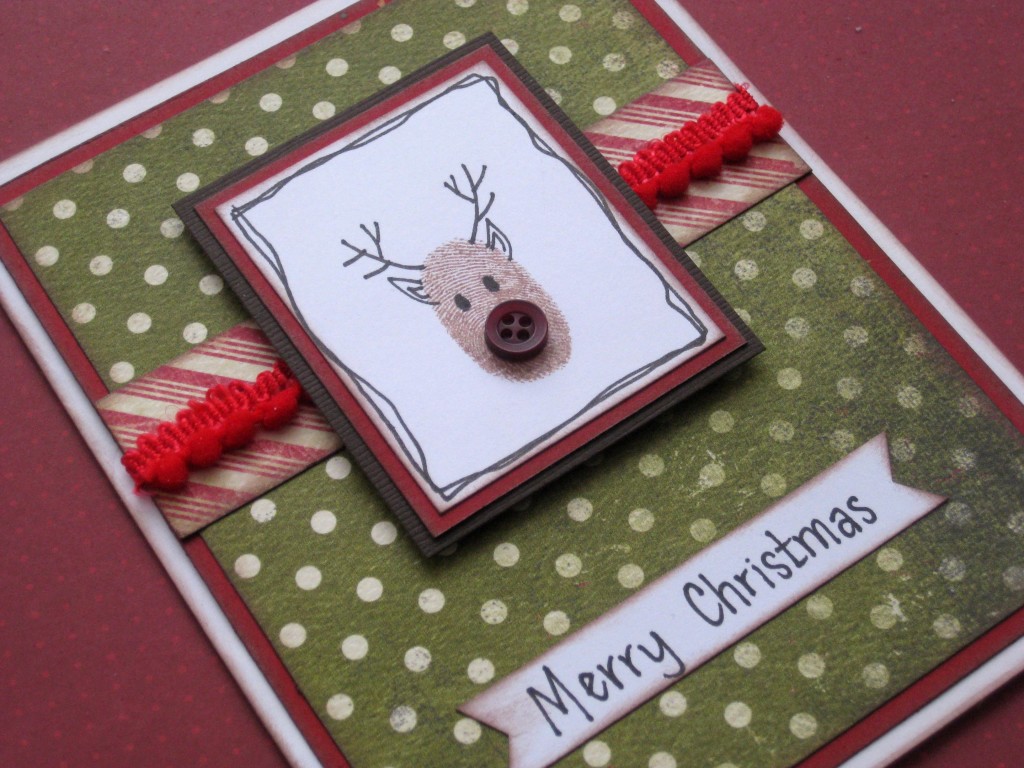
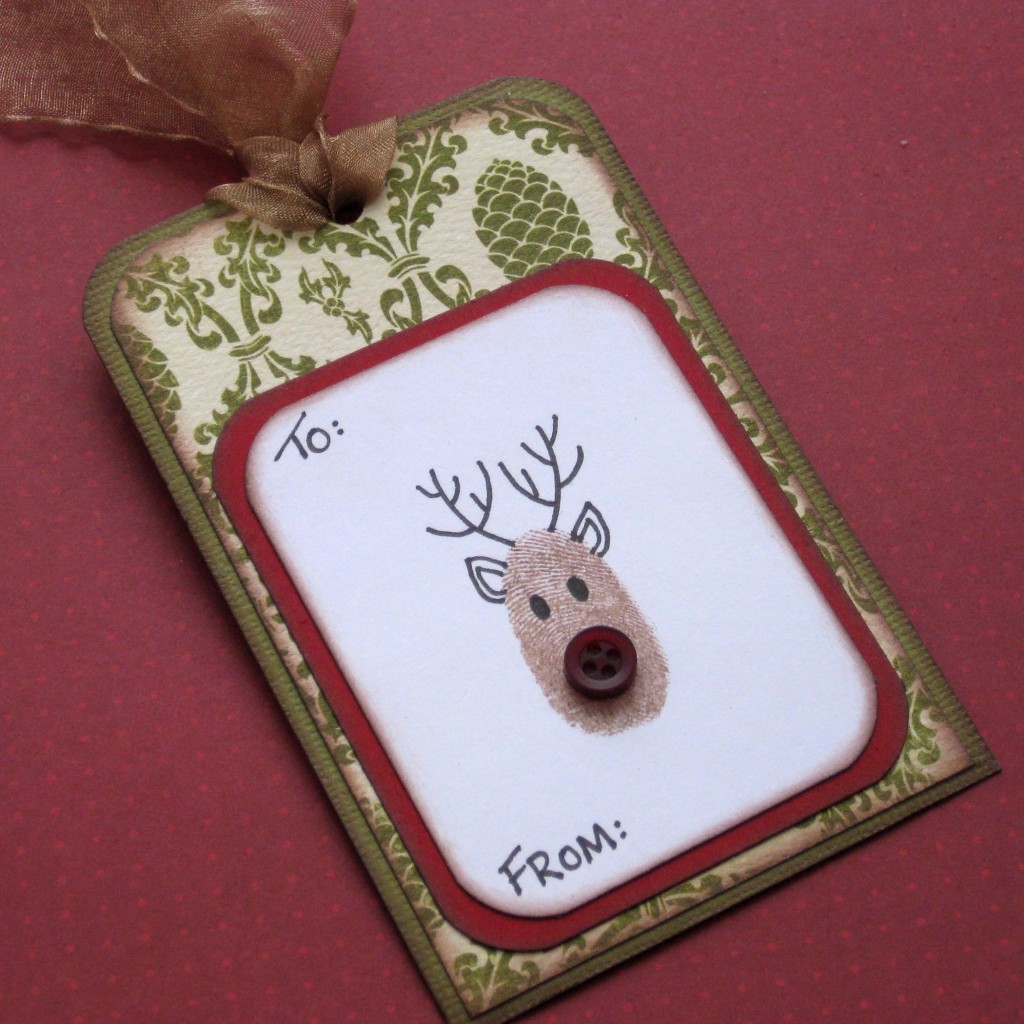
These first few Simple Christmas Cards were created with a very simple concept. My thumbprint using brown ink. I then added some simple doodles to create them into cute little reindeer. Once I added a single button for the nose, it was complete.

IMG_8038

The images on these Simple Christmas Cards could also easily be Christmas Tags for someone special.

IMG_8040

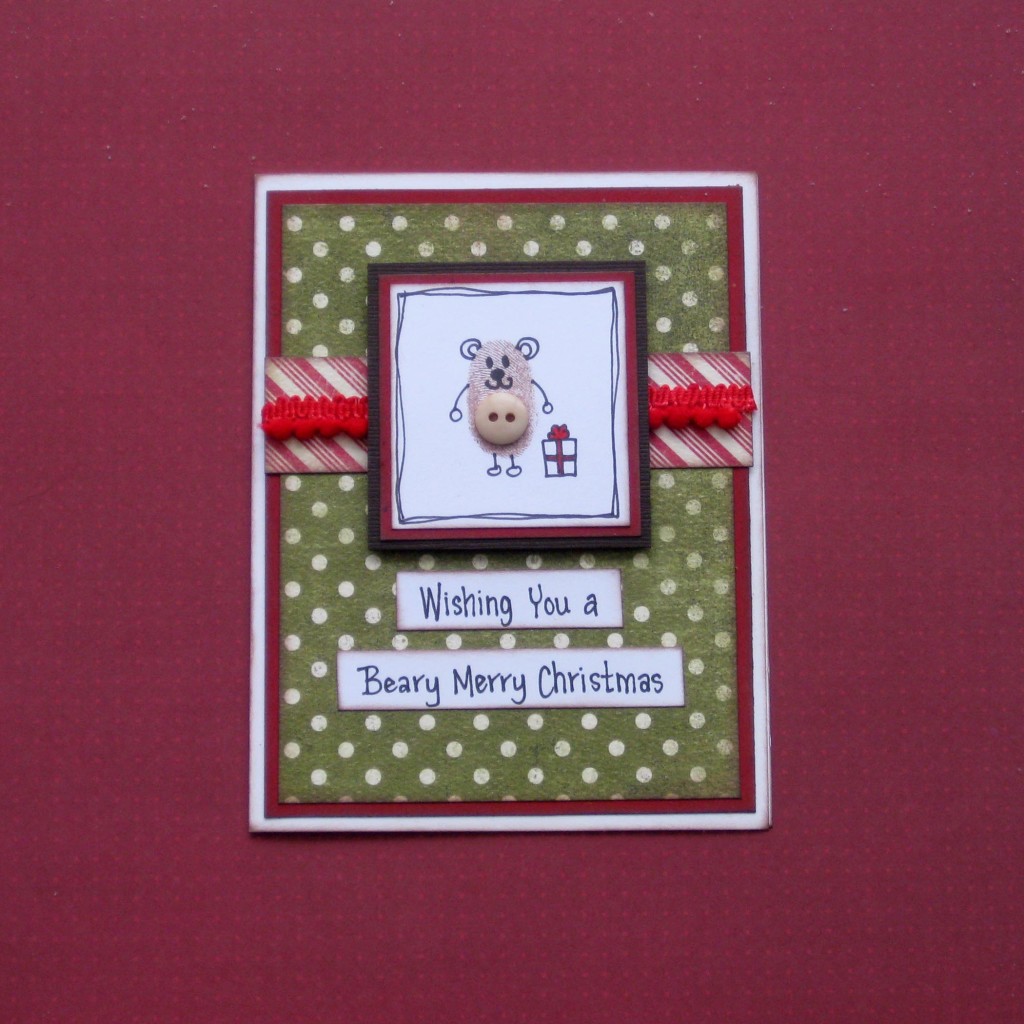
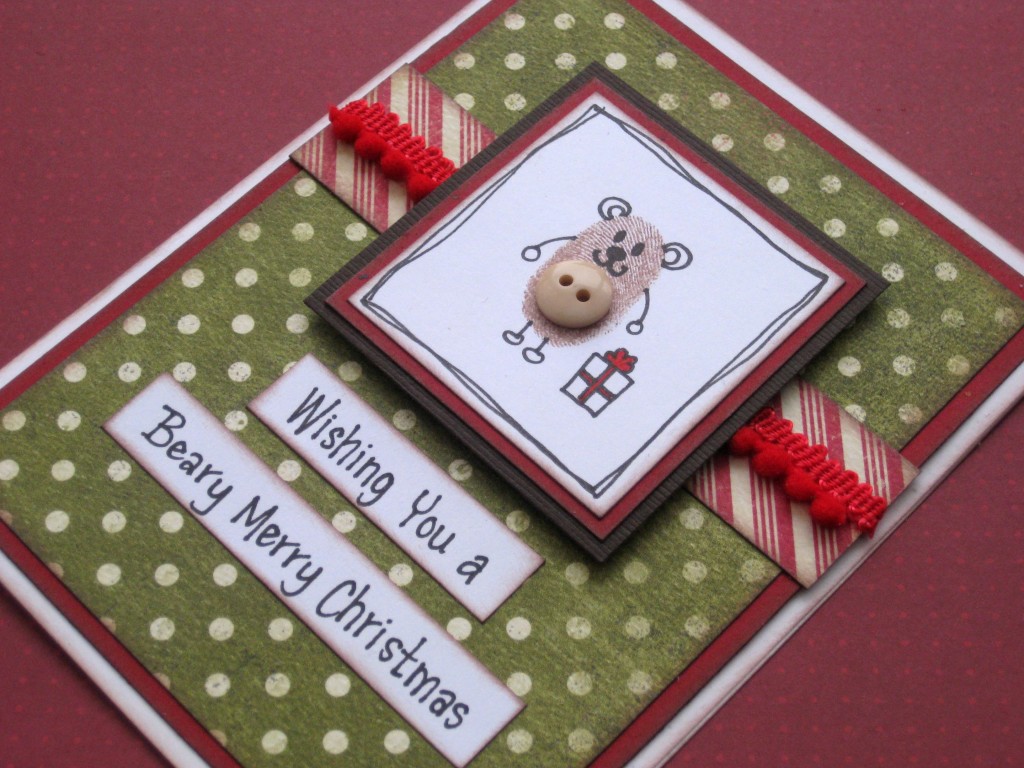
If you thought the little reindeer was cute, how about this sweet little bear? I added a plain cream button for his little bear belly. My sentiments are handwritten. “Wishing You a Beary Merry Christmas”

IMG_8042

Project Materials for Simple Christmas Cards with Buttons:

IMG_8045

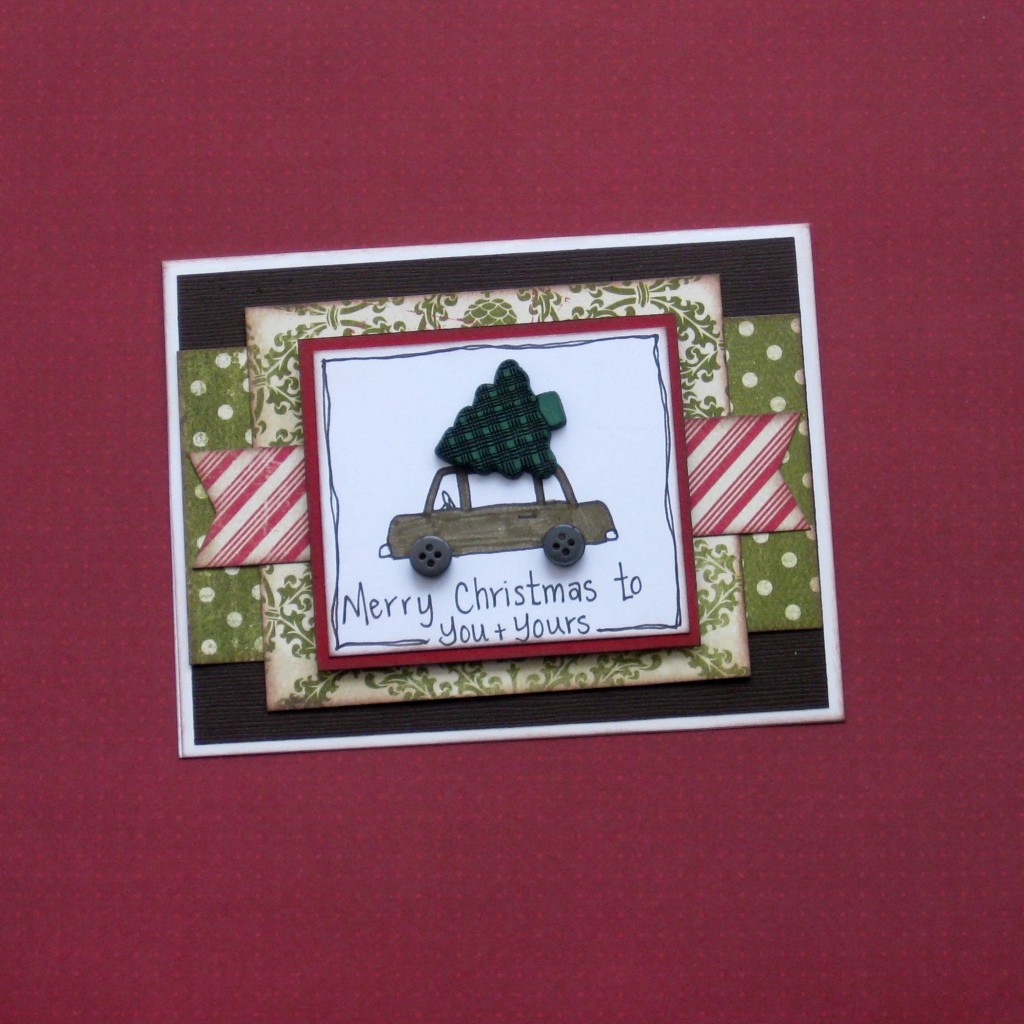
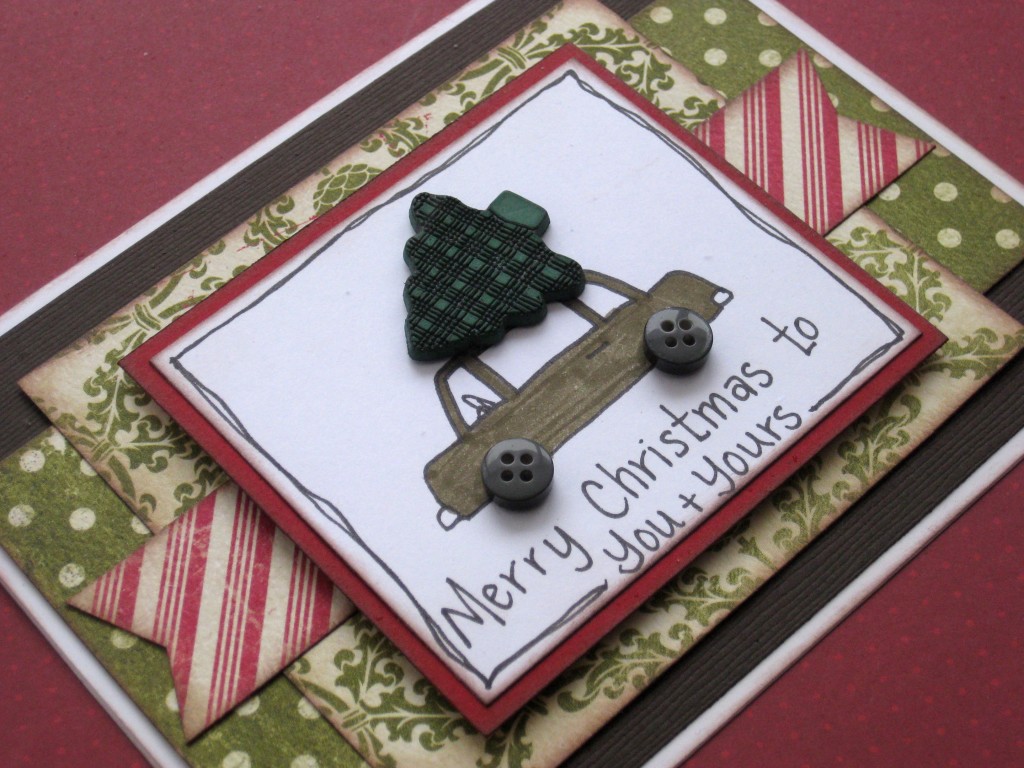
This final card of my Simple Cards started with a doodle of a car. I just added buttons for tires, and one of the tree shaped buttons from the Noel Button Mix on the top.

IMG_8035

IMG_8036

Thank you so very much for stopping by, and all the best in your Holiday crafting!

hd-coupons-2

Click here to see this week’s special coupons. See special buys here.

1

Powered by WordPress. Designed by WooThemes