Header

Tag Archives | flowers

DIY Flower Button Brooches for Fall Fashion Cheer!

DIY Flower Button Brooch

Hello button lovers! This is Katie from the Buttons Galore & More Design Team, and today I have a fun DIY flower button brooches project if you are someone who is just not ready to make that transition into the fall season!

Now, as a fall season girl at heart, I know making flower button brooches sounds a bit weird in September. However, there are those folks who just love spring and summer. If this is you, then these flower button brooches should make the fall season a bit more bearable and make those warm cardigans a bit cuter! Continue Reading →

0

Embellish Some Watercolor Spring Flowers with 28 Lilac Lane!

Spring has sprung. Watercolor spring flowers embellished with beautiful touches of 28 Lilac Lane are a perfect home decor project.

Watercolor Spring Flowers Frame

Supplies:

  • 28 Lilac Lane Tropical Twist Kit
  • PPA Matte Adhesive
  • 5×7 watercolor paper
  • Stampendous “Cling Daisy Mix” stamps
  • Tim Holtz “Flower Garden” stamps
  • embossing ink
  • clear embossing powder
  • waterbrushes
  • watercolors

This watercolor spring flowers project uses tangerine colored flat back pearls and sequins from the 28 Lilac Lane “Tropical Twist” embellishment kit. Tropical Twist is a summery blend of yellow, orange and green citrus shades, with some delightful flamingo pink accents! With all of the seed beads, pearls, sequins, buttons, trim and charms, Tropical Twist is sure to have the perfect touch to make your project hot, hot, hot!

28 Lilac Lane Tropical Twist Kit

This project looks complex but is super easy to make thanks to a shortcut: stamps. To create this design, simply use flower stamp sets to stamp your desired design in clear embossing ink on watercolor paper. Then heat emboss the design with clear embossing powder.

Once the design is embossed, you have a virtually foolproof way of making your own watercolor painting! Simply use a fine detail water brush to color in the design with your watercolors, following the embossed lines as a guide. Any color that gets on the embossed lines can be simply wiped away to keep them clean!

After filling in the design of your watercolor spring flowers, switch to a large water brush to fill in the background with some watery color.

watercolor spring flowers

For the finishing touch on your watercolor spring flowers, add some 28 Lilac Lane embellishments to the center of them with a clear drying glue like PPA Matte adhesive. Using flat back pearls or sequins as “tiles” to fill a small area of a design is a great way to get some extra pop on a project. Our kits and embellishment bottles come with plenty of sequins and pearls, so there’s no worry about running out mid-project, either!

This winter has dragged on too long. Get out those watercolors, stamps and embellishments and craft it away with some watercolor spring flowers! (And don’t forget the Tropical Twist, too!)

0

28 Lilac Lane Blog Hop: Spring Flowers

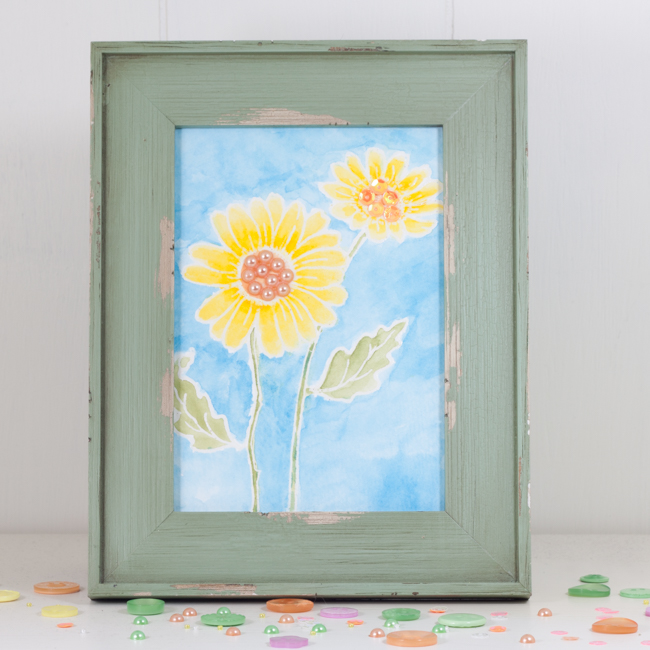
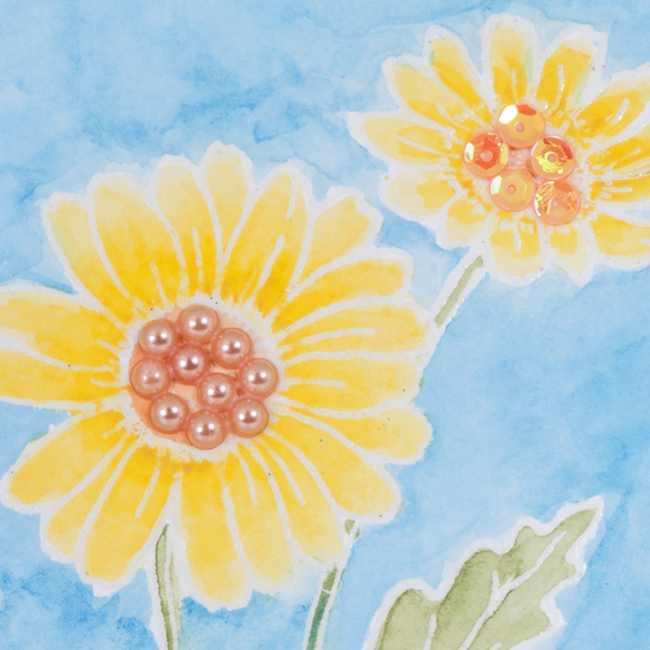
Welcome to the 28 Lilac Lane blog hop on the Buttons Galore blog! Let’s make some spring flowers! Make sure that you stay until the end today for the giveaway!

28lilaclanelogo

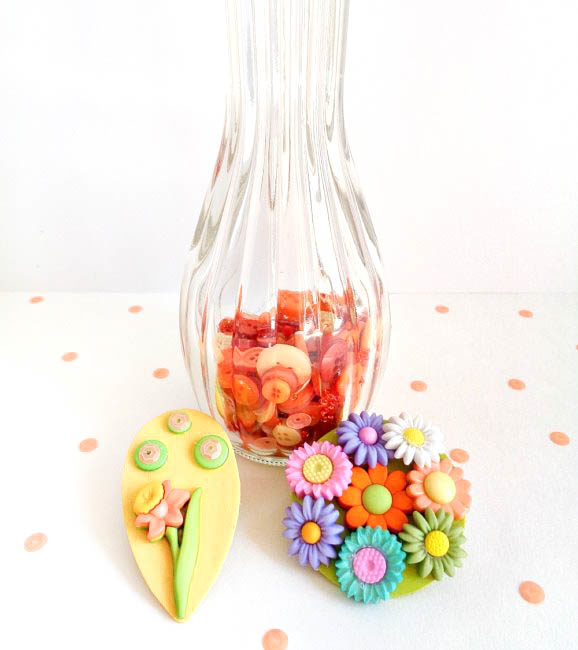
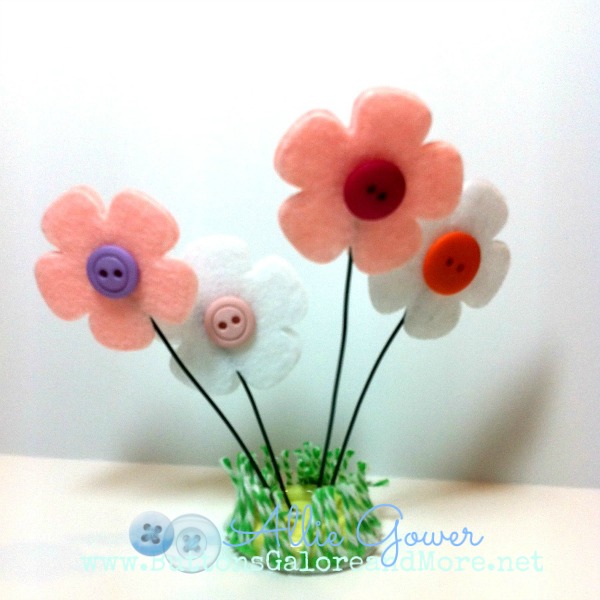
Spring has us all thinking of flowers! But in some areas they aren’t blooming yet, or we may not be able to have them in the house due to allergies.

The solution is simple…fabric and buttons! 28 Lilac Lane spring flowers

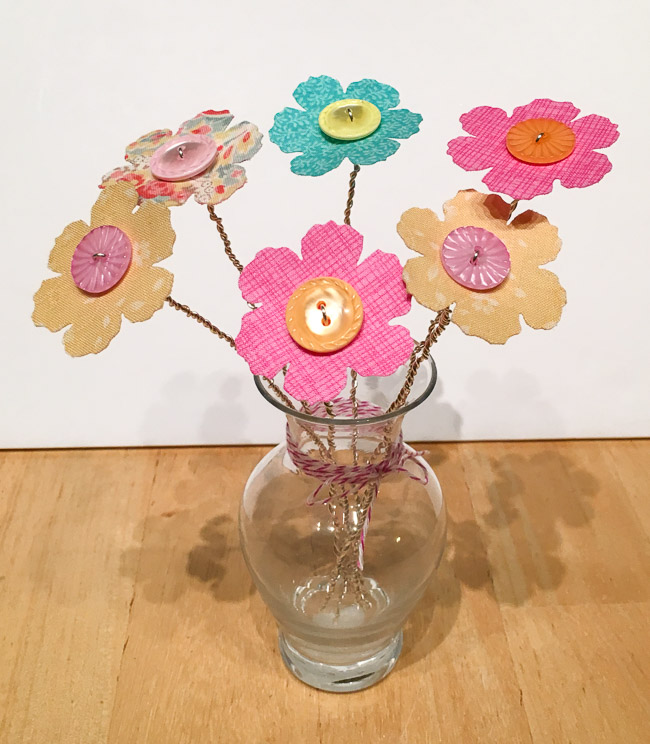
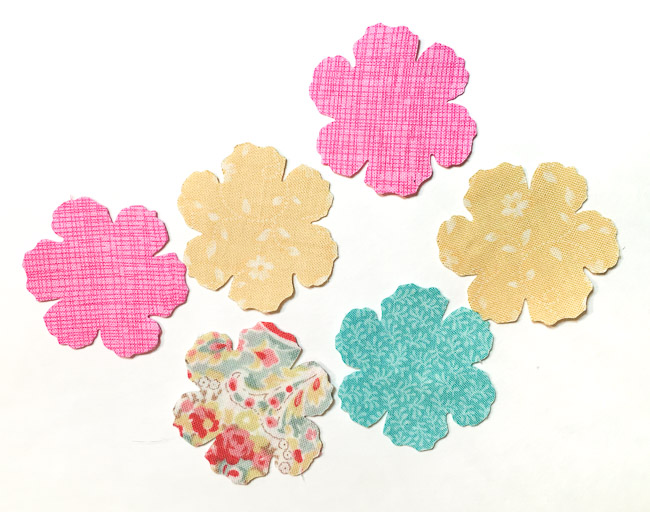
This project starts with fabric and interfacing. Iron heavy-duty iron-on interfacing to the back side of a small fabric scrap. Then, wrong sides together, iron another fabric scrap to the back side of it. This will create a double-sided piece of fabric, with the interfacing in the middle to stiffen the fabric.

Run the fabric through your die cutting machine to make flowers. Repeat with several different fabric scraps. If you don’t have scraps that will work for this project, visit your local quilt or sewing store and check out their fat quarter inventory for suitable fabric. Small prints work best for this project.

Fabric Flowers

Select a large button to coordinate with each of your spring flowers. With a piercer or large needle, poke holes through the flower where the button’s holes are.

Cut a length of the German Style wire about twice the desired stem length and fold it in half. Poke one end through each of the button’s holes and the flower and pull to snug the loop down on top of the button. Begin twisting the wire together under the flower. Continue until you reach the desired stem length and clip off the wire ends.

28 Lilac Lane flowers

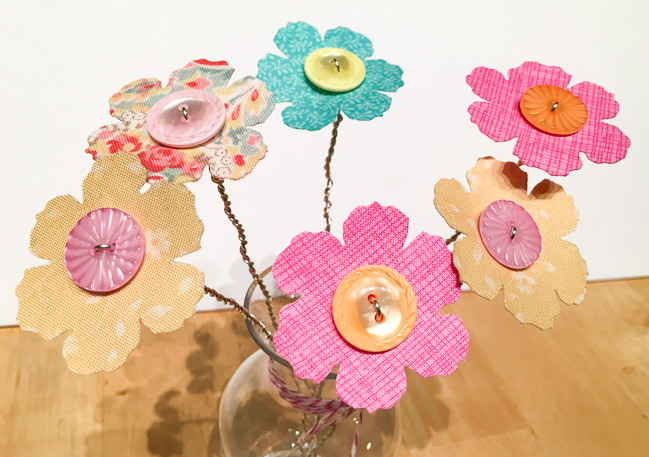
Arrange your spring flowers in a vase, and for the finishing touch wrap baker’s twine around the neck and tie a pretty bow!
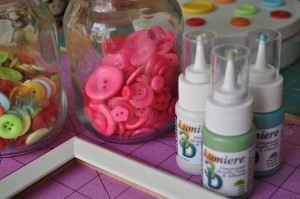
Supplies:

Don’t miss the other stops on the blog hop:

How to enter the Giveaway

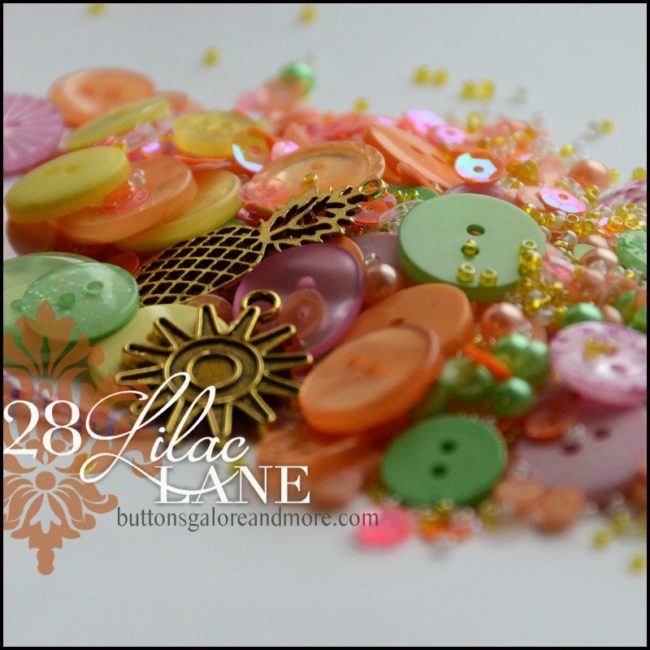
To celebrate this blog hop, Buttons Galore is giving away a fabulous 28 Lilac Lane prize! One lucky winner is going to win two 28 Lilac Lane embellishment kits, an embellishment bottle, and a sequin tin  – and the best part is that it is winner’s choice!

To enter, comment below and tell us which of the 28 Lilac Lane embellishment kits is YOUR favorite! This giveaway is open until Midnight pacific time on Sunday, April 24th. One entry per person, and only U.S. mailing addresses are eligible to win.

Thanks for visiting the blog hop and good luck! If this is your first visit to the blog, please make sure to subscribe to the blog and follow our Facebook, Instagram, Twitter, and Pinterest!

48

3D Button Flowers

3D Button Flowers

It’s spring. These 3D Button Flowers would be so cute for Mom, or any Spring birthdays, or just as a pick me up.

Go 3D with flowers and buttons


These are SO simple to make.

You need the following supplies:

Buttons, Twine, Sturdy Wire, Felt,

Yes, that’s IT!

I die cut some flowers using a Spellbinders Paper Arts die called Blossoms. You could also just cut out flowers, or use ready made flowers.

I chose a large button with four holes. I thread two wires through the holes. I sandwich flowers on the “stems” and add buttons.

I put a circle of felt on the button of the button to help keep the sculpture upright. I added some twine around the edge of the button to create grass.

SUPPLIES USED:

TOOLS USED:

Thanks for stopping by today. Hope you’re inspired to make something 3D!

4

Create a Cute as a Button Frame!

You probably know by now that I love all things bright, cute and floral.  I found a plain, white, photo frame in my closet and knew that plain just wasn’t going to cut it around here, so I grabbed a few bottles of Jacquard’s Lumiere 3D paint and some buttons and got to work.  The great thing about using the 3D paint is that it’s also an adhesive, allowing you to have a seamless look without dealing with a glue mess.  I also love how the paint squeezes through some of the button holes to give more interest to the design.

Supplies:

Instructions:

  1. The best way to create a flower design with paint is to use dots.  Squeeze a large dot of paint for the center of your flower.  While the paint is still wet, press a button into the center.
  2. For petals, simply squeeze dots around the center.  Try to use the same pressure when squeezing the bottle to ensure that the petals are roughly the same size.
  3. Once you have all your flowers on your frame, set aside to dry for 72 hours.  Put your favorite photo in the frame.


0

Powered by WordPress. Designed by WooThemes