Header

Tag Archives | felt

Felt and Fabric Thanksgiving Card

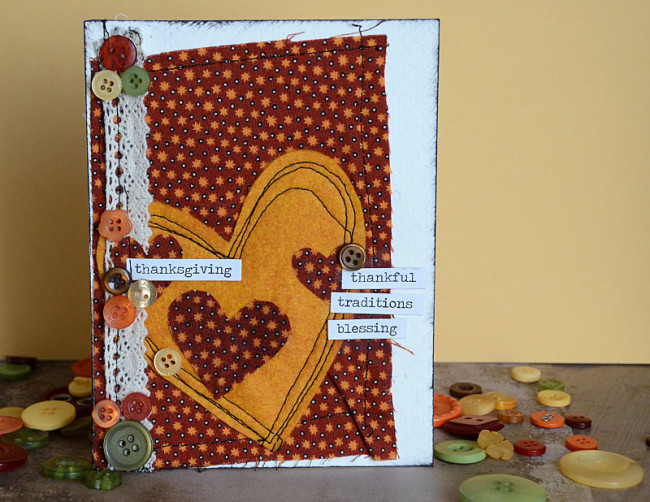
When it comes to Thanksgiving I don’t do a lot of home decorating, but I do enjoy creating cards for a few special people. This card is a lot of fun to make with fabric scraps, though using patterned paper would work just as well. The harvest Button Bonanza bag is perfect for all your fall crafting needs and just screams Thanksgiving to me.

Thanksgiving card

Supplies Needed: Felt, fabric with iron-on backing, word stickers, thread (hand or machine stitch), liquid adhesive, and harvest Button Bonanza bag

Steps:

Felt Heart

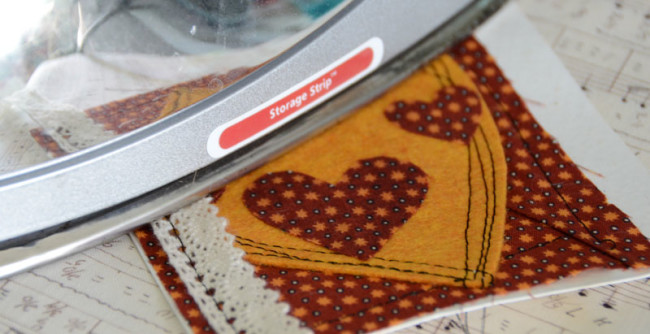
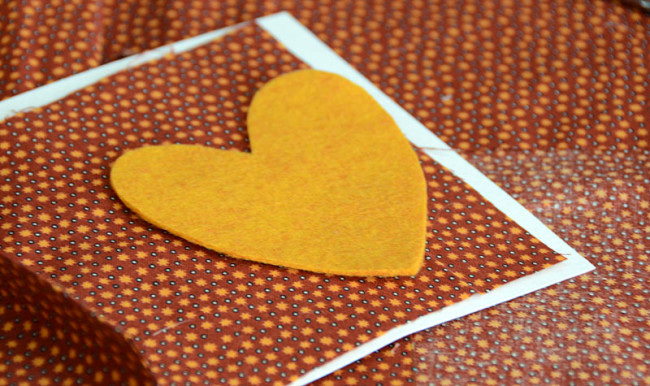
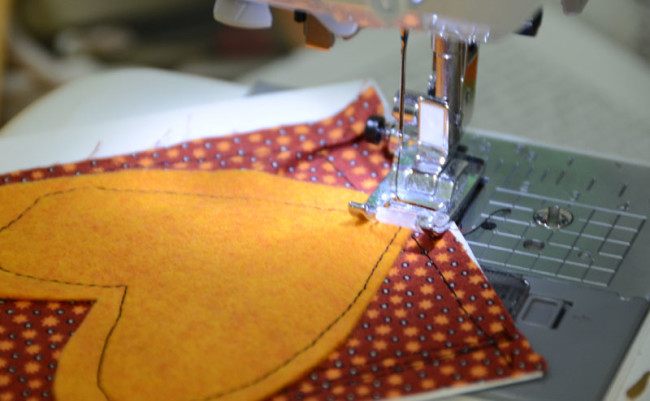
  1. Stitch a scrap of fabric, white trim, and felt heart onto a piece of white cardstockSewing Felt Heart
  2. Cut out hearts from a fabric scrap that have adhesive backing and iron them onto the card. Ironing fabric hearts
  3. Ink around edges of white cardstock if desired
  4. The final and fun part – adhere down buttons as desired and add word strips as well.

Beyond Thanksgiving, this simple card would be great for any holiday or occasion – and is a lot of fun to make! Don’t forget that you can create this design with either fabric or patterned paper.

0

Don’t Get Pinched! Guest Blogger DIY Shamrock Accessory

We are excited to have a guest blogger sharing this fun project.  Kadie from the fabulous blog 7 Alive is here to share her creativity.  Kadie is a DIY junkie like many of us as well as a fantastic crochet designer and mother to five kiddos.

Kadie

This easy project only takes minutes to create, and only a little longer to dry. You can easily create a fun shamrock for your kiddos or yourself to wear on St.Patrick’s Day.

Button Clover WT

You only need a few materials to create your own button shamrock.  These buttons are from the Bright Mix by Laura Kelly.  They are Forest Green and Candy Apple Green.

Button Clover Materials


To make your button shamrock ~

  1. Freehand or stencil a shamrock shape onto green craft felt.  We love the felt best from Kunin Group.
  2. Outline shamrock in fabric paint.
  3. Use craft glue to add buttons stacked large to small on top of shamrock.
  4. Make small bow out of ribbon using craft glue. Glue bow to steam of shamrock. (set aside till all glue dries)
  5. Optional ~ add a pin or hair clip to back of shamrock to make it easy to wear.

This is perfect for boys or girls and will insure no one in your family will get pinched on St. Patrick’s Day. :)

You can find more inspiration on Kadie’s blog HERE or by clicking on the picture below!

7 Alove

If you would like to enter to win a craft stash of products (and a gift card to Starbucks), go for it.

a Rafflecopter giveaway

Happy Creating St. Patrick’s Day Fun!


2

Felt Flower Clips

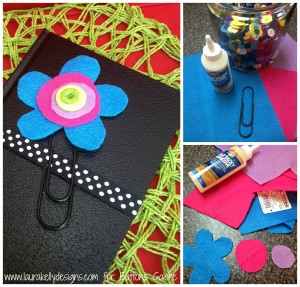
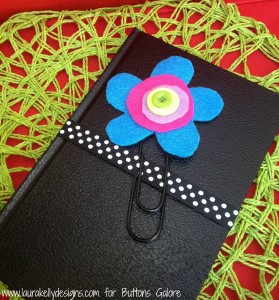
These cute little felt flower clips are great to create and make for Teacher Appreciation and Mothers Day gifts.  They are easy and fun!

Felt Flower Clips BGM

You only need  BUTTONS (I used my Laura Kelly Brights Mix) giant paper clips (could use little ones too of course), felt (I used Kunin Group) and Aleene’s Max Tacky Glue.  Cut out your felt flower layers then glue them together.  Add a few buttons and wa-lah, you have super cute clips that can be used to hold paper together.

Steps

They make great bookmarks too and would be fun packaged with a journal or a cookbook or a gift card to a book store.  I love this one packaged with a writing journal to give to a teacher.

Journal

What other ways can you think of to use these giant clips.   I wonder how they would work to hold bags of chips closed.

Happy Creating,

Laura


1

Lucky Felt and Button Four Leaf Clover

This quick craft creates a mini masterpiece that can be used to tie around a gift or use as a tie around a napkin for a table decoration.  It’s a quick, fun festive way to celebrate St. Patrick’s Day around your home.

material needed for the felt four leaf clover:

  • Green Felt in 2 Shades (Kunin makes the best!)
  •  Green Buttons
  • Needle/Green Thread (or embroidery floss)
  •  Ribbon

Directions for Lucky Felt and button four leaf clover. 

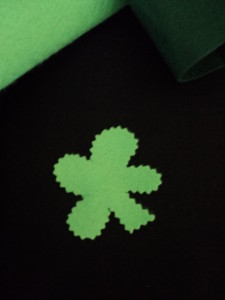
 1.  Cut a four leaf clover from the felt about 2 inches in diameter.  I used pinking shears.

Felt Clover

2. Cut another four leaf clover from the other shade just a tad larger.

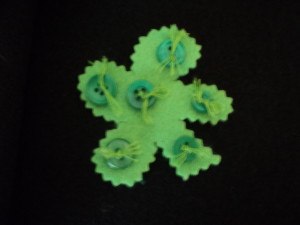
3.  Sew green buttons through the smaller felt shamrocks tying knots in the tops between each one.

DSC00598

4.  Sew the ribbon through both layers of felt hiding the stitches behind a button or two.  Use a length or ribbon that will go around your gift or rolled napkin.

FeltButtonClover

Ta Da…a mighty green little decoration that is bound to bring someone a little luck!  As tiny bit of Irish information- when making a toast, the Irish say “Slainte”.   Slainte is a well wish litterally translated – to your health.

3

DIY: Felt Ornaments with Snowman Buttons

I love to make ornaments for my daughter, nieces, and nephew. When I was a girl, my grandfather made all the children in the family wood ornaments and I treasure them more than words can say. My grandfather has passed away so I’ve taken over the ornament making duties.  Instead of wood, I make felt ornaments.They are different every year, but you can be sure they usually include buttons and embroidery! The Snowman Medley buttons by Vicki Schreiner were a great inspiration for this year’s ornaments. This project is great to work on while you are watching your favorite holiday movie, just cut out the pieces and stitch while you sip cocoa and put your feet up for a minute.
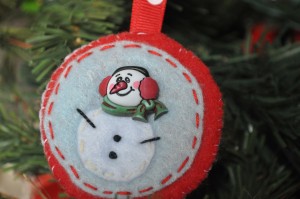
Snowman Oranment Close-up

Supplies for felt ornaments

  • Felt in 2-3 holiday colors & white
  • Snowman Medley Buttons (Great news! These are on sale! Click here to get the coupon!)
  • Embroidery Floss
  • Basic sewing supplies
  • Craft Glue
  • Ribbon cut to a 4″ length

Instructions for felt ornaments

1. Cut two, 2 1/2″ circles from felt.  They can be the same color or different.  One circle will be the large background of your felt ornament and one will be the back.

2. Cut one, 2″circle from a coordinating felt color.

3. Cut one, 1″ circle from white felt.  This will be the snowman’s body.

4.  Place the 2 1/2″ circle on your work surface.
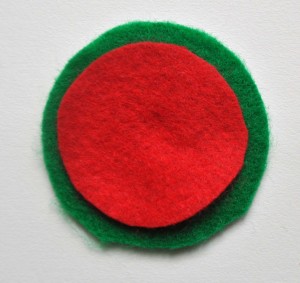
Snowman Stack 1

5.  Lay the 2″ circle in the middle of the larger circle.  Tack it down with a drop of glue.
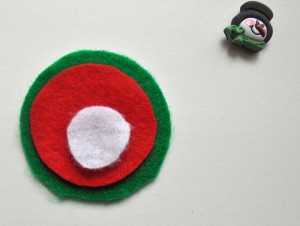
Snowman Stack 2

6.  Place the snowman body onto the 2″ circle and tack it down with glue.  Make sure you place the snowman body towards the bottom of the felt to allow for room for the snowman button.
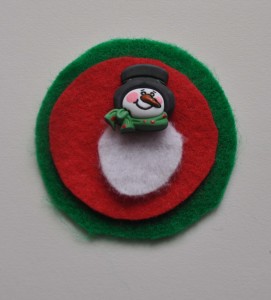
Snowman Stack 3

7.  Using scissors, clip the shank off the back of the snowman button and glue it down.

8.  Now it’s time to stitch!  First stitch the 2″ circle onto the 2 1/2″ circle.  I used a simple running stitch to do this.

9. Stitch the snowman body down.  I used a running stitch to attach the body to the ornament, then added some arms with a straight stitch and coal button French knots.  Play with the position of the arms on the snowman as this gives the little guy some personality.  Is he throwing his arms up in delight?  Keeping them by his side?  Pointing the way to the North Pole?

9.  Once everything is stitched into place on the front, it’s time to stitch the back felt circle to the front. You want to do this last as the back piece will cover all your stitching on the front piece.  First, fold your ribbon piece in half and tuck it behind your stitched, front circle, at the top.  Then place the back circle of felt on.  Pin it all in place and do a blanket or running stitch to hold it all together.
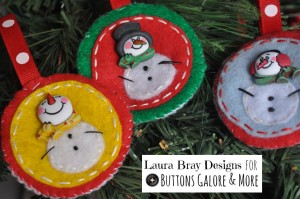
Snowman Ornaments

I hope you enjoy making holiday ornaments this year.  Maybe you will even start a tradition of a yearly handmade ornament at your house!


Wishing you the Happiest of Holidays!  To get lots of more crafty holiday ideas and recipes, please come and visit me on my blog at Laura Bray Designs.

Logo copy


hd-coupons-2

Remember, you can enjoy 50% off the buttons used in our project today. Visit our Coupons page for details! Special offer ends January 14, 2014.

Happy New Year!!!


1

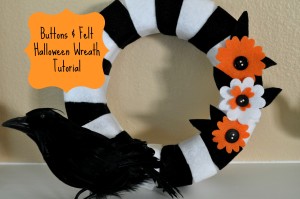
Button and Felt Halloween Wreath

Halloween Wreath

I’m not into the traditional, spooky look of typical Halloween décor.  I like cute and cute means buttons and felt.  I created this Halloween wreath with that in mind.  I love how the black and white reminds me striped witch’s stockings!

Supplies

  • 10″ Styrofoam wreath
  • Black and white felt, cut into 8″ x 2″ strips
  • Orange felt
  • Black buttons
  • Glue
  • Flower shaped die and die cutting machine.  (optional)

Instructions to make a button and felt Halloween wreath

  1. Wrap the black and white strips of felt around the wreath, alternating between the black and white felt. Glue into place.
  2. Die cut flower & leave shapes from white, black, and orange felt.  If you don’t have a die cut machine, simply cut the shapes by hand.
  3. Glue the flowers and leaves onto the wreath.

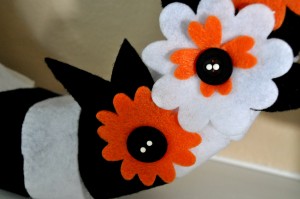
Halloween Wreath Close-Up

4. Glue buttons into center of flowers.  Tip: If you want the flower centers to have little extra pop, slide white-topped pins into the button holes.  So cute!

Thanks for crafting a cute Halloween with me today!  For my holiday inspiration, visit my blog at Laura Bray Designs

Business Card Logo in Black copy.


1

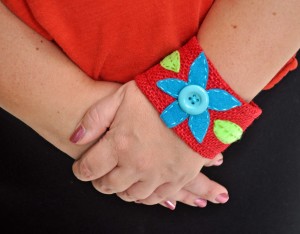
Burlap and Buttons Cuff

Short-sleeved, summer tops demand a good burlap and buttons cuff, don’t you think?  Create this simple and rustic burlap cuff for your next walk on the beach.  It’s hip and cool and so easy to make!

Cuff Beauty Shot

Supplies:

  • Burlap cut to 10″ by 6″
  • Assorted colors of felt scraps
  • Buttons
  • Embroidery floss & thread

Instructions to make a burlap and buttons cuff:

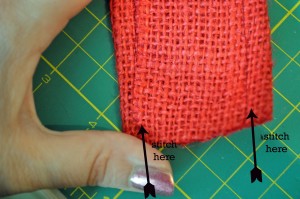
1. Fold the burlap into thirds to create a long strip measuring 10″ x 2″.  Pin in place and stitch along the edges.

Putting Cuff together

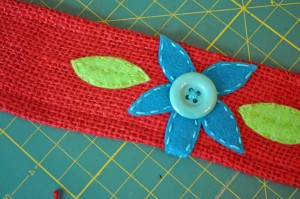
2. Using felt scraps, cut out petals and leaves to form a flower.  Arrange in the center of the burlap rectangle and using embroidery thread, stitch them into place.

3. Stitch buttons into place.  Use them for the center of the flower.  You can really go crazy and add more into the design. (I strongly believe you can never have too many buttons on a project!)

Sew on felt pieces and buttons

4.  Once the design is stitched in place, use embroidery thread to attach the two short ends of the cuff together.

Note: I measured my wrist at the beginning of the project and made sure that I could slip the cuff on and off.  If you prefer a tighter fitting cuff, measure your wrist size and then use a hook & loop, snap, or BUTTON closure to secure the cuff on your wrist.

Thanks for getting crafty with me today!  For more button crafts, stitching and lifestyle ideas visit me on my blog at www.laurabraydesigns.com.

www.laurabraydesigns.com

1

Felt and button crafts – S’mores by the Fire

Felt and button crafts – S’mores by the Fire – DOLL Size are quick and easy kids crafts that are created with bright and colorful Laura Kelly buttons.

It is that cool and breezy…camping time of year again.

Here is a quick and fun craft idea by Laura Kelly (and her beautiful step-daughter Jordan) for little girls…and their dolls to enjoy.  Creating with felt and buttons is both economical and simple.

IMG_3724

To make Felt and button crafts S’mores by the Fire you will need:

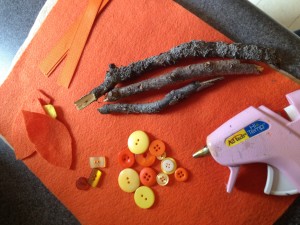
Laura Kelly buttons in Sunshine Yellow and Outrageous Orange, Sticks (real ones from the yard), Felt in yellow and orange, orange ribbon and hot glue (ad-tech lo-temp is what I used with kids)

IMG_3702

How to make Felt and button crafts S’mores by the Fire:

Assemble three sticks approximately 5-6 inches long each in a bonfire arrangement and hot glue them together.  Add felt flames in orange and yellow followed by buttons and ribbon in the same colors.  Using similar colors will help to make it look real.

DollCampfire

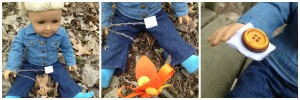
For extra fun, make a marshmallow out of white felt and a white button or a s’more out of brown buttons for crackers and chocolate added to your pretend marshmallow.

Doll_Smore

Have a great time enjoying your camp fire  and your button and felt  S’mores.  Happy Springtime, Camping, Outdoors and Creating!

2

Felt Easter Egg Treat Pouches

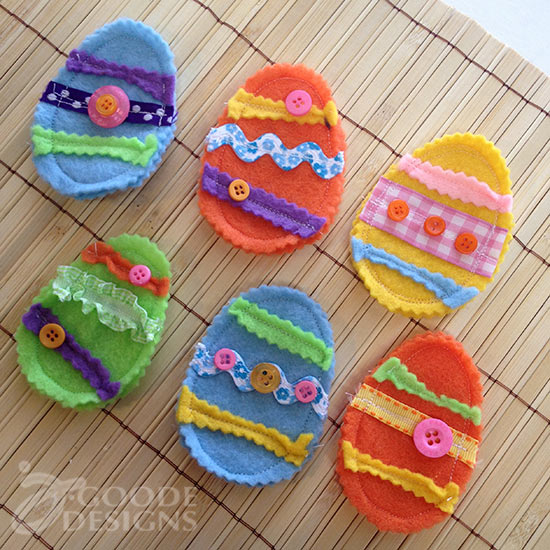
Use felt scraps and buttons to create cute little felt Easter eggs with a hidden surprise. Each little egg is actually a pouch. Each has a pocket in the back so you can put a little treat. You can make your eggs whatever size you like, I made these just big enough to hide a single little chocolate kiss. Add buttons to accent each egg, complimenting colors and adding a little bit of cute fun to each piece.  If you want to make them larger to hold a gift card you can.

Mini felt Easter Egg treat pouches

 Directions and materials to make the felt Easter egg:

Fiesta buttons are perfect for this Easter project! It’s a nice mix of spring colors you can mix and match with purples, greens, blues and yellows too. You can find the full tutorial to this project on my site. Learn how to make your own Mini felt Easter egg pouches.

0

Sweet Valentine hearts with little buttons and BIG Love!

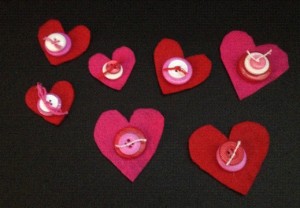
Sweet sweet Valentine hearts!  Little buttons are so fun to work with.  This project is so simple and so adorable that it is a Valentines Day must –do!

Directions to make sweet Valentine heart:

Using sharp fabric scissors, cut felt hearts measuring approximately 2 inches wide and 2 inches tall.

sweet valentine heart buttons

I like Kunon felt because it is thick and soft.  Stack several buttons on each felt heart and sew through the holes from top to bottom and back up through to the top.  Tie a knot on top of the button stack to secure the buttons.  For a more colorful effect, use different colored floss from the top button in the stack.

These sassy little button/felt hearts make a great addition to any valentine treat.  You can use them in many fun ways including a decoration on a treat box or bag.  To adhere them to your surface of choice, choose the glue that works the best for that surface.  I recommend Aleene’s Tacky Glue for most crafting projects that work with felt.

Valentine Felt Buttons Pkg

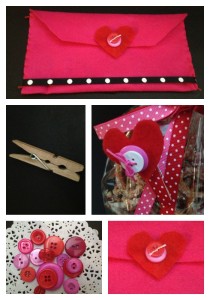
If you really love stitching, you can turn a piece of felt into an envelope with a few quick stitches up each side and add a felt heart button stack to close up a love letter with a special touch.  I added ribbon to mine too!  You can also add one to a little clothespin and attach to a Valentine’s Day Treat!  This pretzel treat is super yummy.  You can get the recipe on Laura’s Inklings.
Felt Button Heart BG

Materials needed sweet Valentine heart:

Red, Pink and White Buttons (Laura Kelly’s Bright Colors), Red, Pink and White Embroidery Floss, Red and Pink Felt, Embroidery Needle and Scissors.

I really hope you enjoy making the sweet valentine heart as much as I did.

1

Make holiday trees whimsy and bright with buttons and Styrofoam cones

I love to make holiday trees with buttons and Styrofoam cones.  It’s such an easy project and the possibilities are endless!  This year I created some merry and bright trees using brightly colored felt and buttons (and a little glitter of course!) You can make the trees in any color combination, to coordinate with your decor.

Directions to make holiday trees:

Make holiday trees with Buttons GaloreSupplies to make holiday trees:

Instructions

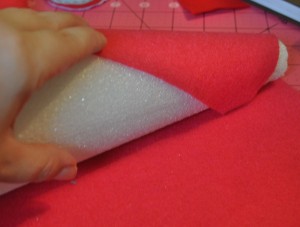
  1. Glue felt to Styrofoam cone. Set aside to dry.Make holiday trees with Buttons Galore
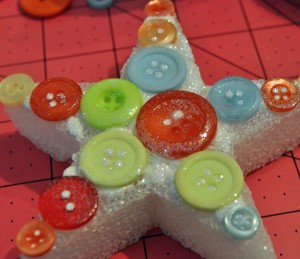
  2. Glue felt around the edge of the Styrofoam star.
  3. Glue buttons onto the front surface of the star.Make holiday trees with Buttons Galore
  4. Squeeze glue into spaces around buttons and sprinkle glitter all over the star.  Shake off excess.
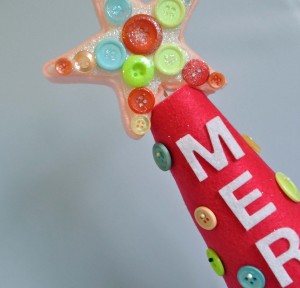
  5. Using felt letters, spell out your message on the cone tree vertically.
  6. Using stick pins, attach buttons all over the cone tree.
  7. Glue pom pom trim around the bottom of the cone tree.
  8. Stick one end of wood skewer into the base of your button and glittered star.  Stick the star onto the top of the tree.Make holiday trees with Buttons Galore

Laura Bray www.laurabraydesigns.com

I hope you make holiday trees for your home.

1

Make button snowman gift tags and two other christmas gift tags

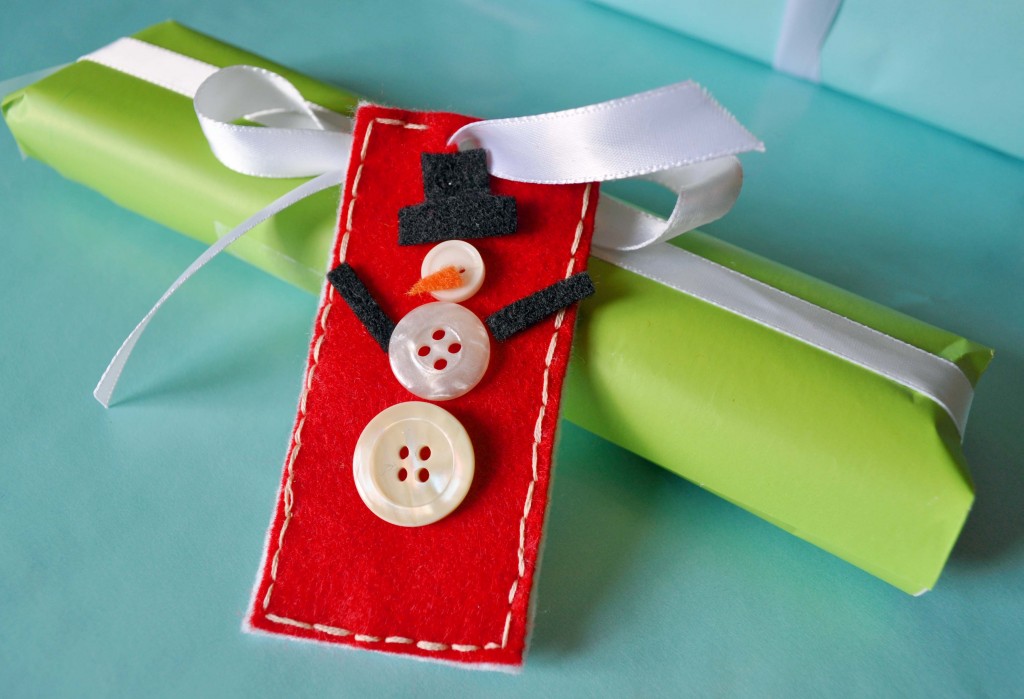
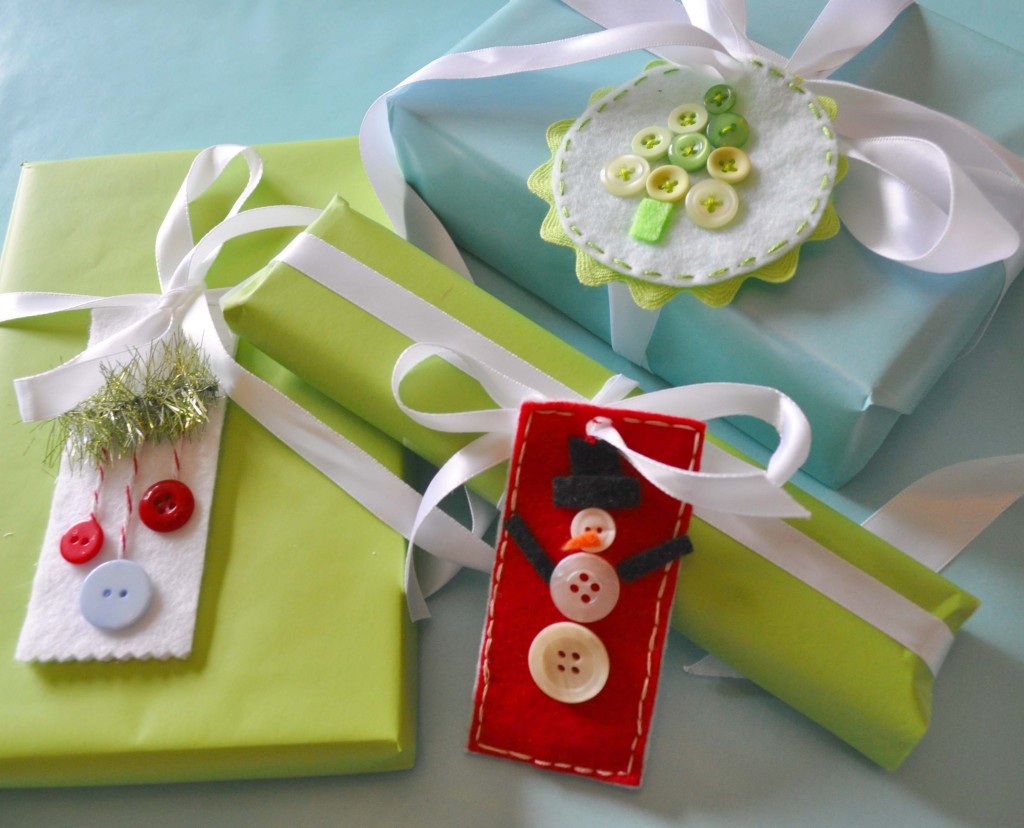
Button snowman gift tags with buttons and felt are easy to make. These cute gift tags will take your gift giving to the next level and when the gifts are unwrapped, the tags can be used as tree ornaments. I love it when things can be multi- purpose. The nice thing about a button snowman is that he can be used past Christmas.

Snowman Gift Tags

Here’s how to make button snowman gift tags:

Supplies:

  • Two pieces of felt cut into a 3″ x 5″ rectangle
  • Three white buttons. 1 Small, 1 medium and 1 large sized look the best
  • Glue
  • Scrap pieces of black felt , cut into a 1 small square, 1 small rectangle, and two long rectangles
  • Scrap piece of orange felt, cut into a 1 small triangle
  • Embroidery floss and basic embroidery supplies
  • Printer paper, cut to approximately, 2.25″ x 4.25″
  • Hole punch
  • Ribbon

Instructions:

  • Glue buttons onto felt. The smallest button is the head of the snowman.
  • Glue on small black square of felt for the top hat.
  • Glue on small black rectangle of felt for the brim of the hat.
  • Glue on two long rectangles as arms.
  • Glue on small orange triangle for the carrot nose.
  • Print or write on printer paper (this is where you would write the “to” and “from” of the gift.
  • Stitch the paper onto the second rectangle of felt.  You can either hand-stitch it or use your sewing machine.
  • Place the blank backs of the felt rectangles together.  Stitch (I used a running stitch) or glue together.
  • Punch a hole into the top of the tag, and run a ribbon through it. Attach it to your gift or hang it on the tree.

Snowman Tag Tutorial

After making the button snowman gift tags, I came up with a few other tag ideas:

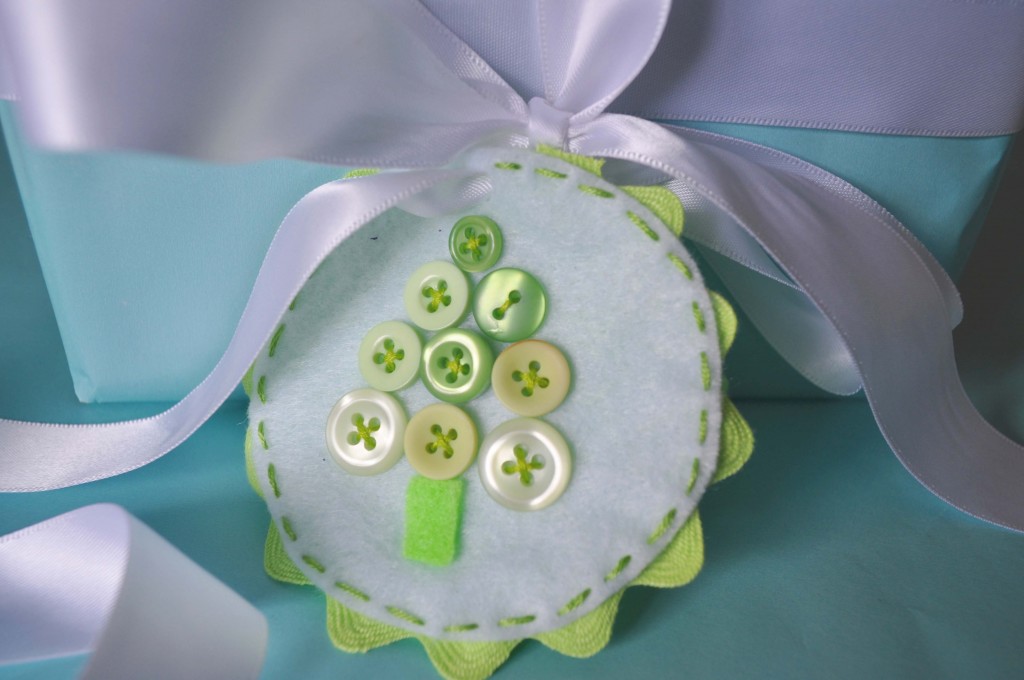
Ric Rac and green buttons make a cute Christmas Tree tag.

Christmas Tree Holiday Gift Tag

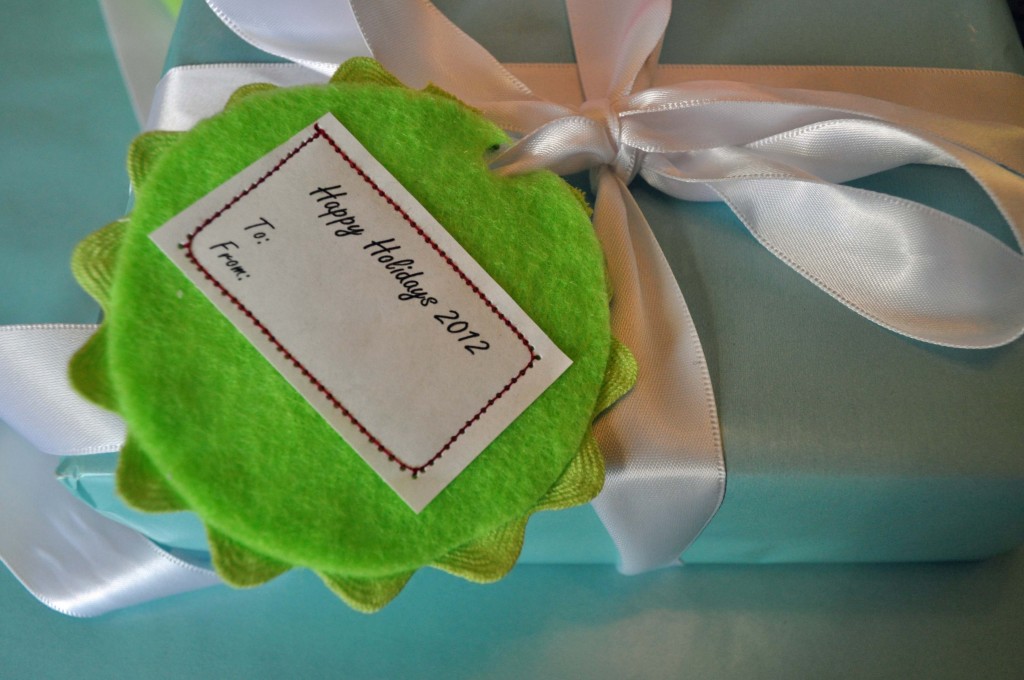
Isn’t the back cute?

Christmas Tree Holiday Tag Back

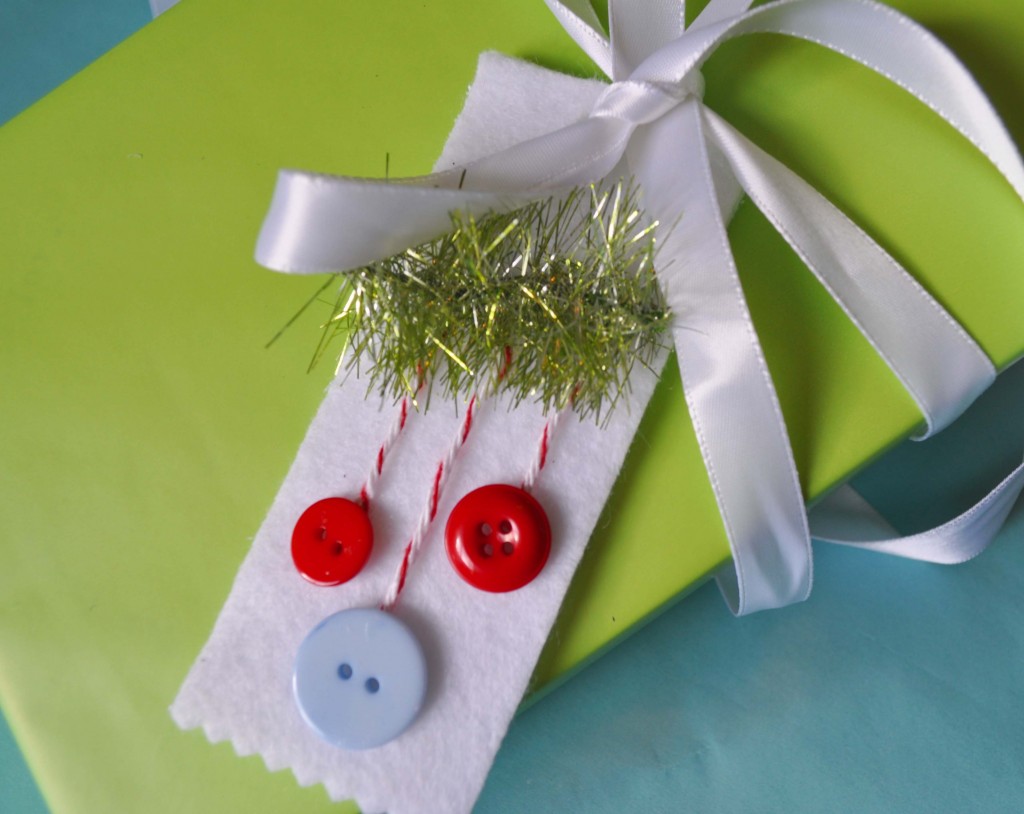
Some garland really makes this Christmas Ornament gift tag sparkle!

Christmas Ornament Holiday Gift Tag

Have fun and let your holiday spirit take control!

Holiday Gift Tags

Thanks for taking the time to look at the button snowman gift tag and the other ideas too.

1

A DIY on How to Make a No Sew Tutu Tutorial Embellished With Felt Leaves & Buttons

 no sew tutu tutorial

Good Morning! Today I have a stepped up version of a no sew tutu tutorial from a great DIY blog called – Skip To My Lou. I followed all of her steps but where she stops is where I picked up to make this fun and oh so seasonally perfect button embellished tutu! Here’s how I just kicked her’s up a notch – Enjoy!

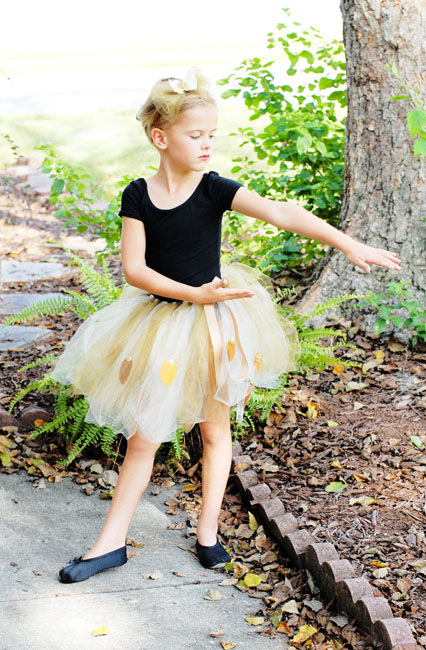
 no sew tutu tutorial Autumn Forest Nymph Tutu

Find an adorable little girl who you can transform into an Autumn Forest Nymph!!
 

Direction to make a  no sew tutu tutorial/ Autumn Forest Nymph Tutu


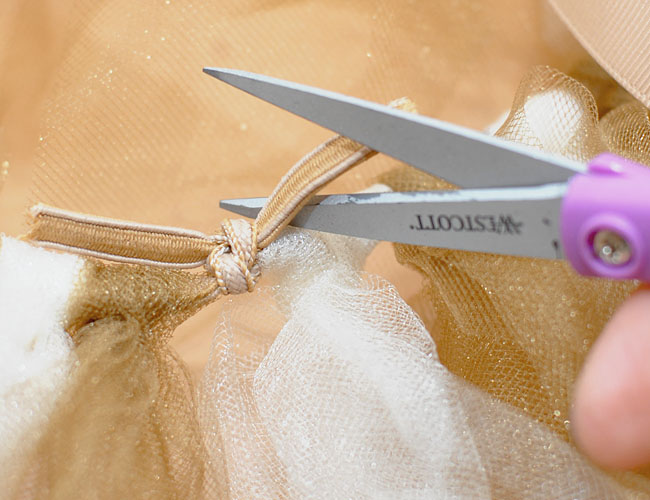
Follow tutorial found on Skip To My Lou’s Blog (http://www.skiptomylou.org/2011/11/01/no-sew-tutu-tutorial/) but cut away the excess elastic.


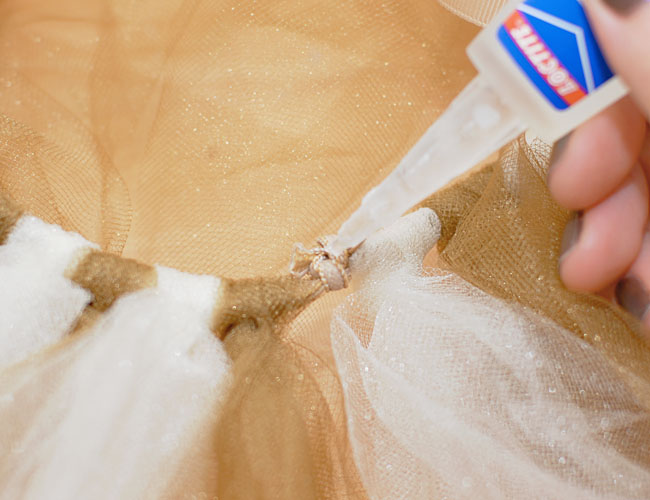
Add a bit of superglue to the knot to be sure it is held securely.


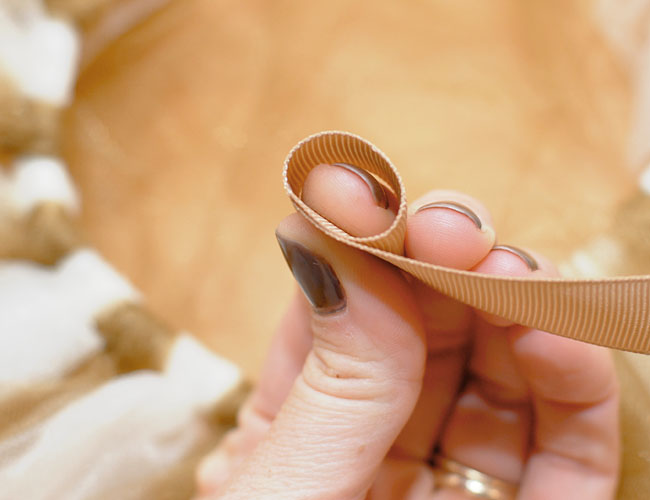
Wrap the ribbon around your finger to measure out how much ribbon will be needed to fit round the knot and still have plenty of room to pass the other length of ribbon through.


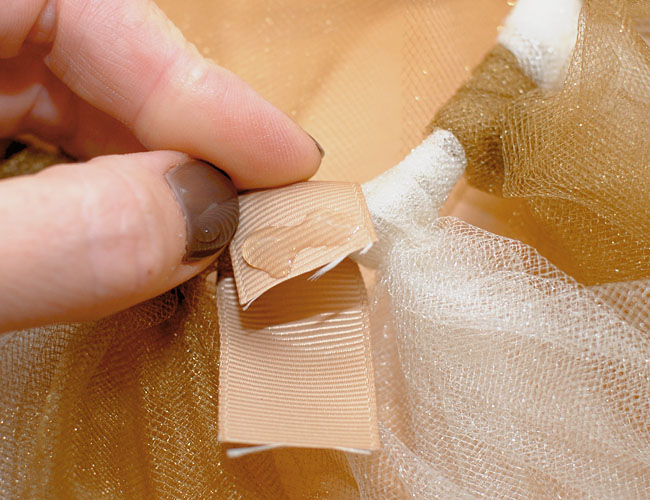
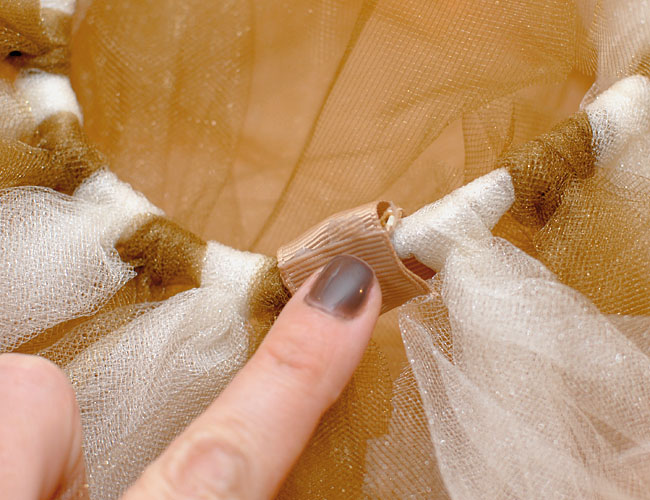
Wrap the ribbon around the knot and hot glue in place.


Be sure to keep edges of ribbon even and hold end of ribbon in glue until glue cools.


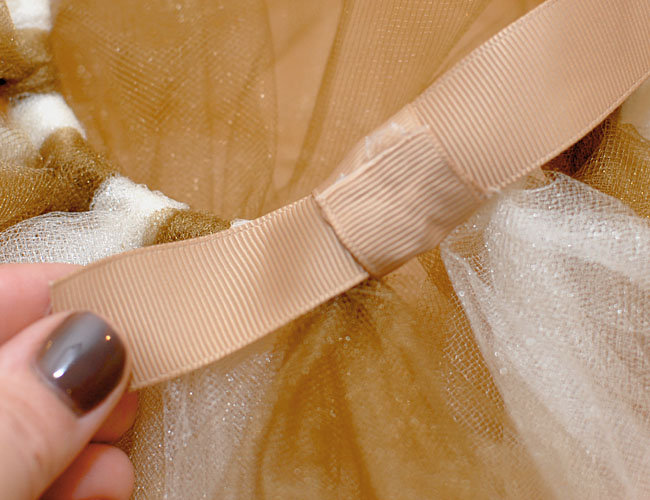
Pass the ribbon through the loop and tie into a perky little bow.


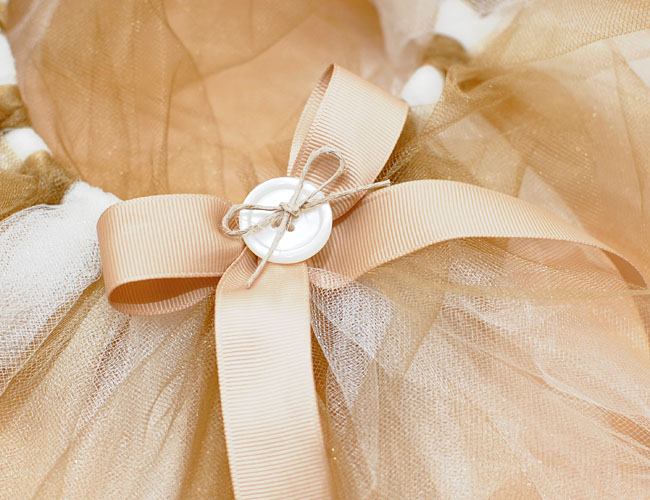
Embellish the center of the bow with a large button that has a bow of hemp tied through the center.


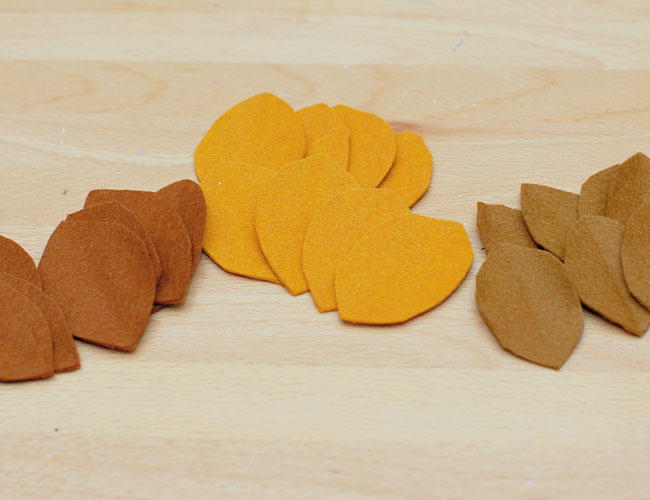
Gather a few different colors of Autumn colored felts.


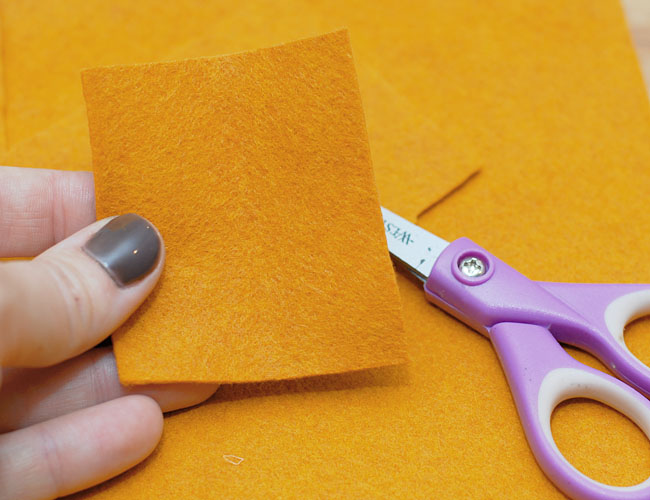
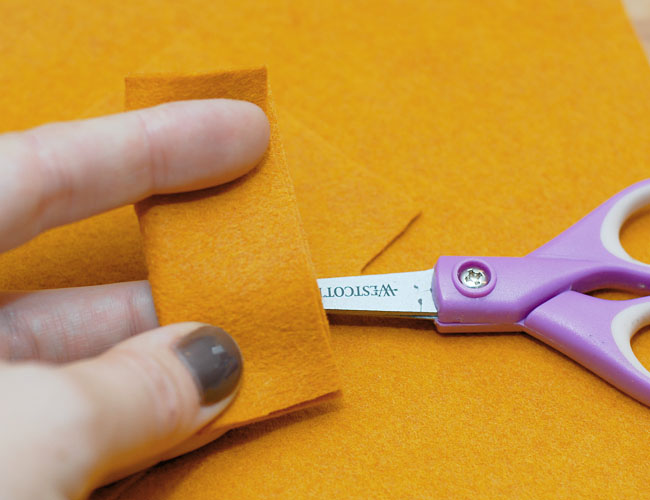
Cut felt into approximately 2″ x 3″ rectangles.


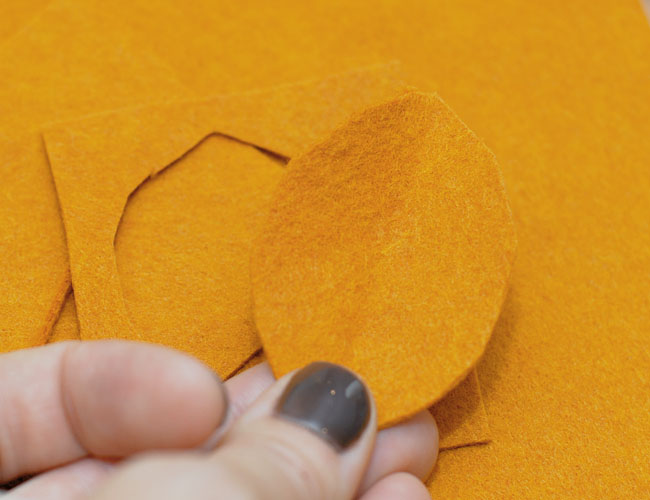
Fold rectangle in half and cut a half leaf shape on fold.


Open to reveal leaf shape.


Repeat with additional colors of felt until you have a good assortment of felt leaves.


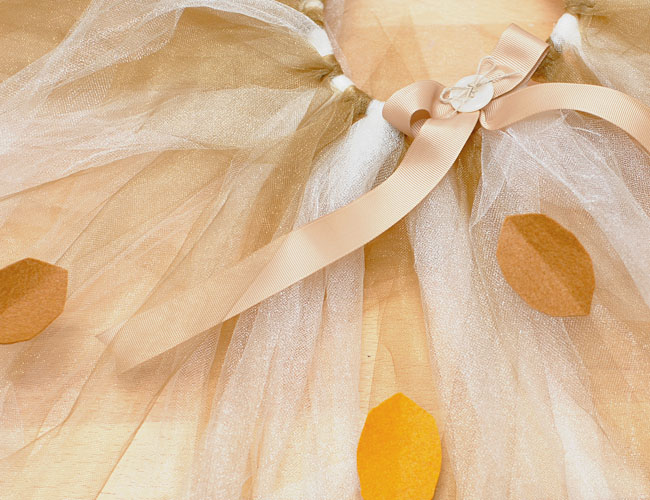
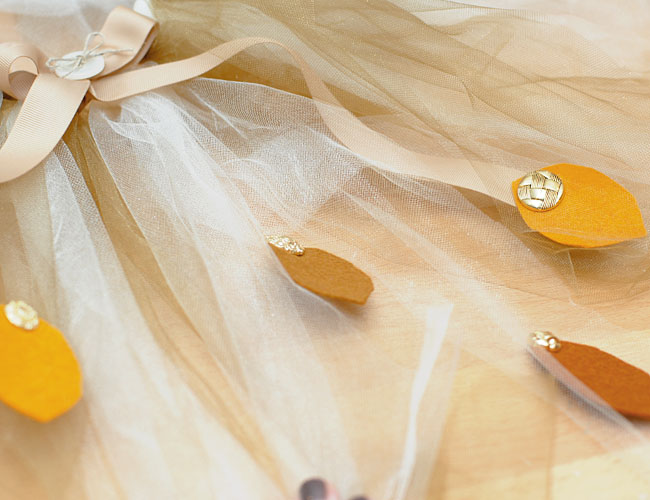
Place leaves all over tutu before gluing into place to be sure you have a good mix of colors and spacing.


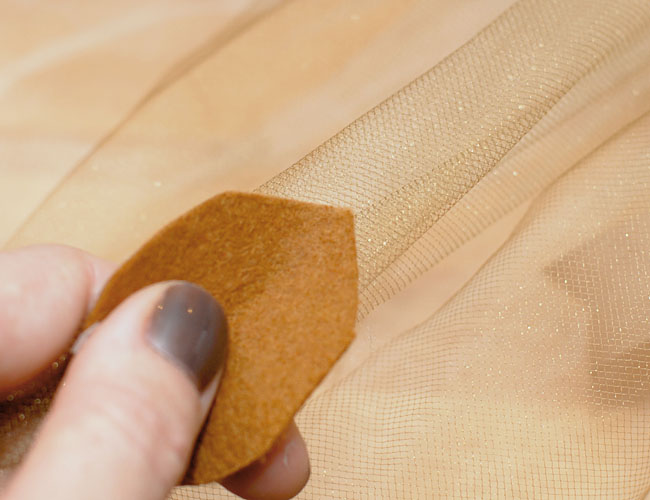
CAREFULLY adhere using hot glue. Be careful as the glue will go right through the tulle if you aren’t careful!
 

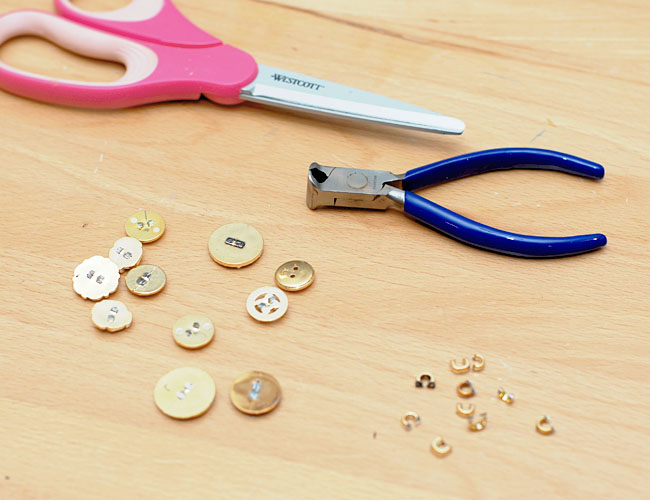
Using either heavy duty scissors or a button shank remover tool, remove the button shanks from as many buttons as you glued leaves.


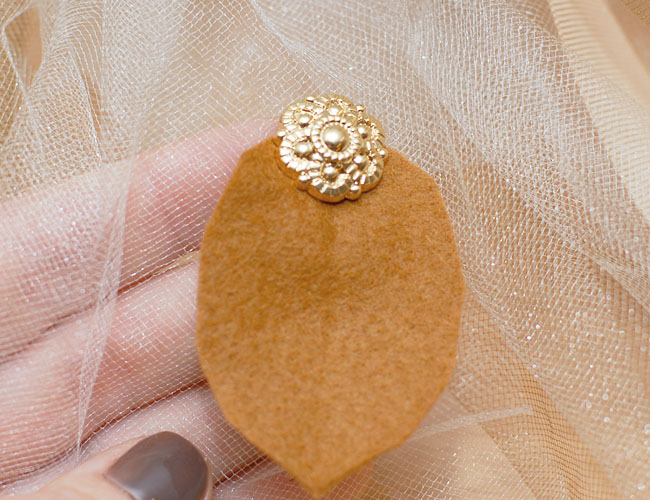
Carefully adhere a button to the top of each leaf on the tutu.


Finish gluing a button to each leaf to finish embellishing the entire tutu.


Find an adorable little girl who you can transform into an Autumn Forest Nymph!!


I hope you have enjoyed this  no sew tutu tutorial /Autumn Forest Nymph Tutu.  It was fun and easy to make and my daughters love it.

4

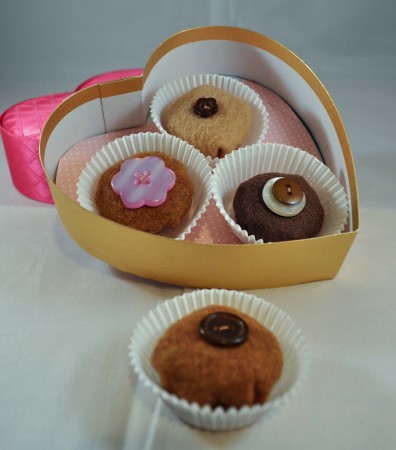
Button Bon Bons for Valentine’s Day

Button Bon Bons by Laura Bray

Button Bon Bons by Laura Bray


I love Valentine’s Day, but my hips don’t.  If you give me a box of chocolates, I will eat it!  So I whipped-up some calorie-free, faux chocolates.  Tucked into an old chocolate box (of which I have more than a few, ahem), they make a darling Valentine vignette.  Or pack up a few as party favors.  Here’s the recipe:


Button Bon Bons for Valentine's Day


Button Bon Bons

Ingredients:

  • Brown felt, cut into 3″ circles.  I just traced the bottom of a can to get my circle.  Use light and dark brown colored felts for milk and dark chocolates!  White works too.
  • Needle & thread
  • Stuffing
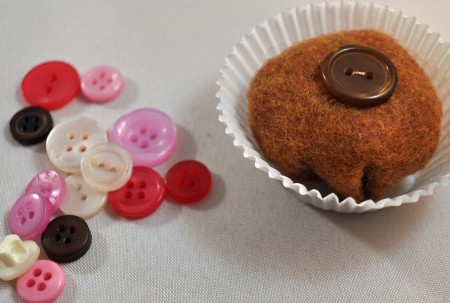
  • Buttons.  The colors in Buttons Galore & More Confection Button Jar are perfect!
  • Mini-cupcake wrappers
  • Craft glue
  • Candy box

Instructions:

  1. Sew a running stitch around the outside of the felt circle.  Pull ends like you are making a yo yo.  Before tying them, stuff the bon bon .
  2. Sew buttons onto top of felt bon bon.  Get creative!  Stack them up!
  3. Apply some glue to the bottom of a mini-cupcake wrapper, and place the felt bon bon into the wrapper.
  4. Arrange the bon bons in a candy box.
  5. Enjoy them, guilt-free!


  1. Button Bon Bons for Valentine's Day

    Button Bon Bons for Valentine's Day


2

Valentine's Day Countdown Calendar


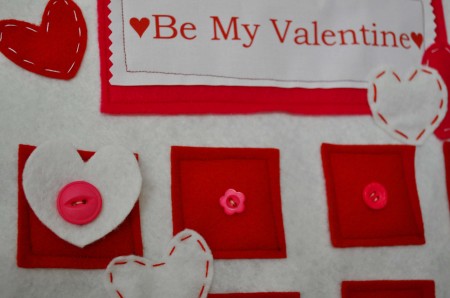
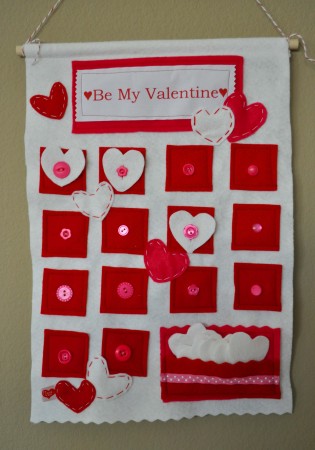
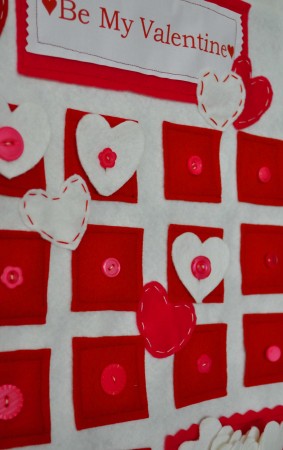
If your little one is anything like mine, you pretty much start looking forward to Valentine’s Day right after Christmas.  I created this felt and button Valentine’s Day Countdown Calendar to channel some of my daughter’s excitement.


Supplies:

  • White felt
  • Red felt
  • Pink felt
  • Wave rotary cutter
  • Sewing machine
  • Buttons-I used Buttons Galore and More’s Raspberry Bulk Pack, because you can never have too many pink buttons!
  • Embroidery floss & Needle
  • Ink jet, printable fabric
  • 13″ wood dowel
  • Red & white bakery twine

Instructions:

  1. Cut a piece of white felt into a 17″ x 11″ rectangle.
  2. Fold one short side over 1″ then sew to create a pocket to put your dowel through later.
  3. Trim other short end using a wave rotary cutter or pinking shears.
  4. Cut a 7″ x 3″ rectangle from the pink felt.
  5. Using your printable fabric and word processing software, create a sign for the top of your calendar.  Mine says “Be My Valentine”.
  6. Cut the printable fabric into a 6.5″ x 2.25″  rectangle.
  7. Place pink felt triangle, centered and about 1″ inch down from top of white piece of felt. Remember, the top of your calendar will be where you stitched a pocket for the dowel.  Pin and sew.
  8. Center your printable fabric on the pink rectangle.  Pin and sew.
  9. Cut 14 2″ x 2″ squares from your red felt.
  10. Sew one pink button into the center of each red felt square.  I found the middle by folding the square in half, finger pressing, then folding it the other direction and finger pressing.  Attach you button where the lines cross.  Easy!
  11. Cut fourteen hearts from your white felt.  To get evenly sized hearts, I cut 2″ x 2″ squares from the white felt, folded them in half and cut half hearts.
  12. Carefully cut a small slit into the center of each heart.
  13. Measure down 1/2″ from the pink felt and 1/2″ in from edge of white felt.  Place your first red square there and pin.  Measure 1/2″ over to the right and pin.  Continue pinning on red squares, making sure you line them up evenly.  Sew the squares onto the fabric.  You can use your sewing machines to do this (just be careful not to run over the buttons) or attach them using a cute embroidery stitch.
  14. Cut a 5″ x 3″ rectangle from the pink felt.  Using your wave rotary cutters or pinking shears, cut a decorate edge along one of the long sides.
  15. Cut a 5″ x 1.5″ rectangle from the red felt.  Using your wave rotary cutters or pinking shears, cut a decorate edge along one of the long sides.  If you want to add a decorative ribbon, sew it on now.
  16. Place the red felt rectangle onto the pink felt rectangle, lining up the straight, long edge.  Sew three sides together, leaving the long, decorate edge of the red rectangle open.  You now have a pocket for your extra hearts.
  17. Sew the pocket onto the white base, 1/2″ down from the last row of red squares, 1/2″ from the right side of the white base.
  18. Cut out additional felt hearts in pink, red, and white and sew onto the calendar randomly.  Use cute embroidery stitches to attach them.
  19. Slide dowel through the top pocket of your calendar.  Tie baker’s twine to end of dowels and hang.

You are done!  Store your white hearts in the pocket.  As each day dawns, allow your child to button a heart onto one of the red squares.  When the all the squares are full, it’s Valentine’s Day!  Use the now empty pocket to store a few Valentine’s and enjoy your calendar for a couple of extra days after the holiday.


Valentine Countdown Calendar by Laura Bray


I know this calendar is a lot of work, but I was able to get mine done in about 3 hours total.  I think it’s worth the work-after all it’s a heirloom item.


2

Mini Button Art

I love buttons and don’t want to just hide them in a box somewhere.  I showcase some of my favorite buttons by creating little pieces of art.  This is a super quick project that is great for a beginner button fan!

Continue Reading →

9

Shamrock Treat Bag

DSC00602-1 

Did your little one just tell you that you need to make party favors for school on St Patricks day? No worries, Laura Kelly has you covered.

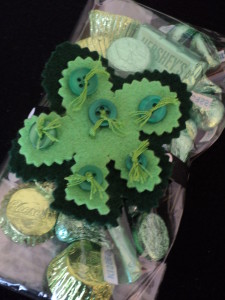
Cut a large shamrock out of dark green felt and a smaller shamrock out of light green felt. Laura used pinking shears to give her shamrock a decorative edge.

Sew buttons (or glue them) onto the light green felt and then glue the smaller shamrock onto the larger one.

Attach the finished shamrock to a ribbon or whatever you might have on hand and attach it to the treat bag.

0

Powered by WordPress. Designed by WooThemes