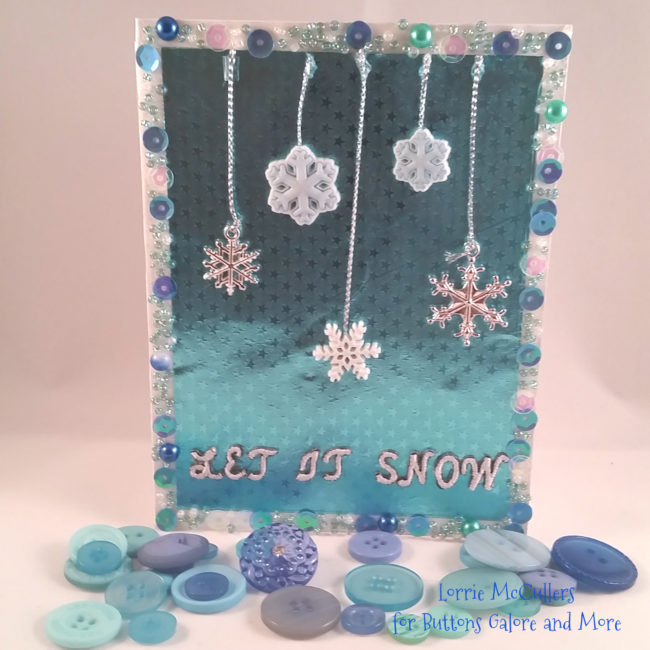
Nothing says Christmas like a flurry of snowflakes! Using adorable buttons and a beautiful sequin mix from Buttons Galore and More, I am getting into the Christmas spirit with this Let It Snow Christmas card. Continue Reading →

Nothing says Christmas like a flurry of snowflakes! Using adorable buttons and a beautiful sequin mix from Buttons Galore and More, I am getting into the Christmas spirit with this Let It Snow Christmas card. Continue Reading →
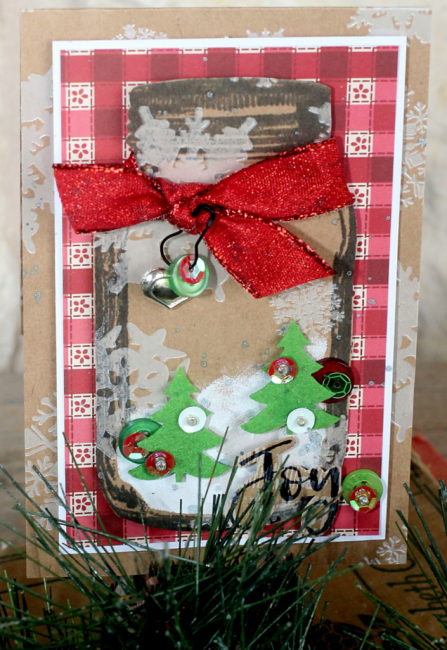
Hi, Connie here with Buttons Galore & More design team sharing a Snow Globe Christmas card using the Holly Jolly embellishment kit by 28 Lilac Lane. It is never too early to start thinking of creating special, one-of-a-kind Christmas cards for those special people you love. Our 28 Lilac Lane collection has put together embellishments kits that take the guess work out of creating special cards. Holly Jolly is the Christmas embellishment kit that is full of festive embellishments that will make beautiful cards – the cards people will want to keep and display! Continue Reading →
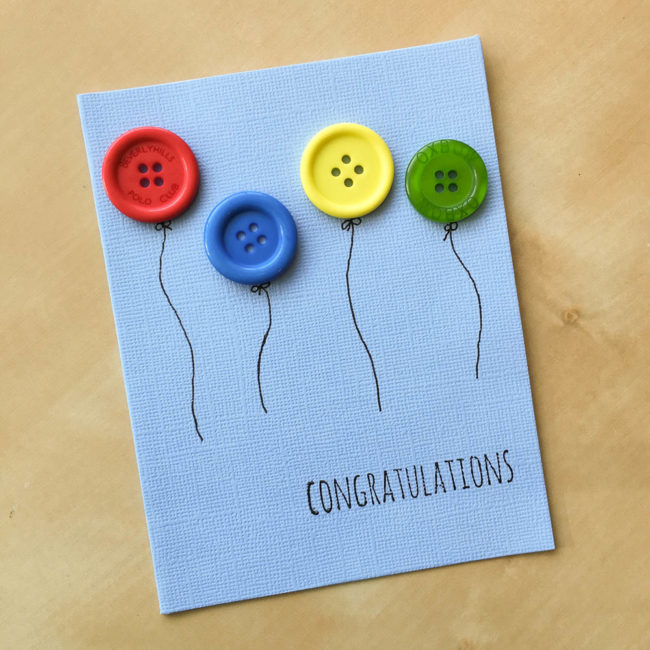
This time of year means graduations, and all sorts of other occasions for which congratulations are in order. Running out of time to make cards for all of them? Just dive into your Button Bonanza bags and dig out some of the largest buttons to make balloons!
Supplies:
I used the “primary” Button Bonanza bag for this but the beauty of a simple design like this is that you could use any color scheme that works for your occasion. For a graduation or sports-related occasion, use school colors! Recent graduate got a new job? Make your balloons the recipient’s favorite colors or their new employer’s corporate colors. With our huge palette of Button Bonanza colors, the options are endless!
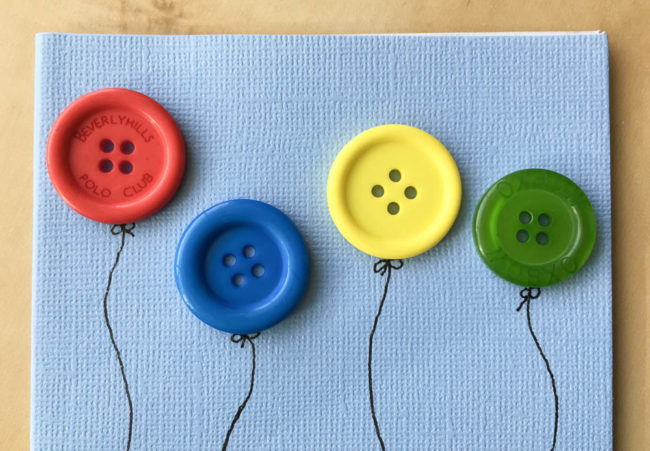
To make this card, select the buttons that you want to use and arrange them to make a row of “balloons”. Before you glue them down, nudge them up just slightly to get a pen in to draw your “string” lines and bows. Then use clear drying adhesive like PPA Matte Adhesive to glue the buttons down so that it looks like the strings are tied to their bottoms.
For the final step, get out a handwritten sentiment stamp (or a pen if you are braver than I am) and use black ink to stamp the sentiment in the lower right corner of the card front.
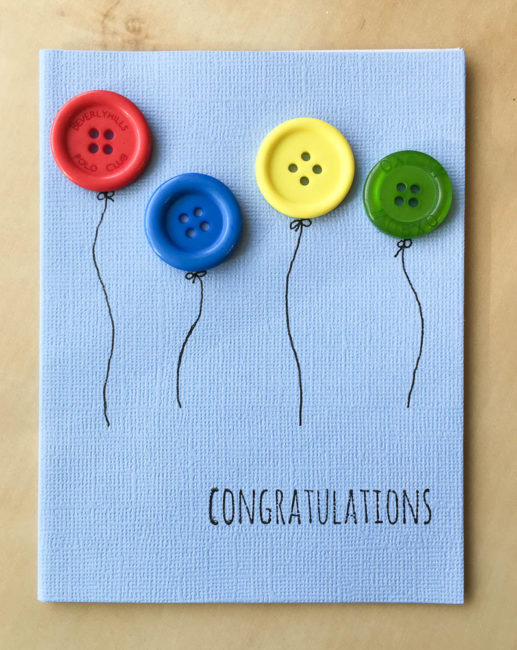
Send some button balloons to someone special!
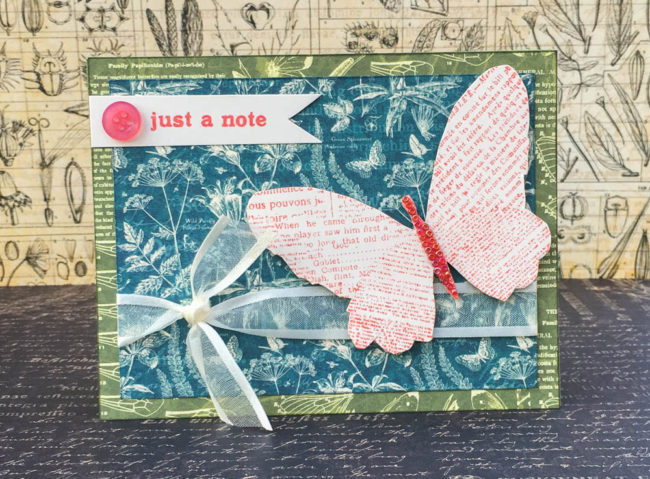
It’s officially spring, so let’s use some 28 Lilac Lane to create a butterfly card to send some spring greetings with!
Supplies needed:
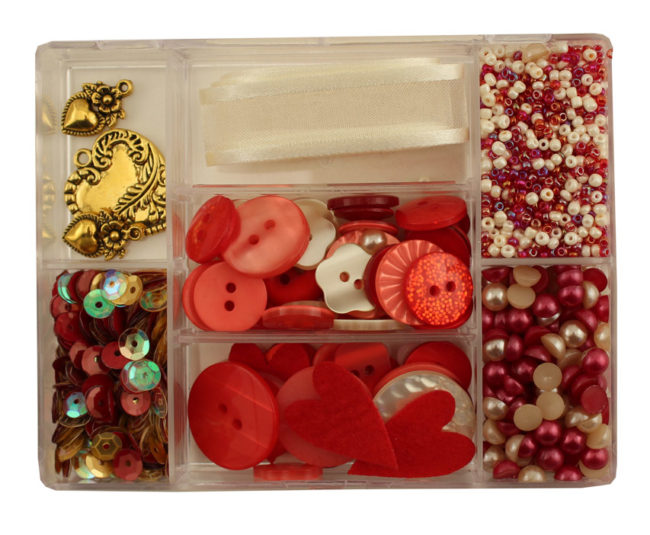
This butterfly card uses the “Love Story” kit by 28 Lilac Lane. With cream ribbon, heart charms, and embellishments in shades of red, pink & white, this kit is as versatile as it is gorgeous! Although at first glance this kit is a Valentine’s Day, wedding, or “I love you” themed kit, projects like this one are a great reminder to look at the kits for the colors of their contents as well as their themes.
 To start making this butterfly card, cut a piece of green patterned paper to 4.25″ by 5.5″, ink the edges, and adhere it to the card base.
Cut a piece of blue patterned paper to 3.75″ by 5″ and ink the edges. Tie the ribbon ends together, and then secure the ribbon around the back side of the blue patterned paper. Adhere the blue patterned paper panel to the card front.
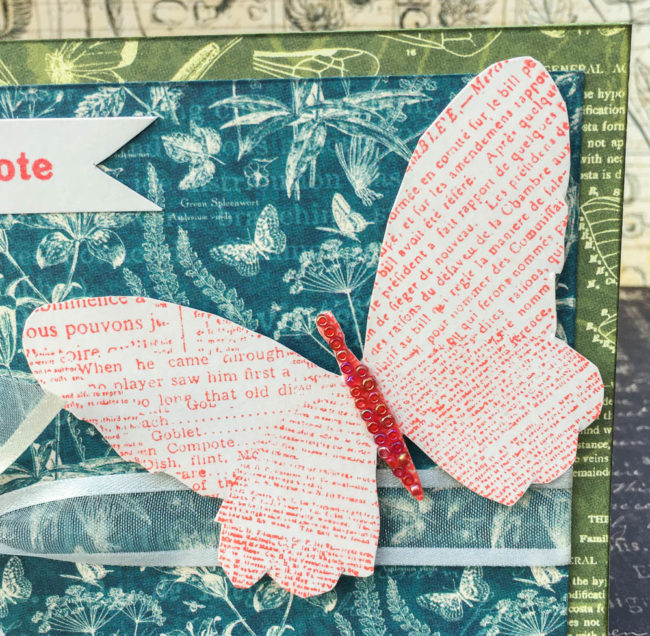
Stamp the butterfly and card sentiment on cream cardstock. Cut out the butterfly. Trim the sentiment into a 5/8″ wide strip, and snip the ends to make a banner.
Adhere the sentiment banner to the top left of the card front, and glue a button on top of it.
Squeeze a strip of glue down onto the body of the butterfly, and then layer seed beads on top of it. Once the glue is dry, use foam adhesive to attach the butterfly to the card front.
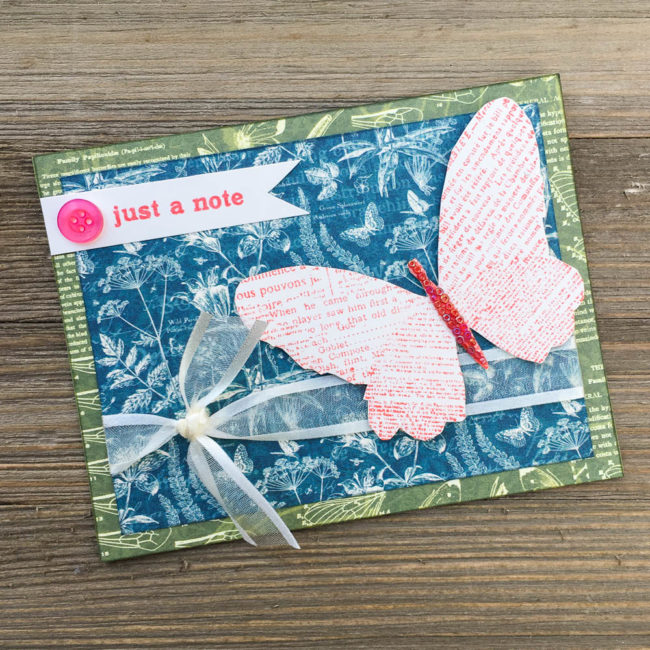
And your butterfly card is all finished, except to choose someone special to send it to!
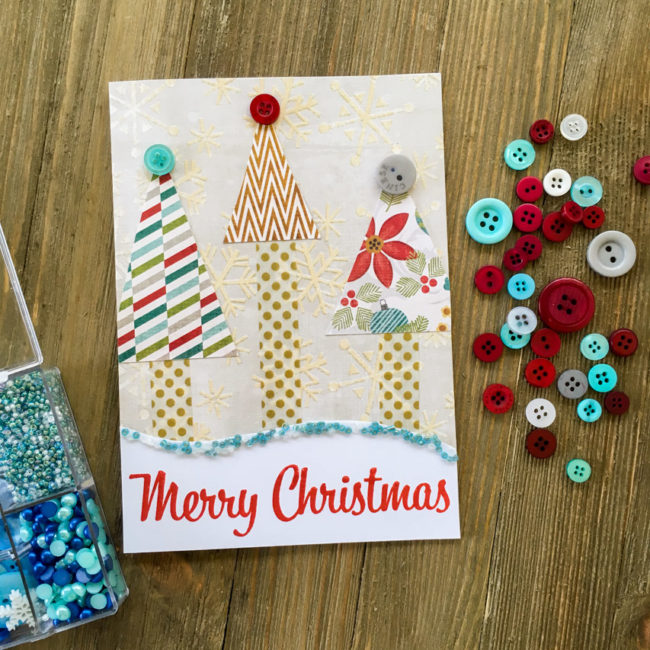
Tis the season to be jolly! Today I’m here to show you how to combine two of our holiday products that have a turquoise toned blue in their palette to make a fun retro Merry Christmas card!
Supplies Needed:
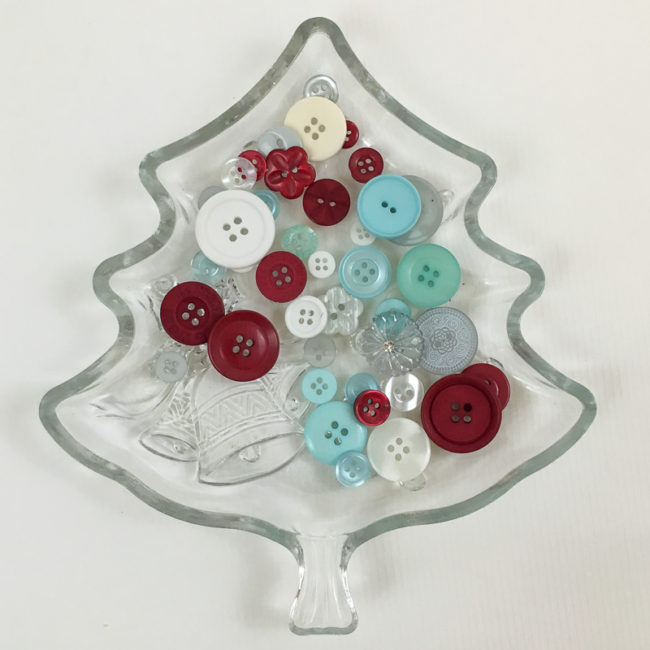
This project pairs seed beads from our beloved 28 Lilac Lane “Let It Snow” embellishment kit with buttons from our new “Cool Winters” Button Basics. With similar tones of blue, these two coordinate together beautifully to add a pop of trendy color to holiday projects of all kinds.
This card is 5″ by 7″, so to start my retro Merry Christmas card I cut the snowflake background paper to that size.
Next, I cut a 5″ wide strip of white cardstock that was a few inches tall. I stamped “Merry Christmas” on it with red ink, centering the image near the bottom. Then I used scissors to cut the top of the sentiment block into a wavy design.
To create the beaded edge, I started by spreading a bead a white glue along the edge. Then I sprinkled seed beads over the glue until it was covered, and set the sentiment block aside to dry.
Cutting the trees is easy! I simply used three scraps of paper and cut them into various sizes of triangles. The tree “trunks” are made from washi tape (but could also be made from strips of paper). Some of the tree triangles hung over the edge, so I just snipped them off. Once those elements were adhered in place, then I used liquid glue to adhere three buttons as toppers for the trees.
Once the glue holding the seed beads was dry, then I adhered the sentiment block across the bottom.
To finish my card, I used white cardstock to make a blank card and then adhered the finished card front onto it.
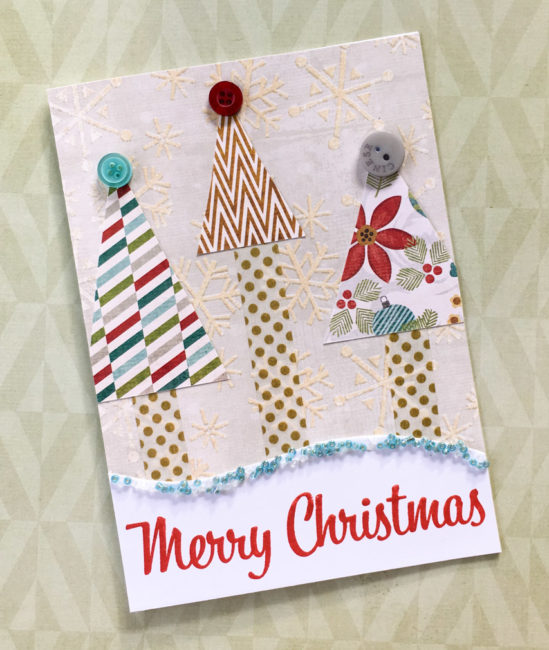
I hope this cheery little retro Merry Christmas card greeting will help you brighten the holidays of someone special!
I spent the weekend creating new storage for my buttons that has them arranged in rainbow order. After playing with a giant rainbow of buttons for hours, it left me in the mood to create a button rainbow card for my project today!
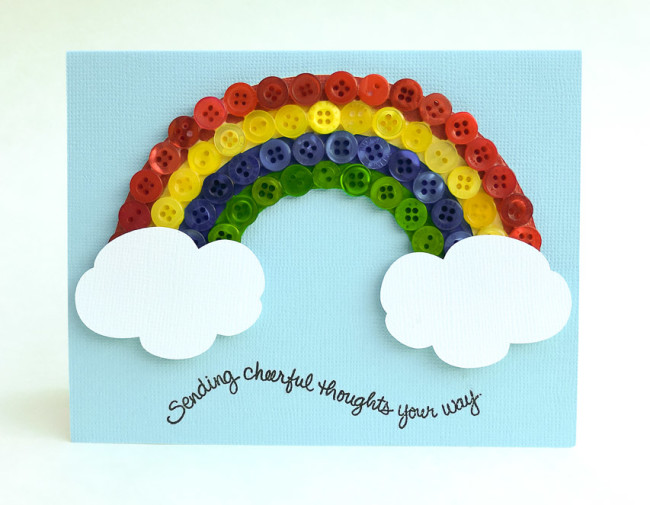
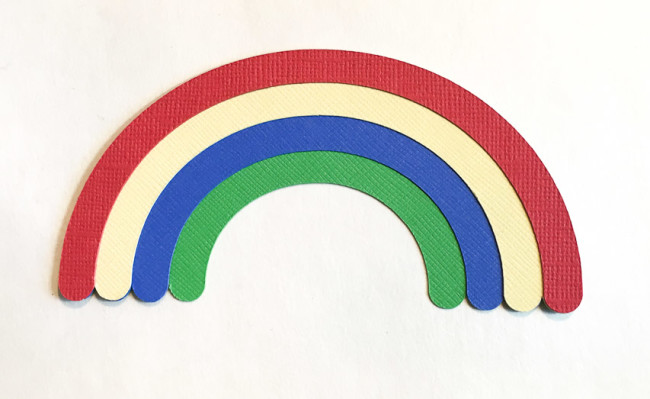
A rainbow like this is just a simple button collage. The trick is to get the curves lined up and space correctly. I made that simple for this project by using a die cut as a basis for the collage. Because I cut the die cut from cardstock that matched my buttons as closely as possible, the cardstock background will “fill in” visually between the buttons.
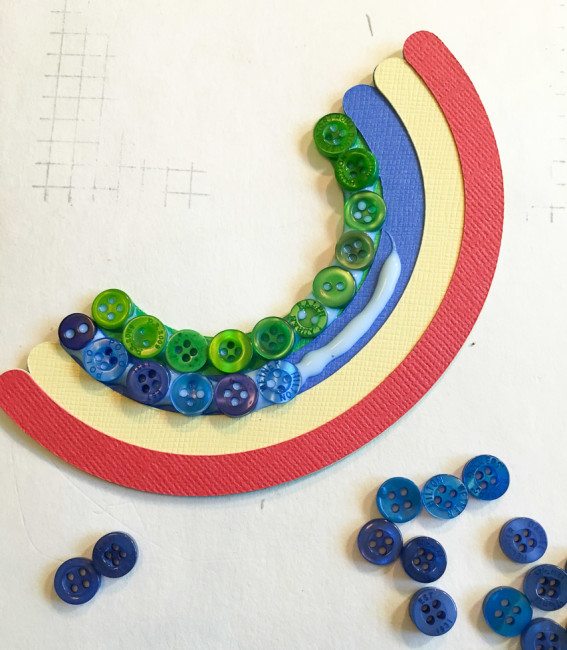
Assembling the button collage is simple. Working one row at a time, I placed a line of glue along the row for each color. Then I selected small buttons to place along the row. It helped if the buttons were somewhat alternated in position from the previous row, since then I could put a slightly larger button into the gap created by the curves. I let each row dry until it was adhered firmly before beginning the next row to make sure that I didn’t accidentally displace the previous row adhering the new one.
Once the rainbow was completed and dry, I adhered it to a blank card after first stamping the sentiment on the card. It was important to do the stamping first since the thickness of the button rainbow could make it difficult to get the stamp in position after it is adhered.
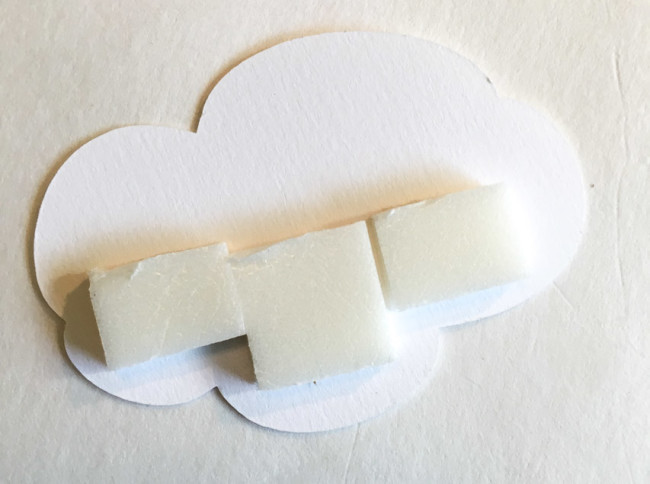
The final step was to adhere the clouds using 3D foam squares. I lined the squares up along the bottom of the clouds so they created a line across the center of the clouds. This edge butted right against the bottom edge of the rainbow when I adhered it. The top of the cloud doesn’t need adhesive because it is supported by the rainbow.
Supplies:
I hope you enjoy my button rainbow card! It’s an easy way to send some cheer to someone you care about!
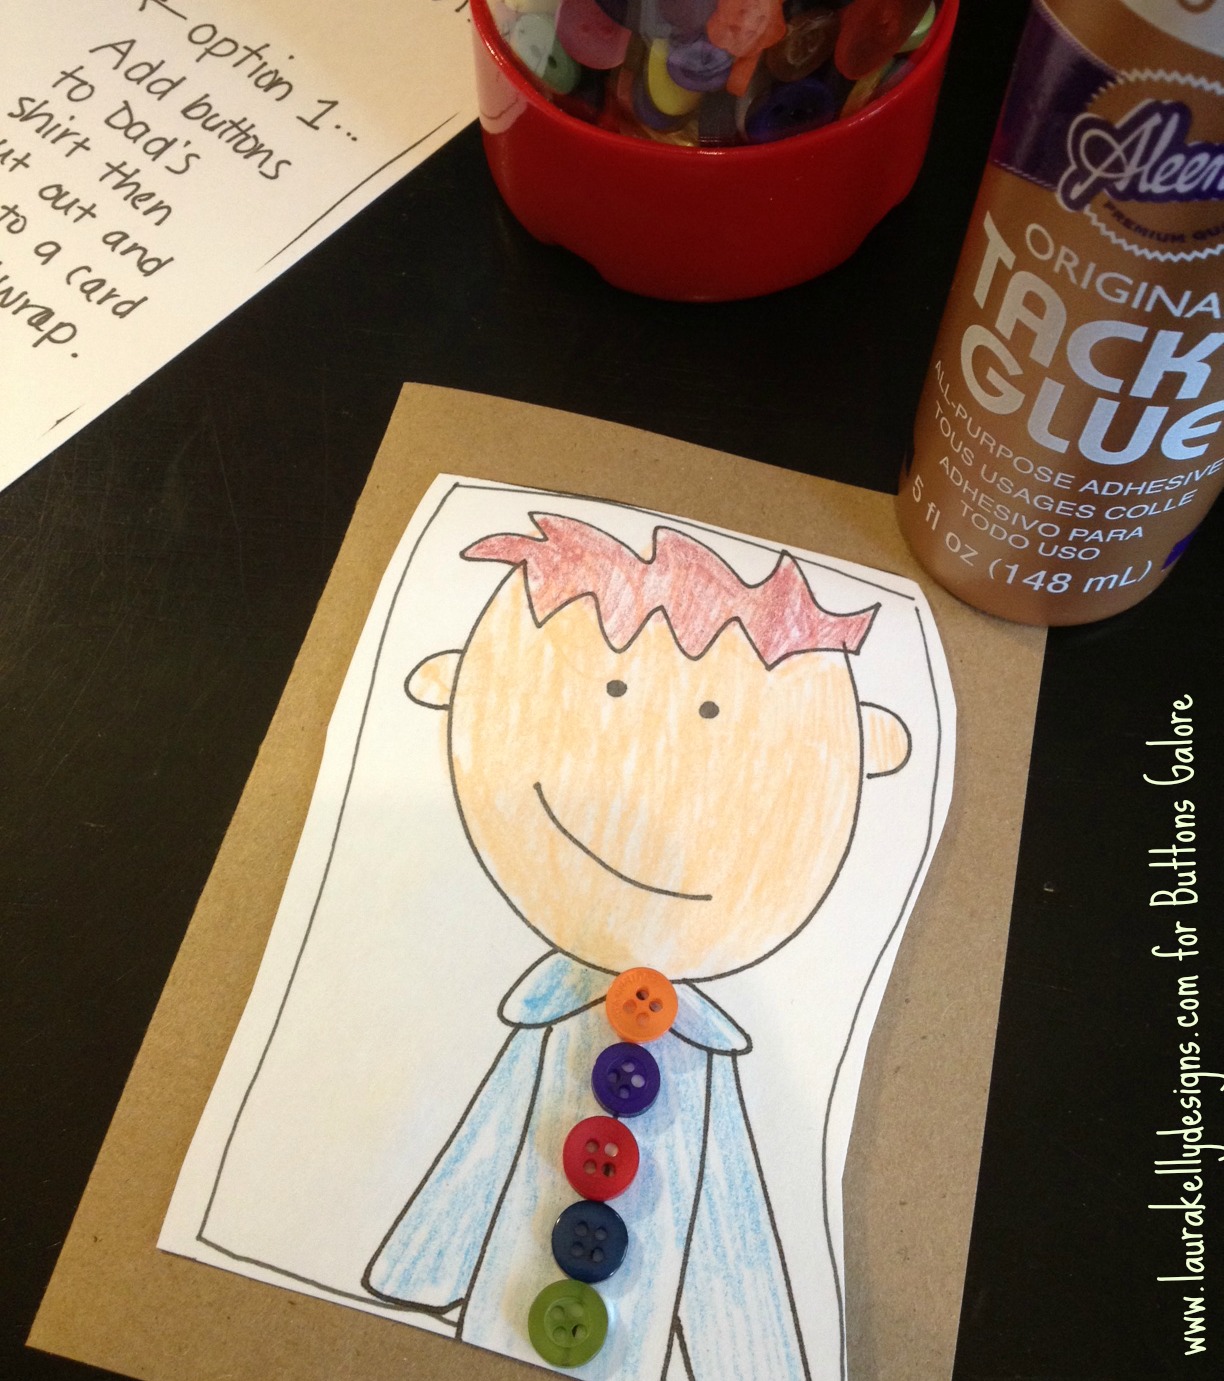
Create dear old DADDY an adorable card or even gift wrap to celebrate his special day. This Father’s Day, get out your buttons and glue and make him a card he will want to keep forever.

To make this, you will need a few things:
Download the free printable of the ‘Me and My Peeps’ Daddy or draw your own then color it to match your daddy’s skin tone and hair color.

Use Aleene’s Tacky Glue to add buttons to the daddy shirt. The cut it out and add it to a card.
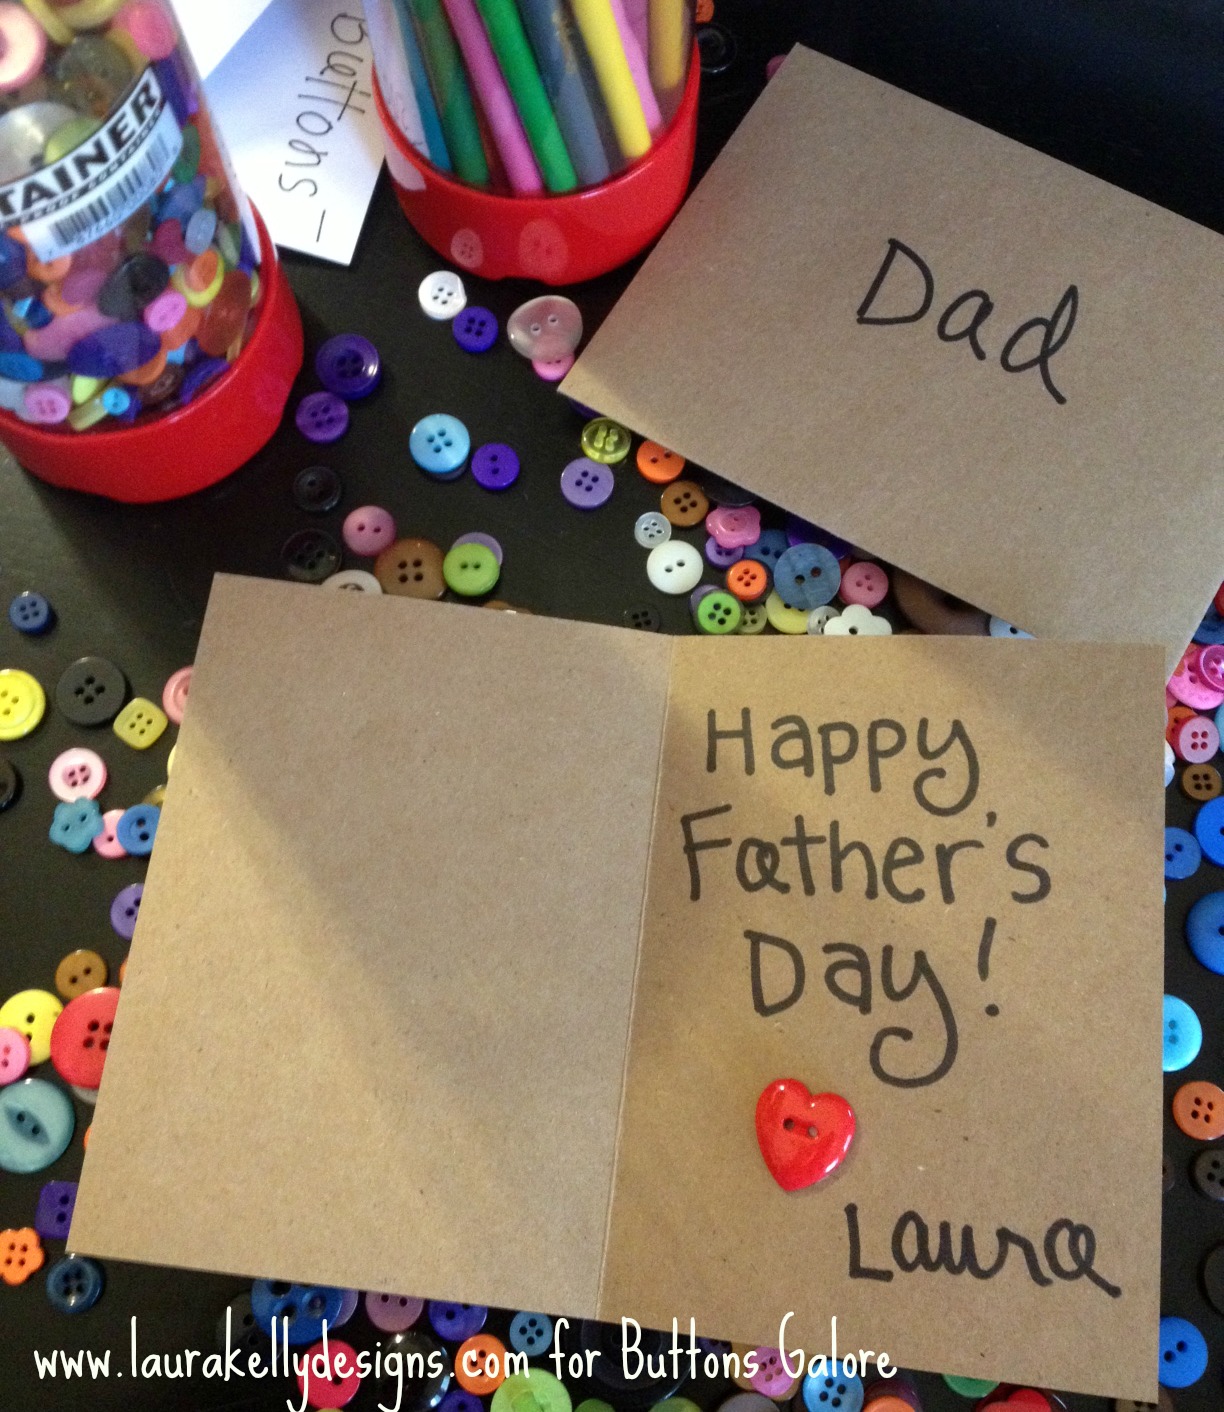
Write a message inside and you are all done!
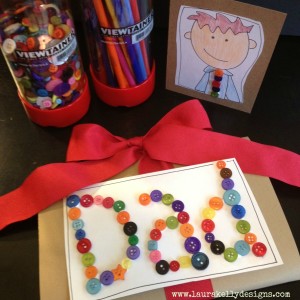
For another great buttons and glue Daddy Card, visit my blog!
Happy Glueing and Celebrating Daddies, Step Daddies, Grand Daddies and Special Men,
Laura