Header

Tag Archives | Gift Wrap

Last Minute Modern Christmas Gift Tag – with Buttons!

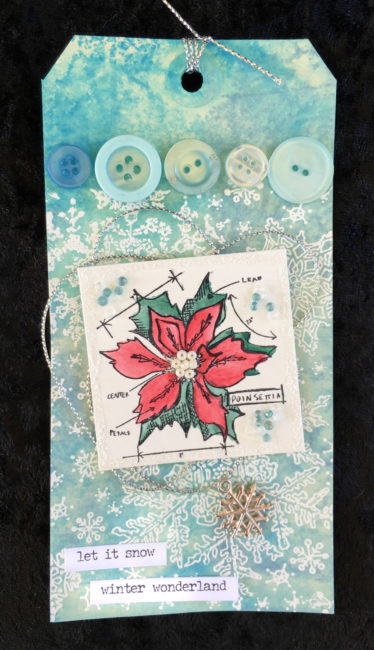
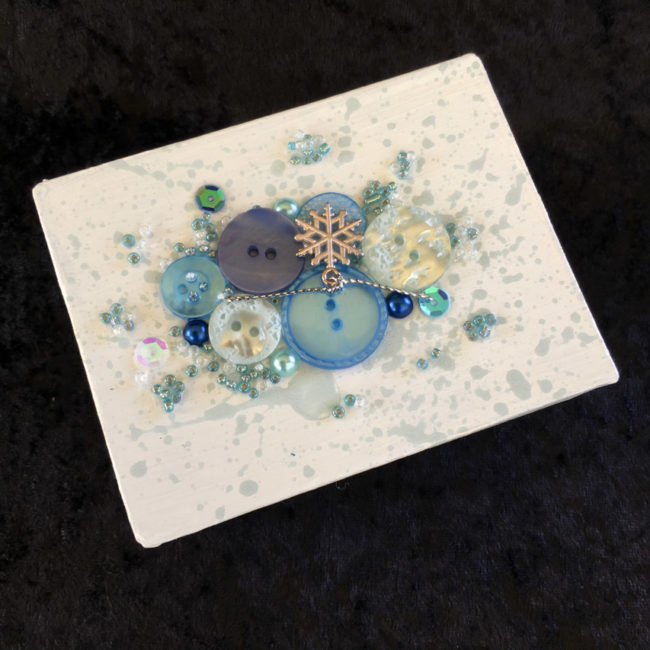
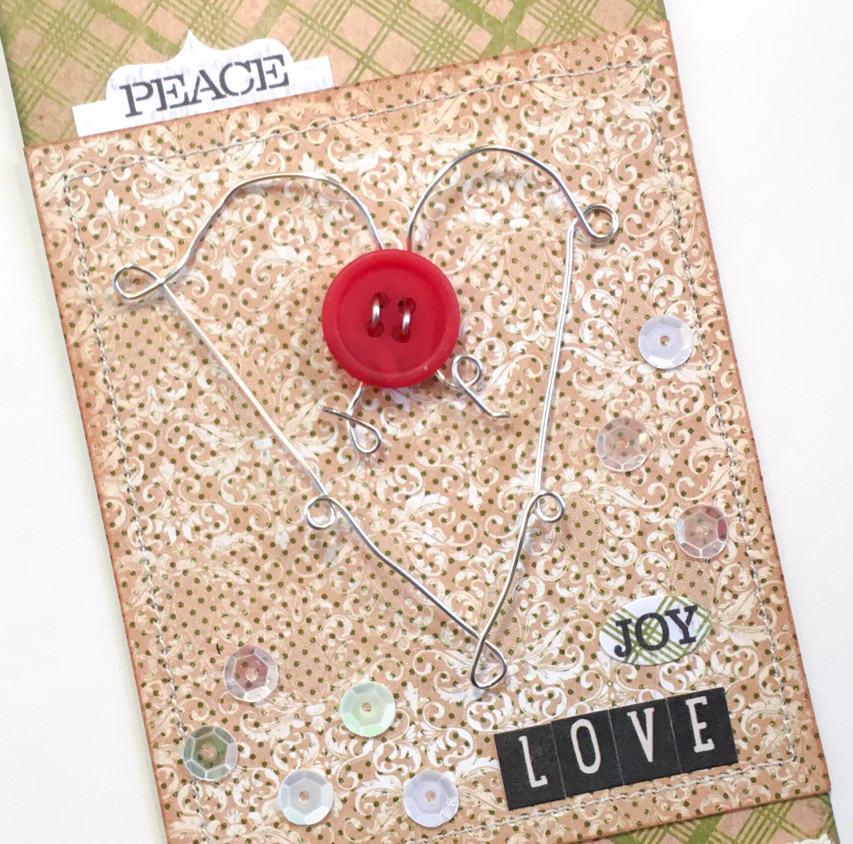
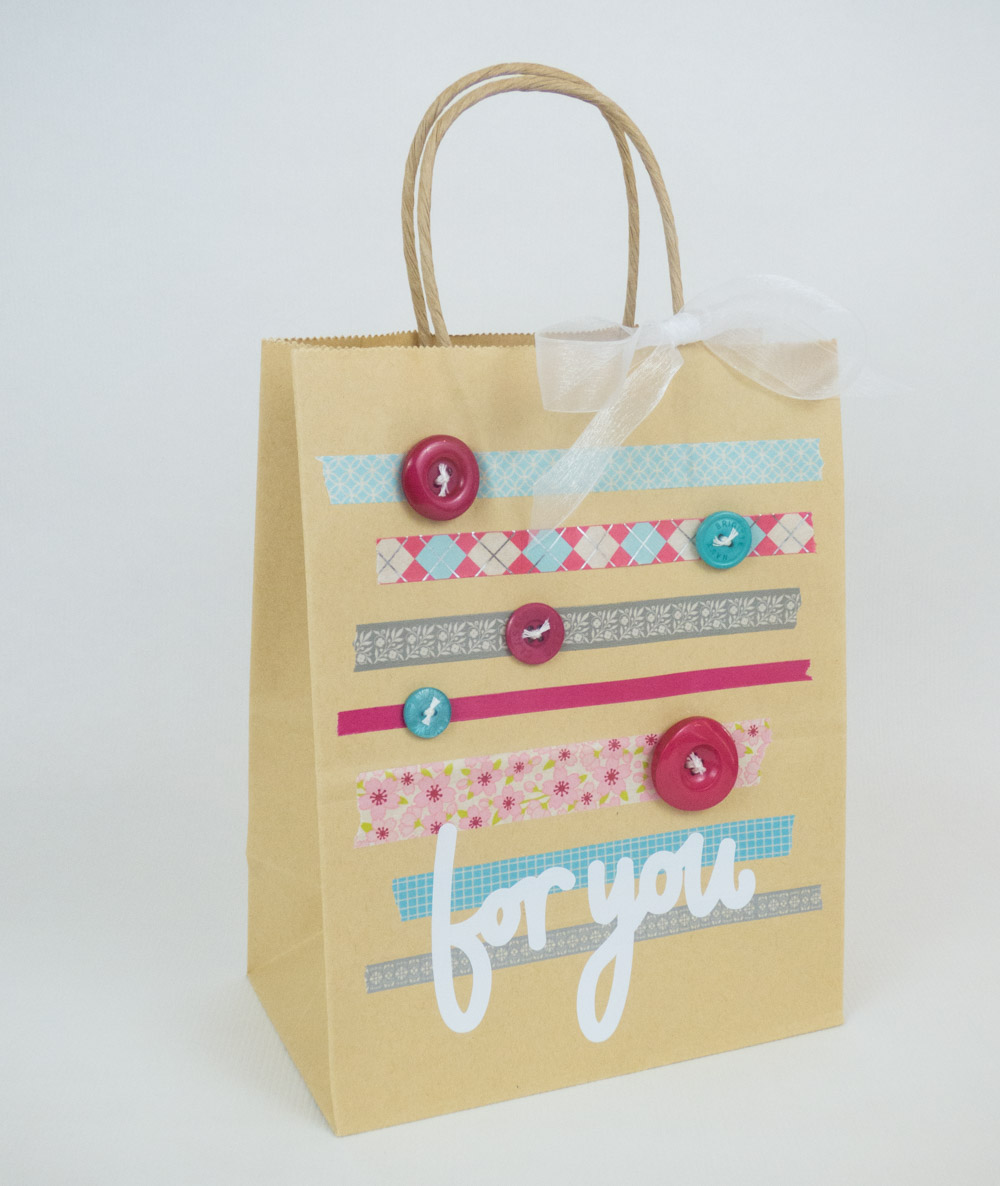
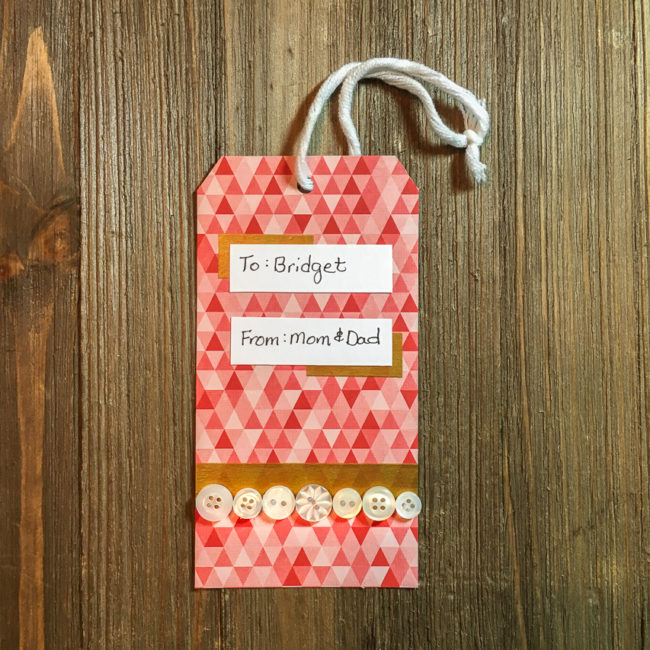
Think buttons aren’t a match for modern style? Our 28 Lilac Lane “Winter Wonderland” embellishment bottle, paired with washi tape, makes a quick and easy modern Christmas gift tag that will add sparkle and style to your special gift this Christmas!

Modern Christmas Gift Tag

Supplies:

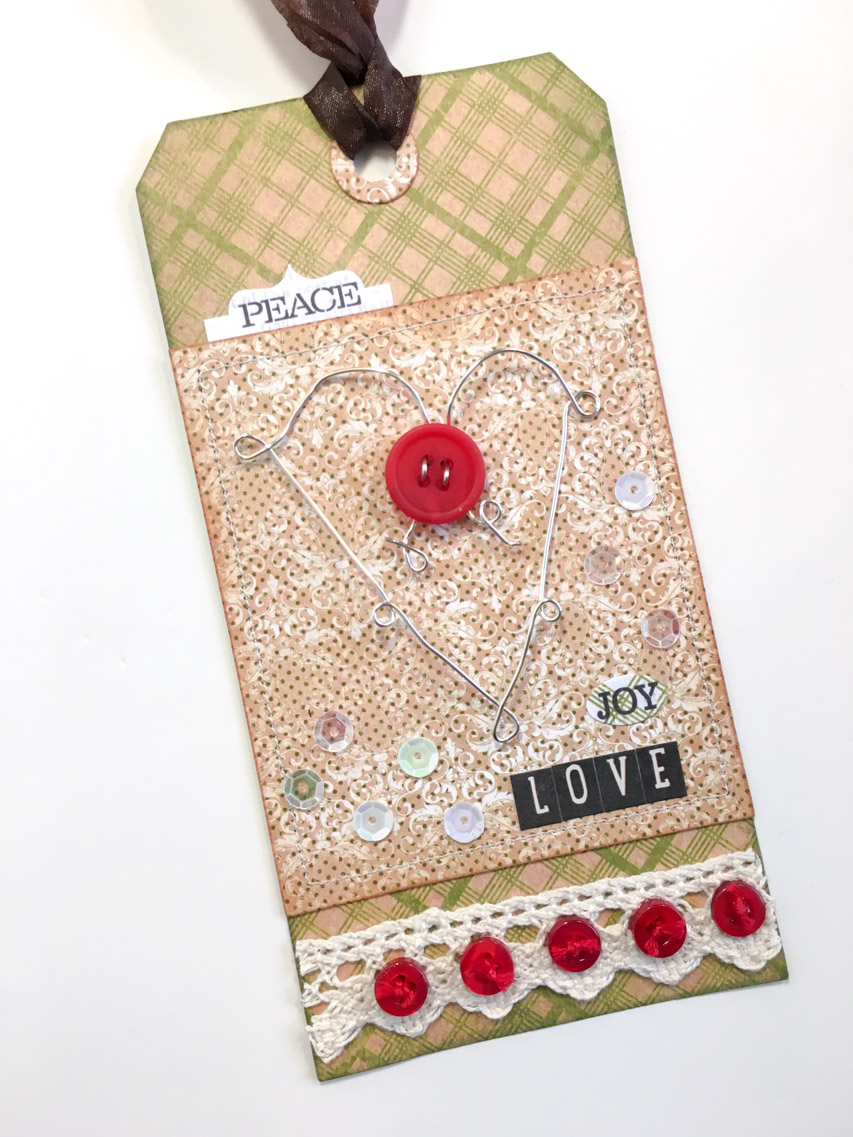
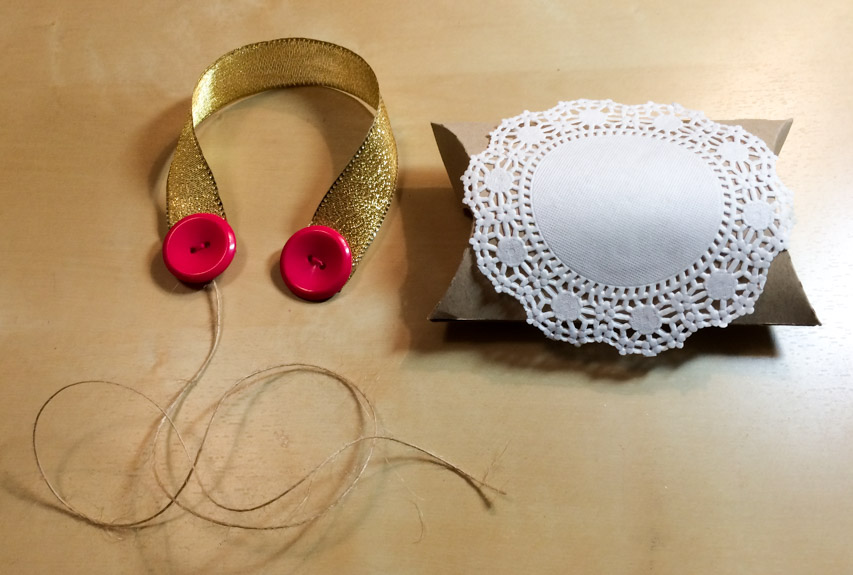
To create the tag base, cut the 6×6 pad in half to create a 3×6 piece. Snip off two corners to create the top of the tag, and then use a hold punch to create the hole.

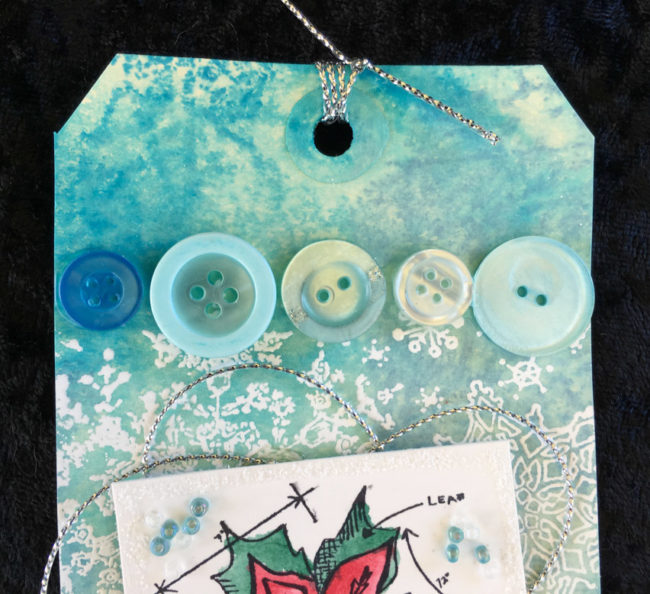
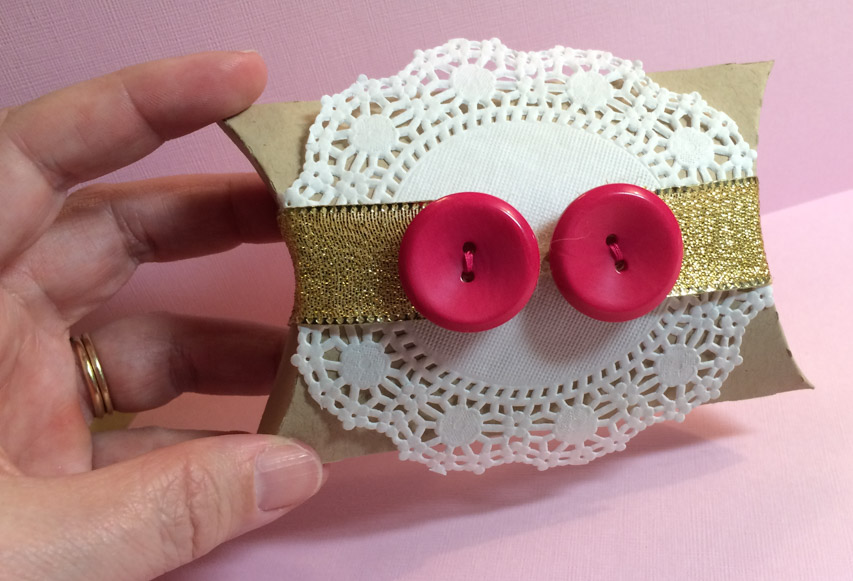
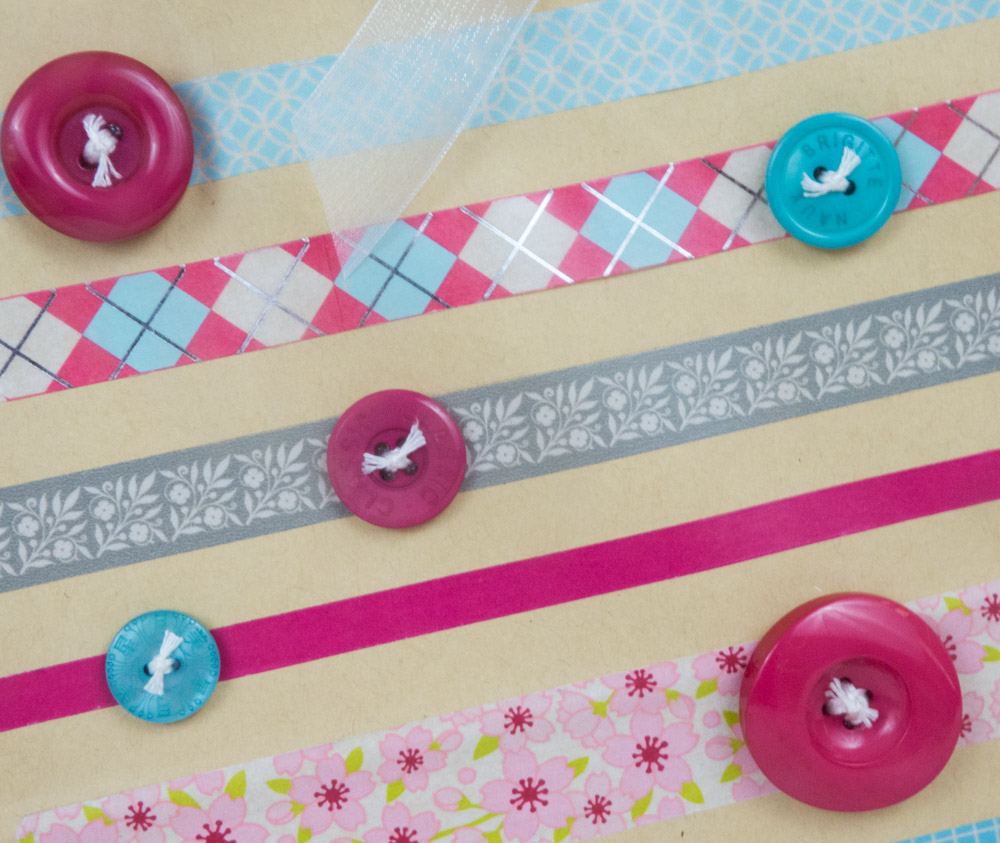
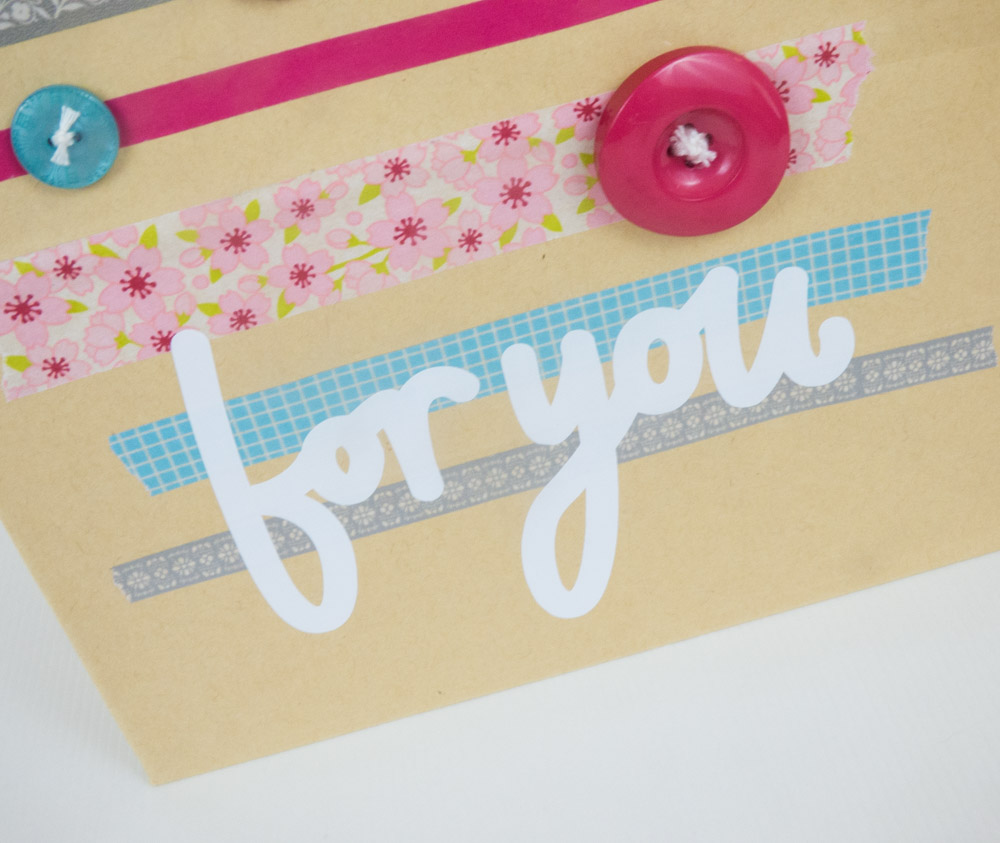
Lay a strip of the gold washi tape across across the tag about 2/3 of the way down from the top. Cut two more small strips and position them one to each side closer to the top.

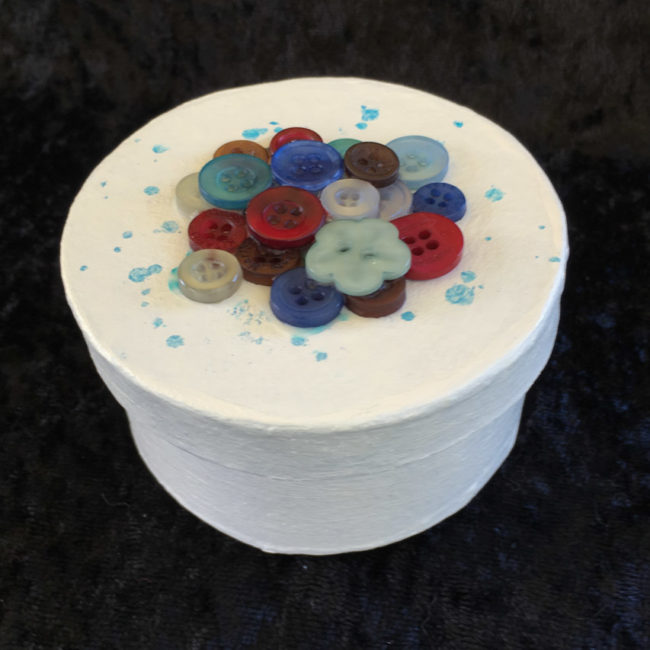
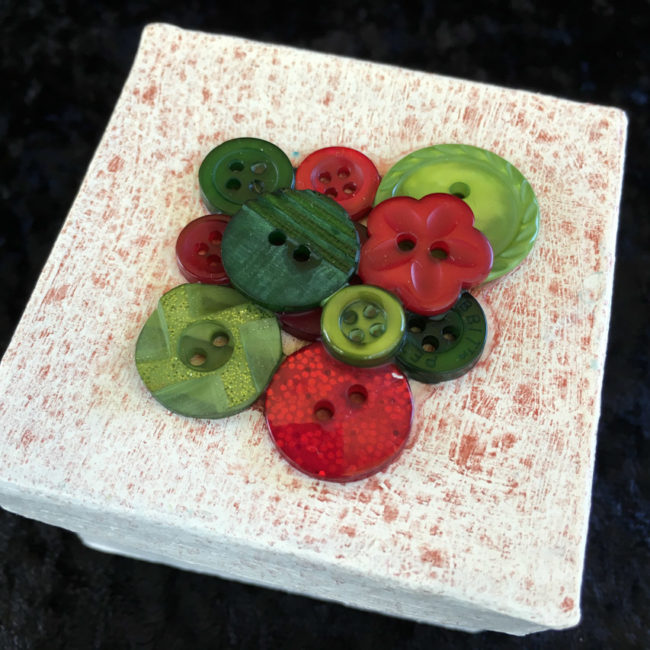
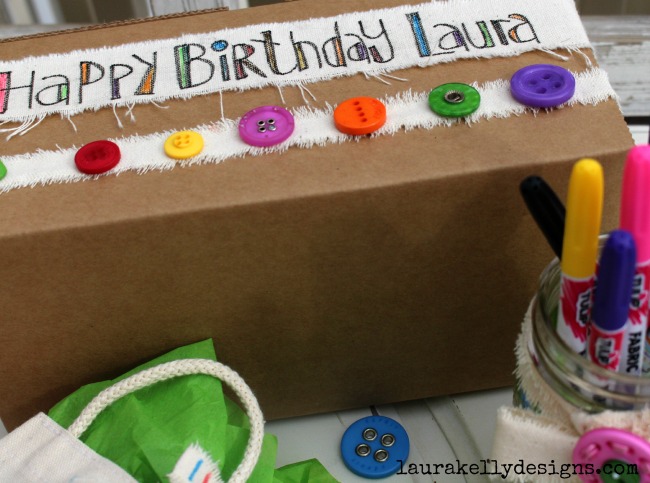
Select buttons to create a row across the tag along the bottom of the washi tape. Adhere the buttons using white glue or a hot glue gun.

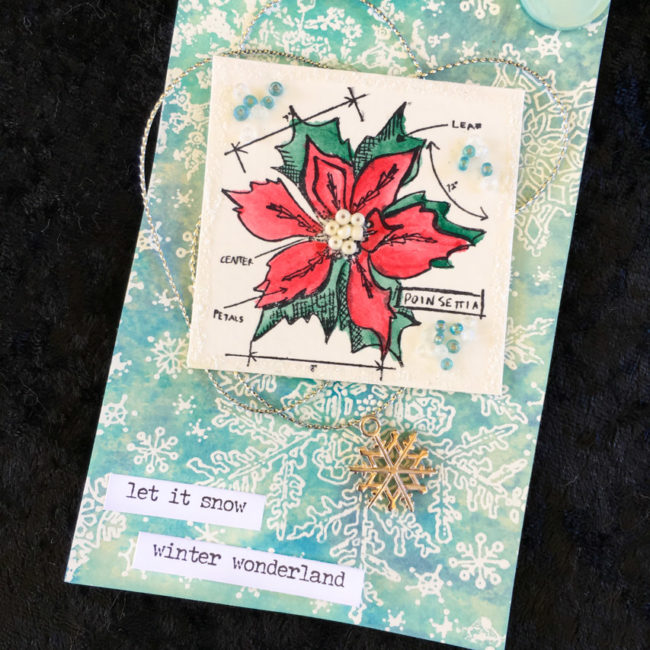
From the white cardstock, cut a 5/8″ strip. Write the to/from information for your gift on it, and then snip the pieces off of the strip. Adhere them using paper adhesive.

Cut a length of yarn. Loop it through the tag’s hole and tie it off to attach your gift.

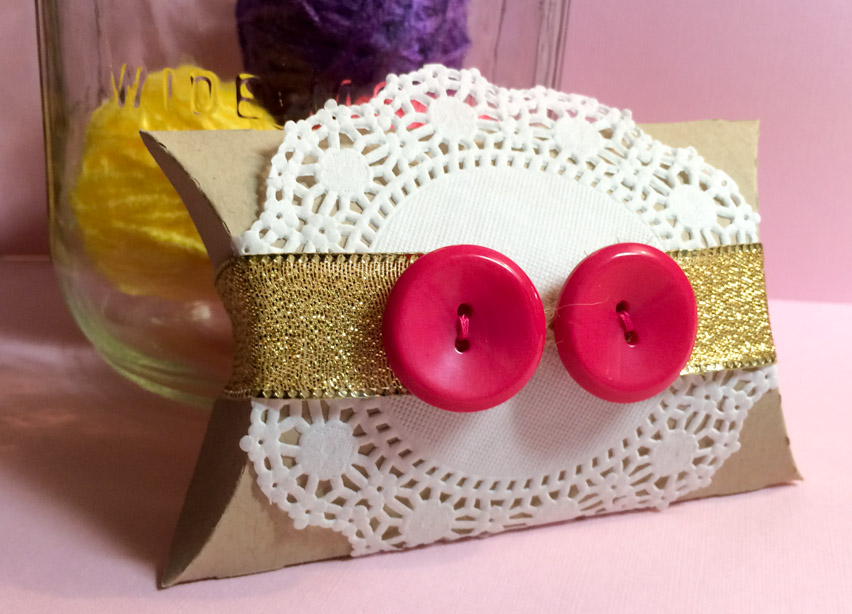
This modern Christmas gift tag only takes a few minutes to make, but will definitely brighten up your Christmas wrapping for someone special!

0

Bling up a Holiday Gift Tag with Buttons and 28 Lilac Lane!

It’s November and that means…the leftover trick or treat candy has been eaten (at least at our house)…and it’s time to jump full on into Christmas trees and snowflakes and all things Christmas! For our readers that like to personalize their gifts, today I’ve got a holiday gift tag that will be remembered long after the holiday is over!

DIY Holiday Gift Tag

Supplies:

The background on this tag was created by inking a craft mat with the four shades of blue Distress Ink, spritzing it with water, and then dragging the tag through it. A heat gun helped to speed the drying process. The nice thing about this technique is that if you don’t like the effect that you get, you can add and remove color by spritzing the tag with water, or adding another layer of color, until you get just the effect that you are happy with.

DIY Holiday Gift Tag close-up

Once the background was thoroughly dry, I stamped the snowflake stamp with clear embossing ink and heat embossed it with white embossing powder. Since the stamp was not as tall as the tag, I made sure that I started the stamp at the bottom of the tag. Using the PPA Matte Adhesive to glue a line of buttons across the area where the snowflakes stop disguised the transition area from snowflakes to plain background.

Next, I stamped the poinsettia stamp in Archival ink on watercolor paper,  and colored it in with watercolors and a waterbrush. Finally, I trimmed it to a size that would work on the tag.

It’s not very visible in the photos, but I used Stickles to create a border around the outside edge of the poinsettia square to add a little extra glint of sparkle to the tag. I also used various colors of seed beads from both of the embellishment kits to create some dimension in some areas and create the flower’s center. (The seed beads in our kits adhere beautifully with the PPA Matte Adhesive, which is what I used here.)

DIY Holiday Gift Tag close-up

The trickiest part of assembling this holiday gift tag is getting the loops of silver string and the poinsettia layered and adhered. I laid down a pool PPA Matte Adhesive in the middle of the tag, and created my string loops by passing the string through the glue area repeatedly. Then I pressed the poinsettia block down on top of it and when it dried, everything was adhered together!

At first glance, it looks like the snowflake charm is looped through the string but if you look closer…it is not. I simply glued it on with the loop laying over the string. This helps everything lay a little more flat and stay adhered better.

The final touch on my holiday gift tag are the two phrase stickers I added in the bottom corner. If you didn’t want to put the to and from information on the reverse side, these strips could have it instead.

0

Embellish a Christmas Gift Box with Buttons & More!

October is half over and that means it’s beginning to look a lot like Christmas in most crafter’s work spaces! Today, we’re going to share a few ideas of how to embellish a Christmas gift box with buttons to make your gifts look extra special.

Christmas Gift Boxes with 28 Lilac Lane embellishments

All of these boxes are created from paper maché boxes that are painted with white acrylic paint. Then the tops of the boxes were splattered with spray ink or paint to add some color, before buttons and other embellishments were added.

The large rectangle Christmas gift box is created with embellishments from the 28 Lilac Lane “Let It Snow” embellishment kit. To create this embellishment collage, I started by laying down a pool of white glue in the middle of the lid. Then I placed the large items first, creating the arrangement of the buttons. I filled in around the buttons with the small embellishments like the sequins and beads, creating a feeling of an explosion of embellishment spreading across the lid. For the final touch, I glued the snowflake charm from the “Let It Snow” kit on top of the button collage.

Blue Christmas Gift Box

Supplies:

For the round box, I used the new “Winter Wonderland” Button Bonanza. I started this one by making the first layer of buttons. Then, once that layer had dried securely in place, I glued a second layer of buttons on top of the center of the first layer.

Christmas Gift Box with 28 Lilac Lane

Supplies:

I used the same technique on the square box, creating a two layer collage of buttons one layer at a time. The key to making the prettiest collage is to vary the size and type of the buttons that you use. Also, it helps to balance the colors. On this box, the center has one of each color, and then there is an outer ring that shows the green shades alternating with red.

Traditional Christmas Gift Box with 28 Lilac Lane

Supplies:

Grab some boxes…grab some glue…this project only takes a few minutes to make beautiful holiday gift packages. And it’s so easy that the kids can help out. What are you waiting for? Button up a few holiday gifts!

0

Wire Heart Embellished Christmas Gift Tag

Christmas is coming faster than it seems – there’s only 73 more days left! It’s time to start thinking about crafty holiday projects like cards, gift wrap, and home decor if you don’t want to be scrambling at the last minute.

This Christmas gift tag will make a festive addition to any package or bag. With plenty of room on the back to write a message and the recipient’s name, it’s practical as well as pretty. The wire heart is finished off and brightened up by a button, which also serves as a convenient anchoring point for the embellishment.

Embellished Christmas Gift Tag by Nancy Nally for Buttons Galore & More

Supplies:

  • Buttons Galore Button Basics in Red Hot (available at AC Moore)
  • Beadalon 20 Gauge German Style Wire
  • Authentique Paper “Tidings” collection (paper & stickers)
  • Sewing Machine
  • Jewelry Pliers
  • Sizzix Tim Holtz Alterations Tag & Bookplates Die
  • Ranger Tim Holtz Distress Ink in Tea Dye & Bundled Sage
  • Aleene’s No-Sew Fabric Glue
  • Hot Glue Gun
  • Embroidery Floss & Needle
  • Sequins
  • Brown Ribbon
  • Crochet Lace Trim

To begin the tag, use your die cutting machine to cut tags and hole reinforcer from the two different papers.

Trim the top off of the brown patterned tag to turn it into a rectangular panel. Stitch the edges of the panel with your sewing machine.

Ink all edges. Glue down the hole reinforcer and the stitched panel.

Glue crochet trim to bottom of tag. Thread small buttons and glue on top of trim.

Christmas Gift Tag with wire heart

Create the wire heart using wire and jewelry pliers. (Grab wire with tip of pliers and twist to create loops.) Anchor wires together at “v” of heart by threading them through holes of a 4 hole button.

Use hot glue gun to adhere the wire heart to the tag, using the button as the anchor point.

Adhere word and letter stickers on tag. Glue sequins randomly around the wire heart.

Thread ribbon through the tag.

The kraft, plaid, and buttons give this Christmas gift tag a cozy Christmas look. Pair it with a generic red or kraft bag or gift wrap to dress up a basic package!

14

Quick & Easy Button Pillow Box

It’s easy to whip up a pillow box on my die cut machine to hold a small gift, but keeping it closed is not so easy. Adhesive will do the job – permanently, leaving the box difficult to open and not reusable. But a little bit of ribbon and a few buttons will provide a solution: a pretty string tie! This box is perfectly sized for presenting a gift card, a difficult item to wrap creatively.

Button Pillow Box

To make this box you need:

  • Buttons Galore Bubblegum Button Bonanza (also available at AC Moore)
  • Kraft cardstock
  • Small doily
  • Cricut Explore machine & digital cutting file
  • 7/8″ wide gold ribbon
  • Needle & Thread
  • Jute Twine
  • Double-sided adhesive tape

Instructions:

1. Cut out and assemble your pillow box. Adhere doily on top of box.

2. Cut ribbon slightly longer than needed to wrap around long dimension of pillow box. Turn under ends.

Gift Package Supplies3. Sew buttons loosely onto ends of ribbon.

4. Tie piece of jute string around the thread holding one of the buttons, between the button and the ribbon.

5. Wrap the ribbon around the pillow. Fasten the ribbon band by wrapping the string in a figure 8 around both buttons (similar to fastening a string clasp envelope).

Pillow Box with Button BandThis gift wrap could be great for any holiday or occasion. Changing the colors of the ribbon band and buttons could make it seasonal for any holiday, or match the decor of any event (such as a wedding).

What gift do you plan to tie up with a button-fastened ribbon band?

0

An Easy All Occasion Gift Bag with Washi & Buttons!

Pre-designed gift bags can easily run $5 or more, and it’s not always convenient to run out and buy one at the last minute. What to do? Craft up a solution, of course. Keeping a stash of blank bags in your craft supplies means that with a few minutes of creativity, you always have the perfect gift bag on hand!

all occasion gift bag

To make this gift bag, all you need is:

  • a blank gift bag
  • assorted washi tape rolls
  • Vacation button assortment (HB107)
  • embroidery floss & needle
  • 7/8″ sheer ribbon
  • hot glue gun
  • die cut machine
  • white vinyl & transfer tape

Making this bag is super easy:

1. Start by tearing off some strips of washi tape and attaching them to the bag as stripes, varying the colors.

2. Using embroidery floss, sew thread through buttons and tie it off.

3. Attach the buttons to the top few rows of washi tape in random positions, using a hot glue gun.

washi tape and buttons4. Using a die cut machine, cut out the words “for you” from vinyl. Use transfer tape to attach it over the bottom layers of washi tape. (I used the Cricut Explore machine for this project.)

vinyl sentiment on gift bag

5. Tie a bow from sheer ribbon around one side of the handle.

And there you have it…five steps to a fabulous all-occasion gift bag! While my bag is a generic theme, this bag design could be customized for any holiday by selecting washi tape and buttons that are themed and colored appropriately (such as red and green for Christmas).

What occasions do you use gift bags for?

0

DIY Gift Wrapping with Buttons

Here is a fantastic way to create custom  DIY gift wrapping in fifteen minutes (or less) using buttons, fabric markers and glue.  Check it out!  Yay, it’s Fifteen MINUTE Friday!!!

Tulip_Fabric_Markers_Gift_2


A tip for buttons and fabric if you are not up for sewing…super tacky adhesives work best!  I love the Fast Grab Tacky from Aleene’s because it holds the buttons right away and keeps them in place until totally dried.  You can see in the next picture that the buttons are in place and the glue is still wet.  I love that!

Tulip_Fabric_Markers


You can get more ideas and the full tutorial over on my blog HERE.


0

Candy Cane Ornaments

While I was wrapping gifts for Christmas this year, I found my candy canes looking like hearts on the work table. I used hot glue and I am excited to share this super quick and easy (and totally adorable) ornament idea. I might add that they look super cute on gifts wrapped in butcher paper (or grocery sacks turned inside out if you are recycling).

ButtonHeartCandyCanes

Supplies You’ll Need for Candy Cane Ornaments

You will need 2 candy canes, twine, buttons in Radical Red and Candy Apple Green and hot glue for each one you plan to create.  You’ll need some adhesive too!

I used my Ad-tech low temp gun with low temp glue sticks.

To get started, glue your candy canes together in the shape of a heart.  Then add a few buttons.  Tie on some twine and you are done!

Steps

Hang it in the tree as an ornament.

HeartCandyCanes

…or add it to a gift!

HeartGift

I created lots of wrapped gifts with buttons and twine and would love for you to hop over to my blog to check them out.  You can get there here.  I will share my favorite one with you but you will have to hope over to see the others.

IMG_8300

Happy Christmas Crafting,

Laura


0

Powered by WordPress. Designed by WooThemes