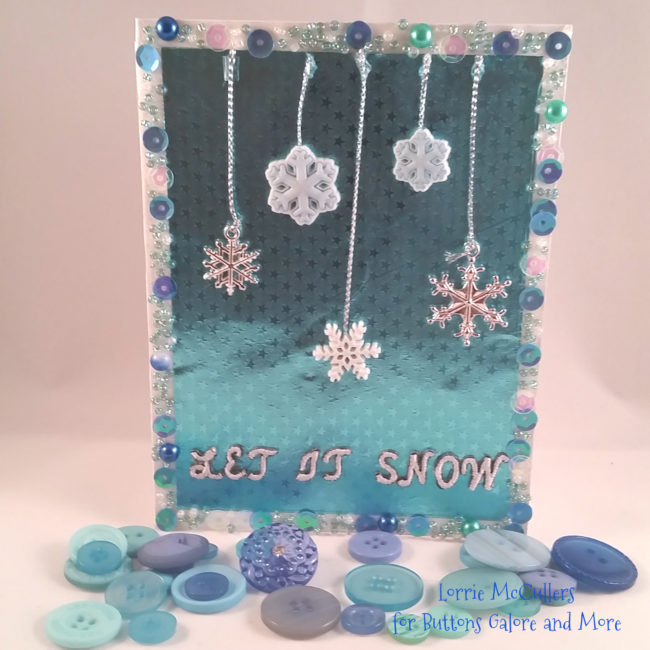
Header

Tag Archives | DIY Card

Get Extra Life from your Stamps with Embellishments!

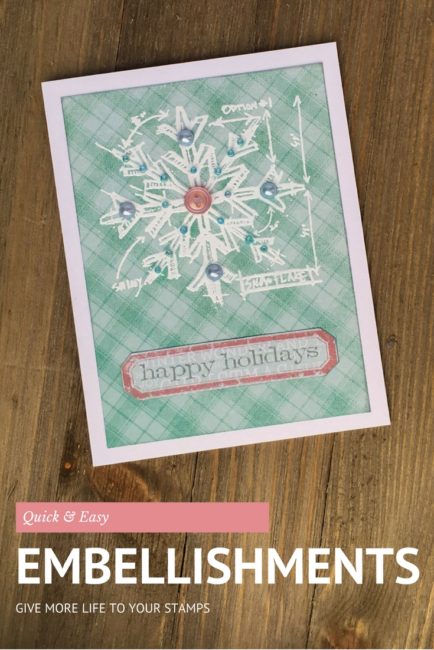
Stamps are a great investment because they are a tool that can be used over and over again. However, using them over and over again can quickly get boring…so how do you spice things up and put the fun back in your stamps again? 28 Lilac Lane has the answer!

Snowflake Happy Holidays Card

Supplies Needed:

  • 28 Lilac Lane Cotton Candy Embellishment Bottle
  • PPA Matte Adhesive
  • My Mind’s Eye “Sugar Plum” 6″ x 6″ paper pad
  • White cardstock
  • Ranger Tim Holtz Distress Ink in Iced Spruce, Victorian Velvet, and Embossing
  • Ranger White Embossing Powder
  • Stamper’s Anonymous by Tim Holtz “Simple Sayings” stamps
  • Stamper’s Anonymous by Tim Holtz “Christmas Blueprint” stamps

One of my favorite ways to make my old stamps look new again is to embellish them! And with the 28 Lilac Lane embellishment bottles, I have the choice of seed beads, sequins, flat back pearls, and buttons to embellish my stamps.

Cotton Candy Embellishment Bottle

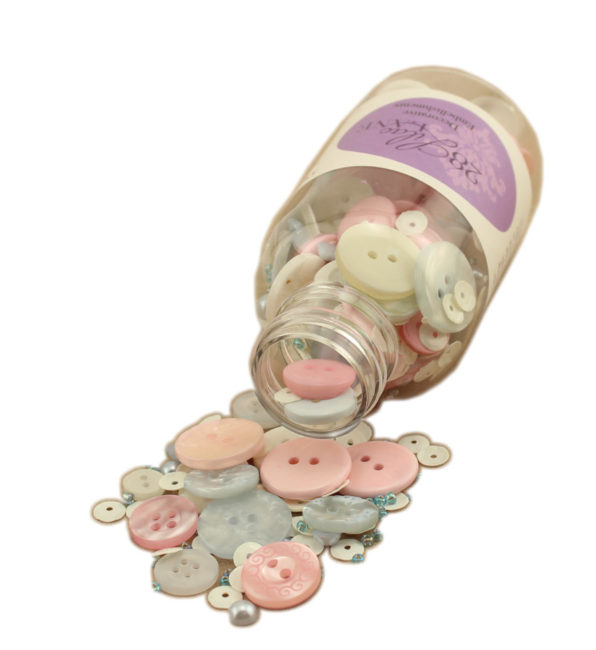
I chose the Cotton Candy bottle because it matched my paper pad. [The 28 Lilac Lane “Cotton Candy” embellishment bottle is available at the our online store, Scrapbook.com, A Cherry On Top, Ellen Hutson, Simon Says Stamp, Create for Less, and others, or check your local retailer].

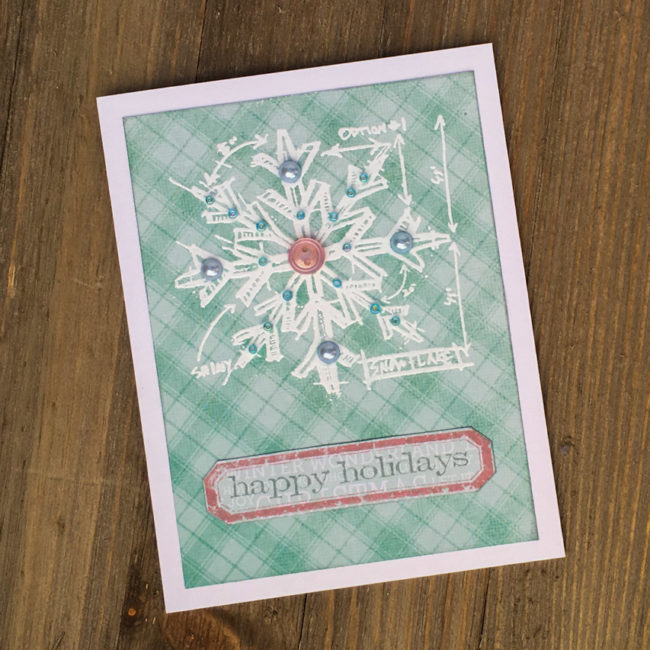
To create this card, I first made a card base by folding a half sheet of letter sized cardstock. Then I cut a 3.75″ by 5″ piece of the blue plaid paper, and inked the edges in Iced Spruce before adhering it in the center of the card front.

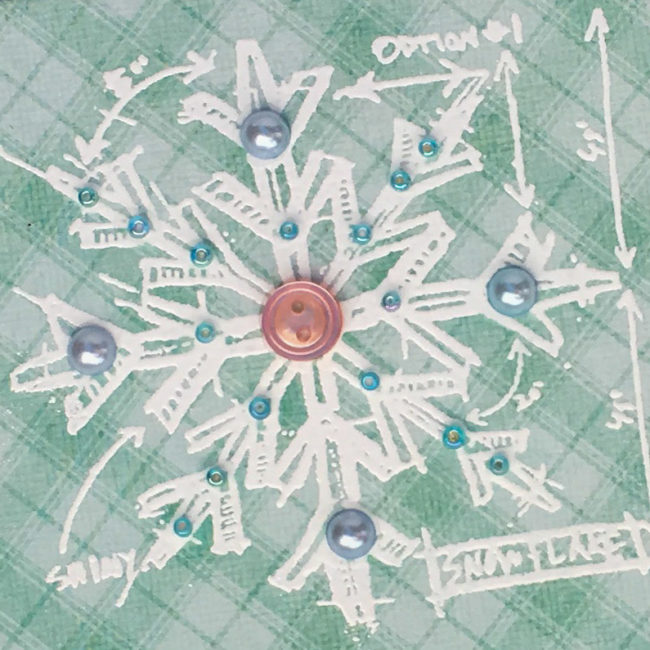
Next I used embossing ink to stamp the snowflake design on the top of the card front, and heat embossed it with white embossing powder. Once the heat embossing was cool, I selected embellishments from the Cotton Candy bottle and adhered them with small dots of clear drying white glue.

Embellishments on stamped image

The sentiment on the bottom of the card front was created by first stamping the label outline in Victorian Velvet on the pale turquoise patterned paper. Then I cut out the label using scissors, close to the edge of the stamped label. I stamped the sentiment in Iced Spruce, and adhered the label to the card front.

get-more-life-from-your-stamps-with

What stamps do have that could be given new life with embellishments?

0

Make an Adorable Layout with Guest Laura Vegas!

Today Buttons Galore is excited to welcome guest blogger Laura Vegas, who is sharing with us an adorable layout and also a card. These fun projects are made with our Button Basics in Sky Blue, Candy Apple Green, Cotton Candy, and Lemon Yellow.
lauravegas_bg_sheisadorable
Hey everyone, it’s Laura Vegas here. I’m so excited to be here guesting on the Buttons Galore blog, and have created two projects to share with you all today. Buttons are one of my absolute favorite embellishments! I have a massive button collection, and yet I can never pass up adding more colorful buttons to my stash. They just speak to me!
lauravegas_bg_sheisadorable_detail1
One of my favorite ways to incorporate buttons onto my projects is to add them to the centers of shapes. I tend to use a lot of flowers, circles, and stars on my layouts, and buttons are the perfect addition to any of those shapes. For this layout, I started by die cutting a floral background piece from white cardstock, using my Silhouette Cameo die cut machine. I love that it had lots and lots of flowers to embellish with my buttons!
lauravegas_bg_sheisadorable_detail2
I wanted to add some subtle interest to some of the flowers on the background piece, and vellum came to mind. I was able to find an individual flower cut file that matched one of the flowers on the background piece. I sized the flower numerous times to match up with the flowers on the background piece, and then cut them all from a sheet of vellum. To add some texture, I ran each vellum flower thru a dotted embossing folder before layering them over the background flowers.
lauravegas_bg_sheisadorable_detail3
Personally, I always thread my buttons when using them on layouts and cards. I don’t like to have any “naked” buttons on my projects ;) My go-to way to adhere my buttons, is to thread my string through the button holes, and then laying the string ends flat against the button, I add a glue dot (or sometimes two if it’s a larger button) right over the string. This holds the ends in place, and I can them simply adhere my button to where it needs to go.
lauravegas_bg_sheisadorable_detail4
The exception to this rule, is when I’m working with clear buttons. I don’t want those strings and glue dot to show through the clear button. So for those buttons, I will take the extra time to use a needle and stitch my button directly onto the page.
lauravegas_bg_sheisadorable_detail5
I tend to be a more simpler scrapper, in that I keep my embellishments more on the simpler side. So I am always turning to buttons, as well as basics like brads and enamels. Oftentimes, they are all I need to finish off a project mostly made up of photos, cardstock, and patterned paper.
lauravegas_bg_itsyourbirthdaycard
I wanted to whip up a quick card to share with you as well, using the same idea of adding buttons to the center of flowers. This time I fussy cut some flowers from a sheet of patterned paper to create this easy birthday card.
lauravegas_bg_itsyourbirthdaycard2
A fun, and super simple, way to add texture to paper flowers (whether die cuts or fussy cut from patterned paper), is to crumble them up really good. You can even lightly mist the paper with water to make it easier to work with. Then you simply un-crumble your flower, flattening it out as much or as little as you like. Add a threaded button to the center of each flower, and you’ve got the most adorable little flowers to add to your projects!
I’ve had so much fun creating these projects, and I hope you enjoyed them too! Thanks Buttons Galore for the opportunity to guest design for you and create with your colorful buttons!
laura vegas headshot
Learn more about today’s guest blogger, Laura Vegas: Hi there! I’m Laura Vegas, from Northern California, where I live with my husband Joe, and my two daughters, Alyssa (20) and Sarah (17). I have been scrapbooking for well over 22 years now. I scrapbook mostly about my girls and our family, but like to mix it up now and then by scrapping photos and stories about my daycare kids and family friends as well. I have been fortunate enough to design for some amazing manufacturers in the industry over the last 11 years, and have also had my work published in a variety of publications for the last 10 years. I was honored to be a member of the 2010, 2011 and 2012 Creating Keepsakes Dream Team and the 2013, 2014 and 2015 Scrapbook & Cards Today design team. I just recently left my position as Creative Team Coordinator for Bella Blvd after 5 years, and am currently designing for Kerri Bradford Studio.
0

Fathers Day with Buttons and Glue

Create dear old DADDY an adorable card or even gift wrap to celebrate his special day. This Father’s Day, get out your buttons and glue and make him a card he will want to keep forever.

BGM Fathers Day Card

To make this, you will need a few things:

Download the free printable of the ‘Me and My Peeps’ Daddy or draw your own then color it to match your daddy’s skin tone and hair color.

Dad Color

Use Aleene’s Tacky Glue to add buttons to the daddy shirt.  The cut it out and add it to a card.

Dad Card Buttons Aleenes

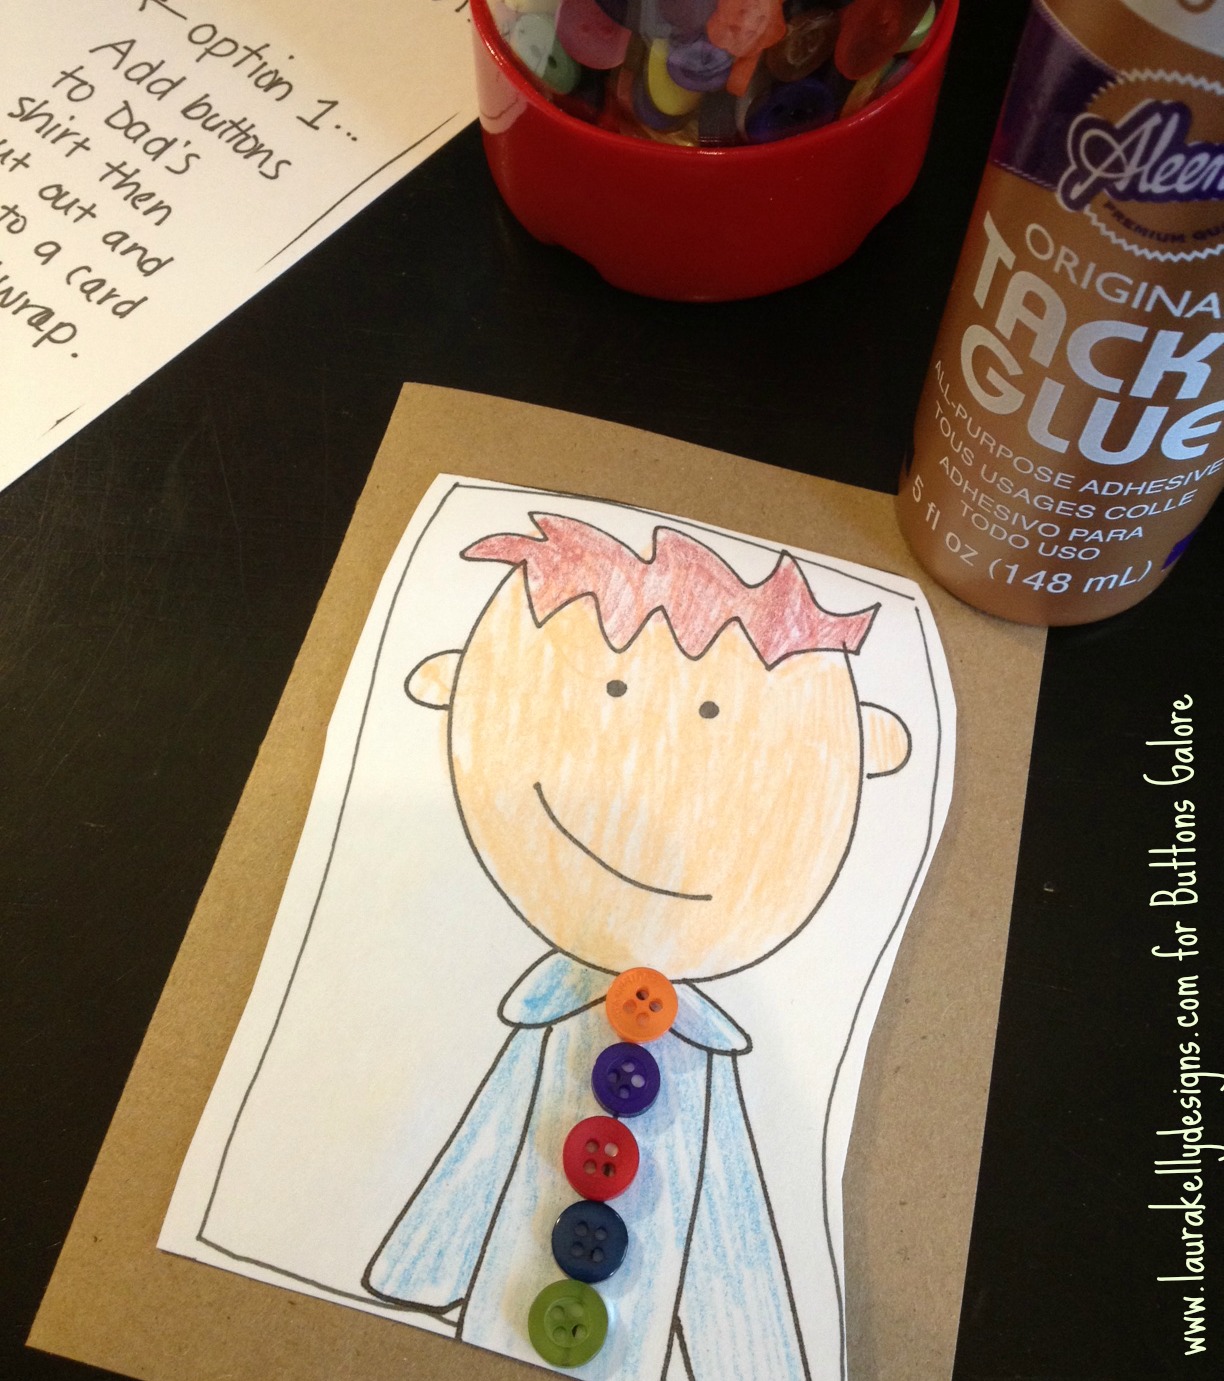
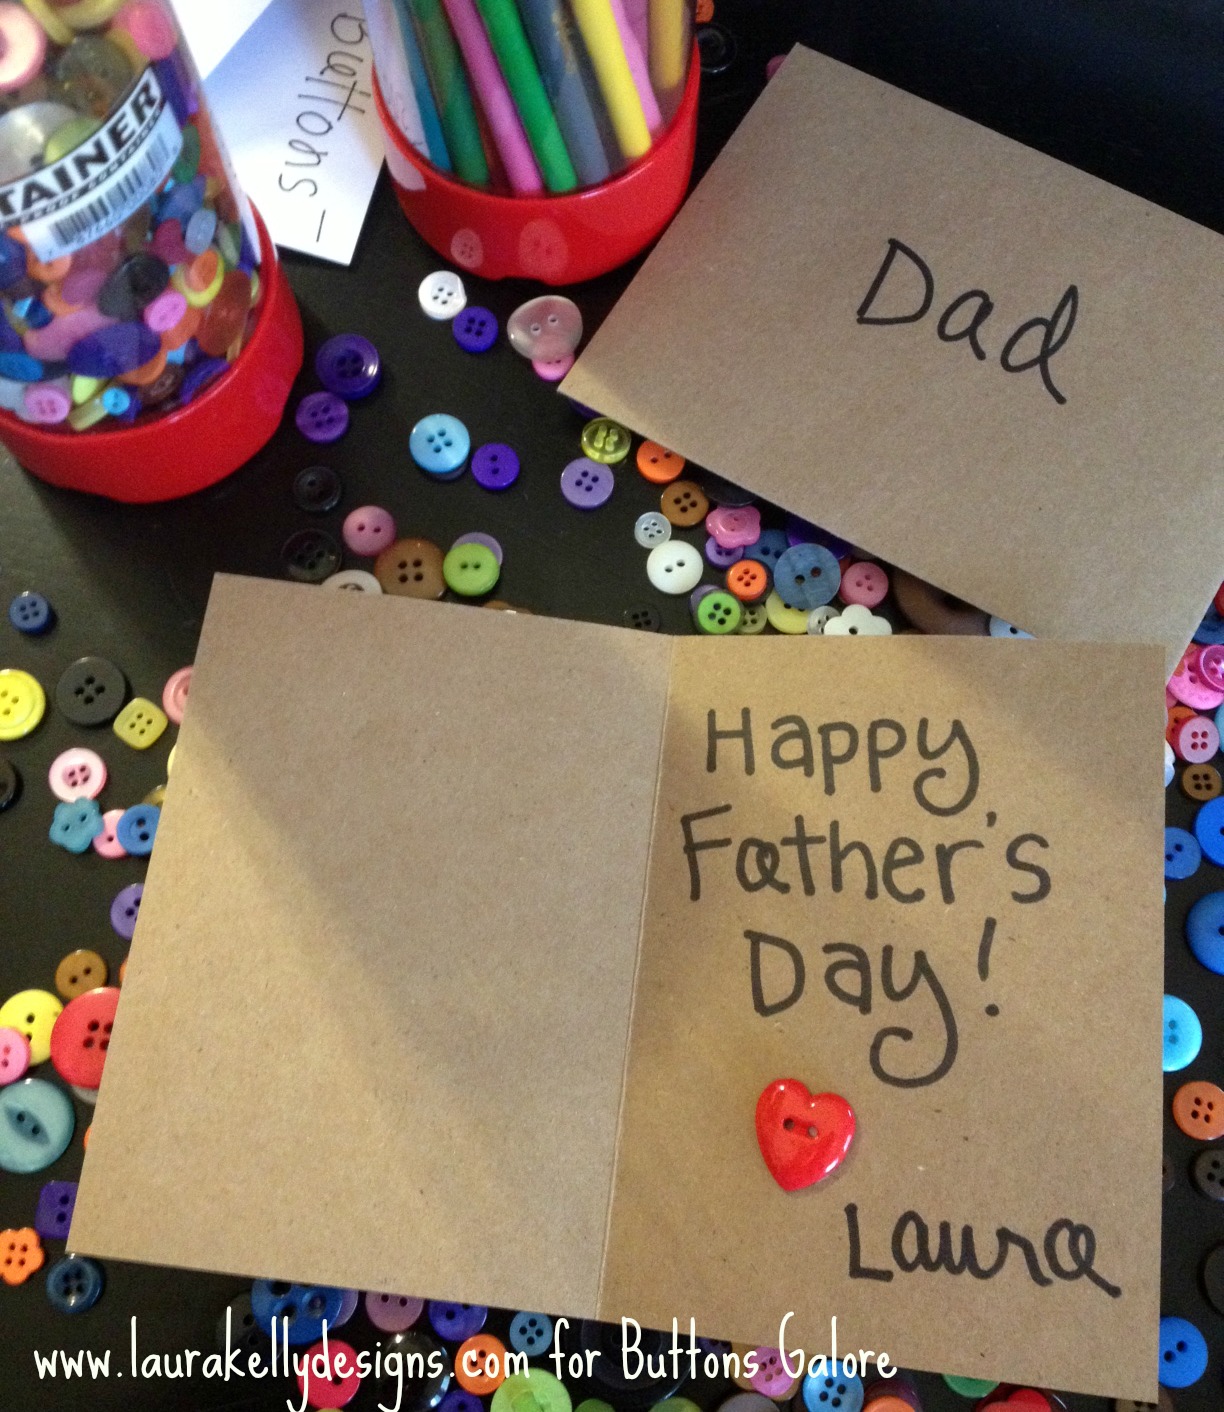
Write a message inside and you are all done!

Dad Card Buttons

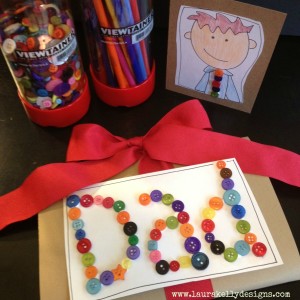
For another great  buttons and glue Daddy Card, visit my blog!

DAD Wrap Buttons

Happy Glueing and Celebrating Daddies, Step Daddies, Grand Daddies and Special Men,

Laura


1

Powered by WordPress. Designed by WooThemes