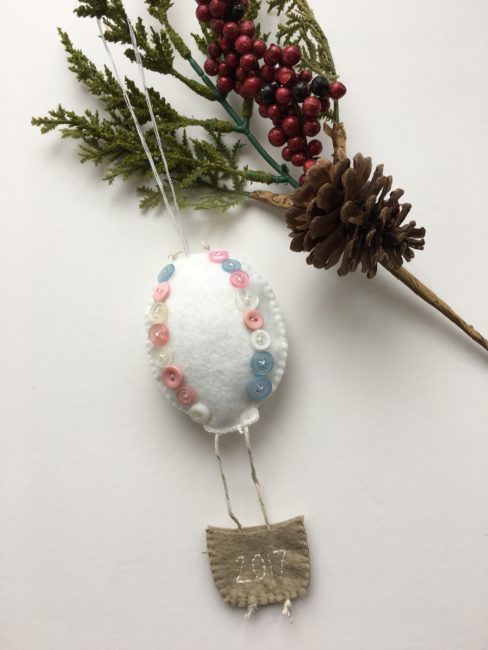
It’s Aimee here today with a simple little hot air balloon ornament, easy enough for the most novice of stitchers to complete. Gift this DIY Baby’s First Christmas Ornament to a friend’s newest little one or hang it on your tree to celebrate the new little life in your home! Continue Reading →
Tag Archives | Christmas Ornaments
Make DIY Sparkling Snowflake Ornaments with 3D Buttons
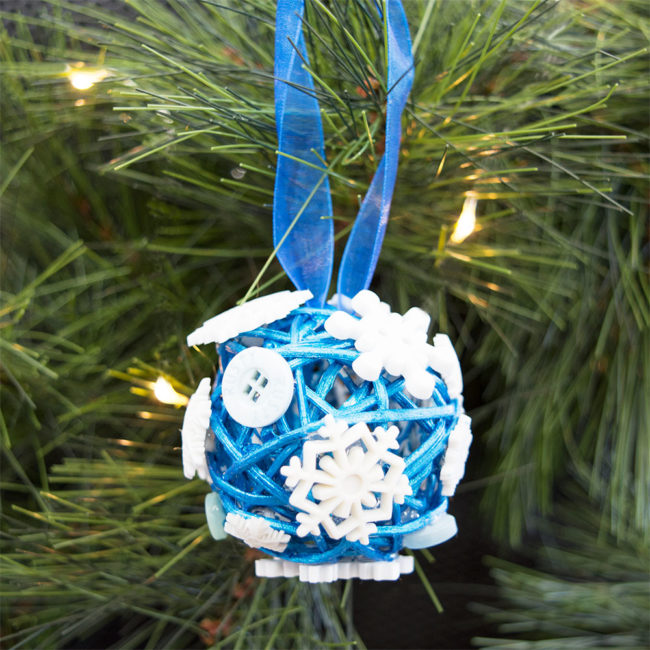
I’m not quite ready for Christmas just yet, but it’s never too early to start planning! Snow is not my most favorite thing in the world. It’s wet and much too cold for this desert girl! I’m a summer fan for sure. However, I do love beautiful snowflakes. Every year I decorate my kitchen with lovely, sparkly snowflakes. I always say that it’s my favorite kind of blizzard! This year I have plans to put a small white tree in the kitchen, decorated with more snowflakes, of course. I wanted to make some of the ornaments myself, and the adorable snowflake buttons in the Snowflakes Value Pack were just perfect for the task of making snowflake ornaments! Continue Reading →
Make DIY Button Filled Christmas Ornaments with the Kids!
Hello Everyone! This is Katie from the Buttons Galore & More Design Team and today I have a fun button filled ornament project for you to make if you are loving Christmas in July!
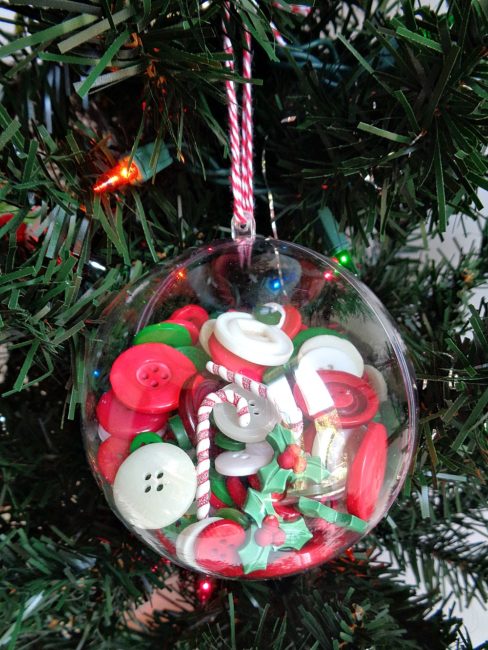
The great thing about this button filled ornament project is that it doesn’t involve any type of special tools or glue. Because of that, these button filled ornaments are super easy to put together and would be the perfect project to make with your kids. In addition, since this project requires no drying time and is only three steps, you can make a ton of these ornaments over the course of a weekend!
To decorate my ornaments, I used a combination of buttons and sequins. With that being said, I decided to stick with a traditional color palette of red, white, and green. So, in this tutorial, you will see buttons and sequins in those particular colors. But if you want to experiment with a more non-traditional palette, you could try using the The Merriest Button Bonanza, the Winter Wonderland Button Bonanza, the Contemporary Christmas Button Basics, or the Winter Flurries Button Basics.
So, to find out how to make your own button filled ornaments, keep reading below!
Supplies
- Buttons Galore “Christmas” Button Bonanza
- Buttons Galore “Holiday Fun – Holly” 3D Buttons
- Buttons Galore “Sugarplum” 3D Buttons
- 28 Lilac Lane ”Winter Wonderland” Embellishment Bottle
- Clear Plastic Fillable Ball Ornament
- String or Ribbon
- Scissors
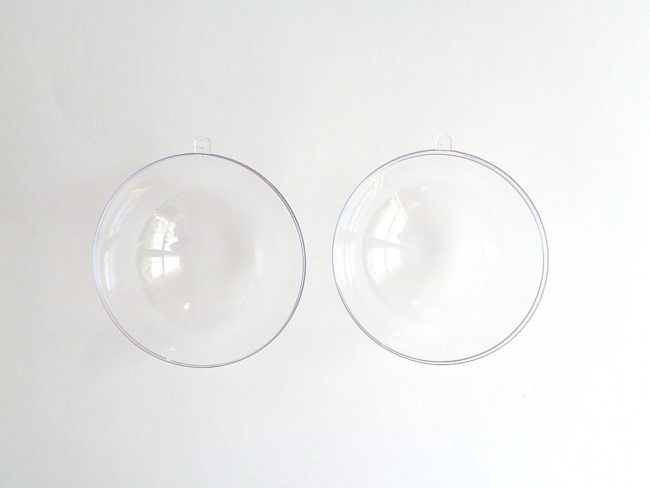
Step 1: Take apart the two sides of your clear ornament ball, and clean out both halves. (The reason why we are doing this is to make sure that there is no dust or small particles in your ornament.)
If you are using another type of clear ornament ball, simply take off the top and run it under some water to clean out the inside. But using the type of ball that separates into two halves is best as it lets you put larger items inside the ball.
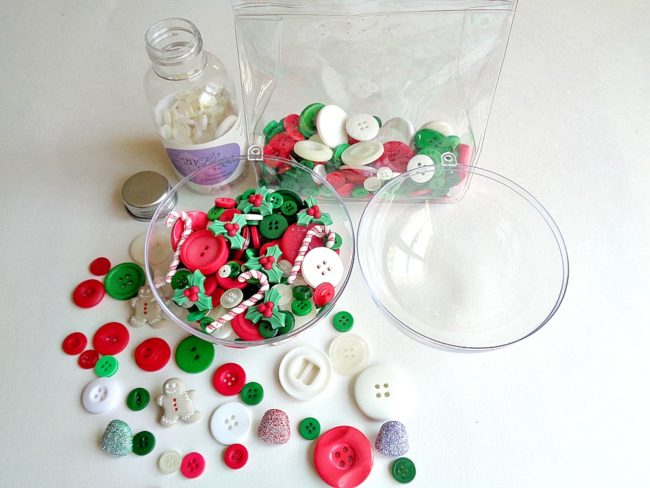
Step 2: Fill up your ornament with buttons, sequins, seed beads and whatever else floats your boat! In the ornament above, I used the following: “Christmas” Button Bonanza, “Holly” 3D Buttons, “Sugarplum” 3D Buttons (I used the candy canes from the pack), and the 28 Lilac Lane ”Winter Wonderland” Embellishment Bottle.
When doing this step, I recommend filling up only one side of the ornament ball. Filling up only one side of the ornament will make snapping the two halves of the ornament back together much easier.
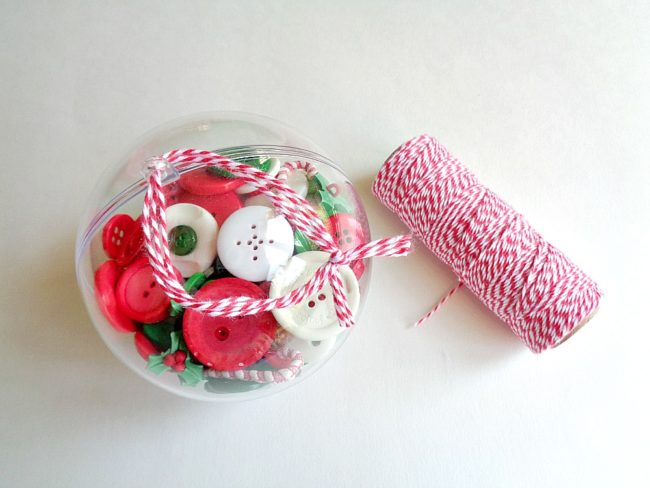
Step 3: Once your ornament has been filled, gently snap the two halves back together. Then tie on a string or ribbon to the top of the ornament.
Once you are happy with how your ornament looks, you are ready to hang it on the tree!
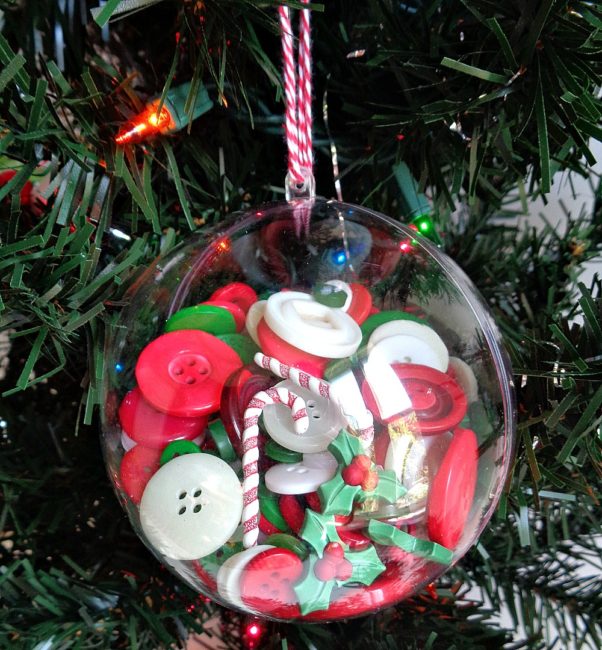
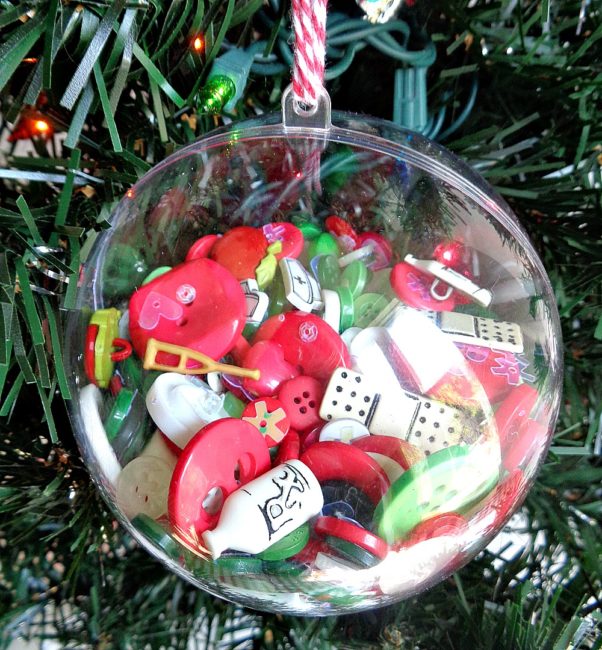
These button filled ornaments were so easy to make and were so much fun to put together! Creating this project actually got me really excited for Christmas!
While creating this project, I started thinking about how these ornaments would make great gifts for co-workers, family, or friends. If this is something that you are considering, then you could personalize these ornaments even more by adding buttons related to that person’s career or hobby. For example (like shown in the last photo above), if you are giving this ornament to a nurse, you can mix in some buttons from Buttons Galore and More’s “Doctor Doctor” button set.
If you made these Button Filled Ornaments, what color or style of buttons would you use?
Christmas in July | Button DIY Candy Cane Ornaments
Hi, it’s Connie here with the Buttons Galore & More design team. We are celebrating Christmas in July, with handcrafted ornament ideas to create with the family. Looking for a DIY Christmas ornament that is easy for little hands to make? These DIY candy cane ornaments with big red, green and white buttons are easy for little hands to pick up and glue down.
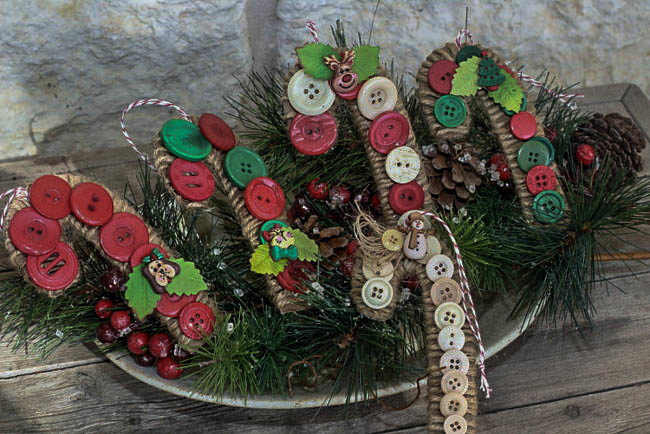
These DIY Christmas ornaments are fast and are very kid friendly to create!
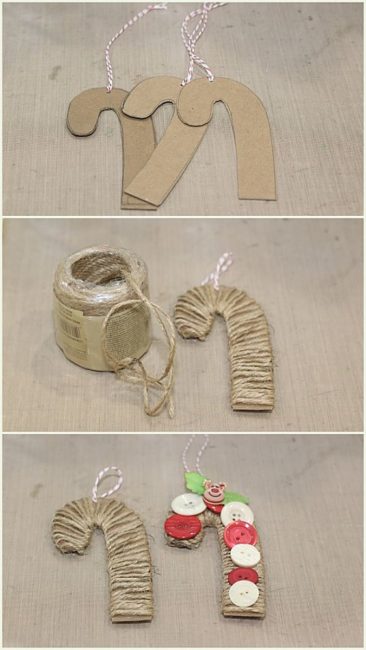 Instructions:
- Create a pattern by drawing a candy cane on chipboard and cutting it out.
- Punch a small hole, in the top of the candy cane, and place twine through for the hanger.
- Wrap the candy cane with jute string, adhering to the top of the candy cane and the bottom. Adhere big buttons to the wrapped candy cane with a strong wet glue. Let dry. Add embellishments, if desired, to complete the ornaments.
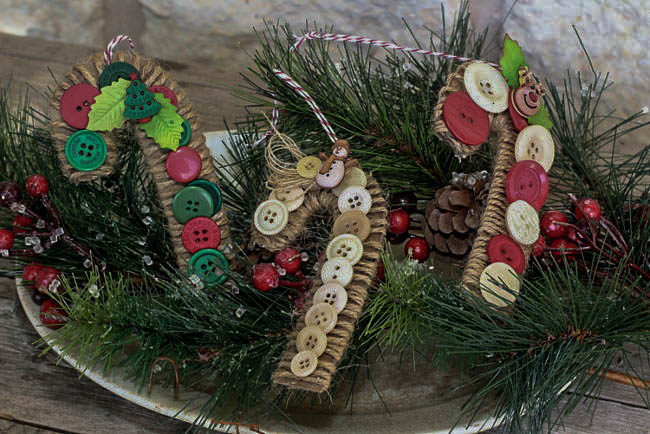 The candy canes are wrapped with jute loosely. Once the big buttons are adhered the jute is nice and secure.
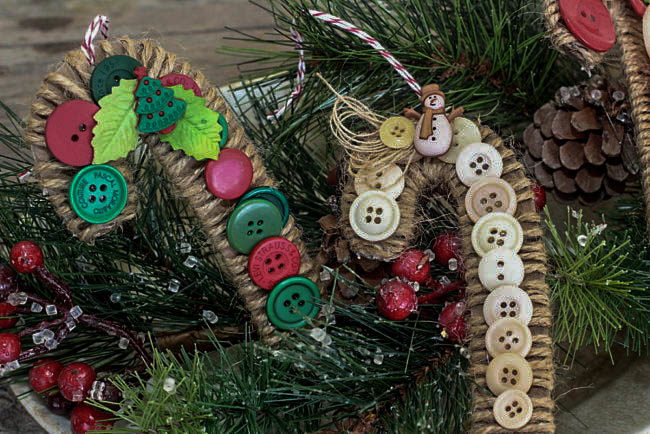 You may be familiar with our color mixes of flat buttons, but did you know that Buttons Galore & More also makes the cutest 3D buttons? Today, I’m using some called the Holiday Fun collection, that include snowmen, Christmas trees, stars, deer, and a cat and dog, just to name a few. They are so fun, just like their name! I snipped the shanks off and added these cute “Holiday Fun” buttons to the candy cane ornaments. Paper holly leaves are tucked in behind the “Holiday Fun” buttons.
These ornaments are great for gift exchanges and teacher gifts. Decorating a gift bag is another way to use these candy cane ornaments!
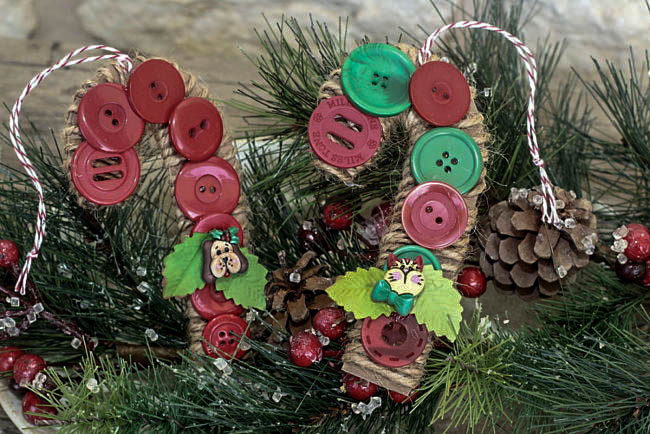 I’m looking forward to adding these handcrafted candy cane ornaments to my little Christmas tree this year, mixed with some real candy canes. That is sure to make everyone happy!
Supply list:
- Buttons Galore & More “Holiday Fun” 3D buttons
- Buttons Galore & More “Country Christmas” Button Bonanza
- chipboard
- heavy jute
- twine
- clear drying glue
- cardstock (to cut holly leaves)
Thanks for stopping by~
Connie Mercer/DT Member
Christmas in July | Easy Button Christmas Ornament
July has come and that means we are half-way to Christmas! Even though the heat index is out of this world, it’s never too early to start working on Christmas crafts, ornaments and decor. I’ve got an easy button Christmas ornament craft that is simple for even the most beginner seamstress to do. All you need are a few easy-to-find supplies and a cozy spot to sew, and you are ready. This is a super craft for children learning to sew also.
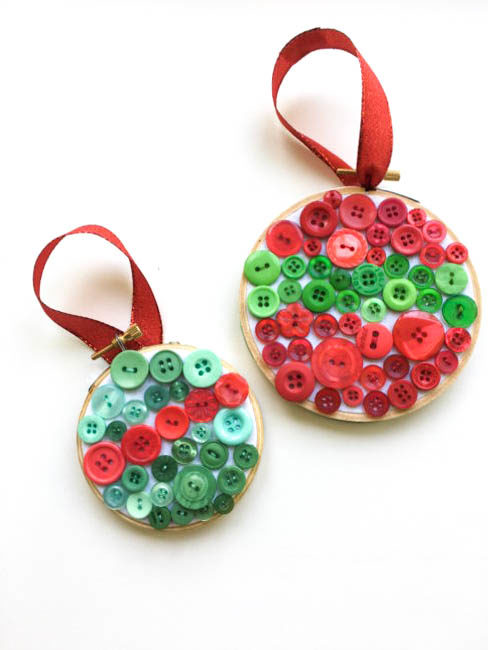
Here’s what you need:
- 28 Lilac Lane “Holly Jolly” Embellishment Kit
- 28 Lilac Lane “Yuletide Greetings” Embellishment Bottle
- 3 inch and 4 inch wooden embroidery hoop
- divisible embroidery floss
- needle and scissors
- scraps of white cotton fabric
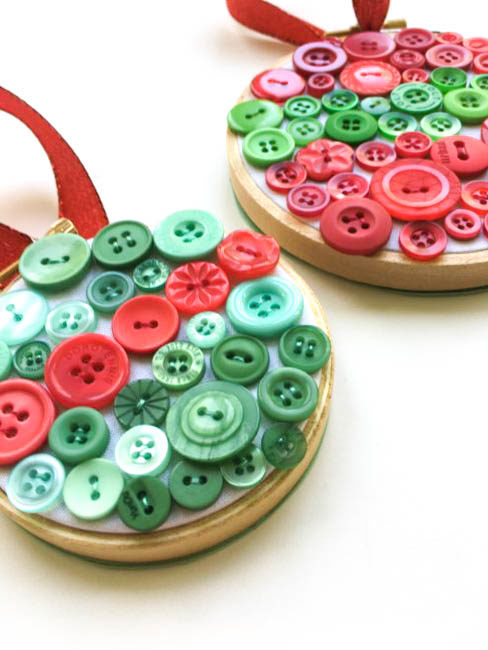
Put your cotton fabric scraps inside the hoop and gather up your buttons and sewing supplies.
You can attack this little project a couple of different ways, by planning ahead or by winging it! I prefer to go ahead and lay out all the buttons ahead of time, so I have an idea of how many I will need. Or you can just choose the buttons you want as you go. Either way works!
No matter how you decide to proceed, you do need to sew down the center row first. For the smaller hoop, it works best to make a center line with 4-5 buttons of equal sizes. For the larger hoop, it’s fun to mix and match and make it look a little zig-zag. Use one strand of a corresponding embroidery floss color and sew each button down with at least 2-3 stitches. After you have your center row stitched down, it’s time to start filling in the top and bottom of the hoop.
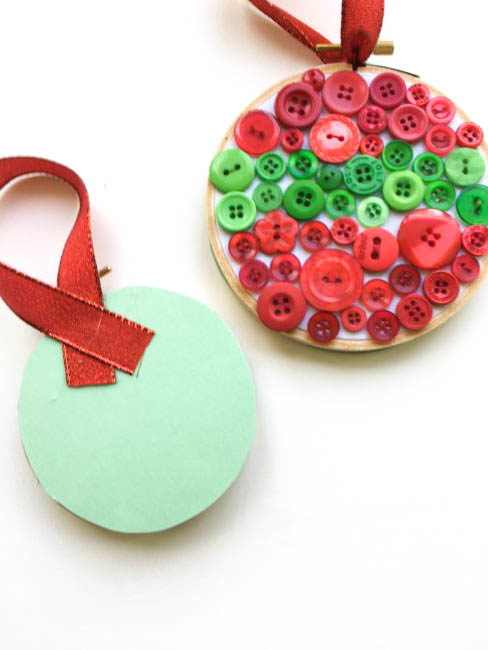
To finish, cut your white fabric about one inch from the outside of the hoop and hot glue it to the inside of the hoop back. Then you can hide all your stitches by cutting out a piece of scrapbook paper and gluing it to the edge of the hoop back. Use the ribbon from the embellishment kit for hanging your ornament, and find a fun place to display your new ornaments!
Decorate a Felt Christmas Tree Ornament with Buttons
Looking for an activity to entertain the kids this Christmas? Our felt Christmas tree ornament project is quick and easy, and perfect for kids of all ages! Better yet, it’s a great (and affordable) activity for doing with large groups for parties and class activities.
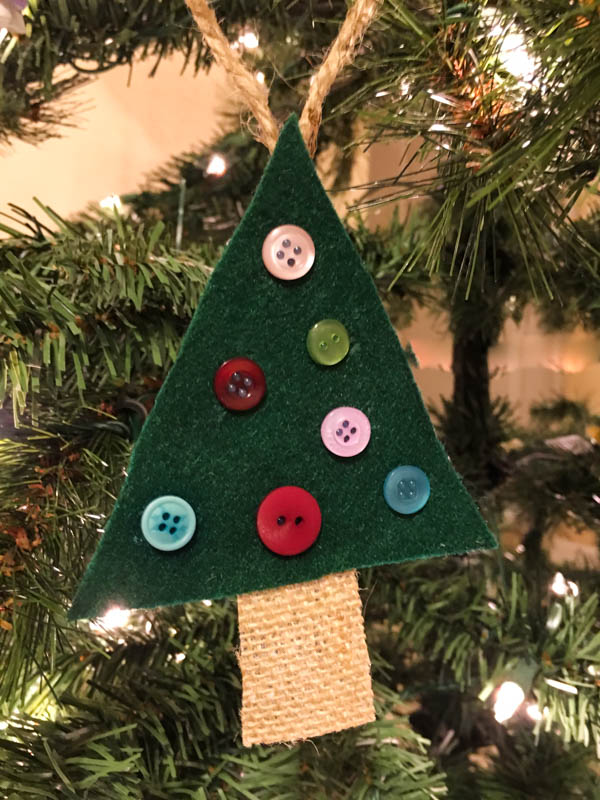
Supplies:
- Buttons Galore “The Merriest” Button Bonanza
- Eco-Fi Plus Felt in Kelly Green
- Burlap Sheet or brown felt
- Twine or yarn
- Hot glue gun or white glue
Any felt will work for this project, but I chose to use the heavier Eco-Fi Plus because it stands up better to the weight of the buttons than thinner felts and hangs better as a result.
Constructing these tree ornaments are fast and simple. They are created from two simple shapes cut by hand from felt and/or burlap. Older children can draw and cut their own shapes, and the shapes can be pre-cut for younger children.
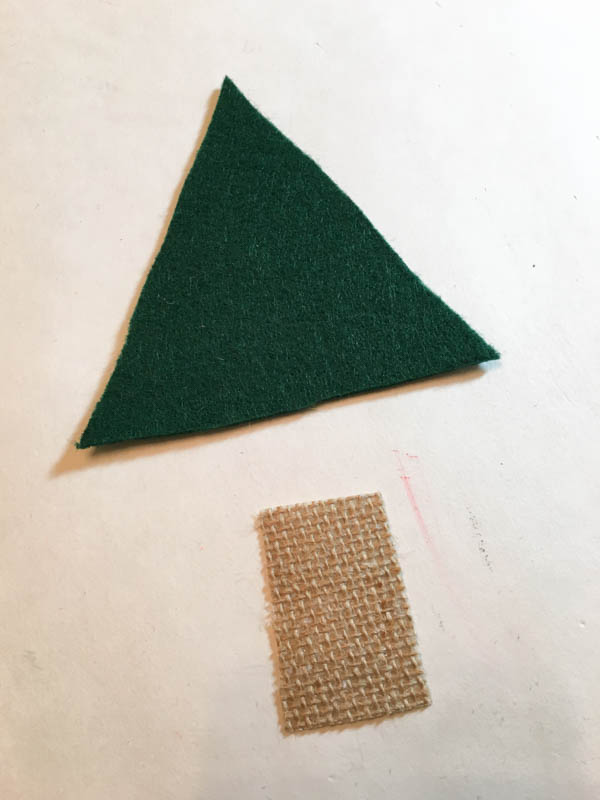
Assembling the tree parts (and adhering the buttons) can be done with hot glue or with a clear drying white glue, depending on the age of the kids making the ornaments. The hot glue will dry faster, if the ornaments need to be moved or hung quickly. Or, to make the project even more educational, practice some sewing skills and sew everything together!
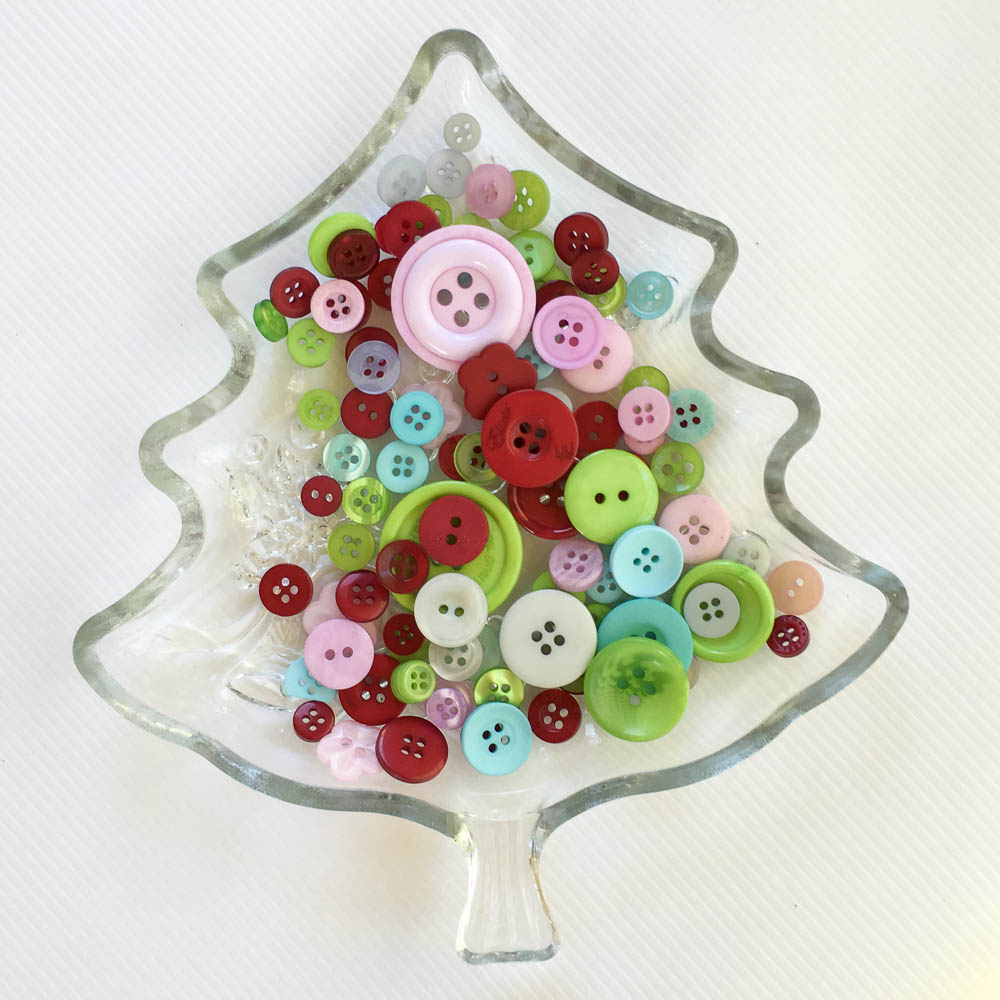
Choosing different buttons will make each kid’s felt Christmas tree ornament look unique! For a fun country Christmas look, I decorated my felt Christmas tree ornament with buttons from our new Button Bonanza called “The Merriest”.
To complete your ornament, it needs a hanger. I made a loop of twine and attached it to my ornament with hot glue. Ribbon or yarn could also be used.
This easy and fun felt Christmas tree ornament will provide fun for the whole family, and the kids will love creating their own personal design for it! These ornaments would also make beautiful custom gift tags (with the addition of an address label sticker on the back for writing on) for grandparents that can be saved and treasured for years to come.
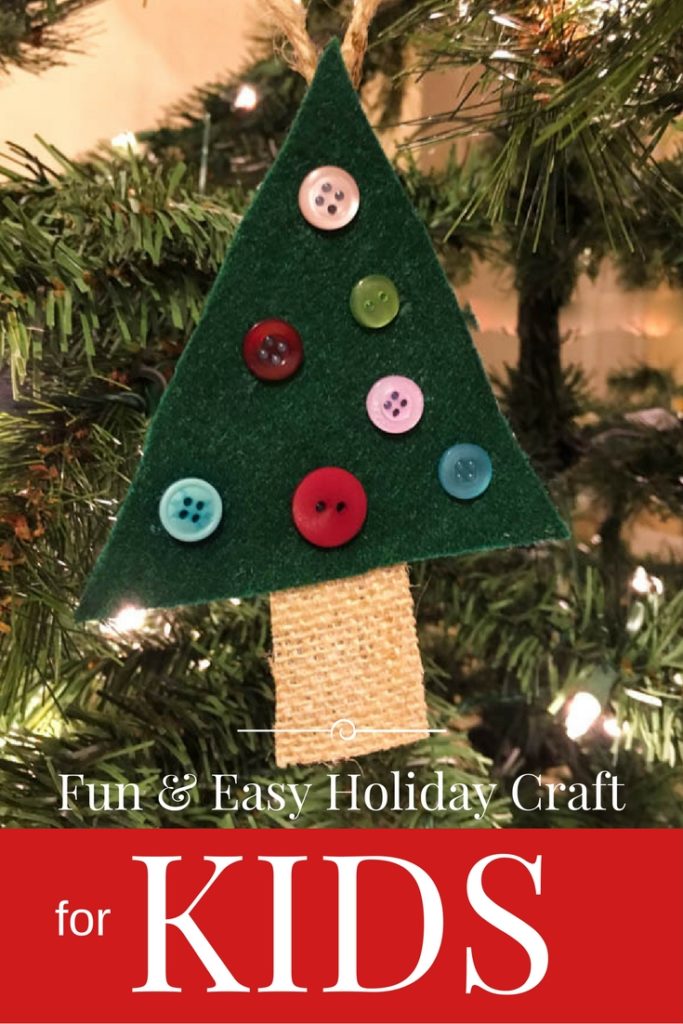
Are you going to button up your Christmas tree this year?
Video | DIY Rose Christmas Ornament with 28 Lilac Lane
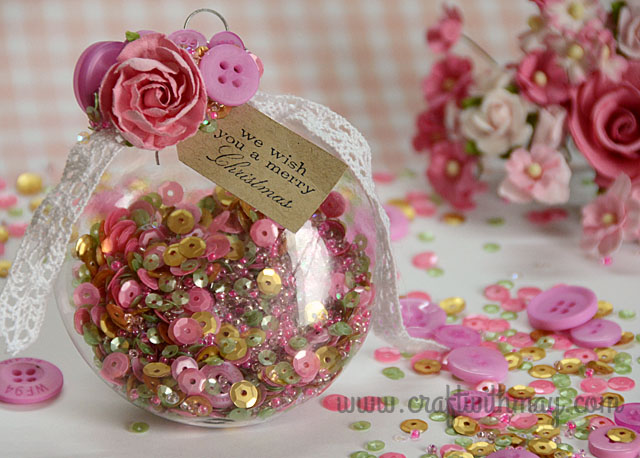
Pink is hot, hot, hot for Christmas this year! Today we’re sharing a beautiful rose Christmas ornament by 28 Lilac Lane designer May Flaum that will add a brilliant touch of pink and gold to your Christmas tree.
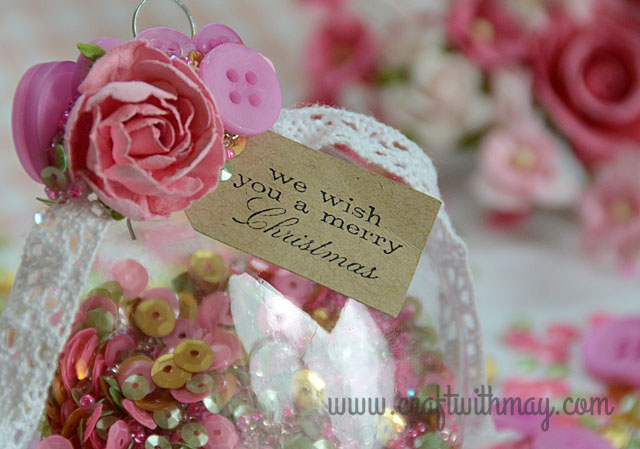
May’s rose Christmas ornament is created with one of her six brand new 28 Lilac Lane shaker mixes that have just been released. This pink and gold shaker mix is called – you guessed it! – Rose Garden. This gorgeous mix will take you from a retro pastel Christmas, into Valentine’s Day, or use it to create beautiful girly embellishments year-round!
And now, May herself will show you how it is done!
![]()
DIY Rose Christmas Ornament by May Flaum:
With the holidays fast approaching I am always looking for hand crafted gift ideas and special homemade touches. These new shaker mixes are great for so many projects including homemade ornaments. In this video tutorial I will walk you through creating a lovely rose garden ornament perfect for my aunt who loves pink & gold at the holidays.
Here’s a closer look at my finished DIY rose Christmas ornament project!
![]()
Don’t miss the chance on our Black Friday Sale to get May’s 28 Lilac Lane embellishment bottles for 15% off! Use code EMB15 through Friday, November 25th to save on all your favorite bottles from the collection. Don’t miss out on the new ones like Savannah Stroll, Winter Wonderland, and Coral Reef!
Create A Christmas Ornament Full of Festive Buttons
The days are ticking down to the start of the holiday season! Today, we’re going to kick off the holiday crafting season with a fun Christmas ornament full of buttons!
Supplies:
- Clear Acrylic Christmas Ornament
- Silver Ribbon
- Hot Glue Gun
- Buttons Galore “The Merriest” Button Bonanza
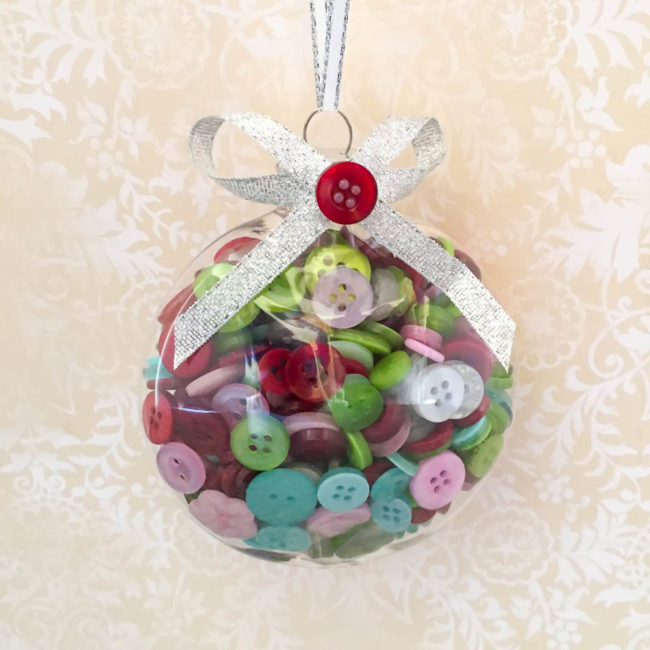
To make this ornament, I started with a clear acrylic Christmas ornament from a local craft store. These sorts of ornaments are widely available during the holidays and have removable tops because they are designed to be filled. The one I chose to work with was round, flat, and about 3/4″ thick.
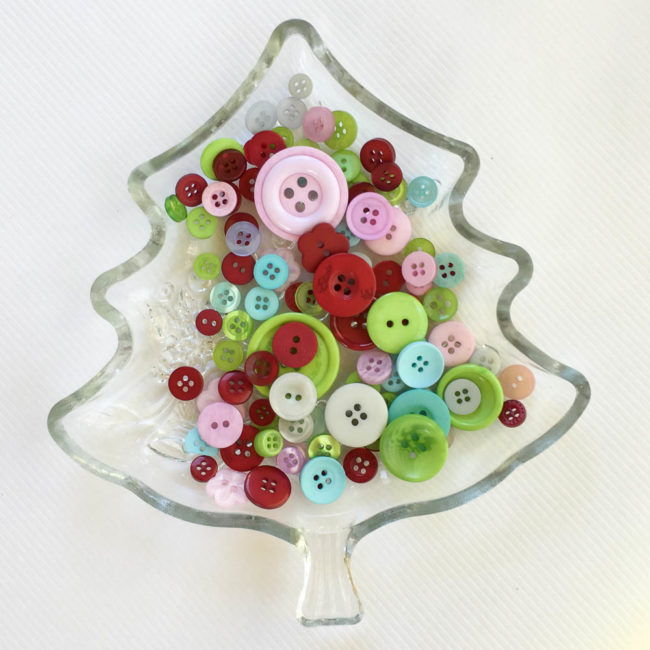
For my buttons for this project, I had three beautiful new holiday Button Bonanzas to choose from! I chose “The Merriest”, a delightful combination of pastel blue, light pink, lime green, bright red and white. These colors will have beautiful pop against the dark green branches of a Christmas tree!
Making my button filled Christmas ornament was super simple! I started by filling the ornament with a selection of small buttons from “The Merriest” and replacing the top.
To decorate the top, I first wrapped a small piece of silver ribbon around the neck of the cap and secured it with my hot glue gun. Then I made a bow by looping another length of the ribbon, and secured it with the hot glue as well. Finally, I used hot glue to attach a button to the center of the bow.
This cute Christmas ornament is just a pretty decoration – it also doubles as a fun little gift for a crafter! After it’s done being decorative for the season, the recipient can just remove the top of the ornament to empty it out and enjoy using all these gorgeous button colors year-round.
Who do you know that would love a buttoned up Christmas ornament this year?


