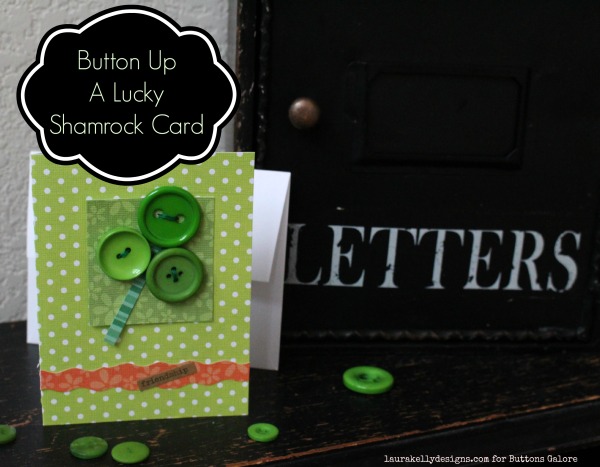
Sending cards for the little holidays is not only fun but also very special. I mean come on, who doesn’t LOVE to get a note in the mailbox these days. This hand made card is not only adorbale but sure to spread luck and friendship for St. Patrick’s Day. Three cheers for Fifteen MINUTE Friday!
You will need the following:
- Card stock in greens and oranges (Darice Core’dinations)
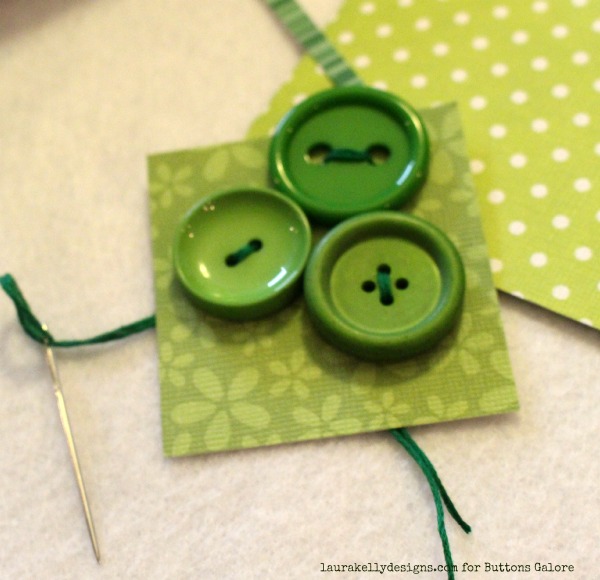
- Candy Apple Green Buttons from the Laura Kelly collection
- Aleene’s Always Ready Tacky Glue
- Embroidery Floss and Needle
- Message Stickers (You can write on the note card too)

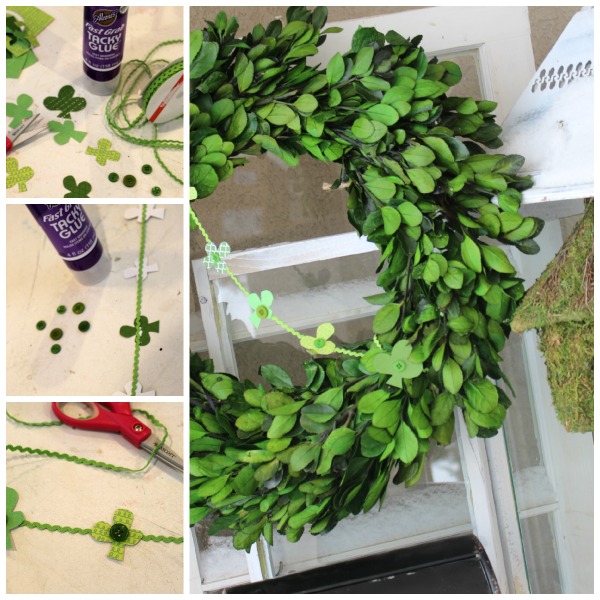
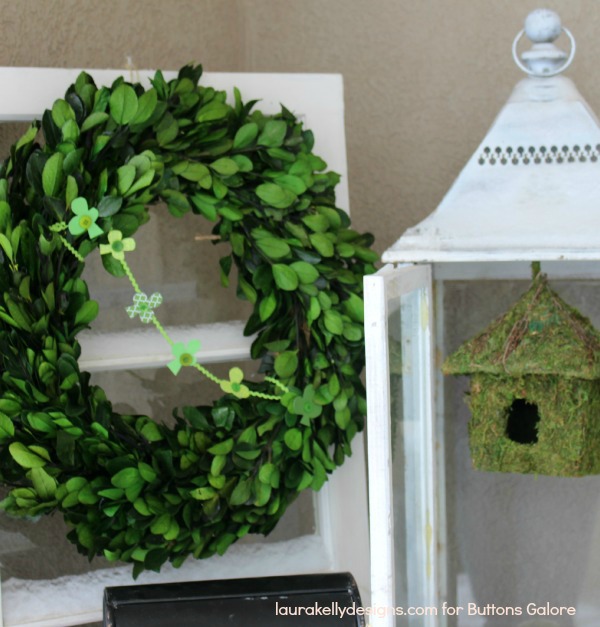
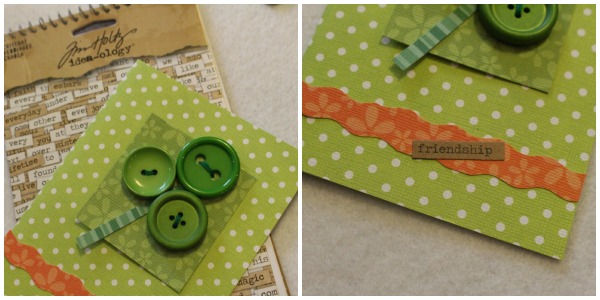
Cut a fold over card to fit your envelope. This one is 8.5 x 4.25 to fit in an A2 sized envelope. Cut your other decorative papers to add color to your card front. Stitch your buttons to a piece of pre-cut card stock to form a shamrock. Knot it in the back.
Adhere your pieces to the front of the card with Aleene’s Always Ready. Add a sticker message if you would like. You can also write your message with a marker or a pen.
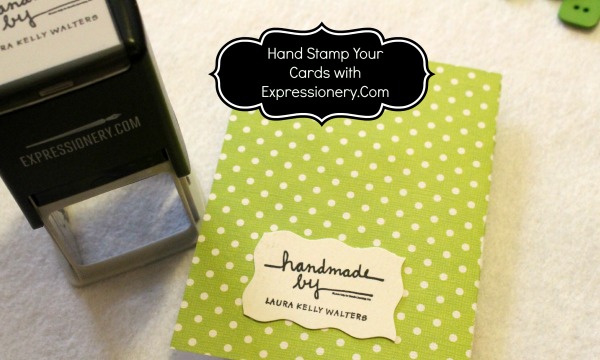
I hand-stamped the back of my card too with my self-inking stamp from Expressionery.Com. I think this makes it a little more special.
And now you are ready to write a for real, noteworthy, hand written letter to a friend!

Happy Creating,
Laura