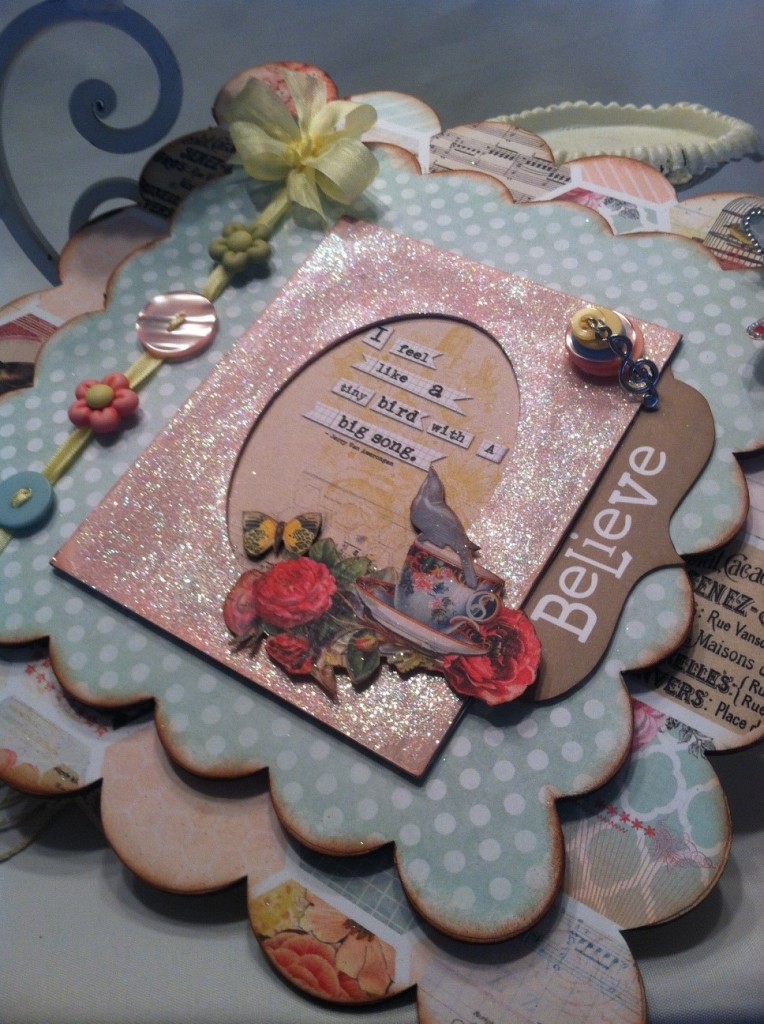
I love April for many reasons! April is when you start seeing the signs of spring, but it also reminds me of the day I welcomed my oldest and youngest daughters to this world. So I created this springtime Flutterbug Medley Wall Plaque with them in mind. April is when we start to see the beautiful flowers start to bloom and when we start to see the birds chirping and singing. My oldest is always a reminder that she was born in April, because she is always singing up a tune, so that is why I created this Flutterbug Medley Wall Plaque using Buttons Galore and More Flutterbug Medley buttons. It’s a reminder of some of the things that as mothers we enjoy and at times we tend to forget.
My baby girl will be turning 17 here in a few days. I wanted to give her something that will inspire her to always believe in herself and – just like the birds and the butterflies – to sing her heart away. It’s a daily reminder of what really matters most in life, but it also reminds me of why I love April so much!
As I was walking down the Scrapbook Expo in Utah two weeks ago, I couldn’t help but notice that there were a lot of wood projects. At the time I went in with the idea that I wanted to buy something to create a wedding theme for this project. I walked past the ADORNit booth and saw these scalloped wood frames. I thought I could make a wedding theme out of that, so I picked up the two wood frames! I really didn’t expect to bring them home and create something completely different, but that is what I did! First I thought wedding, then I thought Mother’s Day, and finally I thought Spring since April is one of my favorite months!
My Springtime Flutterbug Medley Wall plaque is cute for any young lady and very easy to make!
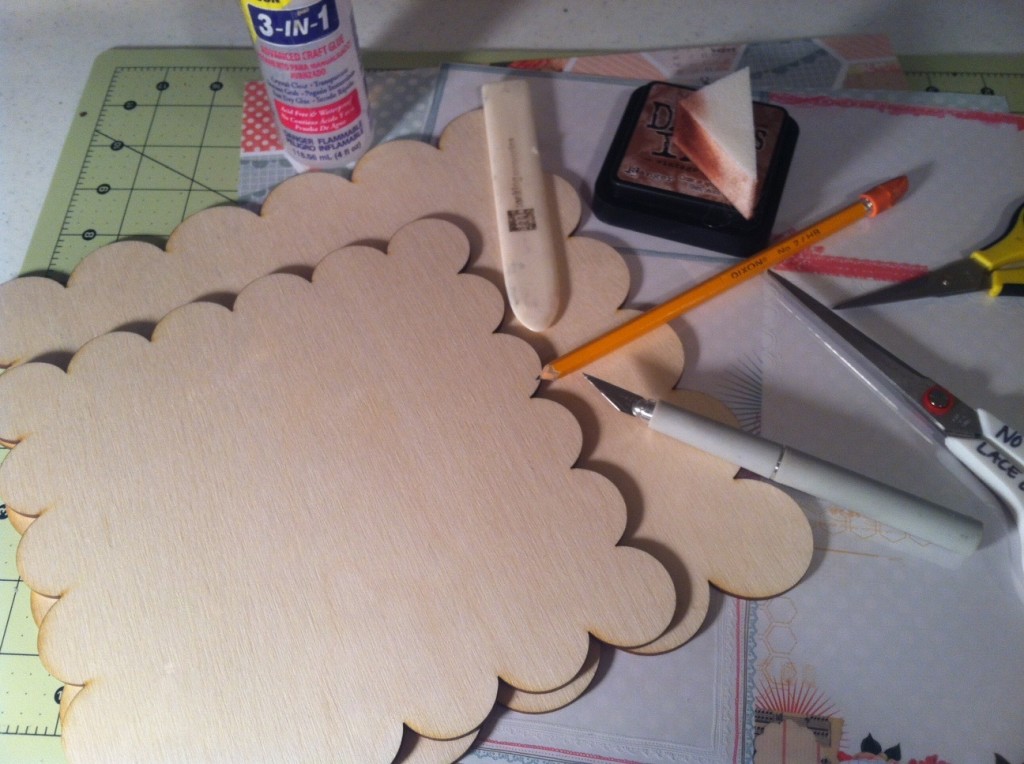
Materials used:
- Flutterbug Medley buttons
- Rose Garden buttons
- Beacon Adhesive – Tacky Glue
- Zip Dry Glue Adhesive
- Fiskars Scissors
- Adtech Hot glue gun and glue
- My Mind’s Eye – Follow Your Heart by Rhonna Farrer Paper Collection
- ADORNit Scalloped Large Wood Frame
- ADORNit Scalloped Small Wood Frame
- Tim Holtz Vintage Photo Distress Ink
- Want2Scrap – 3D Chipboard Frame
- Want2Scrap – Music Note Charm
- Want2Scrap – Wonderful Wings by Donna Salazar
- Dimensionals
- Acrylic Paint
- Seam Binding
- Doodlebug Glitter
- Sand block
- Pencil
- X-acto knife
Directions:
Once you have gathered all your supplies, you can begin to transform the scalloped frames into something totally cute and ready for spring.
STEP ONE:
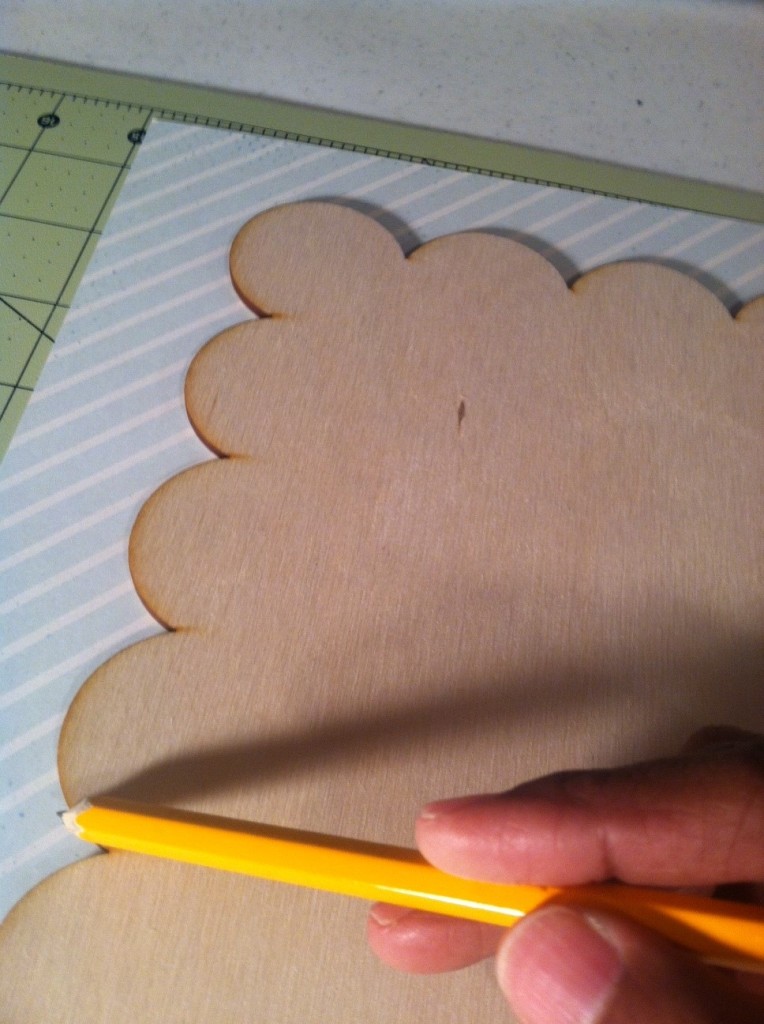
Start by tracing the large scalloped wood frame onto your paper of choice. Be sure to trace on the back side of the paper.
Once you have both the large and the small scalloped frames traced like you see above you can begin to cut.
STEP TWO:
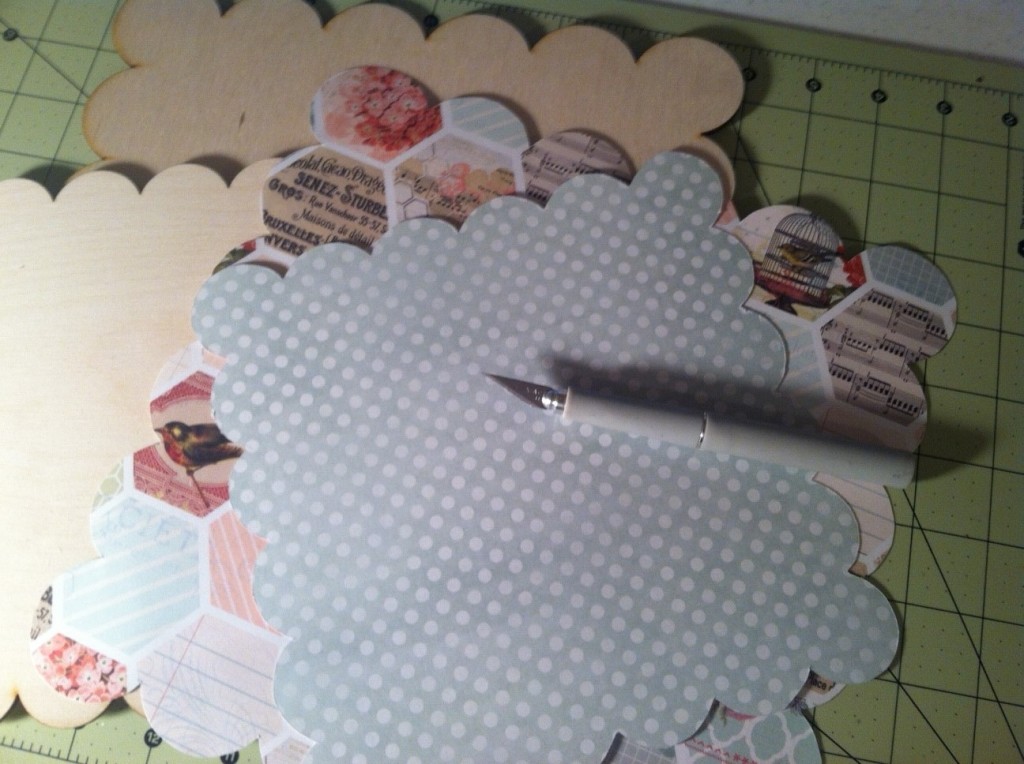
Cut the frames that you just traced. You can use an X-acto knife for the harder to cut places, or your Fiskars scissors.
STEP THREE:
Apply Beacon 3 – in -1 adhesive or Zip Dry (they both work just as well) to your decorative paper and adhere to the scalloped frames. A good tip is to use a sanding block to sand off the edges of the paper that may hang from the edges. This also gives it a more distressed look! Once you have distressed with the sanding block, use a Distressing Ink like Tim Holtz’s to distress the edges of the frames/paper.
STEP FOUR:
Now that the edges are distressed and the paper adhered, you can begin to add some dimension to the back of your smaller frame. This will give it the popup look that you see. Adhere the smaller frame to the center of the larger frame.
STEP FIVE:
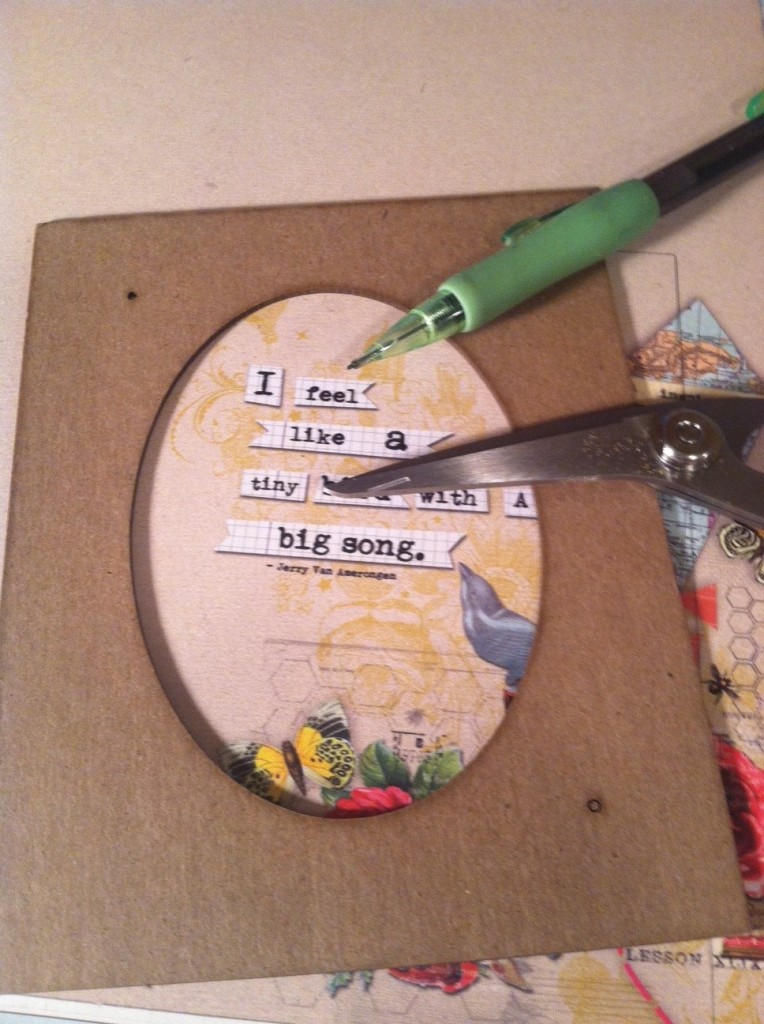
Start decorating your frame. I used Want2Scrap’s chipboard frame, which I painted with pink Acrylic paint, and then added some Zip Dry and dusted that with Doodlebug Glitter. I set that aside to dry. I selected a verse from the same paper collection by Rhonda Farrer. I cut out the verse to fit the frame from Want2Scrap, and glued that to the frame.
I used my Fiskars scissors to cut out another piece similar to the one above to give it the dimensional look.
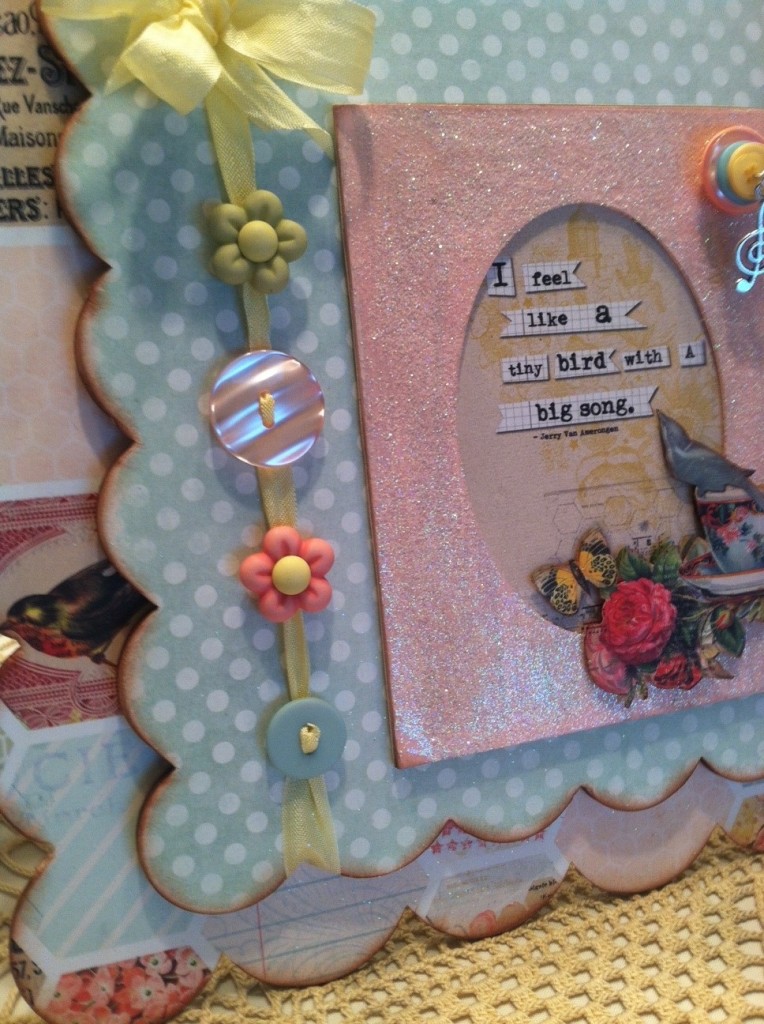
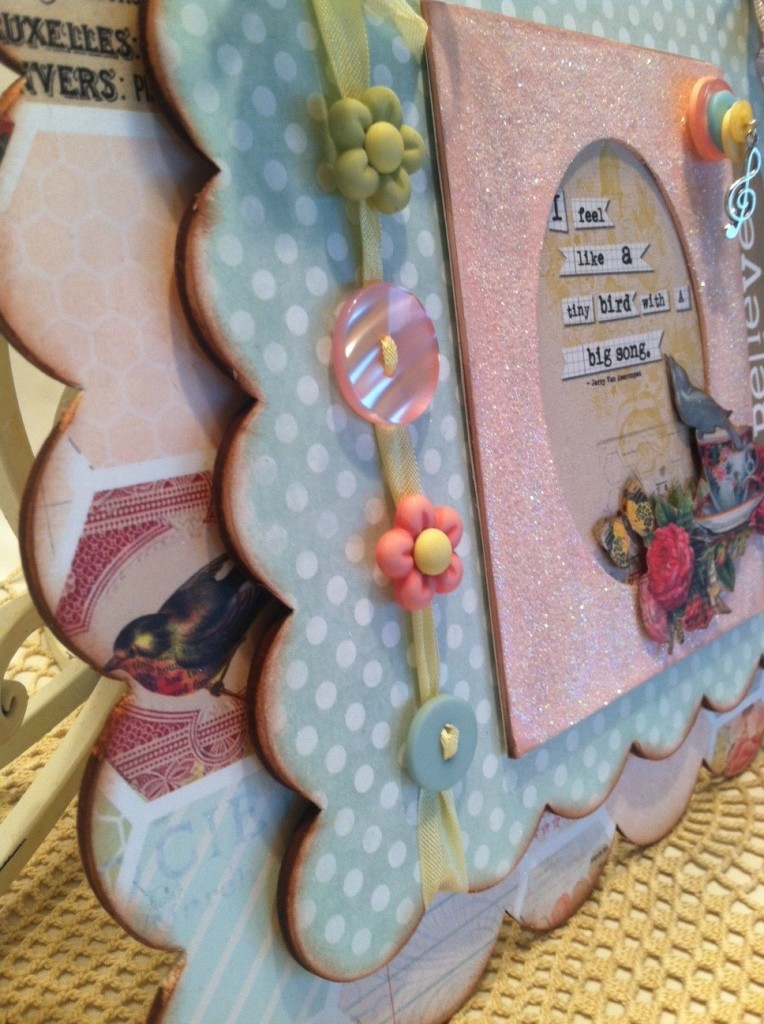
Finally, to finish this project I added a few of my favorite things, which are buttons, bling, and seam binding. I threaded the Flutterbug Medley buttons through the seam binding and tied it up with a bow. I gathered a few buttons that I had laying around and added that along with Want2Scrap charm.
I hope you enjoyed my Springtime Flutterbug Medley Wall Plaque that I created for you today!
Latest posts by Admin (see all)
- Ladybug Button Card - May 1, 2015
- Button Up a Teacher Gift in a Flash - April 10, 2015
- Don’t Get Pinched! Guest Blogger DIY Shamrock Accessory - March 2, 2015


Congratulation my dear friend, likes always you did an excellent job, so gorgeous and amazing, best wishes, God bless you.
Oh, this is sooo pretty! I love the way you stacked the buttons and added the little charm. Happy birthday to your daughter!
HERMOSO HERMOSO ERES UNA GRAN ARTISTA. BESITOS
está precioso amiga, felicitaciones