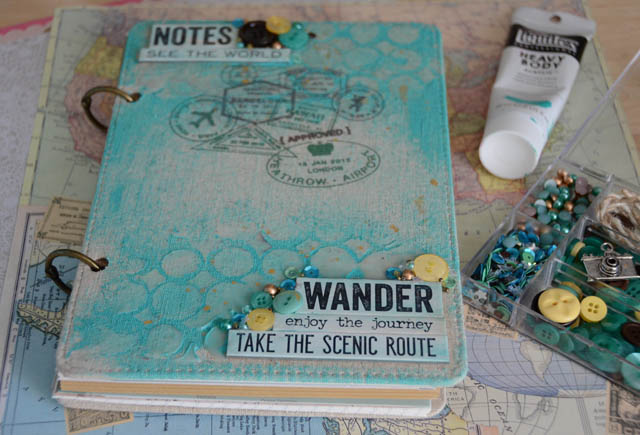
I decided to make a vintage button card journal because I love to make lists. With the new year here I find I’m making lists every day. Goals for the year, things to do, crafts to make. They all go onto lists. Then I lose the lists. In order to stop this vicious cycle, I’ve started keeping my lists in journals. The thing is, I come up with some of my best ideas on the go so I need something compact, hence the birth of my Button Card Journals.
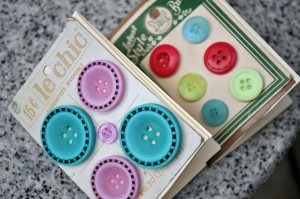
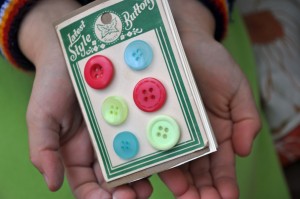
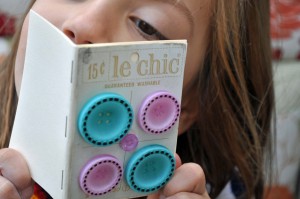
All the vintage button cards I owned had some buttons that were hideous. The buttons were odd colors and looked damaged, so I pulled off the old buttons and glued on new ones! Presto! A little bit vintage, a little bit modern. Perfect!
Supplies to make a vintage button card:
- Vintage button cards. You can find these in your grandmother’s button box or at flea markets. There are also a ton of free images of vintage button cards online that you can download and print out on cardstock.
- Cardstock for journal cover
- Copier paper for inside pages
- Buttons
- Beacon’s 3 in 1 Craft Glue
- Stapler and staples
Instructions to make a vintage button card:
- Measure your button card and multiple the width by 2 and cut a rectangle from your cardstock and copier paper. For example, if your button card measures 3″ tall by 2″ wide, you cut your rectangles to be 3″ x 4″. Lay the cardstock down, then pile up a few rectangles (maybe four or five) of your cut copier paper down on top of it. Fold it all in half and then staple along the fold. Your journal is done.
- Cut the old buttons off the vintage button card. Glue new, colorful buttons onto the card. Allow to dry.
- Glue your modernized button card onto the front of your journal.
Tip
Instead of gluing your new buttons onto the vintage button card, you can also sew them on, then you can clip them off later and use them in a project, which would make the journal a darling gift for the seamstress in your life!
Post this project to PINTEREST with #vintagebuttoncard in the description and be entered to win $25 in buttons and glue.
Contest closes January 10,2013 at midnight. Winner will be posted on Facebook and on this post.