Header

Tag Archives | Halloween Card

Make a Wicked Halloween Card with 3D Bat Buttons!

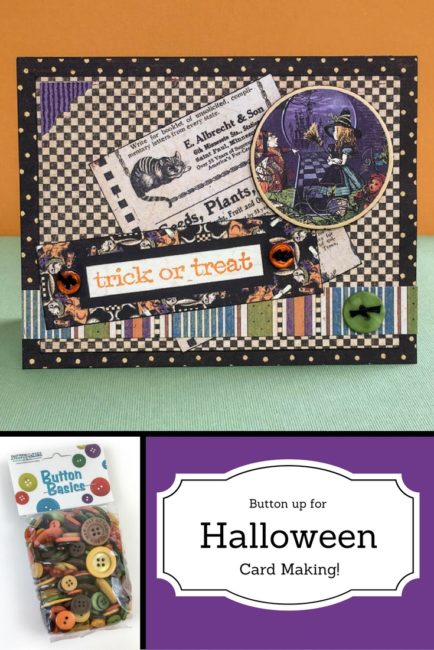
That September chill is in the air, and that means pumpkin spice, apple cider…and Halloween on the horizon! Our 3D buttons make great accessories for your themed cards, and I’m here today to share an idea you can make with bat buttons from our Halloween Value Pack.

Halloween Value Pack by Buttons Galore

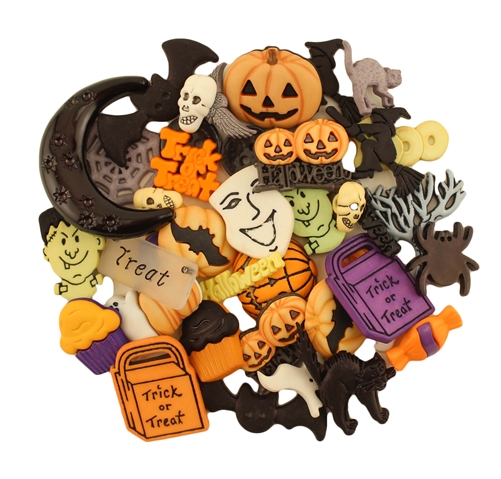
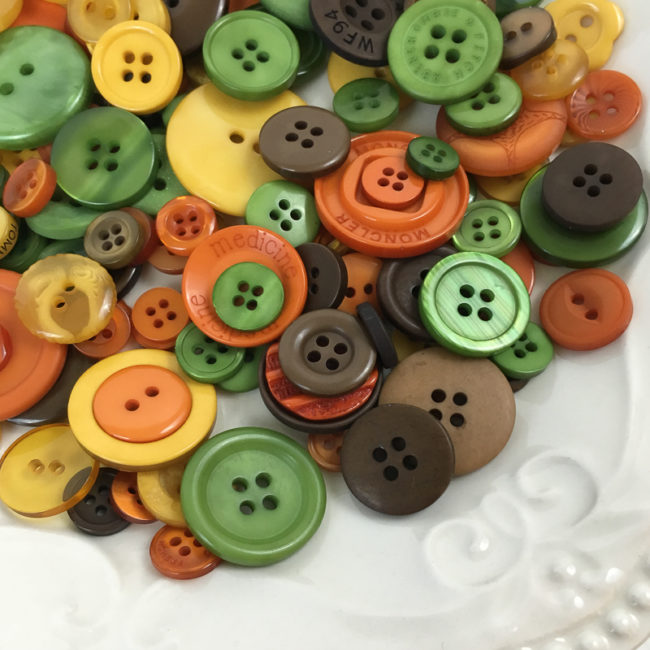
Our Halloween Value Pack includes approximately 50 assorted buttons. The buttons range from 1/2″ to 7/8″ in size and include shank and sew-through buttons. Designs include fun options like pumpkins, monsters, spiders, bats, and everything you need for your Halloween-themed projects!

Wicked Halloween card with bat buttons by Nancy Nally for Buttons Galore

Supplies:

  • Buttons Galore Halloween Value Pack
  • PPA Matte Adhesive
  • Tim Holtz idea-ology “Materialize” 8×8 paper pad
  • Tim Holtz idea-ology “Curiosities” Ephemera
  • Tim Holtz idea-ology Small Talk Occasions stickers
  • Ranger Tim Holtz Distress Ink (Pumice Stone)
  • Blank Card Base
  • Embroidery floss (black)

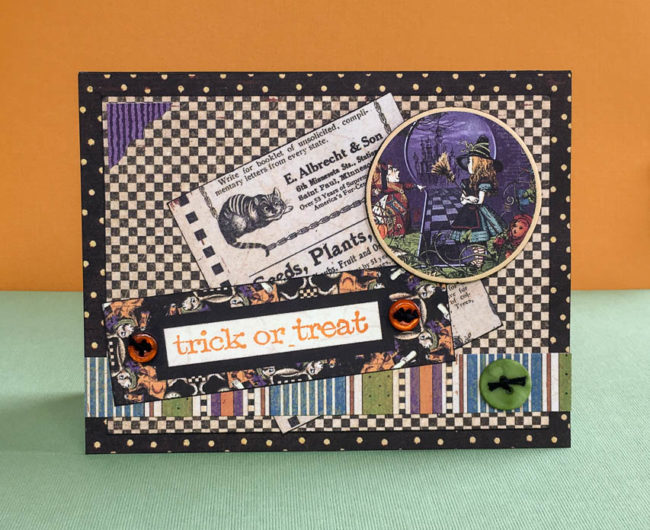
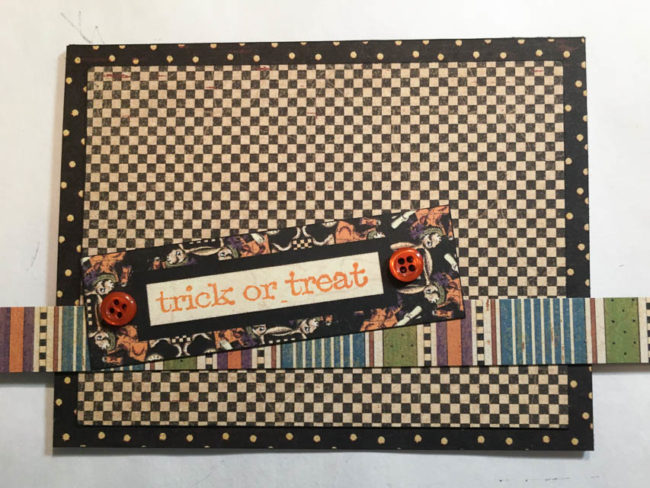
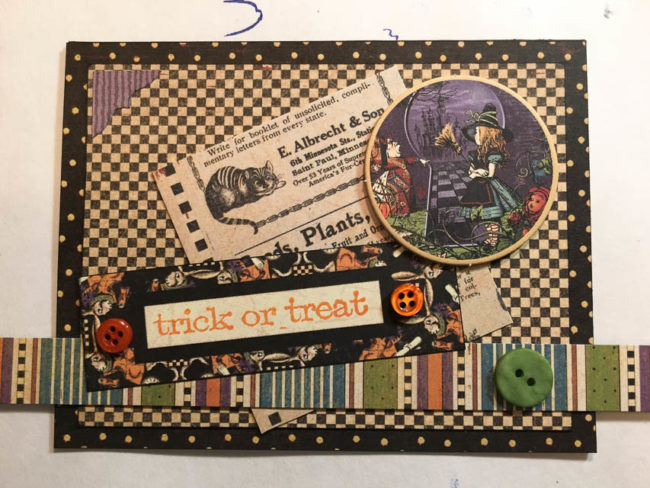
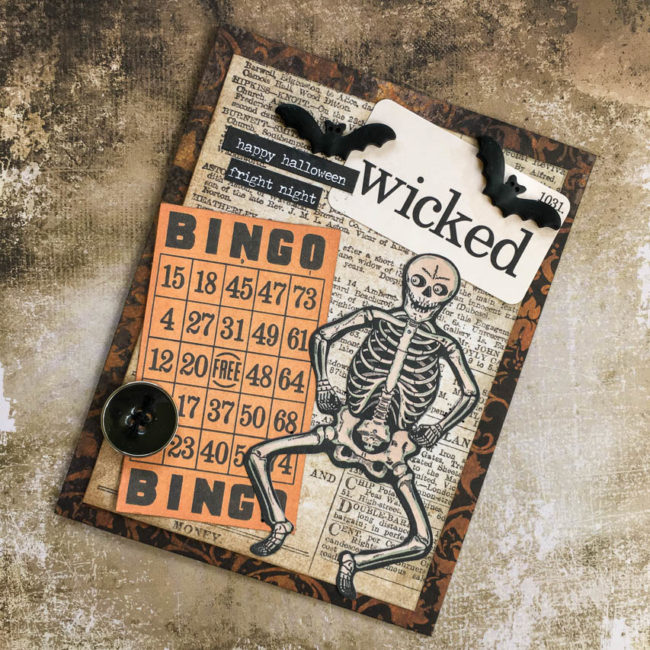
To create the base of the card front, cut a 4.25″ by 5.5″ piece of the black and orange paper. Adhere to the front of the card base. Cut a 3.75″ by 5″ piece of the text paper, and adhere it centered on top.

Select the bingo card and wicked flashcard from the ephemera pack, and adhere them angled in the corners of the card front. Adhere the skeleton ephemera on top of them.

Wicked Halloween card with bat buttons by Nancy Nally for Buttons Galore

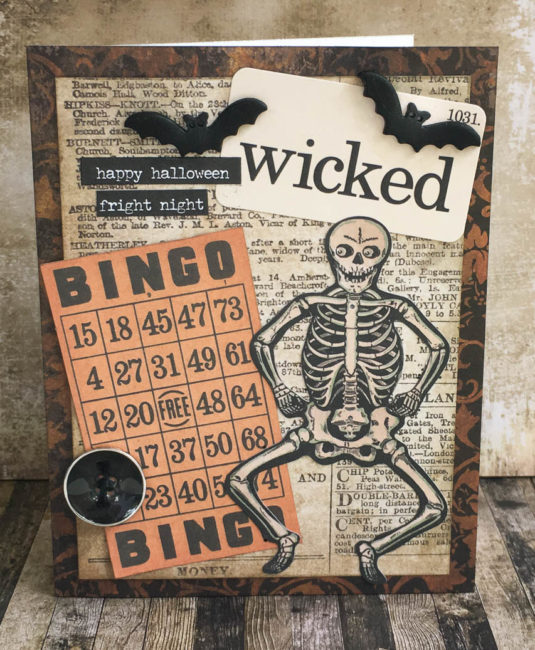
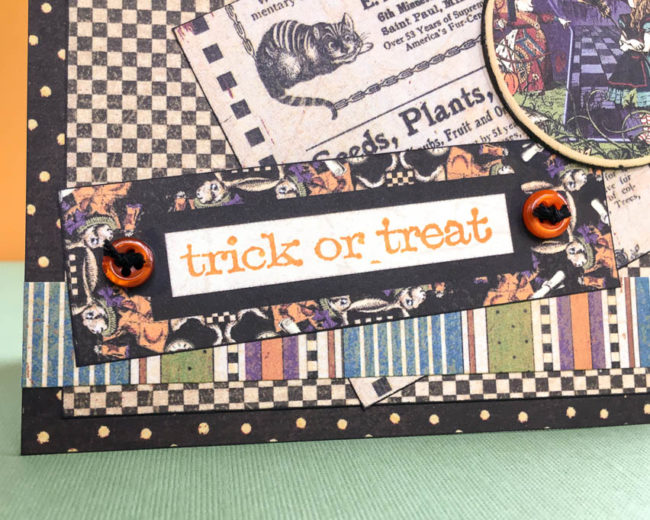
Tie embroidery thread through the large black button from the Halloween Value Pack and glue it on top of the bingo card using PPA Matte Adhesive. Use the PPA Matte Adhesive to also attach the bat buttons from the Halloween Value Pack on top of the “wicked” flashcard.

To finish the card, select some sentiment stickers from the Small Talk sticker set and stick them down in the upper left corner underneath one of the bat buttons.

This quick and easy card is a fun way to say “boo!” to someone for Halloween! Who do you want to send a friendly scare to this year?

0

Make a Halloween Card with Fall Festival Button Basics!

This week, we’re introducing you to six new Button Basics assortments! One of the new assortments is a vintage fall palette called Fall Festival, perfect for making fall, Halloween, and Thanksgiving projects.

Fall Festival Button Basics by Buttons Galore

Fall Festival is a mix of brown-tinged tones of green, orange, and yellow, along with coffee shades of brown.

I decided to pair Fall Festival with Graphic 45’s new Halloween in Wonderland collection to make a retro fun Halloween card!

Trick or Treat halloween card by Nancy Nally for Buttons Galore

Supplies Used:

trick or treat halloween card close-up

I used tiny orange buttons from Fall Festival, to visually “attach” the faux bookplate that is printed on the label from one of the cut out sheets in the Graphic 45 “Halloween in Wonderland” collection.  The buttons highlight it as the sentiment block for my card, and Fall Festival’s color tones coordinate beautifully with the paper collection.

All of my buttons on this card are attached with PPA Matte adhesive, my favorite liquid adhesive for working with buttons and embellishments. It’s just the right consistency – thick enough to hold an embellishment in place, but not so thick that you can’t move it around to get it where you want it. It holds securely, and dries perfectly clear so there’s no need for anxious moments it a little spreads out from underneath your embellishment!

trick or treat halloween card construction

When making a project like a card, I frequently like to start with the most important elements of the design first, and then build around them. That means that I often am starting with elements that will be on top – like this sentiment block – and then working down in my design as I fill in around it. To do this, I lay pieces out without adhering them as I work.

I started by creating my background, and then putting in place the sentiment and the border that I wanted to anchor it. This of course, left me with a lot of open area made up of that super busy tiny checkerboard pattern. It overwhelmed my sentiment so I needed to tone it down.

trick or treat halloween card 2

To fix this, I cut a block of a lighter, larger pattern and inserted it behind the sentiment block. Then I used a piece of decorative chipboard from the “Halloween in Wonderland” collection to fill a bit more of the space and add some color. A purple striped corner frame sticker completed the design.

I did all of that without adhering anything except for the purple sticker! So what do you do when you have everything arranged just how you want – but nothing is adhered? I grab my phone and just snap a picture like the one above. Then I can take the design apart to glue everything down, and use the photo as a guide to get everything back how I wanted it! It’s just another way we can turn the camera that is always in our pocket into a creative tool.

Halloween card with Fall Festival buttons and Graphic 45 papers | by Nancy Nally for Buttons Galore


1

Spooky Halloween Card

I like Halloween, but I’m not super into the really frightful stuff, I’m more into delightful – so this is about as creepy as I get with this Spooky Halloween Card!

I’ve stamped my batty background and the Happy Halloween sentiment using Happy {OWL}oween Stamps from A Jillian Vance Design. I inked my stamp with a Tombow Marker in sort of an Olive Green, which went well with the Kraft Cardstock. I colored each bat with a few shades of Copic Gray Markers – T1, T4 and W3.

I cut my Ghost and lightly sponged Toffee Crunch Memento ink around the edges, leaving the parts that overlap plain.

The focal word on my Spooky Halloween Card was created using Lavanderia Script from from LOST TYPE. I have a tutorial on my blog if you have a Silhouette and haven’t made fun focal words like this. “Make Pretty Words on the Silhouette” – it’s easier than you think! Once the word was cut out, I lightly inked it with Cloud White VersaMagic Ink.

To bring a little attention to the gorgeous Tangerine Button, I tied some waxed linen thread through it. This thread is thick but not super bulky, and it holds its shape perfectly!

halloween card, card making, fall crafts

Tangerine Tango Buttons are perfect for Halloween. You get about 125 buttons in a reusable Pillow Box, and it’s such a fun assortment. They stay down well with Ultra Thin Glue Dots, also available from Buttons Galore & More.

tangerine button, waxed linen, card making

I save a lot of money using Craft Glue to adhere all my paper. I find for the detailed titles, that painting the adhesive with a foam brush or a foam applicator works really well. It dries clear, without leaving a shiny finish, just in case I get a little sloppy.

Supplies for Spooky Halloween Card

  • ButtonTangerine Tango Assortment – Buttons Galore and More
  • Cardstock – DiscountCardstock.com
  • Stamps – A Jillian Vance Design
  • Ink – Tombow Markers; Cloud White VersaMagic Ink, Toffee Crunch Memento (Imagine Crafts)
  • Spooky – created using the Lavanderia Script font ( for a tutorial on creating your own cuttable words – please see my tutorial “Make Pretty Words on the Silhouette
  • Ghost – Silhouette Online Store
  • OtherSilhouette Cameo, Silhouette Designer Software, Waxed Linen – Beadniks


0

Powered by WordPress. Designed by WooThemes