Header

Tag Archives | Allie Gower

Me and My Peeps Projects

It’s time for more Me and My Peeps Projects!

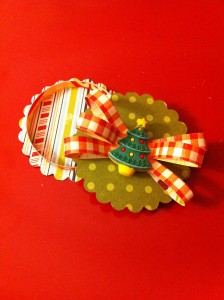
Did you see the “how to” on this charm yesterday? If not, hop on back and check it out.

Allie Gower created a sweet charm using Peeps packaging.


Princess Peep is Pretty in Pink


So c’mon, let’s get started!

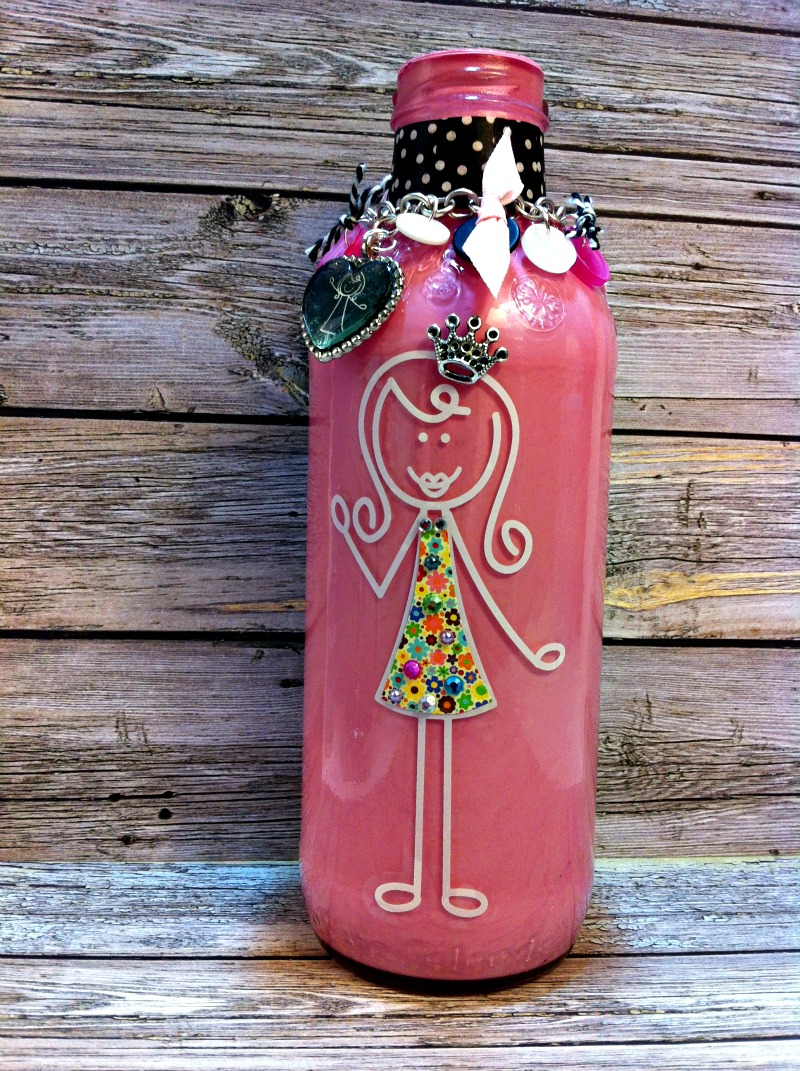
PRINCESS PEEP’S BOTTLE

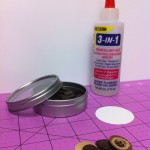
Step One…. You’re gonna need supplies, a bottle – I used my favorite Calypso Southern Peach Lemonade bottle … some paint … and a peep.

Step Two… Pour some of that paint IN the mason jar and coat the insides. Let dry.

Step Three… Clean the outside of the jar and apply the decal.
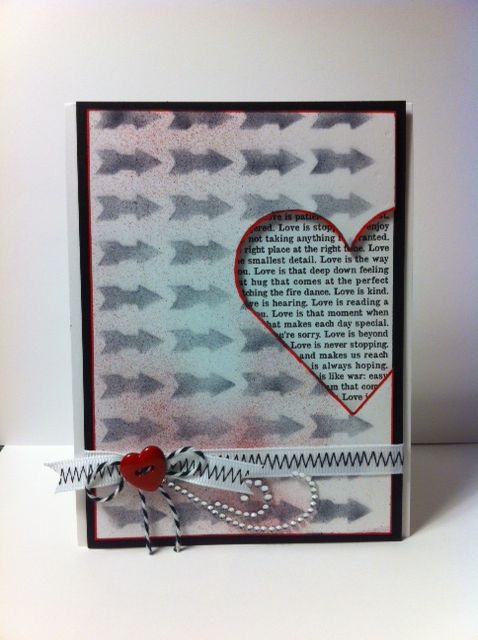
EMBELLISH!

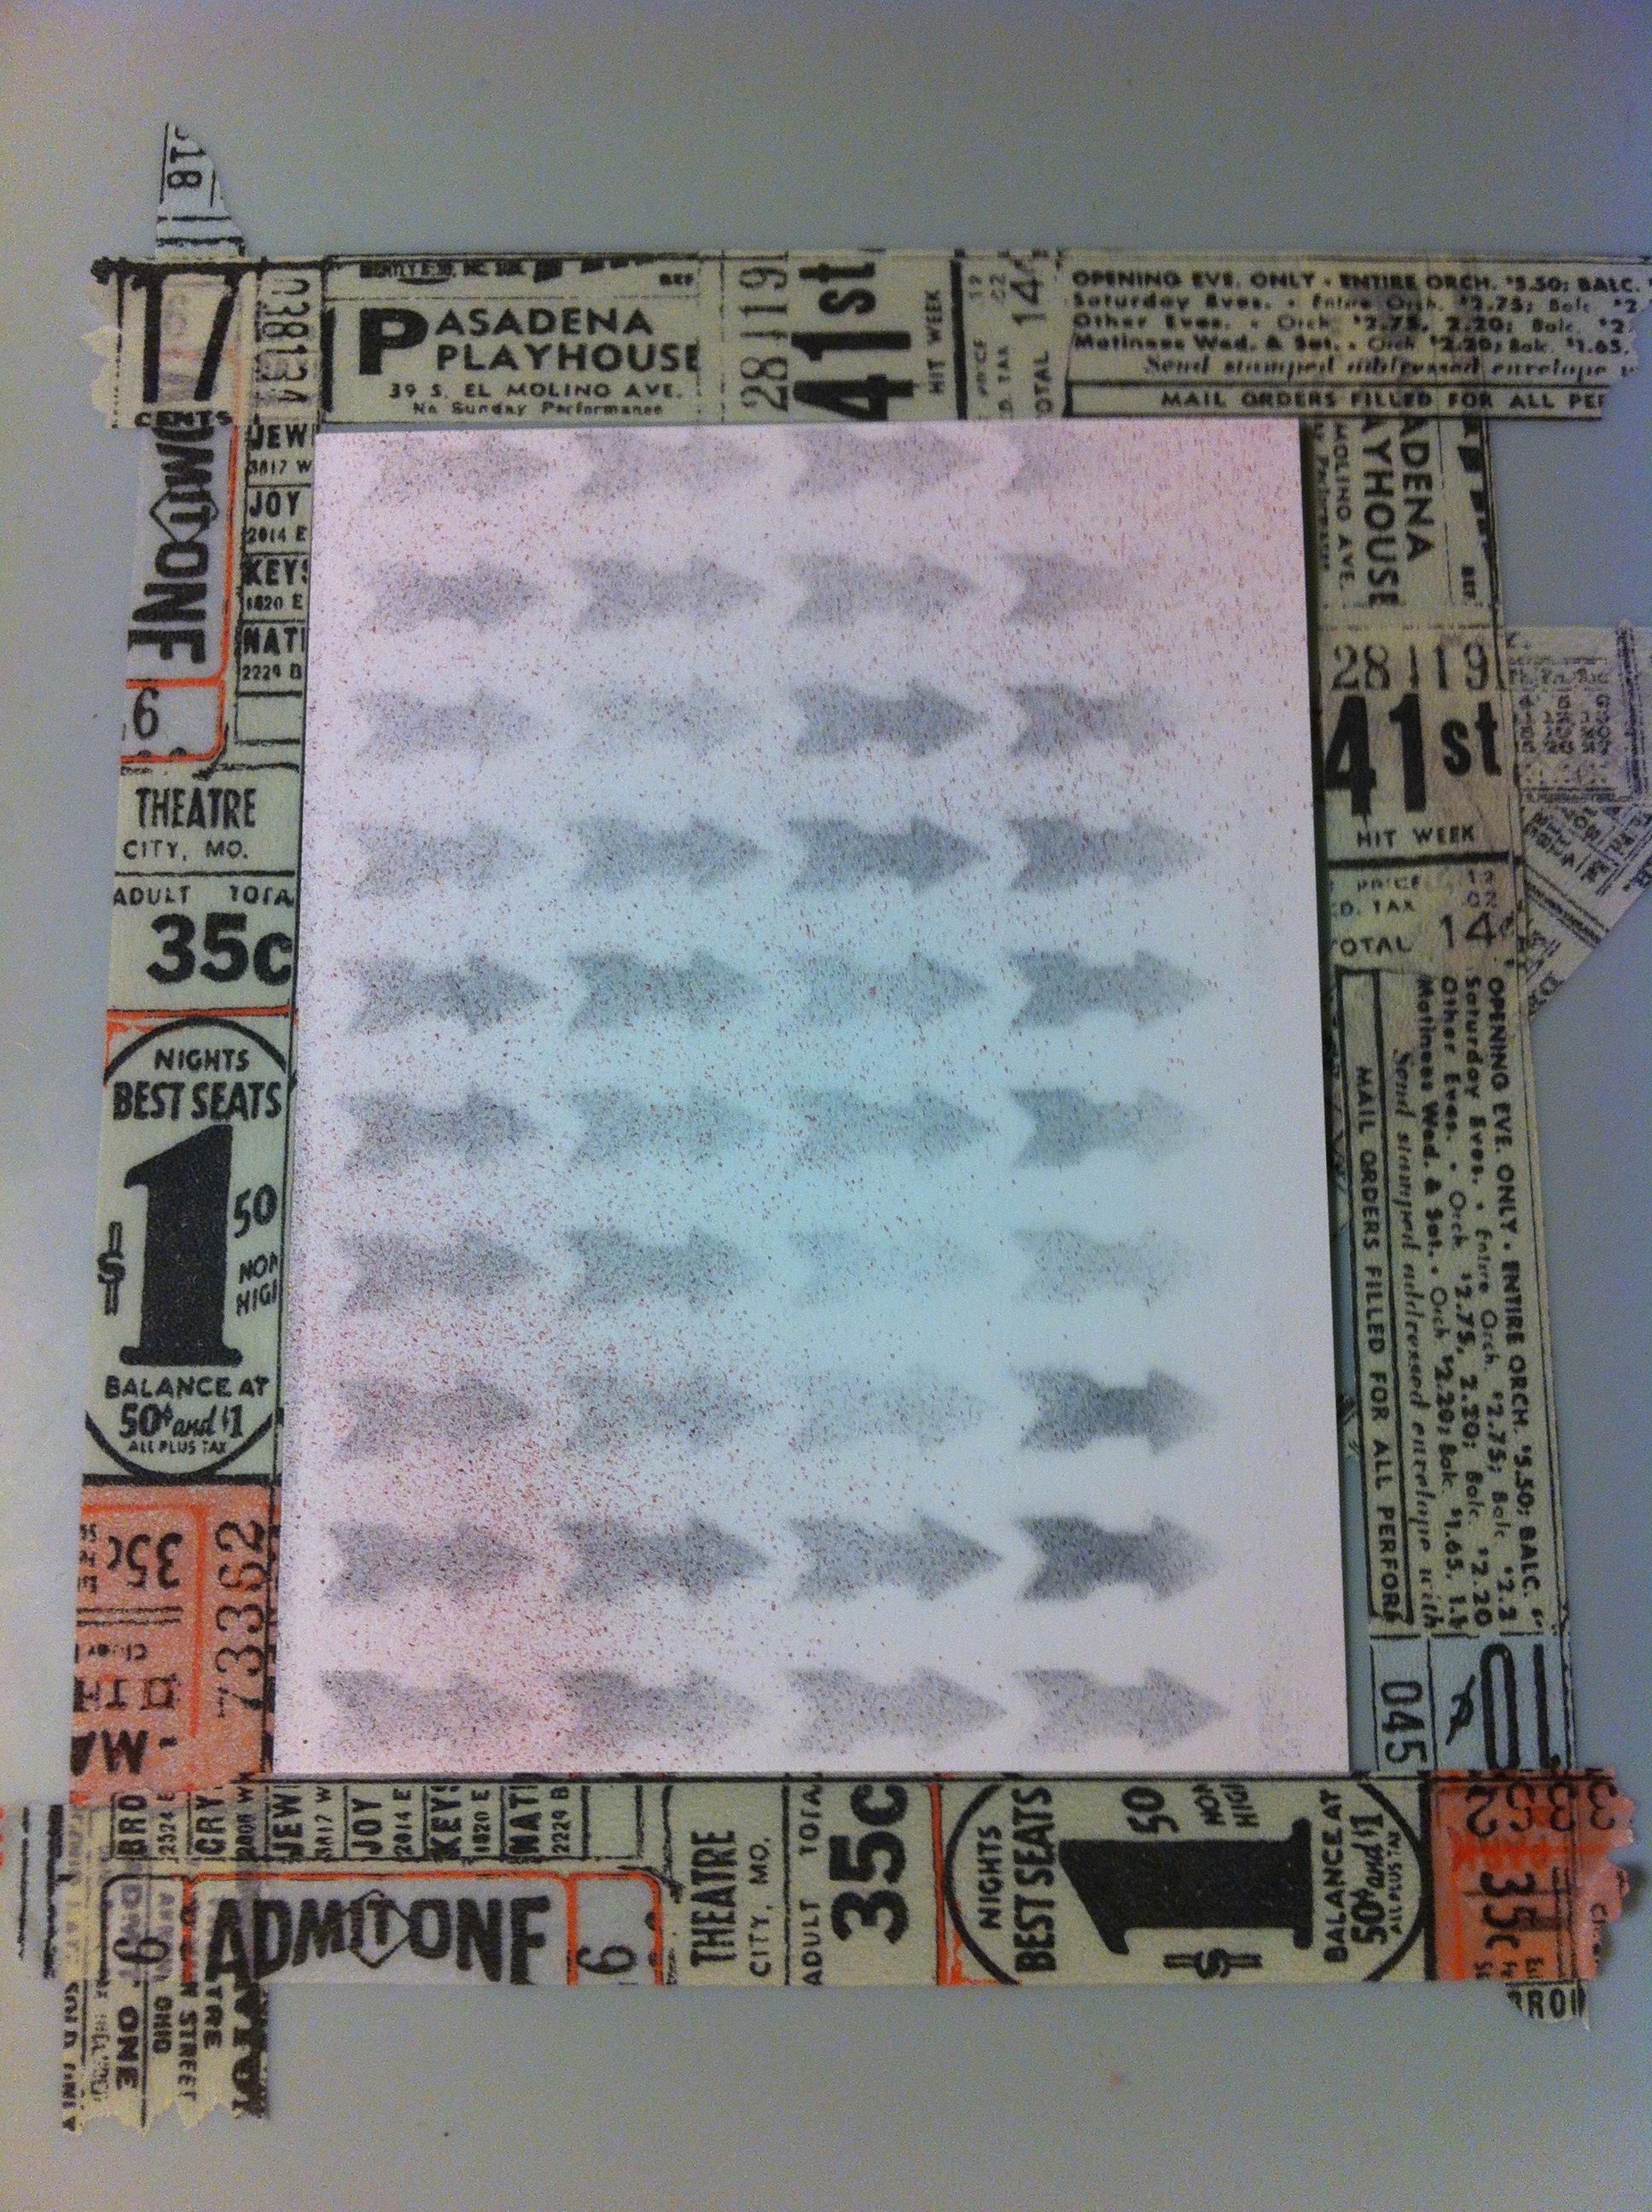
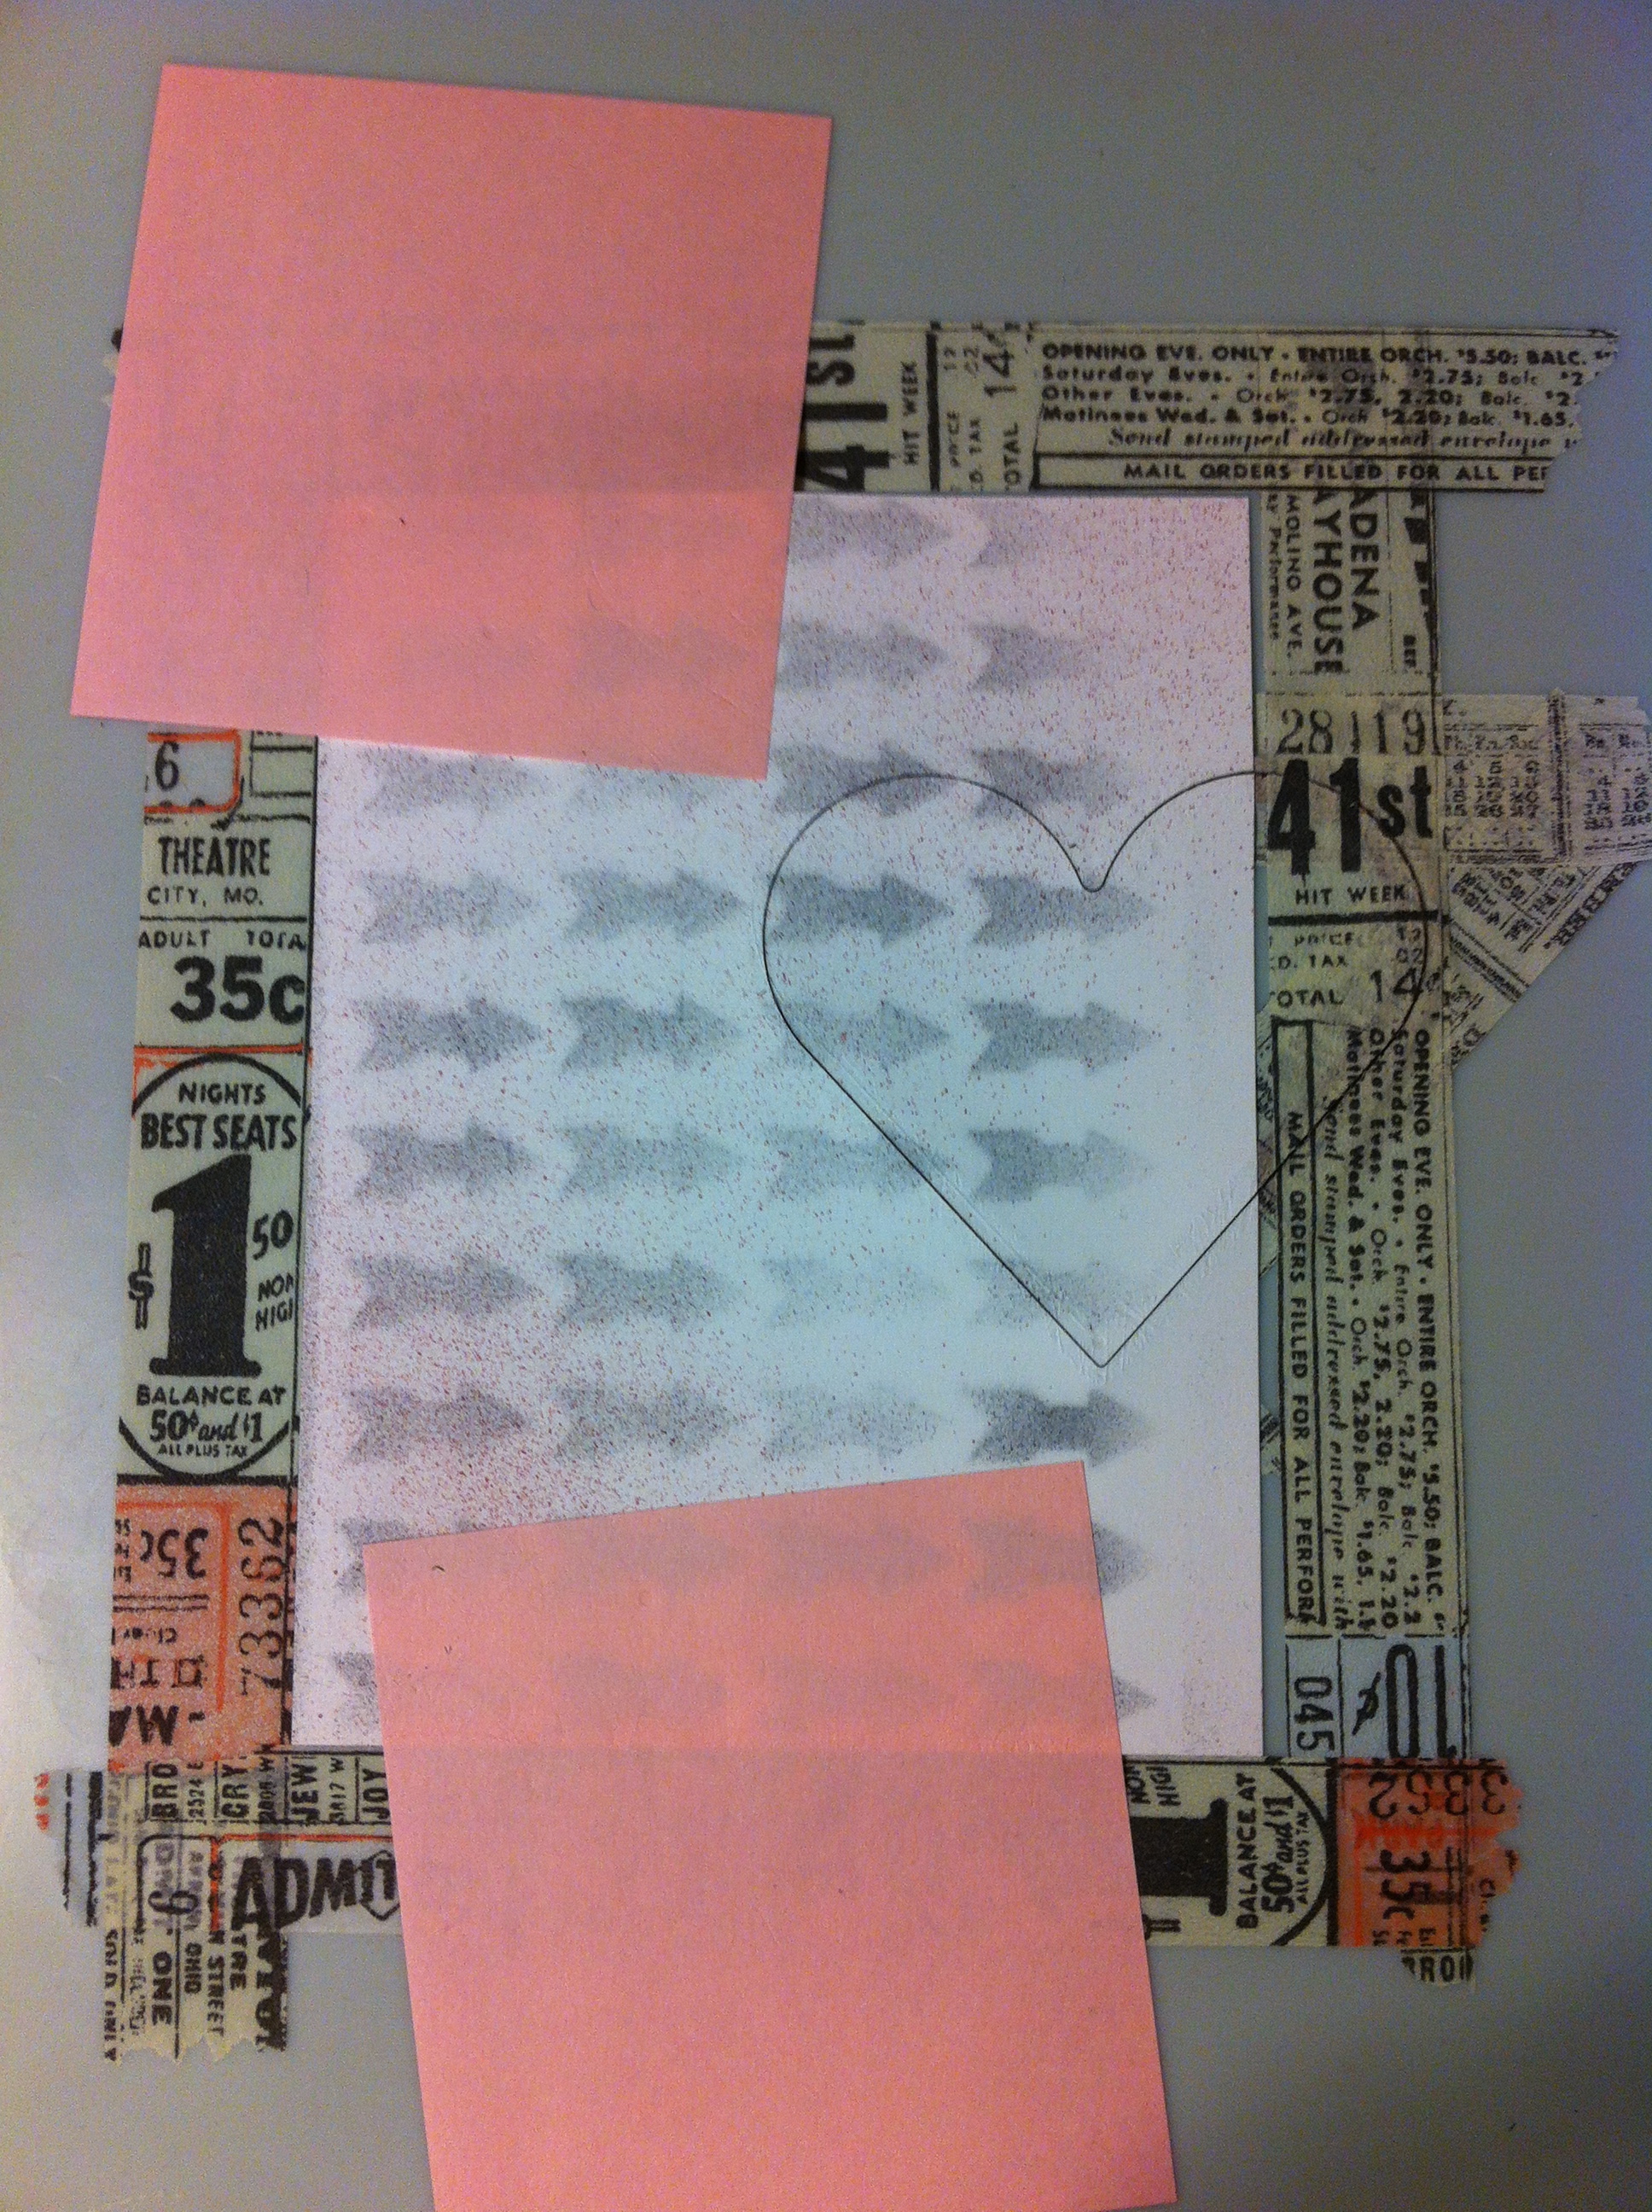
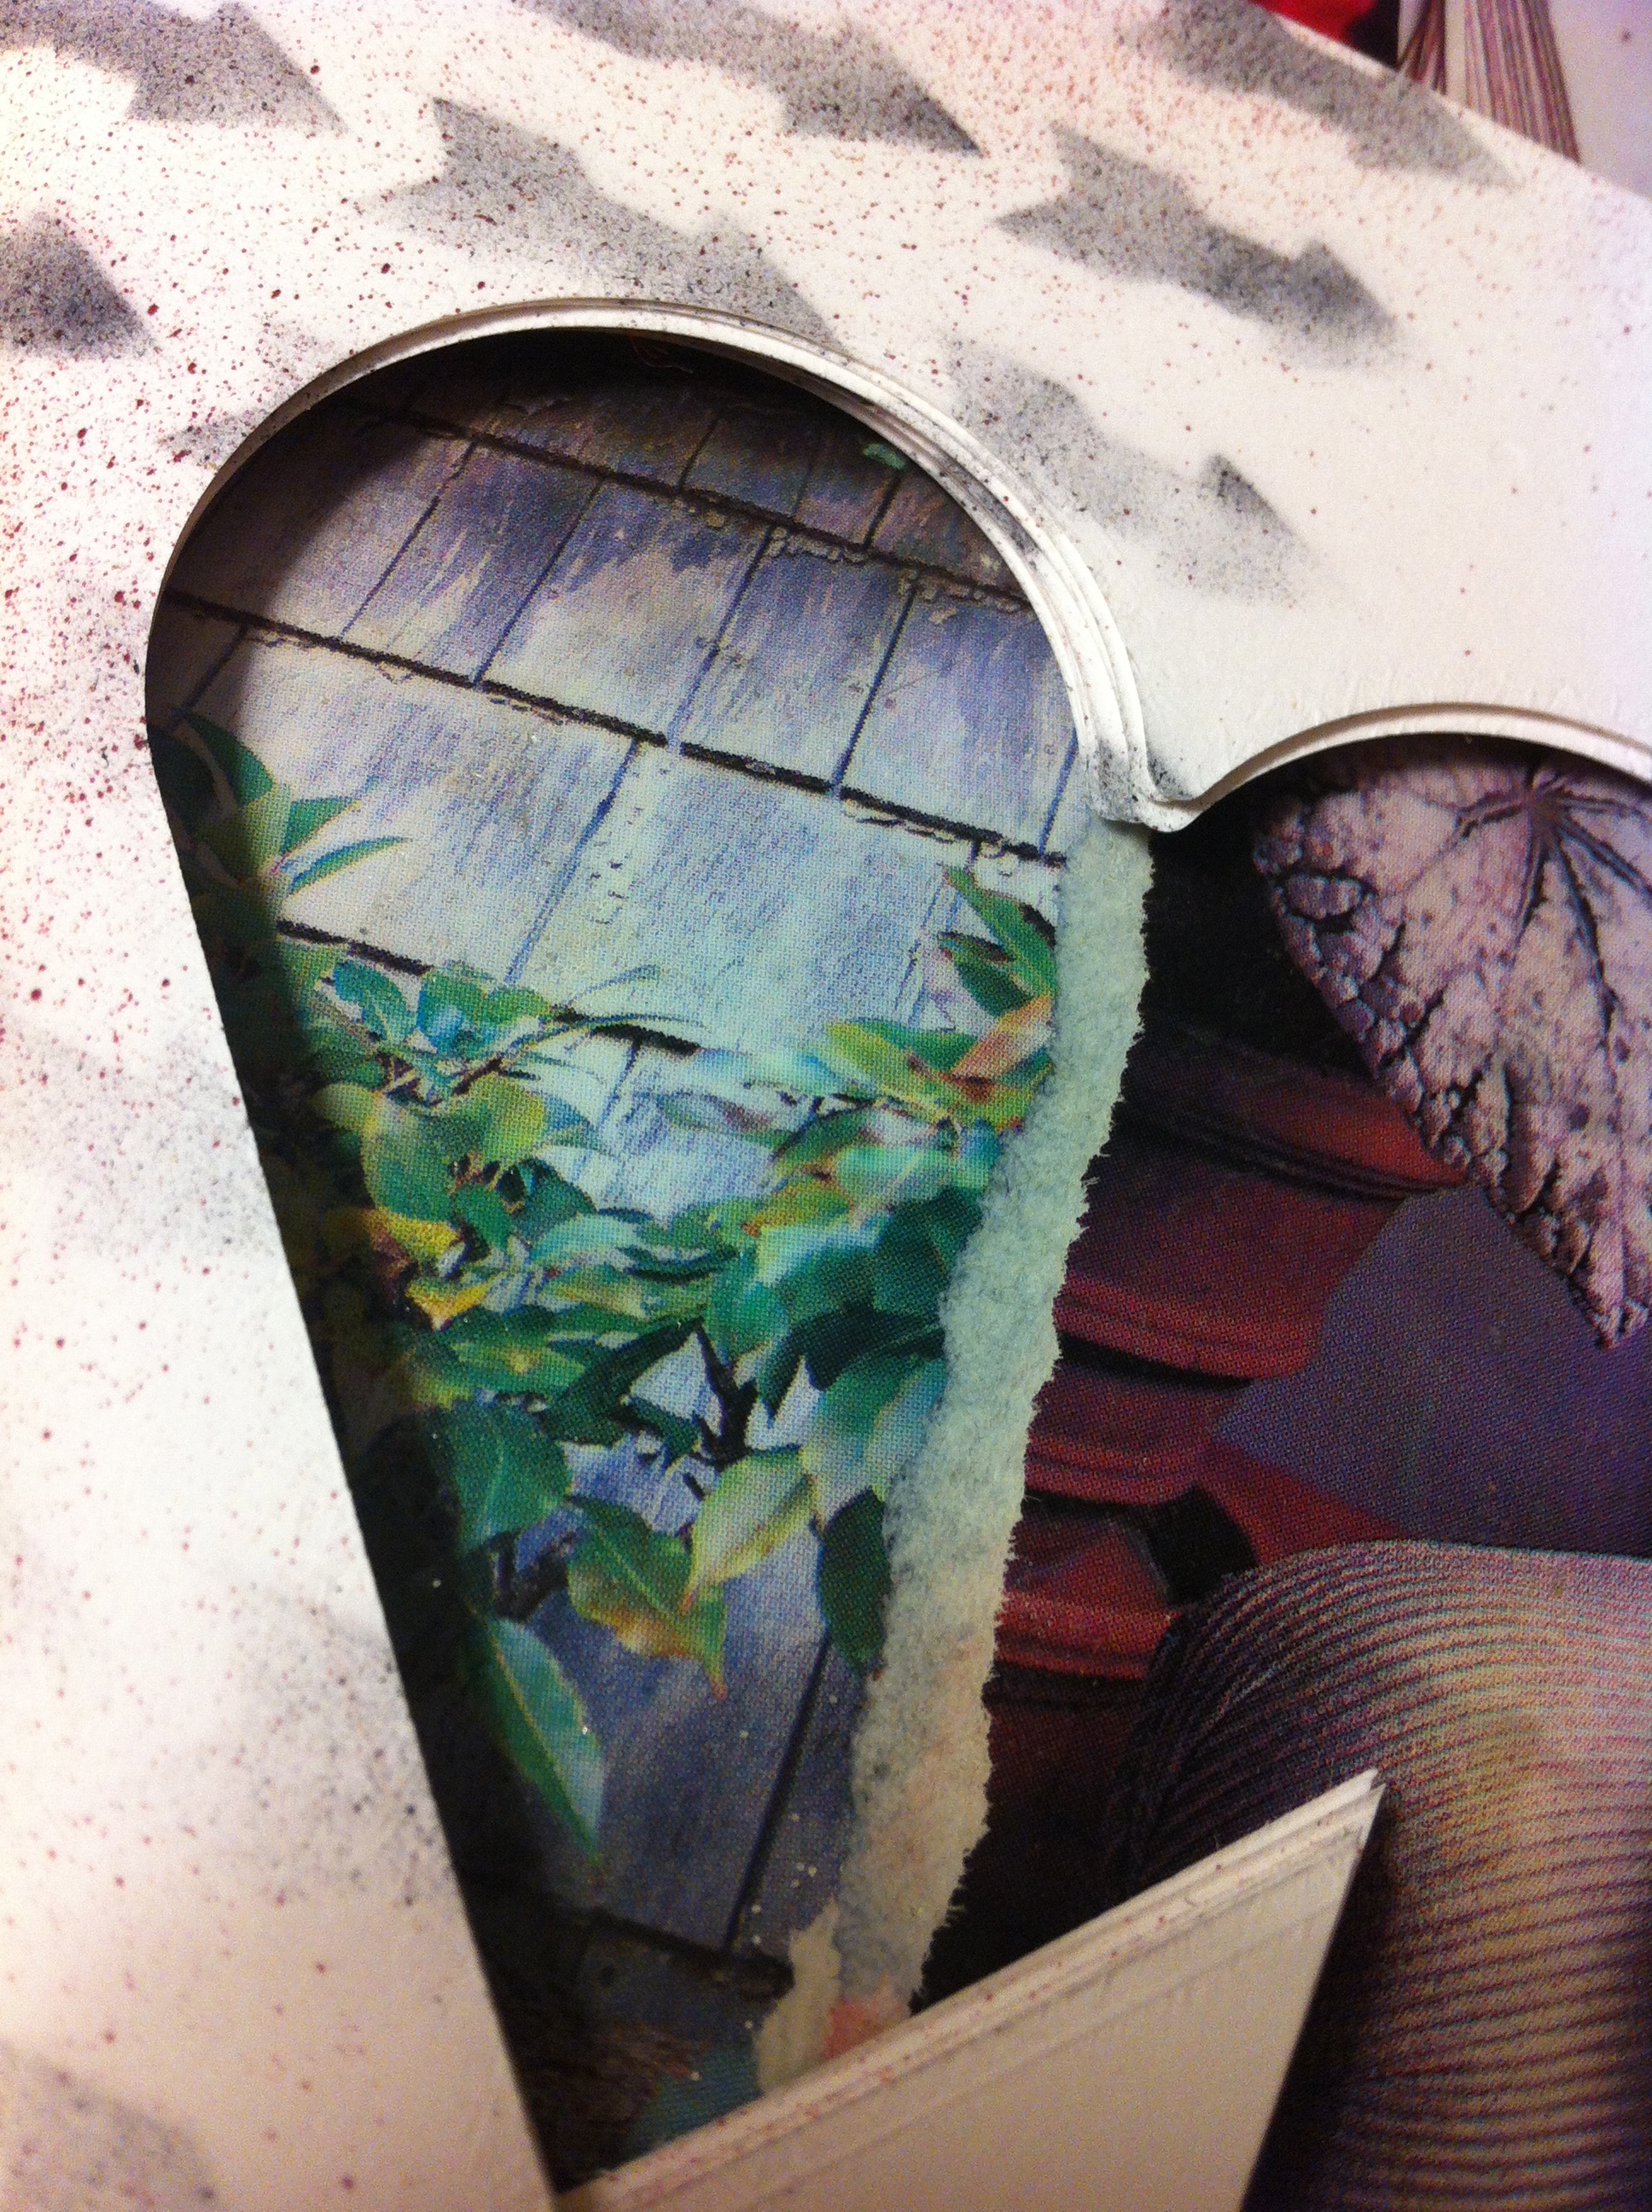
I put a post it note on the packaging and made myself a stencil. I used the stencil to cut some Jillibean Soup patterned paper for Princess Peep’s dress. I added all kinds of bling from Want2Scrap, along with a crown (also from Want2Scrap). I adhered the crown with Dazzle Tac.

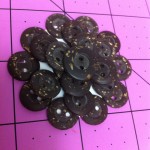
Around the opening of the jar, I made a little bracelet with buttons and snippets of ribbon. It’s just some jump rings and charms and buttons and stuff. Note, the neck of the bottle had a code that I could not wash off, so I covered the neck with small strips of washi tape.

Supplies

  • Jump Rings, Chain – Fire Mountain Gems
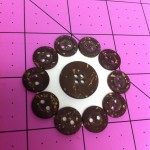
  • Heart Charm – Peeps packaging, Epiphany Hearts 14 Punch, Bubble Cap and Jewelry Setting
  • Bling, Crown – Want2Scrap
  • Paper – Jillibean Soup
  • Tools – pliers
  • Other – Calypso Bottle, tissue tape, paint, ribbon

Thanks for stopping by!

 Please visit all of the talented Peeps playing with us!

Special thanks to our Sponsors and Promoting Partners

Laura Kelly Designs + Niki Meiners + Laura Kelly Buttons + Plaid Enterprises + A.C. Moore + Cre8time

Day two  

There is also an awesome CONTEST for a giveaway. [giveaway ended]


Happy Creating Connections with The PEEPS that you LOVE,

Me and My Peeps

3

Bugs and Kisses

Bugs and Kisses. What’s cuter than that?

Sharing a fun and easy summer card. Do you have paper that you love, that you’ve used and used til you just have scraps, and none of the fun embellishments left to go with it? When you have buttons in every color, you don’t have to be afraid of not having anything to match! I love kitschy old retro papers. This is paper from my “retro” stash, and of course, I was able to find matching embellies, and make a few too!

Bugs and Kisses


Supplies for Bugs and Kisses Card

Buttons Galore – Satin Finish buttons from Orange, Blue and Fire Engine Red Bulk Collections

Other – Papers – Cosmo Cricket, Dies – Spellbinders Paper Arts, Ink and Glitter Glue – Ranger, Bling – Want2Scrap

Notes and Tips

  • Use Spellbinders dies to cut, emboss and stencil. Tape dies in place with repositionable tape and run through machine, repeat and emboss, then daub on ink. This is done on the butterflies and the sentiment circle.

Thanks for stopping by. See more of my creations at My Card Party.

Keep celebrating your sweet life with creativity.

Allie Blog Signature


2

Sunday Cardmaking: Make an Easter Magnet

Make an Easter Magnet.

Do you keep a calendar on the fridge? When my kids were little we would keep our calendar on the fridge and mark special days with a holiday magnet.

I used an Inky Antics stamp set to make my ears and face for this project, but you could EASILY cut some and draw your own face! This is a fun magnet that can be used on the fridge. You could easily swap the magnet for a pin back and have a holiday pin.

Happy Easter Magnet

How to Make an Easter Magnet:

  1. Stamp or draw and cut out ears. Stamp or draw a face and cut out with a circle punch.
  2. Sponge on pink ink on ears.
  3. Stack two Big Ol Buttons, nestling ears between them.
  4. Adhere a magnet to the back of the button bunny. I use Beacon’s Adhesive
  5. Die cut and emboss scalloped squares and classic squares.
  6. Stamp sentiment and assemble card.

I slid a small disc of metal under the top square, so that the magnet could stay in place and be removed easily. This is also how I wear the magnet.

Buttons Galore Supplies Used to make an Easter Magnet:

Cross Promotional Products Used to make an Easter Magnet:

Additional Supplies Used to make an Easter Magnet:

  • Sponge – Tsukineko/Imagine Crafts
  • Cardstock – Bazzill


0

Sunday Cardmaking: Making an Easy Easter Card and Treat Containers

Making an EASY Easter Card and Treat Containers to match.

Easter is so much fun for the kids, but it doesn’t have to be expensive or difficult to make treats. I love to make these little treat containers for the children at Sunday School, along with friends’ children. They are EASY PEASY to make. The card couldn’t be easier. With a sticker sheet, you can quickly make 8 cards out of one sheet of 12×12″ paper and some scraps.

It’s so easy, and I’ll walk you through it!

BGM Carrot Easter Bunny 2013-02-27 11.55.51

Directions for making Easy Easter Card

  1. Cut a card base 3 x 6 and fold in half.
  2. Create a green mat 2.75″ square and adhere to card base.
  3. Add a small strip of patterned paper 2.75 x 1″ and adhere near bottom of  green mat.
  4. Tie a bow through a white button and adhere to card.
  5. Place dimensional foam on back of bunny sticker. Leaving release paper in place, dust the back of the sticker with baby powder. This deactivates the adhesive. Tap off excess. Remove release tape and adhere bunny to card.

Directions for making Treat Containers:

  1. Cut a piece of patterned paper in a square – I made small containers – they are 4 x4″.
  2. Roll patterned paper into a tube and seal edges with redline tape.
  3. Squeeze at one end – seal with tape. Fill with treats. Squeeze at the other end, being sure to squeeze the tube “perpendicular” to your other end. These will look like Minute Maid popsicles or those old fashioned tubes of sour cream.
  4. Die cut circle and doodle around edges. Die cut green inverted circle. Fold in half and adhere to tubes.
  5. Add some Laura Kelly buttons with Beacon’s Adhesive and let dry.

2013-02-27 11.55.18

Buttons Galore Materials used to create EASY Easter Card and Treat Containers:

Cross Promotional Materials used:

Additional Items Needed:

  • Paper, Sticker, Twine – Doodlebug Design
  • Ink – Copic Multiliner
  • Dimensional foam adhesive
  • Baby powder and a small brush

Thanks for joining me today. These are super simple craft ideas that would be fun to do with the kids.

0

Sunday Card Tutorial: Make a Window Card

Window Cards are cool.  Have you ever wanted to make a window card? Have you ever had to make a BUNCH and wanted them all to be the same?

Window Card by Allie Gower


Materials to make Window card:

I have a Grand Calibur from Spellbinders, but this should work in any machine. You need repositionable tape – I use Tissue Tape – as you can see! You will also need two post it notes.

Start by making an outline of your card, so that you know where to place each card front.

Making the Perfect Cut


You also want to tape down the die. You will cut through the tape – no worries, just put tape all over it and really rub it down. Then, you are ready to die cut your panels. Use some post it notes to hold it in place. These will really stick after running through your machine, but won’t leave any residue.

Making the Perfect Cut


Rinse. Lather. Repeat. Just kidding. Keep going, just line up your panel  and secure with post – its. Before you know it, you’ll have a nice neat stack of card fronts.

Making the Perfect Cut


My card fronts were created with an arrow stencil. This is a new stencil that Donna Salazar designed for Want2Scrap. It worked great. I used my trust post its to hold it in place, and airbrushed some black ink. Afterwards, I sprayed on a little red ink, and outlined the card.

I finished the card off with ribbon, a Red Heart Button and some twine, and a rhinestone flourish.

Behind the opening is some cardstock. I raised up the card front with some dimensional adhesive. The card front is matted on black, and then adhered to the card base.

If you have to make several cards, or even just one – this easy technique will help you get it right – the first time, and every time.

Buttons Galore Supplies Used to Make the Window Card:


Additional Supplies Used to Make the Window Card:

  • Cardstock – My Favorite Things Replenishments
  • Patterned Paper – Canvas Corp.
  • Stencil and Flourish – Want2Scrap
  • Die – Classic Heart from Spellbinders
  • Ink and Airbrush System – Copic
  • Ribbon – American Crafts
  • Twine – Doodlebug Design

Would you like me to send this card to you? I will be sending it to one lucky winner.

Simply leave a comment and Pin this card!


Thanks for joining me, I’ll be back next Sunday with a fun Card Making Tutorial for you featuring, of course, fabulous BUTTONS!


Sunday Card Making: Make an OWL LOVE YOU Valentine Card

Do you like puns?  There is nothing cuter than OWL LOVE. I think this card would work well for Valentine’s Day, or any day with the simple HELLO!

This card is not difficult, but it’s got a little cutting and some die cutting and punching.

I started with Spellbinders Labels 20 and cut two green shapes and embossed them. I though these worked well for bushy foliage. I also die cut a branch from the Spellbinders BUGS set, and I also embossed it and added some ink for added contrast.

I stamped the Owl with some Crystal Blue ink from Close To My Heart – the owl is a Stamp of the Week from Unity Stamp Company. I have a love for owls, and some of my close friends call me Owlie – it’s even the name of my character on the Wii. It’s okay to laugh! I fussy cut the owl – not as hard as SOME shapes. I doodled around his feet and gave him some eyelashes with a Copic multiliner. I stencilled on his nose – I stamped a second owl and cut out the nose. I colored and outlined. An owl can be blue and sit in a tree, but a blue nose – never! I added some metal brads for his eyes.

I punched a heart using a Fiskars punch. The paper is from Canvas Corp and has all kinds of love words on it. I added a Red Heart Button. I tied a little bow with some Doodlebug Design Twine. At the bottom, I stamped “hello” from the same stamp set. I colored in the heart with a Copic Marker and added some Turquoise Rhinestones from Want2Scrap.

I did a little rounding at the bottom of the card and on the sentiment.

That’s it!

I hope you will love this card.


Hello by Allie Gower

Buttons Galore Supplies used to make the OWL LOVE YOU Card:

Additional supplies used to make the OWL LOVE YOU Card:

  • Cardstock – My Favorite Things Replenishments
  • Stamps – Unity Stamp Company (Stamp of the Week Program)
  • Dies – Spellbinders Labels 20 and Bugs
  • Punches – Scalloped Heart and Corner Punch from Fiskars
  • Twine – Doodlebug Design
  • Ink – Close To My Heart and Copic
  • Bling – Want2Scrap

Do you want this OWL to love you forever?

I will send him to a lucky winner.

Leave a comment and PIN him. I know, you were going to do that anyway. Good luck and I’ll see you all next week.

Sunday Card Making: A Valentine that Holds a Gift Card

Are you giving a Gift Card to your Valentine this year? Gift cards are great, but they rarely come in a cute package. Am I right?

This is easy peasy. You will be ready to present those gift cards in style, for every occasion.

Ready? Here we go!

Valentine for Gift Card


I’ve mad a standard card. A2 – 4.25 x 5.5 – inside though, I added a flap. Above, I’ve stamped and cut and matted, and added a row of glorious Buttons in Laura Kelly Walters fabulously bright colors. Easy peasy, right?

I like to stamp a lot of images and keep them in a baggy so when I’m bored, yes, like that ever happens. What I mean is when I have time, I can sit down and color. Then, when I need a card, I already have images ready to go. This cute set of stringing hearts is from the Unity Stamp Company’s Kit of the Month. I stamped with Tuxedo Black Memento ink from Tsukineko/Imagine Crafts and colored with a few Copic Markers.

Shall we head inside?

Below, I added the flap. I stamped and fussy cut my hot cup of steamy cocoa and the sweet sentiment sentiment. Inside the flap, I stick on my cards with a Glue Dot. If you prefer, you can tape up the sides and make a pocket.


Valentine Gift Card Flap


Buttons Galore and More Supplies Used to Make This Valentine Gift Card:

Additional Supplies Used to Make This Valentine Gift Card:

  • Cardstock – My Favorite Things Replenishments
  • Ink – Tsukineko Memento in Tuxedo Black, Copic Markers
  • Stamps – Unity Stamp Company Kit of the Month Set.


I hope you enjoyed this EASY PEASY Gift Card lesson.

This card could be for you! Leave a comment and Pin the card and a lucky winner will be chosen.

Join me again next week – hope you like OWLS!


4

Sunday Cardmaking: Making a Valentine that Hides a Sweet Surprise

Have you ever wanted to hide a sweet surprise in a Valentine card?

Sweet Surprise Card by Allie Gower

This is a standard Easel Card Valentine with a sweet surprise.

If you’ve never created an Easel Card, here is a very easy tutorial. On my Valentine, I’ve made the size a little larger – the card is 6×6.

The sweet surprise is that in the bottom half of this Valentine, I’ve wrapped a Hershey Bar.

I added a panel of black cardstock, and scored it to make a little sleeve for the candy bar. I didn’t glue it, so the card doesn’t have to be destroyed to enjoy the candy. Apparently, no one wants to rip up the card to get to the goods! Nothing stops me from getting to chocolate.

Hershey Valentine

Sometimes people ask about the buttons and other dimensional items, and if it makes the cards hard to mail, or expensive.

Once you get a certain size, you’re paying a premium anyway, so I just pop my cards in a bubble mailer or a small box, and grin and bear the cost of mailing. My only other option is to hand deliver, which I love to do! I don’t want to hold back on my creativity – so I say layer it on, and on, and on.

Buttons Galore and More Supplies Used to Create this Valentine:

Chocolate Covered Strawberries

Strawberries

Mini Glue Dots

Beacon’s 3-in-1 Glue

Additional Supplies Used to Create this Valentine:

Paper – Authentique

Stamps – Gina K Designs

Ink – Close to My Heart

Dies – Spellbinders

Bling – Want2Scrap

Thanks for checking out my Valentine.

If you have any questions, just leave me a comment below.

I’d like to send this card to someone! Leave a comment here, and PIN the photo for a chance to win.

15

Napkin rings DIY for fall – Make rustic coconut shell button flowers

DIY Fall napkin rings:

Napkin rings are essential to the holidays.  Button napkin rings are even better.  I created a quick and easy holiday craft using Rustic Coconut Shell Buttons. These beautiful buttons have a wonderful natural feel and I thought they would be perfect for a Fall table.


Materials and steps to make DIY Fall napkin rings with rustic coconut shell button flowers:


Layers

 Directions to make DIY Fall napkin rings with rustic coconut shell button flowers:

This is really a simple project. I’ve shown some of my steps above. I use 3-in-1 Glue from Buttons Galore. In addition to being inexpensive and lasting a long time, 3-in-1 Glue holds well and dries relatively fast. When dry, it’s completely clear.

I will share a tip, before gluing, I laid out the buttons until I had them layered the way I wanted them, and then I adhered them to a paper circle. I just punched out some cardstock. In the photo, I’ve shown the buttons on a white circle simply so you can see it. In my completed project, I inked my circle brown so that it wouldn’t be shown.

Once my buttons were dry, I attached the piece to a ring of grungepaper that I had covered in lace [My Mind’s Eye]. I accented it with the leaves [Prima] and bits of bling [Want2Scrap].

I think napkin rings would be a great craft to do with kids. The button centerpiece would be fun on a pin or bracelet, too. Imagine the options with these rustic flower buttons.  They would not only make great napkin rings, but a broach, a hair clip, a scarf holder and so much more.  You could make giant ones for curtain tie backs.

0

Christmas button craft ideas – Easy and simple DIY

Christmas button crafts ideas!

Christmas button craft ideas have been overflowing from my mind lately.  I love so many of the buttons from the Christmas Holiday section at Buttons Galore and More that I had a difficult time deciding which to use first.

 button crafts ideas materials:

I used a Christmas Tree from this fun set and a gift button from this set.


Directions to easy Christmas button ornament:

I made a quick and cute ornament using paper scraps. I think this would be fun to hang on a Kraft bag, place on top of a box, or hang on your Christmas Tree. I simply took strips of scrapbook paper and made a simple design, adding a button from the Star of Wonder set.


Directions for an easy  button craft ideas:

Here I took some more scraps and created a bow and box, embellished with a button from the Christmas Presents set in the center. I took two additional strips and glued them to the scalloped circles to create the tiny gift box. I would love to make lots of these, attach some magnets and use them on my fridge to create an Advent Calendar – I have such fun crafting with the little ones I babysit.

My preferred adhesive is Beacon’s 3-1 Adhesive, available on the Buttons Galore & More site. It sets quickly, but gives you time to reposition, and it dries clear. Buttons Galore & More has many additional adhesives to choose from. Additional supplies used include Paper – October Afternoon, Scalloped Circle Die – Spellbinders Paper Arts, Circle Punch – Marvy Uchida

Thanks for joining me today. use up your stash and add some fun new elements.  Please use these Christmas button craft ideas.  I hope you enjoyed these simple, inexpensive ideas for the Holidays.

1

Powered by WordPress. Designed by WooThemes