Hi there and welcome back!!! Today I have alot of info to share so get comfy! :) First I wanted to tell you about our June theme, then I have a really cute tutorial for you on how to make these delightful burlap & button rosette hair bows.
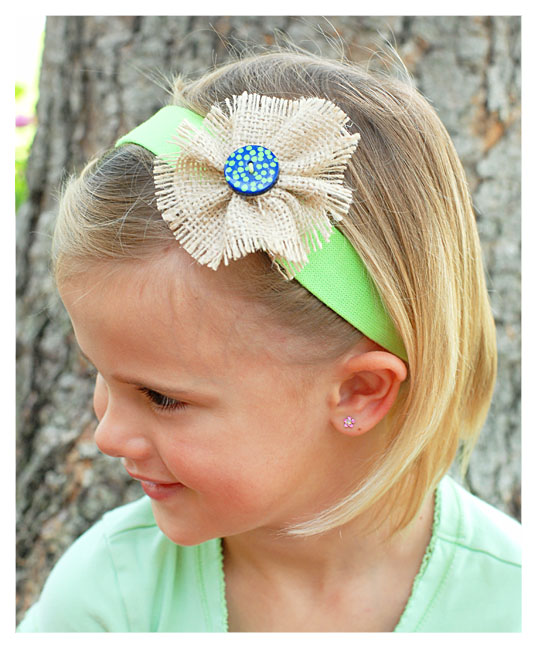 Our theme this month if you didn’t guess by my intro project is Buttons & Burlap!
Keep any eye out for our Buttons & Burlap Challenge Contest coming later in the month...if you don't have any burlap or buttons you may just want to go get some...just thinking out loud here. ;)
So this month we were given a theme where we as designers have been challenged to work with Buttons & Burlap. I think you will really enjoy what the design team has cookin’ for you! And today, I have the first project and it comes with a FULL STEP BY STEP PHOTO TUTORIAL!!! Yay!!! Who doesn’t love a good tutorial? So let’s get started. The supplies I have used are:
Buttons – I think my two came from various Button Jar assortments.
Burlap – you can find this at most big box craft stores and it’s CHEAP!
Westcott Brand Rotary Trimmer, Cutting Mat, Steel Ruler & Tiny Thread Snips
Large Needle
Twine or Yarn
Sharpie Oil Based Paint Pens
Ribbons & Trims
Hot Glue Gun & Hot Melt Glue
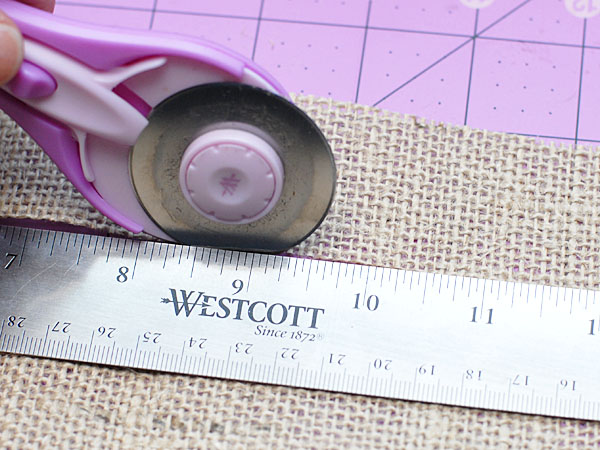
Begin by cutting a 1.5" strip of burlap in your choice of color...length is not all that important but these were approximately 12" long.
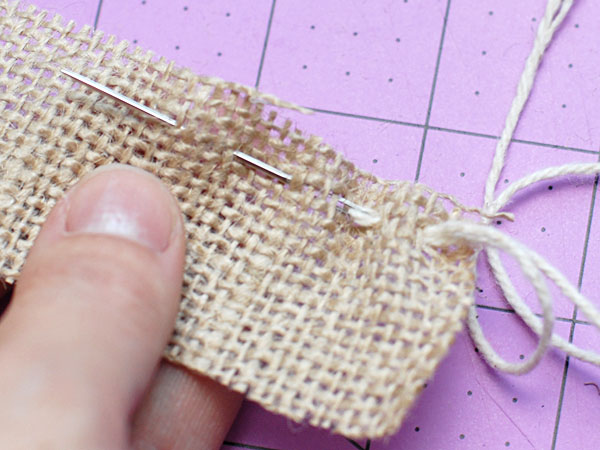
Use a large needle threaded with twine or yard and sew a large basting stitch about .25" from one edge.
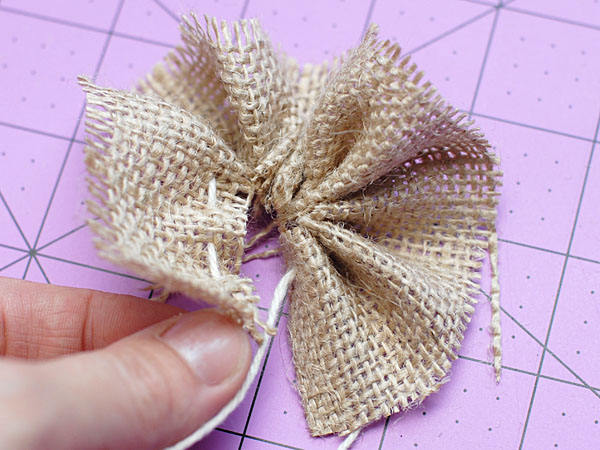
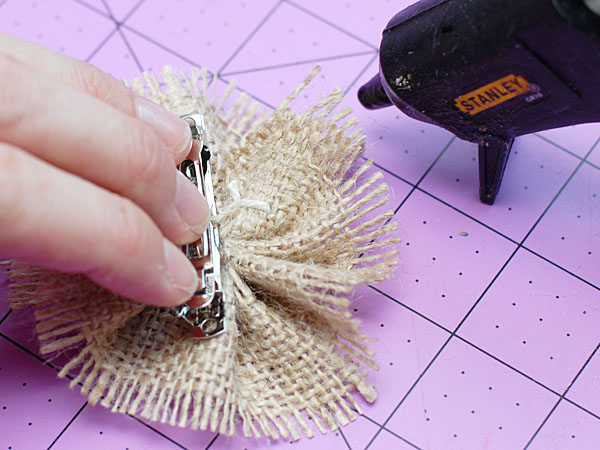
Pull on the ends of the twine used to create a gather. Tie a knot to the back of the rosette and spread the ruffles so that they are evenly spaced along the tied circle of twine.
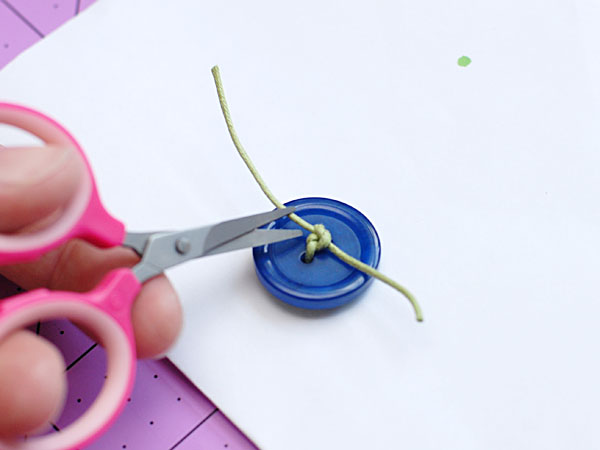
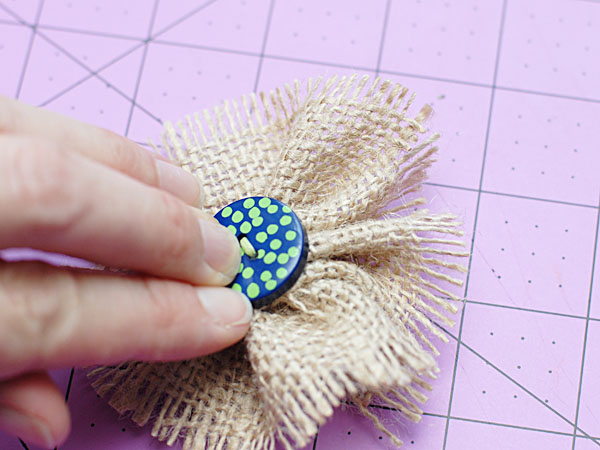
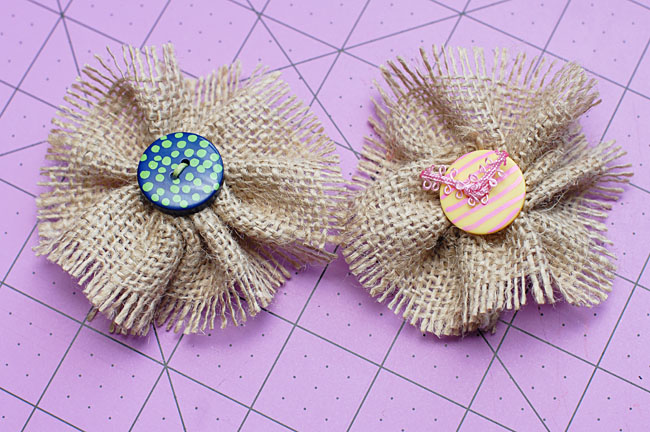
Tie a length of green twine through the buttons and tie in a knot on the under side trim ends with sharp snips
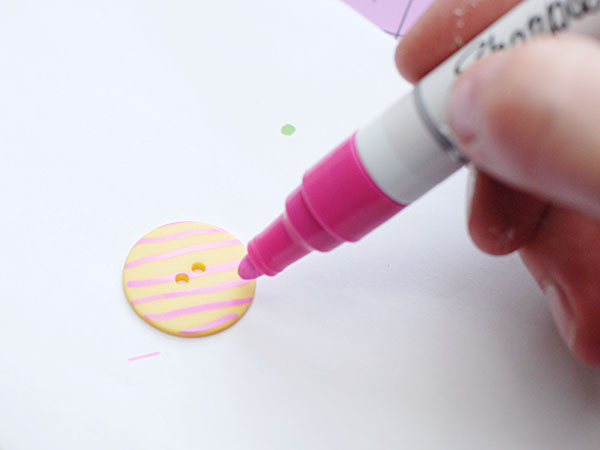
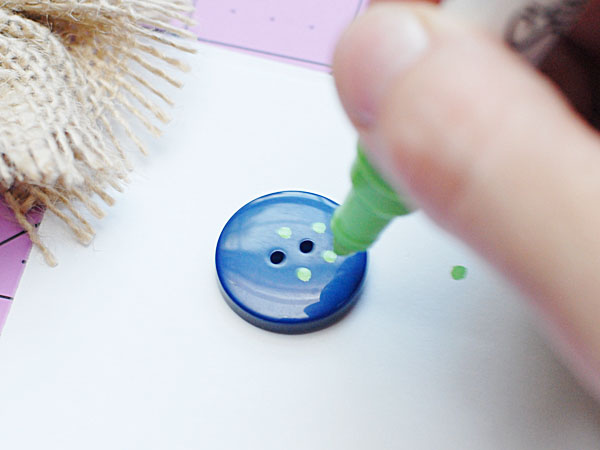
Alternate button idea - try out all the various color/pattern themes you can think of! Get creative!!!
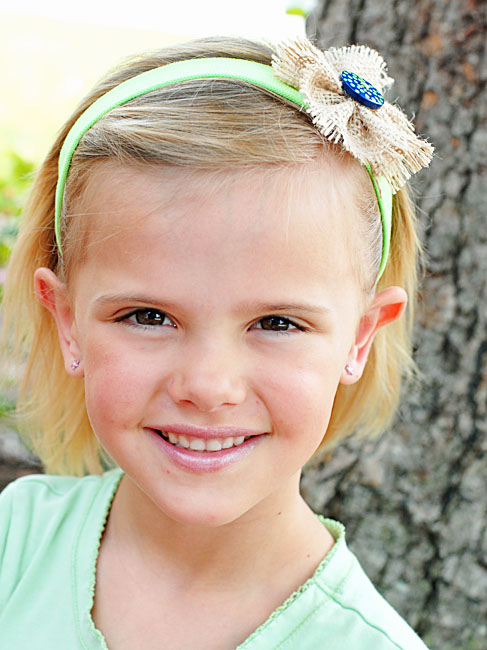
And finally my adorable little model (my daughter :) ) who was just over the moon to be getting such “high fashion hair bows” today when Momma was done working…. :)
Latest posts by Keri Lee Sereika (see all)
- Quick and Easy Gifts – Make a handmade note card set - November 2, 2012
- A DIY on How to Make a No Sew Tutu Tutorial Embellished With Felt Leaves & Buttons - October 1, 2012
- altered buttons make great embellishments! - September 3, 2012


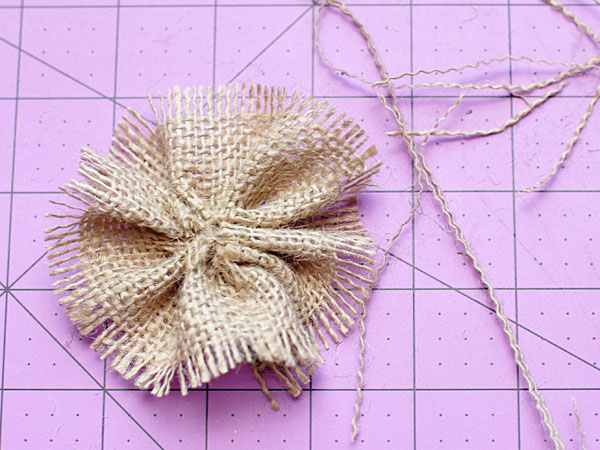

I love the burlap/button flower! Luckily, :) I have some scraps of burlap and I can’t wait to use them! Thanks so much for sharing!