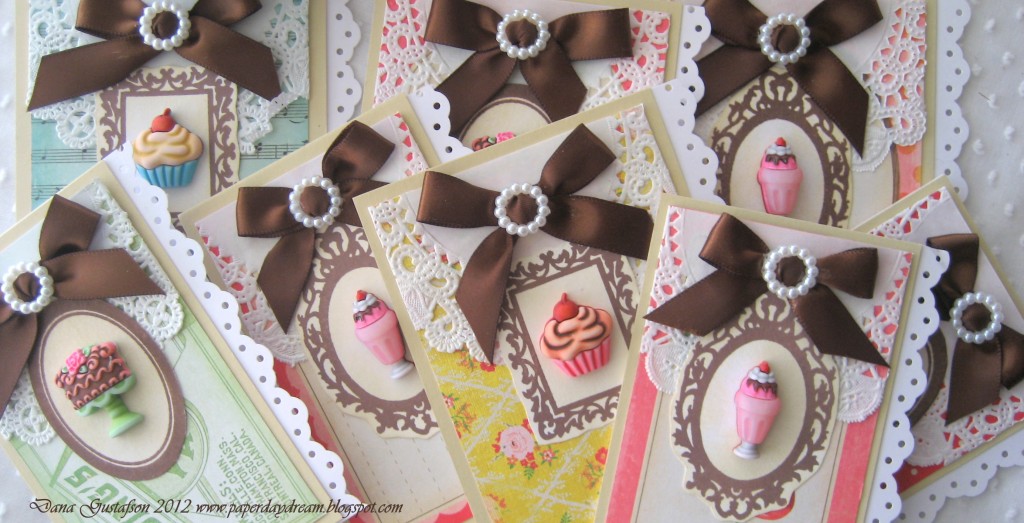
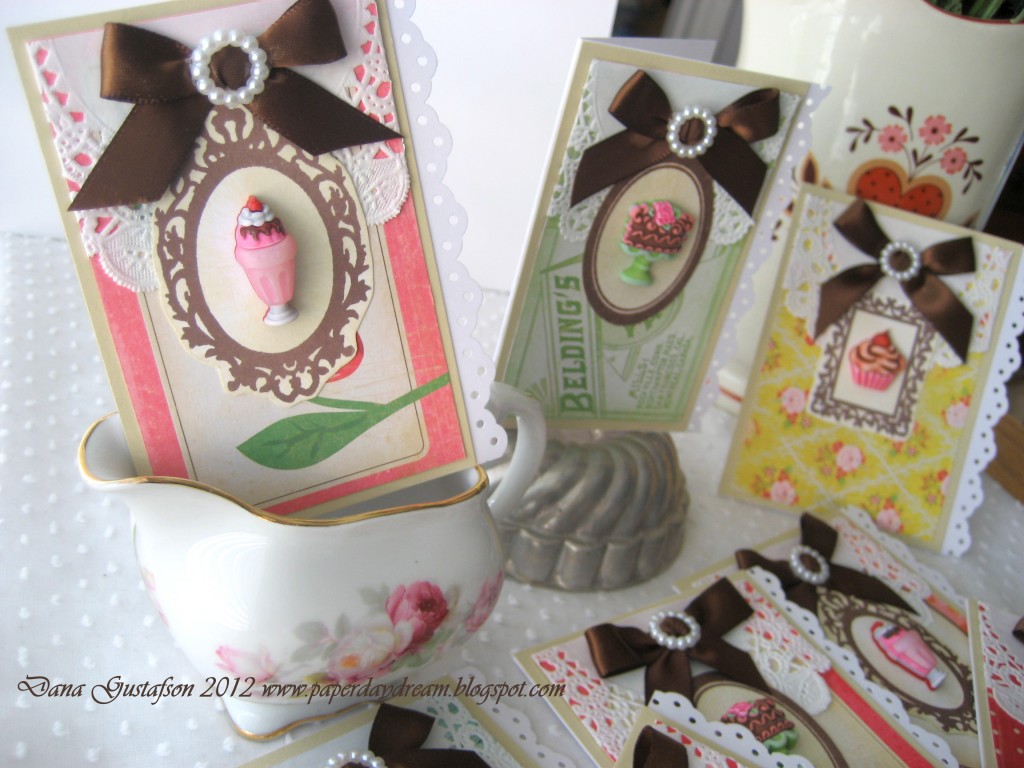
Sweet treats and tea time come to mind today with this mini notecard set that highlights some adorable themed buttons from Buttons Galore and More! Perfect for quick birthday notecards, party invitations or a great giftable set for the sweet tooth in your friendship circle! A few simple ingredients and you have the makings for a sweet greeting!
Buttons Galore and More Product:
-
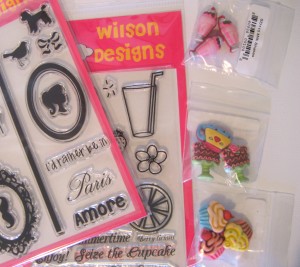
Stamps from Wilson Designs
-
Cardstock from Papertrey Ink and designer papers from Crate Paper
-
Ink from Stampin Up!
-
Paper Punch from Stampin Up!
-
Other Craft Supplies: Ribbon, paper doilies, wire cutters
With a few simple products from Buttons Galore and More and some other card making items, I was on my way to a stack of cute notecards.
I first paired up my buttons in the Sweet Delights Collection with some stamps that had frame options as well as sentiments if I should choose to add a simple sentiment to the inside of the card.
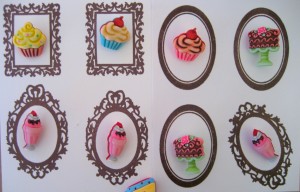
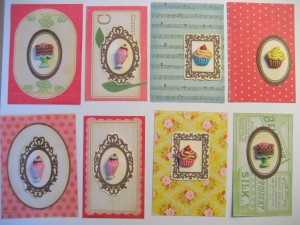
I stamped out eight frames with chocolate ink on white cardstock and then paired up the buttons with the frames that fit each one the best.
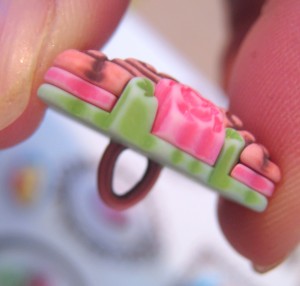
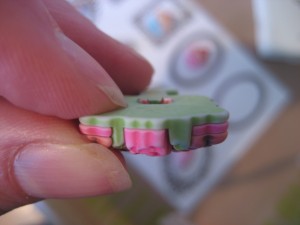
These are “shank” buttons, meaning there is a small loop at the back of the button for sewing/tying onto your project. In this case, I was going to need a flat back to my buttons so a simple clip of the shank with a pair of pliers was all that was needed.
First a clip just to remove a portion of the shank….
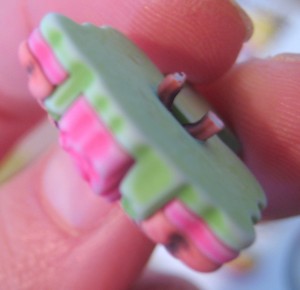
After that first clip, the button layers come apart and you can trim the shank even shorter so it will be flush with the back once reassembled.
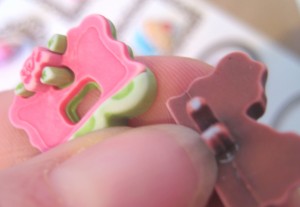
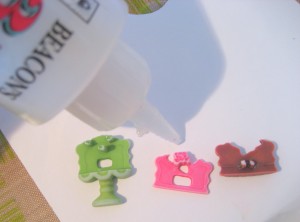
Before re-assembling the button layers, apply a bit of craft glue to make the layers stick.
Re-assemble and pinch together so the liquid glue adheres well.
Once all of the buttons are prepared and the stamped frames are trimmed from the cardstock, adhere the buttons to the frames and start matching them with various colorful scrapbooking papers…scraps will work fine. My papers range in size but are around 3″x4″ each, give or take a slice of the paper trimmer.
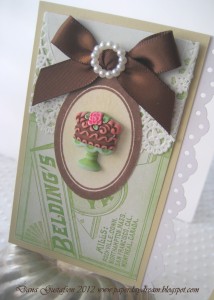
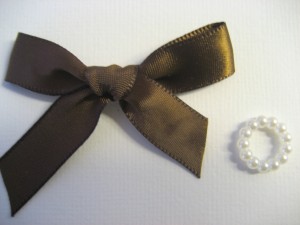
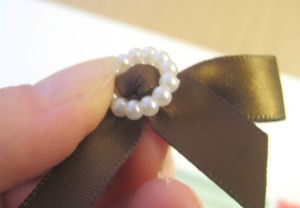
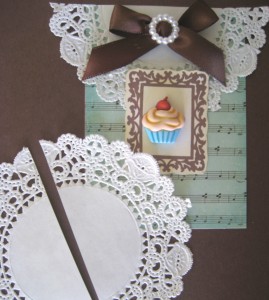
I decided these needed some ribbon and pearl pretties. Tie small satin bows, one for each card and apply a Classic Circle.
Each classic circle has a touch of liquid adhesive on the back and is placed upon the knot of the bow.
Small paper doilies from the bakery section of the craft store have been cut in half to help set a backdrop for the treat-adorned frames.
Anyone hungry for dessert now!??? Thanks so much for checking out my sweet treat notecard idea!
Latest posts by Dana Gustafson (see all)
- DIY No-Sew Fleece Pillow -Fall Themed - October 23, 2012
- Use Theme Buttons to Customize a Photo Clip! - September 10, 2012
- Make a money tree – Easy DIY STYROFOAM Christmas craft with buttons - August 27, 2012


No comments yet.