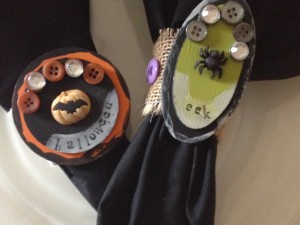
 Looking to create some fun for this Halloween for your spooky table decor? These Halloween Napkin Rings using Novelty and various flat backed buttons from Buttons Galore and More are as much fun to make as they are to enjoy. With details such as paint, burlap and stamped sentiments, you will love the detail of these Halloween Napkin Rings.
Materials and Supplies
Buttons Galore and More Halloween Novelty Buttons
Laura Kelly Hand Dyed Buttons in colors of your choice
Various unfinished wood shapes of your choice
DecoArt Americana Acrylics in Lamp Black, Pumpkin, Olive Green, Grape Juice and Snow White
Scraps of burlap
Tiny alphabet stamps and ink
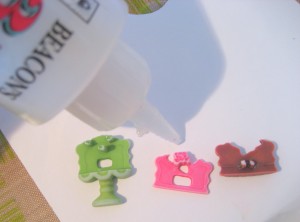
Beacon Adhesives Premium Tacky Glue
Buttons Galore and More Shank Remover
Paint brushes, sewing machine and thread, scissors
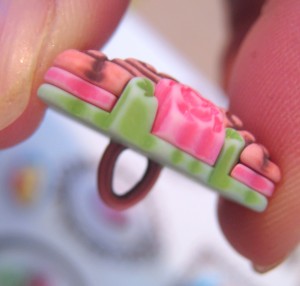
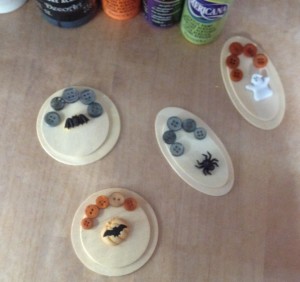 To create your own Halloween Napkin Rings, use the Button Shank Remover to remove the shank from the novelty buttons so that the novelty button lays flat on the wood. Lay out the design, layering the wood shapes and arranging the buttons on the shapes to decide on your design.
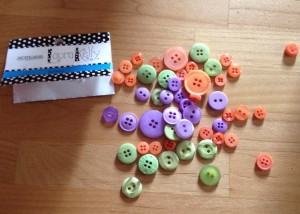
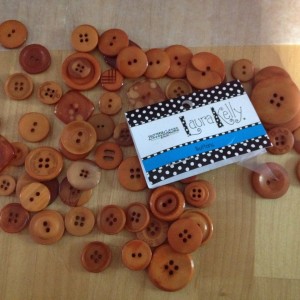 For my Halloween Napkin Rings, I used Laura Kelly hand dyed buttons in Smoke and Outrageous Orange.
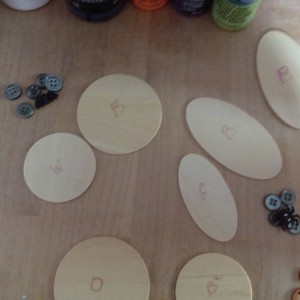 Since you will be working with so many shapes and colors, it is helpful to label your shapes with the first initial so you will know what color to paint it.
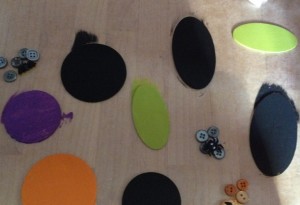 Paint your shapes front and back, using two coats.
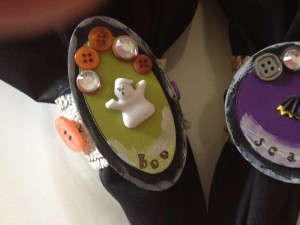
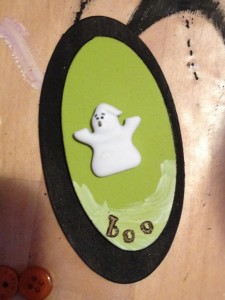 Layer your shapes and glue them together. Dry brush white paint on the bottom of the top shape. Use the alphabet stamps and ink to stamp the shapes. Glue the novelty button to the center of the shape.
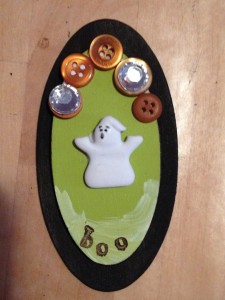 I also added some 9mm acrylic rhinestones to some of the buttons.
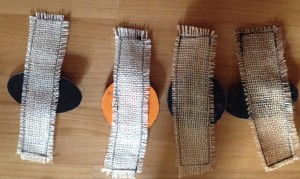
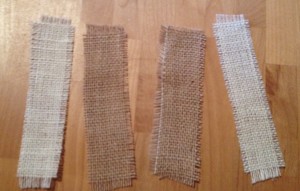 Cut some burlap into strips and use the sewing machine, thread and a zig zag stitch to sew the edges of the strips to prevent fraying.
Glue the shapes to the center of each burlap strip and let dry.
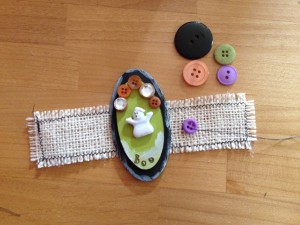 Sew buttons onto the burlap strips. I used orange, purple, green and black from the Laura Kelly Hand Dyed Buttons collection.
Once you sew on the buttons, use the center button to sew closed the burlap strip, creating a napkin ring.
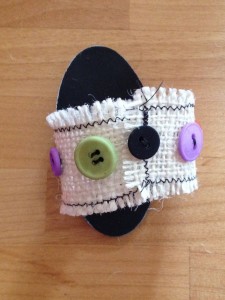 Create a set of these Halloween Napkin Rings to adorn a scary table setting using buttons!


