Hi there! I have a quick no-sew fleece pillow idea for you. It’s quick it’s easy and so festive! You will want to make a no-sew fleece pillow for each season
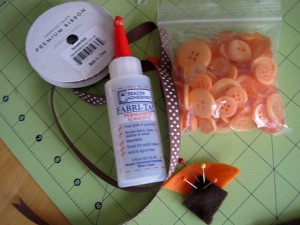
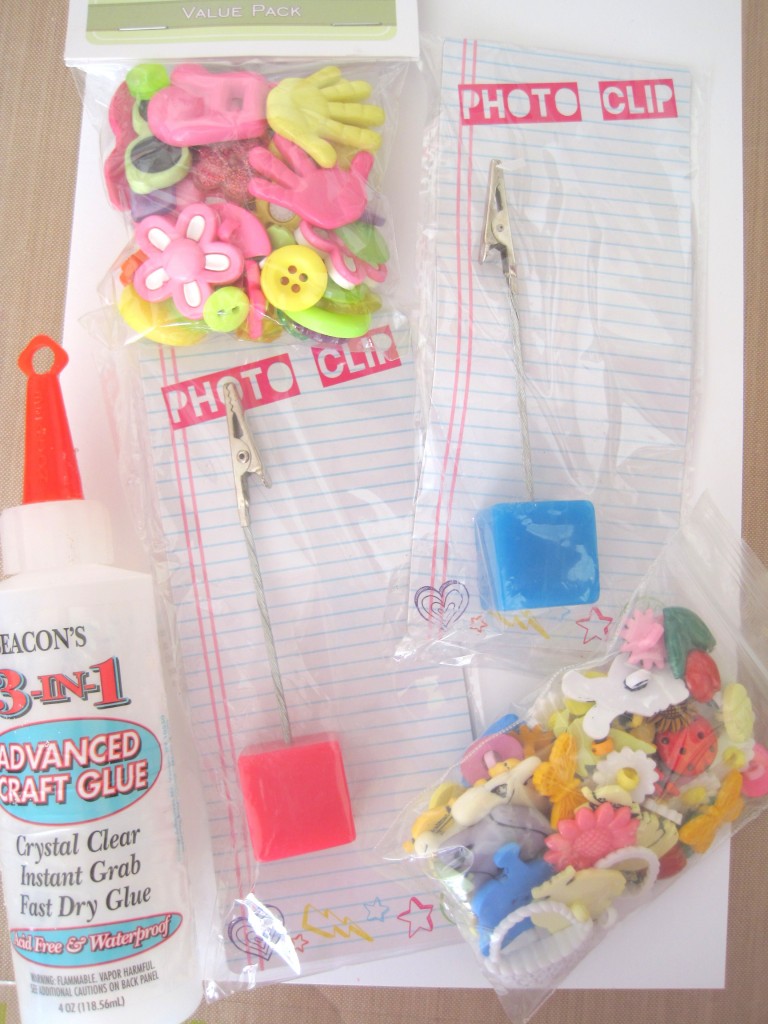
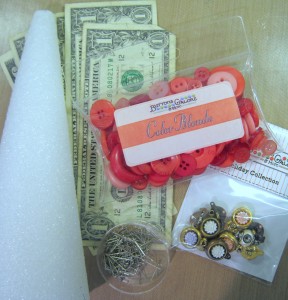
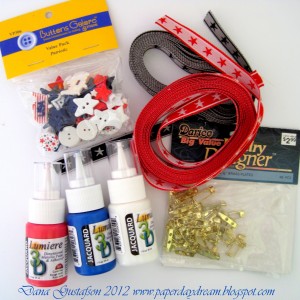
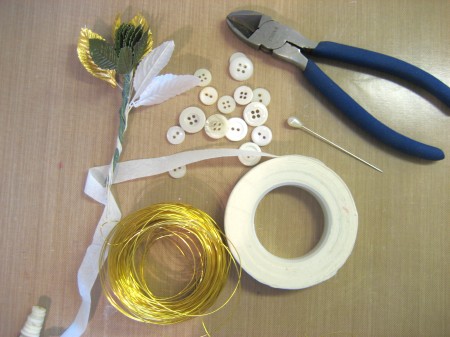
Supplies for a no-sew fleece pillow :
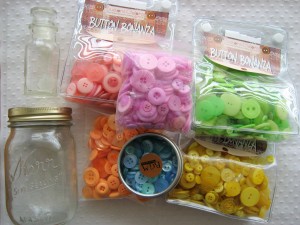
- Tangy Orange Bulk Buttons
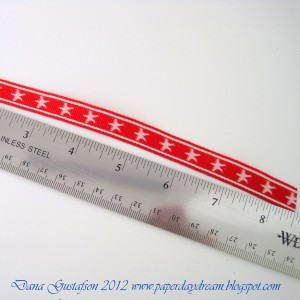
- ribbon
- 1 yard of background plus fleece scraps
- fabric scissors by Westrim
- self-healing cutting mat with one inch markings
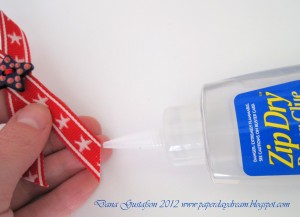
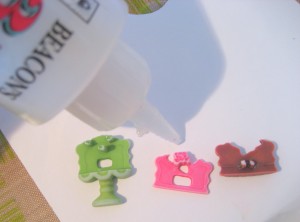
- Fabri-Tac
Directions for a no-sew fleece pillow :
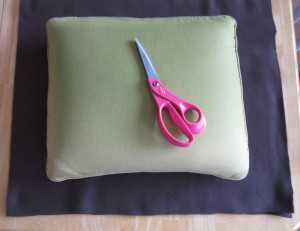
Cut two layers of polar fleece material approximately 3-4″ wider then the pillow you plan to cover. No need to be exact, this project is really forgiving
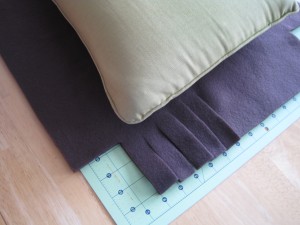
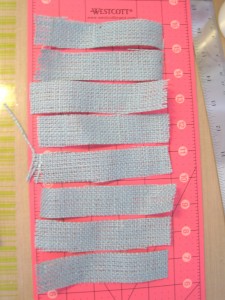
Cut away the corners of the fabric and cut strips all the way round the outside edge approximately one inch thick.
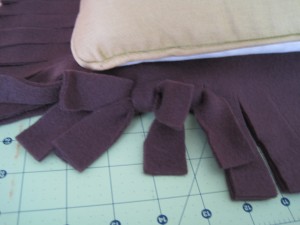
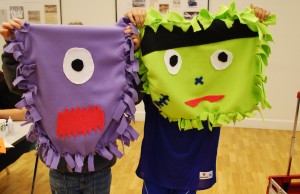
Once everything is cut, tie the top and bottom matching strips together in a double knot creating the fun fringe look. Don’t forget to insert your pillow before you tie your pillowcase closed.
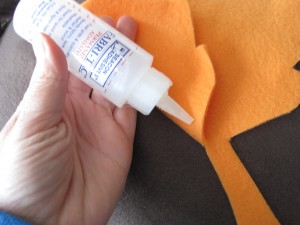
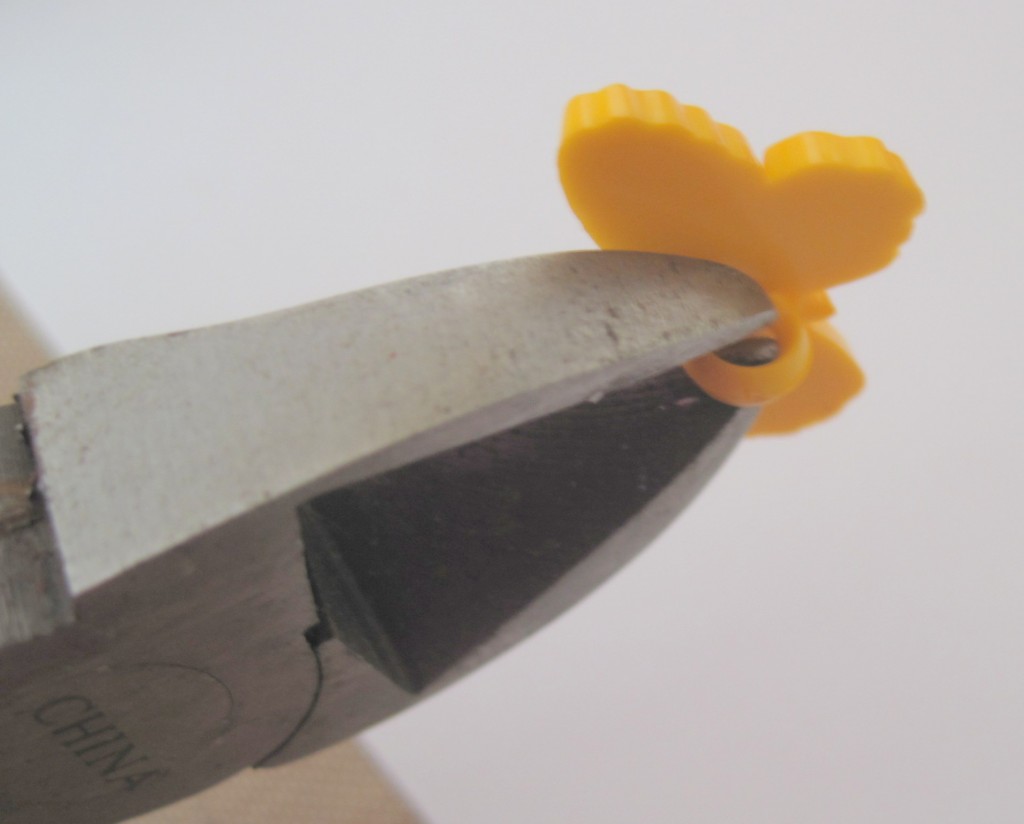
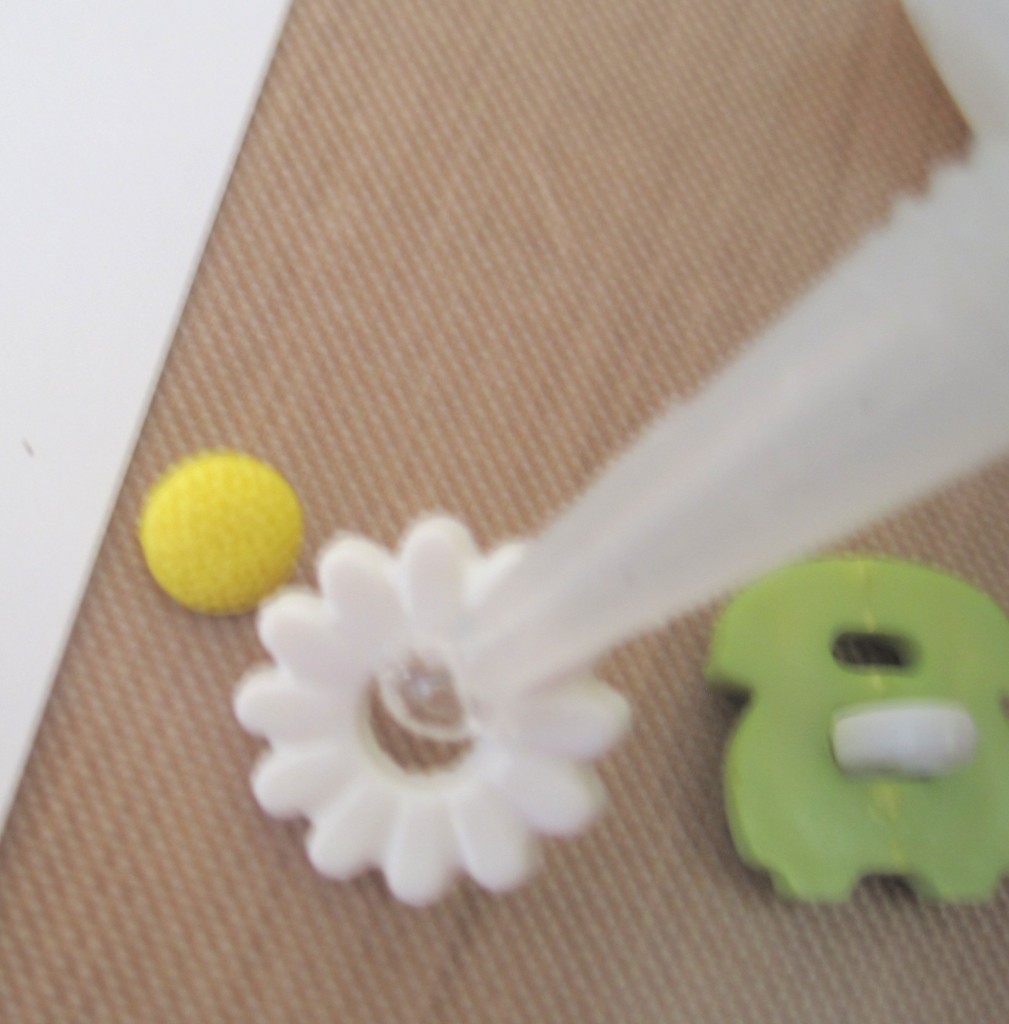
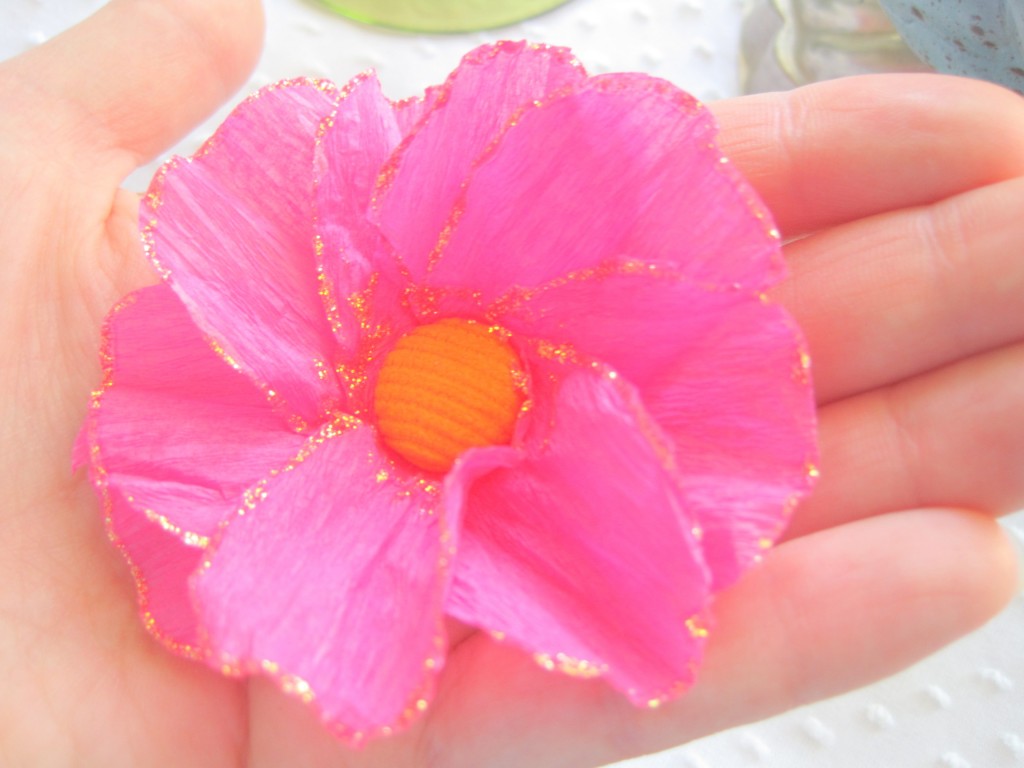
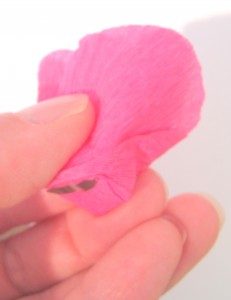
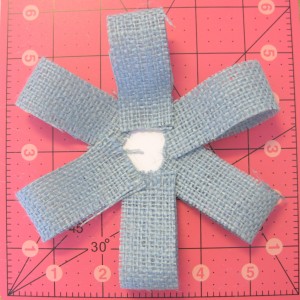
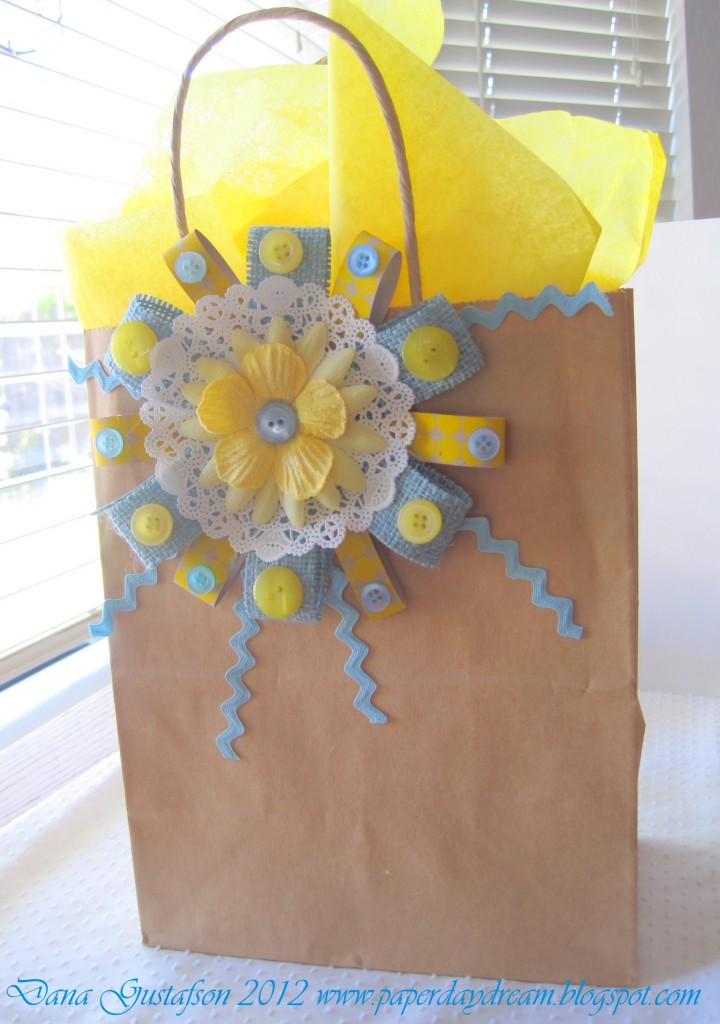
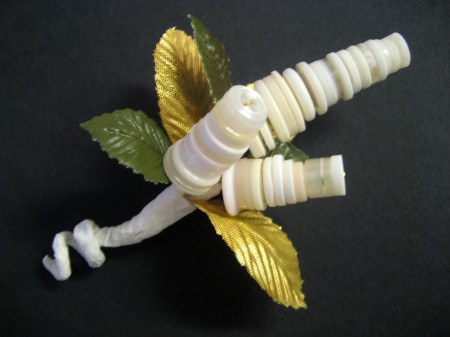
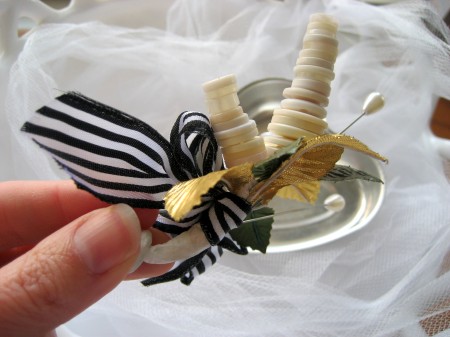
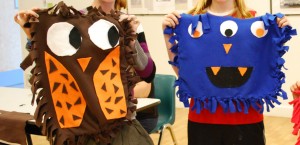
Embellish your pillow front with fleece scraps cut into shapes representing your theme. I free-handed a maple leaf shape for fall. Glue on fleece shapes and other embellishments like ribbon and buttons to complete the no-sew fleece pillow.
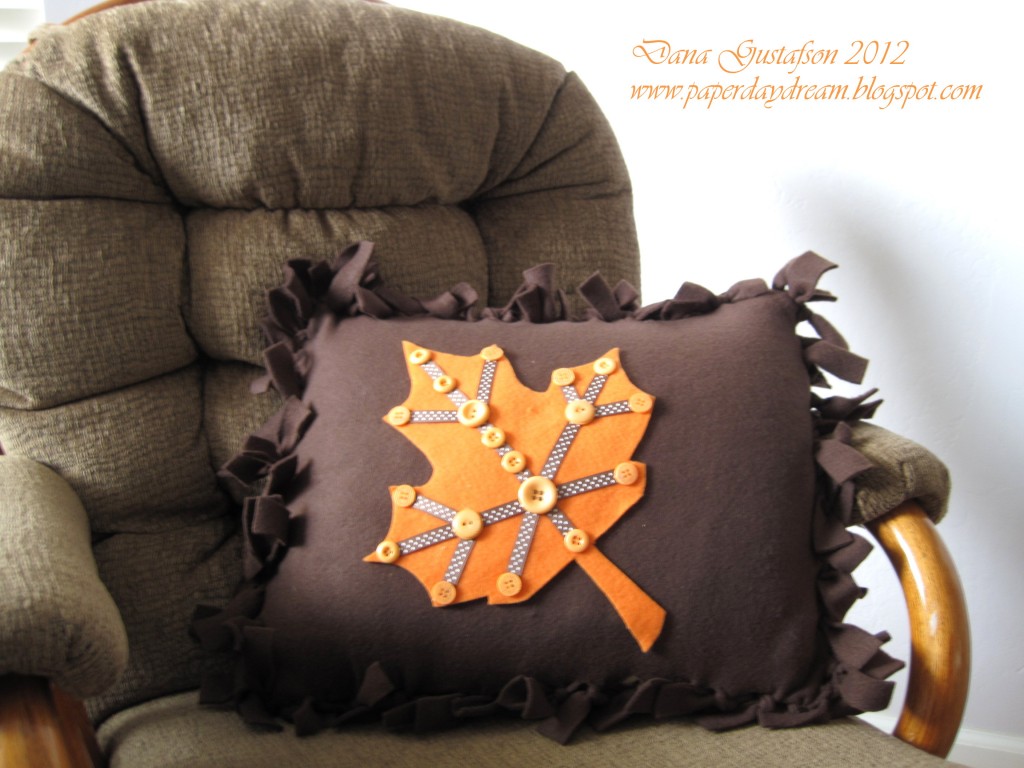
Enjoy your new festive pillow! Not only is it fun to look at but it’s cozy too!
This is a great project for kids!
Thanks for stopping by!