So, you’ve been eyeballing a distressed serving tray in a home decor store that you’re totally in love with but can’t seem to justify spending the money.
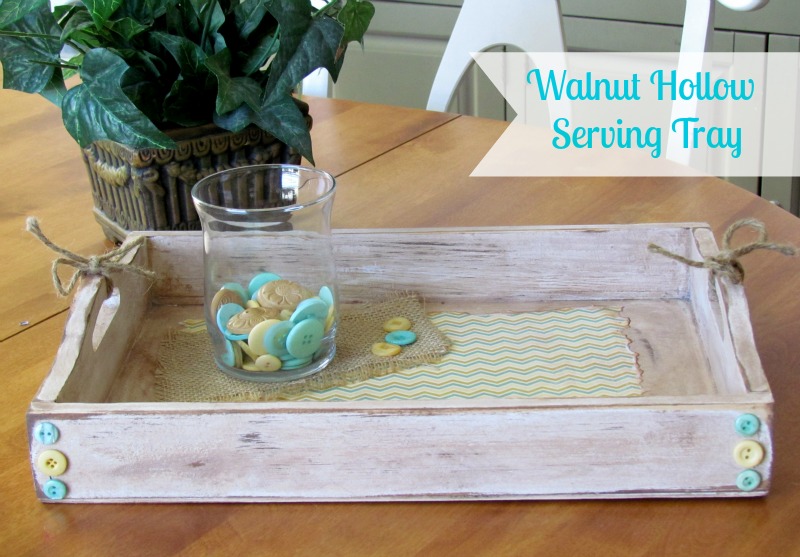
Well, no worries ’cause here is a simple tutorial on how to make your own distressed serving tray by using a Walnut Hollow Serving Tray and Buttons Galore buttons that will make the perfect {inexpensive} addition to your home decor.
Distressed Walnut Hollow Serving Tray
Supplies Used to Make Serving Tray:
- Walnut Hollow Serving Tray
- Buttons Galore Buttons
- White Paint
- Wood Stain
- Hand Sander or Sandpaper
- My Mind’s Eye Patterned Paper
- Hemptique Natural Cord
- Colorbox Ink
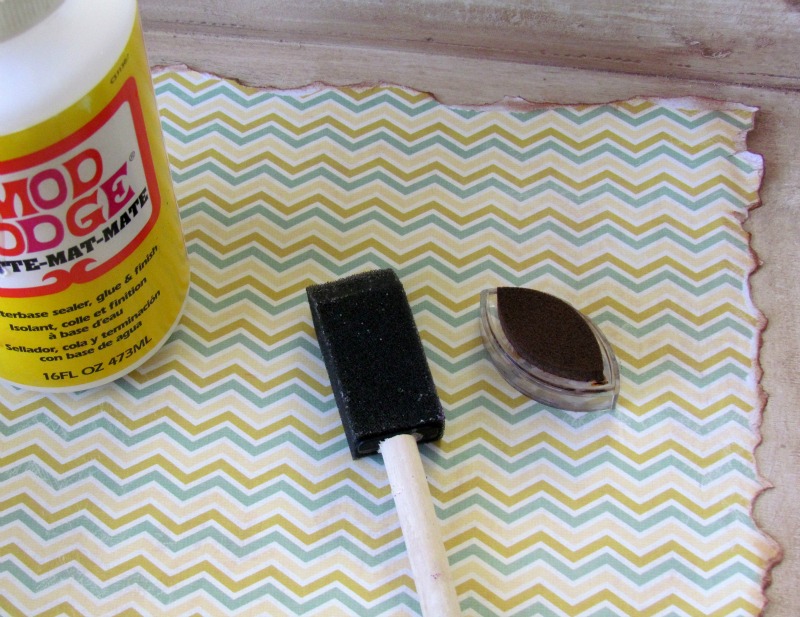
- Mod Podge
How to create a distressed look
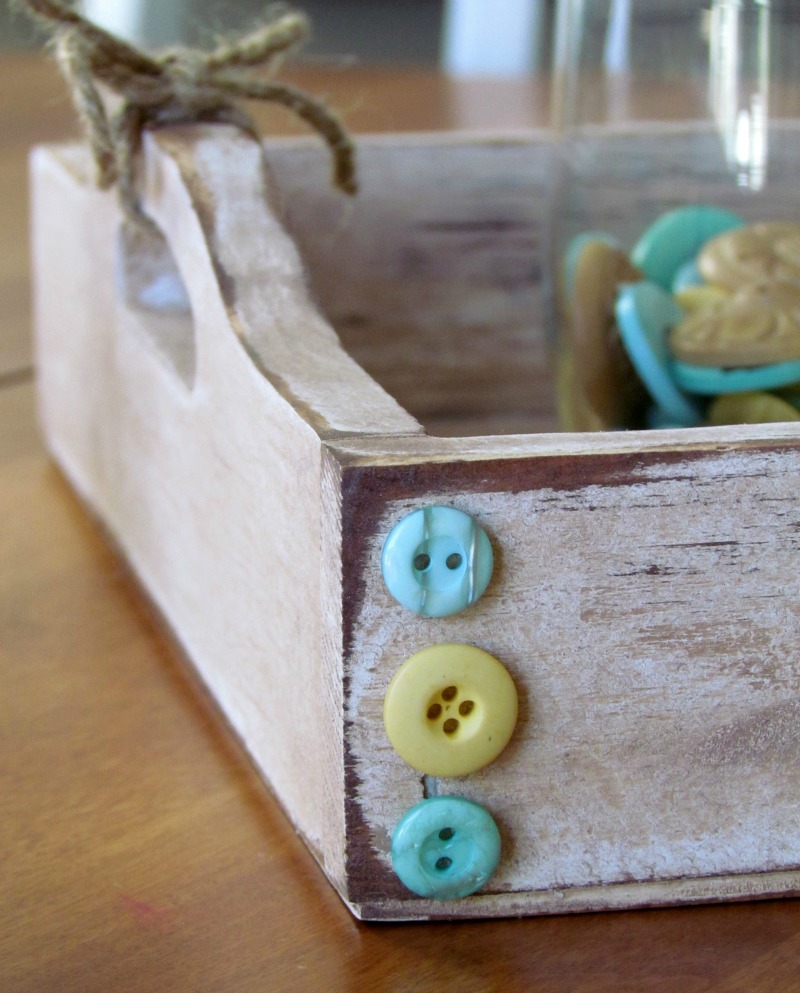
To give this tray a distressed look, I painted it white, used an electric sander to randomly distress areas and then applied a light coat of stain. ** Tip…A little stain goes a long way**
I applied the stain with a sponge brush then used a paper towel to quickly wipe off the excess. As you apply and wipe off the stain, you’ll begin to see the distressed areas become darker in appearance developing into your aged look. Just like magic!
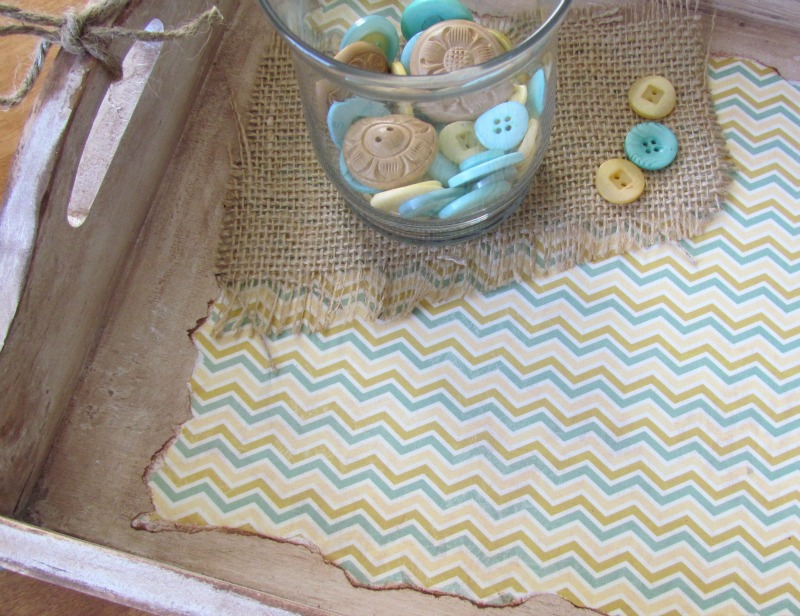
While I was waiting for the stain to dry, I tore the edges off a piece of patterned paper and inked them with Colorbox ink to create a distressed look. When the stain was dry, I adhered the paper onto the tray using Mod Podge Matte.
To complete my serving tray, I added some buttons from Buttons Galore Vacation & Zesty Lemon packs on to the four corners and tied the handles up with Hemptique Natural Cord. Adding simple buttons on to your projects can be an inexpensive way make them beautiful.
I’m totally in love with this tray. I even like how it’s displayed with a vase full of buttons. Buttons just make everything look better!
Like Me on Facebook!
Latest posts by Holly Gagnon (see all)
- Personalized Family Magnets - June 14, 2014
- Button Ladybug Valentine - January 29, 2014
- Button Christmas Card - December 23, 2013


Beautiful Holly, such love the burlap and the pretty colors you used.