The Autumnal Equinox officially starts September 22nd, 2013. It’s time to start thinking of all of the decorative projects you will be making to usher in this transitional season. How about making some Rustic Pallet Wall Art?
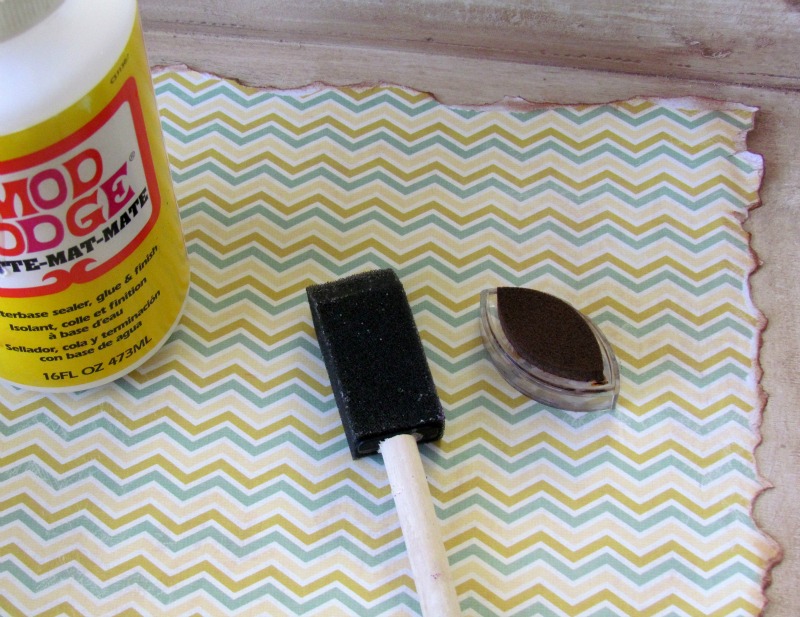
Materials for Rustic Pallet Wall Art
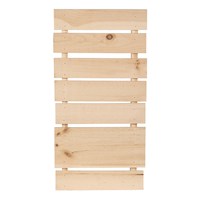
Walnut Hollow’s 14″ x 12″ Rustic Pallet
DecoArt Americana Acrylics in Espresso and Buttermilk
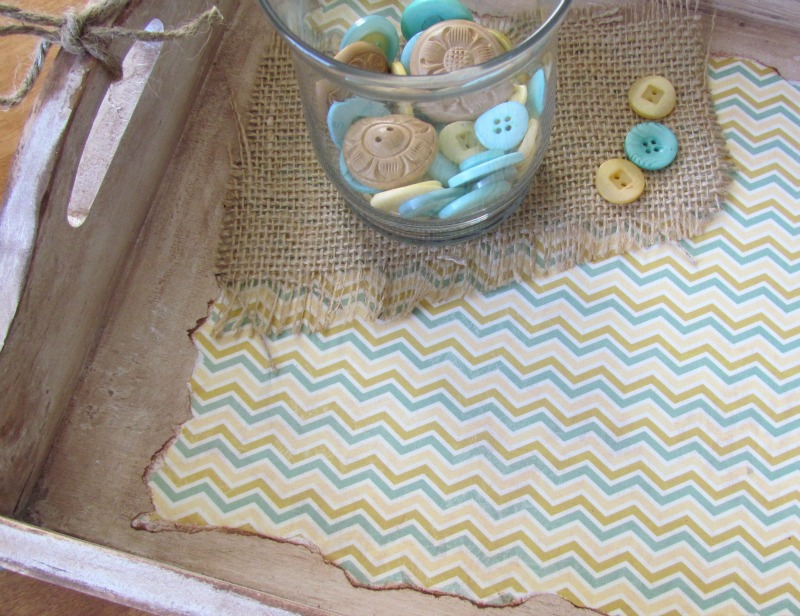
Fabric Scraps, wool felt scraps
Buttons Galore and More Laura Kelly Hand Dyed Buttons
Rub on sentiment
Wax candle, sanding block, sewing machine and thread, hand sewing needle and thread, tacky glue
Taking notice of the recycled wood pallet craze, Walnut Hollow recently introduced their new line of rustic pallets. I have to honestly say that I am super excited about all the cool possibilities for this line. Walnut Hollow came up all kinds of fun ideas for this line. These products can be ordered directly from Walnut Hollow’s website. By the end of December, you will be able to purchase them in Joann’s Fabrics and Crafts and in AC Moore in January.
24″ x 12″ Pallet
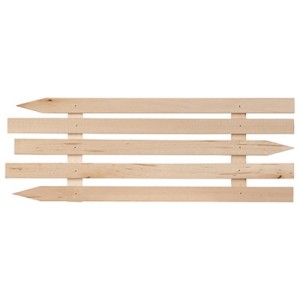
Rustic Arrow Pallet
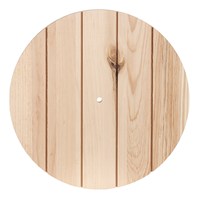
Paneled Wood Clock
These are just a few examples of the yummy surfaces offered in this product line. For this Rustic Pallet Wall Art project, I used the 14″ x 11″ rustic pallet.
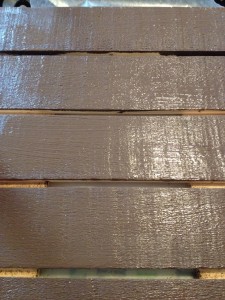
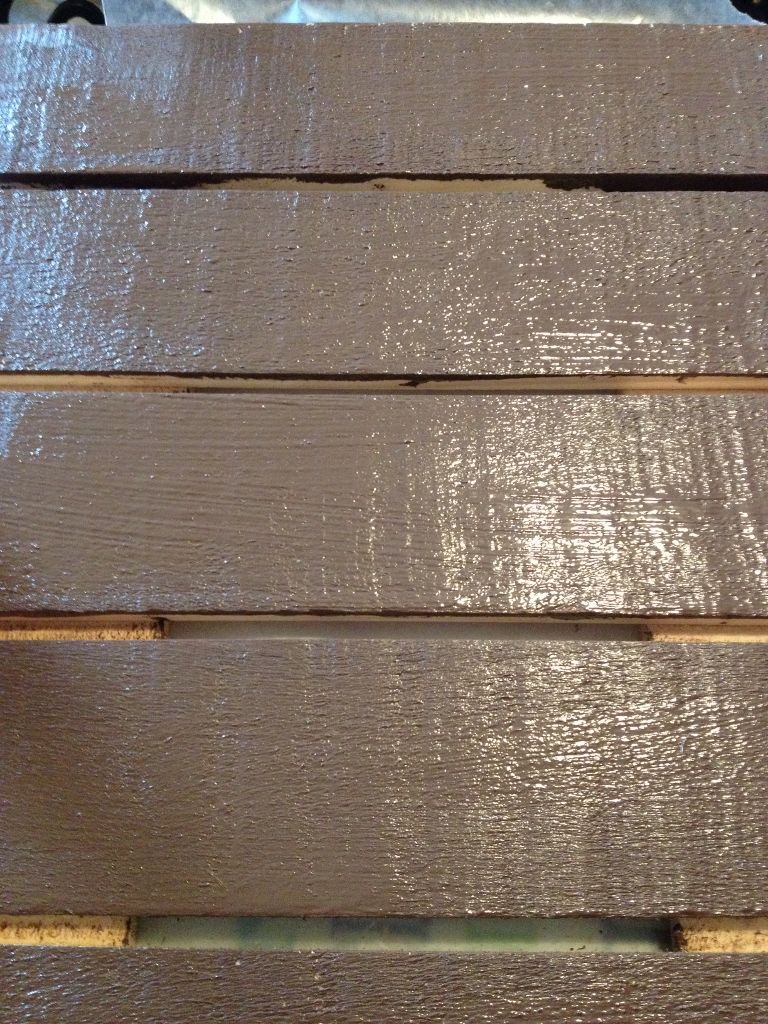
First I used DecoArt’s Americana Acrylics in Espresso to paint the front this brown shade. I waxed the surface once the pallet was dry in random areas and painted the surface Buttermilk.
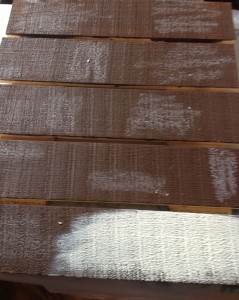
Once I painted the entire surface of the pallet, I sanded the surface to reveal the distressed finish. Areas where the wax was applied will rub away easily resulting in a chippy looking finish. This technique also works well with Vaseline but the effect is a little more dramatic.
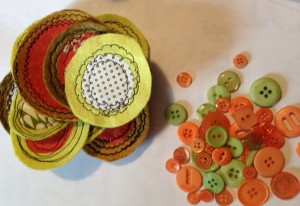
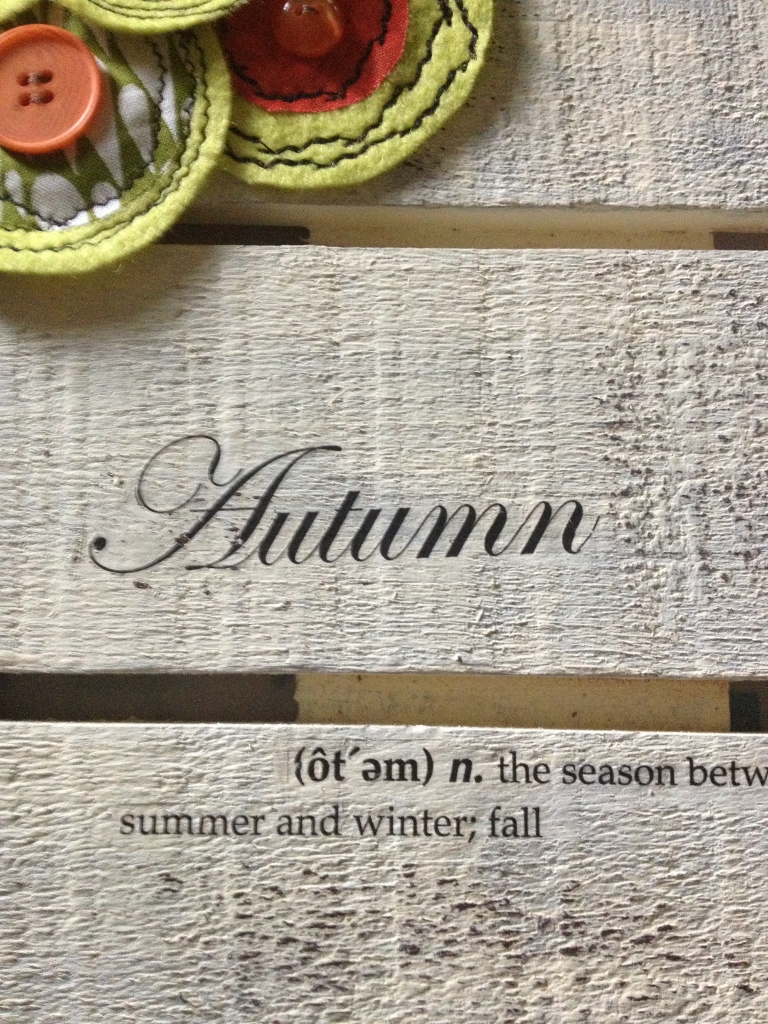
One of my favorite things to do with my leftover fabric and felt scraps is to create different sized circles and fuse the fabric circles to the wool felt circles. I use my sewing machine to play with the various stitches by sewing around the edge of the fabric to hold it in place on the felt. A button, sewn in the center makes the look complete. These are some of my favorite. I love the Laura Kelly Hand Dyed Buttons from Buttons Galore and More!

Use tacky glue to adhere the circles to the rustic pallet. Arrange an outer circle first, leaving a gap at the bottom so you can paint on a simple tree truck with the espresso brown paint.

I finished the rustic pallet wall art with a couple of rub on sentiments to celebrate Autumn. This is wall art that you can display from the end of September into Thanksgiving before the holiday decorations go up! If you are not a huge fan of inside seasonal décor, use colors to coordinate with your home décor and a general sentiment instead. Then you can display it all year long!
Happy Autumn (soon),
Live Life Creatively,
Melony