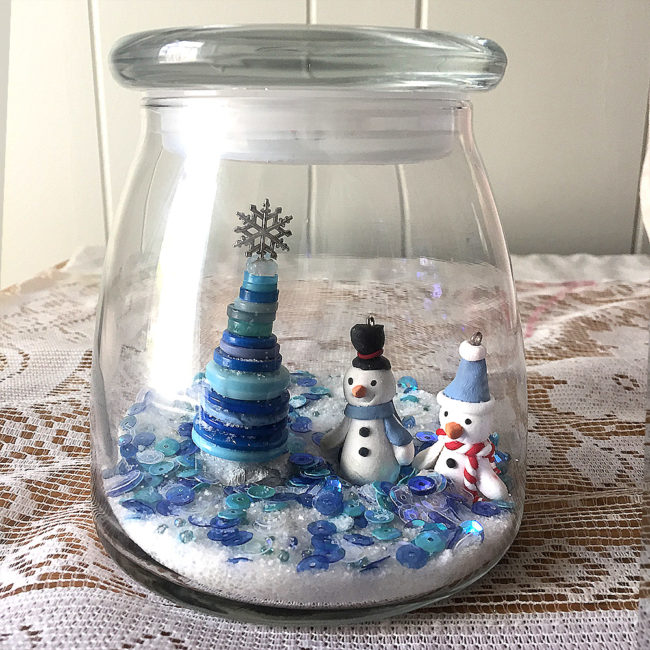
It’s Christmas in July! I’m thinking cool thoughts and making cool things, like this sweet snow scene in a jar!
Supplies Needed:
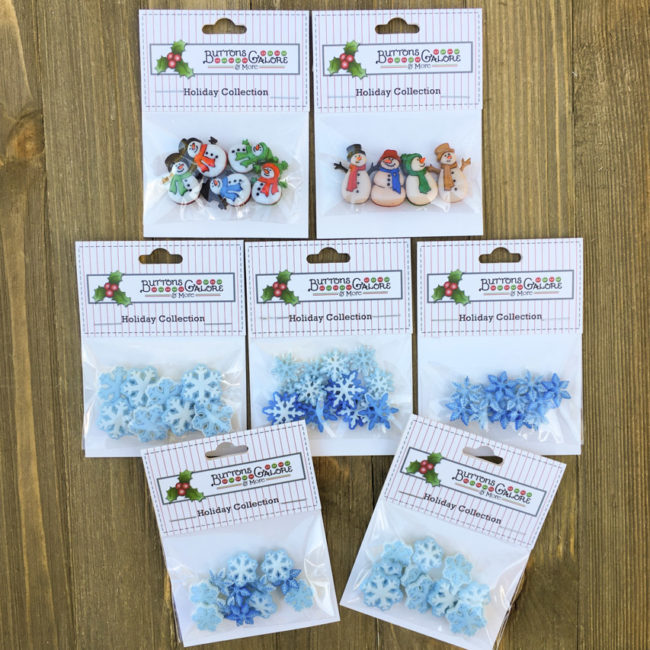
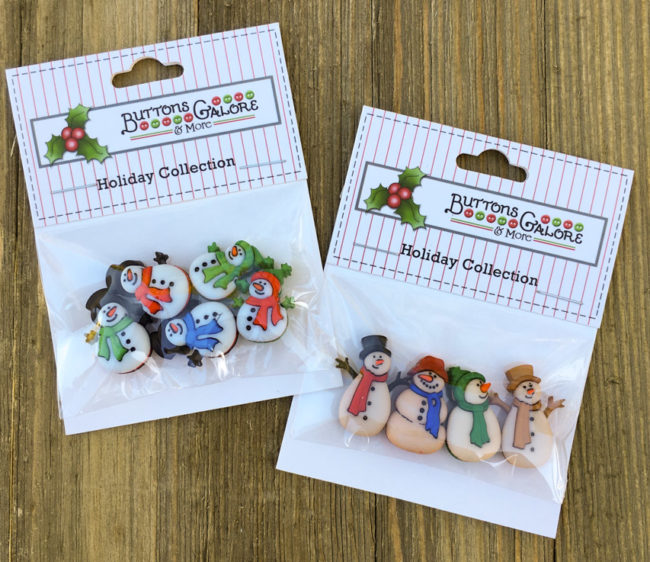
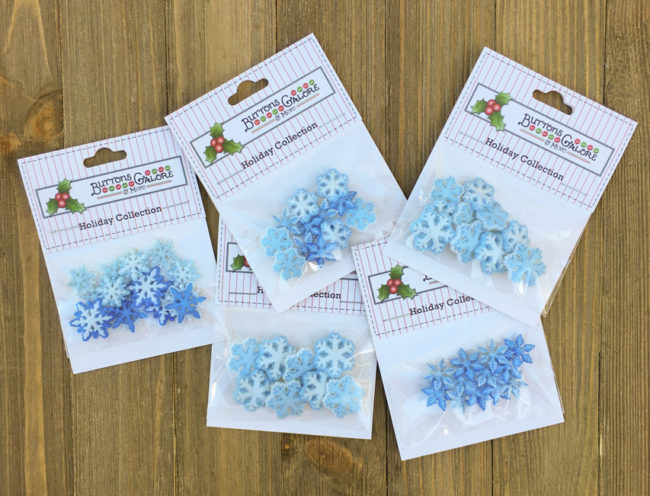
- 28 Lilac Lane “Let It Snow” Embellishment Kit
- glass jar with lid
- glue gun
- holiday figurines
- 20 gauge wire
- aluminum foil
- white acrylic paint
- pickling salt
How to make a Snow Scene in a Jar:
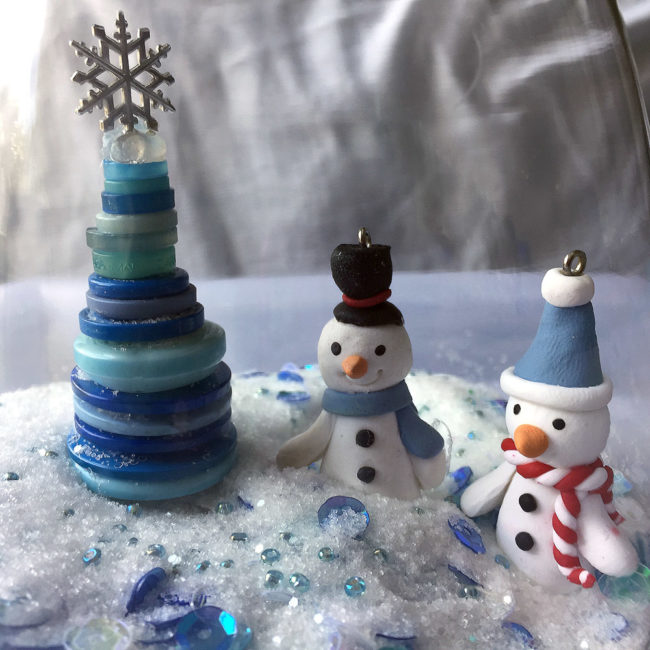
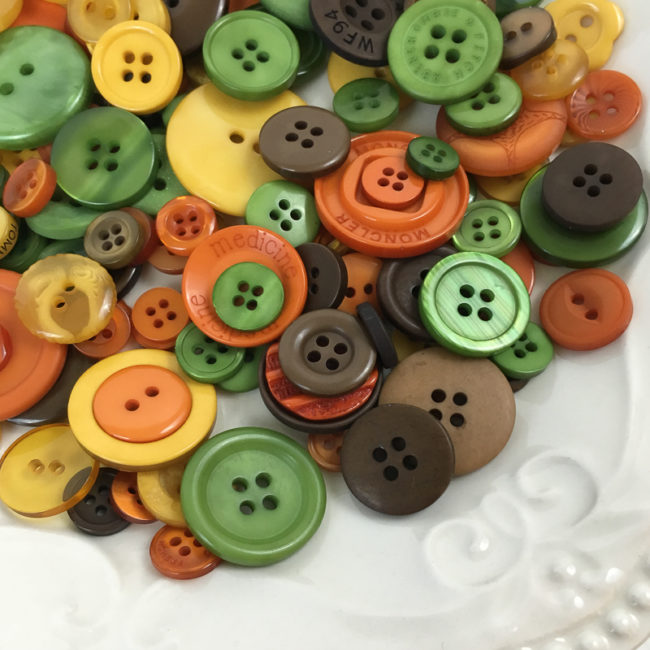
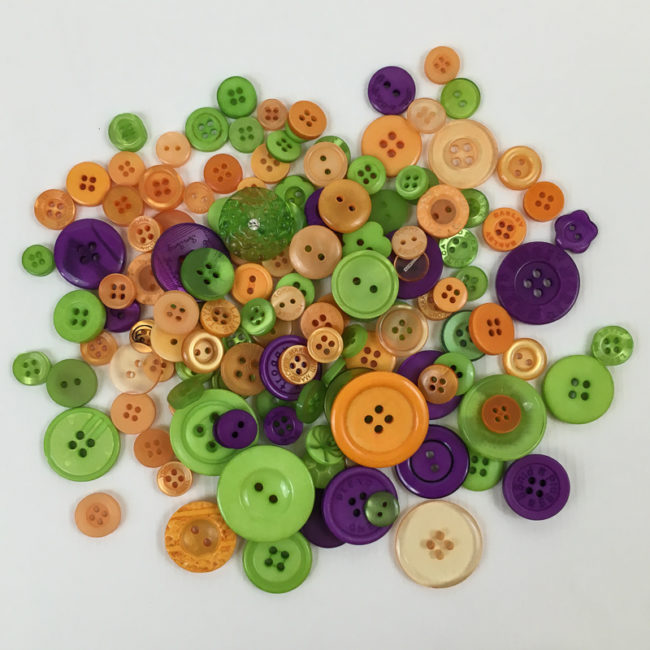
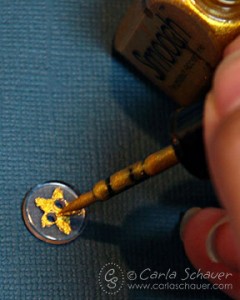
Begin by rolling up a 1″ ball of aluminum foil, and then press it down to make the ball flat on the bottom. Cover the foil with a layer of white paint and allow to dry. To make the button tree, cut 6″ to 7″ inches of wire, and fold in half. Start with one of the snowflakes in the embellishment kit to attach as the tree topper. To keep the snowflake centered, apply some glue to hold it in place. Continue adding buttons from smallest to largest until it is to the height you desire. Twist the remaining wire and trim. Leave just enough wire to place in the hole of your snow hill with a dab of glue.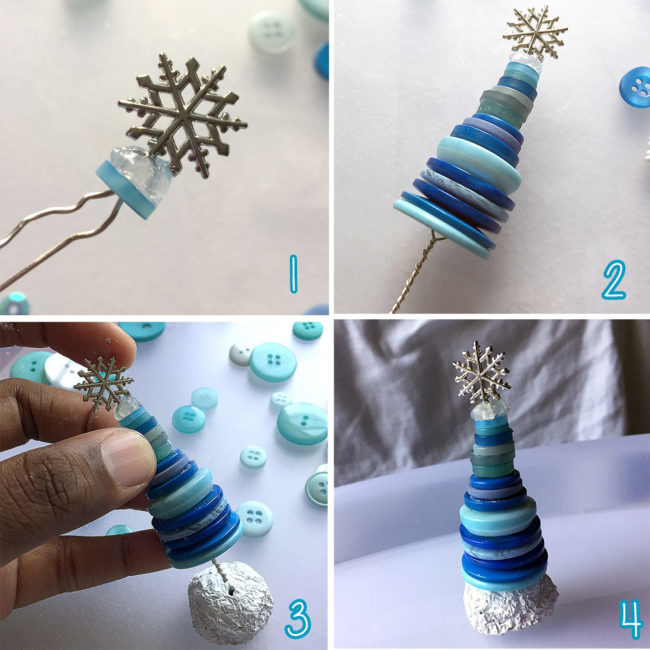
Glue the snow mound, along with any other little holiday figures you may have to the bottom of your glass jar. 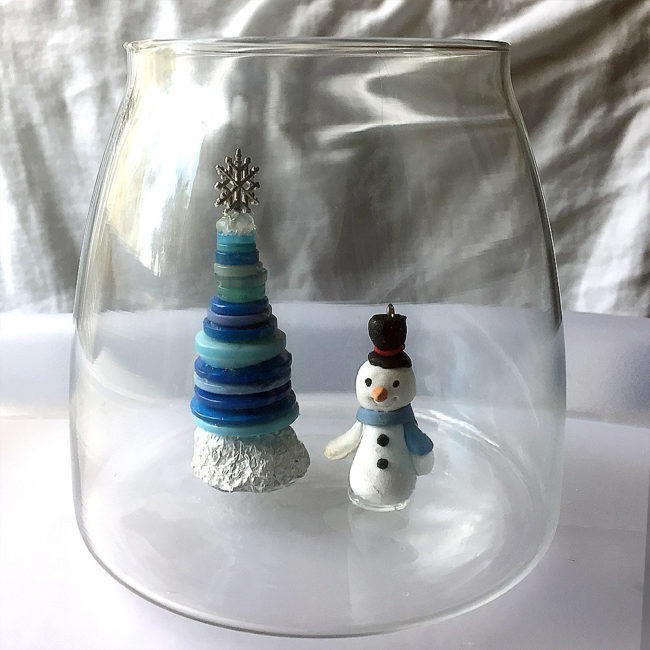
The last step is to add some sparkle and ‘snow’. Pickling salt may sound like a strange item to use in crafting, but it’s really awesome because it’s bright white and looks so much like snow! Also, the salt is heavy and will keep the sequins and beads from settling directly to the bottom of the jar. Pour in as much salt as you want until it reaches a height that makes you happy. Add sequins and beads from the kit, and then give the mixture a gentle swish from side to side to mix things up. That’s it! Your scenic snow jar is complete.
Have fun and experiment with various jar sizes and embellishments to decorate your home or give as gifts. This project takes just a little time and very basic craft skills. I hope you’ll give it a try if you’re looking for something quick and easy to craft up for the holidays.