Header

Tag Archives | Upcycle

Dia De Los Muertos Party Favors

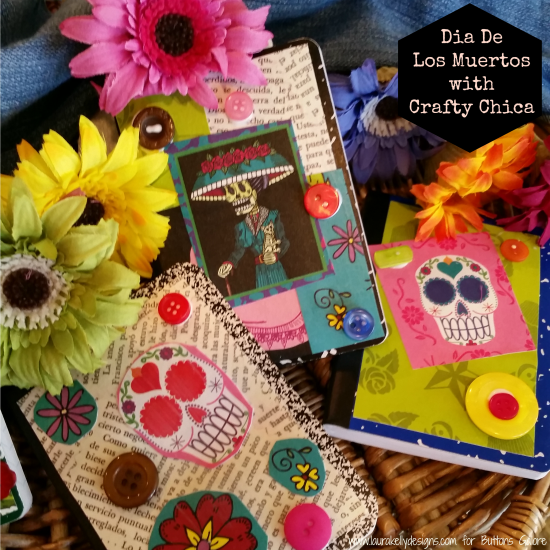
I am so excited to share these Dia De Los Muertos party favors with purpose.  My friend, Kathy aka Crafty Chica, designs fabulous Day of the Dead themed products for iLoveToCreate and I used them to make these in less than FIFTEEN minutes.  Yes, it is Fifteen MINUTE Friday again and this project is fabulously fun!

Day of the Dead Bools

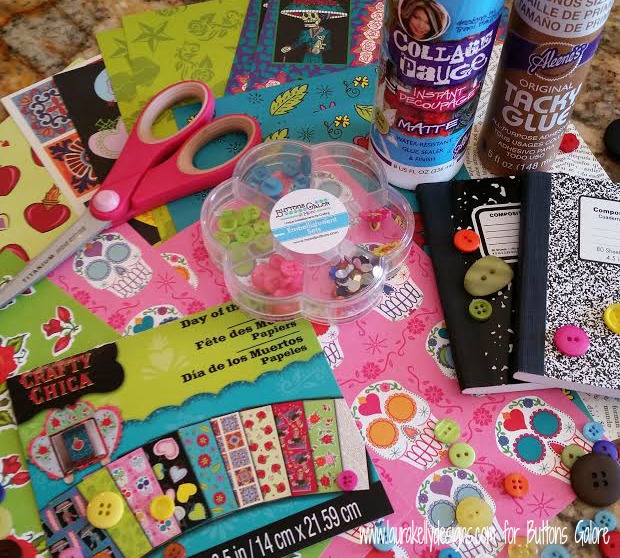
You will need  Day of the Dead papers, mini composition books, Collage Pauge, Aleene’s Tacky Glue and Laura Kelly Bright BUTTONS!

Supplies

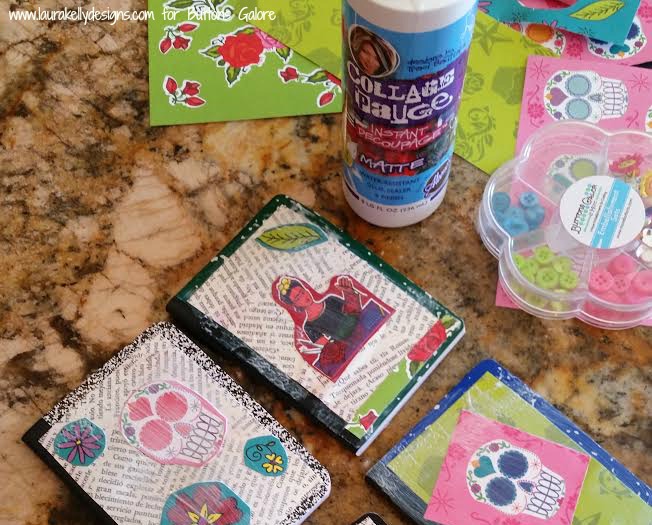
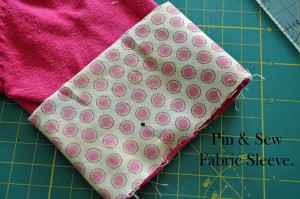
Cover your mini composition books with paper layers using the Collage Pauge and let it dry.

Collage Pauge

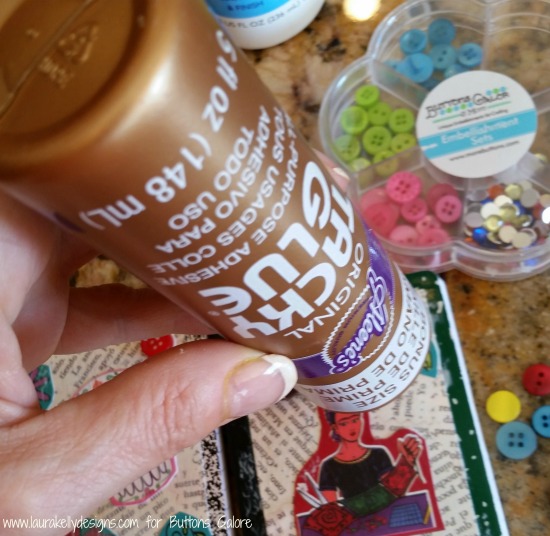
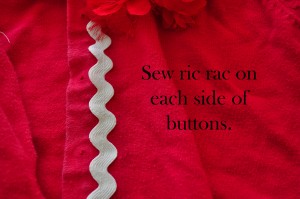
Add buttons with Aleene’s Tacky Glue to embellish and make your designs POP.

Aleenes

This is an awesome craft project to do at a Dia De Los Muertos party with grown ups or kids.  It is fun and quick and the result are amazing (and useable!)

Happy Creating,

Laura

0

upcycled sweater – DIY Boutique Style

How to Upcycle A Child's Sweater for a Boutique Style

Make an upcycled sweater for a Boutique Style

My daughter and I have champagne taste and apple juice budget so I decided to make an upcycled sweater to get a boutique style look at a fraction of the cost. I’ve been busy doing our annual back to school shopping.   We saw a ton of button embellishments on the clothes in all the children’s boutique clothing stores this year, so when we got home, I got out my buttons and an old sweater and got to work.  The sweater was cute last year, but the sleeves are too short for my growing daughter and the flowers on the shoulder were looking a little tired.  The end of the sleeves were also stained.  (Why oh why can’t my daughter pull up her sleeves before eating or crafting?)  It hardly cost me anything to make as I already has some ric rac and I used fabric scraps for the sleeves.

The  sweater before:

How to Upcycle a Child's Sweater

And here is the upcycled sweater!

How to Upcycle A Child's Sweater for a Boutique Style

Did I inspire you?  Here’s how you can upcycle a sweater!

Supplies for an upcycled  sweater:

  • Old sweater
  • Buttons. I used my favorite Buttons Galore Mix, Citrus Splash.
  • Ric Rac
  • Fabric
  • Basic sewing supplies.

Directions:

  • Put the sweater on your child and mark where elbows are located.  Take off the sweater, and cut off the sleeves at the elbow mark.

http://www.buttonsgaloreandmore.com/ProductDetails.asp?ProductCode=GB126

  • Remove the original buttons.
  • Measure the sleeve width, and double the measurement but a strip of fabric that measures the length of your measurement and a 6″ width.  For example, my daughters sweater sleeve measured 5″, so my fabric strips measured 10″ x 6″. Cut two strips, one for each sleeve.
  • Fold the fabric strip in half lengthwise, wrong sides together.  Press.
  • Fold the fabric again, bringing the short sides together.  Stitch together.

http://www.buttonsgaloreandmore.com/ProductDetails.asp?ProductCode=GB126

  • Slip the fabric strip over the sleeve.  Line up the seam you just sewed with the underarm seam of the sleeve.  Make sure the rough edges of the sleeve are aligned with the edge of the sleeve. Pin in place. Sew.

http://www.buttonsgaloreandmore.com/ProductDetails.asp?ProductCode=GB126

  • Fold the fabric sleeve down.
  • Sew ric rac along the side where the buttons are and along the side of the button holes.  Make sure you leave room for the buttons and that you do not cover the button holes!

http://www.buttonsgaloreandmore.com/ProductDetails.asp?ProductCode=GB126

  • Sew on new buttons.

That’s it!  Easy.  It took me less than an hour to do this upcycled sweater project.  If you aren’t feeling adventurous, simply changing out the buttons on an old sweater will give it a new look.  Or if you are feeling extra adventurous, you could add some fabric to the bottom edge of the sweater.  (Which also lengthens it if the sweater is too short for your child!)

0

Craft Wars Inspiration – Junk Drawer Chic -Margot Potter

Tuesdays, we like to feature people we find on the internet.  Margot Potter aka, the Impatient Crafter, is the crafty inspiration today.  Often, we select designers because of a really cool craft technique or because of a fantastic use of buttons.  Well,  her garden craft piece is both.  I would like to call her creation JUNQUE-TASTIC!  Margot shares a tutorial with you on how to create the beautiful finish on the wood.  I think it would make any garden that much happier.

Margot Potter’s inspiration was Craft Wars, the new TV show.  If you have not watched the show you really should.  It is not a traditional craft show.  It is a crafting competition.  It is on Tuesday nights at 10pm.

  To view the full tutorial please visit Margot’s blog – The Impatient Crafter  Not only will you see the full tutorial for the Craft Wars Inspired Junk Drawer Bird house but you can view many of Margot Potter’s other work too.  She also has a list of the other Craft War Vets who participated and their projects.

1

Internet Inspiration – A splendid Assemblage

Here at Buttons Galore we like crafts of all types and of all skill sets.  We especially like seeing buttons incorporated into projects that have a “green” flair to them.  The trendy word now is called UPCYCLED.  We like upcycled, recycled, repurposed, eco friendly or green crafts.  We find inspiration on Pinterest via readers sending us links.  If you have a project you want to share please email us or leave a message on one of our posts.  While surfing the net we found this blogger, A Splendid Assembledge, has a great project that would work great with our Big ol’ buttons.  Heck, it would work great with almost any of our buttons.  For a tutorial check out her blog.  While you are there you should check out all her tutorials.  She has some really fantastic ones.


1

Upcycled Spring Floral Bouquet – An Earth Day Project

Upcycled Spring Floral Bouquet

Burlap and buttons make a great wrap for a bouquet that will last longer than a week. I love fresh flowers, but they do not love my budget. A more budget friendly idea is the tin can that I repurposed.

Tools and Materials:

Sizzix Tattered Florals and Leaf  Die Cut

Beacon Adhesive – FabriTac

Jute Cording,  Burlap, Styrofoam, Krylon Spray paint, Westcott Scissors and kraft knife.

Buttons – Tangerine Tango, Class

Directions:

Clean and dry tin can. Spray paint can. Let dry and repeat.

Use Krylon to Paint Can

Place floral foam inside can.

Place Floral Foam inside

Cut burlap to fit. Adhere burlap with Quick Grip.

Cut Burlap to Fit Can

Slide buttons on to jute cording. Wrap cording around container. Adhere buttons into place. Add a second layer of buttons where desired and glue into place.

Recycled Can - Earth Day Project

Add flowers into container.

This recycled tin can vase will work for any type of flowers, fresh or hand made.

3

Powered by WordPress. Designed by WooThemes